MMM
Page 1 of 27 123411 ... LastLast
Results 1 to 25 of 720

Thread: Madness-Murder Jr

Hybrid View

  1. #1
    I am Xtreme
    Join Date
    Mar 2007
    Location
    Sugar Land, TX
    Posts
    1,730

    Madness-Murder Jr

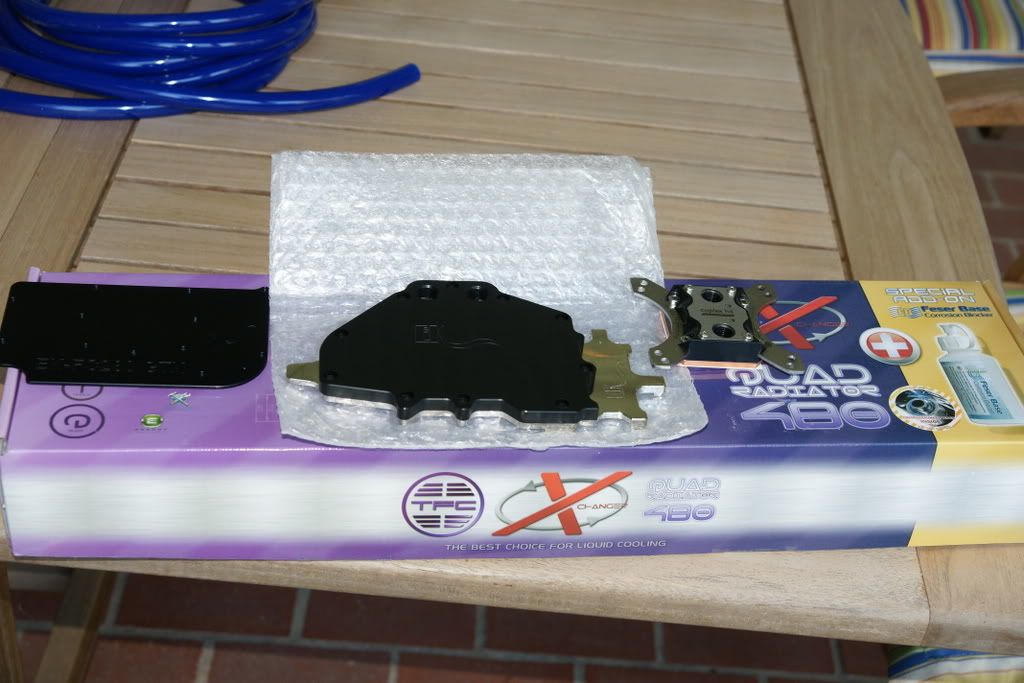
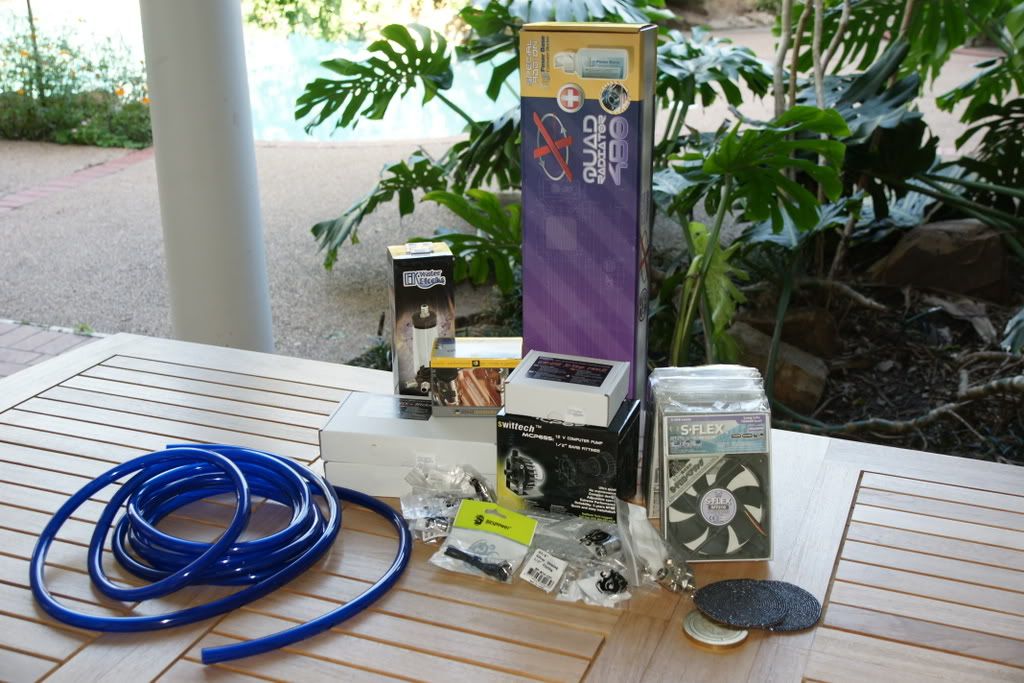
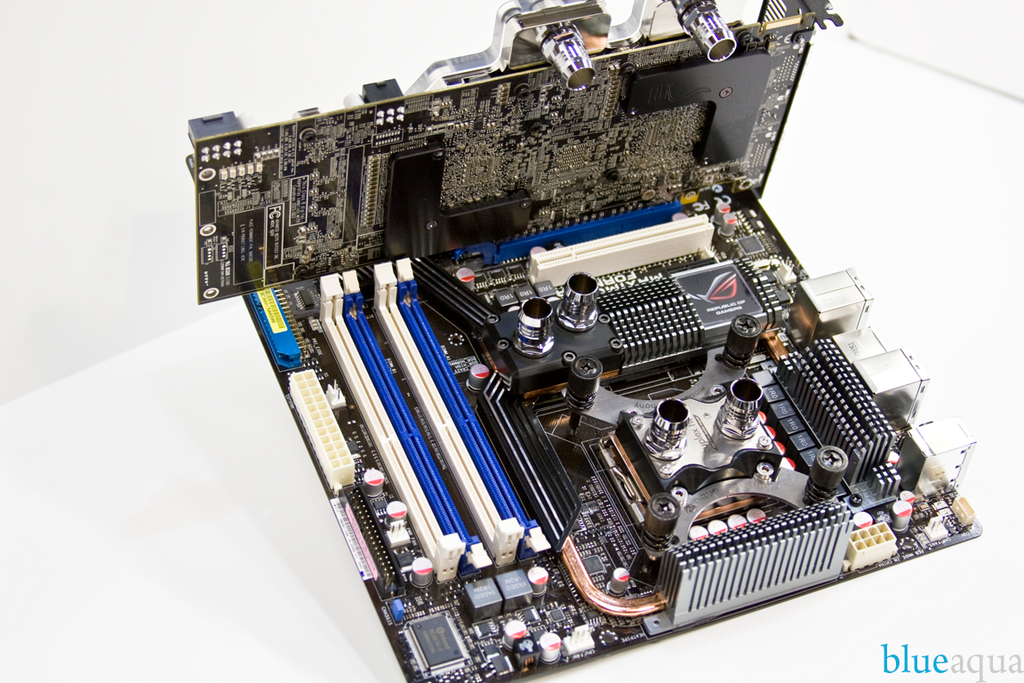
    I will be modding the current TJ07 with a MM backplate and topgrill. I have disassembled the case in order to sand and paint everything black. This will be an inverted mount of the R2E. I will also make my first attempt at sleeving using the MM Psychopack. This should test my patience. Here are the new H20 goodies.


    The Bitspower fittings are gorgeous and the Feser is huge! I meant to get the clear tops for the 280's but I screwed up. As usual, the Aqua HD block is a beauty.
    I am currently drilling out rivets and I will post WIP pics tomorrow.
  2. #2
    Xtreme Addict
    Join Date
    Oct 2008
    Location
    The Curragh.
    Posts
    1,294
    Sounds awesome. Looking forward to it

  3. #3
    Xtreme Enthusiast
    Join Date
    Jul 2008
    Location
    Essex, UK
    Posts
    809
    nice to see some compassion pics of the feser compression you got with the quad and the BP ones

  4. #4
    I am Xtreme
    Join Date
    Mar 2007
    Location
    Sugar Land, TX
    Posts
    1,730
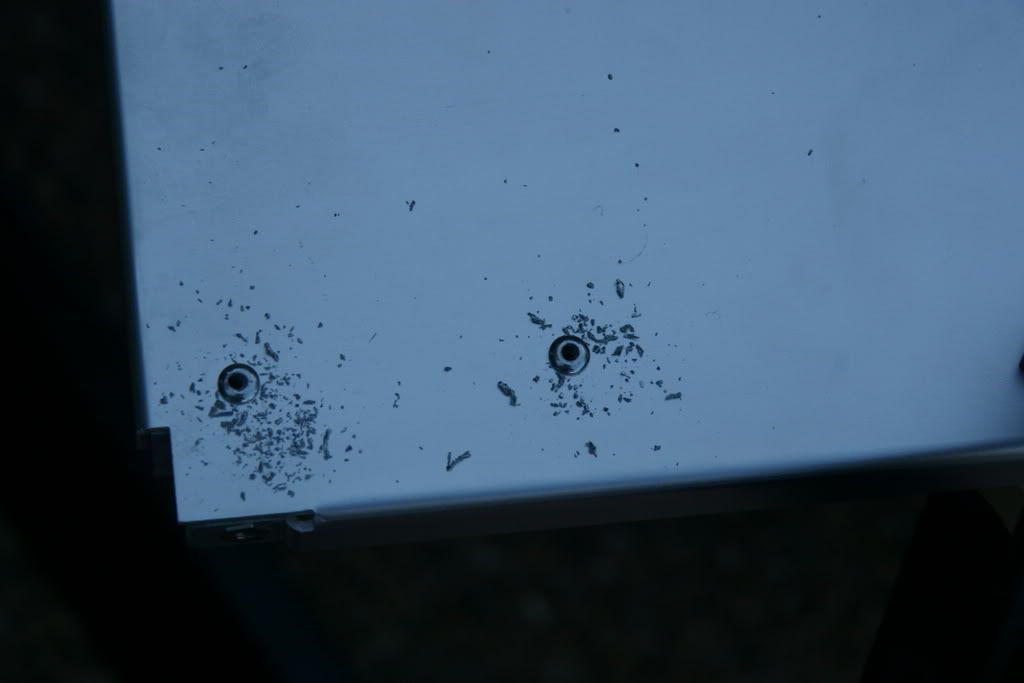
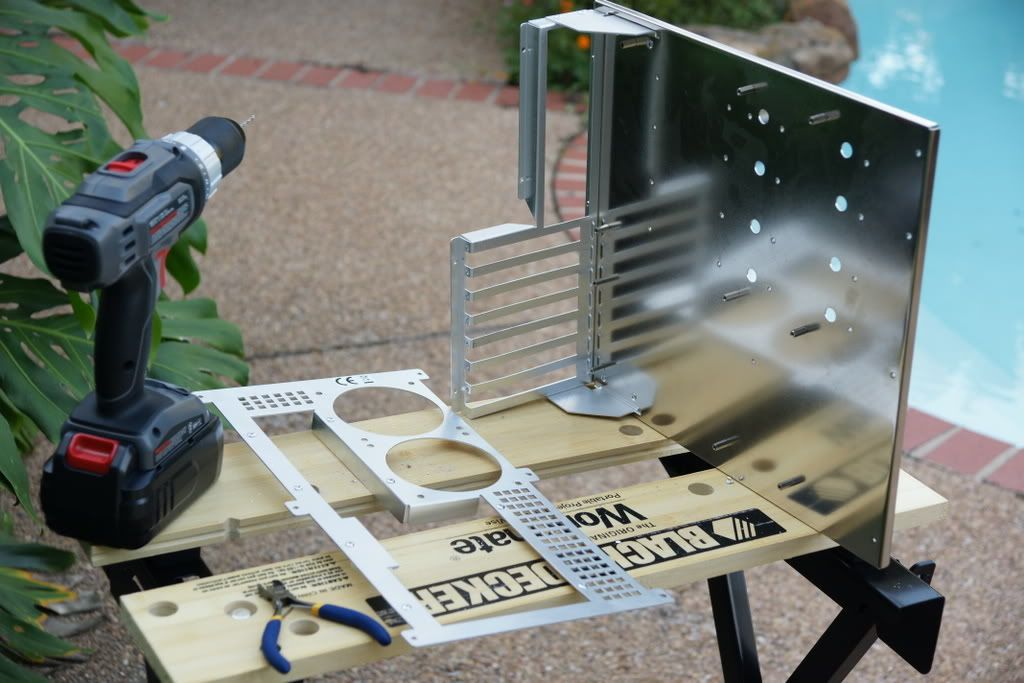
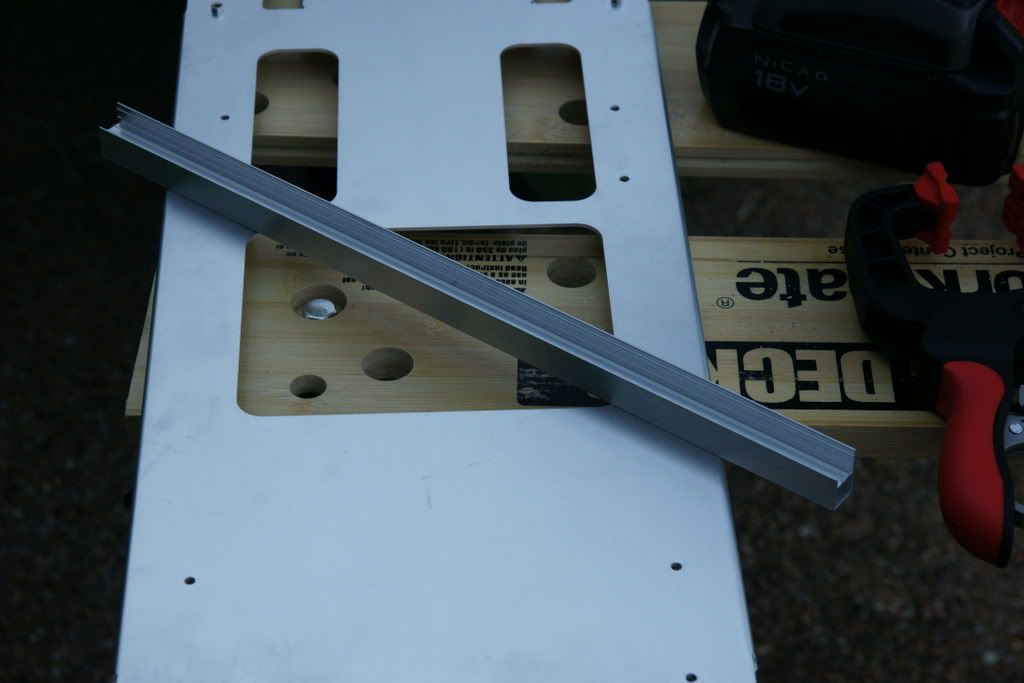
    Charles was spot on! Just drill out the rivets and presto. It turns out that a 1/8" bit does the trick. I am sure many of you know this but I thought a little detail would help those like me that are new to this.


    Backplate removed but PCI slots remain.


    MB rail removed it goes to the other of the case.


    Many thanks to Charles and BA for their help and encouragement.
    Tomorrow looks to be a big painting day.

  5. #5
    Xtreme Enthusiast
    Join Date
    Sep 2007
    Location
    Sydney - Australia
    Posts
    515
    Good work so far - can never get enough MurderMod goodness

    Looking forward to some more pics

  6. #6
    Xtreme Enthusiast
    Join Date
    Jan 2008
    Location
    Vancouver, Canada
    Posts
    612
    Looking Good!

    I’d love to see more pics of that pool.

    If it’s not too late and you haven’t painted yet, you may want to drill a couple holes in the motherboard tray for cable management. I usually do them symmetrically at the top and bottom. You’ll likely find the bottom hole will be useful in passing the 8pin power to the mobo. The top can be used to pass internal USB cables to the mobo headers or other stuff. If you drill the holes just inside of the edge of where the motherboard sits, you won’t see them. The long standoffs will provide enough room to pass the wires.

    A longish hole on the midplate, just to the side of where the rail goes and at the outer edge will also come in handy. One issue with the TJ07 is that without creating a hole on the backside of the midplate, you’re very limited in cable management options. To make this hole I use a large drill bit and pop 5-6 holes lengthwise; then I clean it up with a Dremel and hand file. It’s best to make this hole before riveting the rail in place.

    Looking forward to your next update!


  7. #7
    I am Xtreme
    Join Date
    Mar 2007
    Location
    Sugar Land, TX
    Posts
    1,730
    Quote Originally Posted by charles_h View Post
    Looking Good!

    I’d love to see more pics of that pool.

    If it’s not too late and you haven’t painted yet, you may want to drill a couple holes in the motherboard tray for cable management. I usually do them symmetrically at the top and bottom. You’ll likely find the bottom hole will be useful in passing the 8pin power to the mobo. The top can be used to pass internal USB cables to the mobo headers or other stuff. If you drill the holes just inside of the edge of where the motherboard sits, you won’t see them. The long standoffs will provide enough room to pass the wires.

    A longish hole on the midplate, just to the side of where the rail goes and at the outer edge will also come in handy. One issue with the TJ07 is that without creating a hole on the backside of the midplate, you’re very limited in cable management options. To make this hole I use a large drill bit and pop 5-6 holes lengthwise; then I clean it up with a Dremel and hand file. It’s best to make this hole before riveting the rail in place.

    Looking forward to your next update!


    Charles,

    Many thanks for that pic! I hope you are feeling better or at least tried the Texas Remedy for the flu.
    I have not painted anything yet, but I will be tomorrow. This is fun!!!
    I will contact you tomorrow with my questions....you know me, I put down the drill and picked up a scotch.

  8. #8
    I am Xtreme
    Join Date
    Mar 2007
    Location
    Sugar Land, TX
    Posts
    1,730
    Quote Originally Posted by Dangals View Post
    Good work so far - can never get enough MurderMod goodness

    Looking forward to some more pics
    Thanks Dangals! Yes the MM gear is outstanding from every aspect. You, BA, Charles and Nil's have given me the inspiration to do a mini-MM. I must say that the sleeving is intimidating but I will get it done.
    More pics tomorrow.

  9. #9
    Registered User
    Join Date
    Dec 2008
    Location
    Porto Alegre - RS - Brazil
    Posts
    48
    Just a quick question, wich drill model he used here?
    Im curious.


    MB rail removed it goes to the other of the case.


    Many thanks to Charles and BA for their help and encouragement.
    Tomorrow looks to be a big painting day.[/QUOTE]

  10. #10
    Moderator
    Join Date
    Aug 2007
    Location
    Back and forth between Florida and Maine
    Posts
    4,097
    Coming along nicely. I'm envious of you guys with your drills and dremels!

  11. #11
    I am Xtreme
    Join Date
    Mar 2007
    Location
    Sugar Land, TX
    Posts
    1,730
    Quote Originally Posted by shazza View Post
    Coming along nicely. I'm envious of you guys with your drills and dremels!
    Shazza, the drill is a Porter Cable and it is on sale at Lowes for $99.00 and it is a steal. The Unibit is on sale for $19.97, ask Charles what he paid for his in B.C. The bit can drill just about any hole you want with exact precision and the PC drill has an unlimited warranty for three years and it includes two batteries! I have been using it for two days solid without changing batteries. Twist off and get one. This is a no-brainer and it will last for years. BTW, I love your rig!!!

  12. #12
    Chasing After Diety
    Join Date
    Jan 2007
    Location
    Absolutely Speachless :O
    Posts
    11,930
    woooo

    finally we get to see a project from you!

    Nadeshiko: i7 990 12GB DDR3 eVGA Classified *In Testing... Jealous? *
    Miyuki: W3580 6GB DDR3 P6T-Dlx
    Lind: Dual Gainestown 3.07
    Sammy: Dual Yonah Sossoman cheerleader. *Sammy-> Lind.*

    [12:37] skinnee: quit helping me procrastinate block reviews, you asshat. :p
    [12:38] Naekuh: i love watching u get the firing squad on XS
    Its my fault.. and no im not sorry about it either.

  13. #13
    I am Xtreme
    Join Date
    Mar 2007
    Location
    Sugar Land, TX
    Posts
    1,730
    Quote Originally Posted by NaeKuh View Post
    woooo

    finally we get to see a project from you!

    Thank you.

    I do what I can, when I can.

  14. #14
    Xtreme Enthusiast
    Join Date
    May 2008
    Location
    VA
    Posts
    500
    good work so far... thanks for the tip on the drill bit
    [ Lian-Li V1000B // EP45-UD3P // E8400 // HD4870 ]
    [ W/C by EK, MIPS, D-tek, Bitspower, Swiftech, XSPC]
    [ Project LucentTide - WORKLOG! ]

  15. #15
    Xtreme Member
    Join Date
    Mar 2008
    Location
    Jakarta, Indonesia
    Posts
    363
    never seen bit drill like that before, is the number on side of the bit is the measuring point for how big diameter is ?

  16. #16
    Chasing After Diety
    Join Date
    Jan 2007
    Location
    Absolutely Speachless :O
    Posts
    11,930
    seeker you know what i dont understand?

    WTF did fesser include 3/8 compression barbs on the 480?? why not 1/2
    Nadeshiko: i7 990 12GB DDR3 eVGA Classified *In Testing... Jealous? *
    Miyuki: W3580 6GB DDR3 P6T-Dlx
    Lind: Dual Gainestown 3.07
    Sammy: Dual Yonah Sossoman cheerleader. *Sammy-> Lind.*

    [12:37] skinnee: quit helping me procrastinate block reviews, you asshat. :p
    [12:38] Naekuh: i love watching u get the firing squad on XS
    Its my fault.. and no im not sorry about it either.

  17. #17
    Xtreme Member
    Join Date
    Jul 2007
    Location
    Swansea,Wales,Uk
    Posts
    101
    looking good keep the good work up
    *** Silverstone LC16B MR - 1.5Tb - Q6600 - Silverstone NT07 - 4 Gig PC6400 Corsair - 520W Corsair PSU - LG BR/HD Drive
    Creative XFI Soundcard - Sapphire 4850 512mb ***

  18. #18
    Xtreme Addict
    Join Date
    Oct 2008
    Location
    The Curragh.
    Posts
    1,294
    NaeKuh because there are freaks like me who are brave/mad enough to use 3/8 comparbs on it


    Quote Originally Posted by anubis_is_evil View Post
    never seen bit drill like that before, is the number on side of the bit is the measuring point for how big diameter is ?
    Yes you have it right

    They work very well, and let you drill to what you need.

    Very nice Seeker!

  19. #19
    Xtreme Enthusiast
    Join Date
    Nov 2008
    Location
    CA,USA
    Posts
    575
    QVery clean cuts , where did you get those circle thing placed after you drilled a hole?
    Armor.exe worklog

    Mobo: Asus Rampage 2 Extreme X58
    CPU: i7 920
    GPU: ATi HD 4870x2
    Sound: Auzentech X-Fi Forte 7.1
    PSU : Corsair HX1000
    RAM: OCZ 3 x 2GB tri channel DDR3-1600
    HDD: WD 640 Black RAID 0 + 1

    Watercooled

  20. #20
    I am Xtreme
    Join Date
    Mar 2007
    Location
    Sugar Land, TX
    Posts
    1,730
    Quote Originally Posted by exe163 View Post
    QVery clean cuts , where did you get those circle thing placed after you drilled a hole?
    Not sure what you are asking?

    Here is the link for the bit http://www.irwin.com/irwin/consumer/...rwinProd100140
    Last edited by theseeker; 01-10-2009 at 06:59 AM.

  21. #21
    Xtreme Enthusiast
    Join Date
    May 2008
    Location
    Small small town, MA
    Posts
    787
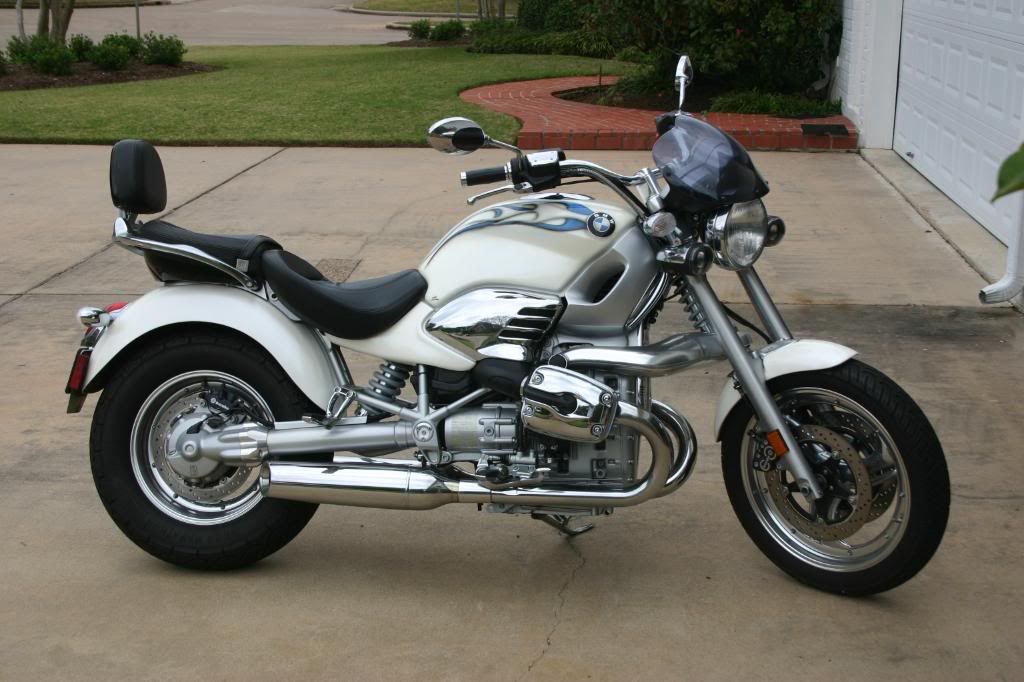
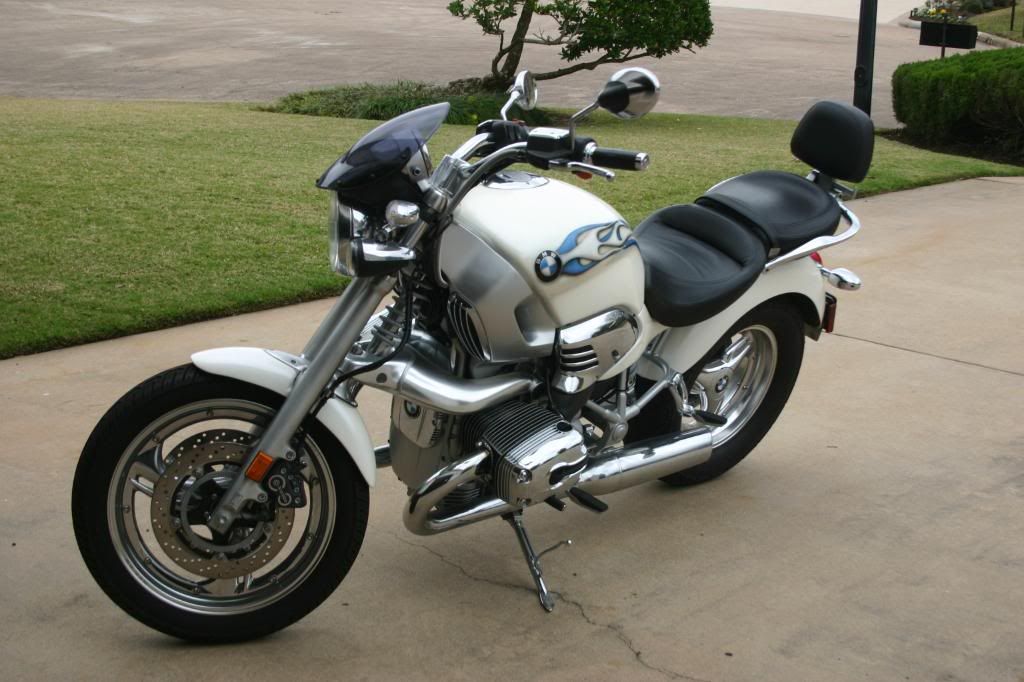
    A little primer shot. Can any one identify the blurred wheel in the background?
    If my vision serves me right, they appear to be BMW rims? but that's just my educated guess...

  22. #22
    Xtreme Member
    Join Date
    Jul 2007
    Location
    Swansea,Wales,Uk
    Posts
    101
    nice to see this coming along sub'd
    *** Silverstone LC16B MR - 1.5Tb - Q6600 - Silverstone NT07 - 4 Gig PC6400 Corsair - 520W Corsair PSU - LG BR/HD Drive
    Creative XFI Soundcard - Sapphire 4850 512mb ***

  23. #23
    I am Xtreme
    Join Date
    Mar 2007
    Location
    Sugar Land, TX
    Posts
    1,730
    Quote Originally Posted by exe163 View Post
    QVery clean cuts , where did you get those circle thing placed after you drilled a hole?
    Quote Originally Posted by sniperbob View Post
    If my vision serves me right, they appear to be BMW rims? but that's just my educated guess...
    Bingo, albeit chrome BMW rims.


    Last edited by theseeker; 01-10-2009 at 12:45 PM.

  24. #24
    I am Xtreme
    Join Date
    Mar 2007
    Location
    Sugar Land, TX
    Posts
    1,730
    Not much to report today with the exception that I am 4-6 coats into painting the black, but I figured who wants to see pictures of paint drying?

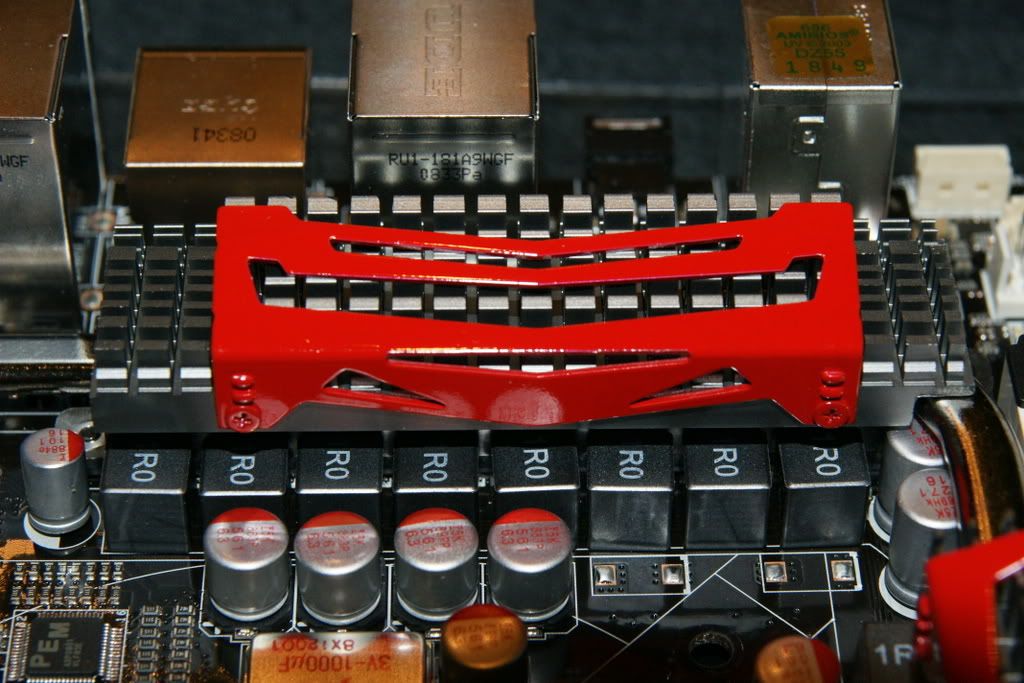
    One thing I need some opinions on is regarding these...


    If I keep them on I will have to repaint them blue as my theme is black and blue. I am also considering just scrapping them completely. LMK, what you members think, please. Notice that they are mounted with two screws at the bottom.

    I am also going to scrap the Aqua CPU mounting hardware and do something similar to BA's build.


    Once again feel free to express your opinions. I am going to need all the help I can get!

  25. #25
    Hamster Powered
    Join Date
    Apr 2006
    Location
    Virginia, USA [Krunching since 2001]
    Posts
    7,623
    I say paint them blue to match your build. The Swifty mounting hardware is the best that I have used.
    Oh, nice bike.
    XSWCG Disclaimer:
    We are not responsible for the large sums of money that you WILL want to spend to upgrade and add additional equipment. This is an addiction and the forum takes no responsibility morally or financially for the equipment and therapy cost. Thank you and have a great day.

    Sigmund Freud said... "Failure to CRUNCH is a sign of Sexual Inadequacies".

Page 1 of 27 123411 ... LastLast

Bookmarks

Bookmarks

Posting Permissions

  • You may not post new threads
  • You may not post replies
  • You may not post attachments
  • You may not edit your posts
  •