Page 1 of 3 123 LastLast
Results 1 to 25 of 68

Thread: Armor.exe

  1. #1
    Xtreme Enthusiast
    Join Date
    Nov 2008
    Location
    CA,USA
    Posts
    575

    Armor.exe

    Hi, welcome to my humble build log. This is my:

    First time painting,
    First time modding,
    Second time computer building.

    I would really like some feedbacks on what I could have don't to yield better result. Anything, anything at all feel free to comment and criticize. Mistakes are the best material to learn from.

    ==============================

    Spec:
    CPU: i7-920
    Motherboard: Foxconn Bloodrage X58
    RAM: OCZ DDR3-1600 6GB w/ custom ramsink
    GPU: [unknown]
    PSU: Corsair HX1000
    HDD: WD WD6401AALS Matrix RAID-0 [300GB Vista, programs and games]
    HDD2: WD WD6401AALS RAID-1 [500GB Mirrored storage]
    HDD3: Maxtor Diamond 10 300GB [for Win7 beta]

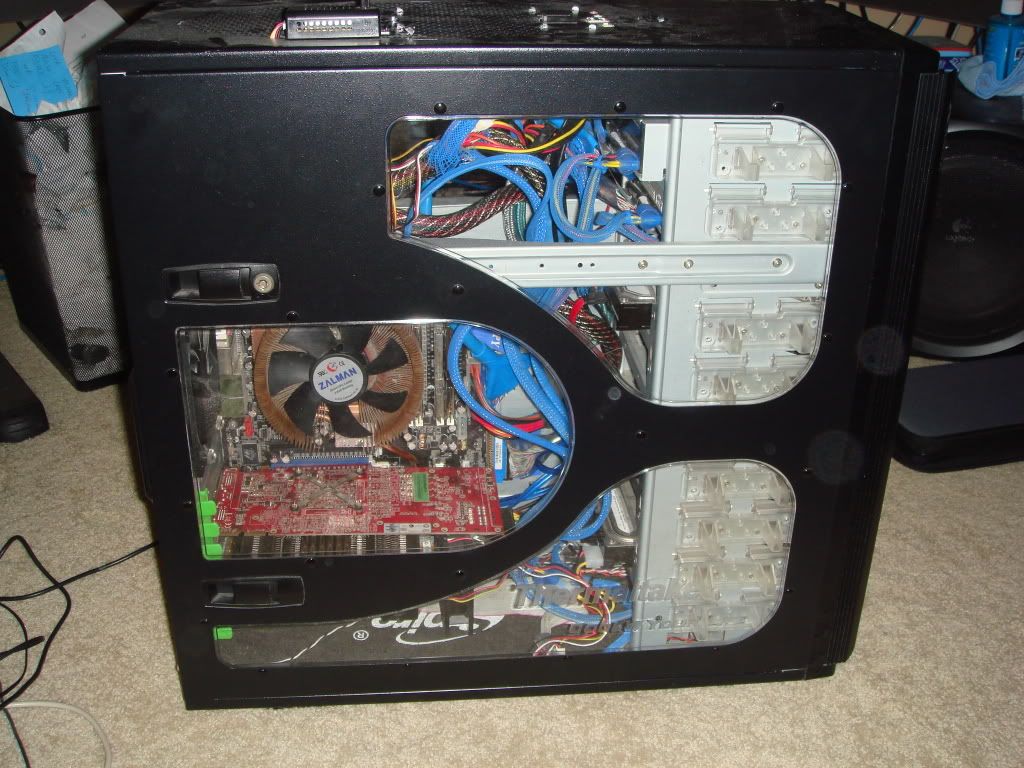
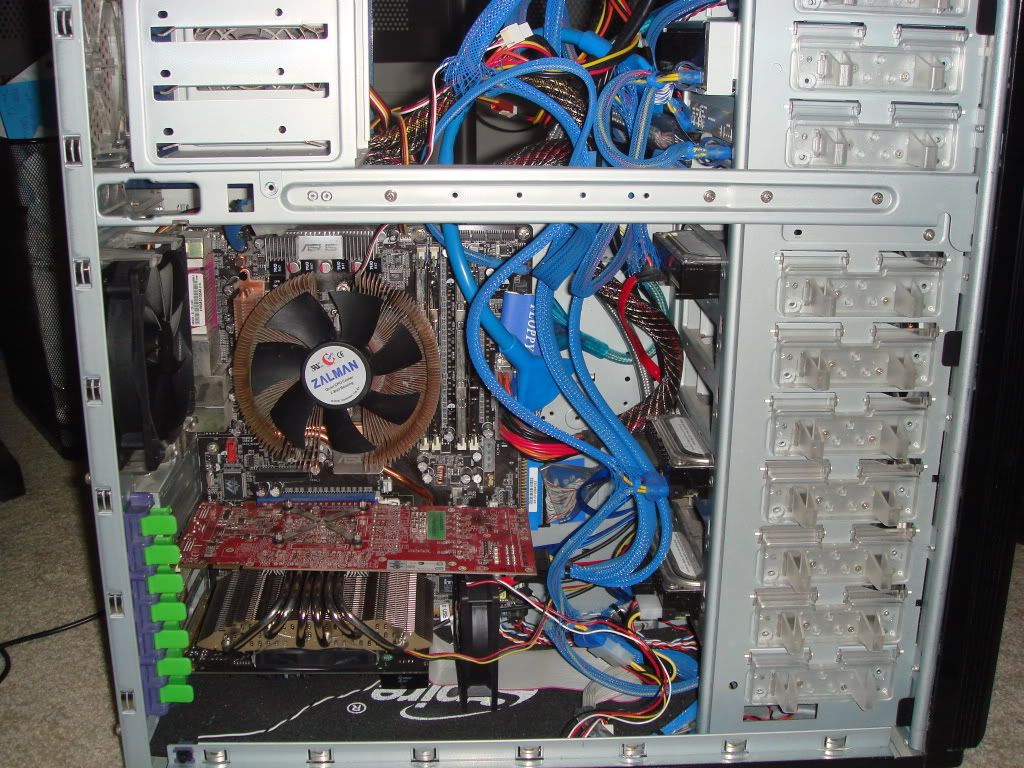
    Case: My old TT armor

    ==============================

    Water-cooling:

    1 x Swiftech GTZ CPU water block with i7 mount
    -1 x XSPC 4870x2 FC water block
    1 x Thermochill PA 120.3
    1 x XSPC RX240
    2 x MCP355 DDC3.2 pumps
    1 x XSPC DDC reservoir top
    1 x XSPC DDC Acrylic top
    1 x Swiftech Micro Res v2
    -1 x Swiftech "Radbox"
    ? x Masterkleer 7/16ID 8/5OD clear tubes

    2 x Killcoil Silver

    ==============================

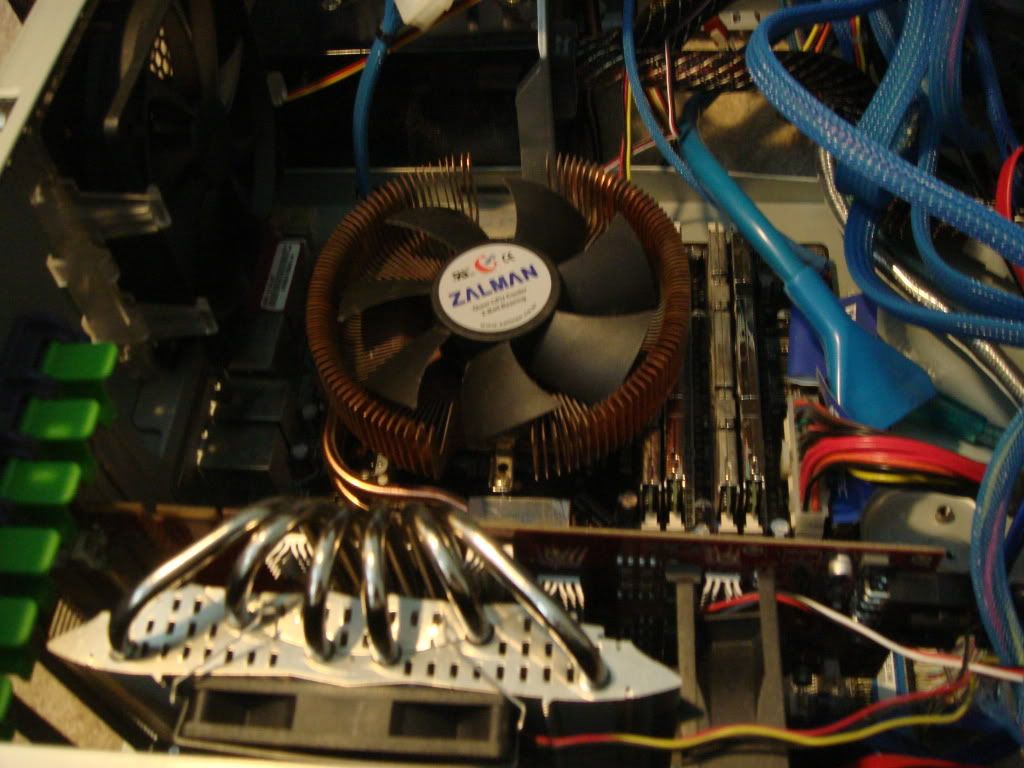
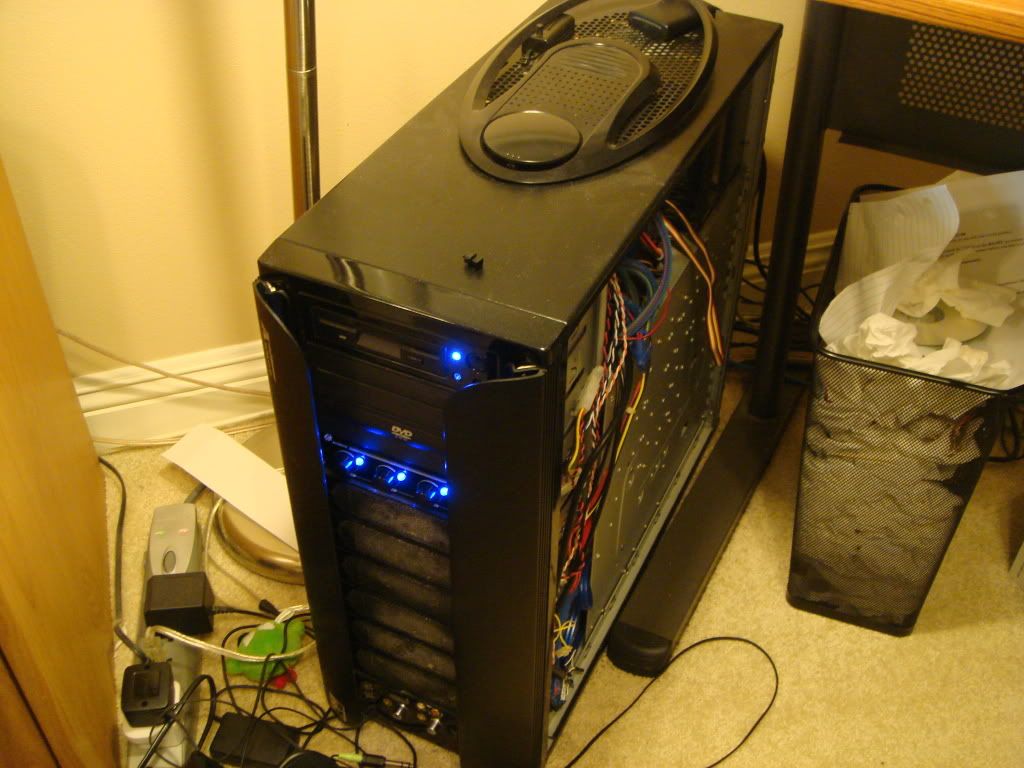
    Case in the past:


    ==============================

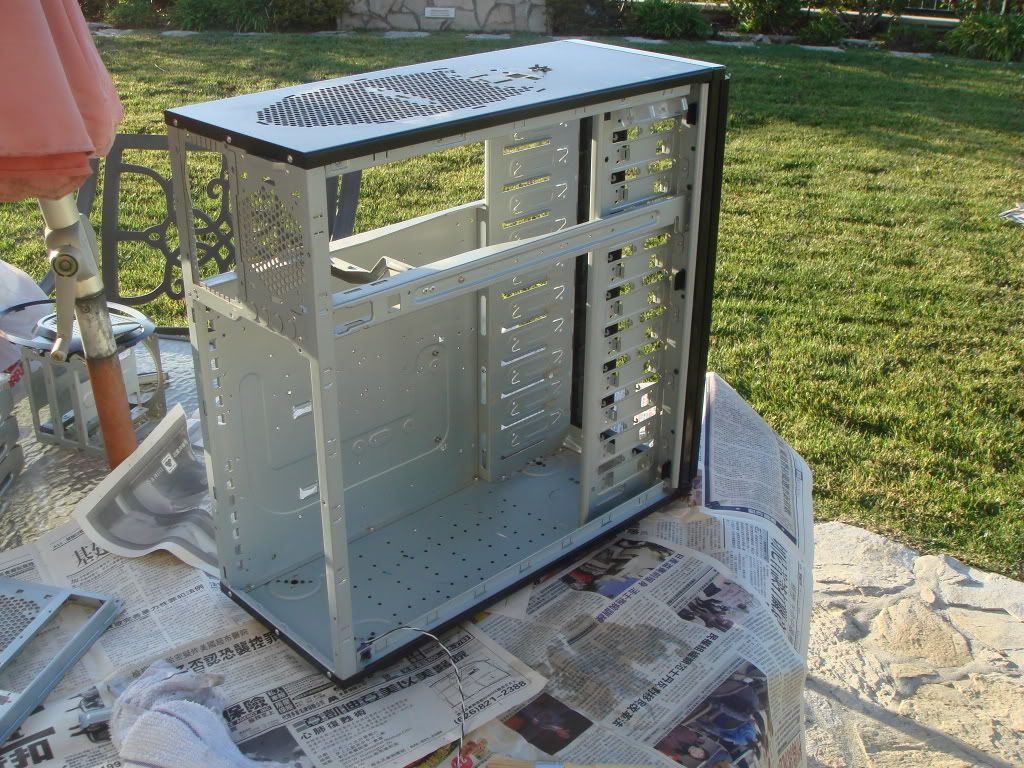
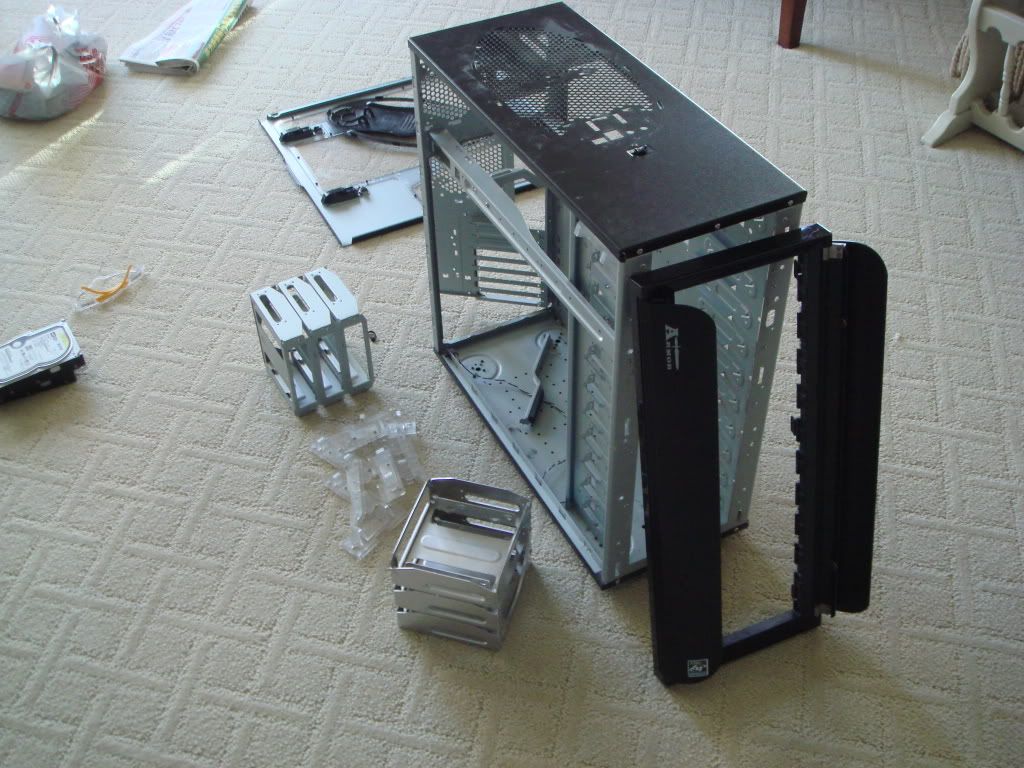
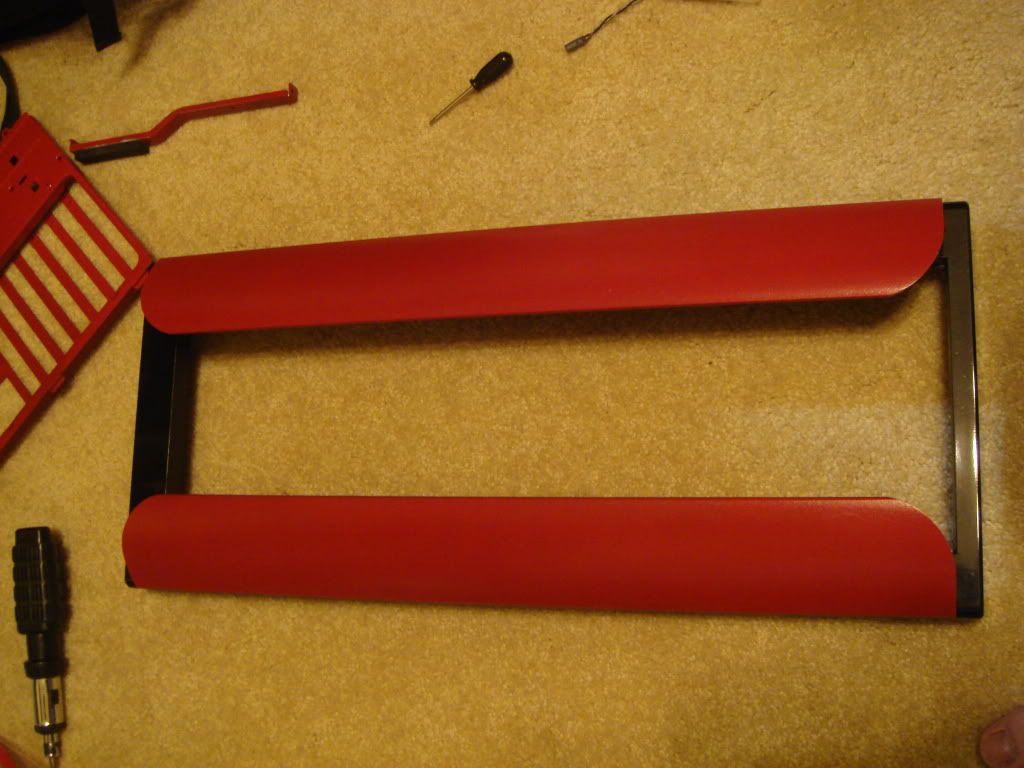
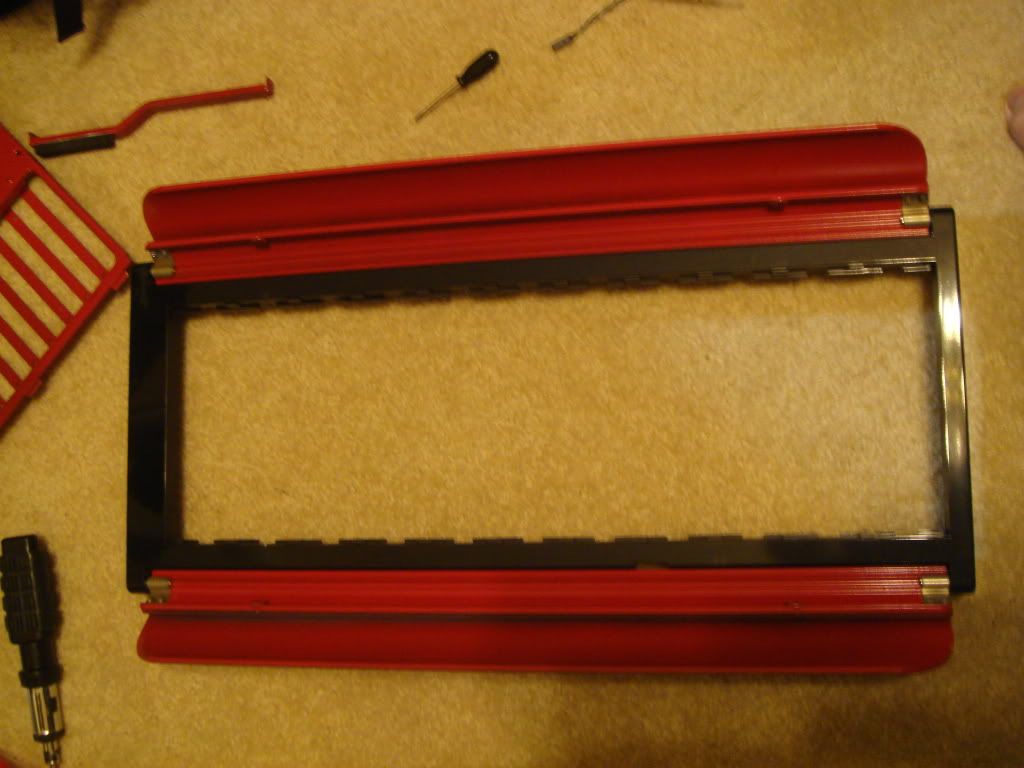
    First thing first, strip the case naked and redress her.


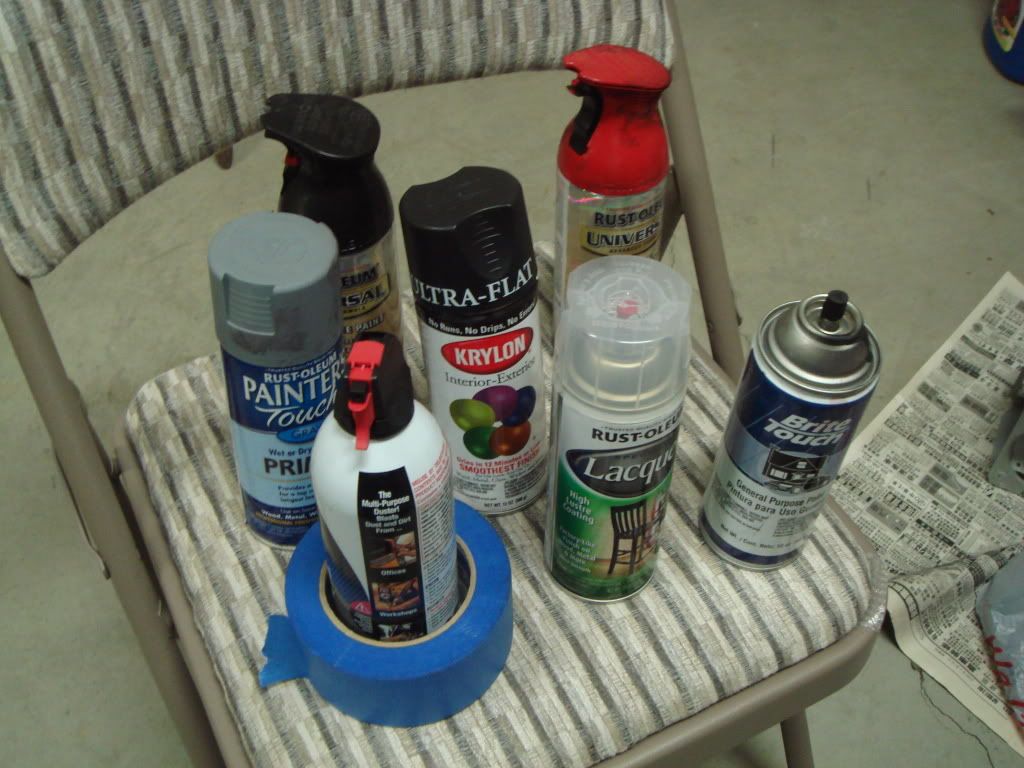
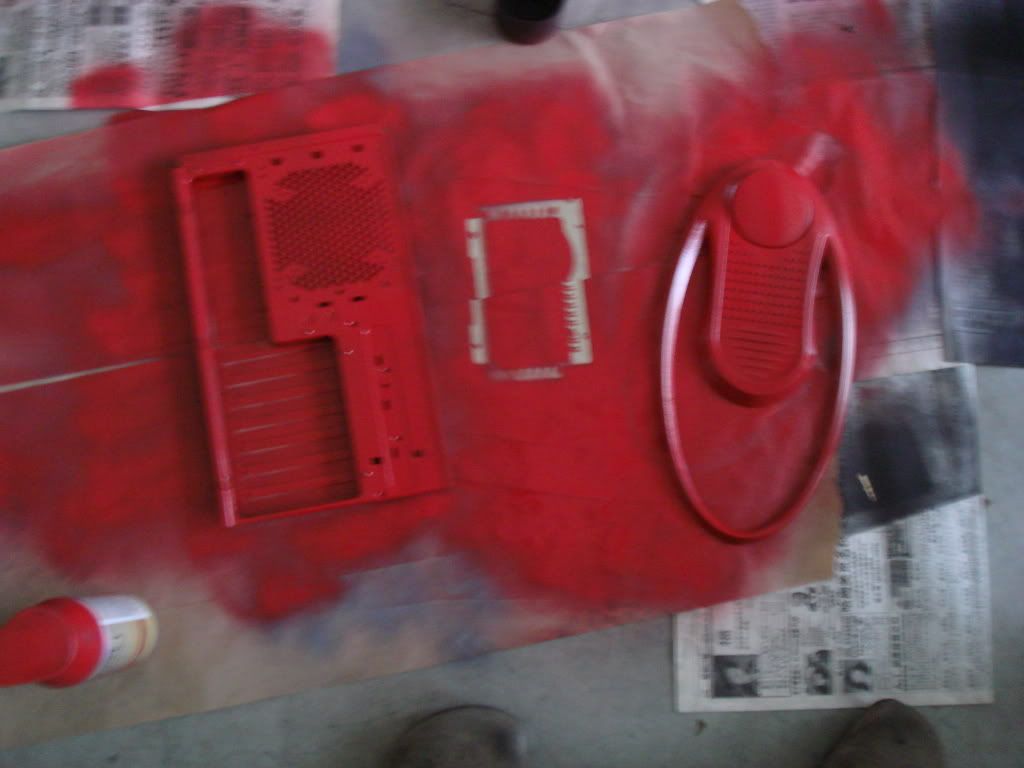
    This is the original materials I used for the paint job, as I progress, I figure I need more paint than I have, so I went out and restock them.
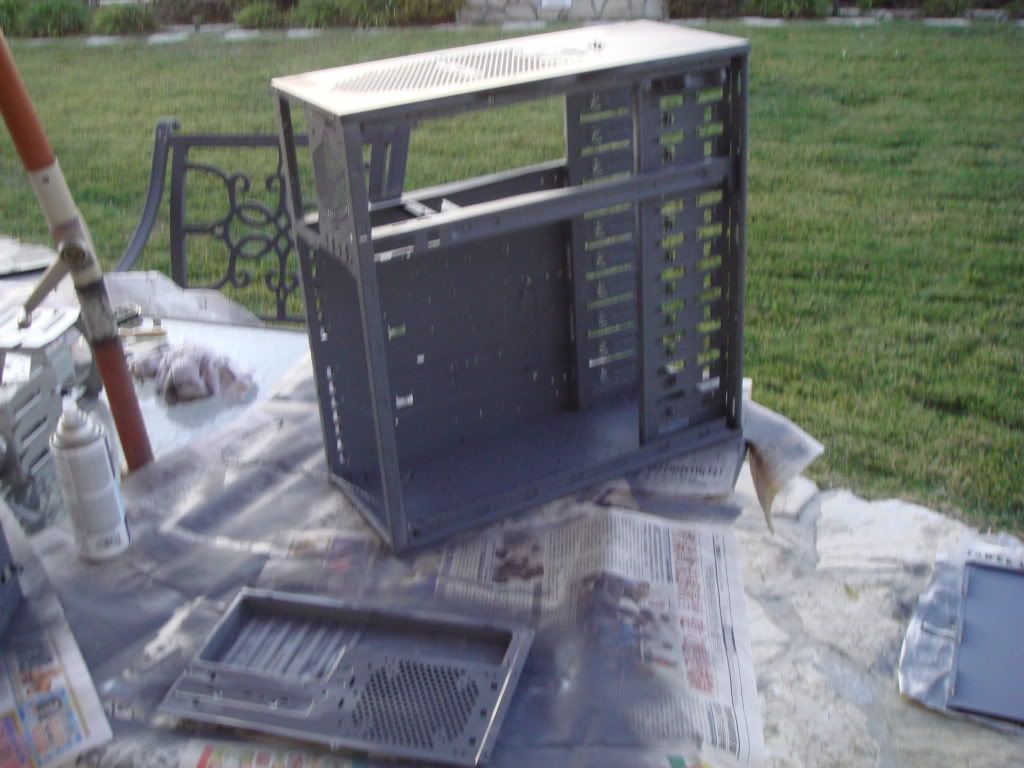
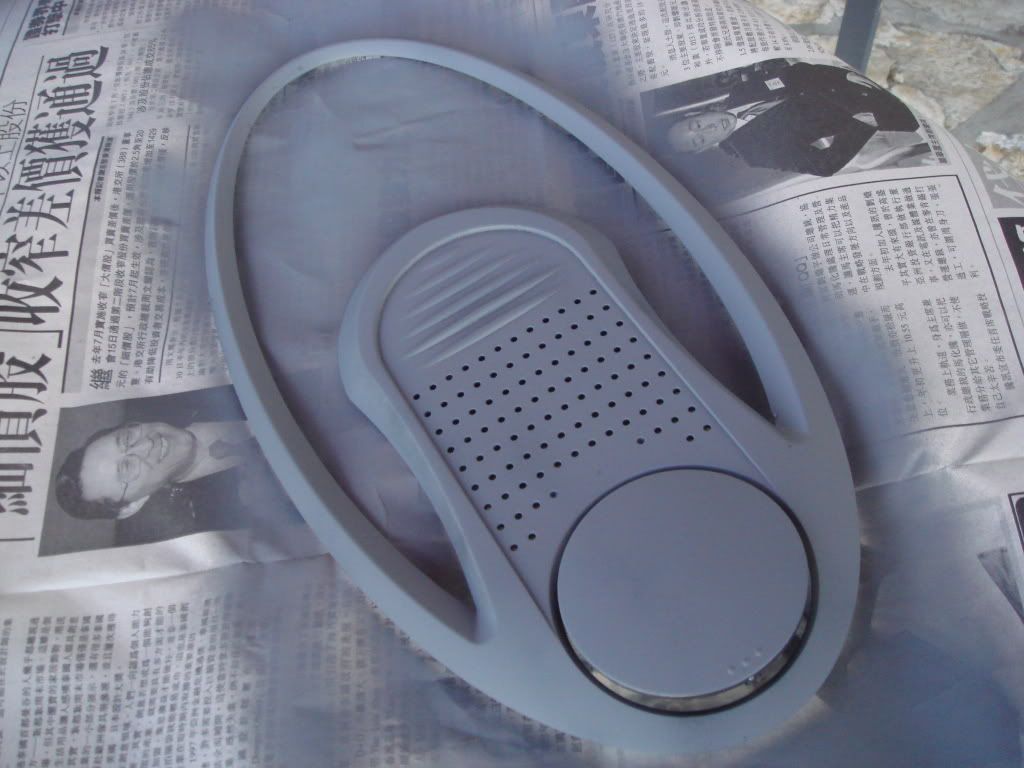
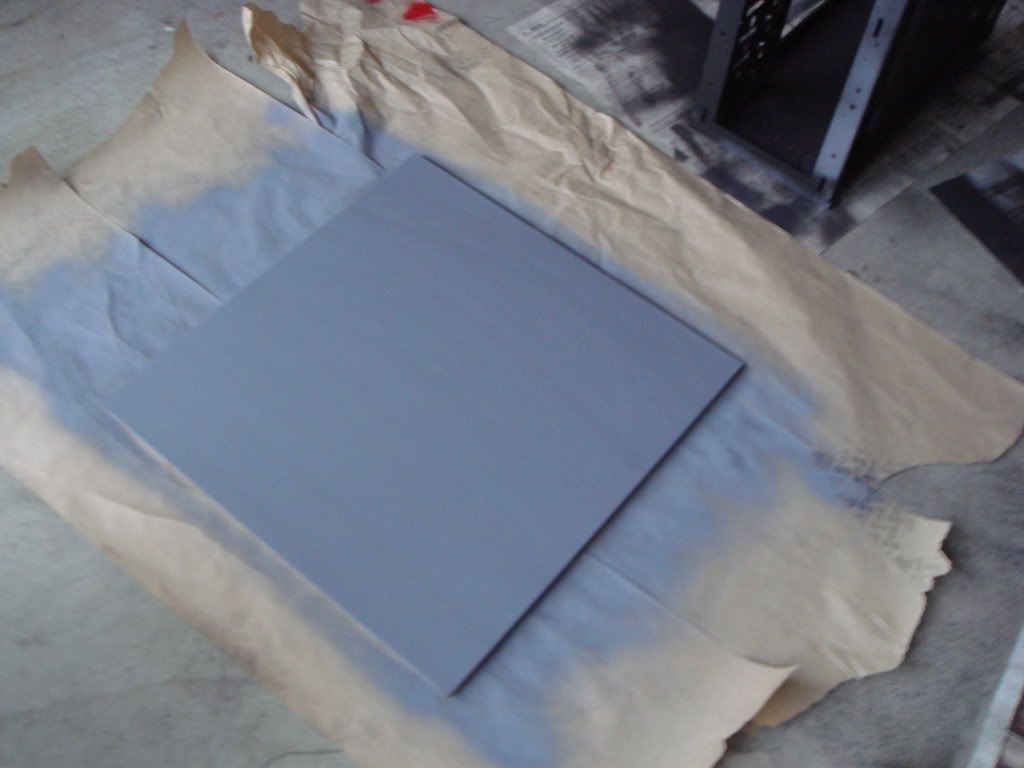
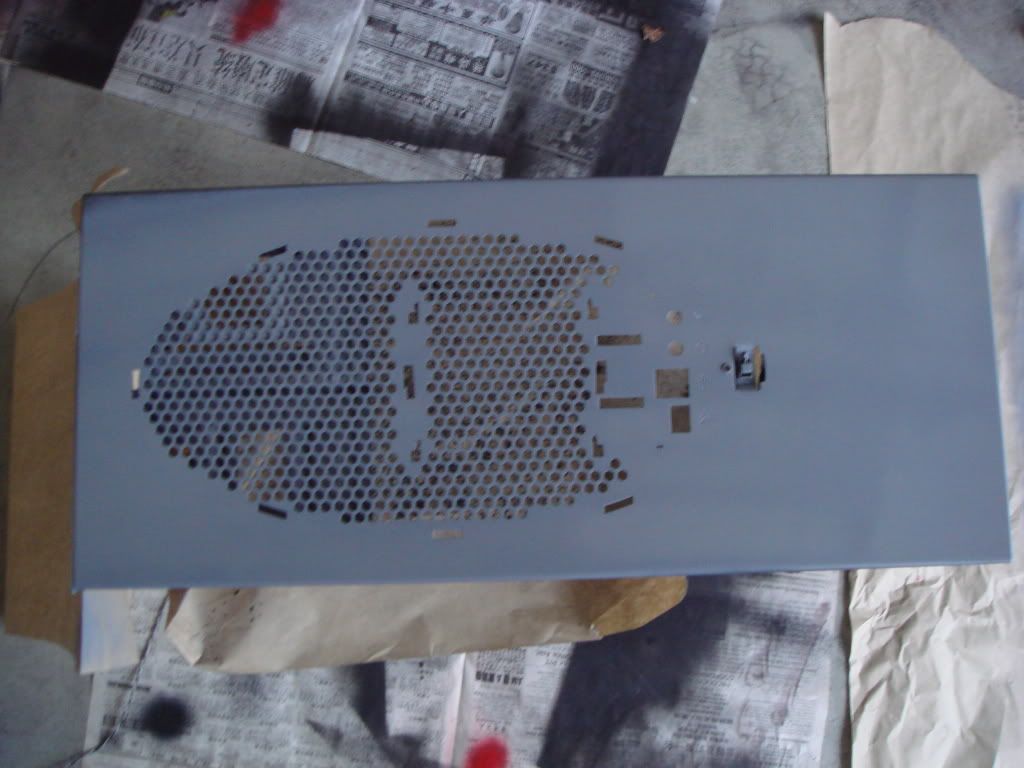
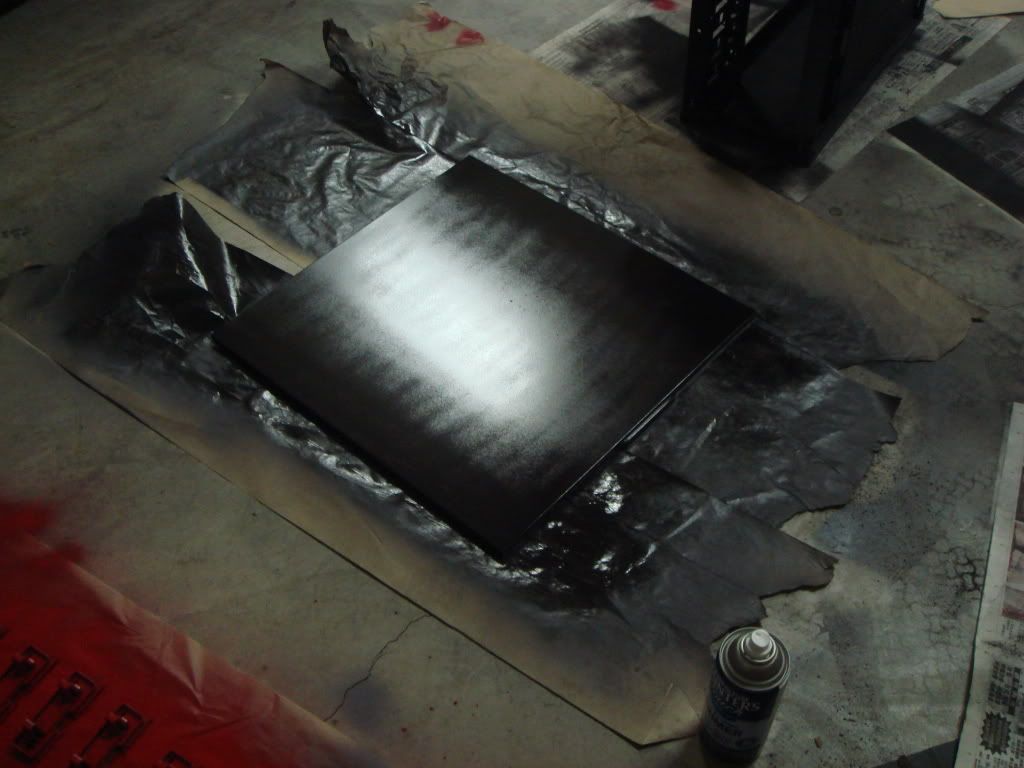
    Primer applied
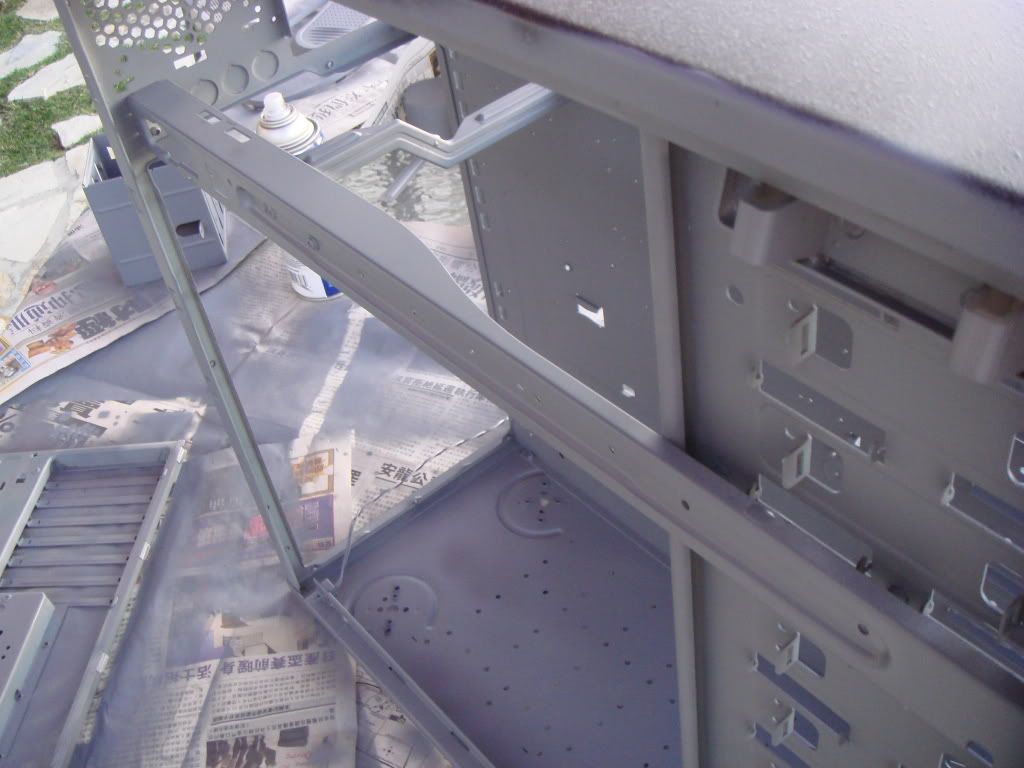


    After a day of drying, I decided to move on. But later found out it takes more time to dry that 24 hours, I will put this into my notebook so I won't make the same mistake again
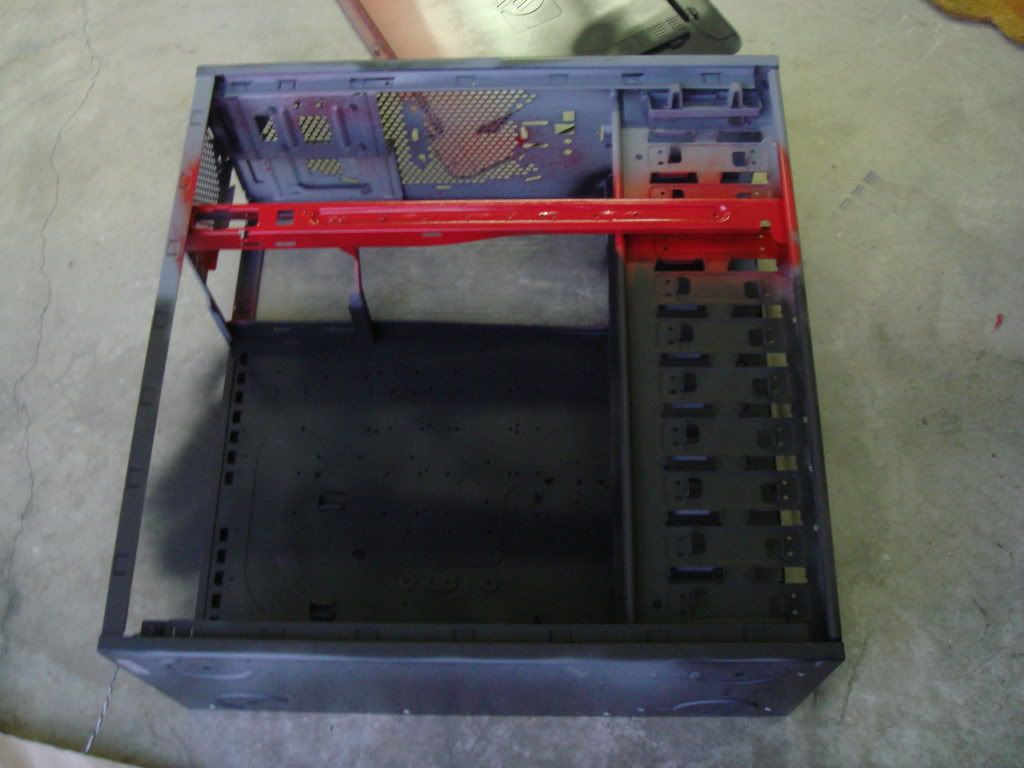
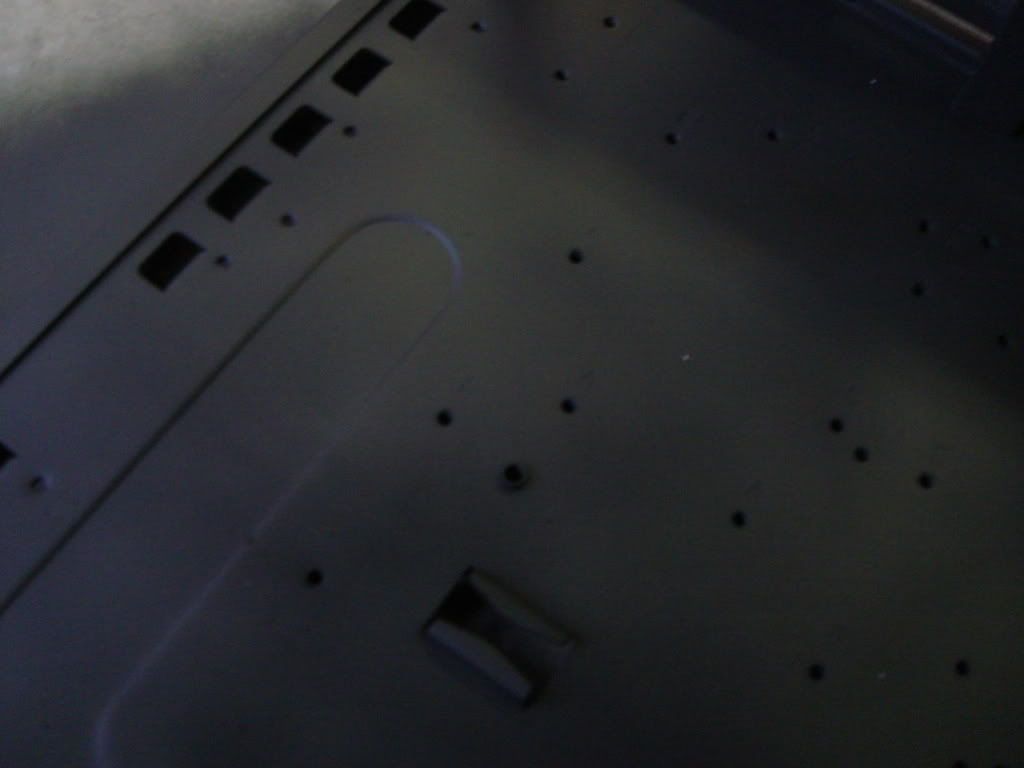


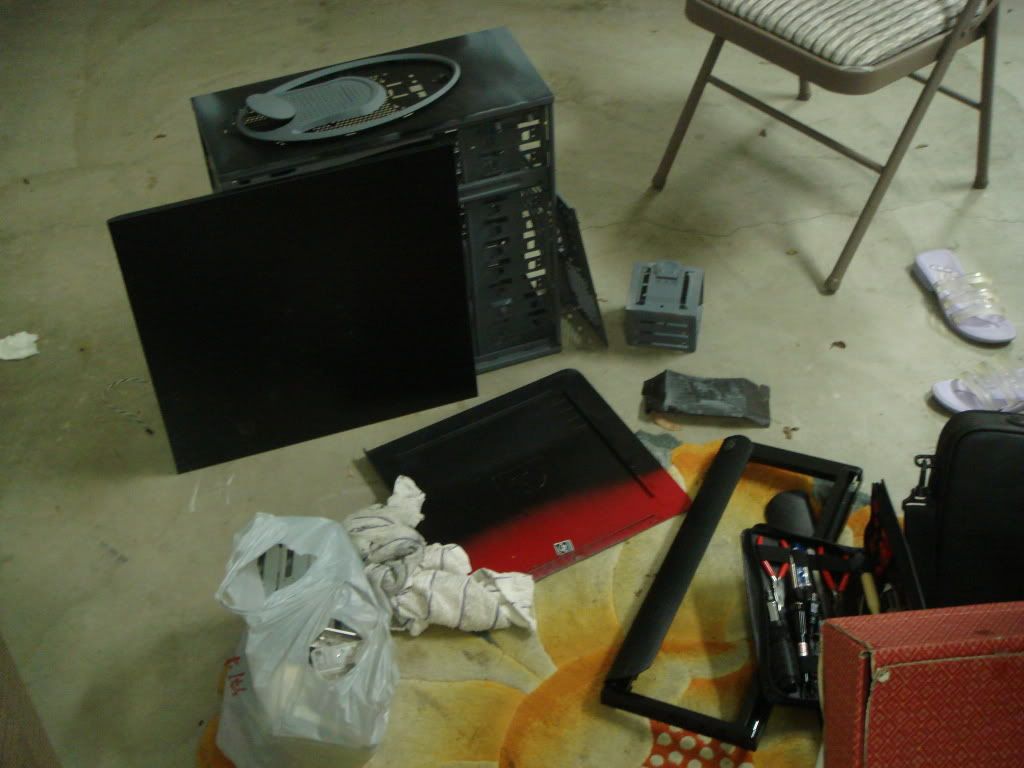
    Doesn't look too good so far .


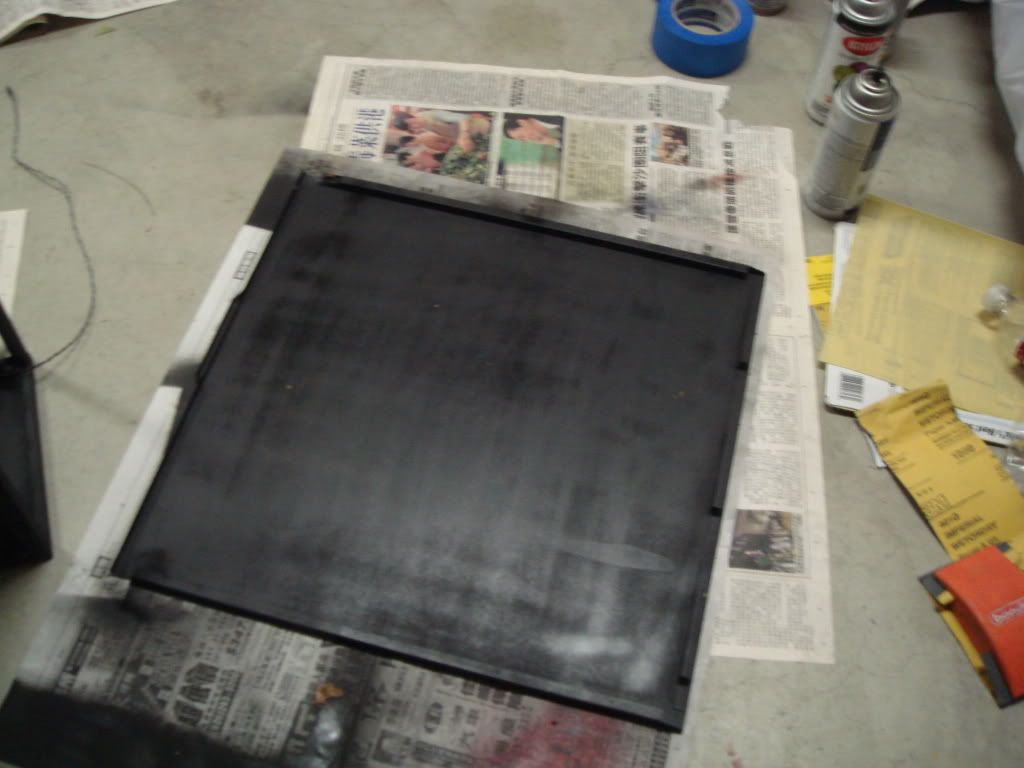
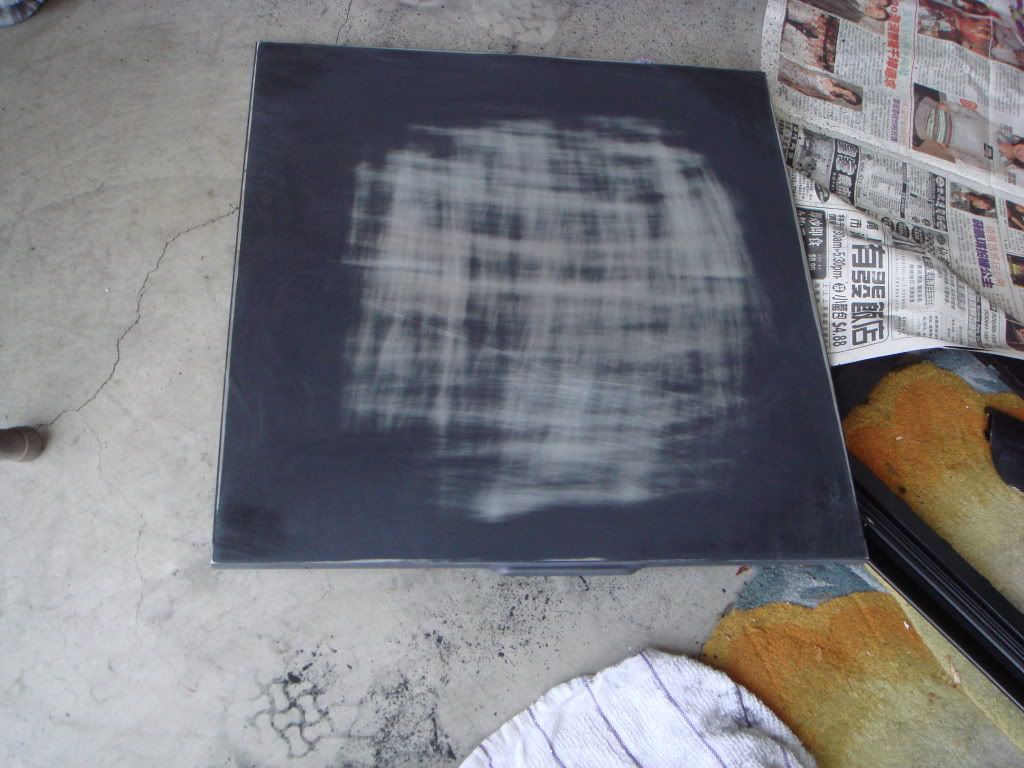
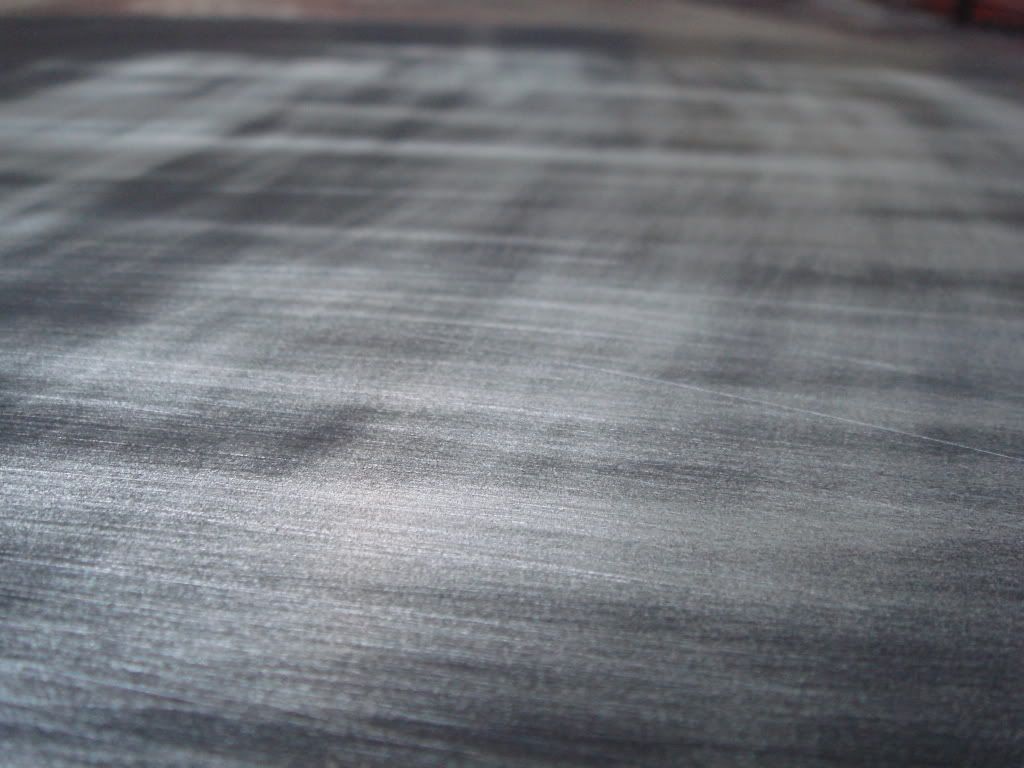
    Big mistake on my sanding part. Again I did not wait until the paint are fully dried before sanding, which the paints ending up sticking on my sand paper, with little pressure results devastation scratches .


    This is the final types of paints I used.


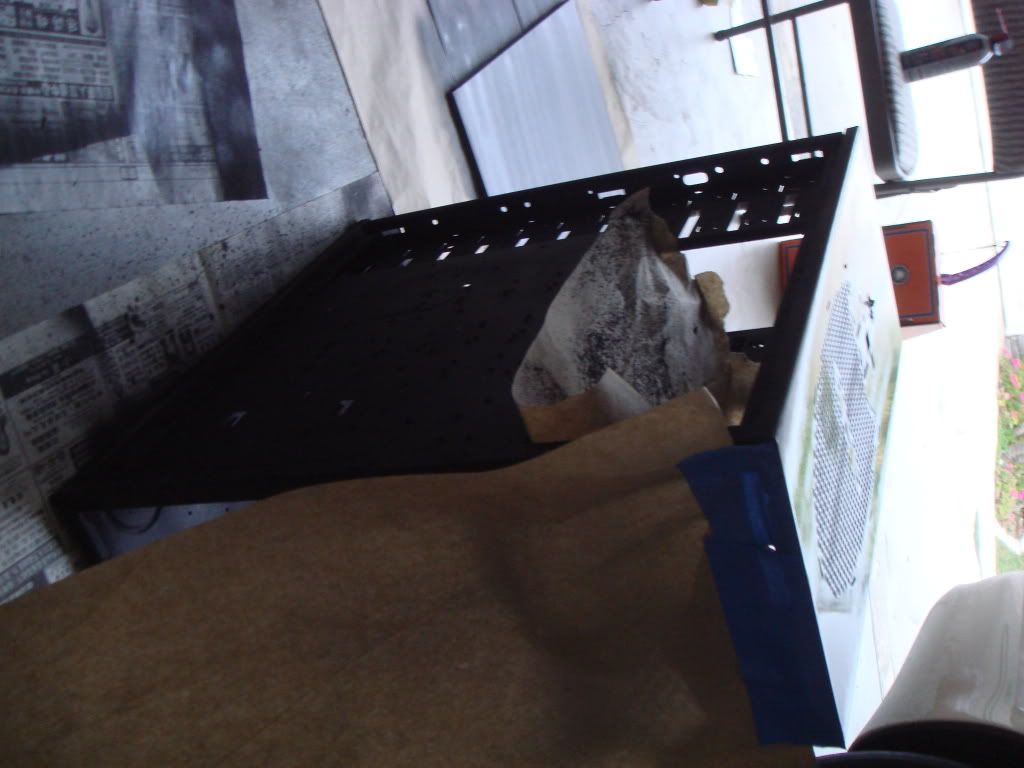
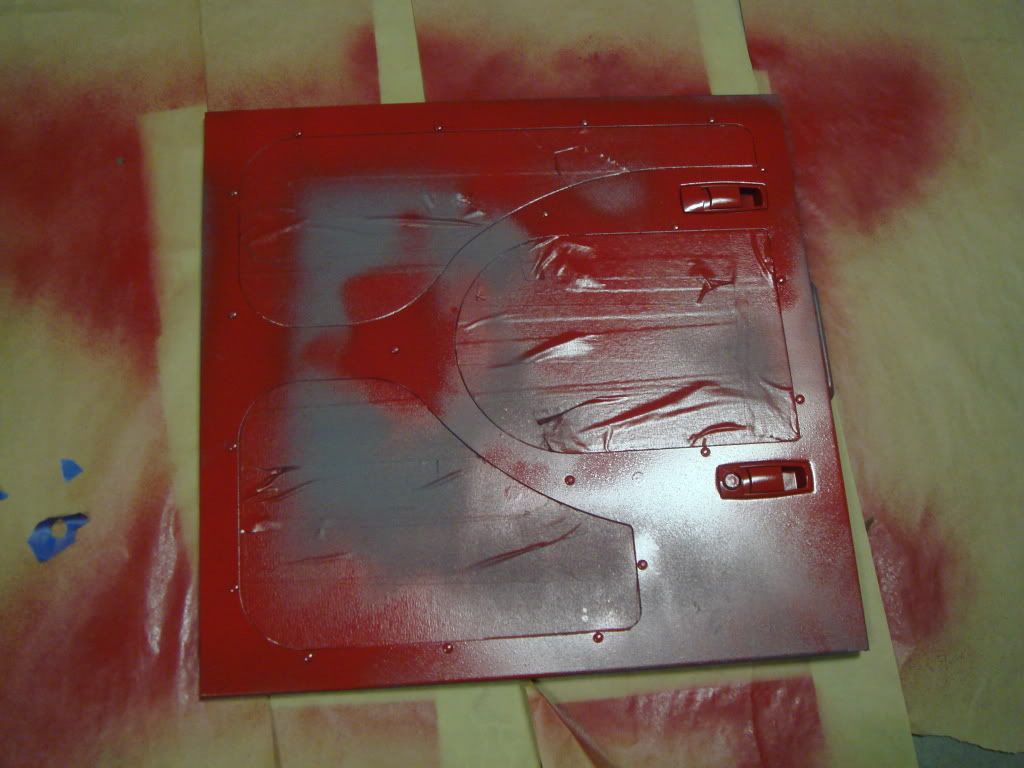
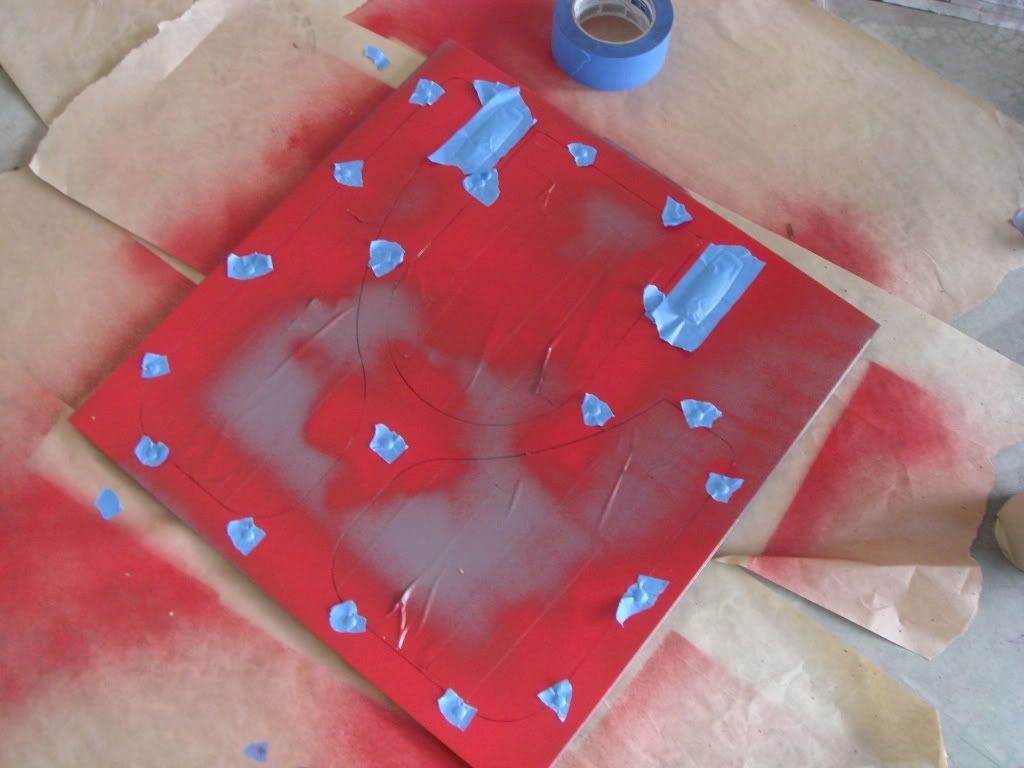
    I went the safe way. Instead of completely removing the rivets and window, I decided to just mask them. Due to my limited skills I do not want to screw up the case.
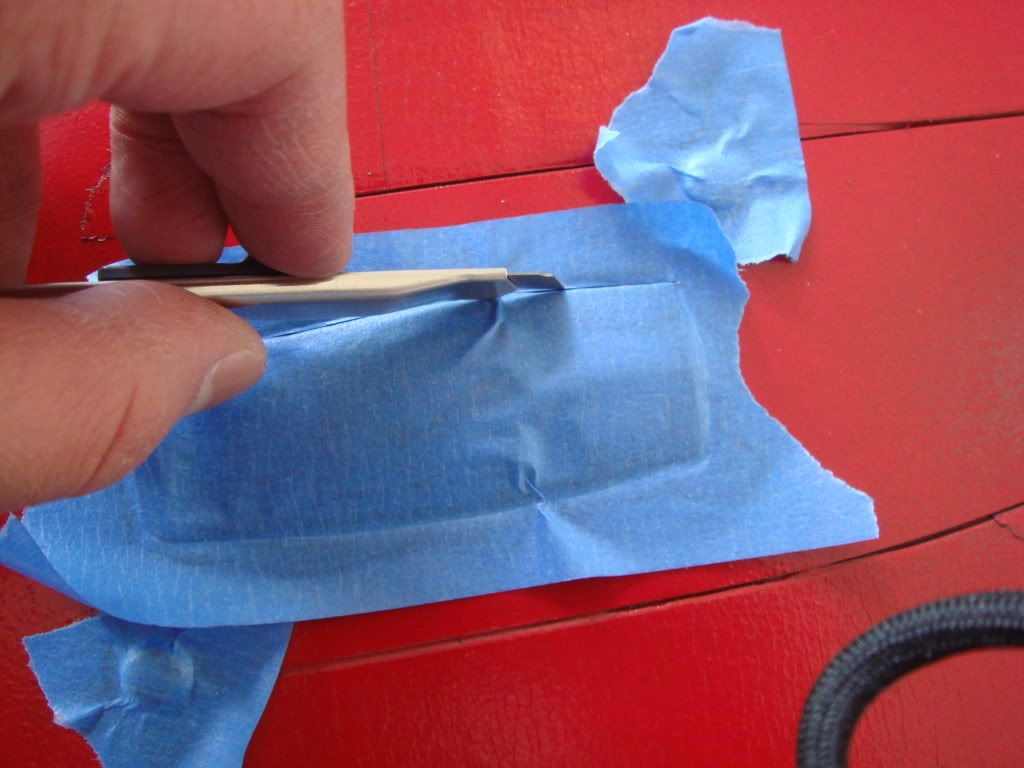
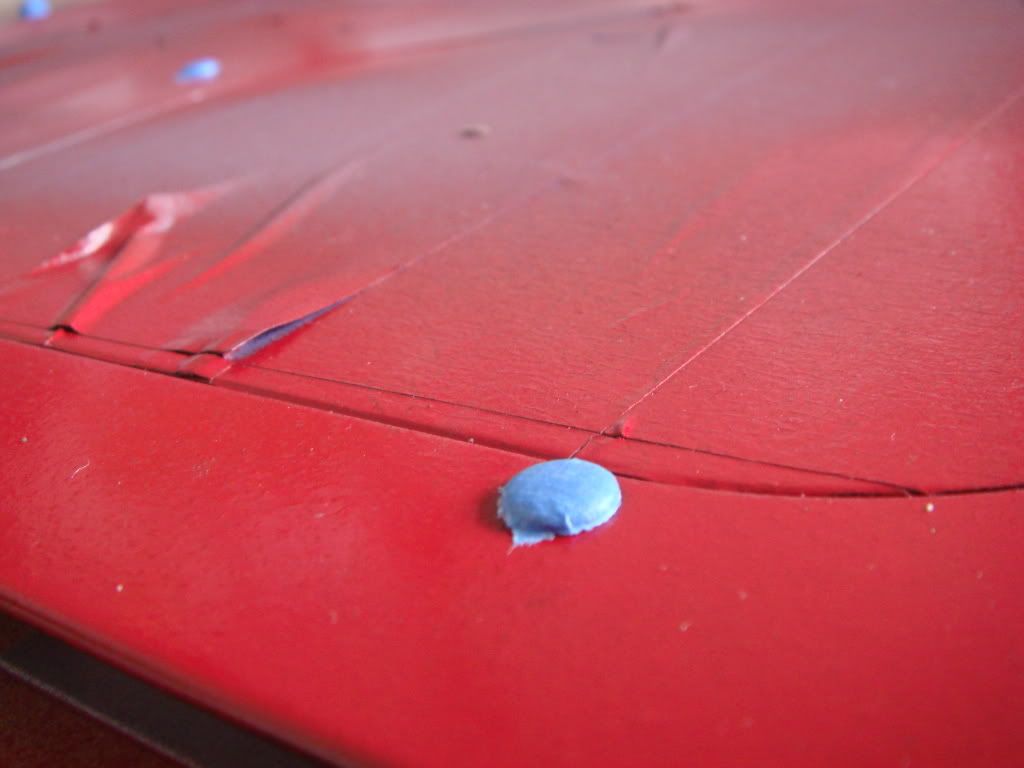
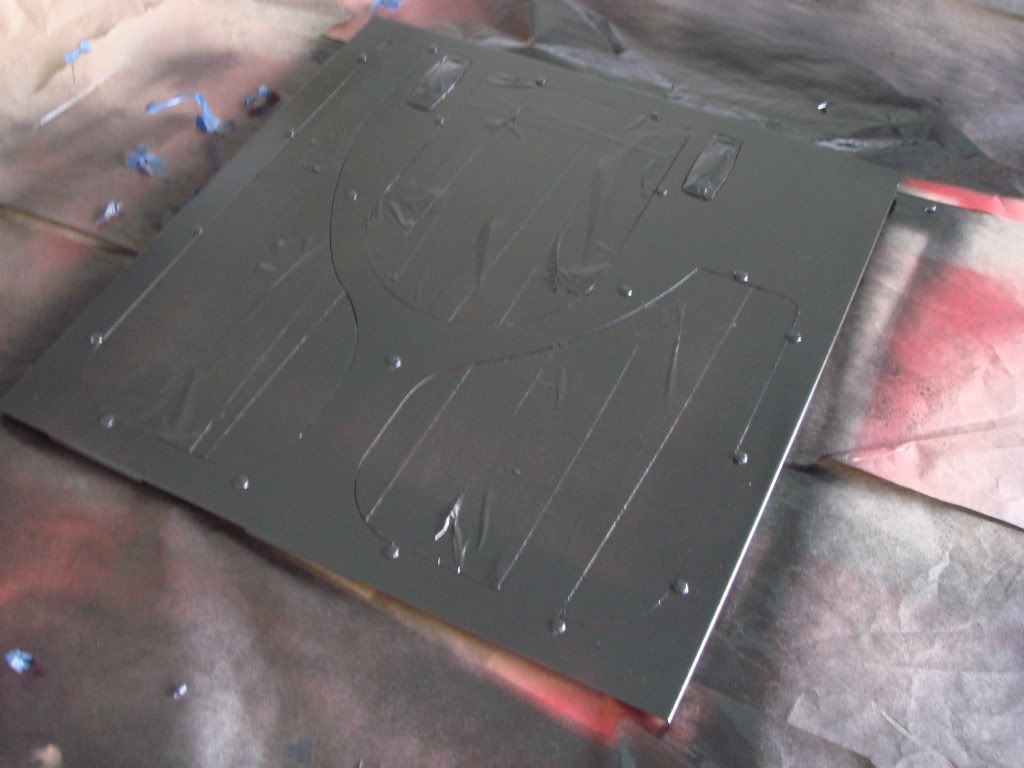


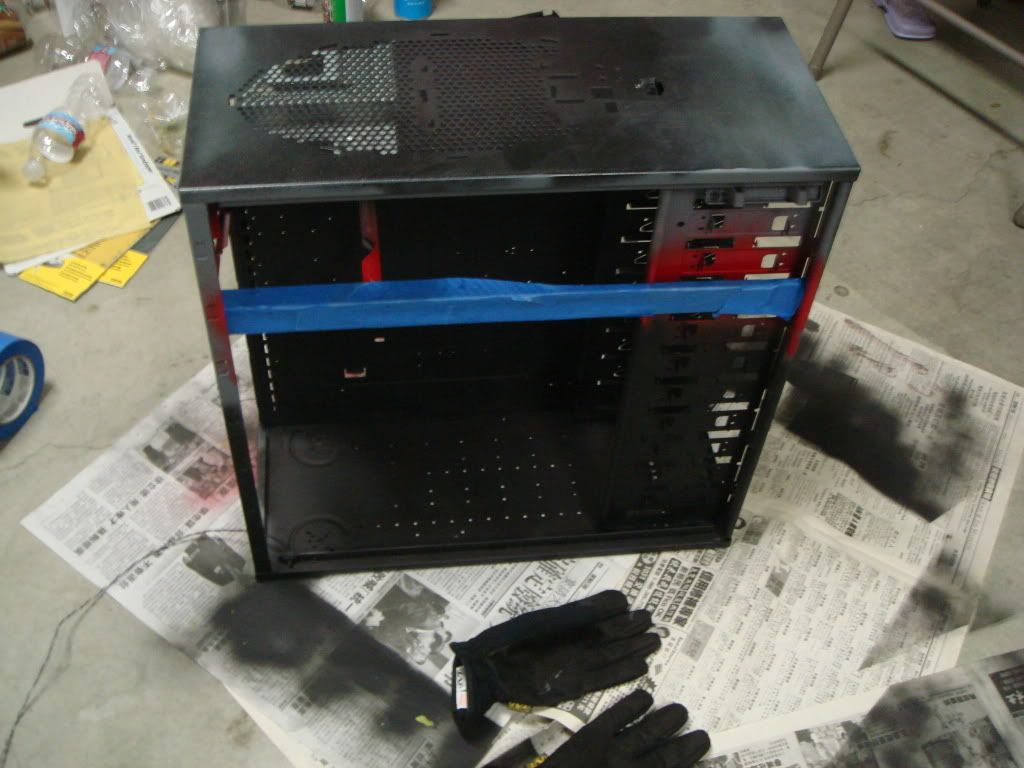
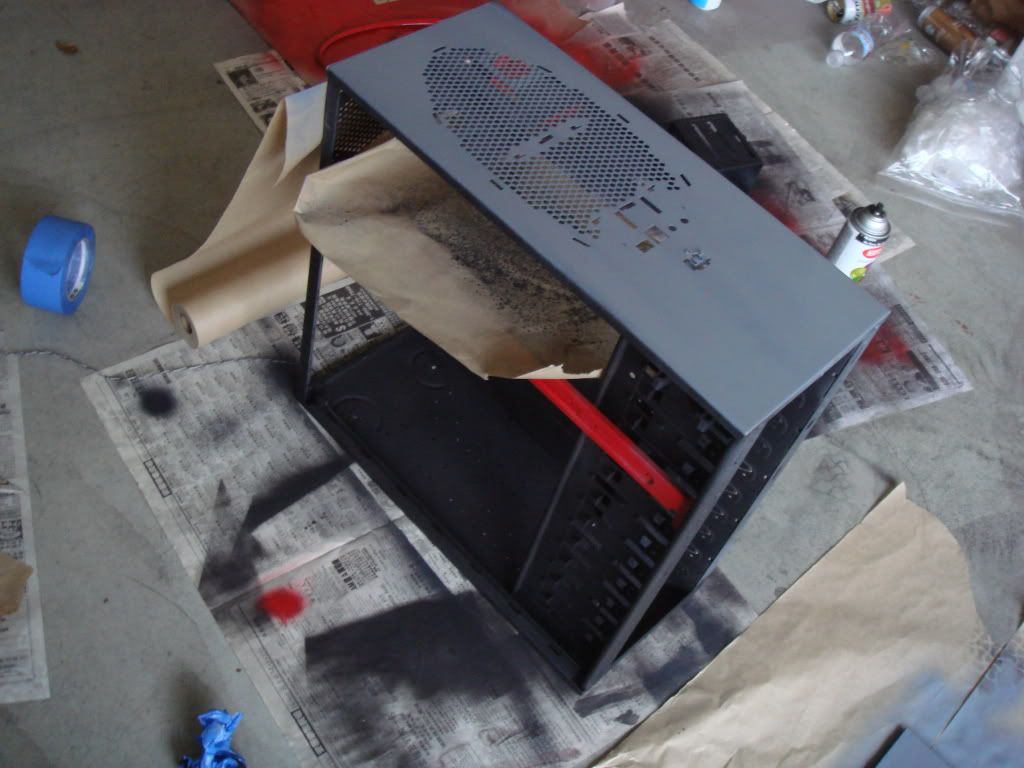
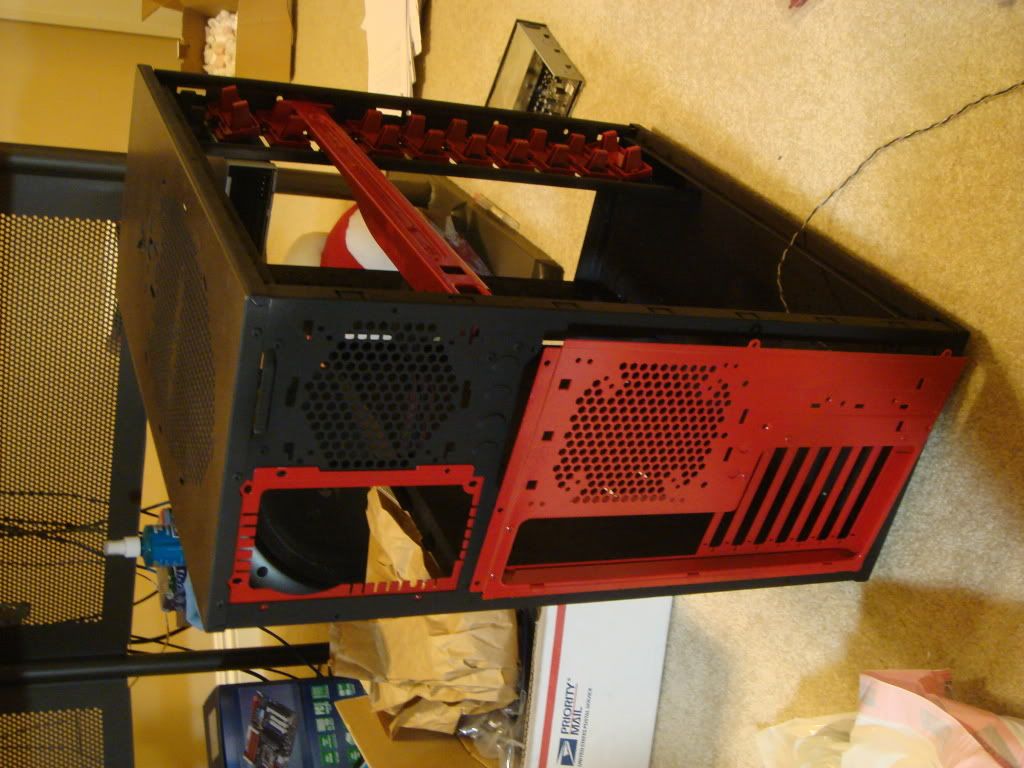
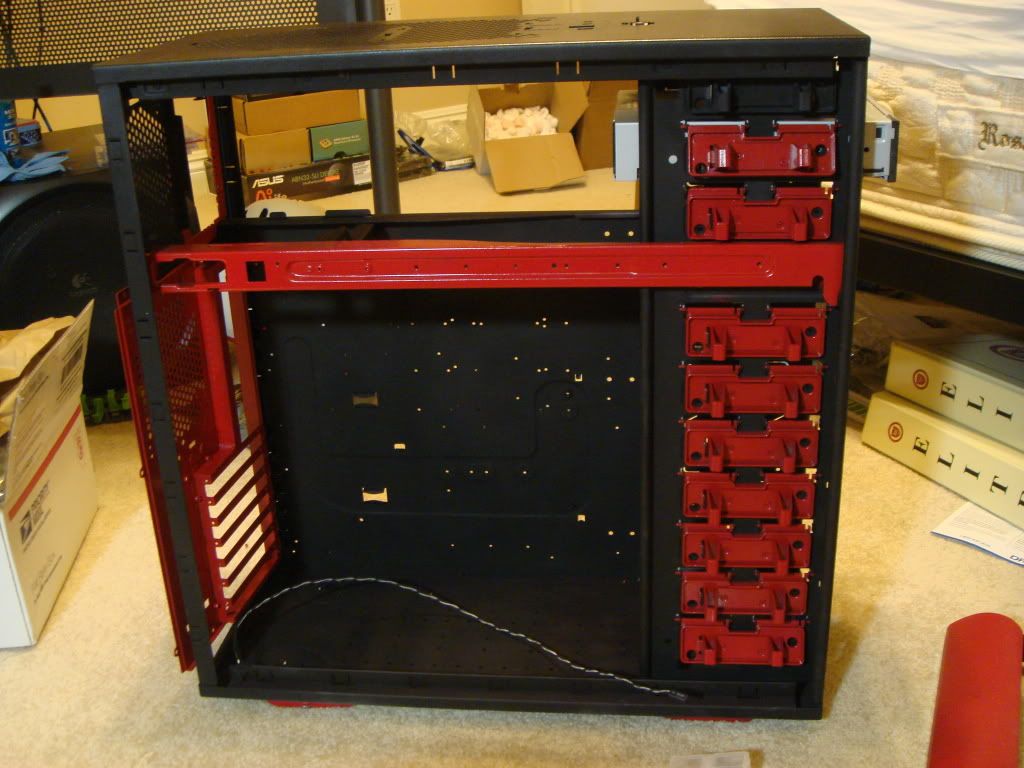
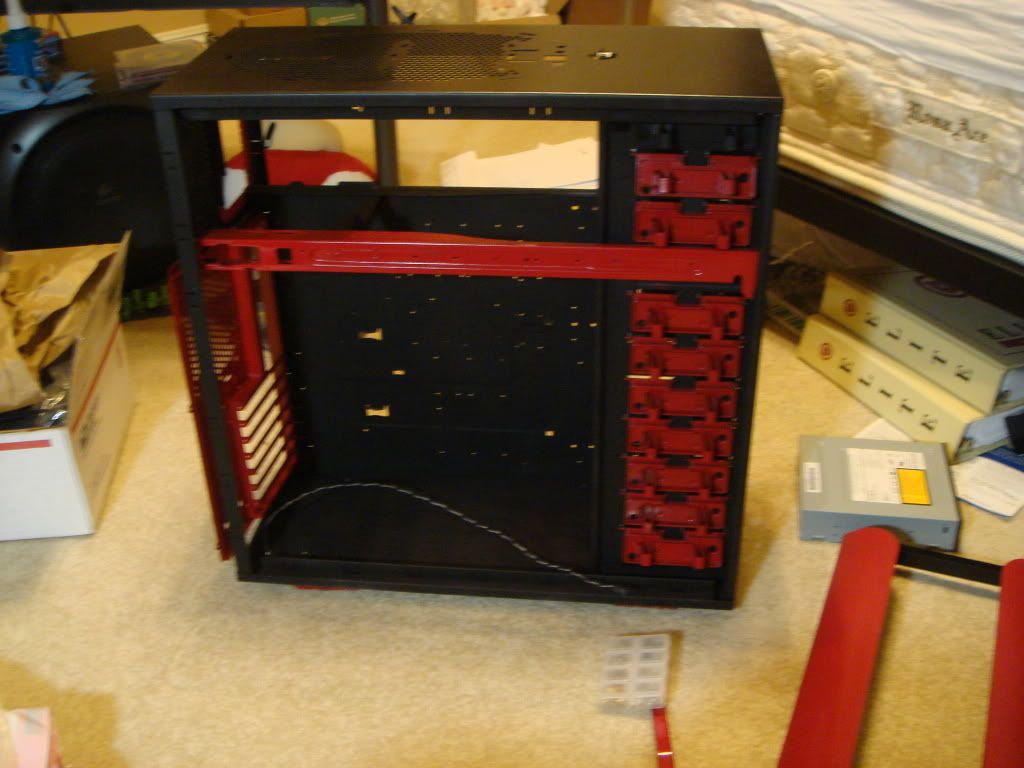
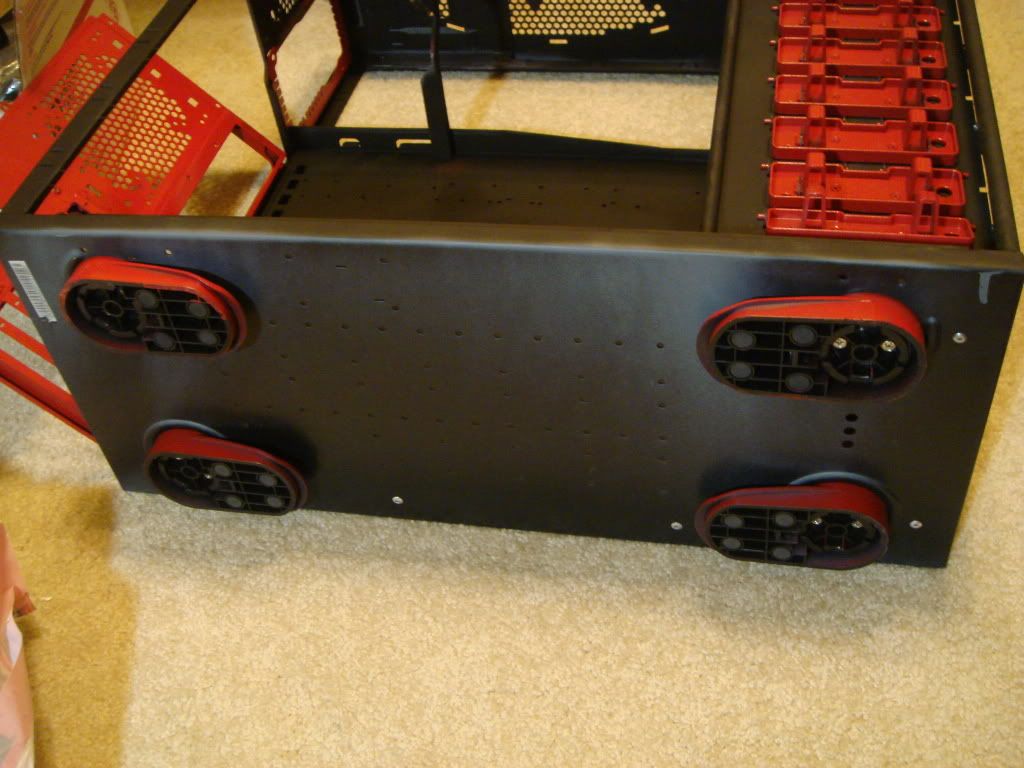
    And this is what I ended up with...
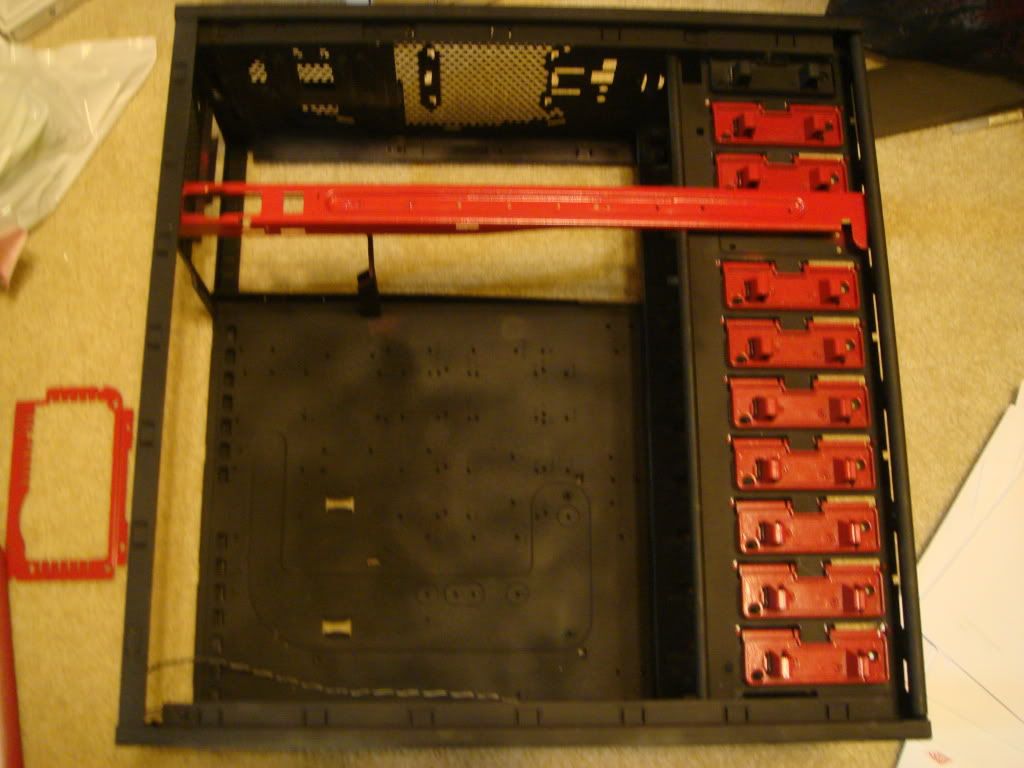


    The motherboard tray area paints are all over the place, due to the limited amount of room to work with, I couldn't perform the full motion of swing my arm and spray evenly over the case. Anyone got suggestion how to get a good paint layer in small areas?
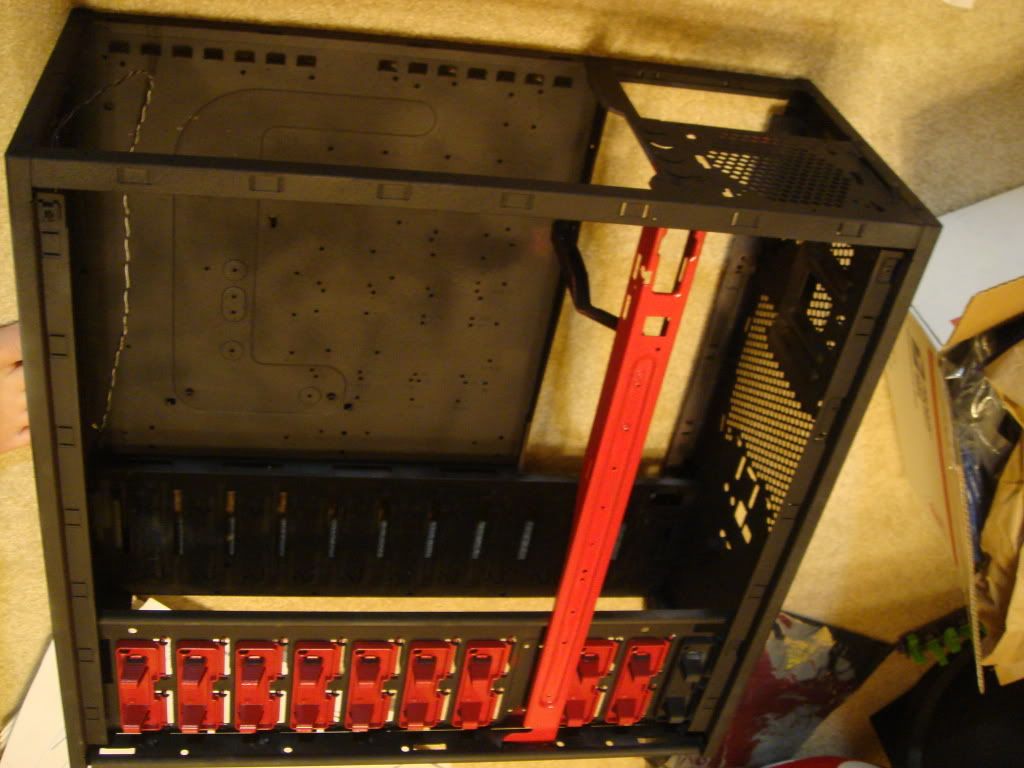
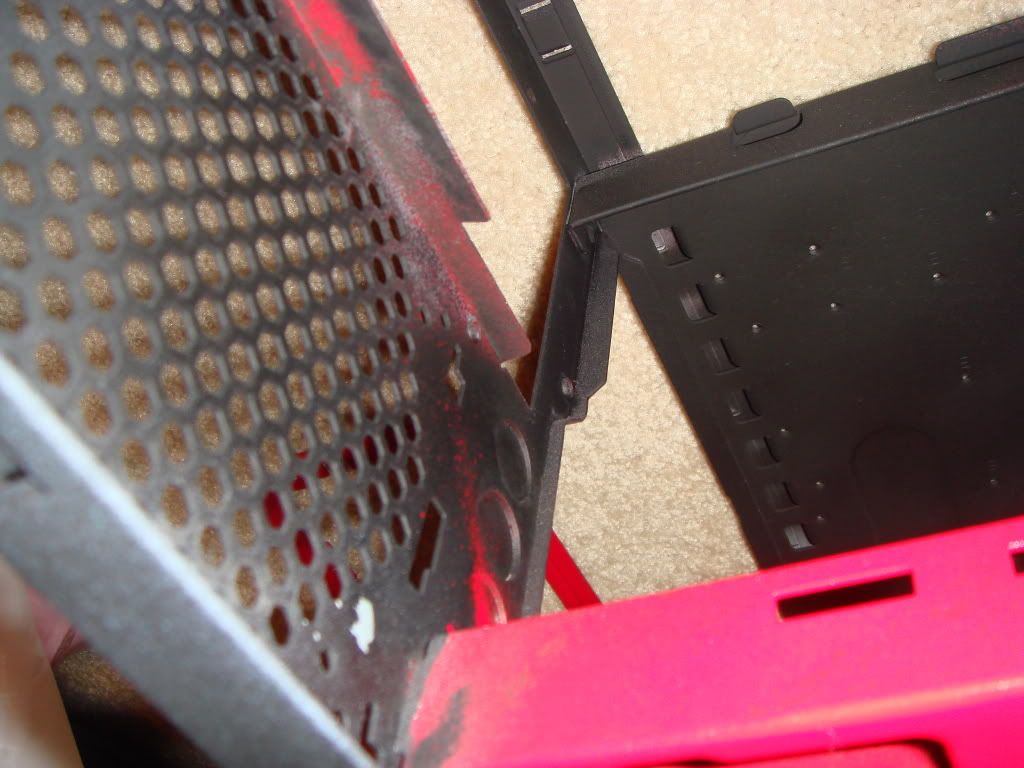


    Silly mistake made by me. Since they most likely won't be visible after the build is finish, I decided to ignore it (will do a better job next time for sure).


    =================================

    I will update once all my main components arrives. Please leave some comments on what I could have done better, or anything related/unrelated.

    Thanks for viewing my log. I hope you enjoyed it.

    PS: how do you link to specific post? It would be nice to know as it would help me add links to updates, thanks!
    Last edited by exe163; 01-28-2009 at 07:28 PM.

  2. #2
    Xtreme Member
    Join Date
    Aug 2007
    Location
    Longview,WA
    Posts
    340
    looks like the foxconn bloodrage would be right at home in there
    -TJ07
    -Core i7 920
    -Rampage II Extreme
    -EVGA 8800 Ultra
    -Corsair Hx1000w
    -Corsair 6GB DDR3-1600 Dominator
    -Intel 80GB SSD gen.2
    -WD 6400AAKS Raid 0


  3. #3
    Xtreme Cruncher
    Join Date
    Jul 2007
    Location
    @ the computer
    Posts
    2,510
    it looks nice so far, although some of the red paint splatters makes it look less professional. great job for a first timer though . did you consider taking all the rivets out so you can paint each piece individually? i also have an armor that i'll be modding once i get enough funds. but for now, i'll be watching your worklog closely. subscribed!
    [SIGPIC][/SIGPIC]

  4. #4
    Registered User
    Join Date
    Dec 2008
    Location
    southeast, UK
    Posts
    27
    for a first time paint job, it's come out far far better than anything i've ever painted :P
    only bit of advice is, maybe go over the drive bay again in black, there's a couple of bits, by the rail that would help support the PSU, that have taken a bit of read spray :<
    i'm really not a fan of the case, but it looks better now. can you give us any hints as to what you're cooling, rads and where they're going, etc?

    also, click the post number to open up the link to a specific post
    [SIGPIC]Lotek[/SIGPIC]

  5. #5
    Xtreme Member
    Join Date
    Jun 2007
    Location
    Bloomington, IN
    Posts
    208
    Doesn't look too bad for a start. For the best paint results you always want to have multiple layers and wet sand in between each layer.

  6. #6
    Xtreme Enthusiast
    Join Date
    Nov 2008
    Location
    CA,USA
    Posts
    575
    Quote Originally Posted by lotek View Post
    for a first time paint job, it's come out far far better than anything i've ever painted :P
    only bit of advice is, maybe go over the drive bay again in black, there's a couple of bits, by the rail that would help support the PSU, that have taken a bit of read spray :<
    i'm really not a fan of the case, but it looks better now. can you give us any hints as to what you're cooling, rads and where they're going, etc?

    also, click the post number to open up the link to a specific post
    Yes, I screwed up trying to fix the red paint on the bar. It's very shameful forgetting to mask the PSU supporting rail. The paint I used for the case body is all used up, and I am kind of broke to get some more. I have another flat black can that is a bit darker I doubt it will look any better with them. Sadly I have to just leave it as it is . Painting the drive bay ocvers sounds like a good idea, but due to lack of budge and my paints doesn't like plastic that much, I don't think it will come out nicely.

    Quote Originally Posted by WhiteFireDragon View Post
    it looks nice so far, although some of the red paint splatters makes it look less professional. great job for a first timer though . did you consider taking all the rivets out so you can paint each piece individually? i also have an armor that i'll be modding once i get enough funds. but for now, i'll be watching your worklog closely. subscribed!
    Haha it seems you have hunted down every armor threads out there just like I did. Also take a look at OCN, they have some very professional armor mods also. I did not take out the rivets, I did attempt to do so using a low rpm drill, and it didn't move a bit. Thinking about how many there are, and the trouble of reassembling the case, I decided to paint it as it is, which is a very bad idea . I highly suggest you to drill them all out and paint each part individually, it would save a lot of trouble in the painting part.

    Quote Originally Posted by The[R]eaper View Post
    looks like the foxconn bloodrage would be right at home in there
    I did notice the bloodrage board, but I am a impatient man . I had very good experience with Asus boards (A8N32), and base on spec and layout P6T is superior to the bloodrage. Plus the bloodrage will cost more and comes with X-Fi card I already have (X-Fi cards comes with mobo doesn't not base on Creative X-Fi chip iirc).

    Thanks for the comments
    Last edited by exe163; 12-10-2008 at 06:06 PM.

  7. #7
    Xtreme Enthusiast
    Join Date
    Nov 2008
    Location
    CA,USA
    Posts
    575
    Quote Originally Posted by rocket733 View Post
    Doesn't look too bad for a start. For the best paint results you always want to have multiple layers and wet sand in between each layer.
    Thanks for the tip, I will keep that in mind for my next project. As for this one, I think will leave it as it is and use it as a reminder. How many grit of sand paper do you prefer on primer, paint, and clear coat? Also how many layer each?

  8. #8
    Xtreme Addict
    Join Date
    Apr 2008
    Location
    Ottawa, Canada
    Posts
    2,443
    Good job for your first time. Keep it up! I remember my first time....Let's just say I would rather forget about it... I screwed up royally! But practice makes perfect and you have to admit, it is a very addictive hobby!

  9. #9
    Xtreme Enthusiast
    Join Date
    Sep 2008
    Location
    Down the rabbit hole
    Posts
    552
    EEK! Thermaltake Just kidding. I've got an armor also (recently switched to a LiLi 343 but that's a work in progress). Be careful, there's not really any decent way to hide cables in that thing...
    Ba da dum dum dum.

  10. #10
    Xtreme Cruncher
    Join Date
    Jul 2007
    Location
    @ the computer
    Posts
    2,510
    Quote Originally Posted by FrostyPanda View Post
    Be careful, there's not really any decent way to hide cables in that thing...
    true, and i know this very well. it took me so long to plan out the wire management. it's almost impossible to hide wires without making a few cuts. exe163, i don't want to thread jack or anything, but here's a few pics from my armor before and after some cuts just to give you an idea what i had to do for wire managements. i though you really should have made all your cuts first before you paint it so that you don't scratch the new paint job.

    before cuts:


    after cuts:
    Last edited by WhiteFireDragon; 12-10-2008 at 06:52 PM.
    [SIGPIC][/SIGPIC]

  11. #11
    Xtreme Enthusiast
    Join Date
    Nov 2008
    Location
    CA,USA
    Posts
    575
    Thanks for the support guys, they mean a lot to me.

    I hope I read your reply before I start dremeling. My hole positions are slightly different than yours, but the cuts where not as clean as the CPU box you got there.

    Any news on the Bloodrage? The more I look at it, the better it looks!. If it will release soon I might consider sell/RMA my P6T.

    Here's a small update:


    =======================================


    Do you think I should paint the slot covers black instead of this light red? I can also paint it the red on my case. Give me some opinions please.


    =======================================


    These brown blades are jokes, I hit the case by accident when pulling the dremel out and it cracks into two .


    I did use the fat sanding wheel to smooth out the cuts, but I will add a protective layer I got from PPC. If that doesn't work I will let electric tapes do the job.


    Sorry about the pix quality, I was tire after cutting for an hour or so.

    Hope you enjoyed them . (I sure did )

  12. #12
    Xtreme Cruncher
    Join Date
    Jul 2007
    Location
    @ the computer
    Posts
    2,510
    an hour of cutting only? it took me about 6 hours (not in one sitting of course), but i had a weak cheesy dremel that i had to recharge every 10 min. i also wore down/broke about 8 cutting bits. yeah i know, it's a bich trying to cut through this solid steel, so i feel your pain. just a tip, when you cut through hard metal like this, take your time so you don't get those uneven edges because it can cut your wires if it rubs enough. you could probably take a nail filer and even it out a bit.
    [SIGPIC][/SIGPIC]

  13. #13
    barfastic
    Guest
    nice log... just a small advice, if u really want that red paint to "pop" out, u should lay down a layer of some light color (white, grey etc) to cover up the black... sortof what they do on cars.

  14. #14
    Xtreme Enthusiast
    Join Date
    Nov 2008
    Location
    CA,USA
    Posts
    575
    Quote Originally Posted by WhiteFireDragon View Post
    an hour of cutting only? it took me about 6 hours (not in one sitting of course), but i had a weak cheesy dremel that i had to recharge every 10 min. i also wore down/broke about 8 cutting bits. yeah i know, it's a bich trying to cut through this solid steel, so i feel your pain. just a tip, when you cut through hard metal like this, take your time so you don't get those uneven edges because it can cut your wires if it rubs enough. you could probably take a nail filer and even it out a bit.
    Yeah, wireless dremel is a pain to work with, I almost made the same mistake you did. I have a dremel 300. What blade did you use? My kit only came with 2 types of cutting blades: brown one and fiber glass. I'll do some refining on the edges later today, which should help smooth them out a bit.

    Quote Originally Posted by barfastic View Post
    nice log... just a small advice, if u really want that red paint to "pop" out, u should lay down a layer of some light color (white, grey etc) to cover up the black... sortof what they do on cars.
    Light coat over the black or under it?


    Also any news on the bloodrage? The color of P6T doesn't really fit my taste.

  15. #15
    Xtreme Cruncher
    Join Date
    Jul 2007
    Location
    @ the computer
    Posts
    2,510
    blood rage is due very very soon. there's already reviews of it floating around, so i'm guessing a few weeks max
    [SIGPIC][/SIGPIC]

  16. #16
    Xtreme Mentor
    Join Date
    Jun 2007
    Location
    Chicago
    Posts
    3,284
    Love the new paintjob.. looking good!
    Asus P6T, I7-920, 6gb ocz xmp, 4890, Raid 0-1 Terabyte, full watercooled - Triple Loop 5 radiators

  17. #17
    Xtreme Member
    Join Date
    Jun 2008
    Location
    The Netherlands
    Posts
    275
    Nice work.
    One question, the cutting behind the cpu is for easy backplate removal/mounting?

    » Xeon X3360 @ 3.7 ~ 1.304 VCore
    » TRUE Black ~ Dual GT AP-14
    » Rampage Formula (Bios 902)
    » Corsair Dominator 8500C5D 2x2GB
    » X-Fi Xtreme Gamer Fatality Pro
    » Asus HD5850
    » 80GB X25-M G2 ~ 40GB X25-V ~ 2x WD10EADS (RAID 1)
    » Seasonic X-750
    » Lian Li PC-A05N

  18. #18
    Xtreme Enthusiast
    Join Date
    Nov 2008
    Location
    CA,USA
    Posts
    575
    Since I will be out for vacation on christmas I think I can wait a bit . Any link of review of Bloodrage?

    Thanks Eddy and Earz. Having a hole behind the CPU does save some trouble mounting and removing back plates of block or heatsink without removing the mobo (at least I think). Since there is no reason not the have one I guess I am in.

  19. #19
    Xtreme Member
    Join Date
    Jan 2008
    Posts
    379
    Great work exe163, if it's not too late you should think about inverting the case. One guy did it to his Armor and it looks great. I have a pristine Armor wish I had the time to do it.
    Cooler Master Haf X
    i5 3750k
    Asrock Xtreme 4
    660 Ti

  20. #20
    Xtreme Enthusiast
    Join Date
    Nov 2008
    Location
    CA,USA
    Posts
    575
    Quote Originally Posted by Pellepel View Post
    Great work exe163, if it's not too late you should think about inverting the case. One guy did it to his Armor and it looks great. I have a pristine Armor wish I had the time to do it.
    I would like to do so but I lack the skills to drill out the rivets let alone putting them back in . Also I have some screwed up spots anyone know how I can fix them. I try sanding them, but after I couldn't get a even surface: either too much paint or too little.

  21. #21
    Xtreme Member
    Join Date
    Jan 2008
    Posts
    379
    Try to get some bondo from the auto store, put it over, dry it, sand, put some more if needed, sand.
    Cooler Master Haf X
    i5 3750k
    Asrock Xtreme 4
    660 Ti

  22. #22
    Xtreme Cruncher
    Join Date
    Jul 2007
    Location
    @ the computer
    Posts
    2,510
    there was a guide on case painting, and he said if you mess up, use putty to try and fix it

    linky to bloodrage OC'ing test
    linky to ddr3 WR
    [SIGPIC][/SIGPIC]

  23. #23
    Moderator
    Join Date
    Mar 2006
    Posts
    8,556
    I've still got a TT armor. Looking good.

  24. #24
    Xtreme Member
    Join Date
    Nov 2008
    Posts
    108
    i've been testing out my new dremel 300 lately and those brown cutting disks are fragile... borke a few just from tapping the disk on the counter when putting the dremel down. good thing i picked up a rotary tool kit from a local hw store for 20$ and it included quite a few pack of those brown cutting disk (its not dremel, but breaks just as easily )

  25. #25
    Xtreme Enthusiast
    Join Date
    Nov 2008
    Location
    CA,USA
    Posts
    575
    Sorry for the late update, was very busy with school before the holiday season like usual.


    Big box from Jab tech :P.


    Tube of fans!


    Sexy i7-920


    WD GreenPower 1TB; Raptor 74G X2.

    Sexy RV770, ugliest card art ever.


    These drives are jokes, they stutter like hell when trying multiple task with the same drive. Avoid at all cost.


    ZOMG! I can’t believe I broke one of the RAM while stripping it. Any idea where I could get a replacement for it?

    Evolution of DDC…


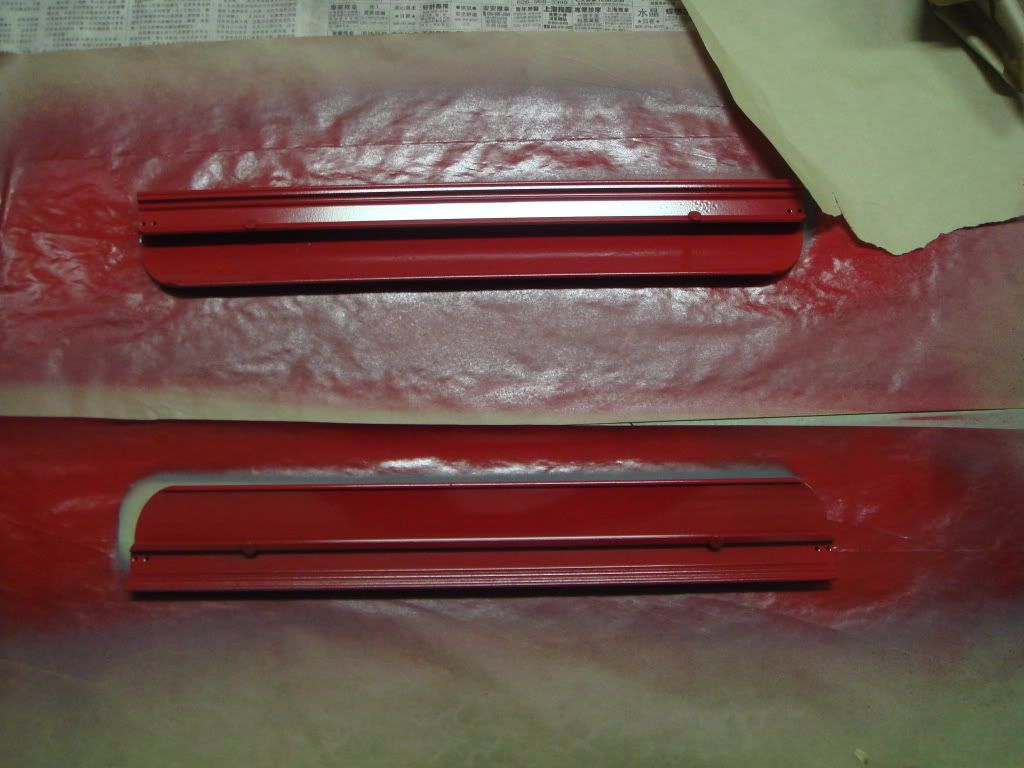
    Side panels:


    End product of mobo tray:


    Not the most beautiful thing ever, but it get the job done.

    As I trying to think of another way to place my second 3x120 rad, I decided to attempt to remove the impeccable rivets!


    You thinking what I am thinking?

    Merry Christmas and a Happy New Year to you all XSers!!

Page 1 of 3 123 LastLast

Bookmarks

Bookmarks

Posting Permissions

  • You may not post new threads
  • You may not post replies
  • You may not post attachments
  • You may not edit your posts
  •