-
Putting in Parts, Lighting, Watercooling, etc. Part 3
Forming Tubing
I've been steadily working the last few weeks getting everything installed and running. This includes a number adjustments to fix minor issues. I had a CPU block problem that I had to fix. Once I got tubing installed, I found after pumping up the loop with air pressure as I usually do that the CPU block was leaking. I got a new o-ring, but because I overtightened one of the screws in the process, I ended up having to tap out the one screw from #6-32 to #8-32. With just a bit of Dremel work to make the larger screw head fit, it works fine and is barely noticeable. Yay!
Because of the problem of US 1/2” OD tubing not fitting the Bitspower fittings, I abandoned the idea of using copper tubing and have opted for using rubber Norprene tubing instead. With this tubing, being able to form it has been a big help in this case given its compact size. The nice thing about forming tubing is that once it is formed, it holds its shape and doesn't push back.
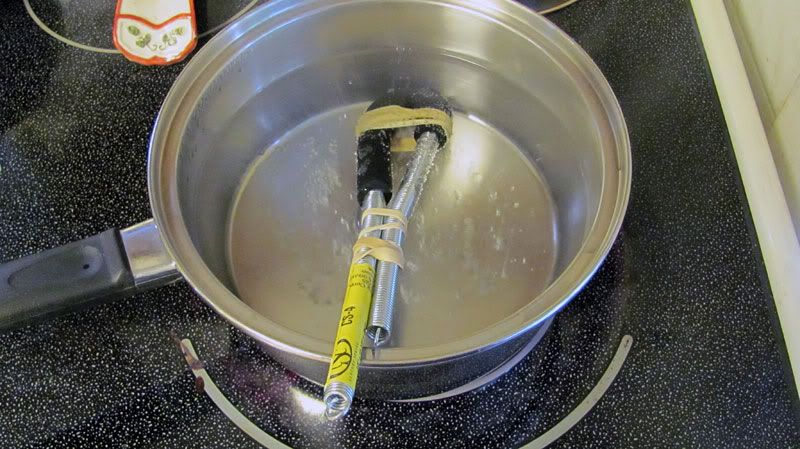
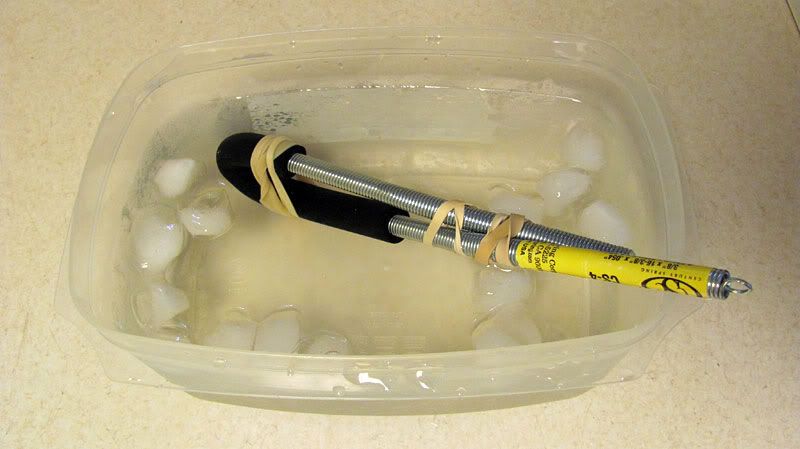
I bought a 3/8” spring to use with the 3/8”ID 5/8”OD Norprene tubing. I have to say that this is the best tubing I've ever used, and I've tried just about everything from XSPC, Primochill, Tygon, Clearflex, Masterkleer, and a few others. The bend radius is incredible. Using the spring, I boiled and then chilled the tubing several times, using rubber bands to hold the spring and tubing in the bend radius I was after.
The result.
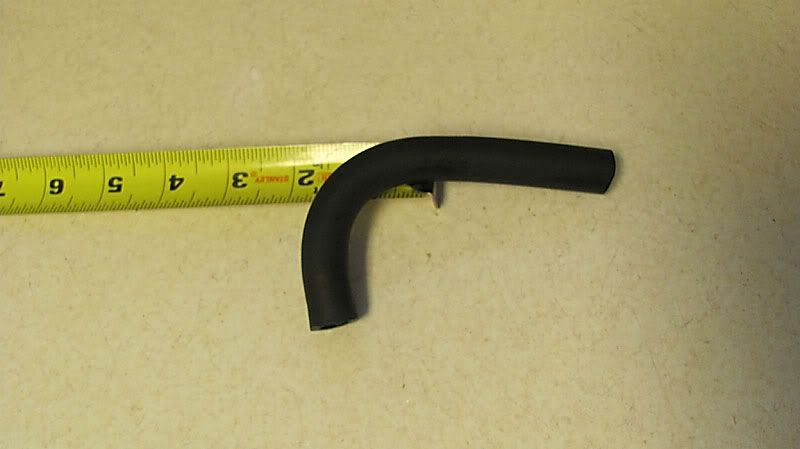
If I didn't form this tube going from the pump to the bottom radiator, the tube would push back against the pump and push it out of position. This way the tubing and pump stay where I want them. I used this technique several times to get tubing routed the way I want. It works great and also prevents having to use unnecessary fittings.
Flushing/Filling
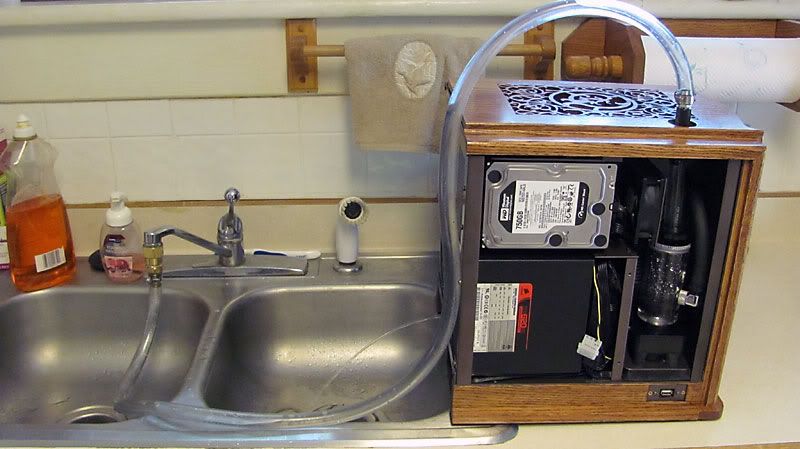
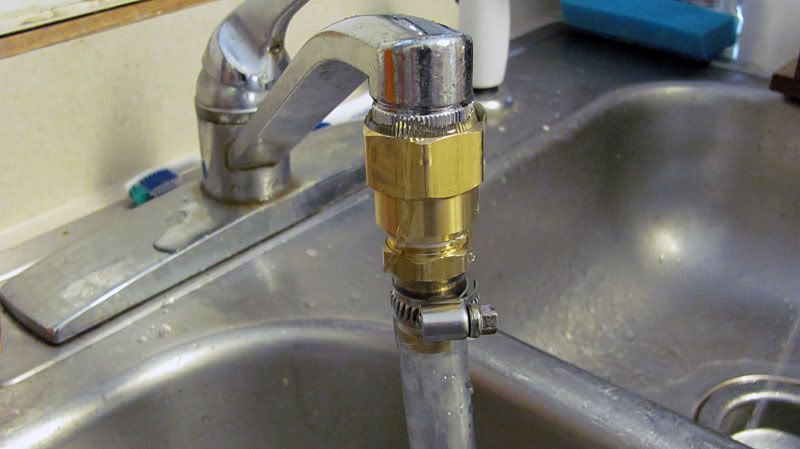
Being concerned about debris possibly being in the loop, I bought some fittings from the local hardware store and connected the loop to the kitchen faucet to force flush it out. I only opened up the faucet partially, as I don't really need full household pressure in the loop since the drain hole is small.
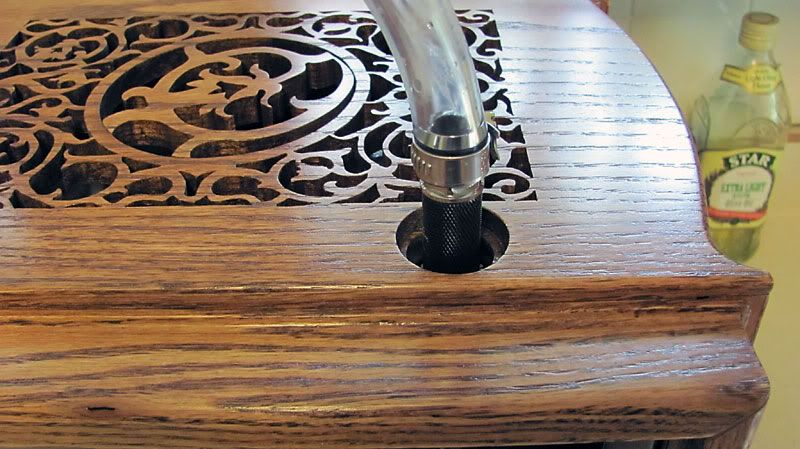
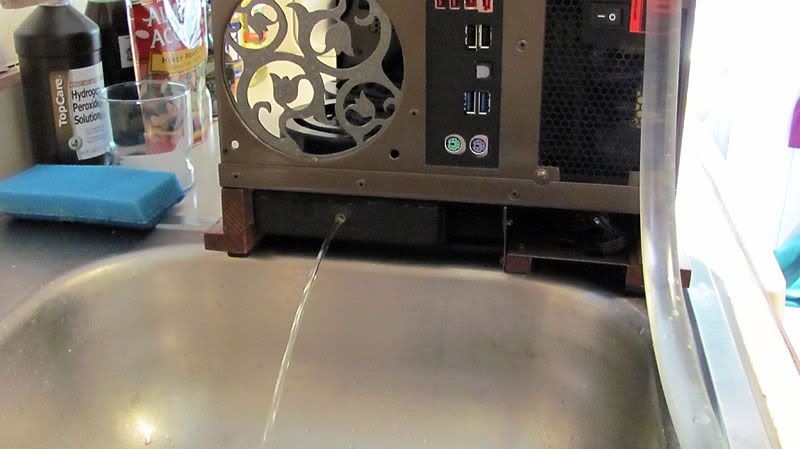
I used an Enzotech extension piece srewed into the fillport to make it easier to fill the case. I did a couple of fill/flush/drains with distilled water after the tap flush. I use an old external PSU to hook up the pump to.
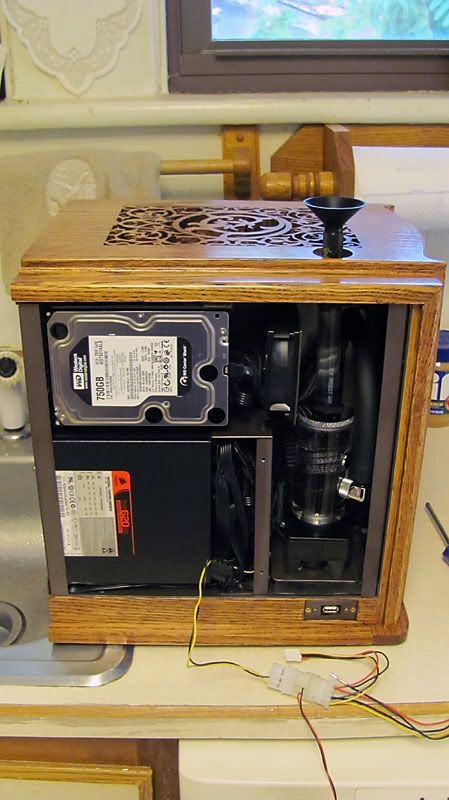
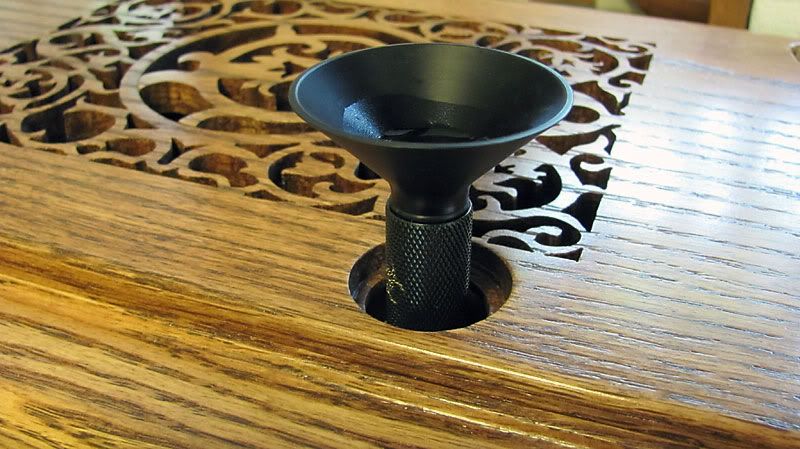
I bought this little G1/4” threaded Primochill funnel not long ago, and although I think it is a bit overpriced at $8, it is really, really handy. It has an o-ring so that it seals against the fillport to prevent any leaks when filling. It makes filling so much easier. I should have bought this a long time ago.
Everything is in and installed. One issue I have yet to resolve is that for some reason my MCP35X pump (hooked up to the Sunbeam Rheostat 3) and the Rheostat are not getting any PWM signal, and the pump's RPMs are not registering with the MB. I've had to turn the Rheostat on manual for the fans, and since the pump isn't getting any signal, it is running at the default 12v. I've got to take the PWM cable out and see if somehow I got a wire crossed when I soldered in an extension.
Final pics should be coming soon.
Thanks for stopping by.
Last edited by voigts; 06-03-2011 at 04:23 PM.
 Posting Permissions
- You may not post new threads
- You may not post replies
- You may not post attachments
- You may not edit your posts
-
Forum Rules


 Reply With Quote
Bookmarks