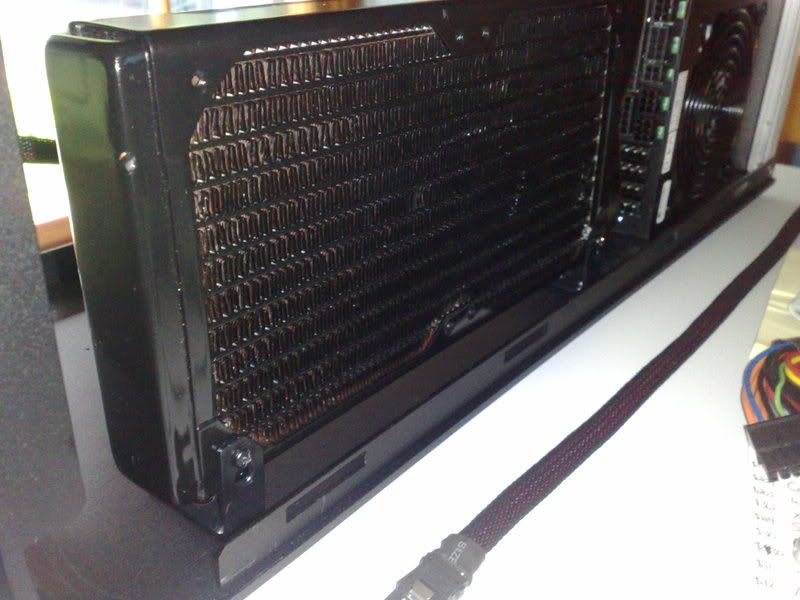
Aaron___________________________Wife________________________ HTPC
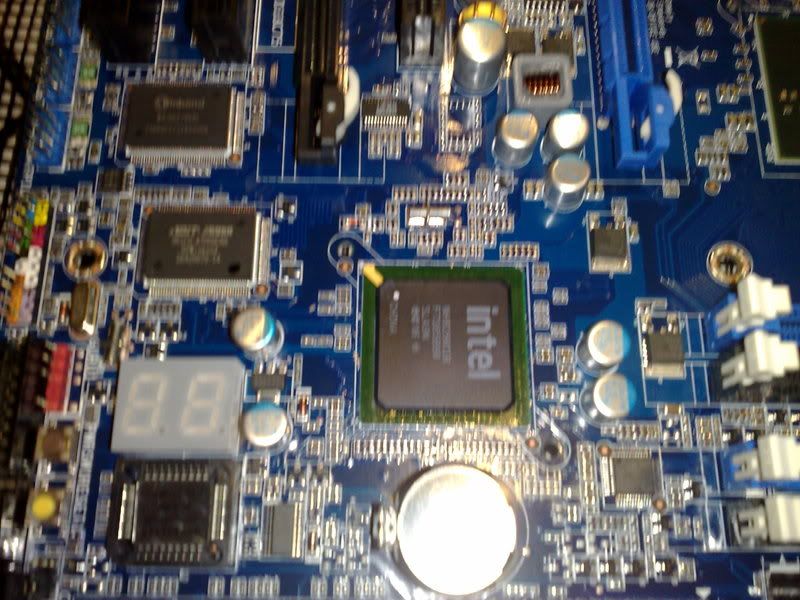
intel i7 2600k_____________________AMD5000+ BE @ 3ghz___________AMD4850+ BE @ 2.5ghz
stock cooling______________________CM Vortex P912_______________ Foxconn A7GM-S 780G
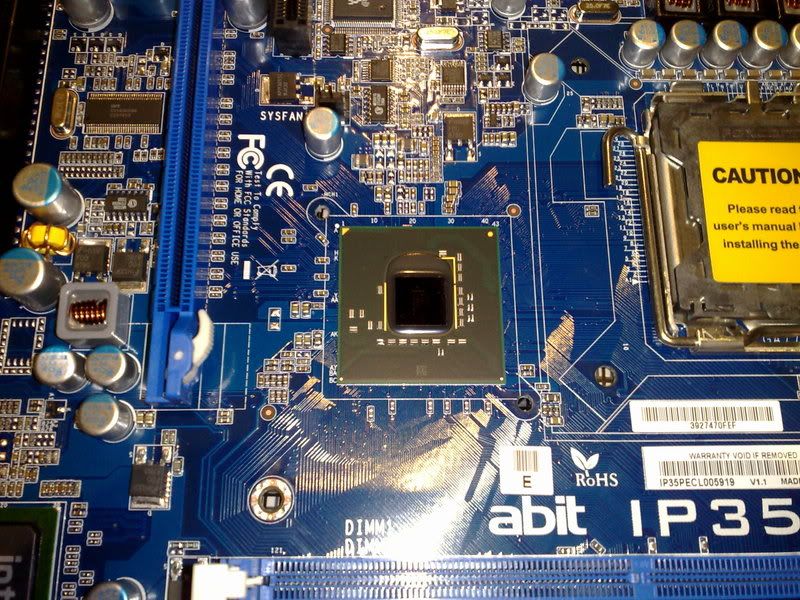
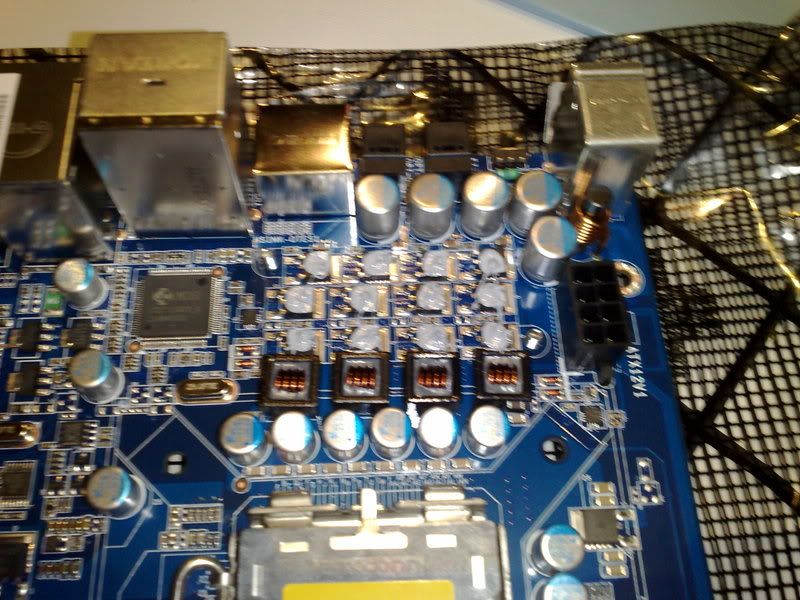
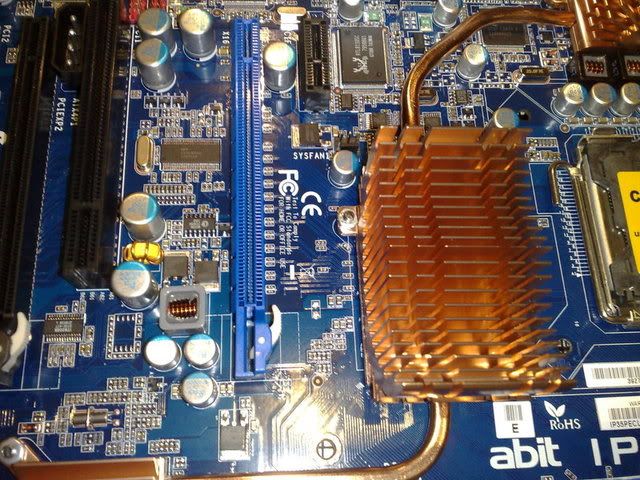
AsRock Extreme 4_________________ GB GA-MA78GM-S2H 780G_______OCZ SLI 2gb PC6400
4gb 1600 DDR3___________________ OCZ Plat 2GB PC6400___________Avermedia A180 HDTV tuner
MSI 48901gb 950/999______________Tt Toughpower 600w___________ Saphire 4830
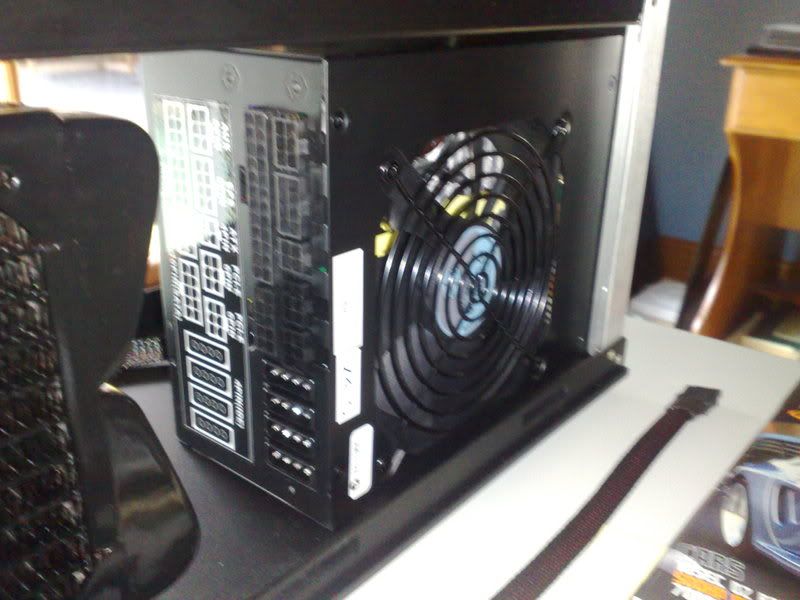
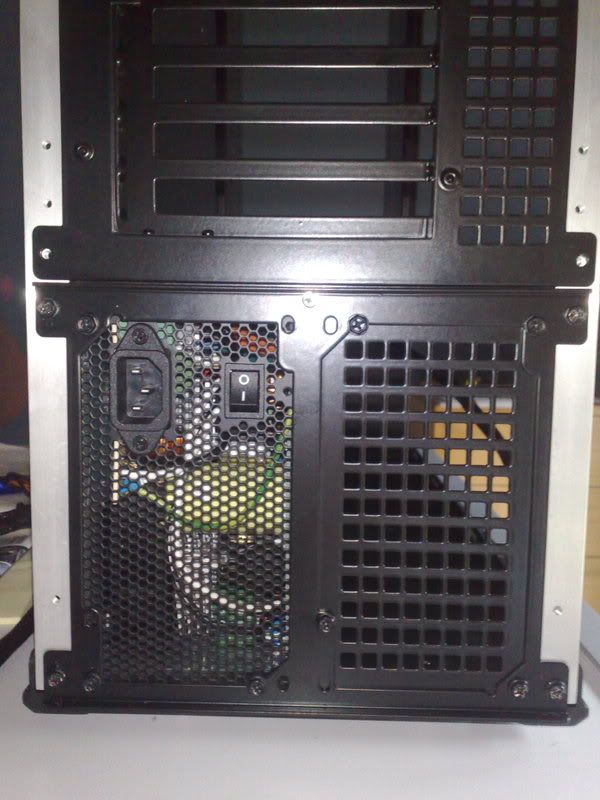
Corsair HX620____________________ inwin allure case___________ ___ Coolmax 480w
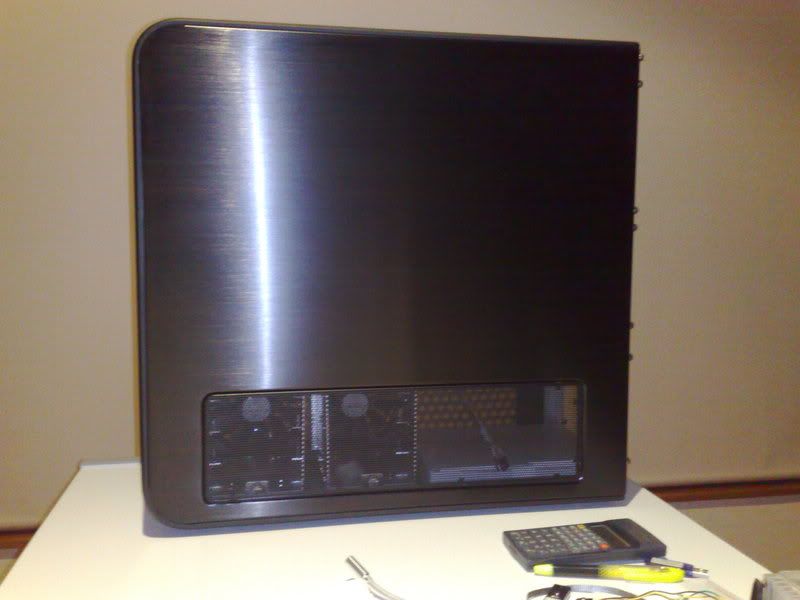
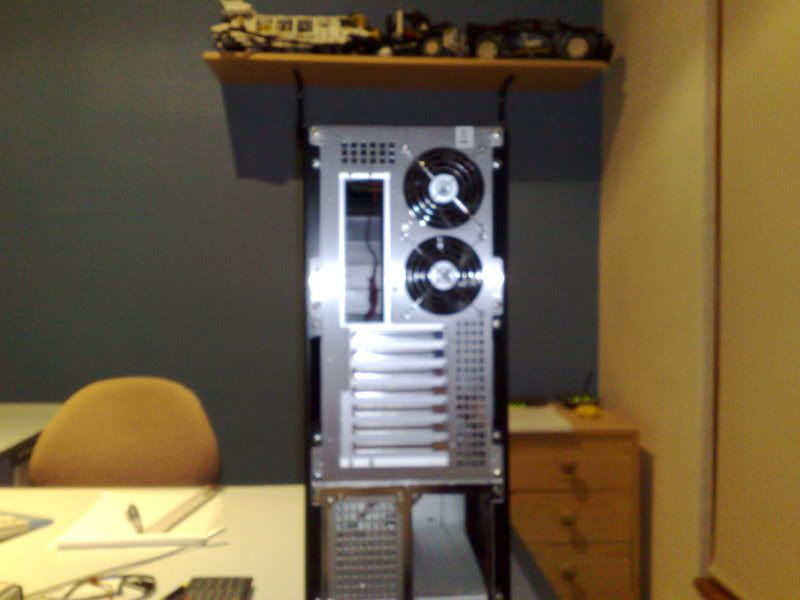
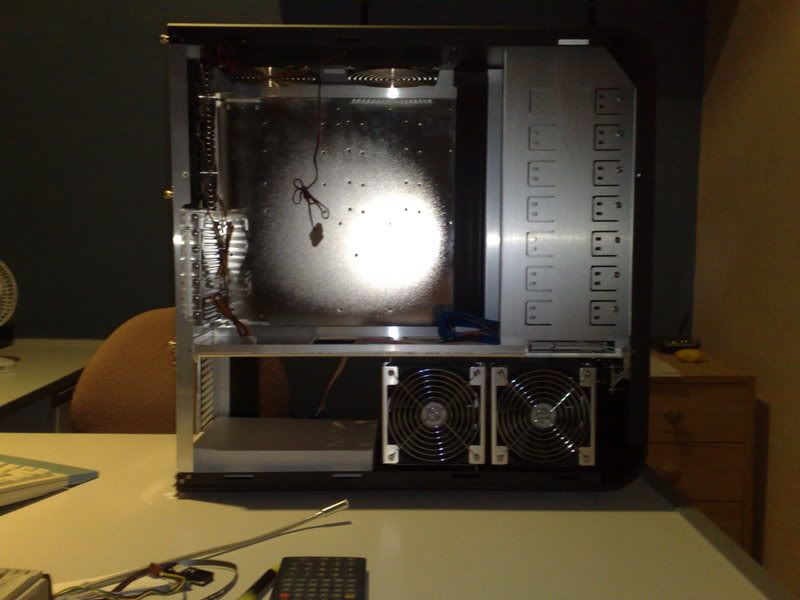
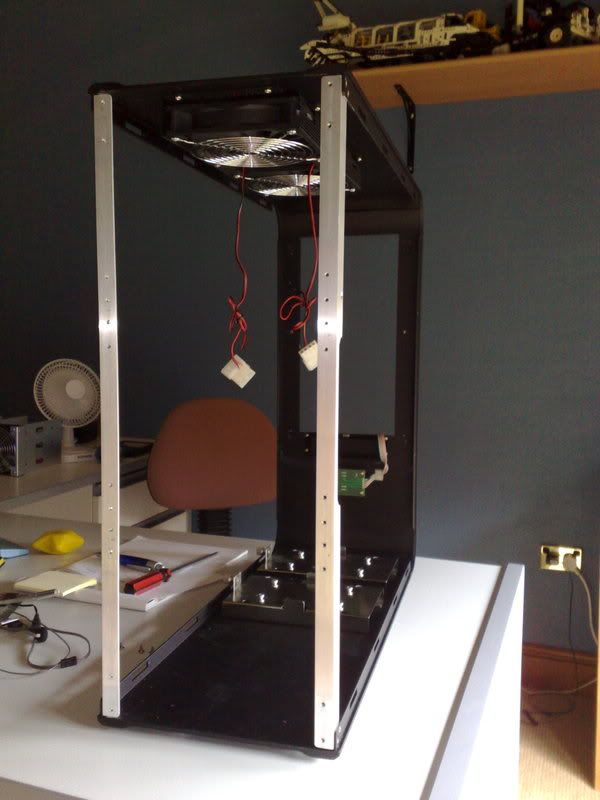
NZXT 410 Gunmetal________________Acer 23" 1080p________________ LiteOn BD player
X2gen 22" WS________________ ________________________________ nMediaPC 1000B case


 Reply With Quote
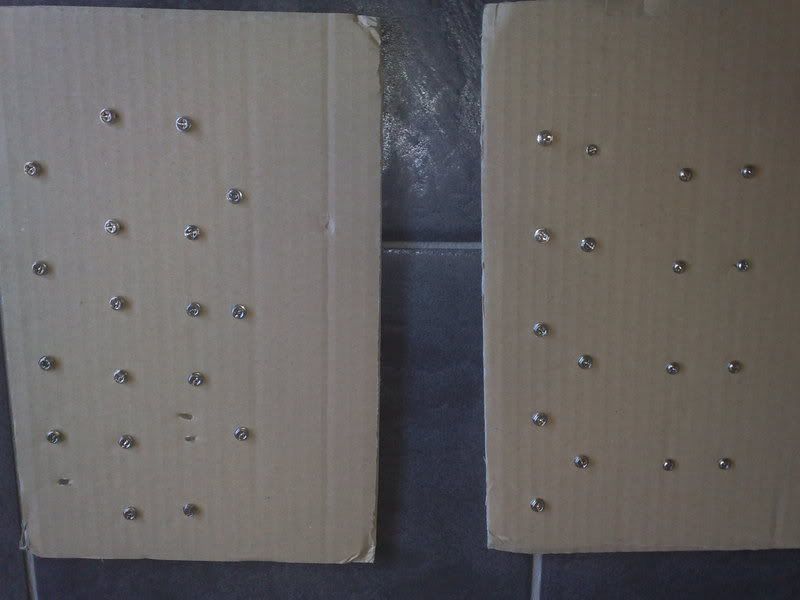
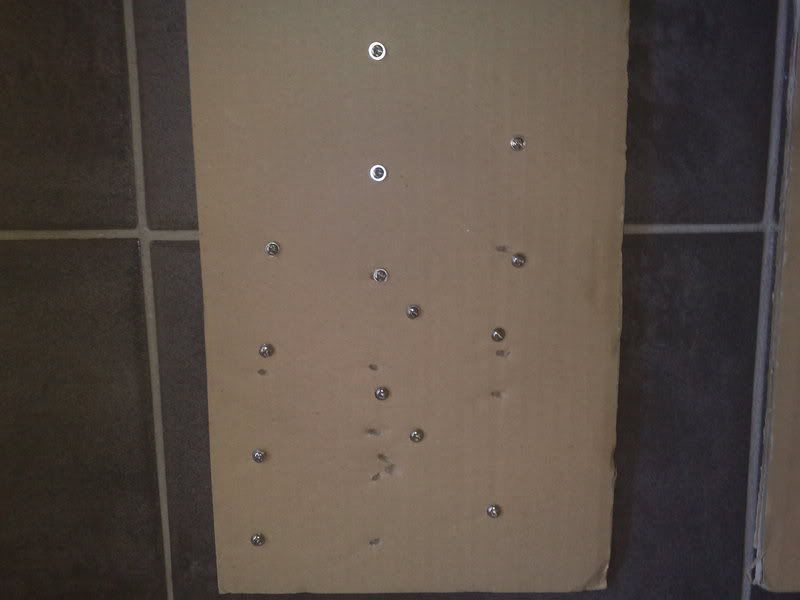
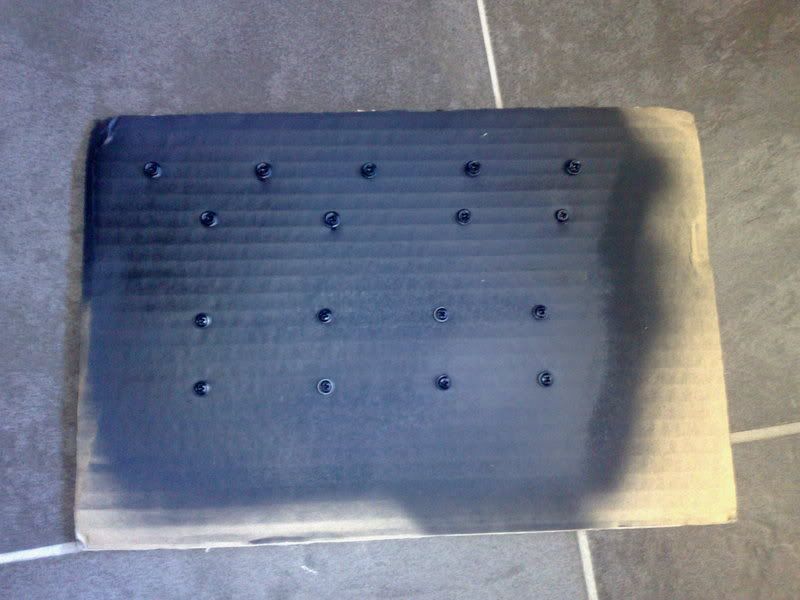
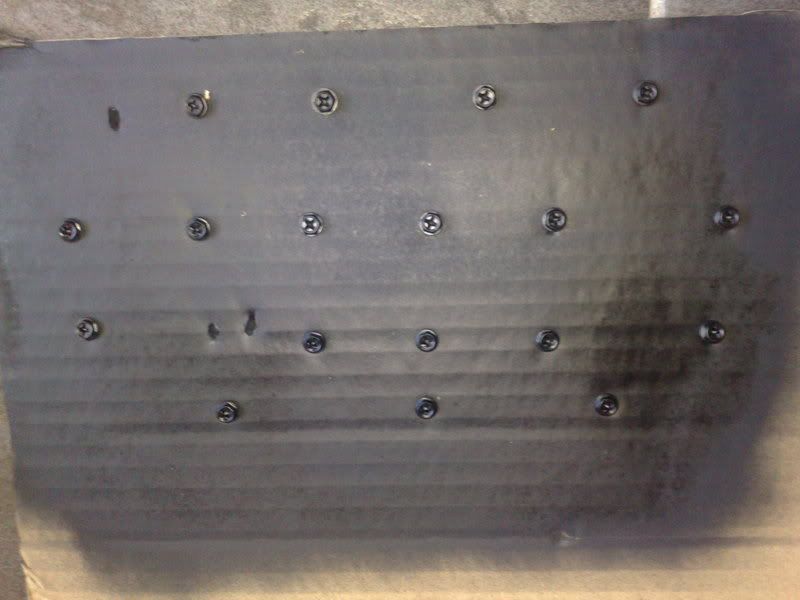
 i'll be keeping an eye on this thread, i really want to powdercoat the interior of mine too


Bookmarks