MMM
Page 1 of 2 12 LastLast
Results 1 to 25 of 35

Thread: CaseLabs MAGNUM M8K

  1. #1
    Xtreme Member
    Join Date
    Aug 2010
    Location
    netherlands
    Posts
    264

    CaseLabs MAGNUM M8K

    Today the start of a new build with a super case: the CaseLabs Magnum M8 Labs

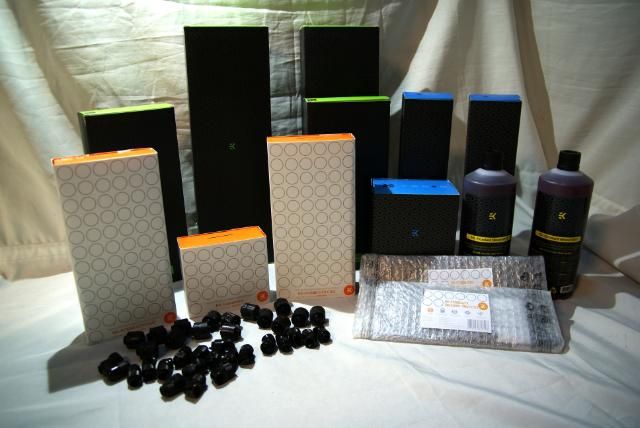
    Sponsored by...... CaseLabs, Lamptron, Highflow, Coolermaster and EKWB


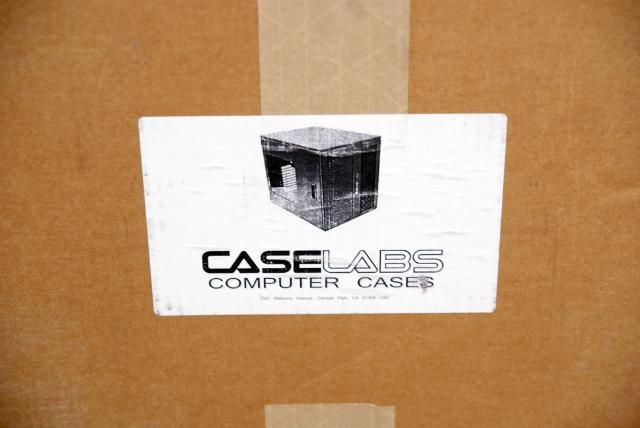
    First my thanks goes out to Jim (CaseLabs) for providing this beautiful case
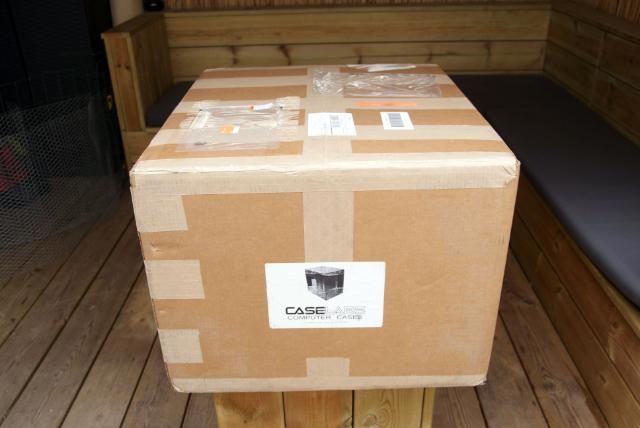
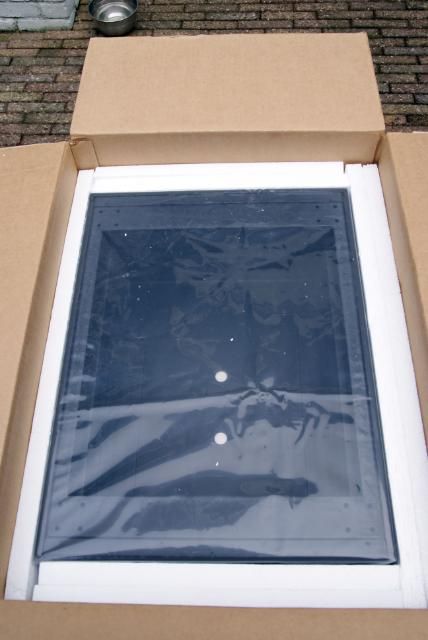
    Received this beautiful gift on my birthday


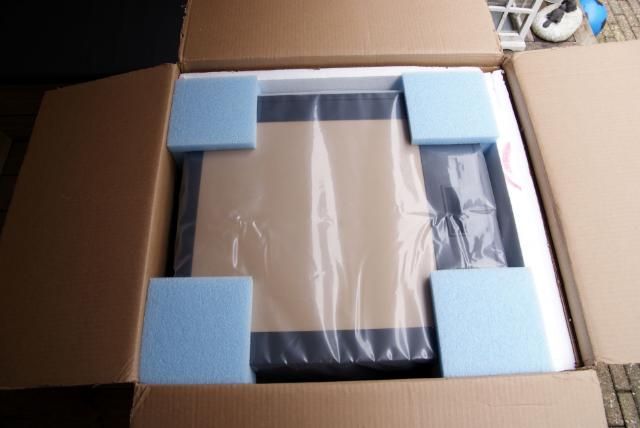
    Offcourse unwrapping it right away
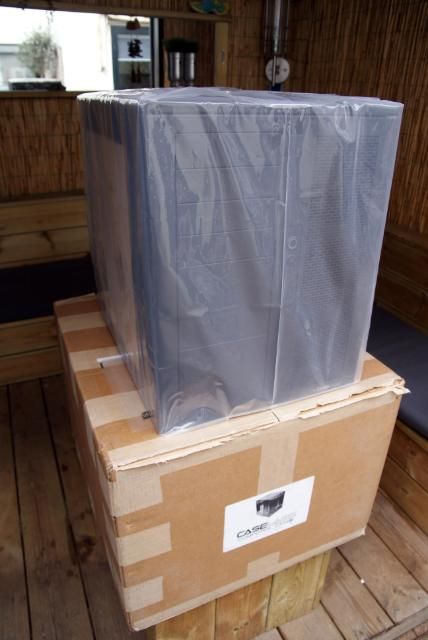
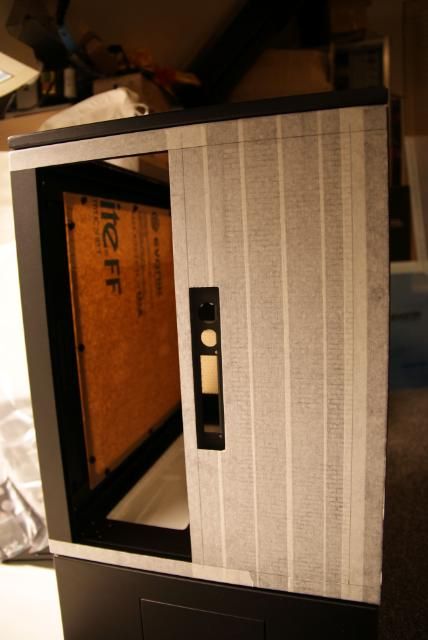


    Once out of the box


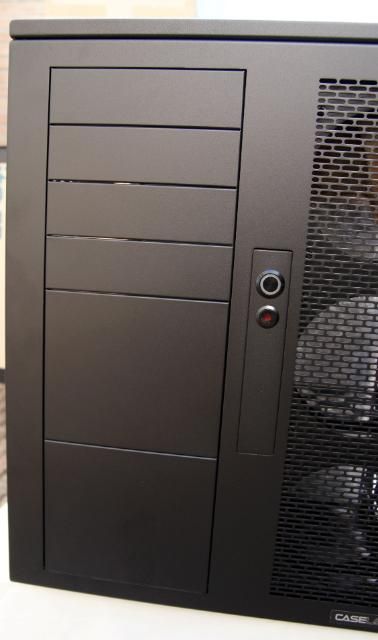
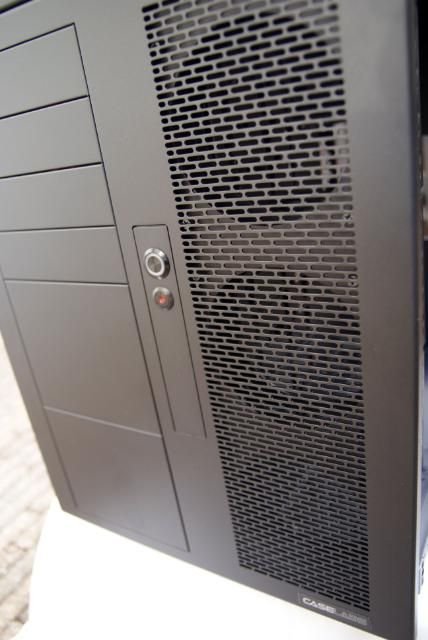
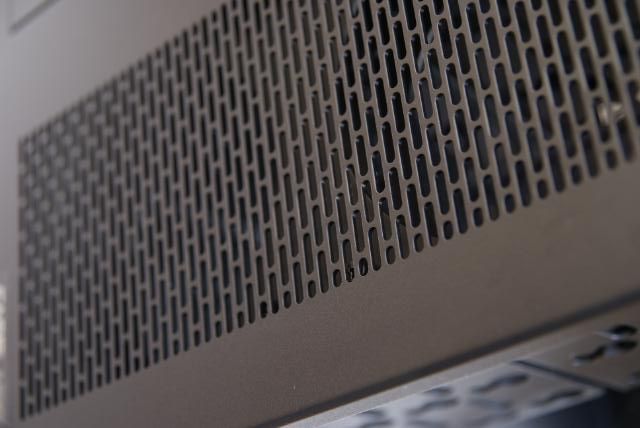
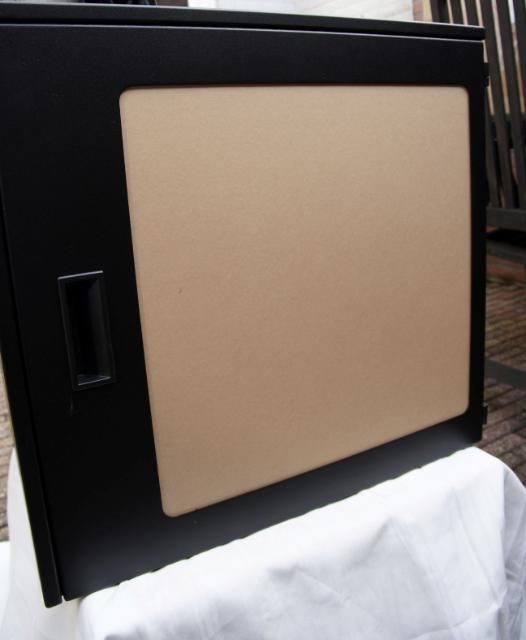
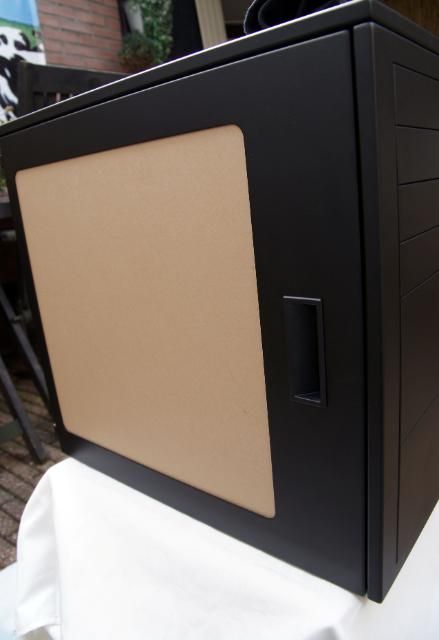
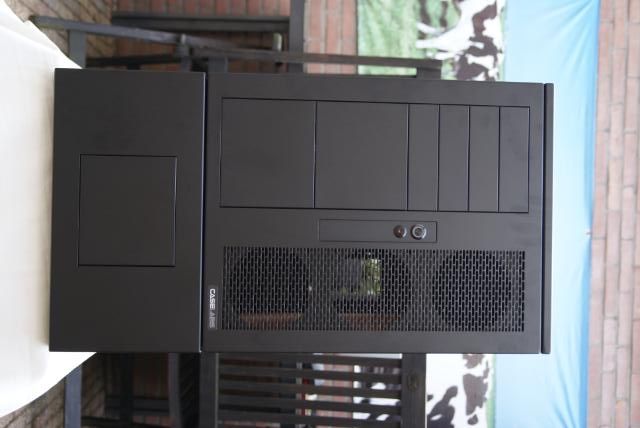
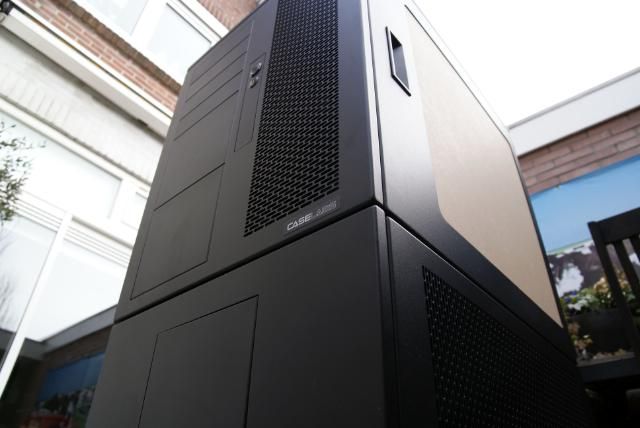
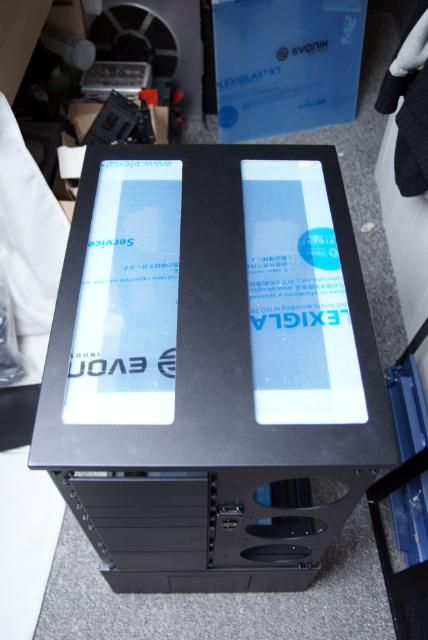
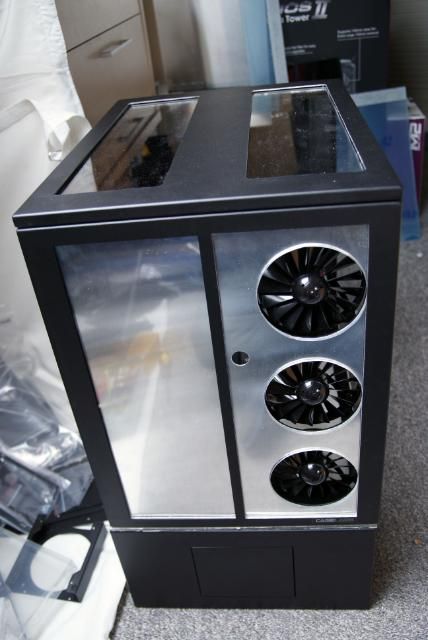
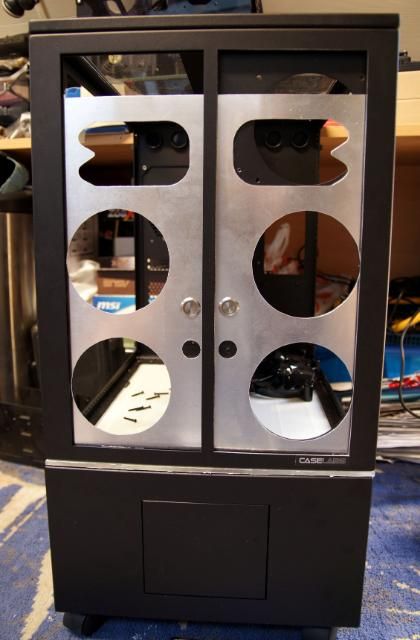
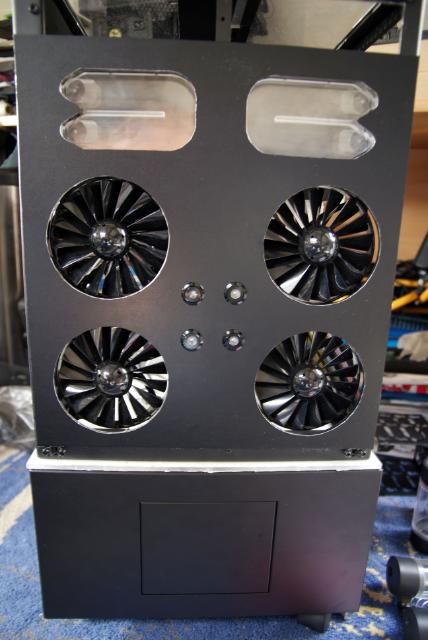
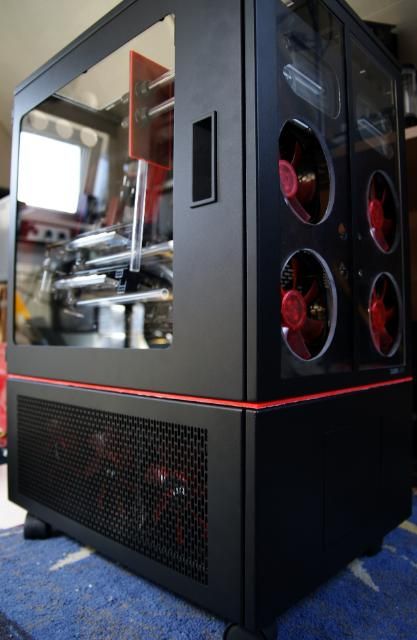
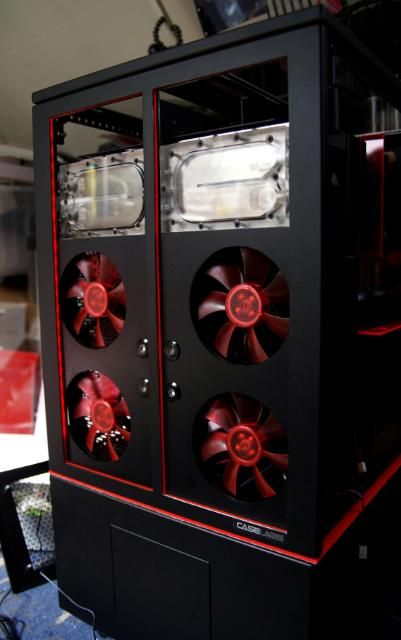
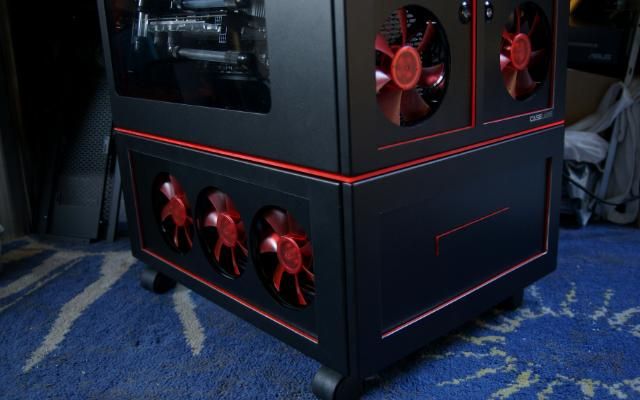
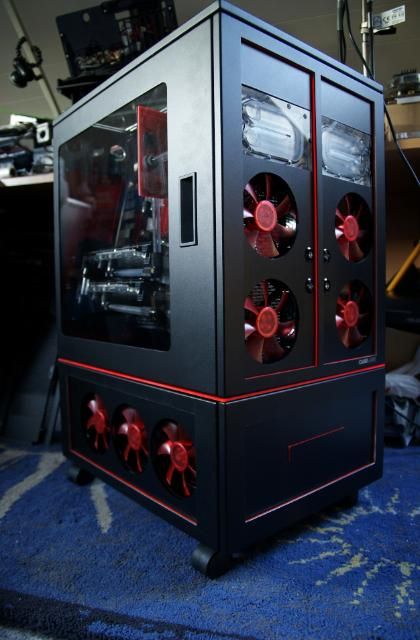
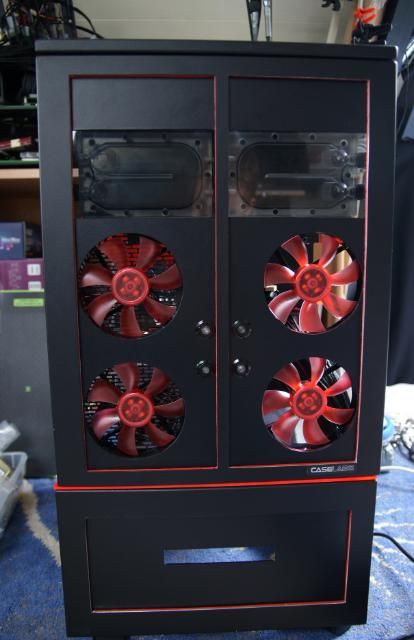
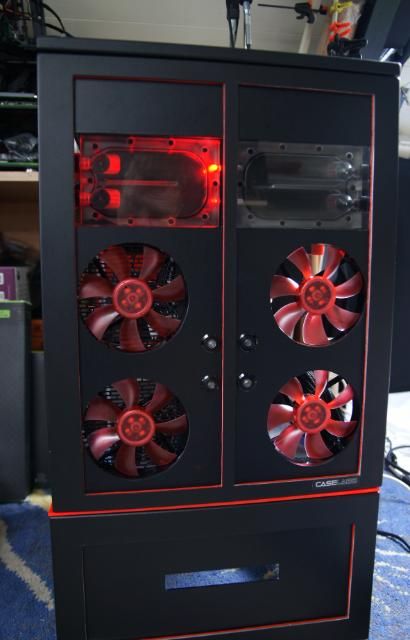
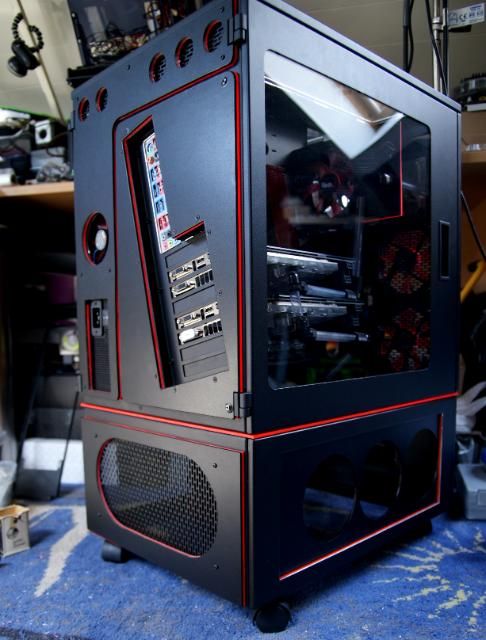
    One of the finest cases I've ever seen, quality is superb


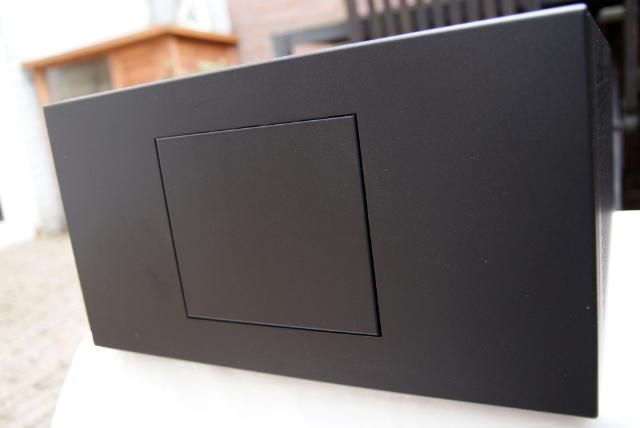
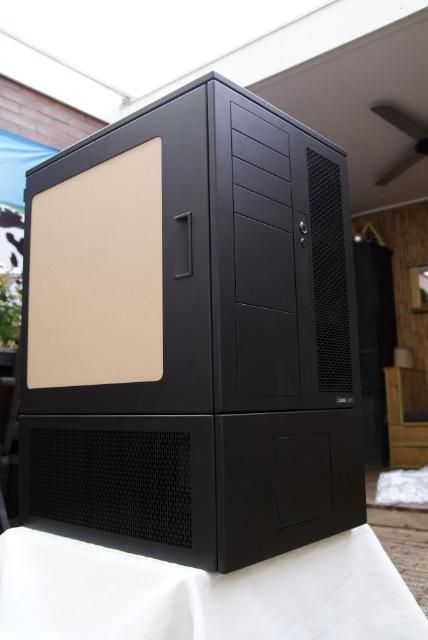
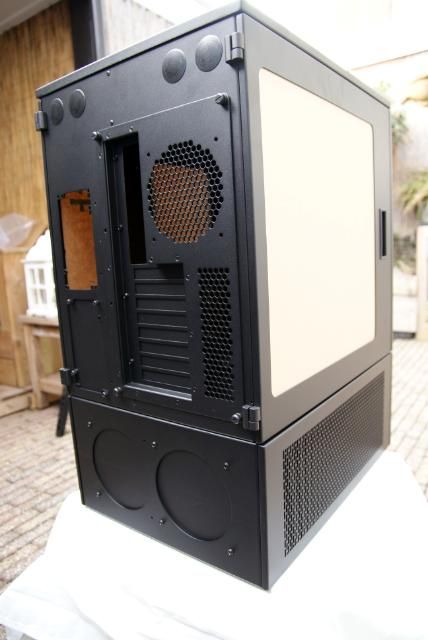
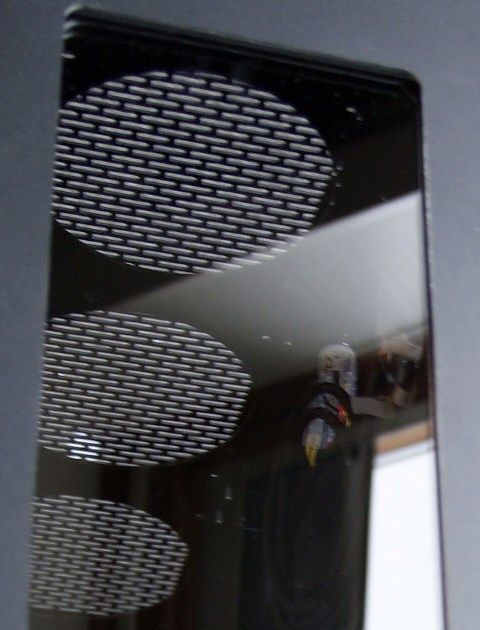
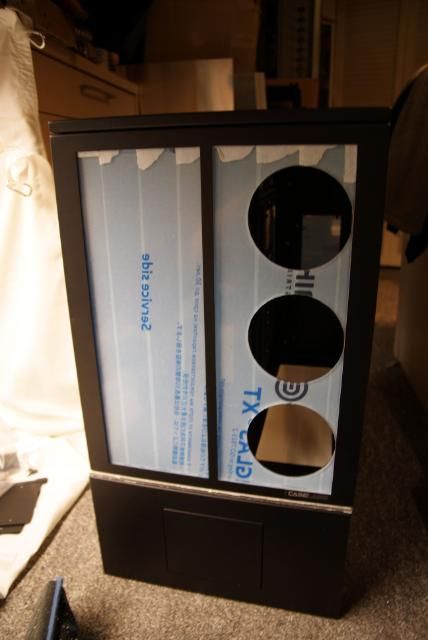
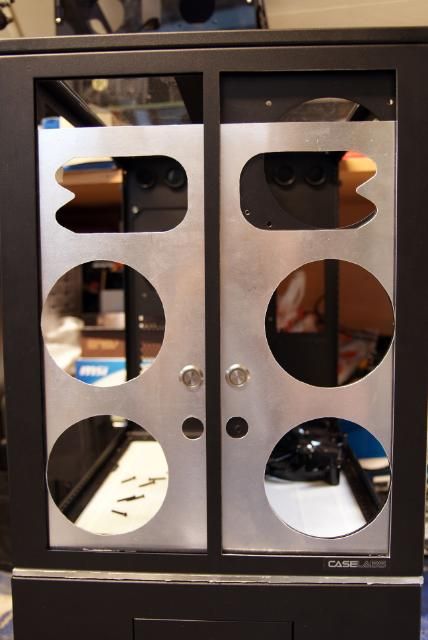
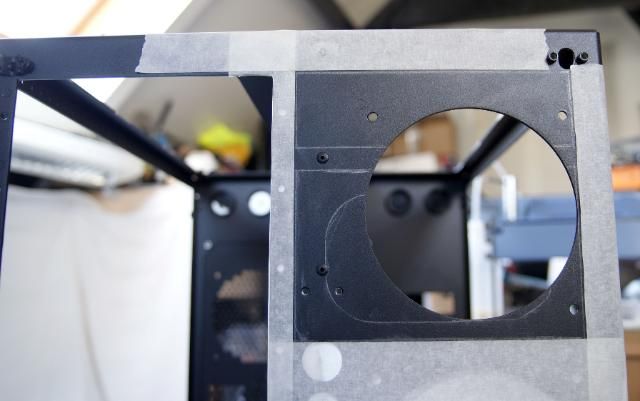
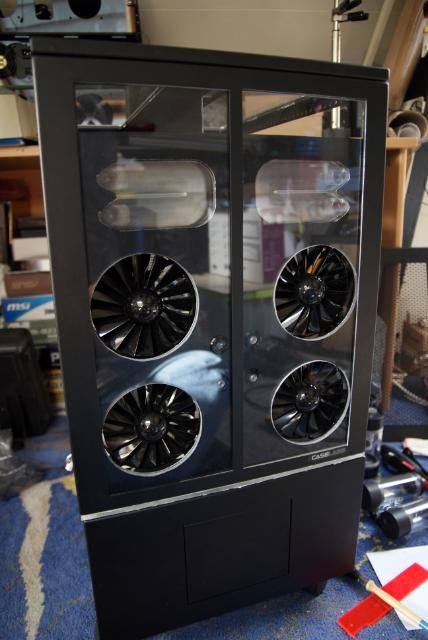
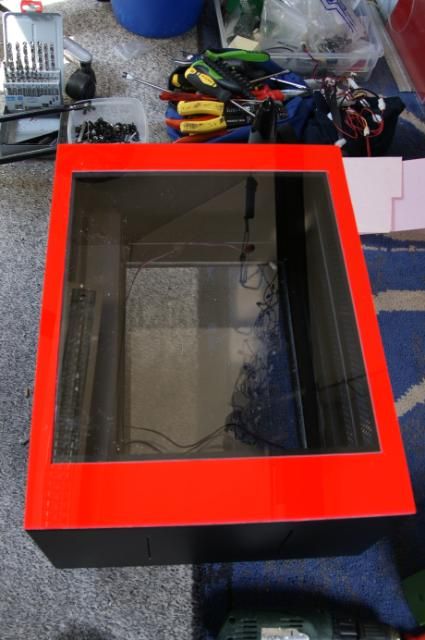
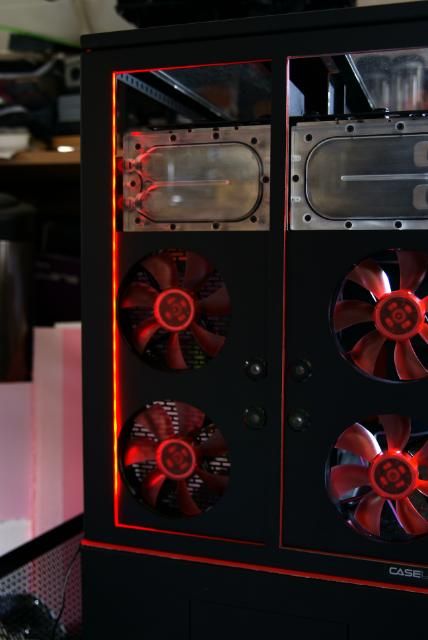
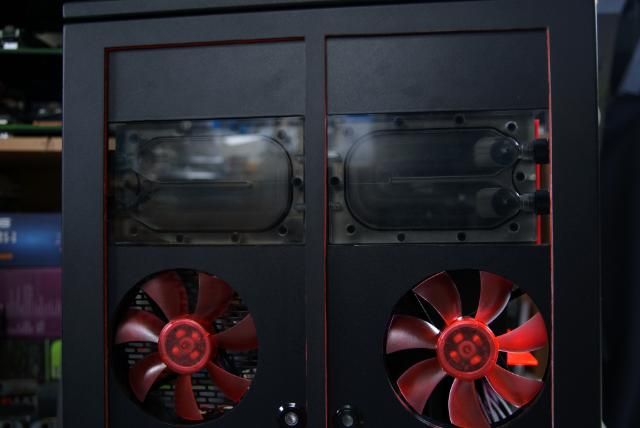
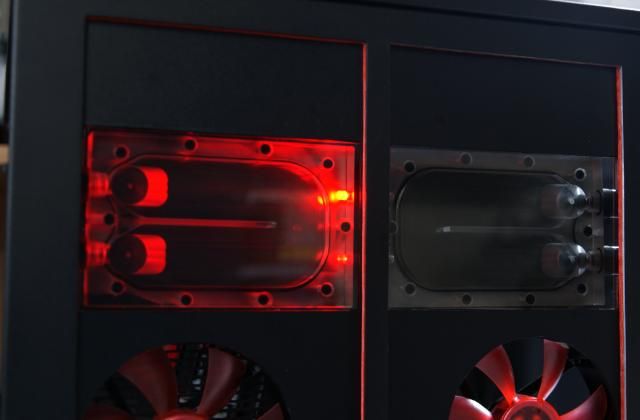
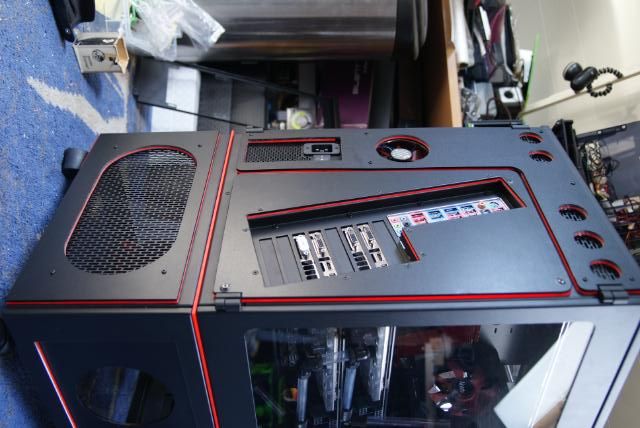
    And with an XL window on the right side


    And also on the left side


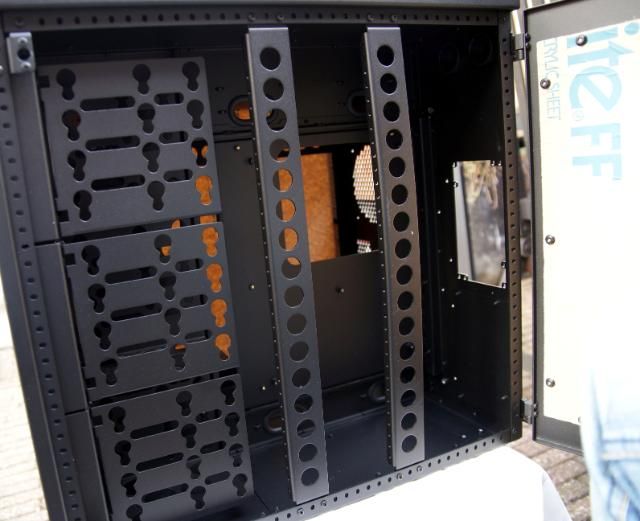
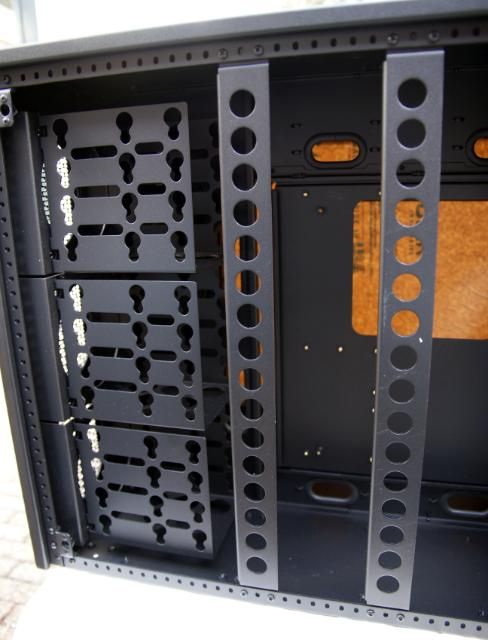
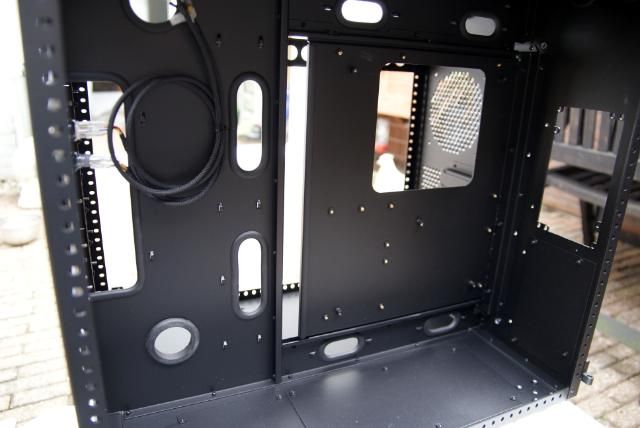
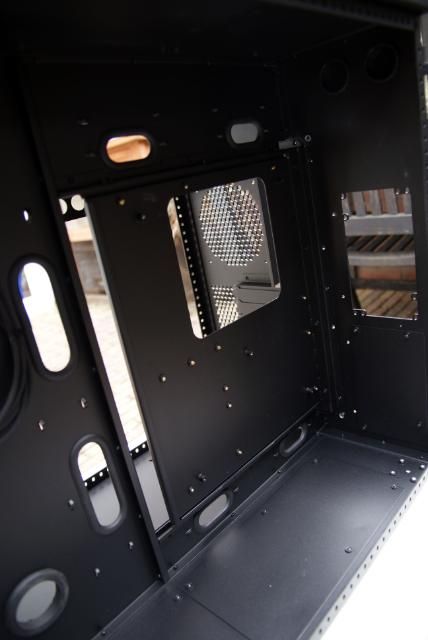
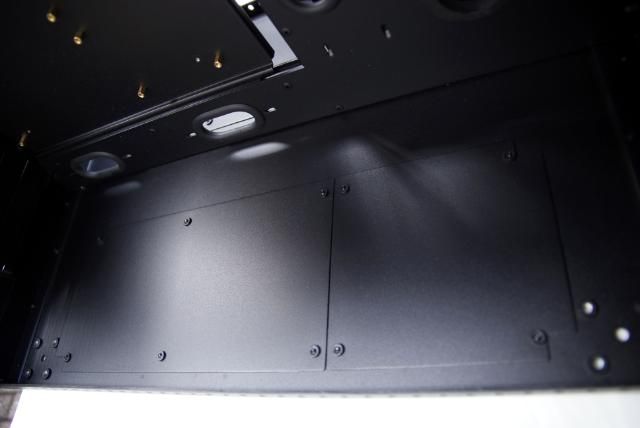
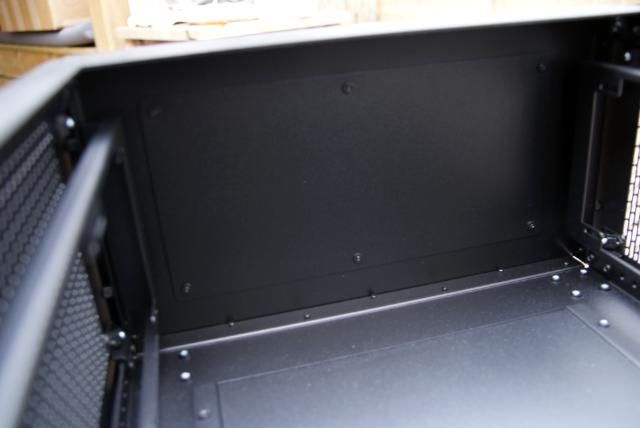
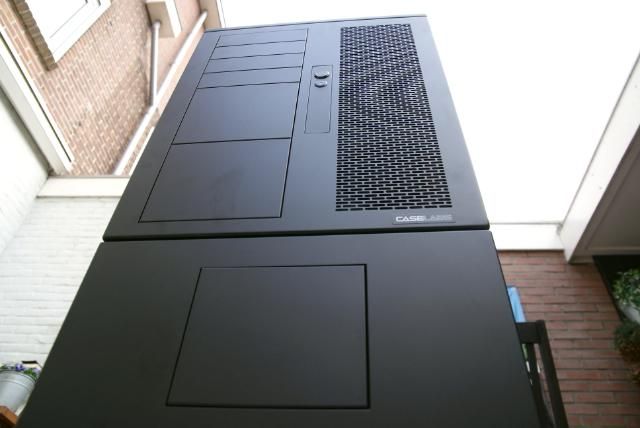
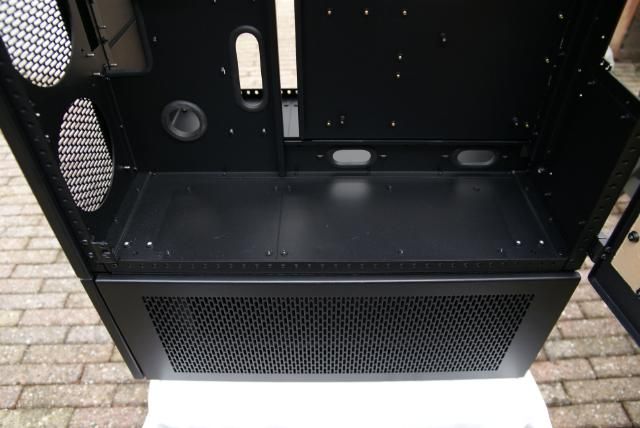
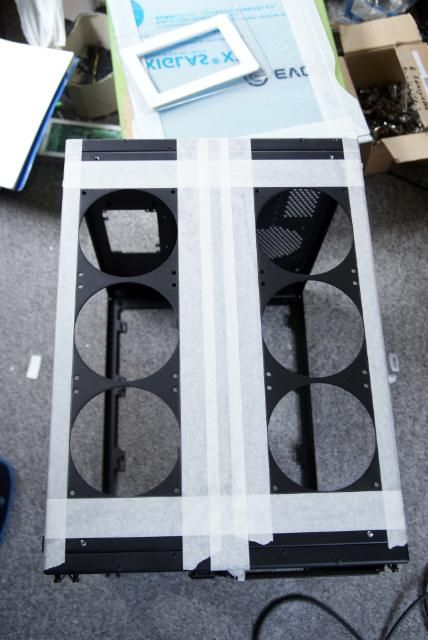
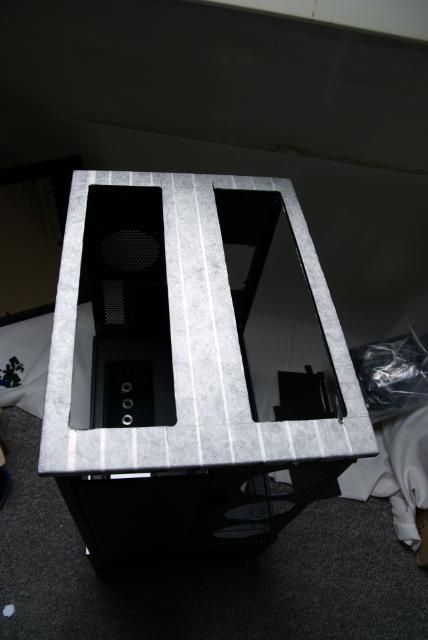
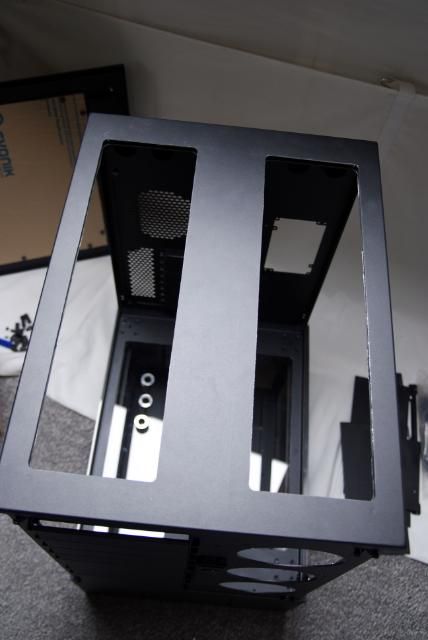
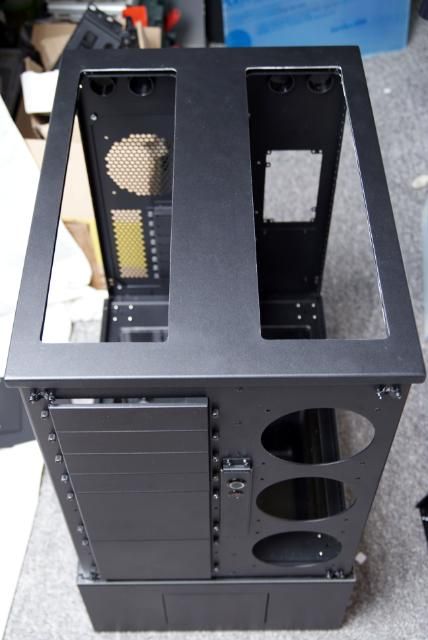
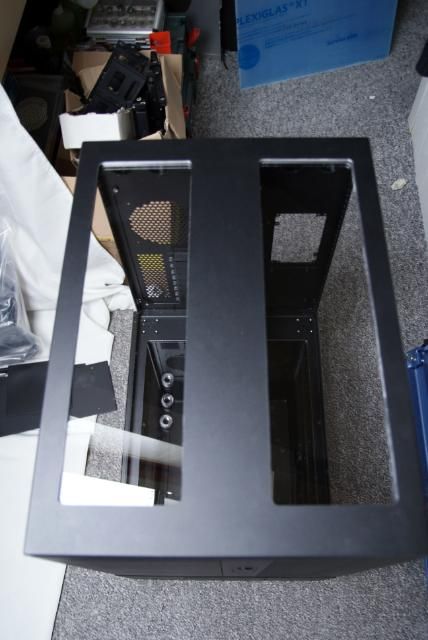
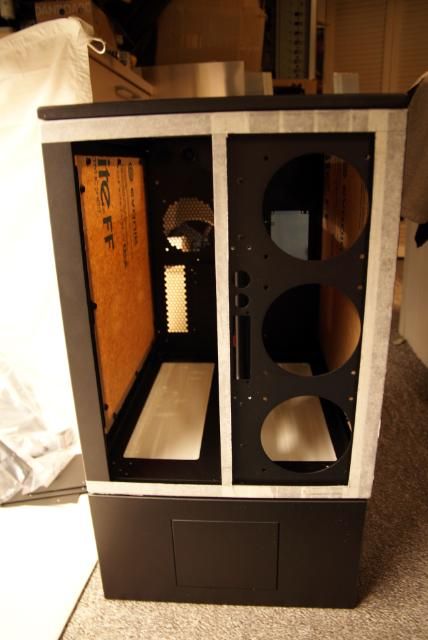
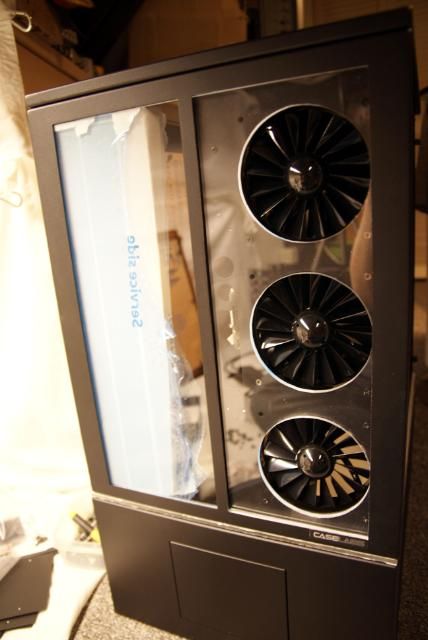
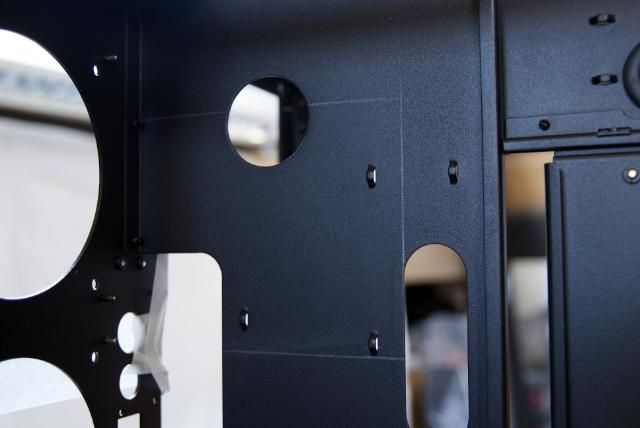
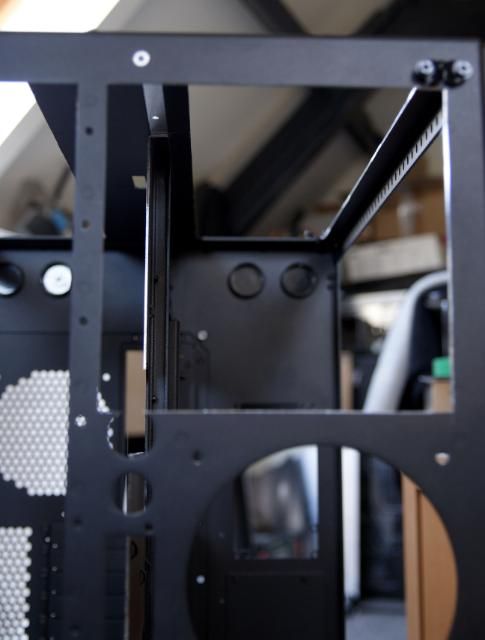
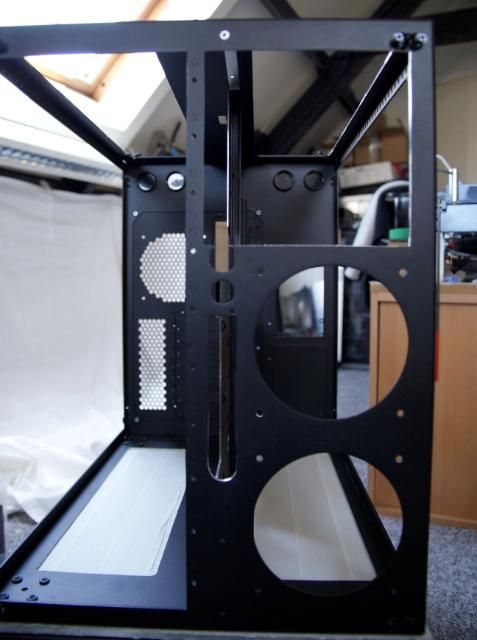
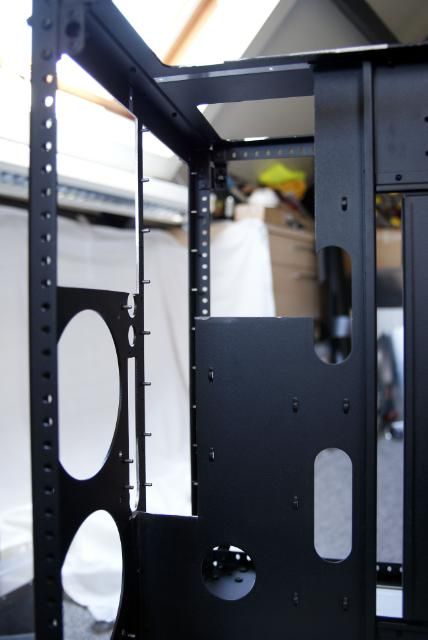
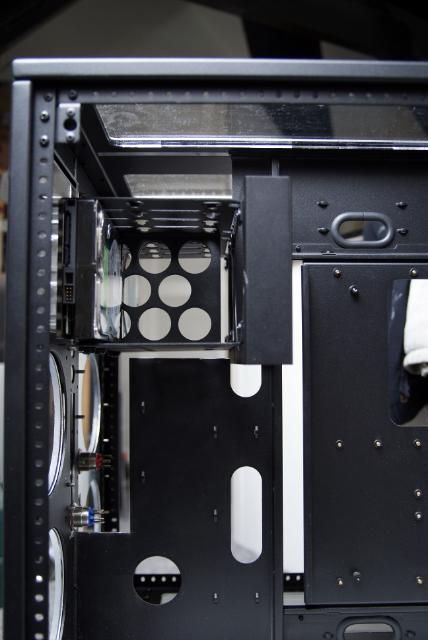
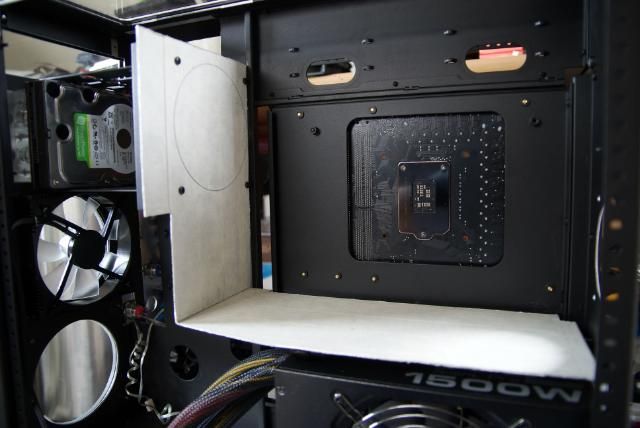
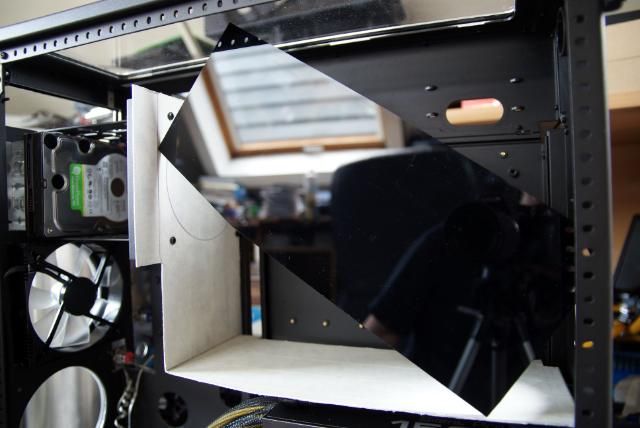
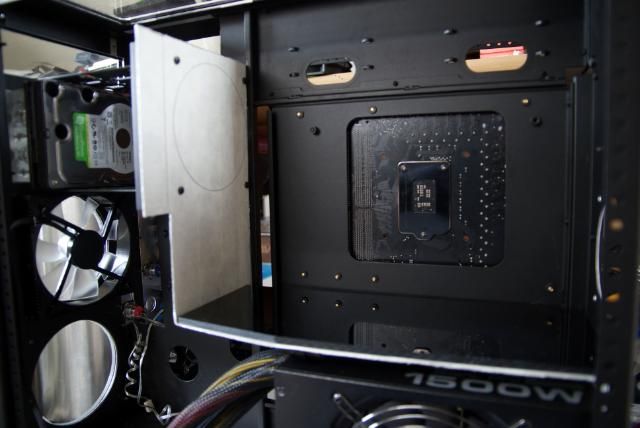
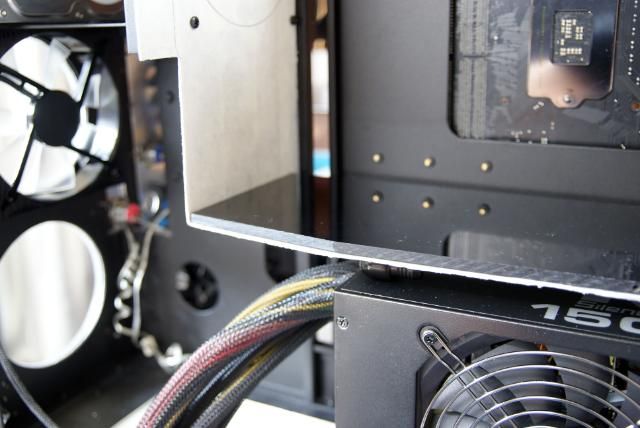
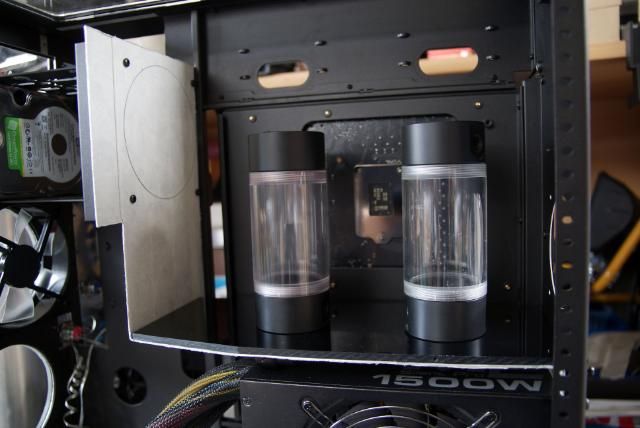
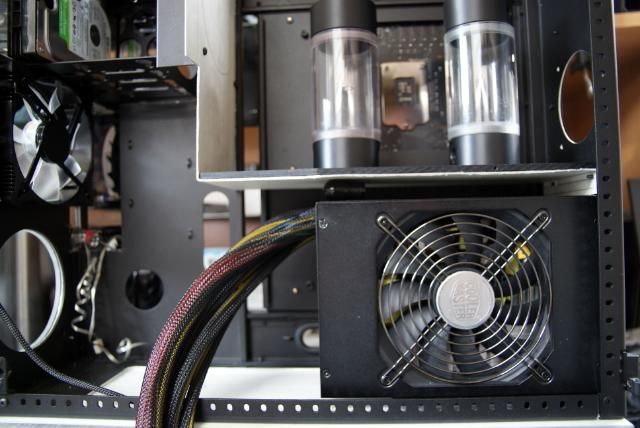
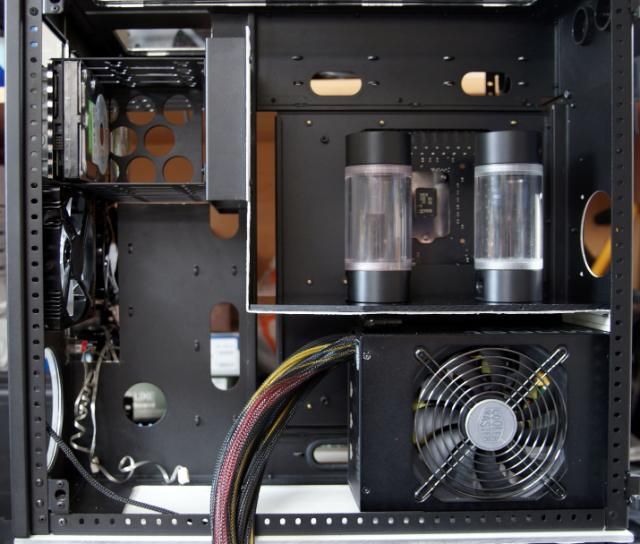
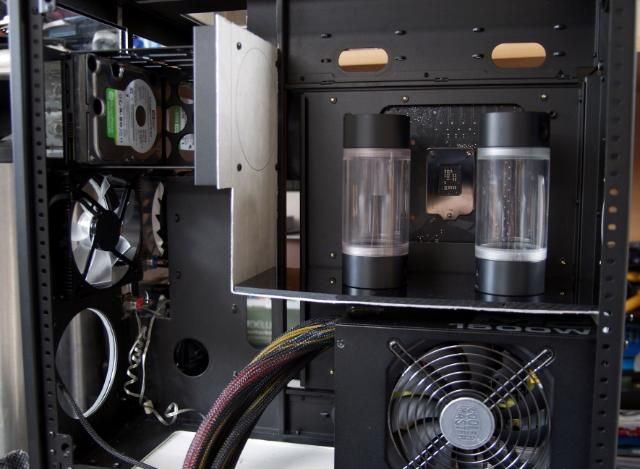
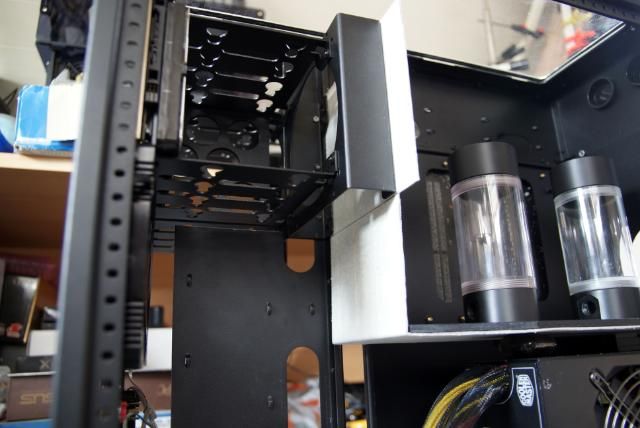
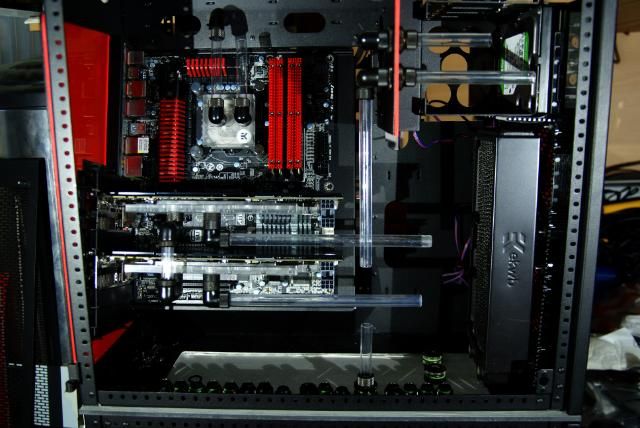
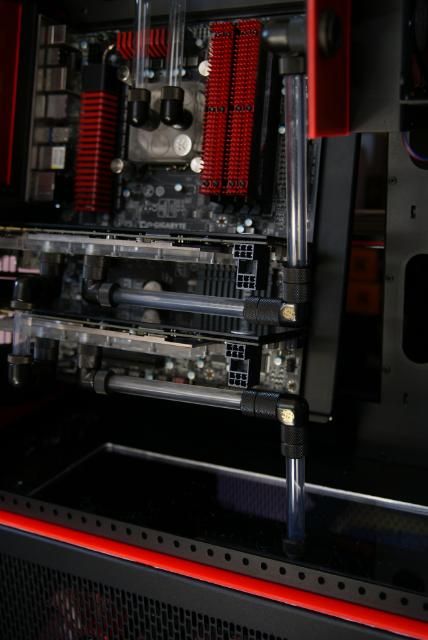
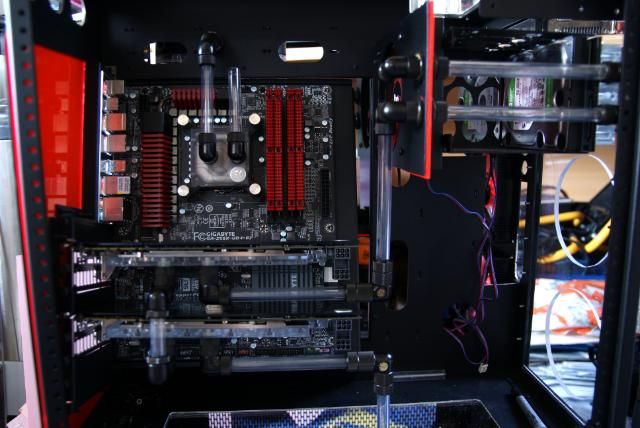
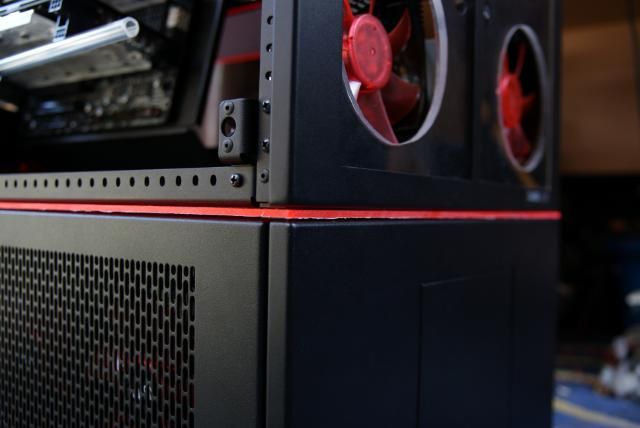
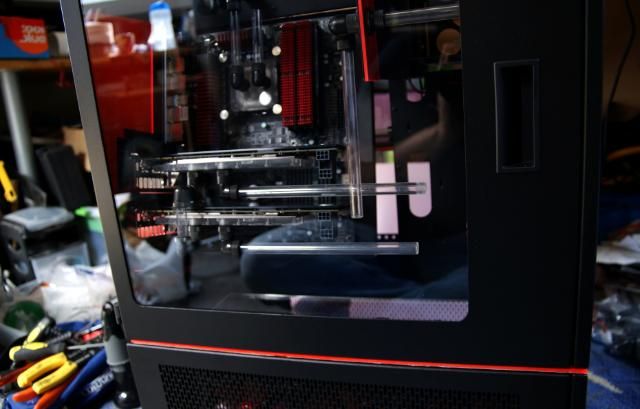
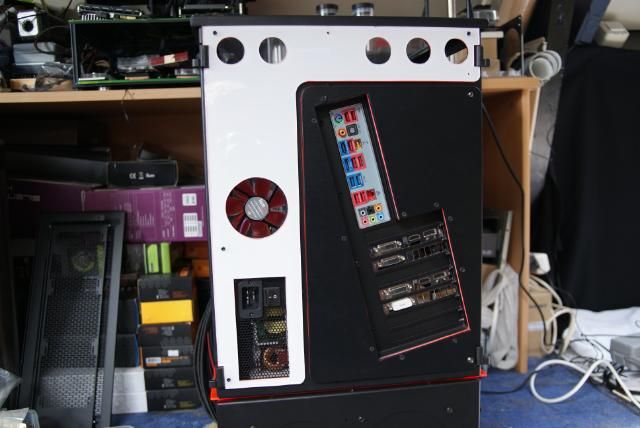
    After admiring the outside for some time, the inside
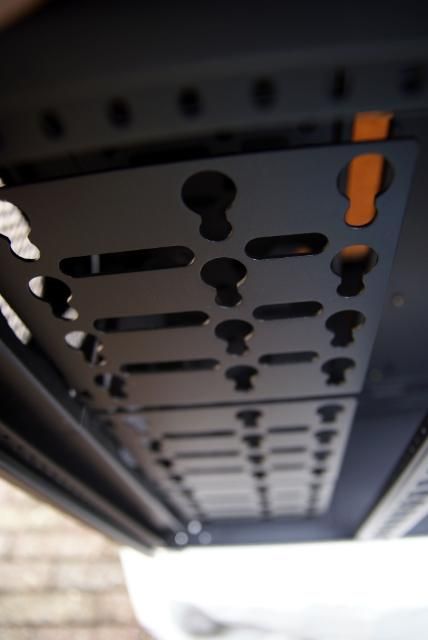
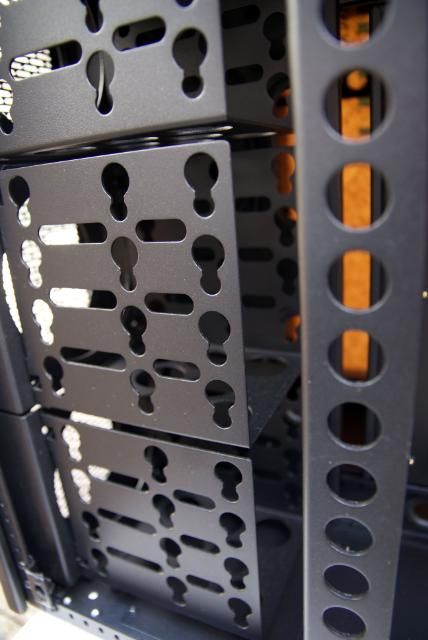
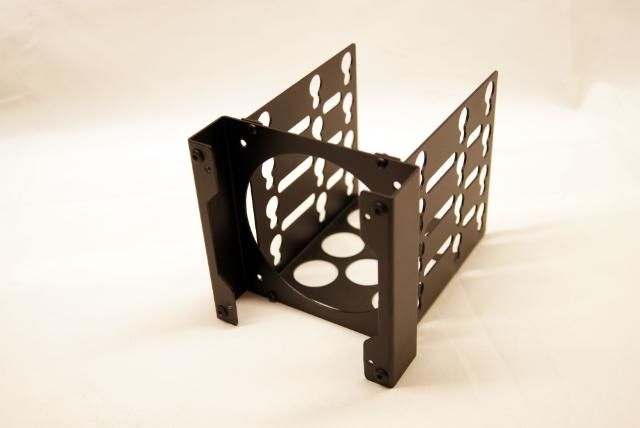
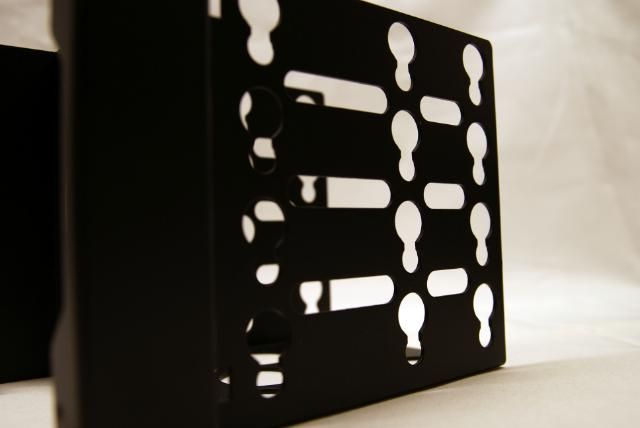
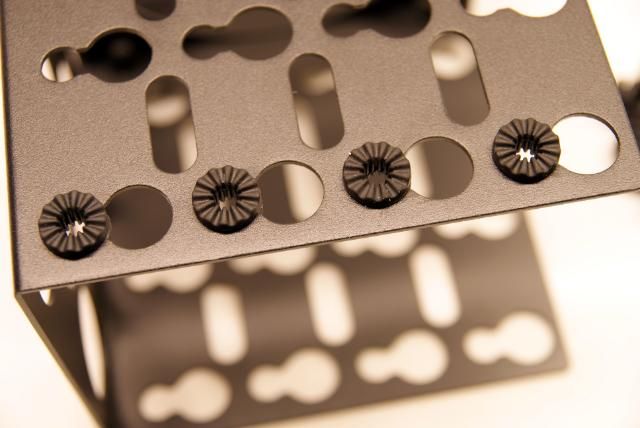
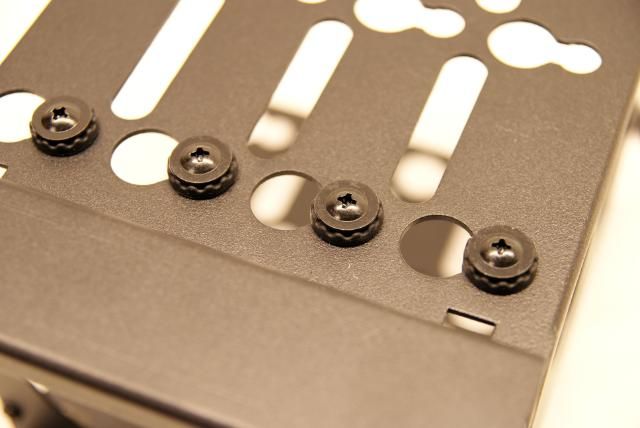
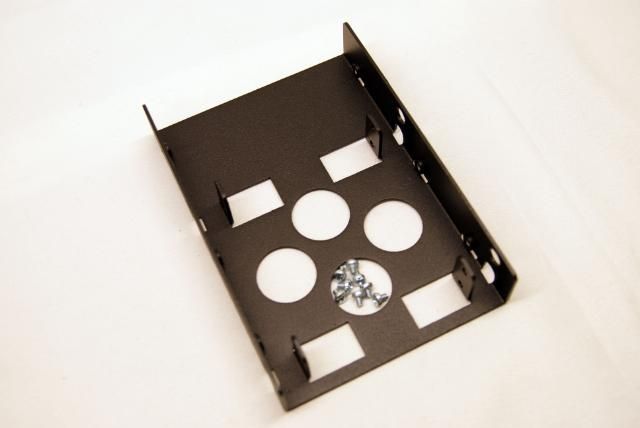
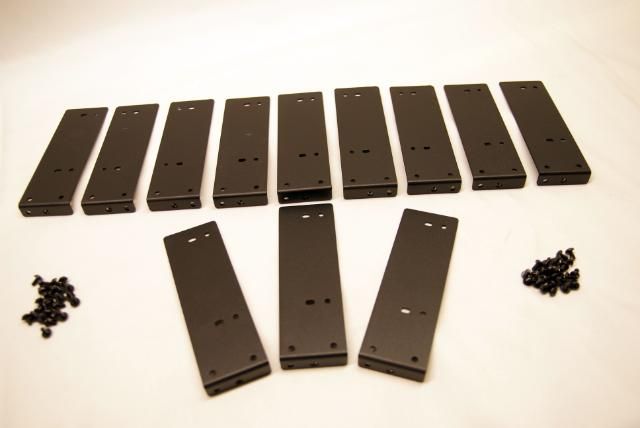
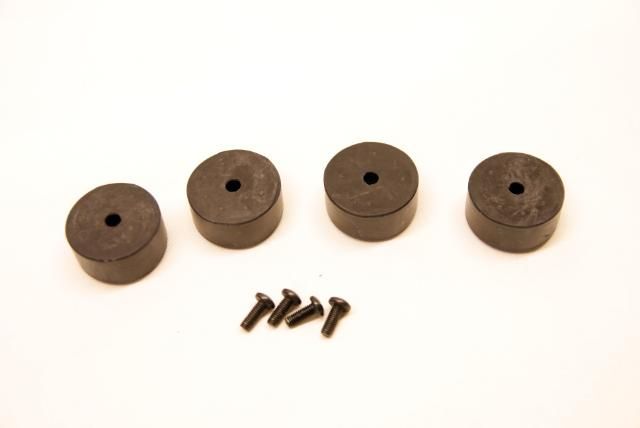
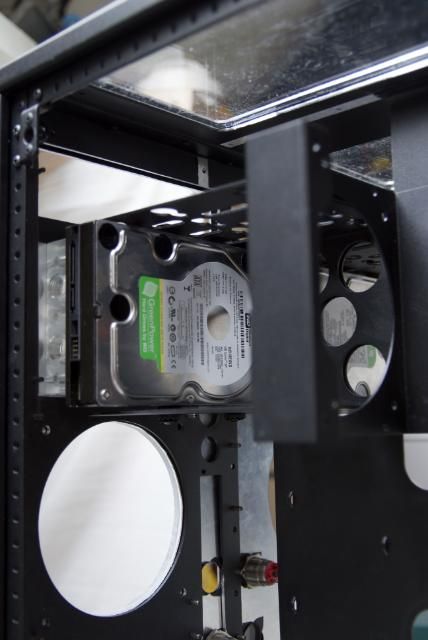
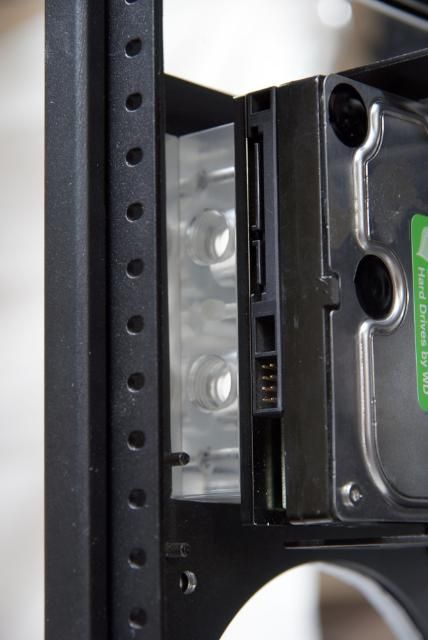


    With 3 HDD cages


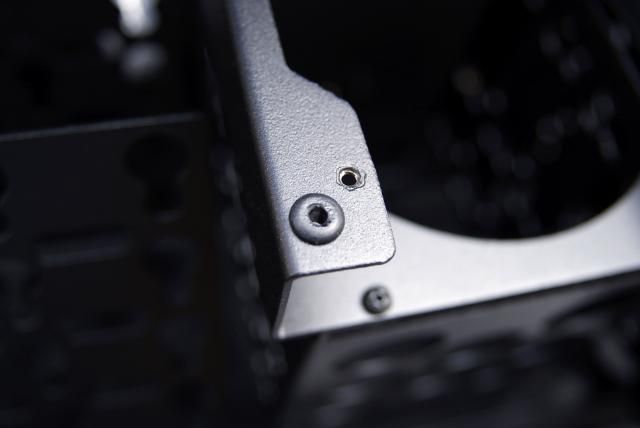
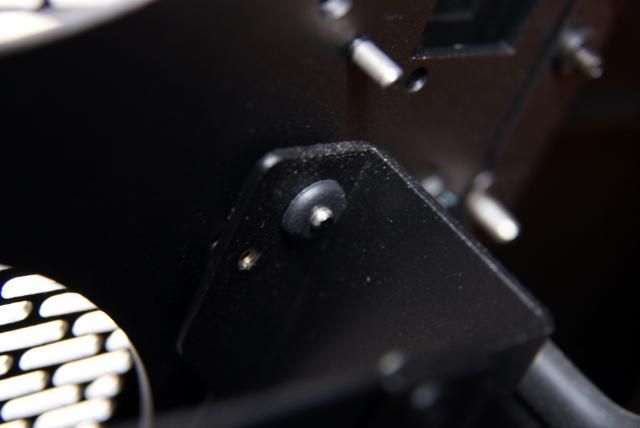
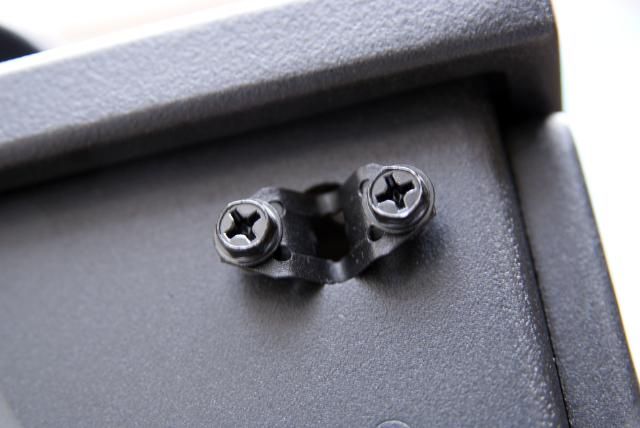
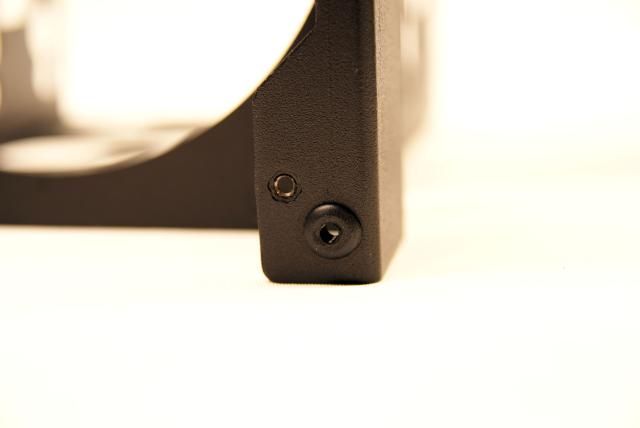
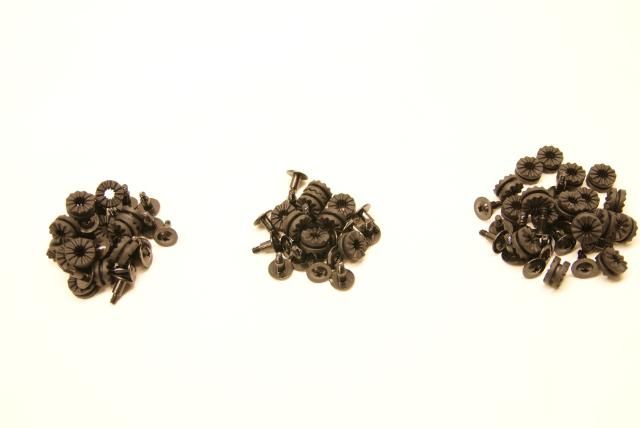
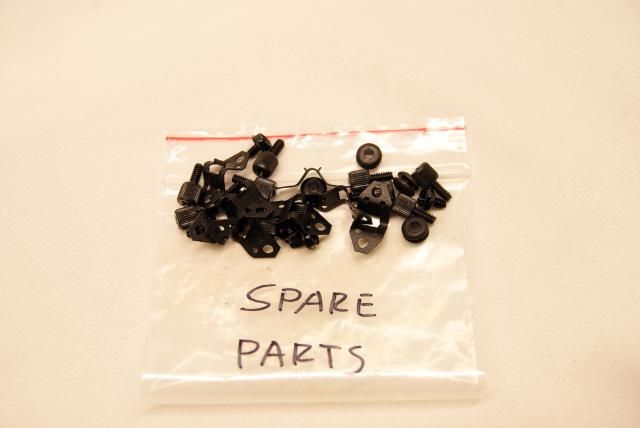
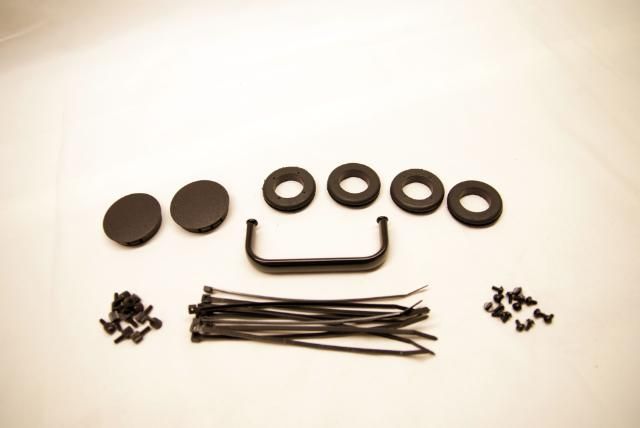
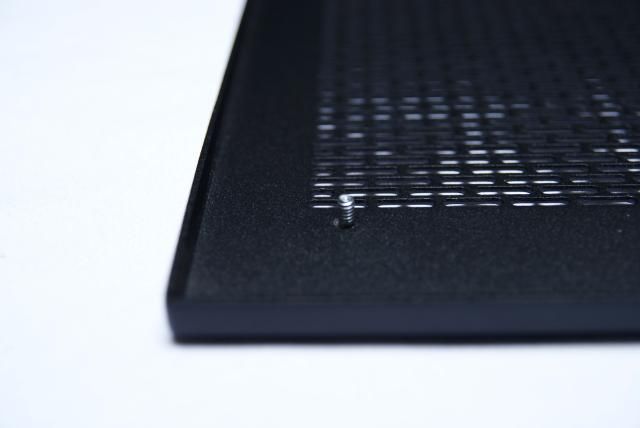
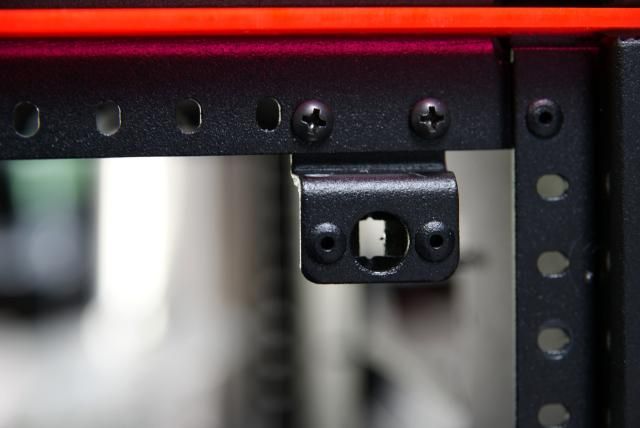
    Attached with screws and rubbers


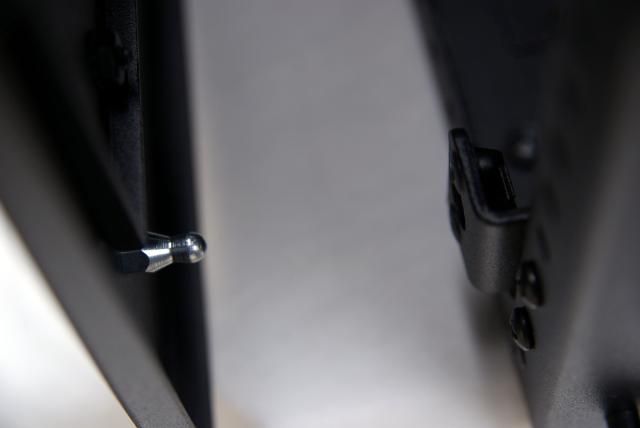
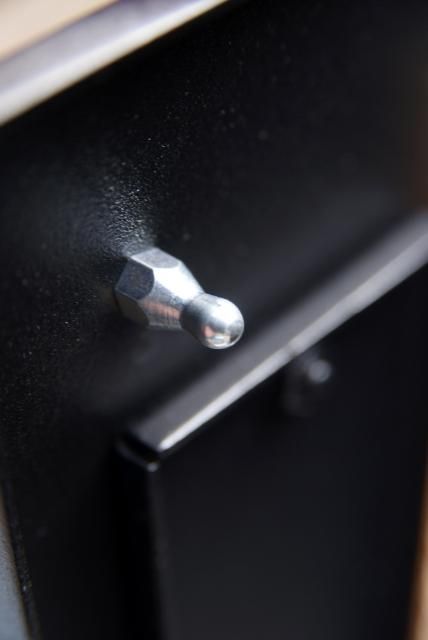
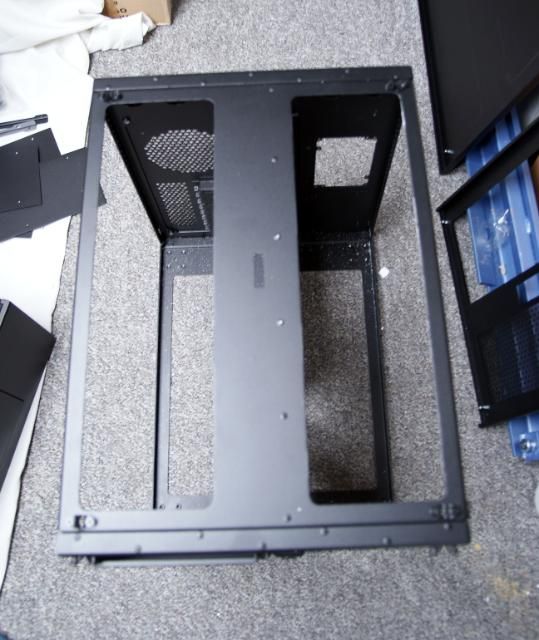
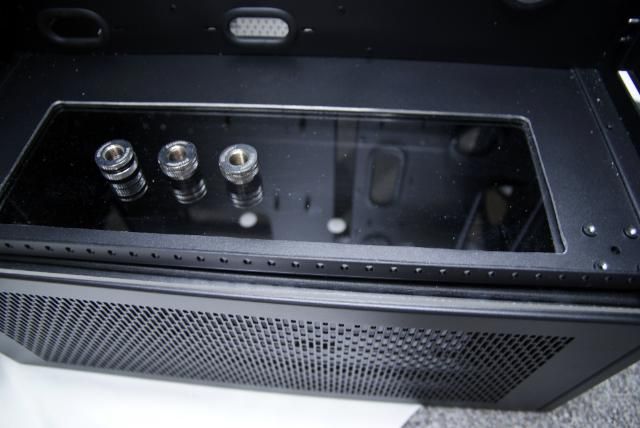
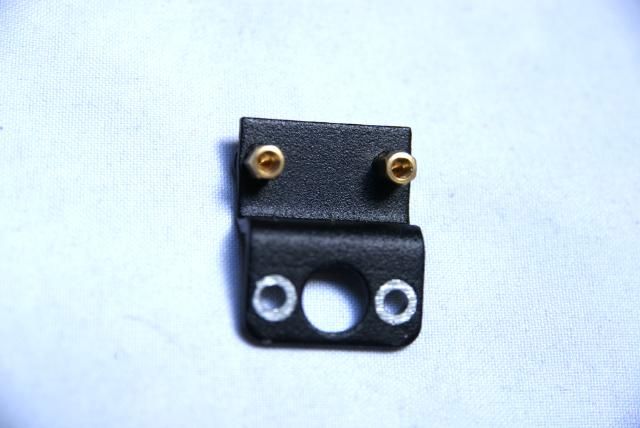
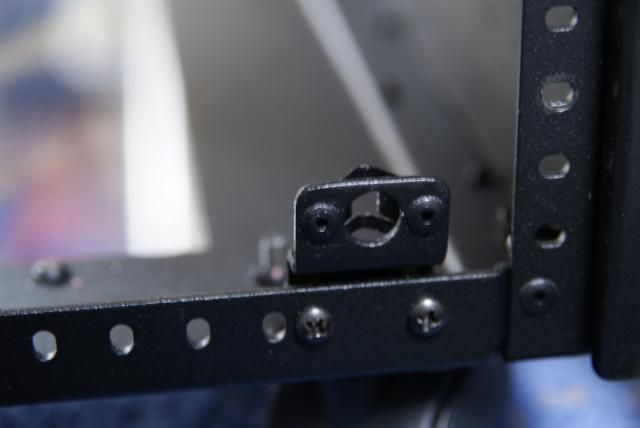
    Pins to hold everything in place


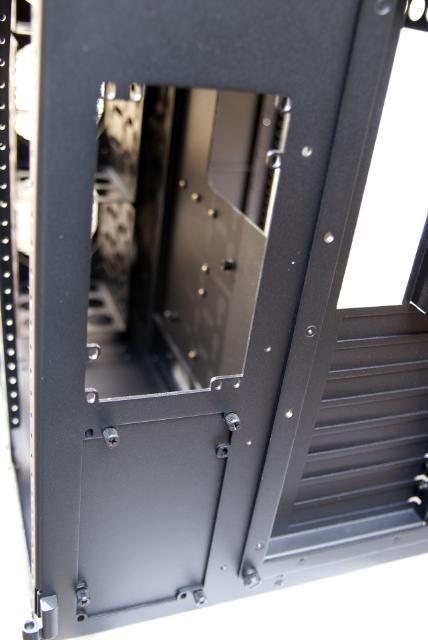
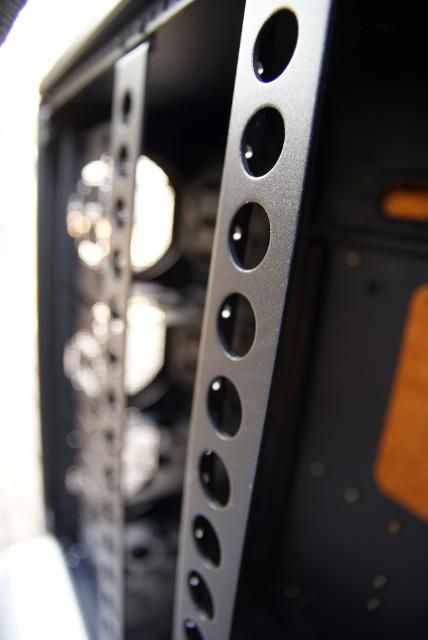
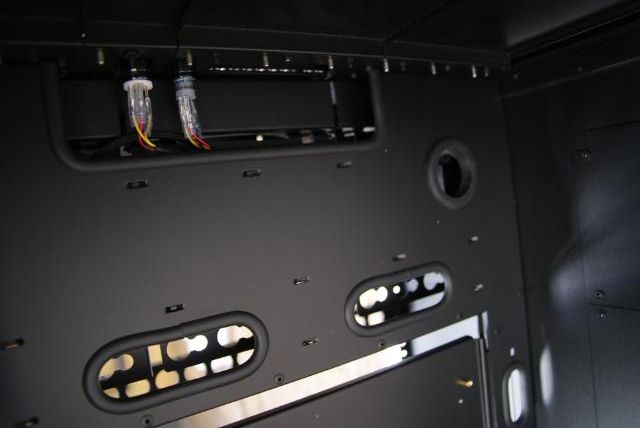
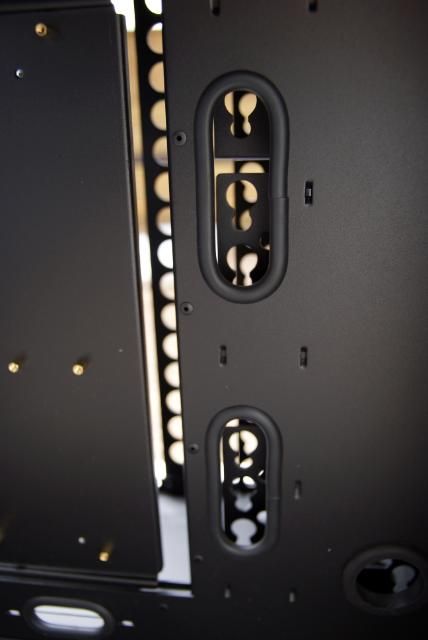
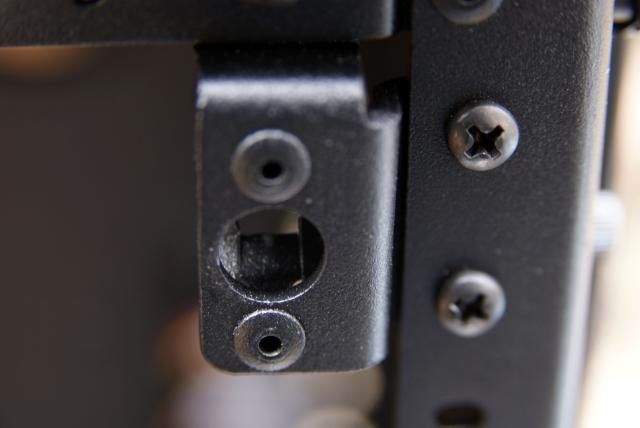
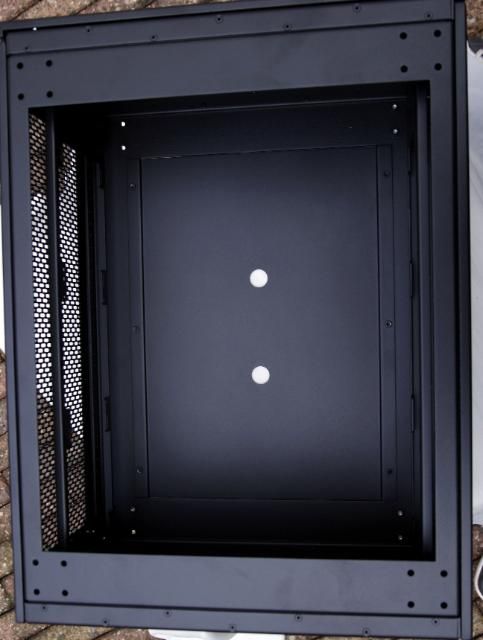
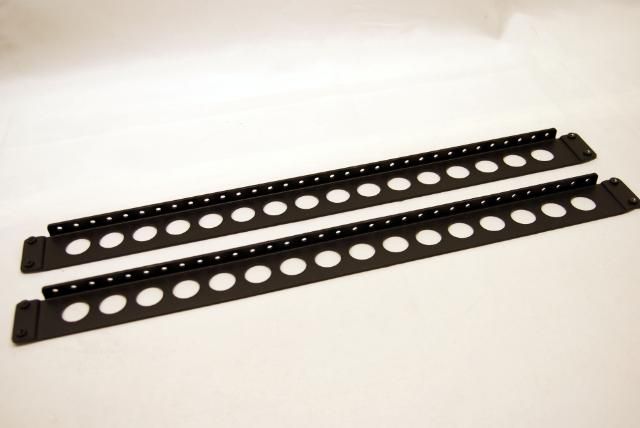
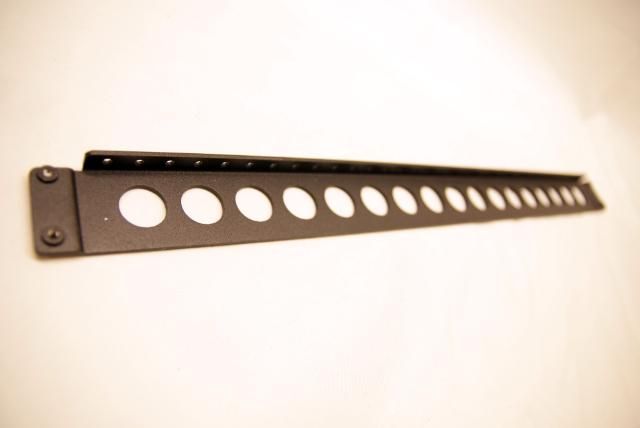
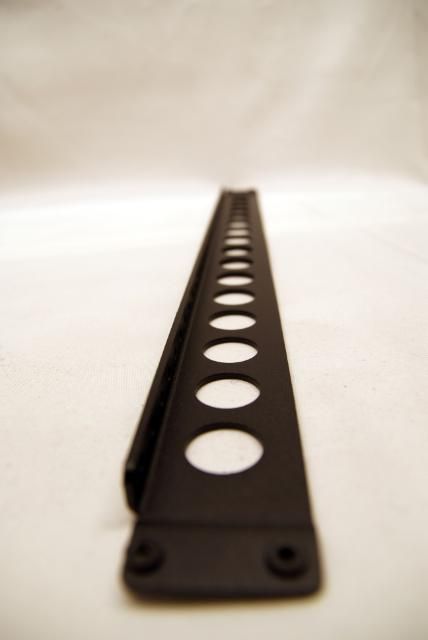
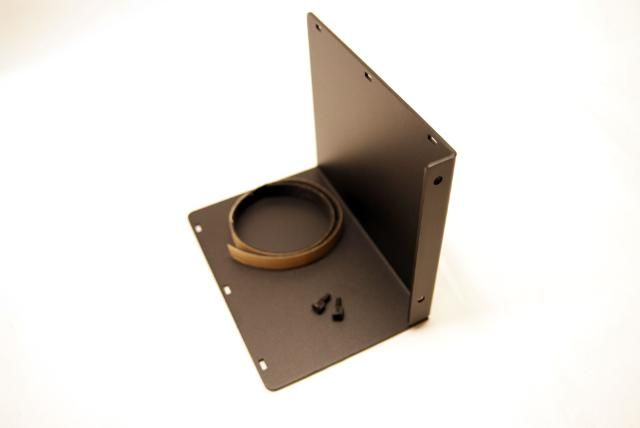
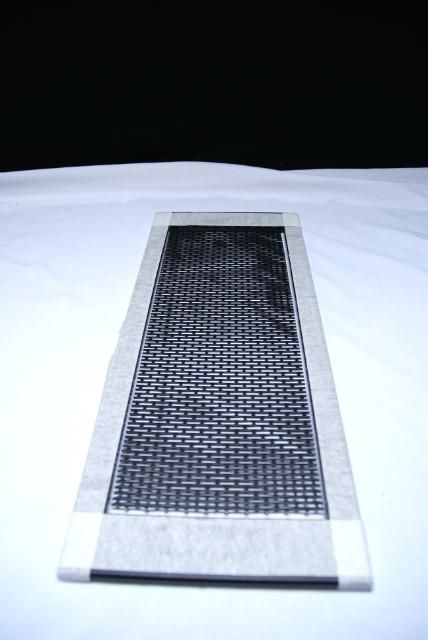
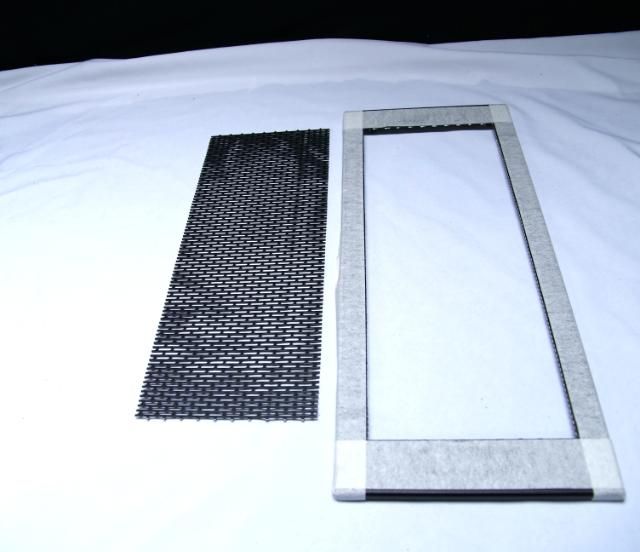
    With two vertical accessory mounts


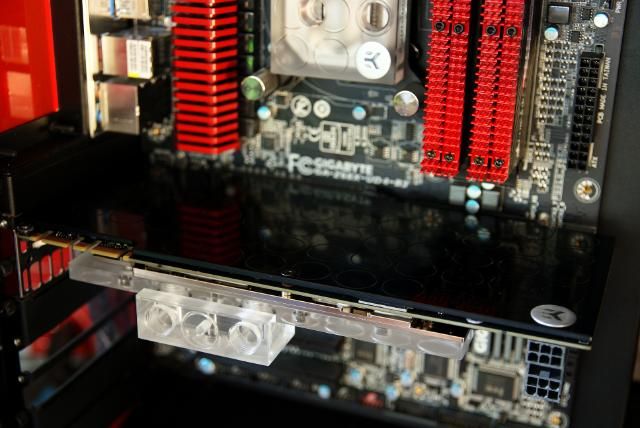
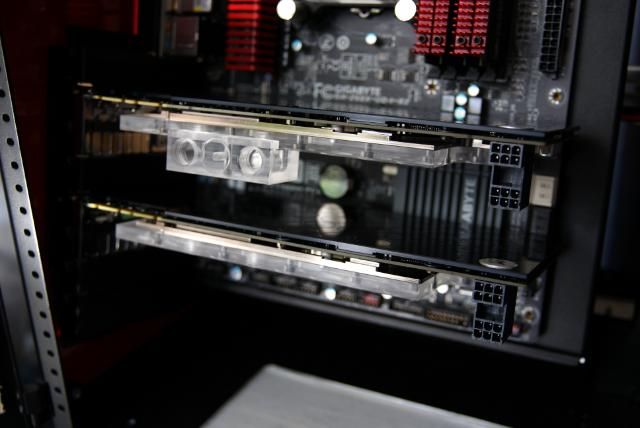
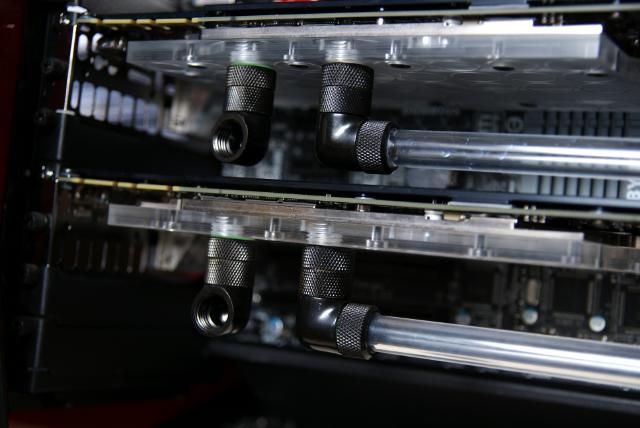
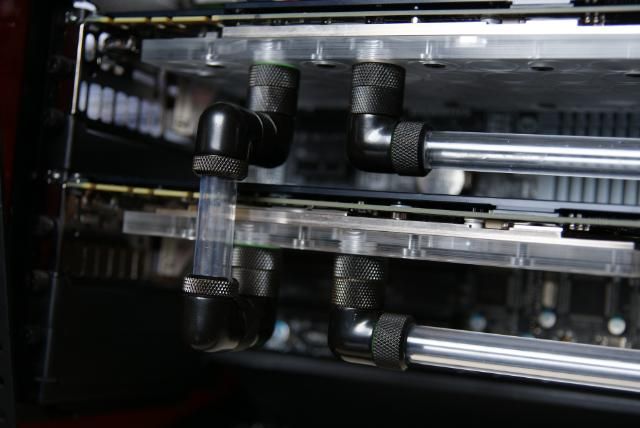
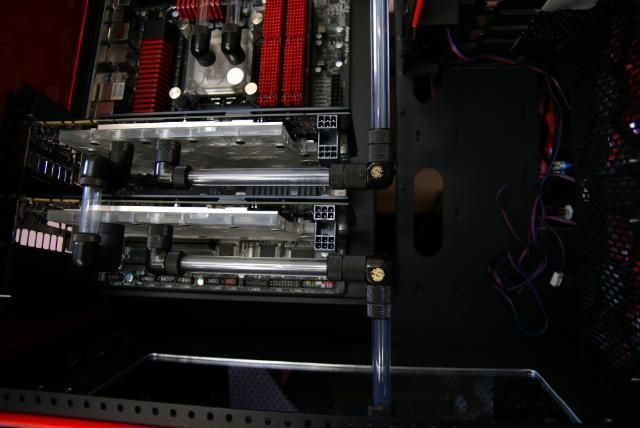
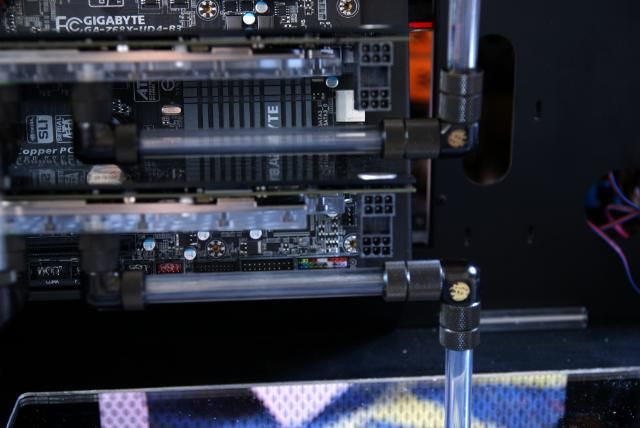
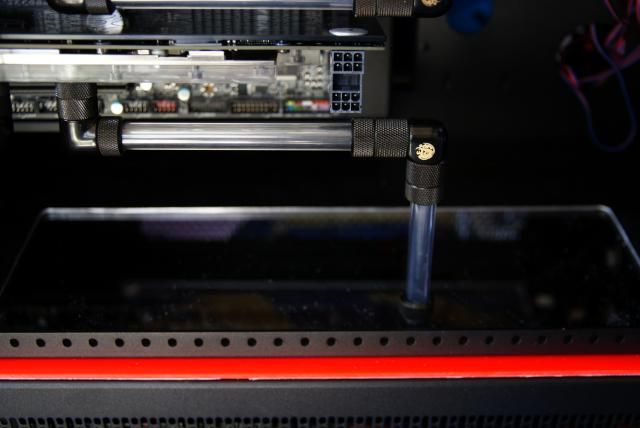
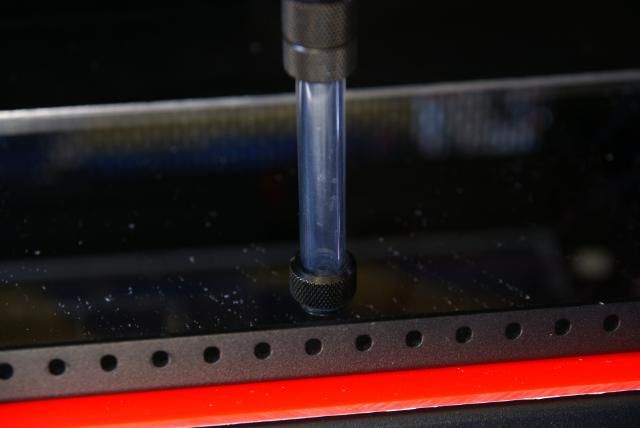
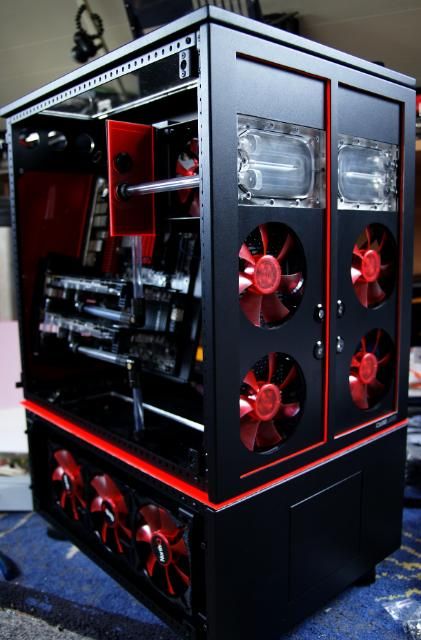
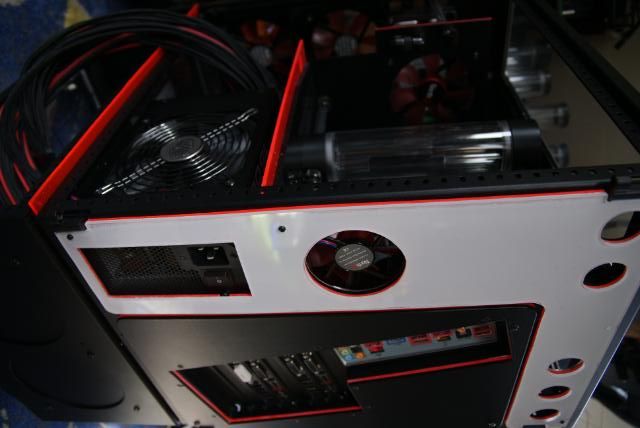
    Once everything is removed there is a lot of space for a nice WC setup


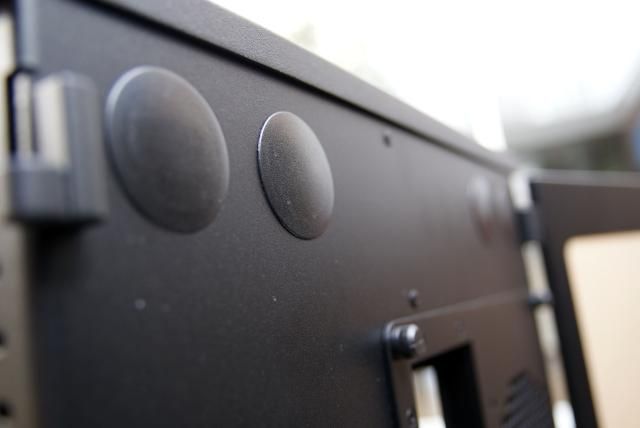
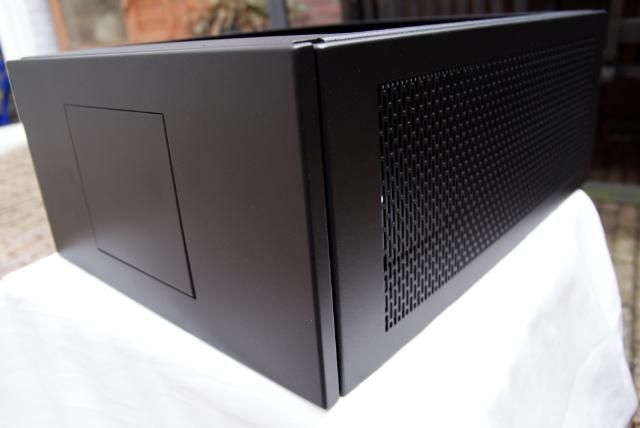
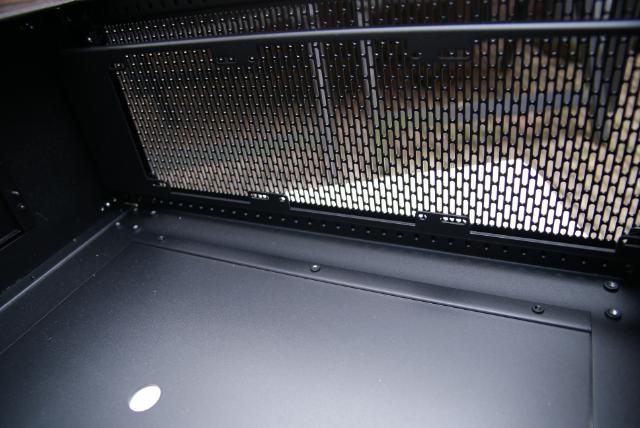
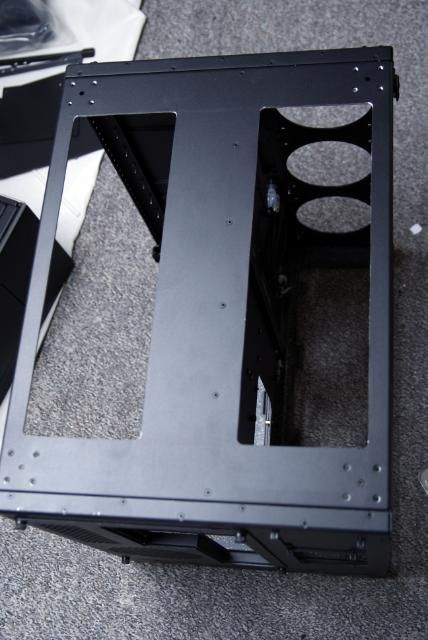
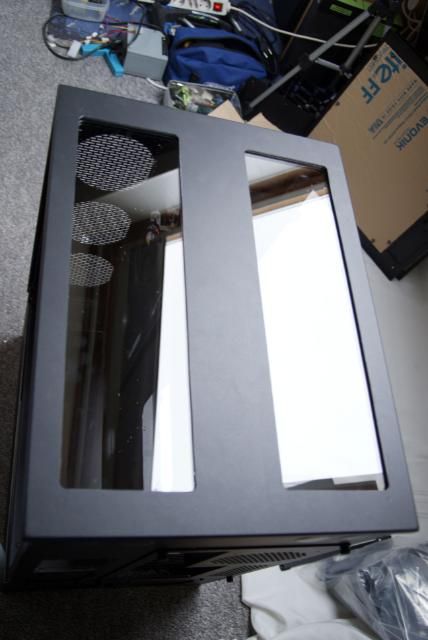
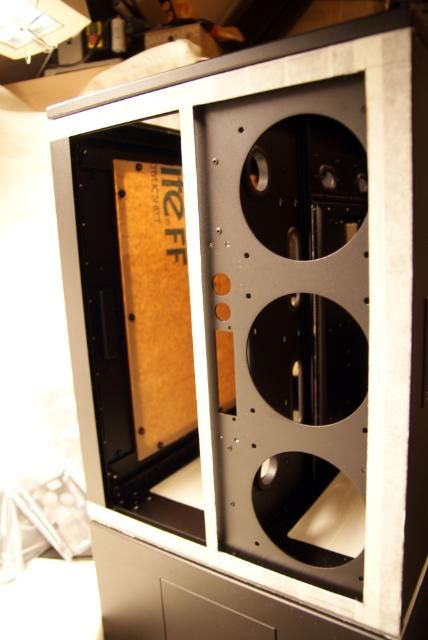
    Other side also perfect quality


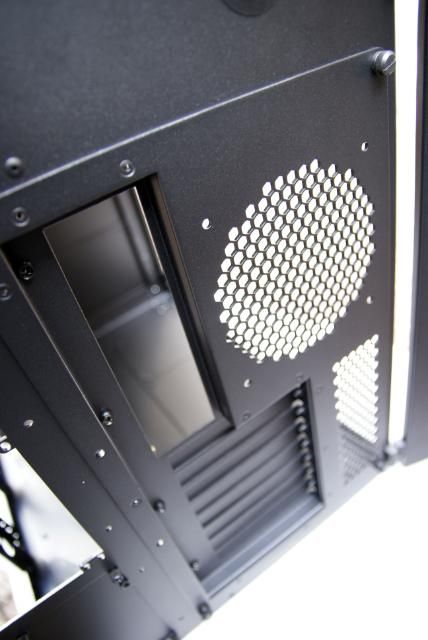
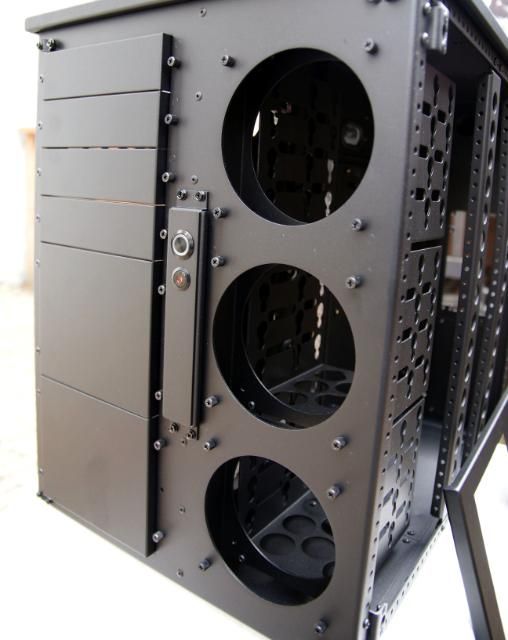
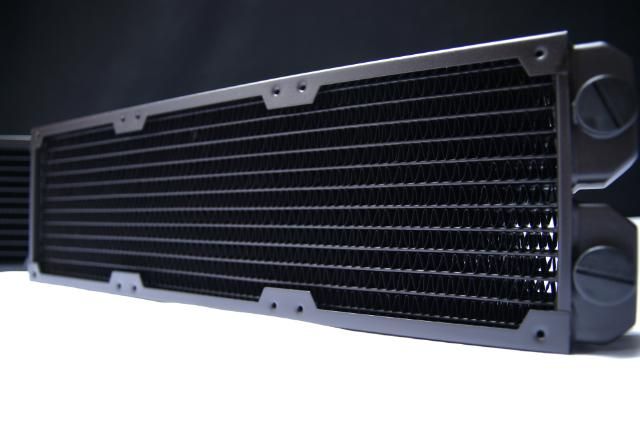
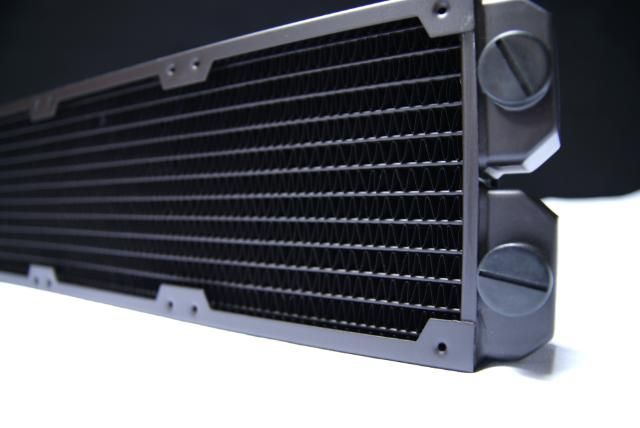
    Place at the bottom for a 360 radiator


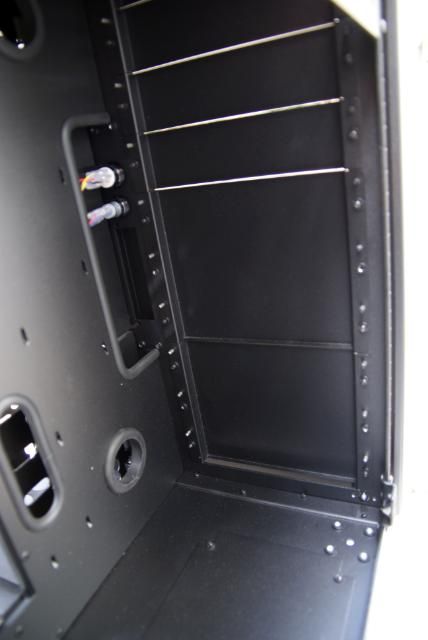
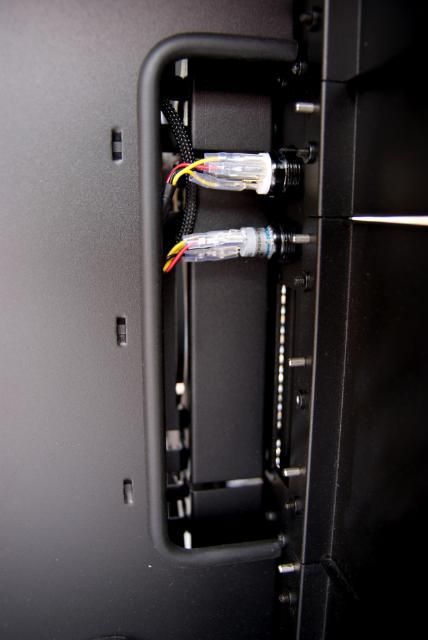
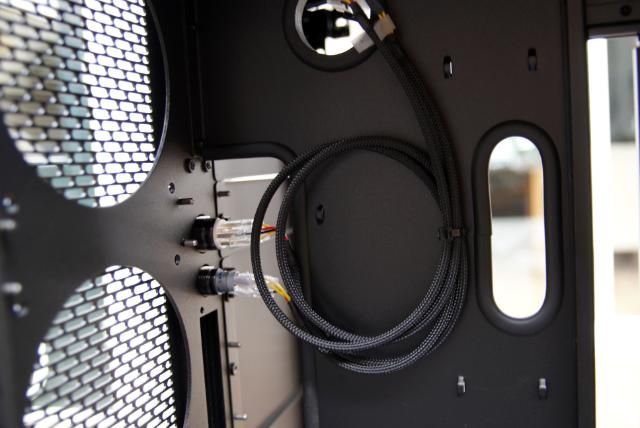
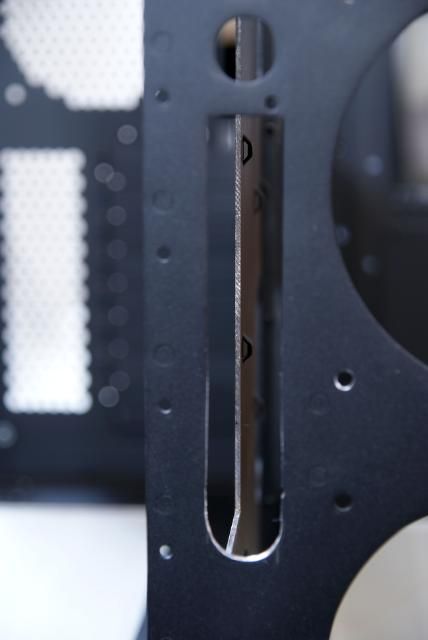
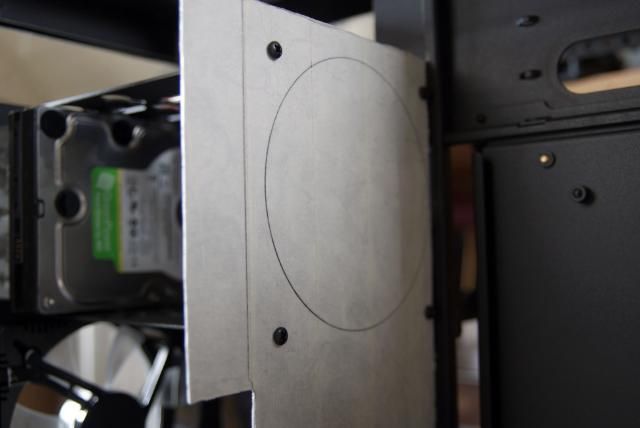
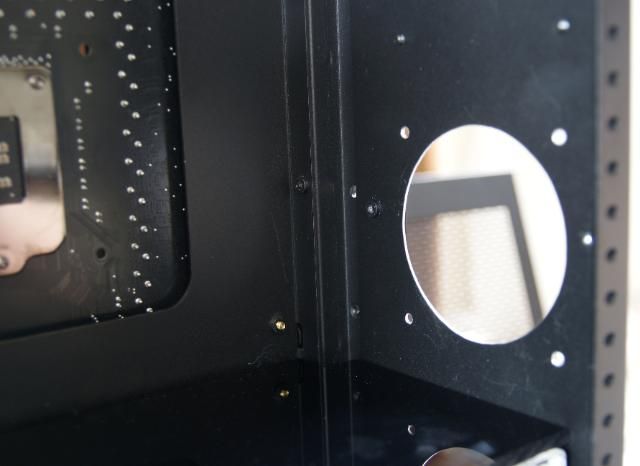
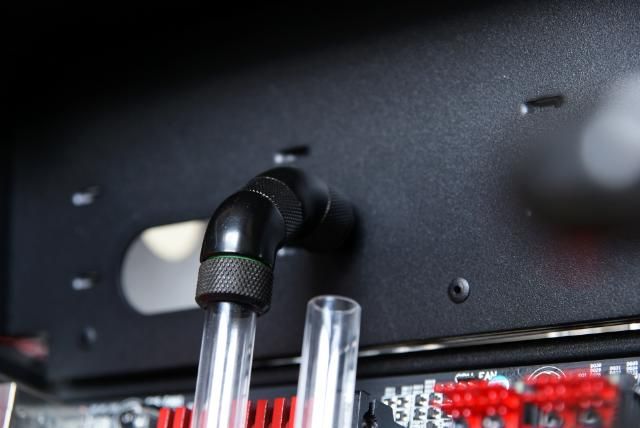
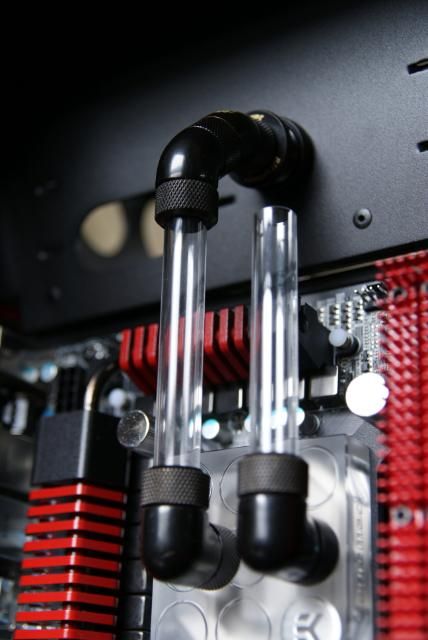
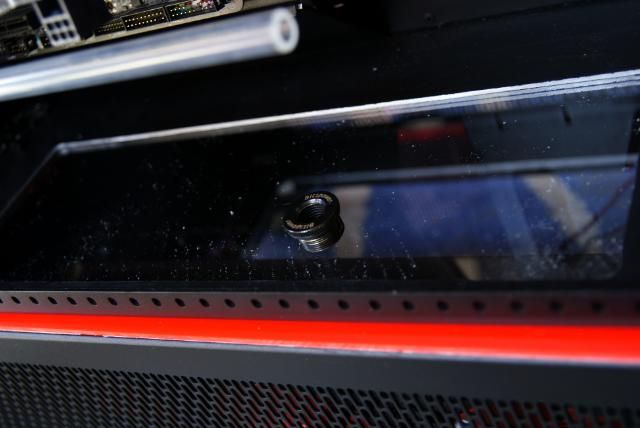
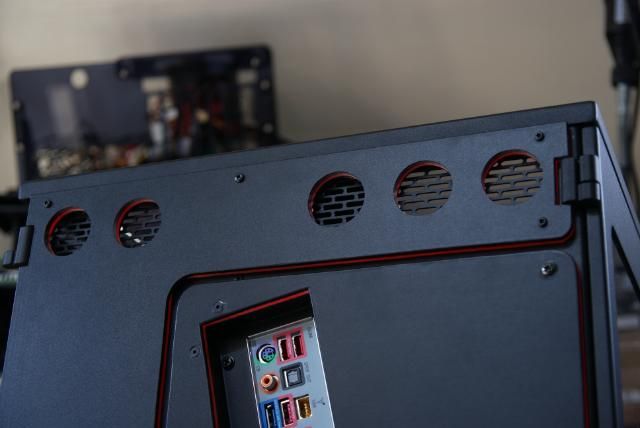
    Passages for tubes and / or wiring
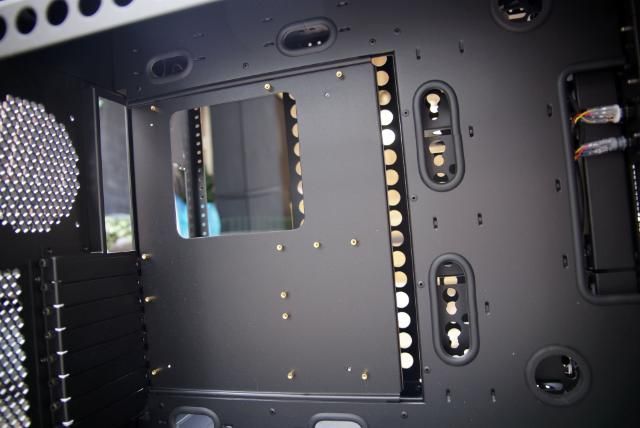
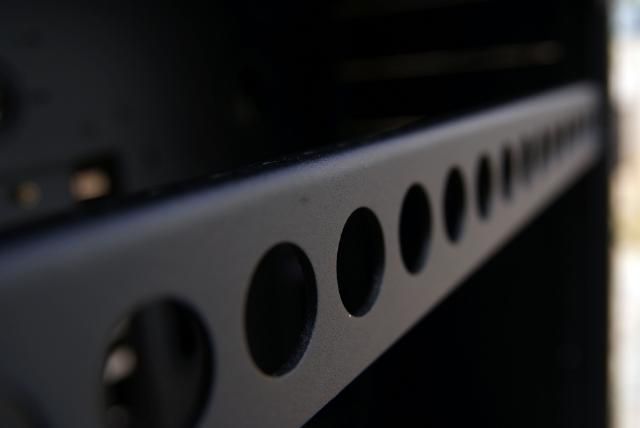
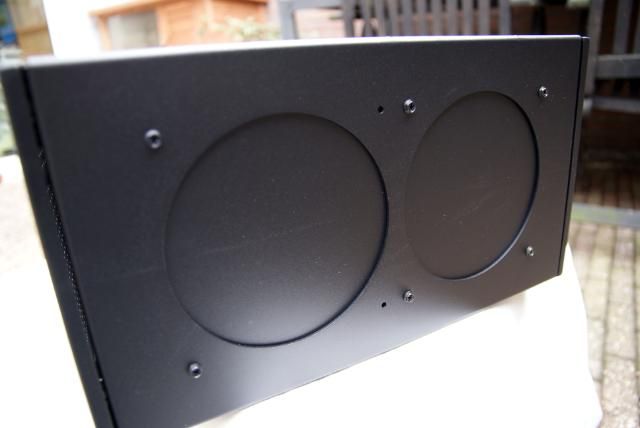
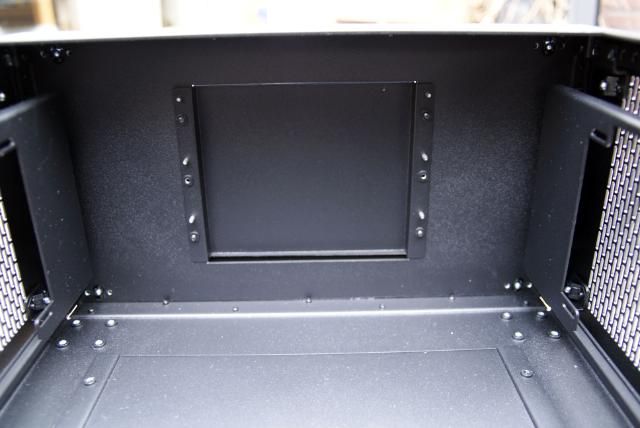
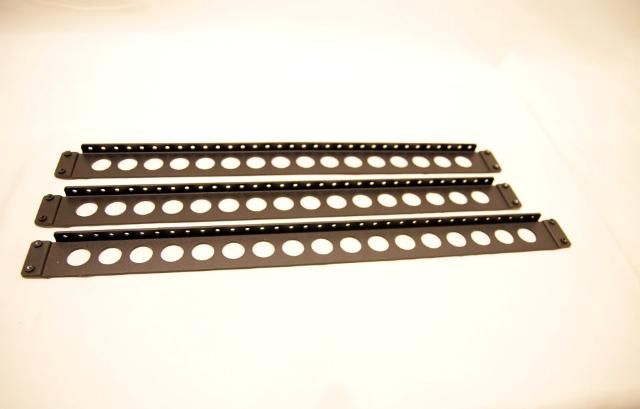
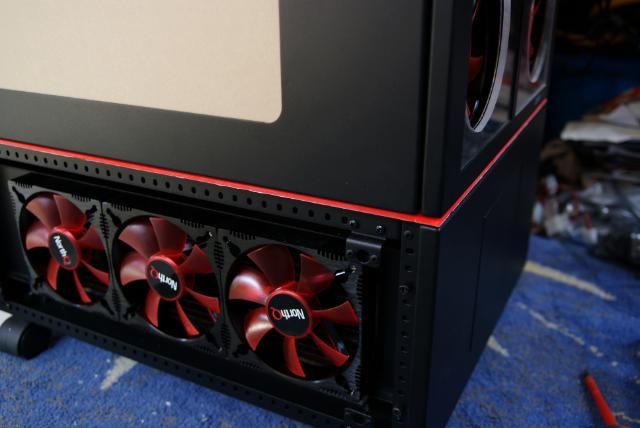
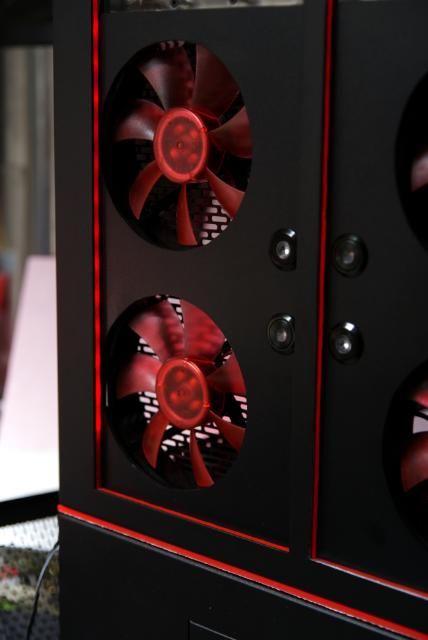
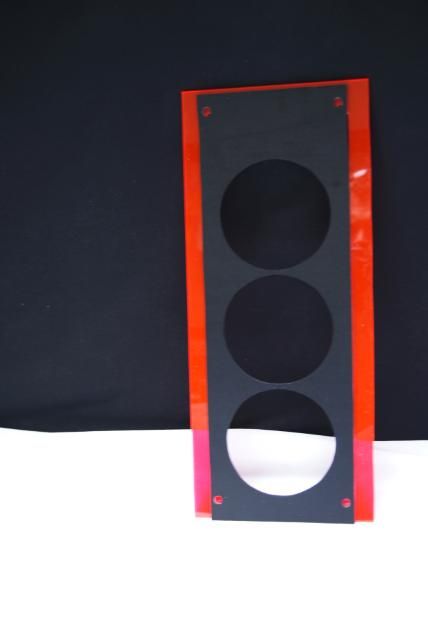
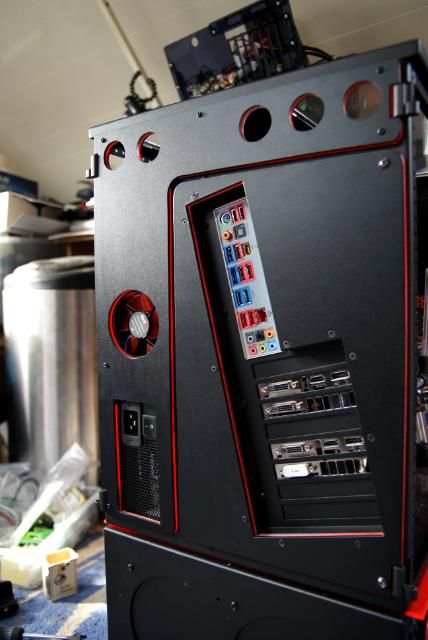


    8 Slots is enough


    And enough space for various purposes


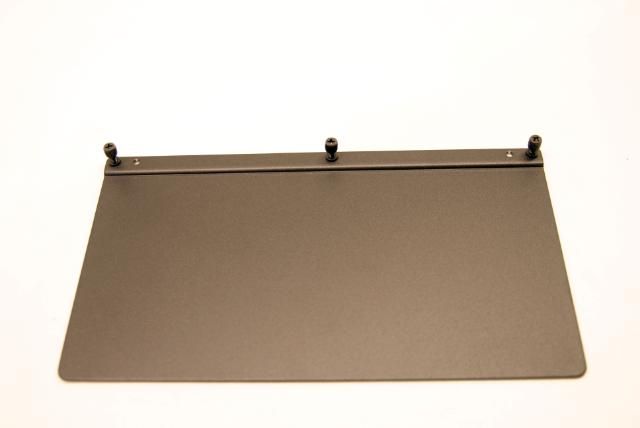
    Also with a Horizontal Accessory Mount


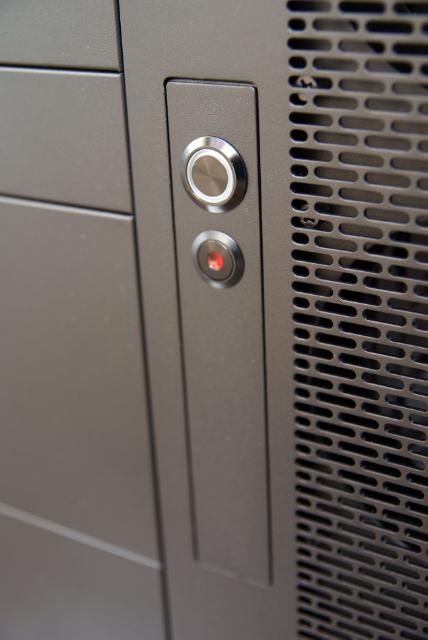
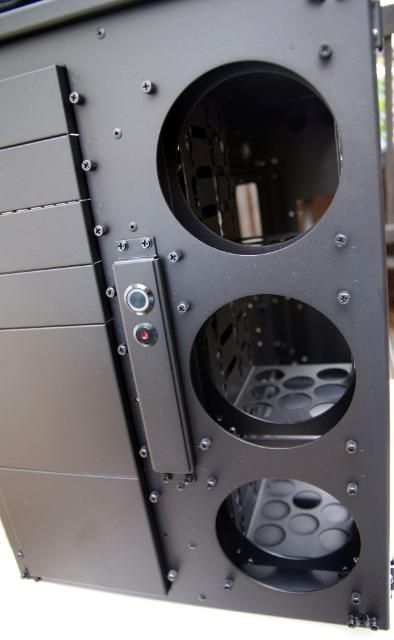
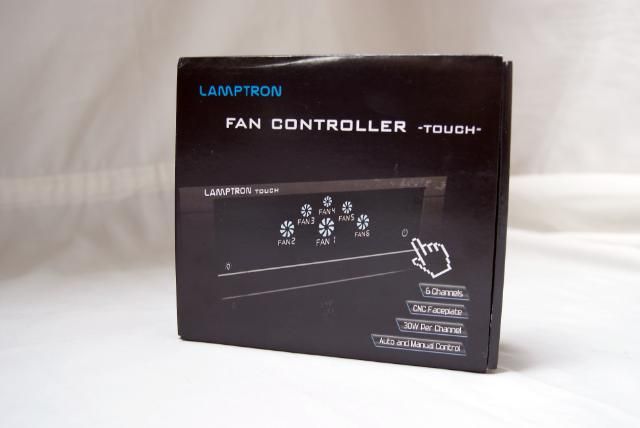
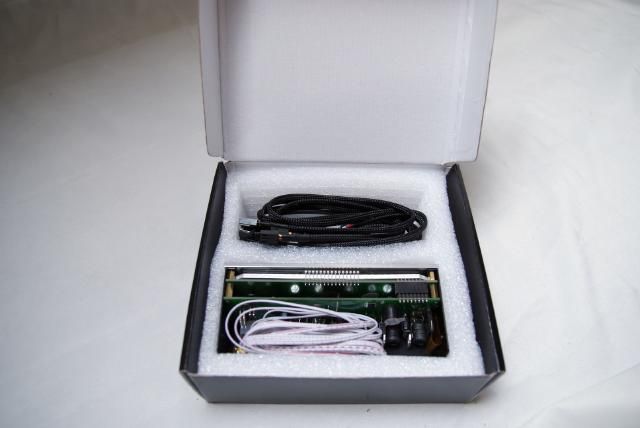
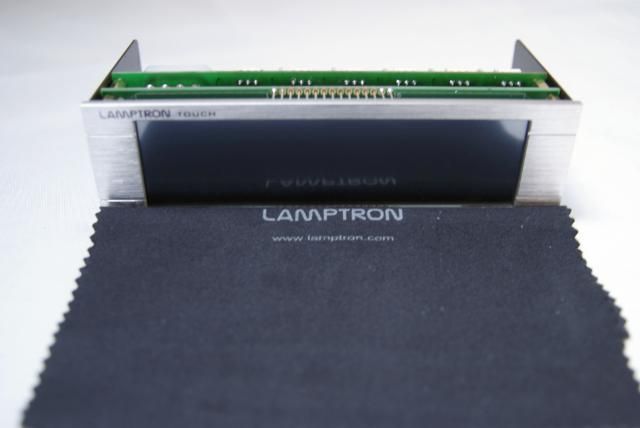
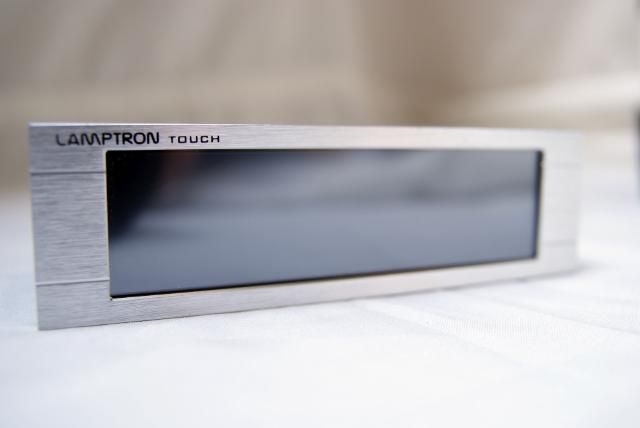
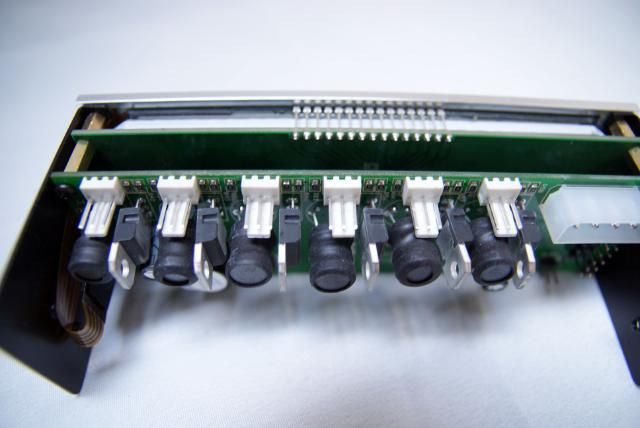
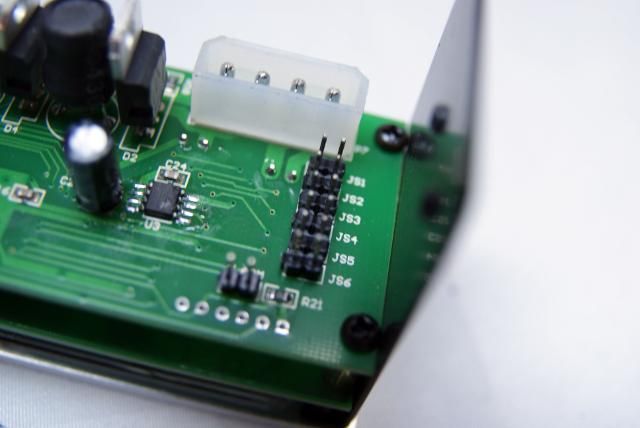
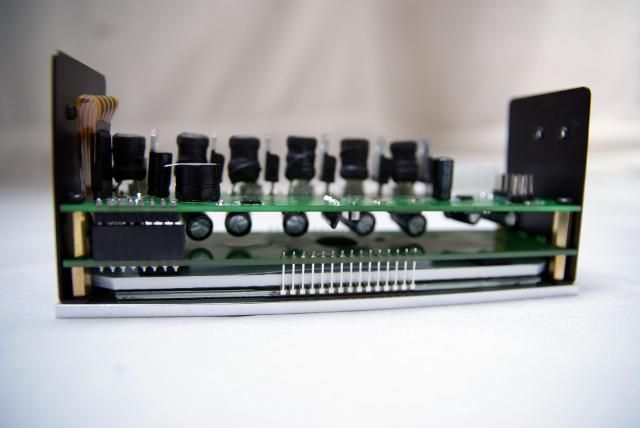
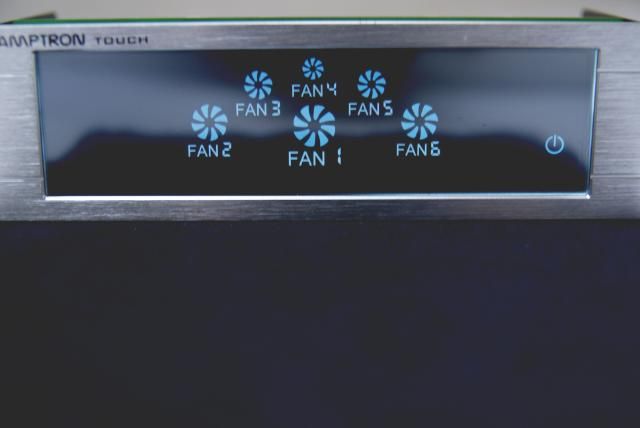
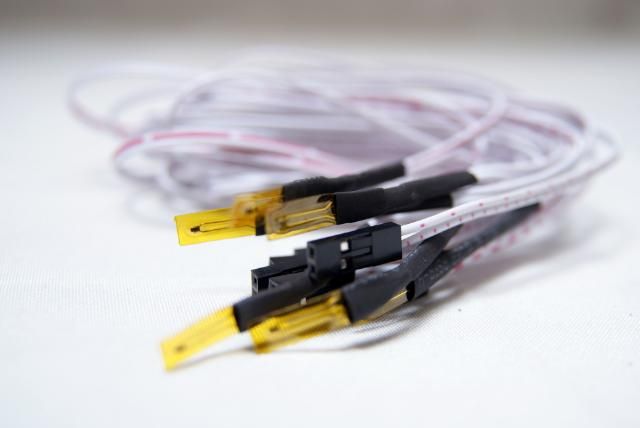
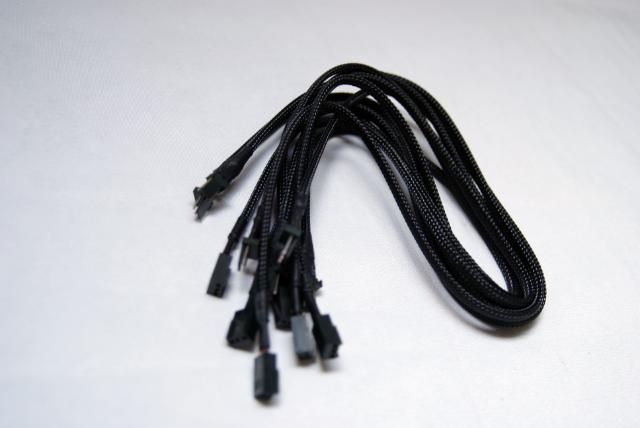
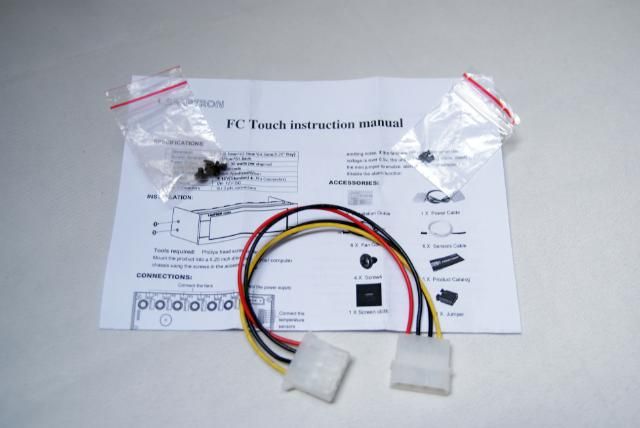
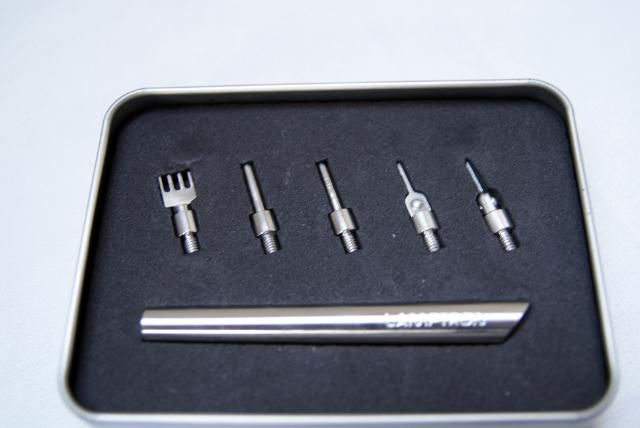
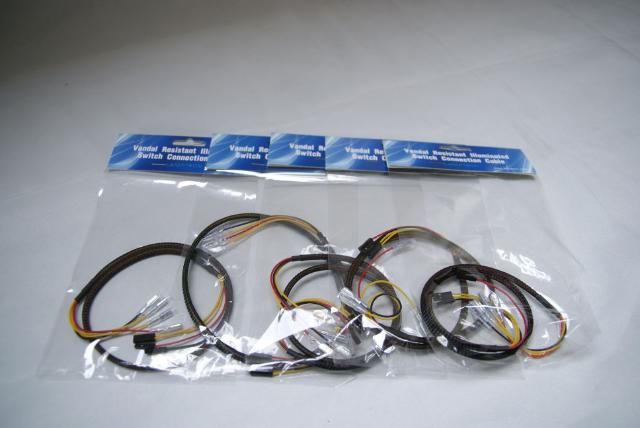
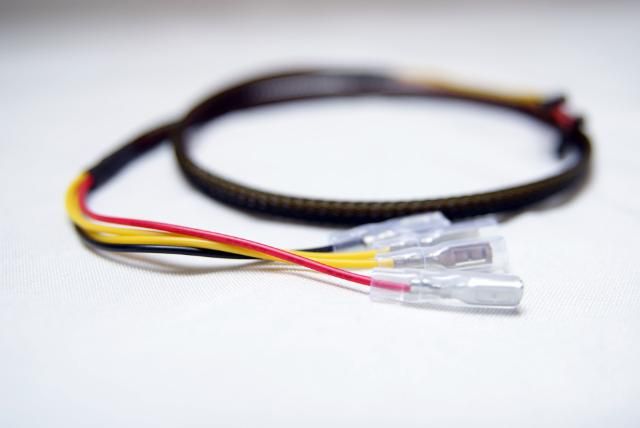
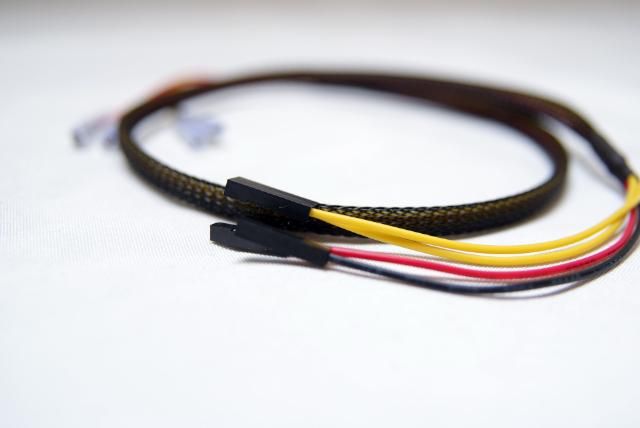
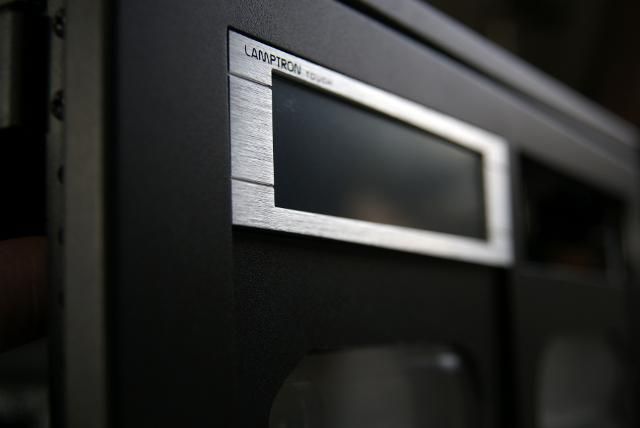
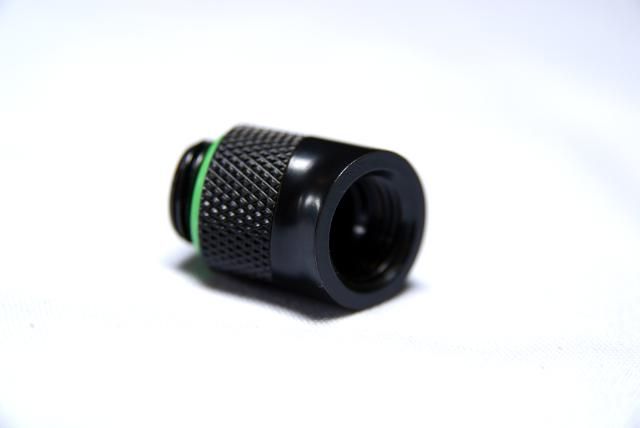
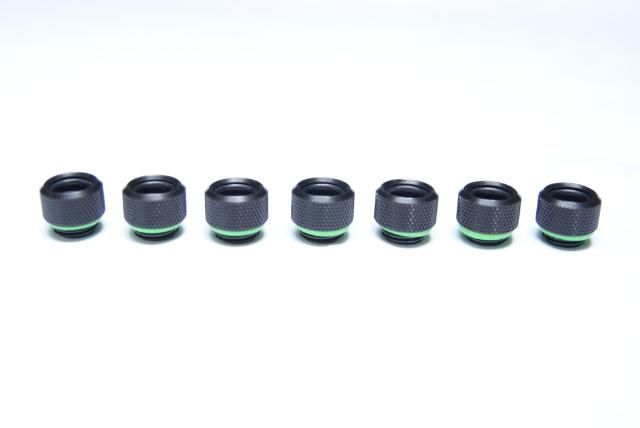
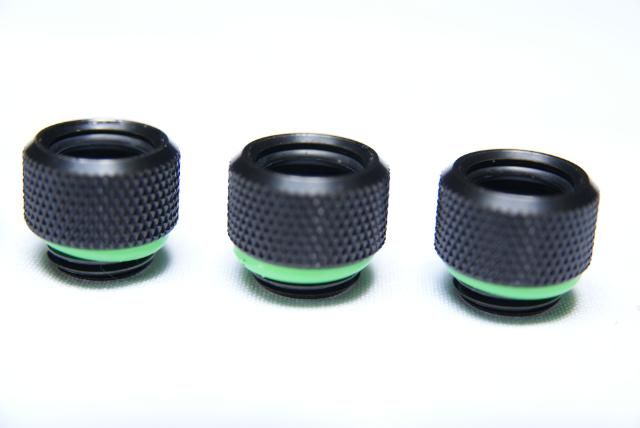
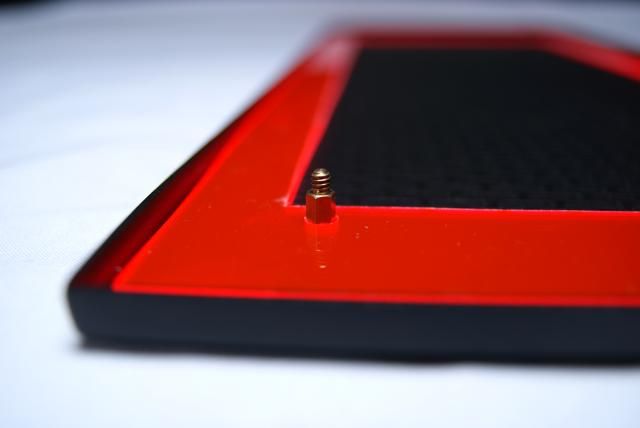
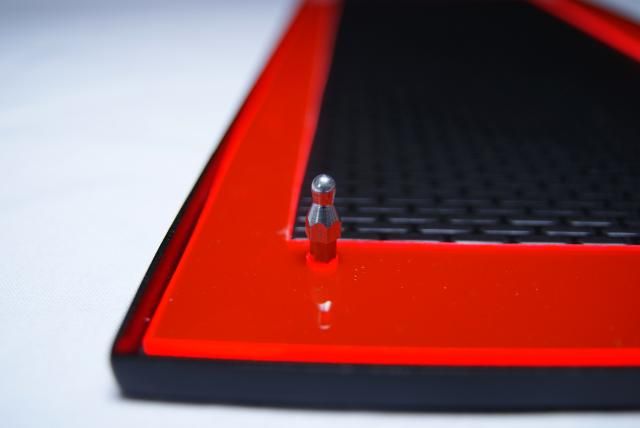
    And included 2x Lamptron switches which also perfectly finished


    Already sleeved


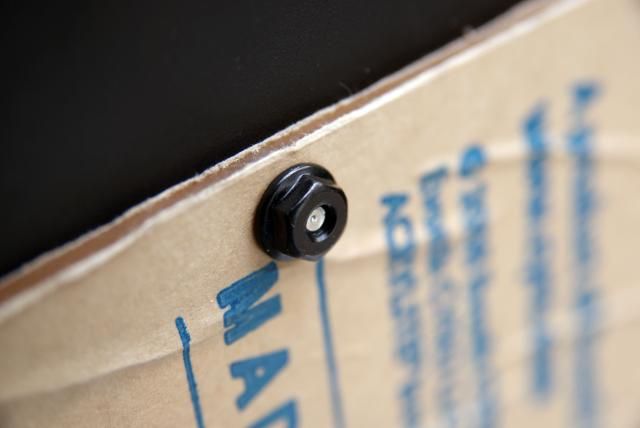
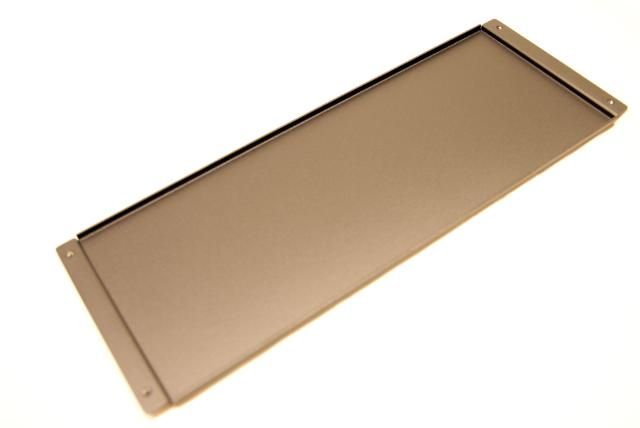
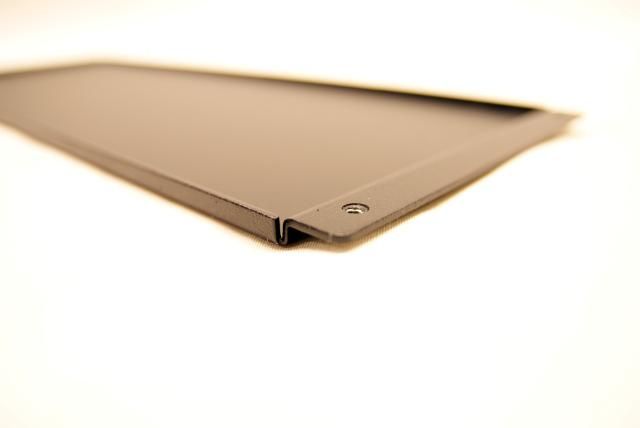
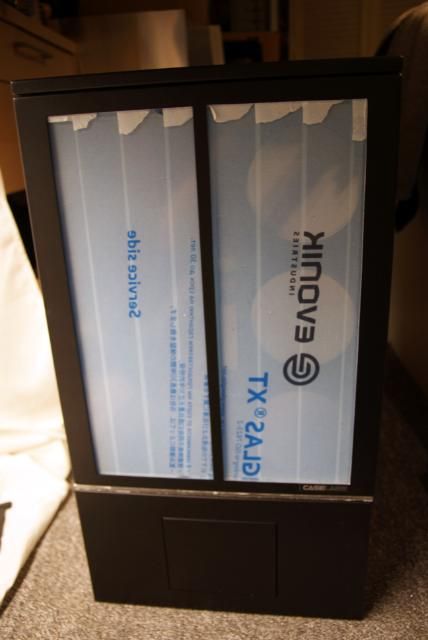
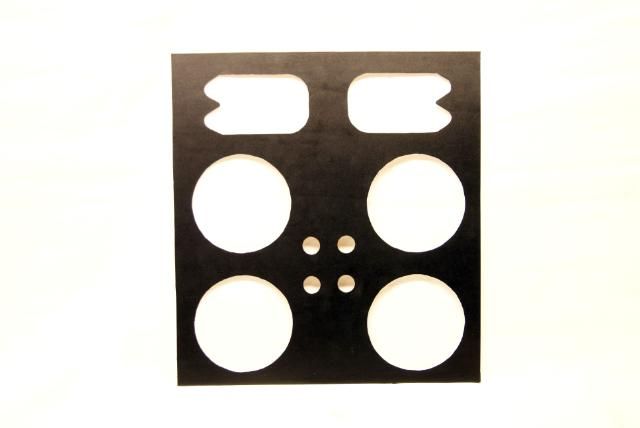
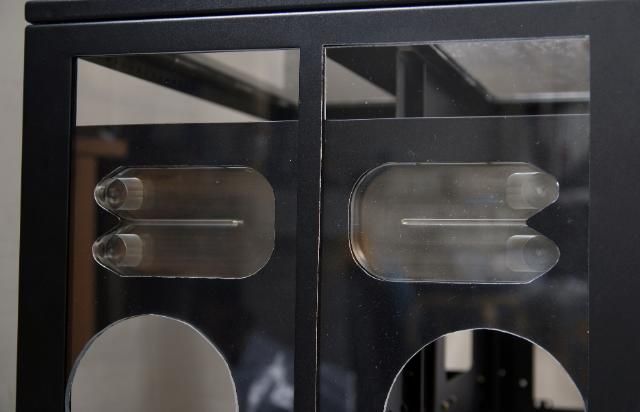
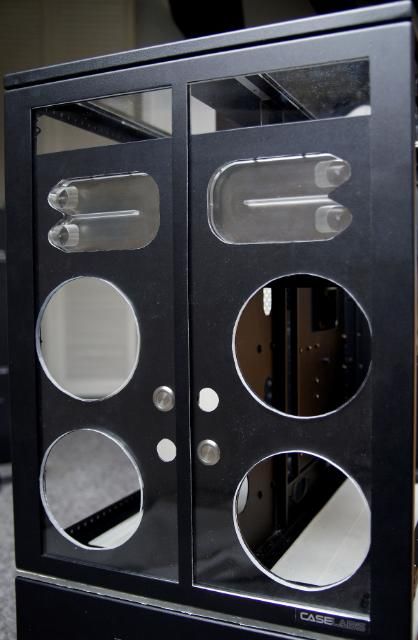
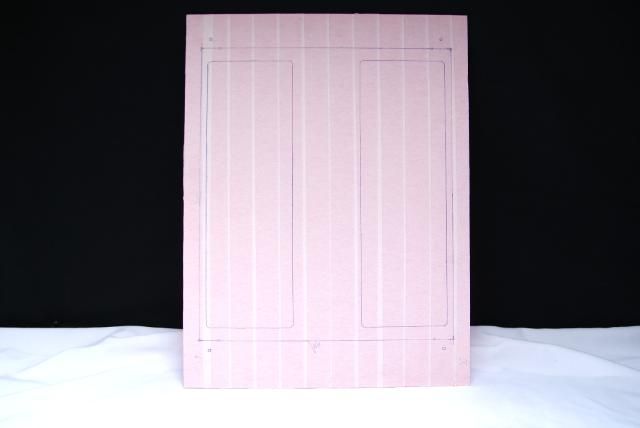
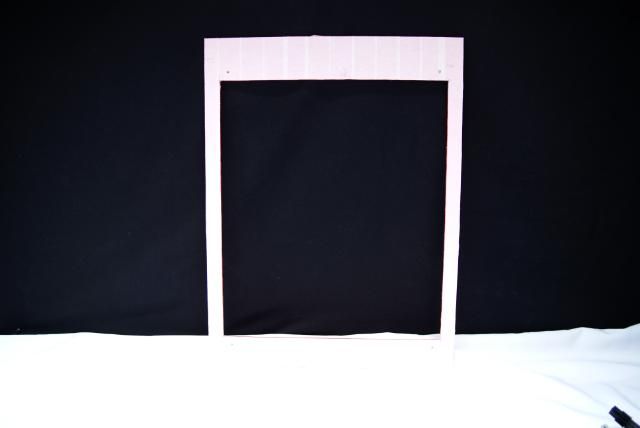
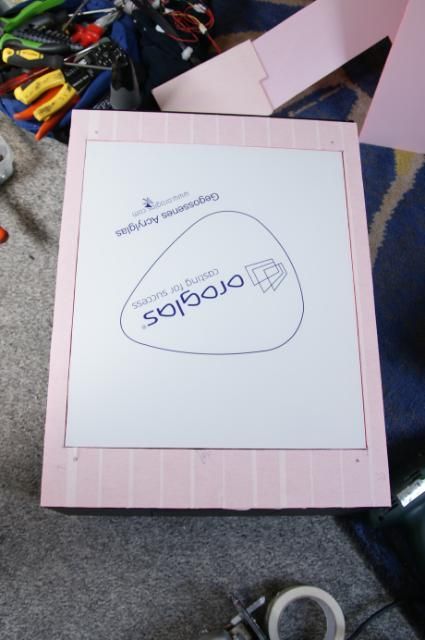
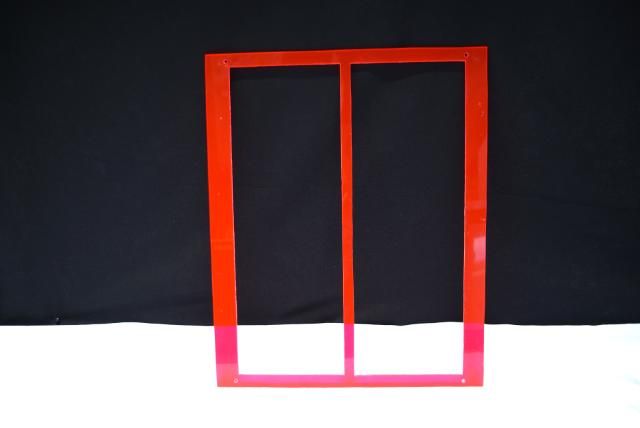
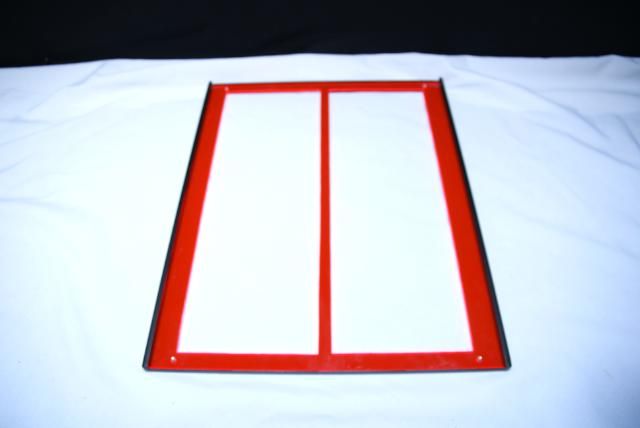
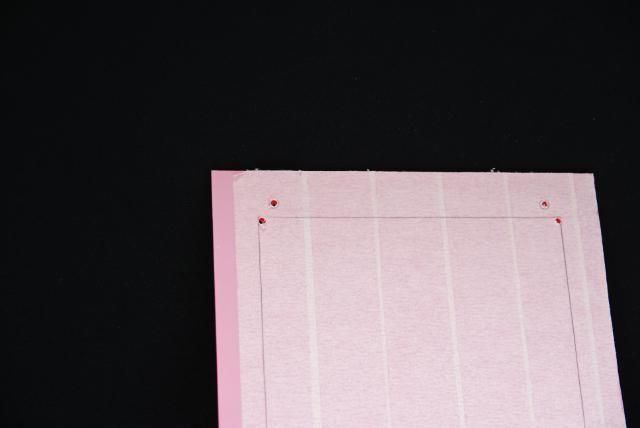
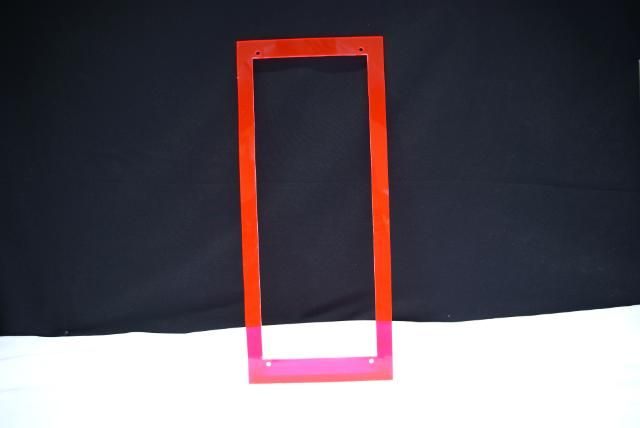
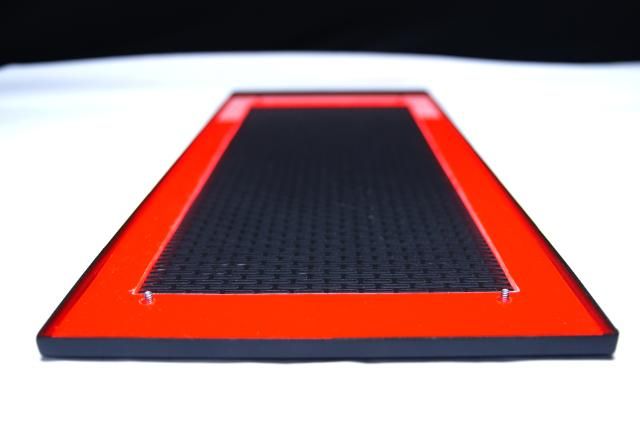
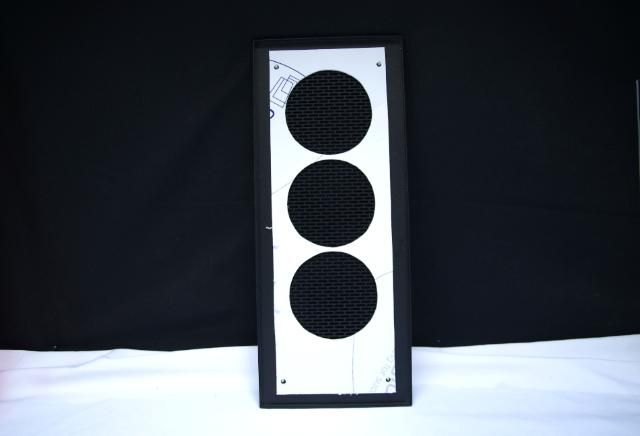
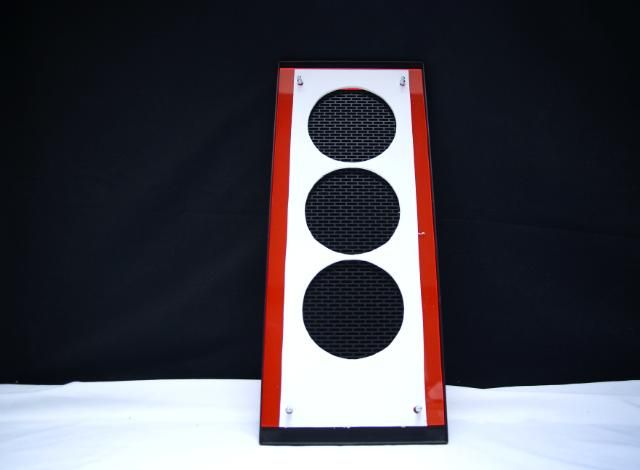
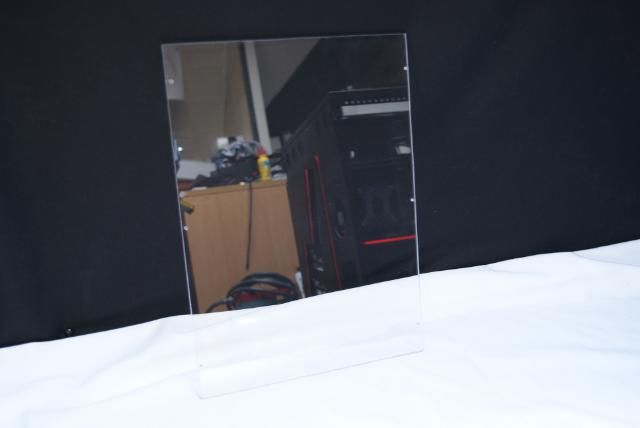
    The windows also very nice and simple mounted


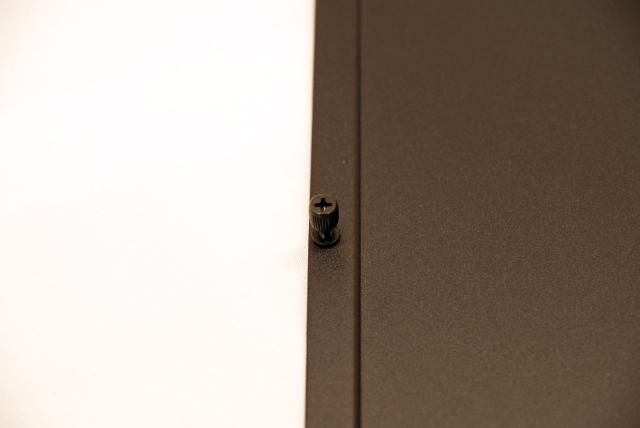
    Nothing pasted or with bent strips, but with nuts


    So always easy to exchange if necessary. After damage or any other acrylic color replacing. Clamping mechanism is also well thought


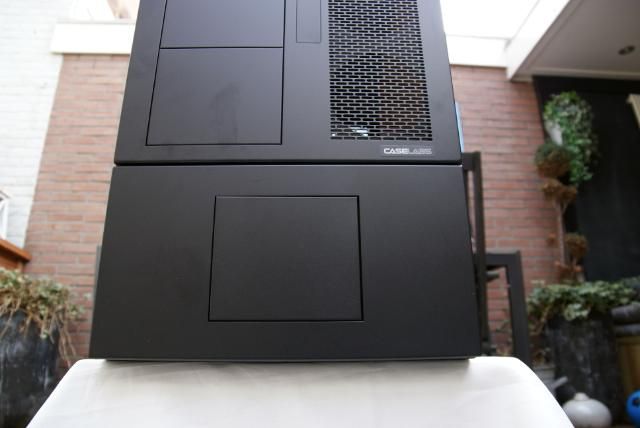
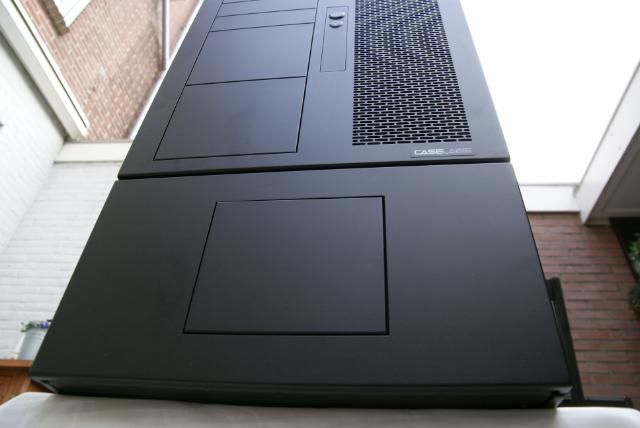
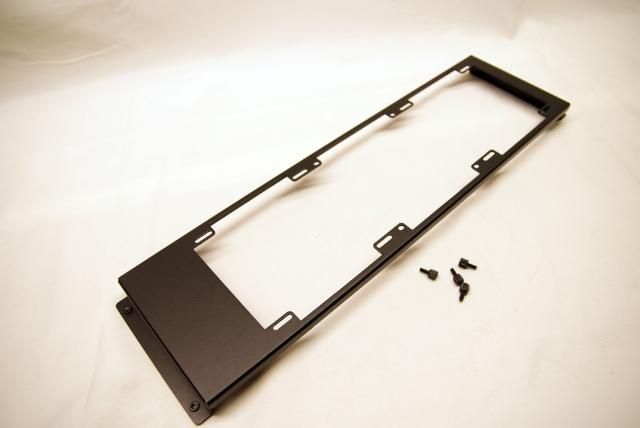
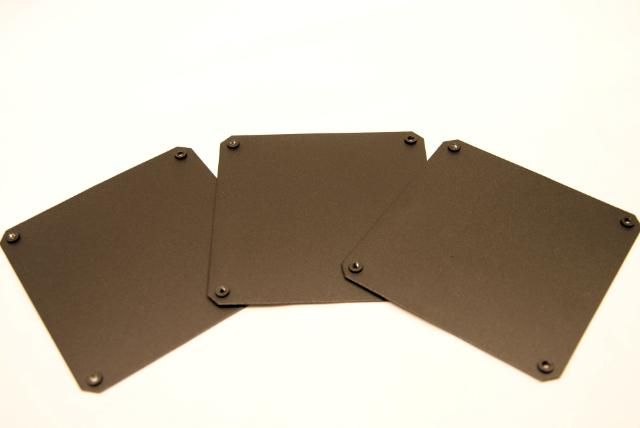
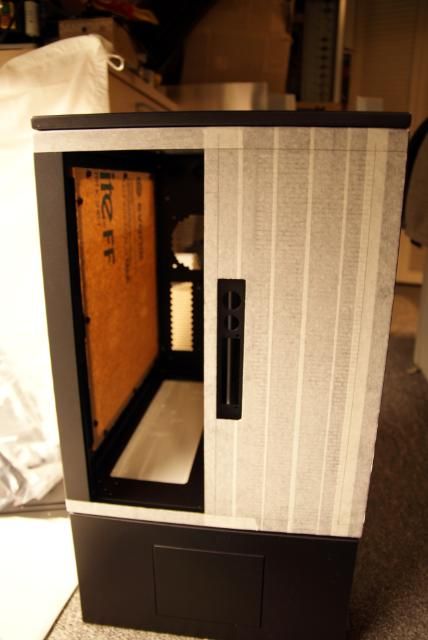
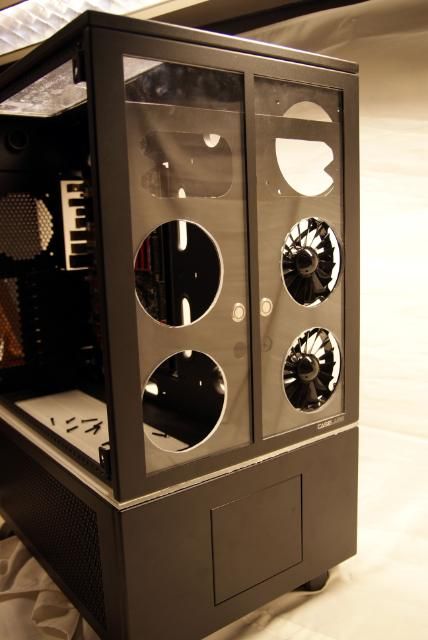
    This is also applied to the front and top panel, which is also removable


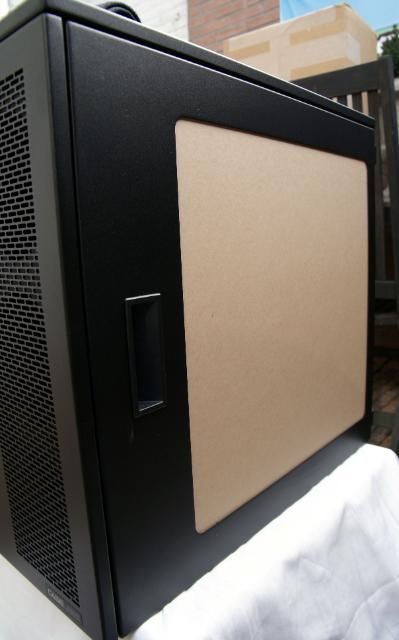
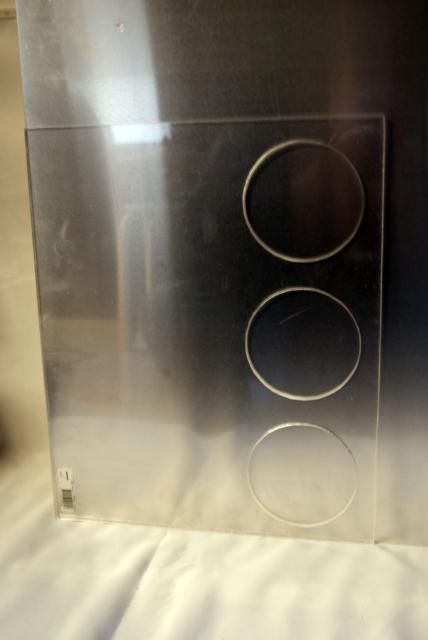
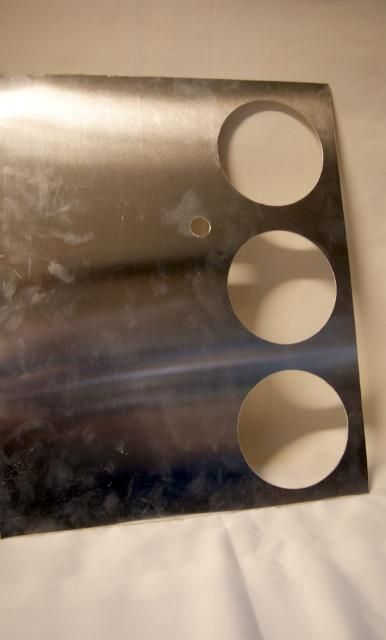
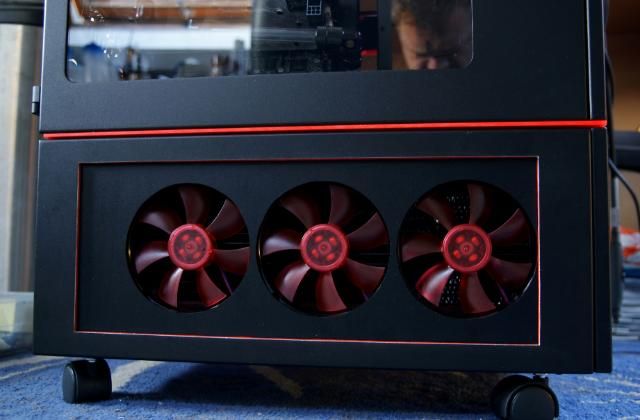
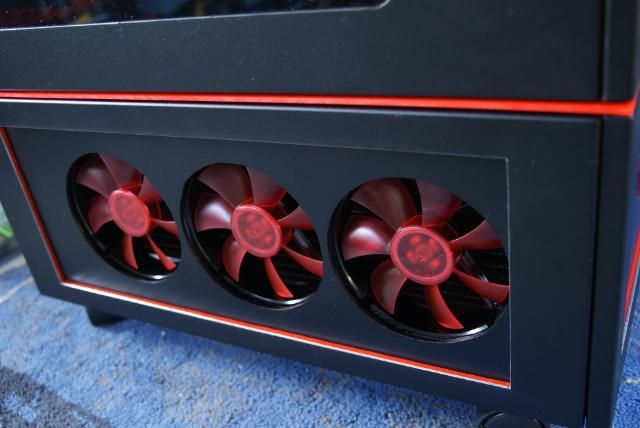
    Space for 3x 120mm fans


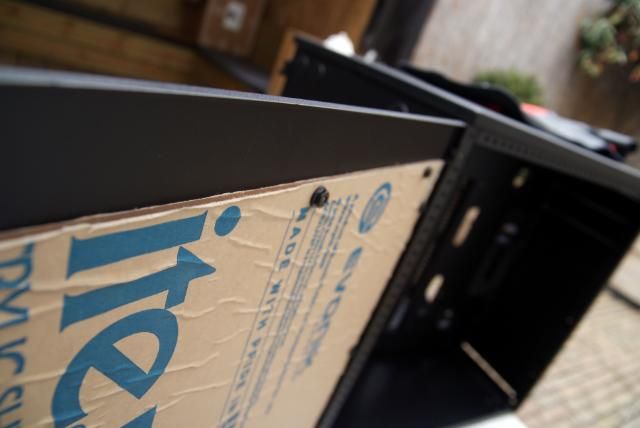
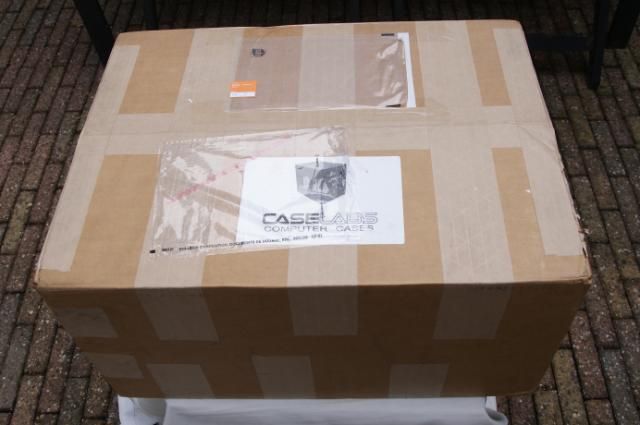
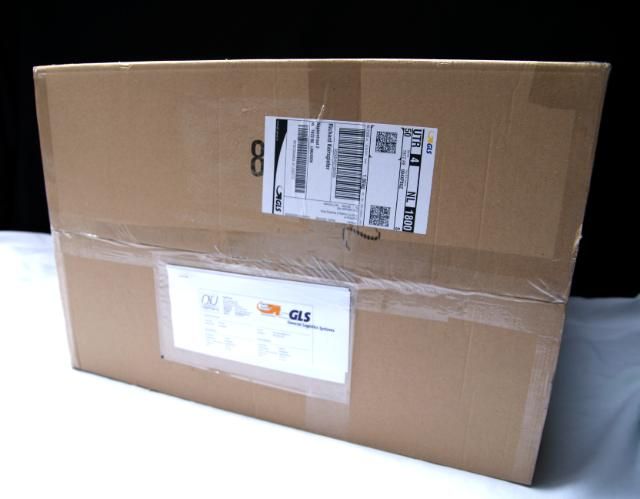
    But that's not all. There was another package


    Quickly unwrapping it again


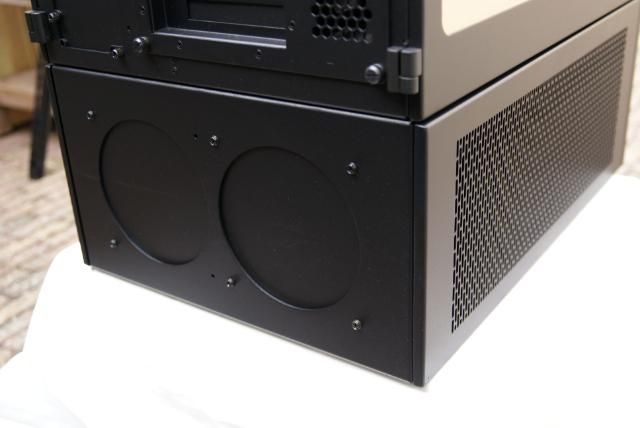
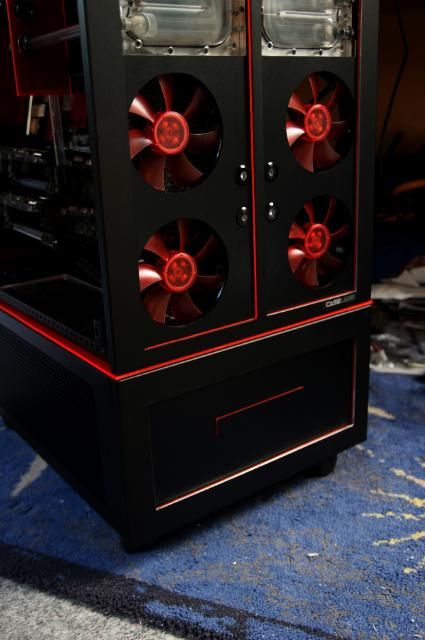
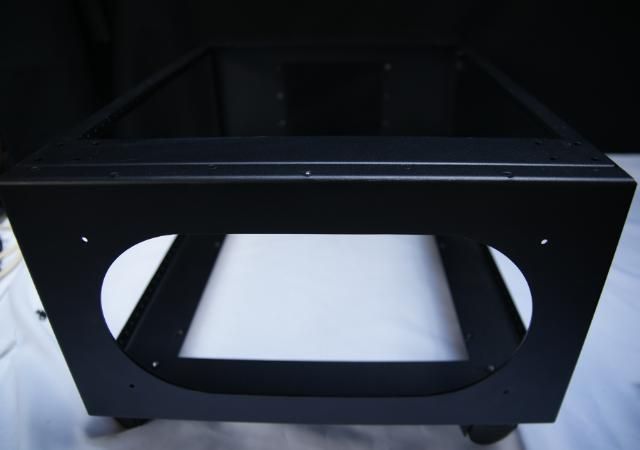
    And it is the extended pedestal, for all your radiators and other stuff


    At the back holes for 2x 140mm fan


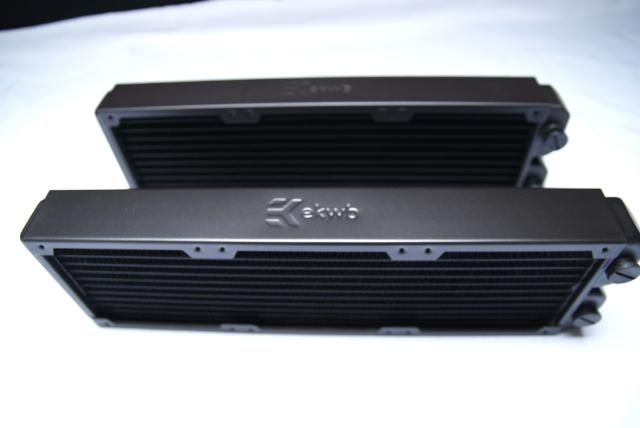
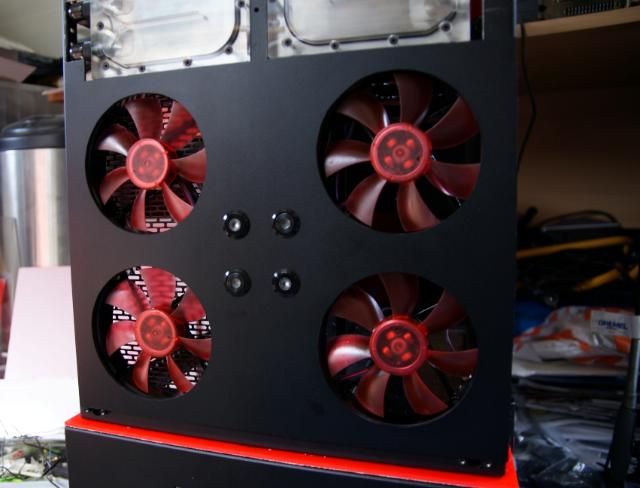
    So much space inside, but I choose for a bracket for 2x 360 radiator


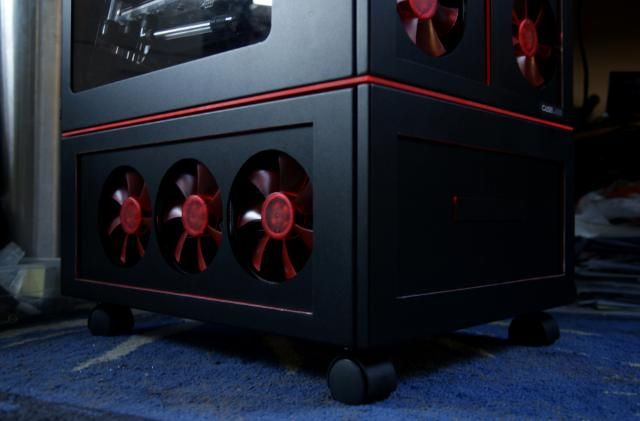
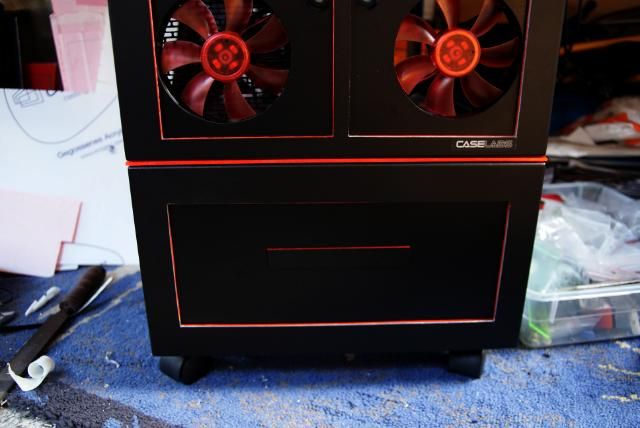
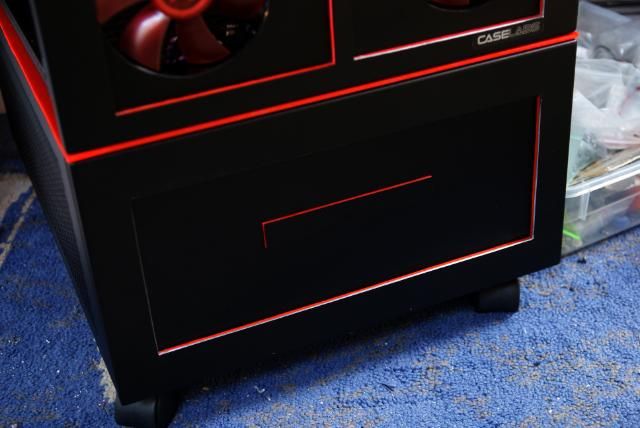
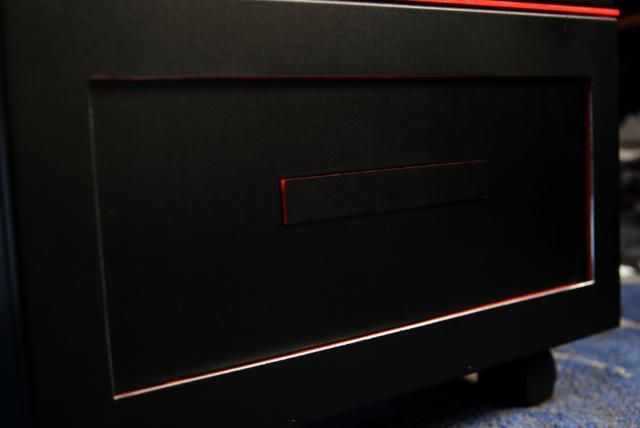
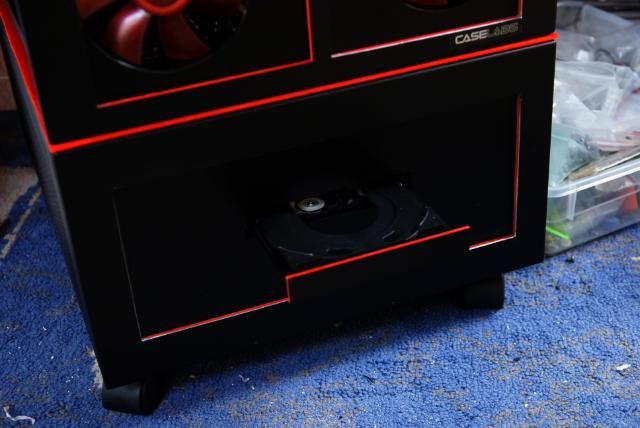
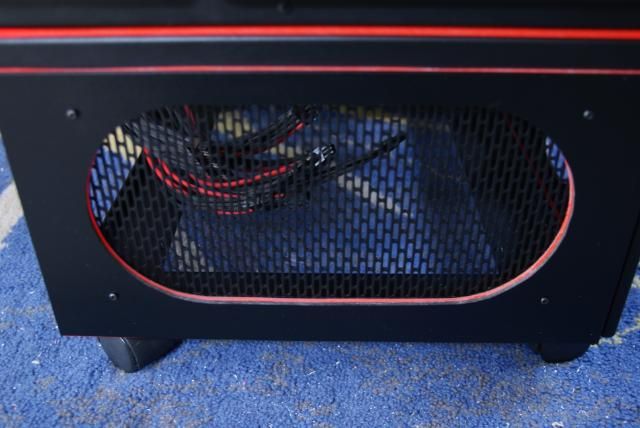
    The front also has a removable panel. Always nice to mod


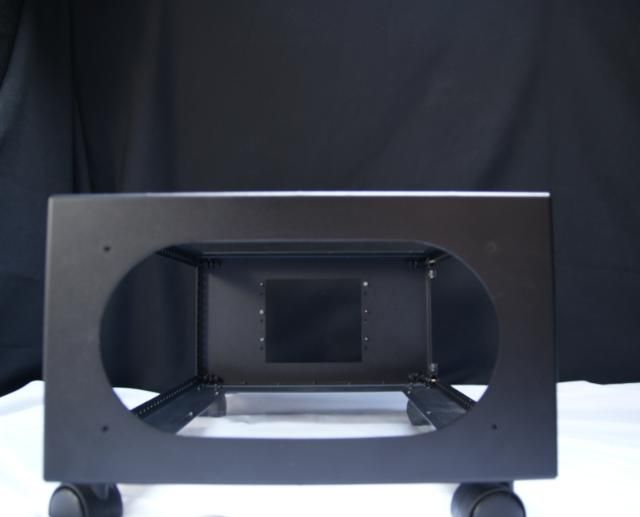
    So the extended pedastal. Lots of extra space, a real nice addition


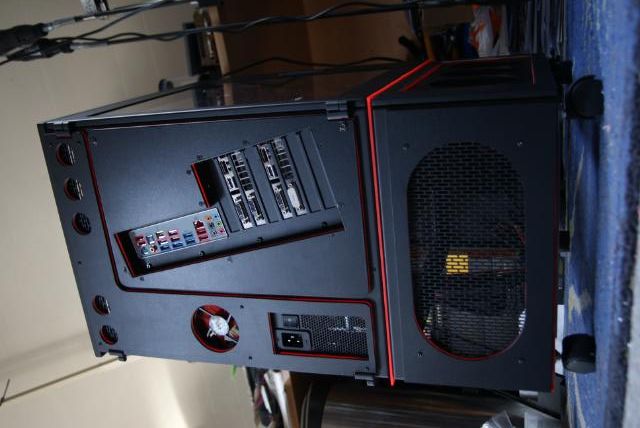
    Once installed everything, I was shocked


    Really big


    Some more pictures of the beautiful extra addition


    So a new build with a superb case from:


    Last edited by kier; 08-29-2012 at 11:01 AM.

  2. #2
    Technician
    Join Date
    Jun 2002
    Location
    Merseyside, UK
    Posts
    2,661
    Can't wait for this! Any clues on where youre going to go with it?

  3. #3
    Xtreme Member
    Join Date
    Aug 2010
    Location
    netherlands
    Posts
    264
    A lot of clear acrylic, color is going to be black and transparent.
    I have a good old EVGA classified for this one with 3 GTX 580,s 2 loops with Bitspower silvershiny stuff
    3x 360 radiator, 3x BP 250 reservoirs, 2x D5 pumps with BP mod kits and much more

  4. #4
    NooB MOD
    Join Date
    Jan 2006
    Location
    South Africa
    Posts
    5,799
    Imagine the cooling you could get by filling the right side with 120.3 or 140.3 radiators stacked one on top of the other - with that much surface area I think you might not need fans at all or maybe only two sets, convection should take care of the rest.

    I can't wait to see this What do those cases go for?
    Xtreme SUPERCOMPUTER
    Nov 1 - Nov 8 Join Now!


    Quote Originally Posted by Jowy Atreides View Post
    Intel is about to get athlon'd
    Athlon64 3700+ KACAE 0605APAW @ 3455MHz 314x11 1.92v/Vapochill || Core 2 Duo E8500 Q807 @ 6060MHz 638x9.5 1.95v LN2 @ -120'c || Athlon64 FX-55 CABCE 0516WPMW @ 3916MHz 261x15 1.802v/LN2 @ -40c || DFI LP UT CFX3200-DR || DFI LP UT NF4 SLI-DR || DFI LP UT NF4 Ultra D || Sapphire X1950XT || 2x256MB Kingston HyperX BH-5 @ 290MHz 2-2-2-5 3.94v || 2x256MB G.Skill TCCD @ 350MHz 3-4-4-8 3.1v || 2x256MB Kingston HyperX BH-5 @ 294MHz 2-2-2-5 3.94v

  5. #5
    Xtreme Member
    Join Date
    Aug 2010
    Location
    netherlands
    Posts
    264
    Quote Originally Posted by [XC] Oj101 View Post
    Imagine the cooling you could get by filling the right side with 120.3 or 140.3 radiators stacked one on top of the other - with that much surface area I think you might not need fans at all or maybe only two sets, convection should take care of the rest.

    I can't wait to see this What do those cases go for?
    One 360 is going in the right side and two 360 is coming in de pedestal. Pumps and reservoirs are also coming in the right side


    Before we even get to modding, an overview of all the accessories

    One Standard HDD Cage is coming with the case


    Ordered two more


    As I mentioned earlier comes with rubber bands for installing at the front with screws


    With gaskets and mounting bolts for the HDDs


    The SSD Mounting Kit


    Two Vertical Accessory Mount


    And the Horizontal Accessory Mount


    These will be very useful


    A PSU Support Bracket For heavy powersupplies


    A lot of Flex-Bay Device Mount


    Two x 360 Radiator Side Mount For in the pedestal


    And a Bottom Accessory Mount


    To replace the standard bottom covers, consists of three sizes (picture is the longest)
    A few HDD Opening Cover Plates Replacement cover plates for the HDD openings on the PSU side


    A Large Attachment Plate for various purposes such as installing reservoirs or miscellaneous


    And finally, all the spare parts comes with the case


    Of course I also had time to do some modding. A little teaser


  6. #6
    Xtreme Member
    Join Date
    Aug 2010
    Location
    netherlands
    Posts
    264


    Update!!!

    Ok, my friends Its modding time
    Beneath the top cover there are holes for 120mm fans, which I dont need.
    These will disappear, because I want a good view from all sides

    So taped and marked


    Always an exciting moment...the first cut-out


    I also slightly modified the recesses in the bottom of the case. There were also holes for 120mm fans (3x) on both sides


    Between the pedestal and the case I have inserted an acrylic plate, which makes the separation between the two


    Later i am gonna use fill ports for the tubes and/ or acrylic pipes


    In the top cover I also made openings ​​with the same size as the recesses underneath


    Piece of acrylic for the top window


    For the front I also did some cutting, but first marking


    The same dimensions as the 5.25 bays


    Piece of acrylic behind


    Going to use the exciting fanholes because of the 360 rad behind it later


    To keep the color combination (black / silver) I have cut a piece of aluminum with the fanholes. And a hole for the switch. This is further extended to the right with displays, and more switches in the middle.


    What's going to look like this


    More to come
    Last edited by kier; 03-22-2012 at 11:14 AM.

  7. #7
    Xtreme Member
    Join Date
    Aug 2010
    Location
    netherlands
    Posts
    264


    The story continues......With some nice hardware and more

    The hardware is a nice Gigabyte mobo: The Z68X-UD4-B3


    And a great CPU: The i7-2600K


    I've changed my mind regarding the front. For this I made the aluminum front again


    The opening above is for 2 HDD coolers. Always fun to see how the flow is


    Made it black


    In order to be able to make this happen, there where some adjustments necessary


    After some dremel cutting and filing


    So I've slightly modified the existing hdd cages and placed it


    And this is how the front looks for now. There also are coming two Lamptrons touch controllers in it


    I also want to thank Cooler Master for providing theTurbine Master Mach 1.8 fans
    And...a beautiful M2 Silent pro 1500W
    He's big....really big


    Nice sticker, not unimportant lol


    After placing the PSU I've been playing with the space. And to fill this space I've cut a piece of aluminum and bent it.


    Cut a piece of 5mm black acrylic


    This will be the bottom


    On this I will place two reservoirs, not the 150mm but 250mm


    Left here and there some space for some ideas


    And at the back I've made a fanhole for a nice small 80mm fan


    More to come
    Last edited by kier; 07-21-2012 at 07:11 AM.

  8. #8
    Xtreme Member
    Join Date
    Nov 2010
    Location
    Brazil
    Posts
    161
    nice modding, keep going
    PC:
    MOBO: Maximus VI Extreme
    CPU: Core i7-4770k
    RAM: 2x4gb Dominator Platinum 2133
    GPU: GeForce GTX Titan

    Greetings from Brazil!

  9. #9
    Xtreme Member
    Join Date
    Aug 2010
    Location
    netherlands
    Posts
    264
    Quote Originally Posted by LeoAndrade View Post
    nice modding, keep going
    Thanks...I will


    Sponsor update:

    Lamptron is also helping me with this build, So special thanks to Maurizio
    Received the first touch controllers. I asked for aluminum version (which is convenient for future builds) but for this build I'm adjusting these.


    Specificaties:
    Dimension:148.5mm X 42.5mm X 64.5mm (5.25inch bay)
    Screen Dimension:118mm X 31.5mm
    Power Output:Up to 30W per channel
    Control Channels:6

    Included cables:
    6x Temp sensors


    6x Sleeved fan cables


    And a manual, jumper and molex cable


    A very nice sleeve kit...The Modding tool kit


    A great set for the disassembly your 4 and 8 pin EPS (12V), ATX Connectors, PCI-E connectors and more!!!


    Perfect kit


    I also received some switches including 3x 19mm white dot momentary


    And 2x 19mm white dot latching


    Maybe a bit lazy but also ordered
    5x connection cables


    Nicely finished and sleeved


    Couldn't resist to intall the switches


    And with acrylic in front of it. Still need to cut the holes and raise the switches a little bit


    And just one final pic to show the quality of the beautiful finished aluminum faceplate


  10. #10
    Xtreme Member
    Join Date
    Aug 2010
    Location
    netherlands
    Posts
    264


    Sponsor update

    I also want to welcome a great sponsor for this build .... Highflow
    Given the great choice of products, I have choosen some nice stuff.


    Always nice to a Highflow package, Thank you Freddy!!!

    First two beautifull reservoirs. The EK-Multioption RES X2 - 250 Advanced


    Some Tygon R3603 - HighFlow - 1/2 ID - 3/4 OD - Clear tube


    And nine great NorthQ 120MM 3711RL Silent Tornado fans


    Also a small 80MM NorthQ 3709RL Silent Tornado


    Playing with the fans


    I'm very satisfied with the fans, They will look perfect in this build


    And last 2x Acryl Paneel - UV Rood / Transparant - 500x500mm


    Once everything unpacked, it's modding time. Cut a piece of red acrylic and cut a hole in it for a tube


    In the black acrylic I have cut 2 holes with the size of the reservoirs cut to keep them in place


    And cut a little piece for a fillport


    Two fillports for the hdd cooler with a little touch of red


    Playing with the tubes and of course placed the fans


    Also placed the reservoirs with some BP links (these will be black)


    After a bit of measuring and other small things, made the aluminum plate black


    And placed everything back


    Again connected the tubes


    And two pics how one side stands now .... on to the next


  11. #11
    Xtreme Member
    Join Date
    Dec 2008
    Location
    Jerusalem, Israel
    Posts
    252
    Interesting ieda with the parallel connection on the res
    How it's works ?
    [SIGPIC][/SIGPIC]


    EVGA SR-2 , 2X Intel Xeon 5620, 12X2GB Corsair Domminator 1600 MHZ CL7
    3X GTX580, Corsair AX1200, Lian Li PC-Z70
    3X Dell U2311H, Liliput 7" touchscreen monitor

  12. #12
    Xtreme Member
    Join Date
    Aug 2010
    Location
    netherlands
    Posts
    264
    Quote Originally Posted by arkadur View Post
    Interesting ieda with the parallel connection on the res
    How it's works ?
    Level in both reservoirs will be the same


    So after some thinking and some urging of fellow modders I decided to do everything straight. It's more work ... but I'm in no hurry


    Also a nice idea I have seen in another build is the tilted mobo. Made the back plate again with 2mm aluminum, and marked the shape of the backtray


    Sawing, drilling and Filing


    Placed the original mobo tray, pasted black vinyl again to get it black. Maybe a bit lazy but this is so easy, quick, scratch resistant, inexpensive and just the right color.

    The tilted mobo


    Missing something ... red I think. therefore entirely dismantled the backplate and cut a red plate


    And everything reassembled, this time with countersunk m3 bolts. Rivets are unfortunately too short now


    Nice touch... inside is red now


    And placed it. Now with some daylight pics


    Placed NorthQ fans in front instead of the Turbine masters


    And received some nice red hardware


    An made an additional air outlet​​. Will place mesh later.


    Furthermore beeing busy with the acrylic pipe, to get this as straight as possible. Just like the other side, cut a piece of aluminum with fanhole


    Made it black and cut and placed a piece of red acrylic. Placed a loose tube for size and see if it's straight


    And fits nicely along the mobo tray


    And the weekend is over ... unfortunately. More Next week
    Last edited by kier; 07-21-2012 at 07:12 AM.

  13. #13
    Xtreme Member
    Join Date
    Aug 2010
    Location
    netherlands
    Posts
    264


    EKWB Sponsor update!!!

    Received this week a great package from EKWB. Again my thanks to Gregor and everyone from EKWB that makes this possible. All beautiful products for CaseLabs build


    The EK-Supremacy - Nickel


    The EK-FC680 GTX Backplate - Black CSQ


    EK-FC680 GTX - Acetal + Nickel CSQ


    EK-Multioption RES X2 - 250 Advanced


    2x EK-CoolStream RAD XT (360)


    2x EK-CoolStream RAD XT (240)


    A EK-DDC Dual TOP V.2 G1/4 - Black Acetal


    Some beautiful EK-PSC Fitting 13mm - G1/4 Black


    And some EK-PSC Adapter 90° G1/4 Black


    And EK-PSC Adapter 45° G1/4 Black


  14. #14
    Xtreme Member
    Join Date
    Sep 2009
    Location
    Seattle WA
    Posts
    334
    Looking awesome so far!

  15. #15
    -100c Club
    Join Date
    Jun 2005
    Location
    Slovenia, Europe
    Posts
    2,283
    Dying to see more!

  16. #16
    Xtreme Addict
    Join Date
    Dec 2007
    Location
    Earth
    Posts
    1,787
    Nice build man I really like the angled motherboard! That is a new one.
    Sandy Bridge 2500k @ 4.5ghz 1.28v | MSI p67a-gd65 B3 Mobo | Samsung ddr3 8gb |
    Swiftech apogee drive II | Coolgate 120| GTX660ti w/heat killer gpu x| Seasonic x650 PSU

    QX9650 @ 4ghz | P5K-E/WIFI-AP Mobo | Hyperx ddr2 1066 4gb | EVGA GTX560ti 448 core FTW @ 900mhz | OCZ 700w Modular PSU |
    DD MC-TDX CPU block | DD Maze5 GPU block | Black Ice Xtreme II 240 Rad | Laing D5 Pump

  17. #17
    I am Xtreme
    Join Date
    Mar 2007
    Location
    Sugar Land, TX
    Posts
    1,730
    Beautiful work kier!

  18. #18
    Xtreme Member
    Join Date
    Nov 2010
    Location
    Brazil
    Posts
    161
    That's something i've never seen! That <i> </i> mobo look really nice
    PC:
    MOBO: Maximus VI Extreme
    CPU: Core i7-4770k
    RAM: 2x4gb Dominator Platinum 2133
    GPU: GeForce GTX Titan

    Greetings from Brazil!

  19. #19
    Xtreme Member
    Join Date
    Aug 2010
    Location
    netherlands
    Posts
    264
    Update!!!


    It has been a while, but here a big big update
    First a thank you note for Sicomputers. The GPUs (GTX680) were not available, but thanks to the good and fast service from Sicomputers I got 2 beautiful cards.
    And as promised an honorable mention with banner


    2 beautiful GTX cards


    First tested on air


    Time to give the cards a transformation
    EK-FC680 GTX - Acetal + Nickel CSQ


    And the great EK-FC680 GTX Backplate - Black CSQ


    Also placed the EK-Supremacy - Nickel


    One GPU placed


    For now with multi link, but will not use these in this build.


    Really like the backplate.


    Placed 2e GPU


    Allready installed the radiators with theNorthQ fans


    With the EK-CoolStream 360 RAD XT


    And then I received a great package from....van Freddy.... Highflow


    With (hope so) the latest products that I need for this build.

    Offcourse with some Fillports


    And 15mm extenders


    90 degrees adapters


    Smaller extenders


    Because I've made the angle in the mobo tray, the 45 degrees rotery's will not fit. Therefore I've ordered some 30 degrees rotery's


    and offcourse my favorite adapter, the multi link adapter


    I still have some other ideas for the Case labs case, but for this I'll need some more acrylic. Therefore 3mm transparent


    And UV red acrylic


    Freddy/ Highflow thank you again for the quick service and good products and ... have a great holiday.

    Now the explanation why this order has taken place. I'll will make this setup with the solid tubes


    From the CPU, 2 pipes going up. Because there's an angle in the mobo I can not use the 45 degree fitting to connect on a fillport


    That's why I'm using the 30 degrees rotery


    Ordered the extenders to lower the in- and outlet.


    To create a corner with the acrylic tubes I use the 15mm extender, 2x multi link and the 90 graden adapter


    Now only a multi link, later there will be added a fillport


    More multi links


    And connected everything


    Chapter red acrylic

    Previously I had a 5mm thick transparent plate between the case and the pedestal. But I want the red lines run entirely in this build, therefore changed the middle part.

    The red acryl.


    Cut it.


    After this cut the 3 mm transparent transparant acryl "]acrylic[/URL]


    Placed like this.


    Removed the plastic.


    The plate is transparent to get a free sight what happens in the pedestal.


    I was not very happy with the front, just didn't like it. Therefore I've sawn a new piece of red acrylic


    With the sizes of the detachable front.


    Used some spacers.


    Also sawn a new plate with the fanholes and the holes for the Lamptron switches


    With illuminated edges


    The 2 spaces above the HDD coolers are for the Lamptron controllers


    The last thing i've did is sleeving the Coolermaster 1500w Silent pro M2


    Finished


    24 pins


    CPU cables


    And some GPU cables


    Connected everything to see how it looks.


    That's it for now...Grtz.

  20. #20
    Xtreme Mentor
    Join Date
    Sep 2007
    Location
    Dallas
    Posts
    4,467
    That's awesome. Couple quick questions, what size acrylic tubing did you have to use for it to fit the multi link adapters? How did you cut it? Where did you get it?
    CPUID http://valid.canardpc.com/show_oc.php?id=484051
    http://valid.canardpc.com/show_oc.php?id=484051
    http://valid.canardpc.com/show_oc.php?id=554982
    New DO Stepping http://valid.canardpc.com/show_oc.php?id=555012
    4.8Ghz - http://valid.canardpc.com/show_oc.php?id=794165

    Desk Build
    FX8120 @ 4.6Ghz 24/7 / Asus Crosshair V /HD7970/ 8Gb (4x2Gb) Gskill 2133Mhz / Intel 320 160Gb OS Drive, WD 256GB Game Storage

    W/C System
    (CPU) Swiftech HD (GPU) EK HD7970 with backplate (RAM) MIPS Ram block (Rad/Pump) 3 x Thermochill 120.3 triple rads and Dual MCP355's with Heatkiller dual top and Cyberdruid Prism res / B*P/Koolance Compression Fittings and Quick Disconnects.

  21. #21
    Registered User
    Join Date
    Sep 2009
    Location
    Glasgow, Scotland
    Posts
    94
    Love the sleeving work.

    The tilted motherboard is just "Lush"!!

  22. #22
    Ω
    Join Date
    Jun 2009
    Location
    Brooklyn, NY
    Posts
    788
    That is looking PRO Kier but to be expected from your other builds
    Ω Raven Build Blog

    "The tree of liberty must be refreshed from time to time with the blood of patriots and tyrants." - Thomas Jefferson
    " Inter Arma Enim Silent Leges" - In times of war, the law falls silent.

  23. #23
    Xtreme Member
    Join Date
    Aug 2010
    Location
    netherlands
    Posts
    264
    Thanks y'all

    Quote Originally Posted by Utnorris View Post
    That's awesome. Couple quick questions, what size acrylic tubing did you have to use for it to fit the multi link adapters? How did you cut it? Where did you get it?
    I'm using now 8/12mm tubing but i'm trying to find 10/12mm, cut it with a fretsaw and get a straight edge with a file. At a Dutch shop http://www.bouwplastics.nl/

    Update!!!


    Hmm...vacation is almost over and spent the last few days modding the M8. After some brainstorming about the red line across the case, I have made this update. Started again with a lot of red acrylic

    For the sides (pedestal) I first sawn the transparant acrylic and endorsed the fanholes


    Drilled holes for the fretsaw


    Also marked the red acrylic


    And drilled holes


    Again some sawing. The red result


    On the corners I also drilled holes for the standoff's


    Placed some standoff's on existing thread


    And placed the orginal back


    Transparent acrylic also sawn


    Placed on the red acrylic.


    And made the transparent acrylic black


    Marked/ sawn the orginal cover


    Because I used the standoff's on the covers, I also needed to adjust to the originals from the frame.

    Before:


    Standoff's


    After:


    Placed everything back


    Btw. the aluminium edges will be painted black

    I also want the red line in the front of the pedestal ... with a slot for the Blu-ray.
    Orginal cover marked and sawn.


    Made this the same way as the side panels


    Total shot


    Sawn a transparent acrylic plate for the bottom of the pedestal


    Where a red glow underneath the case comes from later on.


    After a good tip from my friends from TFoM I've also changed something in the front. The HDD coolers were to shiny, so I applied some black transparent acrylic.


    Better like this...only need some leds


    Need to look what kind of leds I'm gonna use.

    Last but not least the back, lol, yes the back is also important. Target is just to mod as much as possible, but nevertheless that the M8 is still recognizable. So sawn a new piece of red acrylic and marked more holes and squares.


    Made the same shape transparent acrylic


    And it's black again


    For the 5 air outlets I have used the Caselabs mesh (acrylic edges will be polished)


    Adjusted the original 140 mm fanholes.


    Again with red, black and mesh.


    Total shot


    Hope you like this update so far, maybe this weekend more updates about the internal

  24. #24
    Administrator
    Join Date
    Nov 2007
    Location
    Stockton, CA
    Posts
    3,569
    Man that is some sweet mod work and system you are building !

  25. #25
    Xtreme Member
    Join Date
    Aug 2010
    Location
    london, UK
    Posts
    105
    Very nice!
    What size (ID and OD) are those Acrylic tubes?

Page 1 of 2 12 LastLast

Bookmarks

Bookmarks

Posting Permissions

  • You may not post new threads
  • You may not post replies
  • You may not post attachments
  • You may not edit your posts
  •