


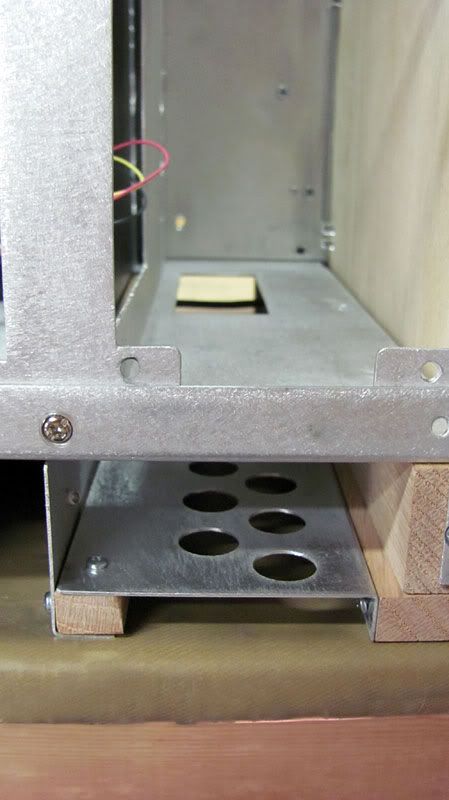
They do have a rad on them under the bottom floor of the case. I'm not too concerned though as I don't think it will be enough of a difference to matter.Originally Posted by Waterlogged

I wish I had known about this BEFORE I ordered my fittings. Decisions, decisions.
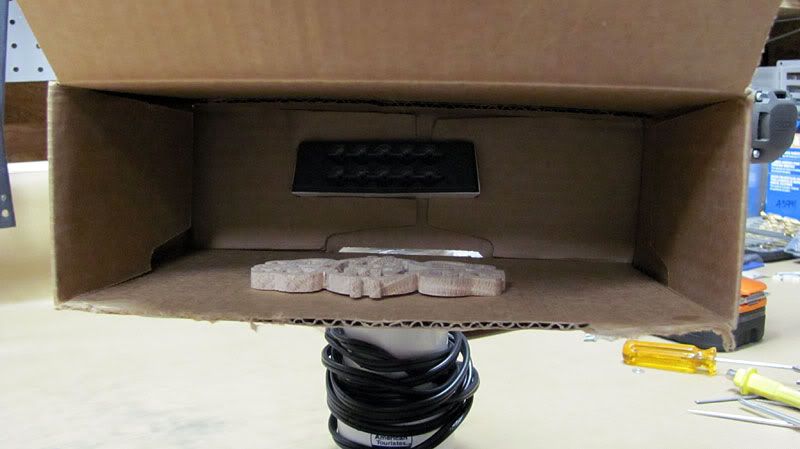
 If anything, the larger gap may reduce static pressure a touch but, seeing they don't have rads on them, I really doubt you'd notice it.


 Reply With Quote


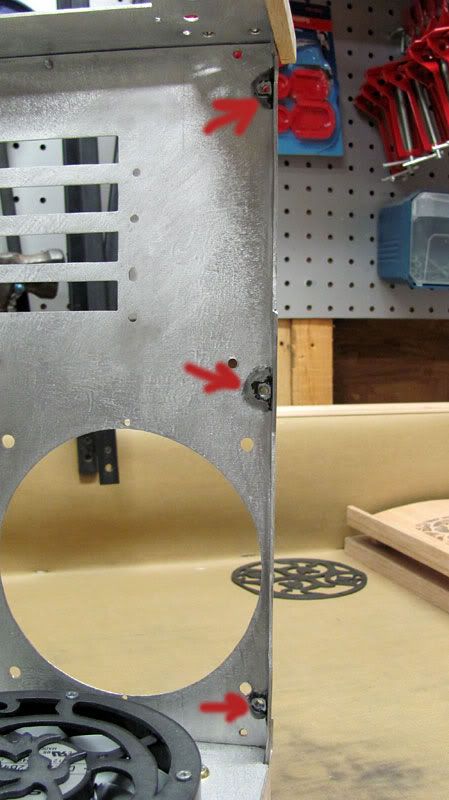
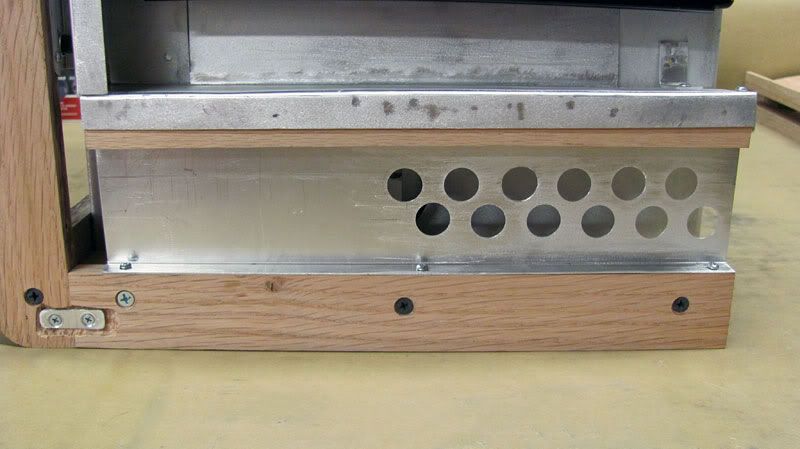
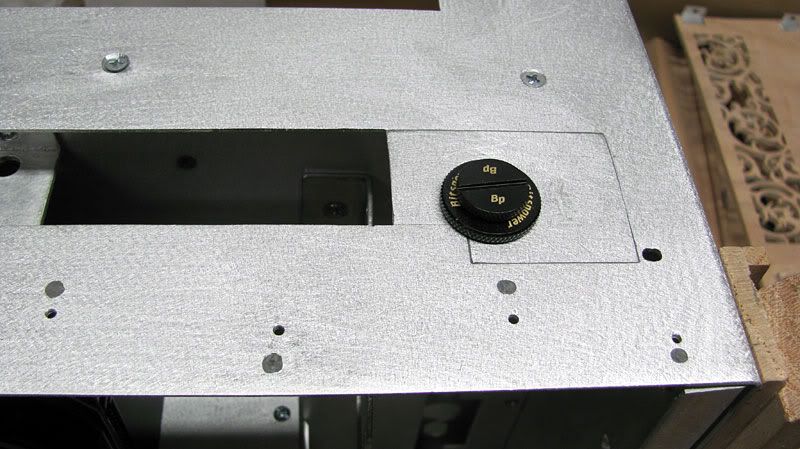
 I looked right at the fitting cutouts next to the fans too.


 . Poor guy
  .
.


Bookmarks