-
A Bit of Steam Bending
I needed to bend the front panel trim piece to match the curve of the front panel. After doing a bit of Googling, I found that steam bending is the way to go. Since the piece is small, I decided the easiest way to do this was to use a clothing steamer with a small box attached to it. I only needed to steam the piece for about 20 minutes, so it doesn't matter if the box gets a bit soggy. I cut a hole in the box, put in the clothing steamer, closed up the box, and let it go.
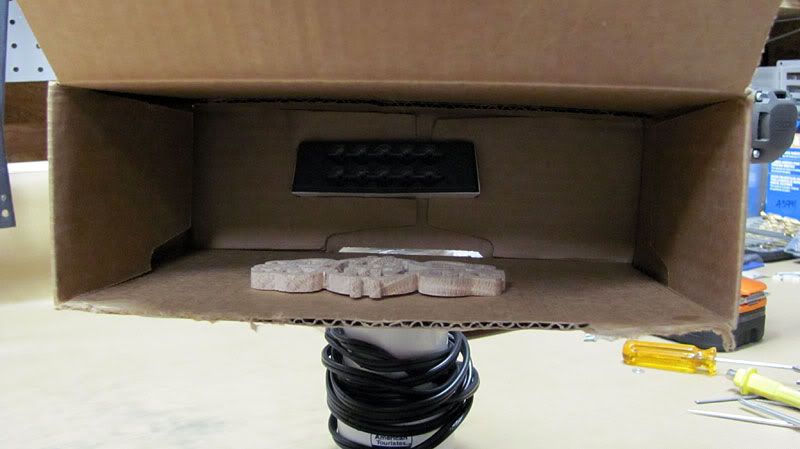
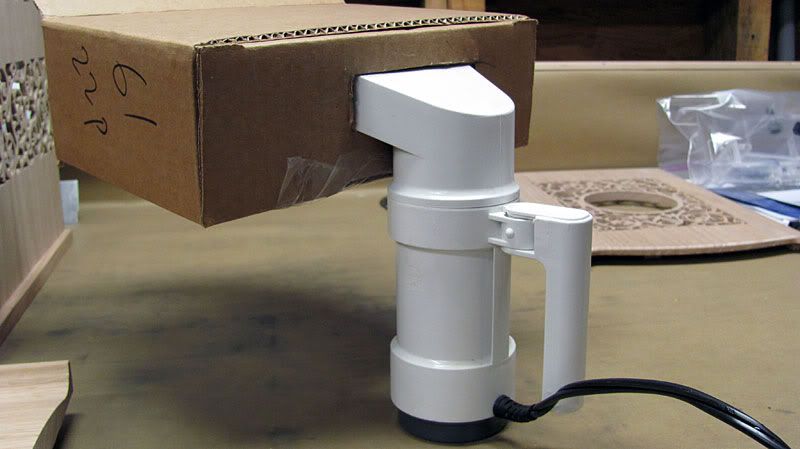
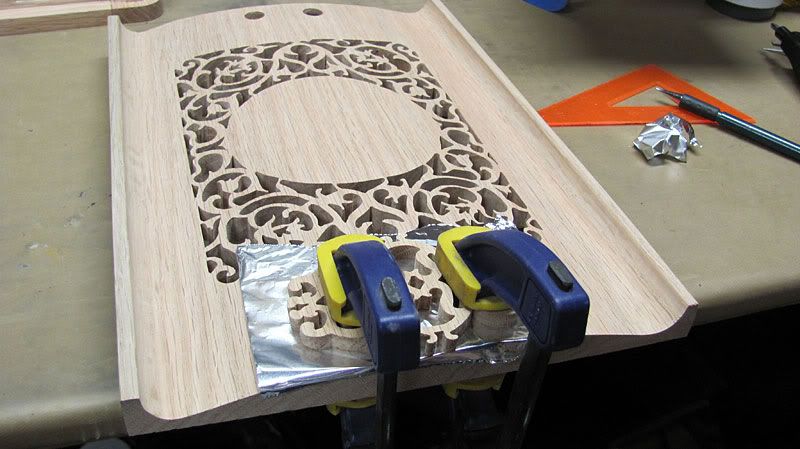
After is steamed for 20 minutes or so, I took the piece out and clamped it to the front panel and let it dry, I put a bit of foil just to protect the front panel. It now is curved perfectly with the front panel. I'm not gluing it down yet though as it will be a different stain color from the front panel, so I need to stain the front panel and it before gluing it to the front panel.
Fillport
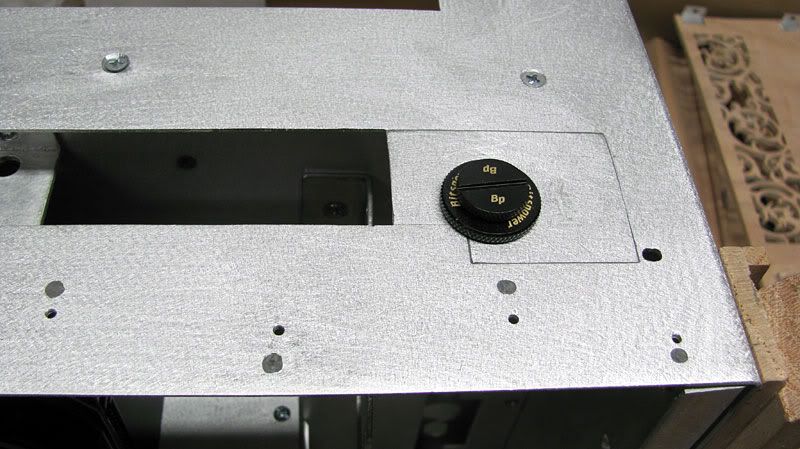
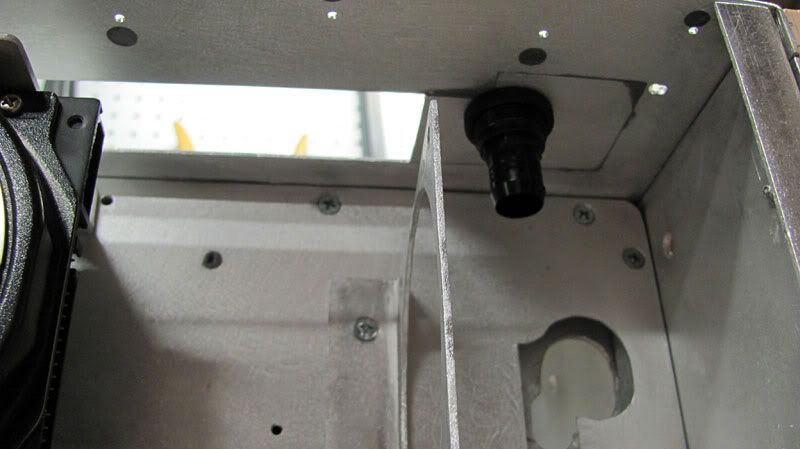
I got in my MCP35X-Res, and to go with it, I wanted a fillport in the top of the case A problem though is that I cut out part of the area in the top metal piece for the res I had made, so there was nothing to mount the fillport to. I thought about remaking the top metal piece, but I just didn't want to spend the time on it. So I pulled out my trusty JBWeld and put a piece in to fill the gap. It is plenty sturdy enough for what I need. Since I am painting this case anyway, the JBWeld won't really matter. If I wasn't so close to end of this project, I may have remade the top piece, but at this point, this solution will do the job well enough.
Change in Fan Controller
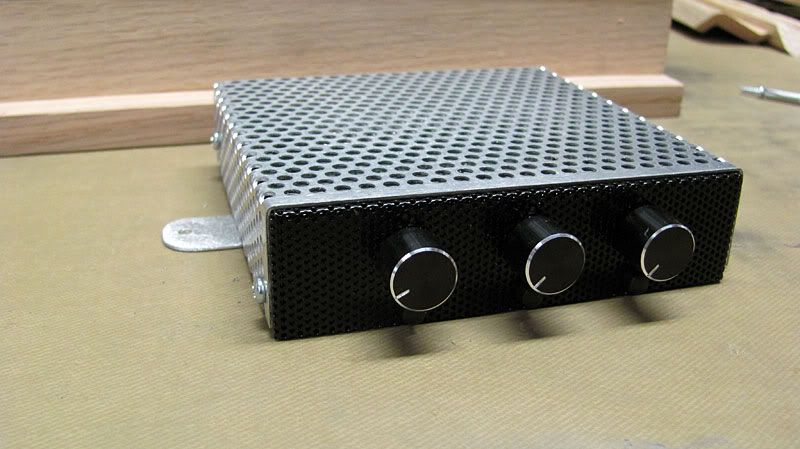
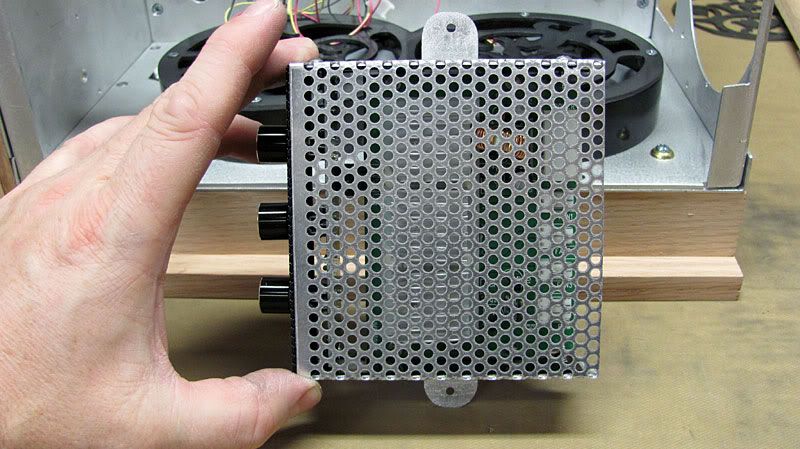
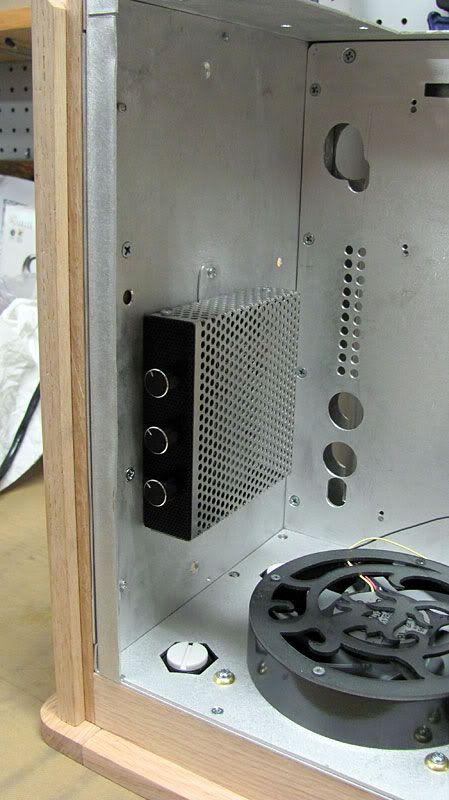
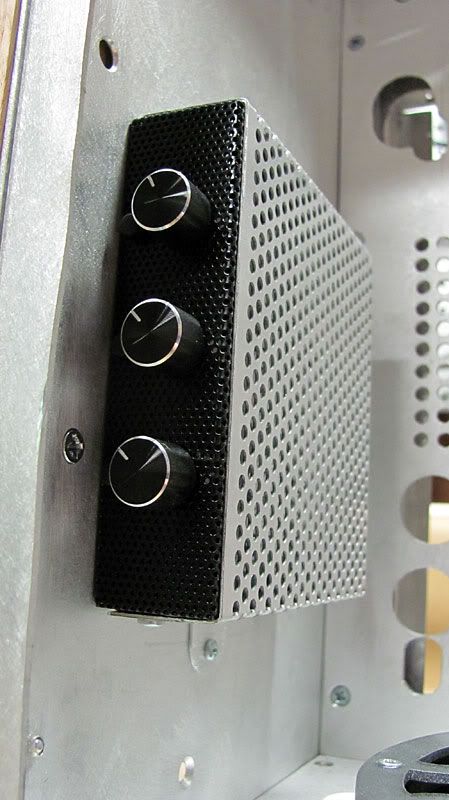
I was going to use a Scythe KazeQ fan 3.5” fan controller, but since Sunbeamtech came out with their new PWM 3.5” controller, I wanted to switch to it. This of course means I needed a new mount. Since the front of the controller is perforated, I figured it would match to use some perforated alu sheet to make a cover/mount for it.
Wiring Cover
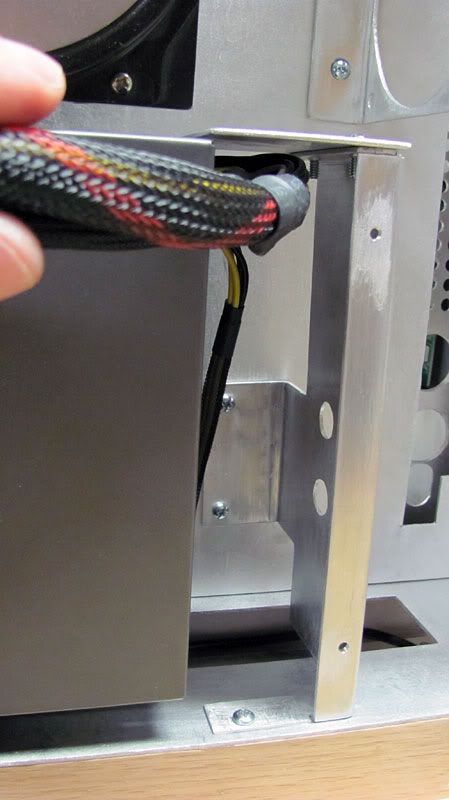
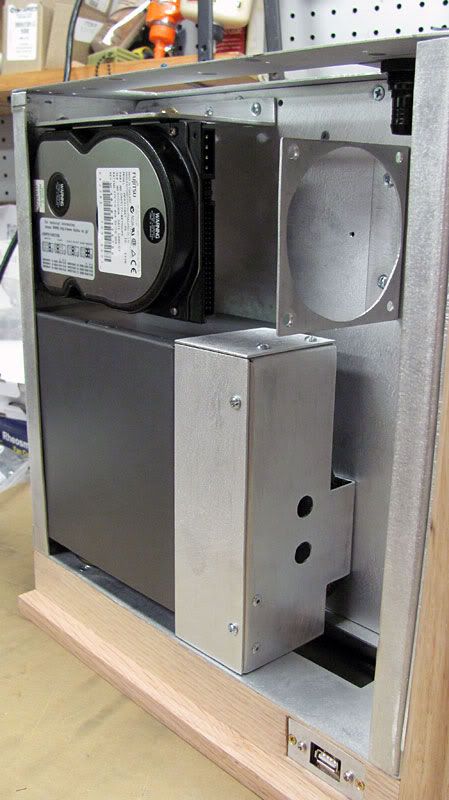
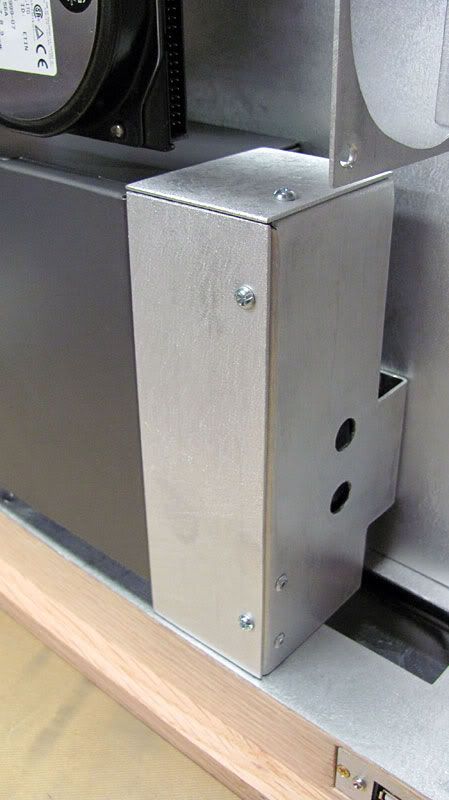
To help tidy things up a bit in the area in front of the PSU, and to keep the wiring from interfering with the pump/res, I made a piece with a removable side and top. This helps hide the wiring, and also keeps it from hitting the pump/res where it will sit next to it.
I've got a few more odds and ends to do, and then its time to take everything apart and start sanding/prepping/painting the alu pieces. I bought a gallon of aluminum cleaner/etching solution for this as I figure this is a much better approach than just trying to use etching primer and will etch and clean everything thoroughly.
Thanks for stopping by.
-
This is probably the most ingenious build I have ever watched, seen or studied. I always scratch my head with every update. Your work is in a class by itself!
Thank you for sharing.
 Posting Permissions
- You may not post new threads
- You may not post replies
- You may not post attachments
- You may not edit your posts
-
Forum Rules


 Reply With Quote




Bookmarks