-

Originally Posted by
Waterlogged


Keep it up voigts.

Thanks Waterlogged. Its good to know I'm not alone out here.
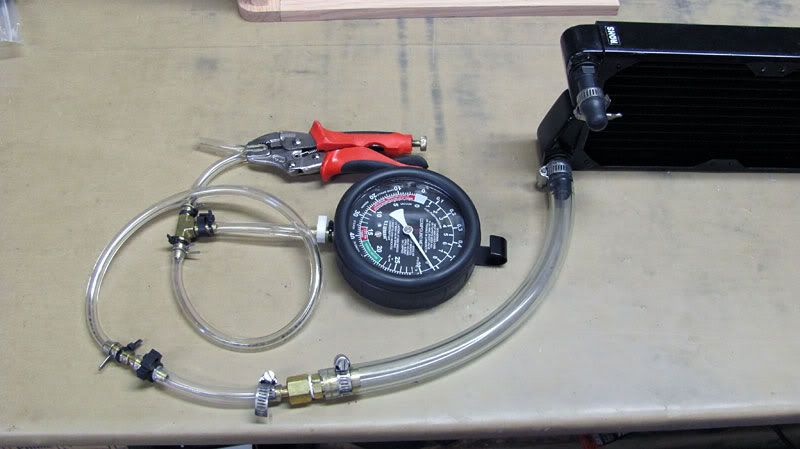
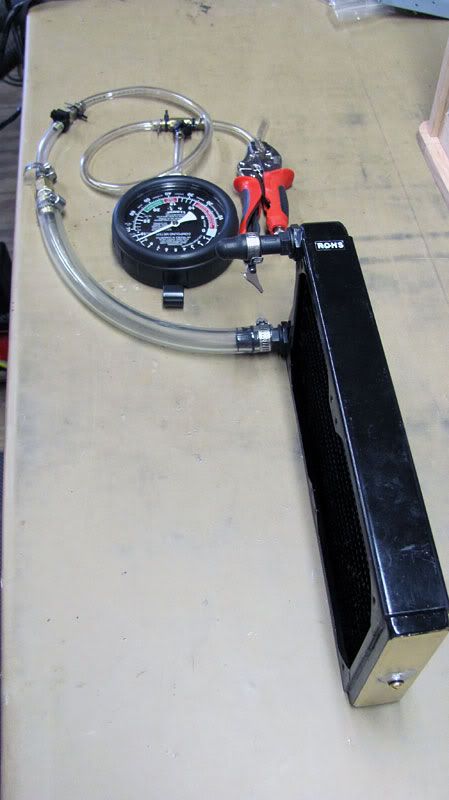
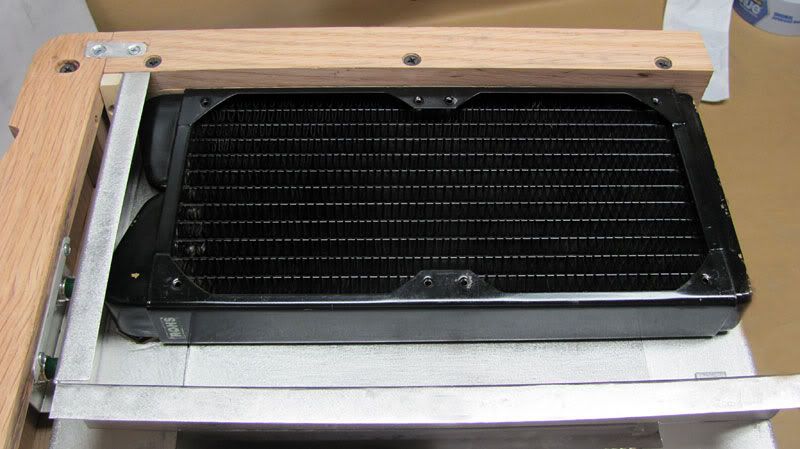
Radiator Leaktested
After soldering the drain on the radiator, I thought it wise to make sure nothing got messed up in the process internally that could cause a leak. I replaced the rubber washer on the drain screw with an o-ring as the washer wasn't tight enough. I hooked the radiator up to my gauge, pumped it up to 9psi, and watched. I'm very glad to say that there are no leaks.
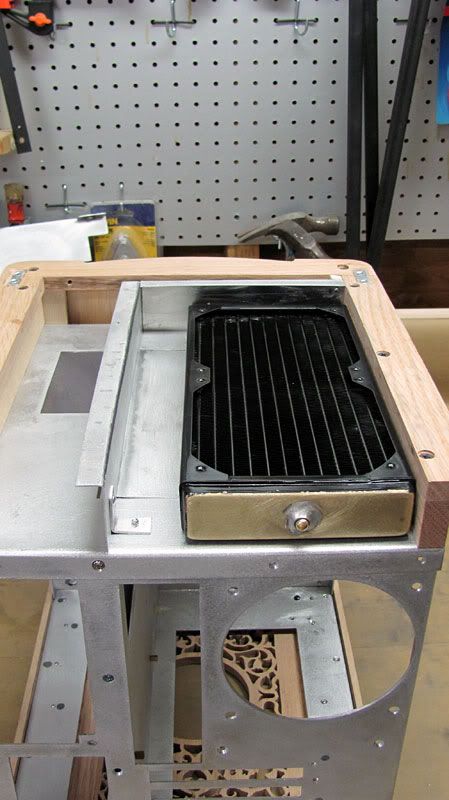
Bottom Radiator Mount Remade
I started thinking more about airflow, and decided that I could have the bottom radiator push air from inside the case out the bottom. To do this, I would need to change the bottom rad mount. I wasn't really pleased with the bottom mount, so instead of modifying it, I decided to scrap it and make another one, this time out of 14 gauge aluminum instead of 16 gauge. I used the dual rad template from MNPCtech, and the bottom mount turned out much, much better than the first one had. This was a few hours worth of work.
Here is a shot of mount with just the radiator mounted.

Here is another with a couple of old fans mounted just to make sure everything is good.
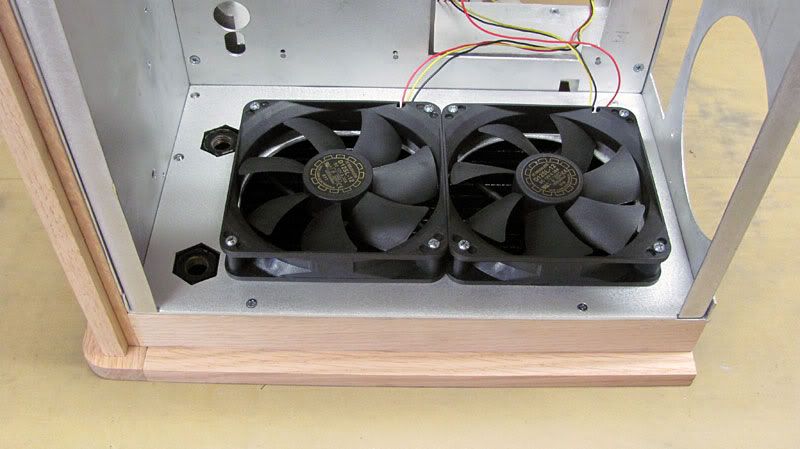
I still need to make something to dress up the fans a bit.
Bottom Radiator Airflow Piece
In having the bottom radiator vent out of the bottom of the case, I needed some way to direct the air out of the back of the underside of the case without it getting sucked back into the case. I made this airflow piece to mount to the bottom of the case. This piece was bit of a pain as I couldn't use my metal bender to do all of the bends, and had to bend them over the edge of my table saw with a hammer. This piece took a couple of hours to get right. These little things can take so much time.
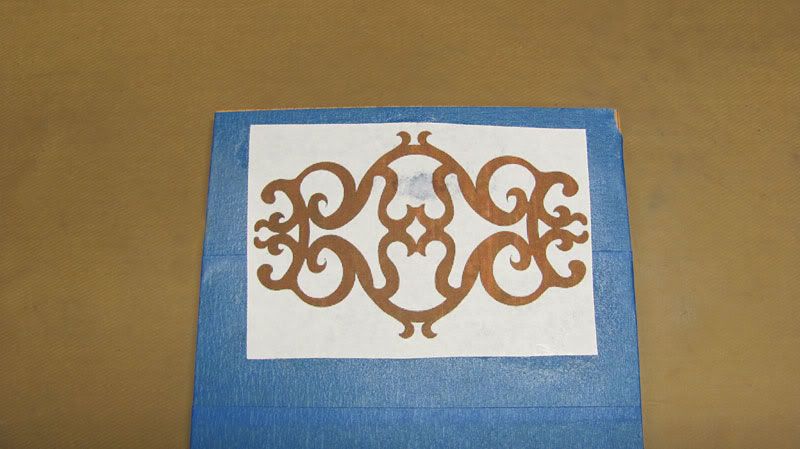
Front Panel Trim Template
I also printed out a template of the front panel trim piece, and glued it to a piece of 1/4 oak that I have that is cupped a bit, which will help with getting it to match the curve of the front panel. A friend of mine who does a lot of scrollsaw stuff gave me the idea of using blue painter's tape, putting it on the wood, then spray gluing the template to the tape. This way there is no sanding to get the glue off once the shape is cut out. I bought 2 wide blue painter's tape for this.
I also got most of the reservoir pieces cut out on the table saw today. Having new aluminum/acrylic saw blades is wonderful. The cuts come out so clean compared to using plywood blades. The reservoir and front trim piece are next on my list to be completed. I also have to figure exactly how I'm going to mount the USB port on the front part of the left side.
Thanks for stopping by.
Last edited by voigts; 02-14-2011 at 10:55 PM.
 Posting Permissions
- You may not post new threads
- You may not post replies
- You may not post attachments
- You may not edit your posts
-
Forum Rules


 Reply With Quote
Bookmarks