-
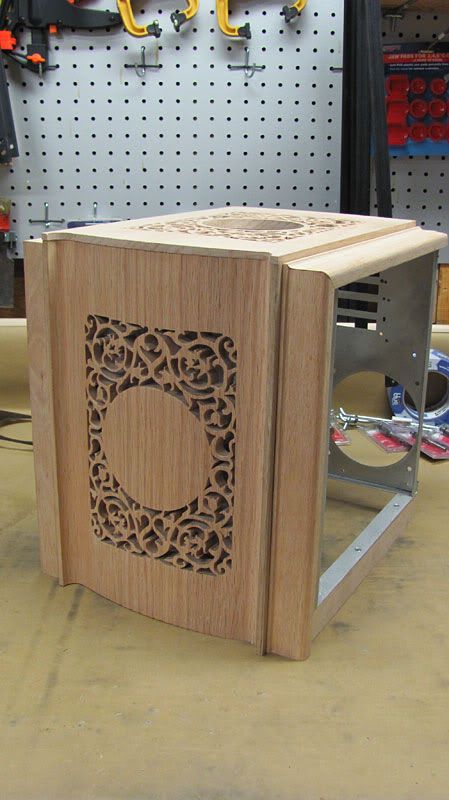
Top and Front Panels Cut and Mounted
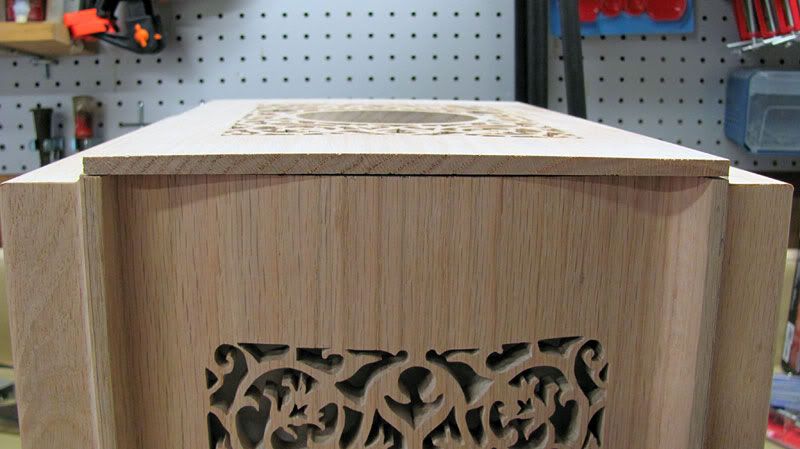
This is the kind of update that you like to have when you finally have some pieces together that look like something. I got the edge moulding pieces mounted and cut to length, got the front panel cut to length and mounted to the case, and the top panel cut and mounted. To mount the edge molding to the top, I used a number of tiny countersunk 1/4” (6.35mm) long #4 screws.
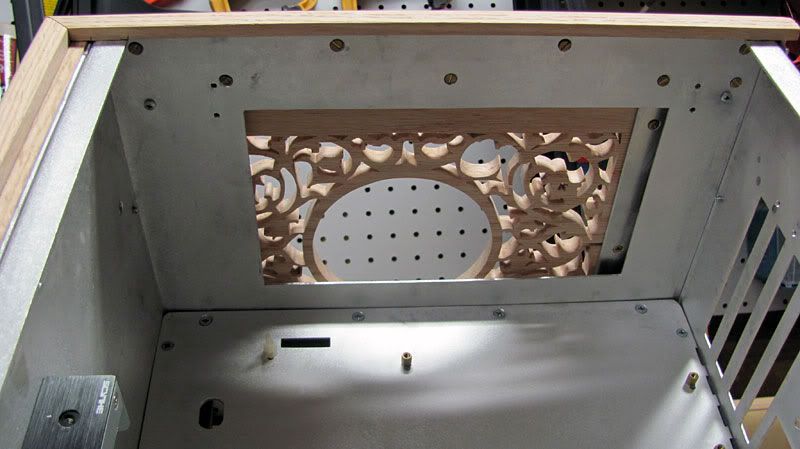
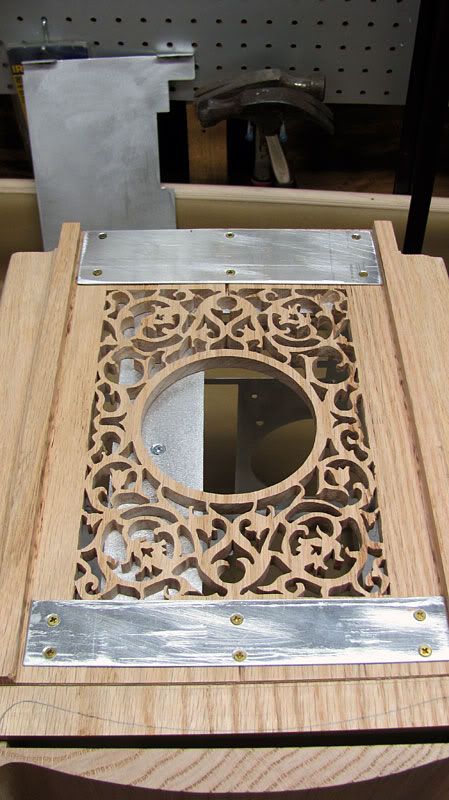
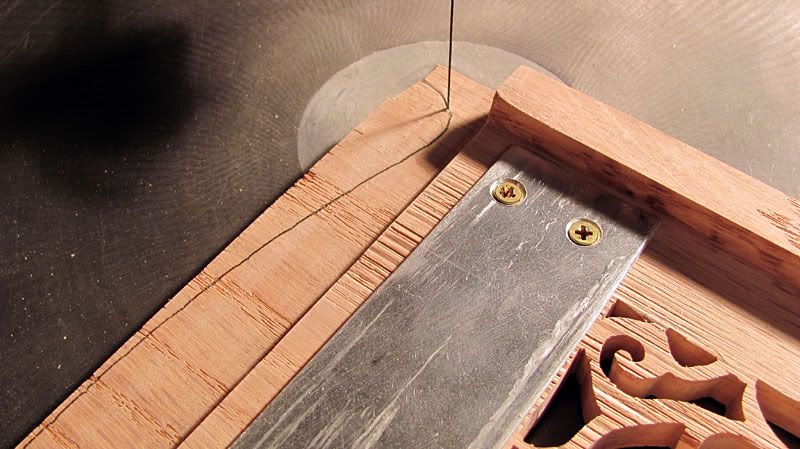
It took me about an hour using a table saw to cut the center area out of the top panel as I don't yet have a dado cutting plate for my table saw, so I had to go at it little by little. I tried using a router, but it had the tendency to grab the fretwork and chip it. Once the top panel was grooved out, it wanted to bow as I expected seeing as it was only 3/8” (about 9.5mm) thick now except for the edges. I screwed two aluminum pieces to the top panel to straighten out the bowing.
In order to get the contour of the front of the top piece to match the front panel, I mounted the front panel and top panel via screws, and scribed the contour of the front onto the top piece. The top panel was loose here. There is no gap once screwed down.
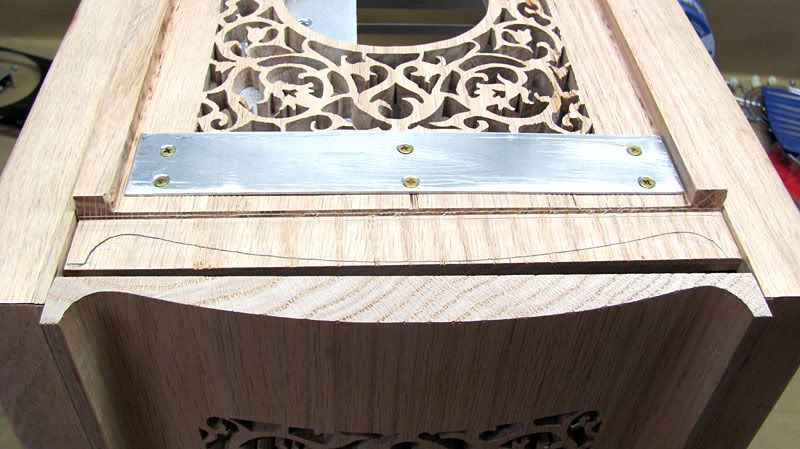
I then cut it out with the scroll saw.
Here are a couple of shots of where things are so far. I still have to sand and fine tune the contour of the front of the top panel to match the front panel.

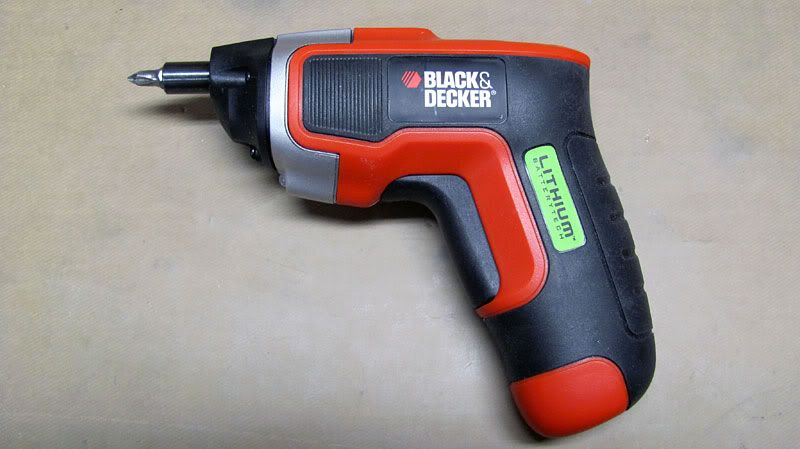
I also picked up a new tool which has proven itself quite handy. This little thing has a surprising amount of torque. It has come in very handy in that it can screw so close next to things. This saved me in several tight spots using a countersink bit for screws.
As I mentioned, I have to fine tune the front of the top panel to match the contour of the front panel. I also have to route a 1/8” (3.17mm) curve on the edges of the top. Then its on to cutting out the base, and then on to the sides and more scrolling action.
Thanks for stopping by.
 Posting Permissions
- You may not post new threads
- You may not post replies
- You may not post attachments
- You may not edit your posts
-
Forum Rules


 Reply With Quote
Bookmarks