


Hello!
It seems like it's been close to a year that I have been planning this out and reading, reading, reading, everything that I could once I stumbled upon XS.
Funnily, I can't even remember how I came across XS in the first place, it may have been one of those random google searches where I stumbled across this site by accident. And stumbling some more, I found myself in the LC section of XS and I was like 'what the f**k? Water in the case, are they nuts?' But it was something about the tubes and the beauty of clean cases and the shiny blocks (ohhhh the blocks) that got me hooked.
I started reading (like I already said) and began making tentative posts trying to learn what I could, and mostly trying to emulate a sponge. To some aspects, i think I've managed pretty well, but some days it becomes glaringly obvious that I'm still wet behind the ears and green in the gills and noob with a capitol N (and really whatever other idiom that implies lack of knowledge) as I slap my head and just say 'doh!'.
I'm learning all the time, and owe a marabou to just about everyone on this forum. And those of you that I've PM'd and recieved help from, here's a big
THANKS for you.
To get started, you'll see that I ramble a bit, and I hope that I can keep your attention long enough to finish the build.
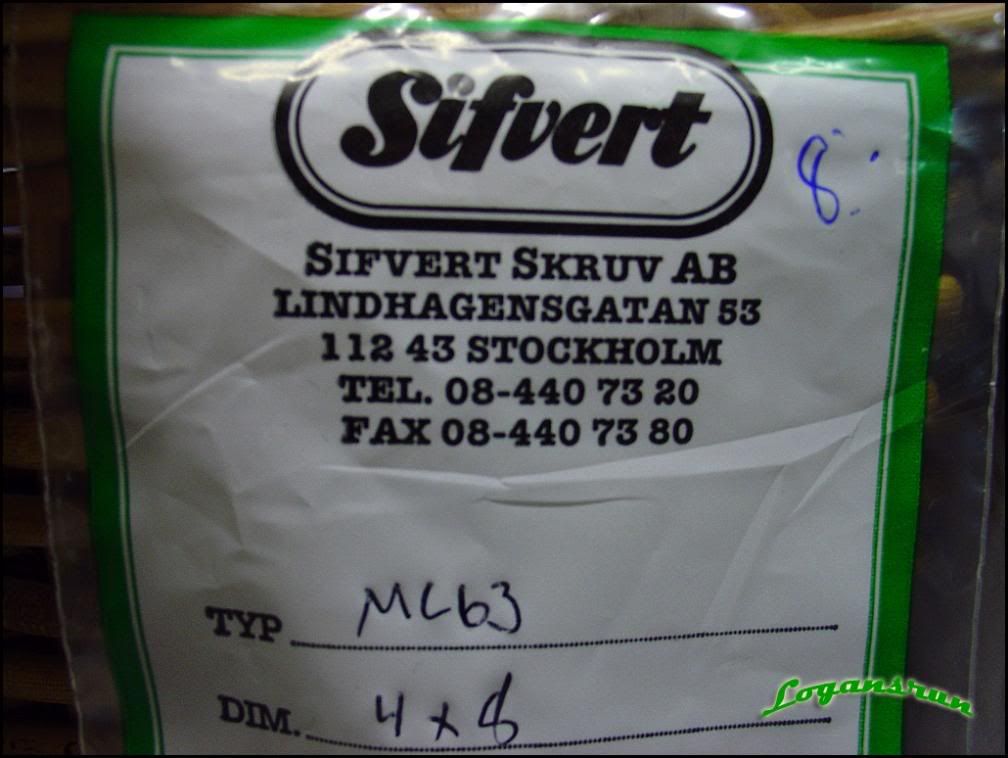
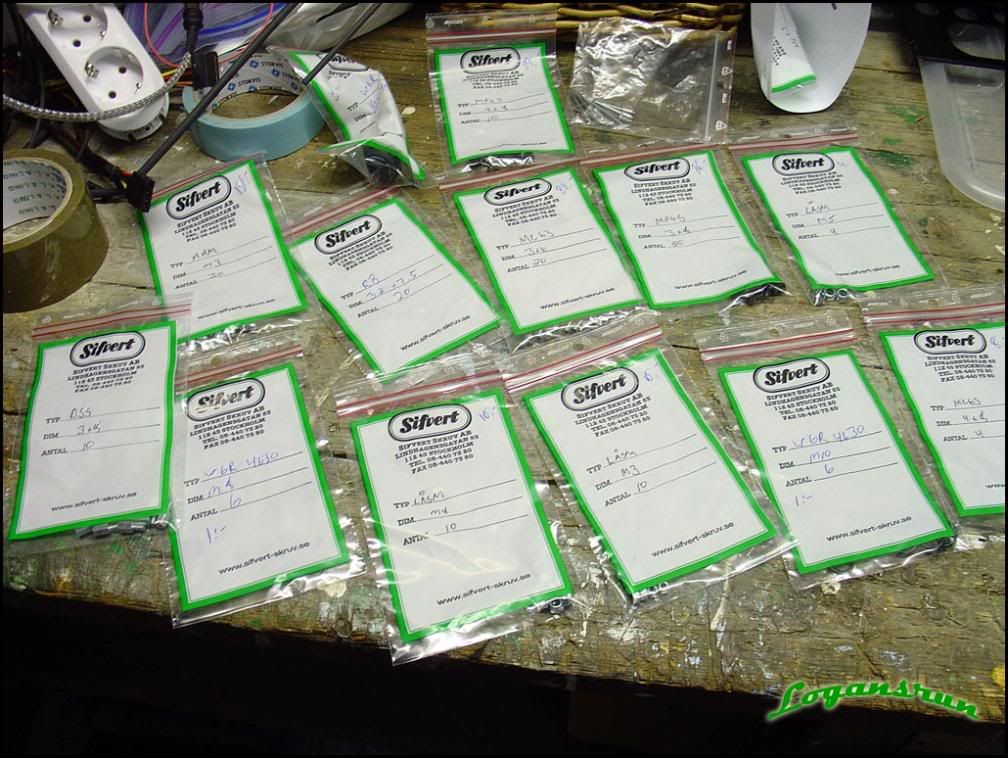
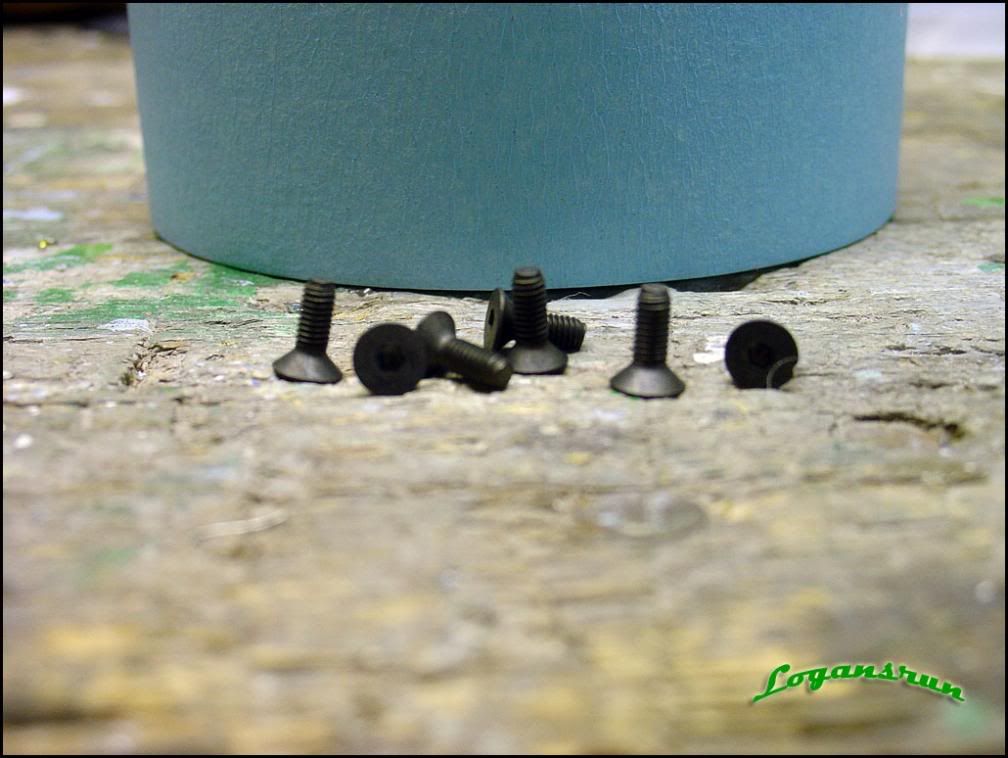
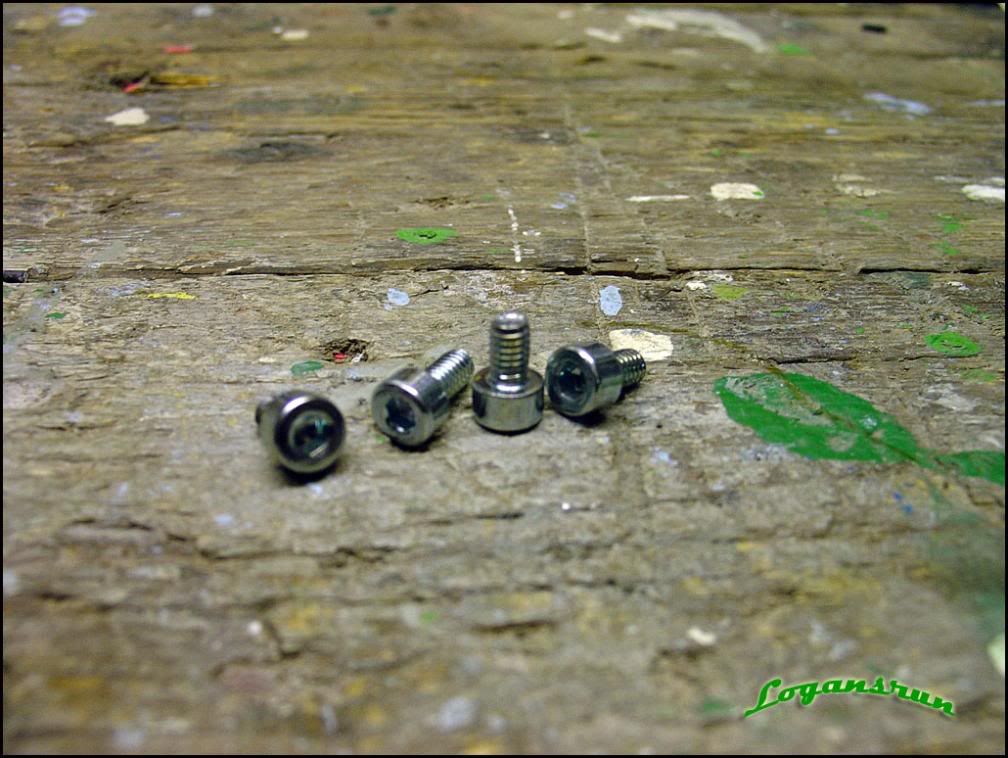
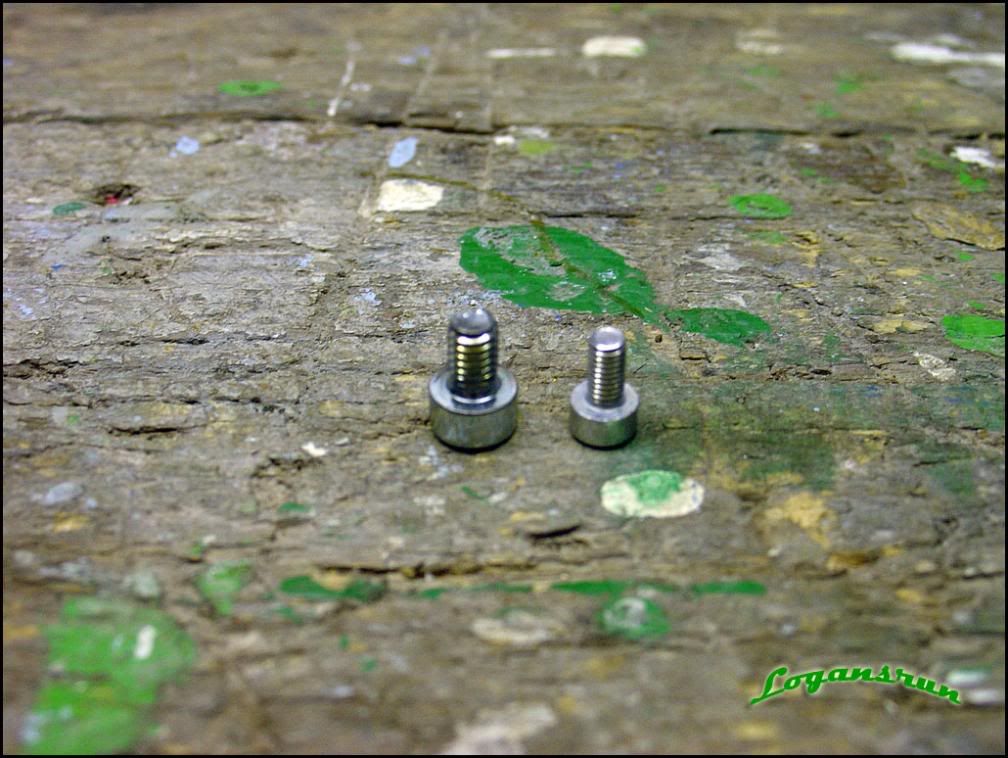
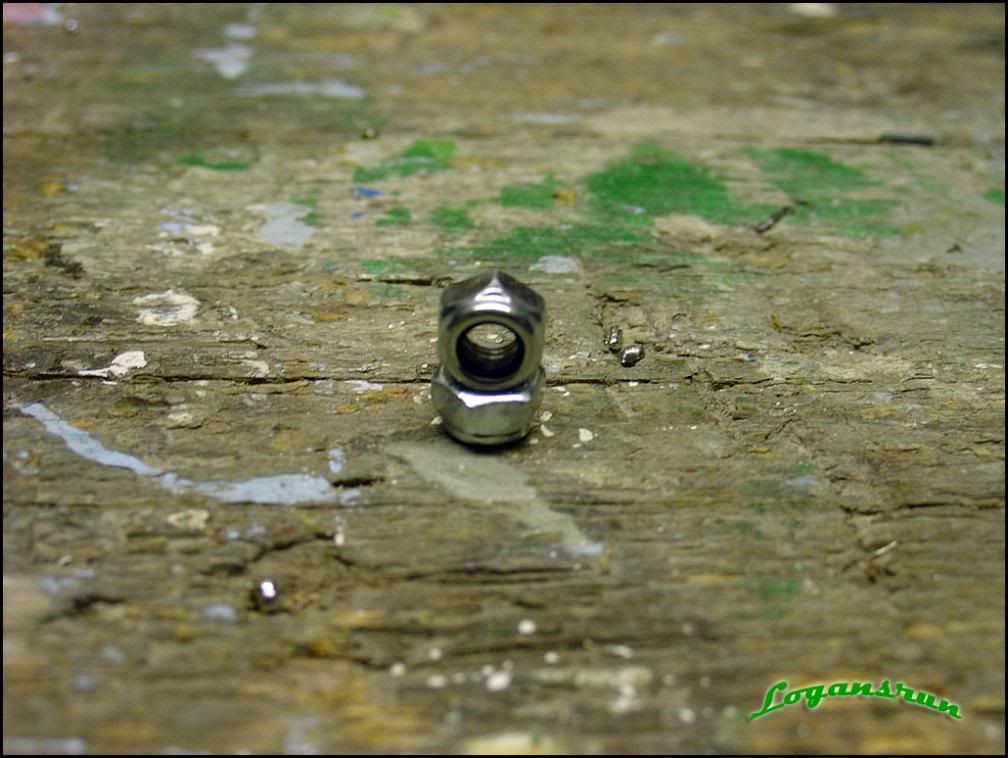
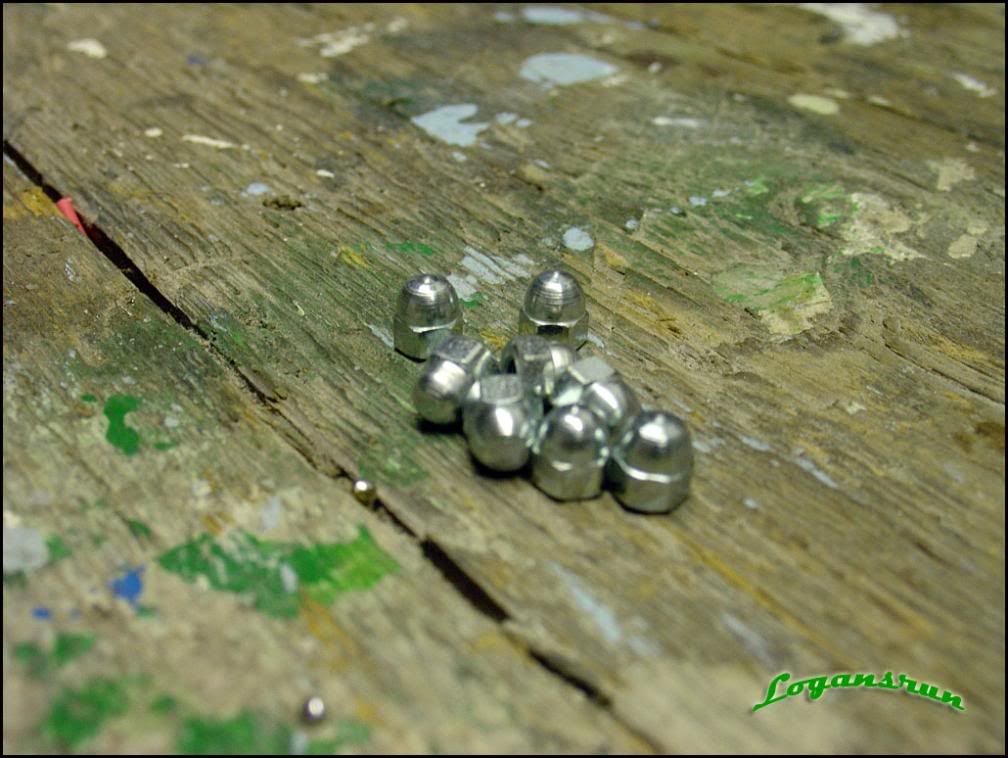
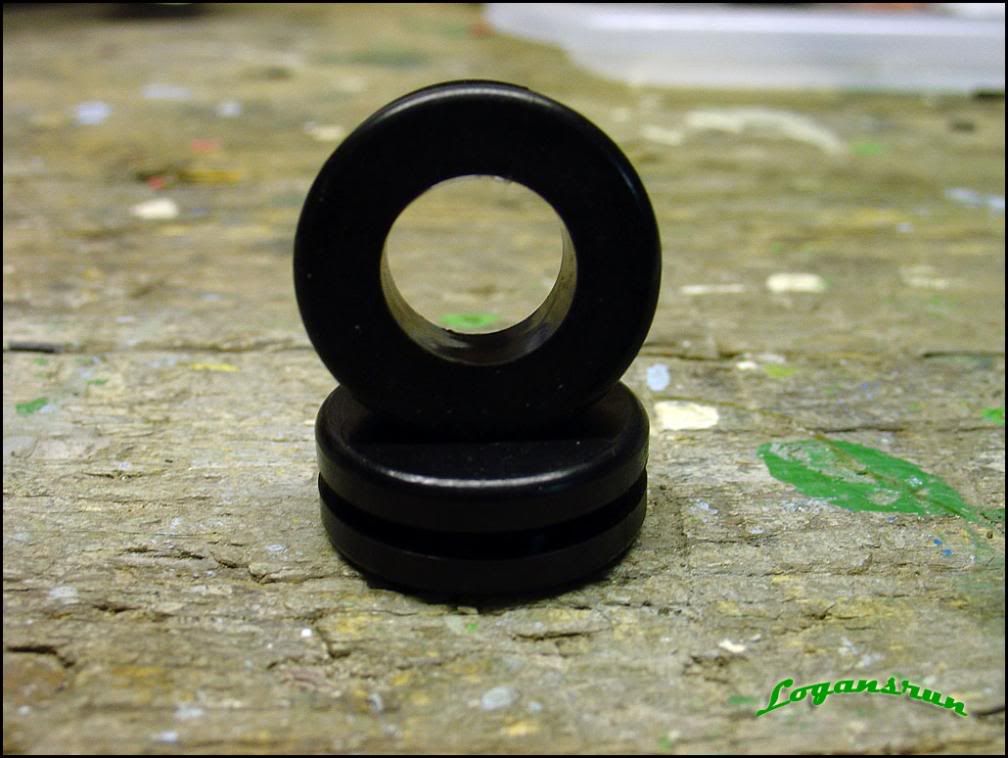
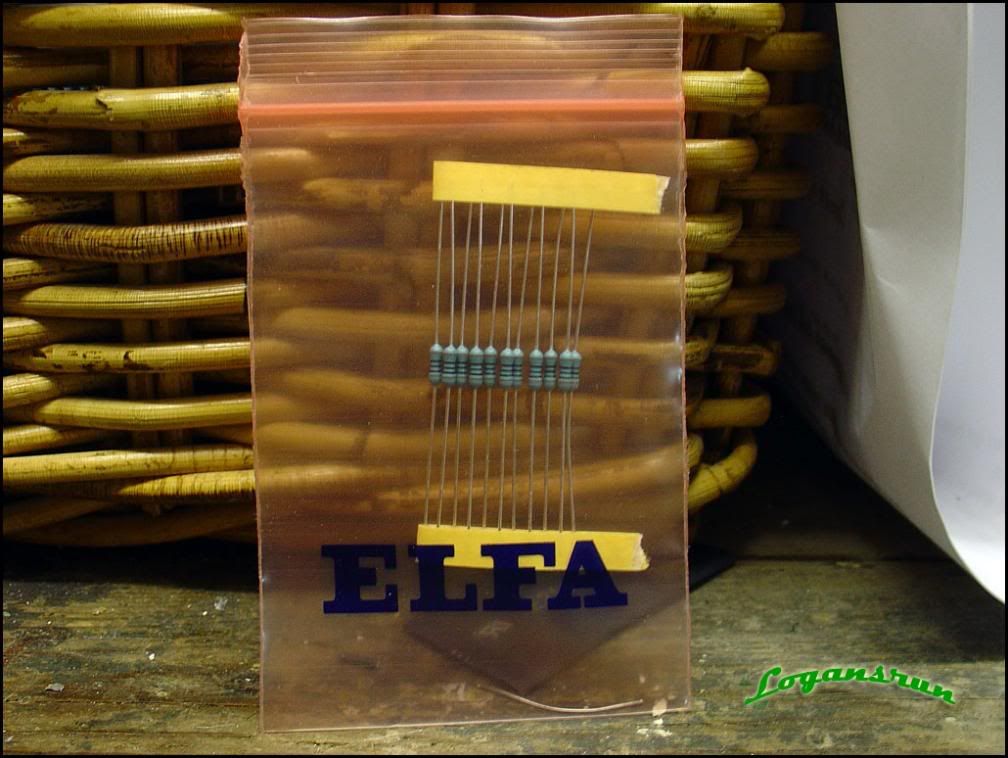
I thought about giving you a list of stuff that I have, but then I was like 'nah, everyone appreciates pron pics instead', so here's a pic of hardware. . .
AS it is, some of this may change or has changed or may not even fit in the case itself. Of course the case will be watercooled, but I'll get to that later on as we go.
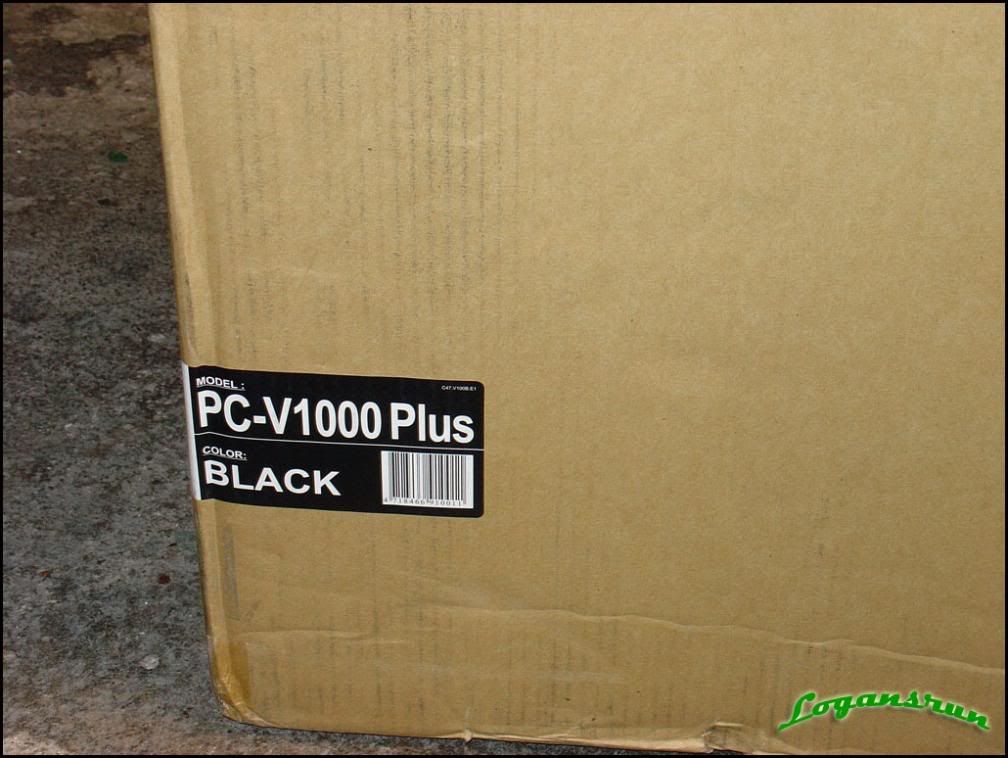
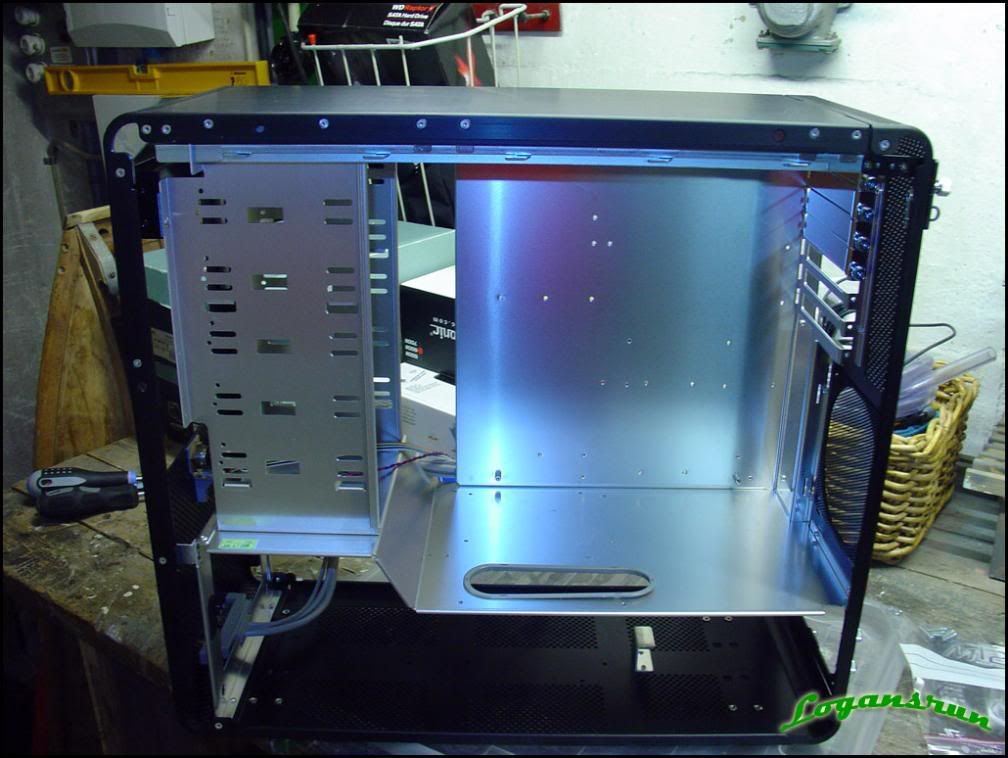
Ya prolly wanna see the case now right?
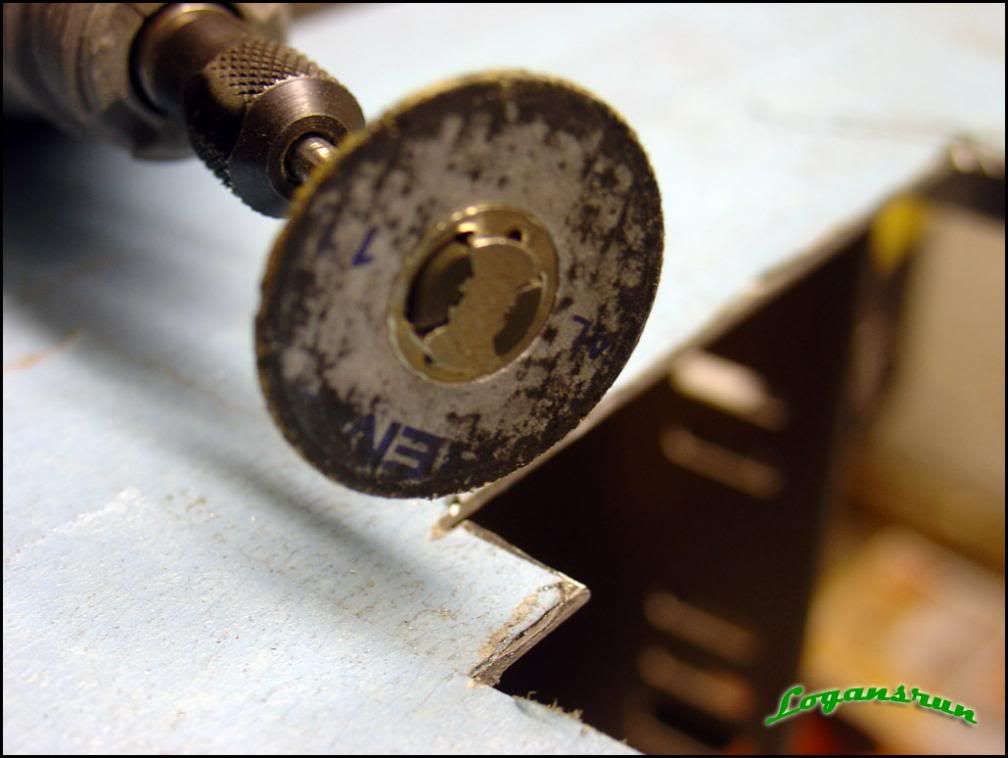
Watercooling would be a definite in the case, so I needed to make a cut somewhere to fit a PA120.2 (I have a pa160 here as well, but I haven't decided if I need it or not, as I won't be OC'ing and will have 1 GPU. After talking to Marci several times, he also felt that the 120.2 alone would be enough for my needs. I'll see how it goes, and if I'm happy with temps, Rock On! If not, well the beauty of modding is that I can always go back in, hehe) and that a requirement for me would be an internal case. Hats off to everyone that has big rads in these little cases, but for the life of me I couldn't see how to get a 120.3 in here without an external mount. Anyway, I needed to make a cut, and went with a top mount.
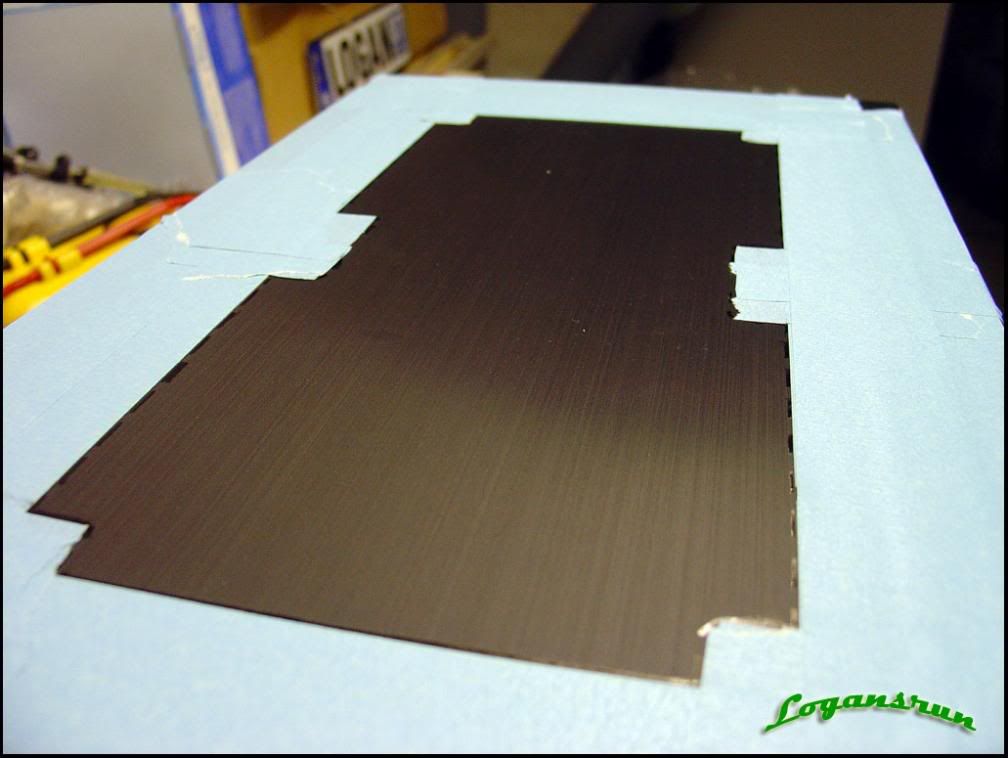
Little taping first.
Before:
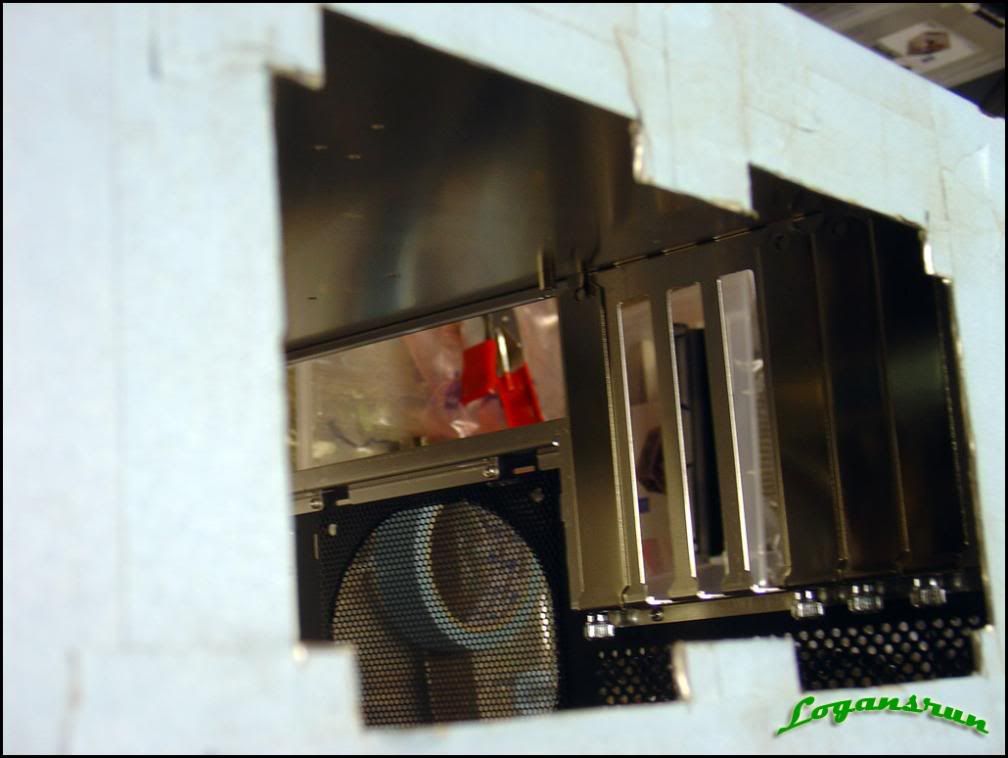
After:
After:
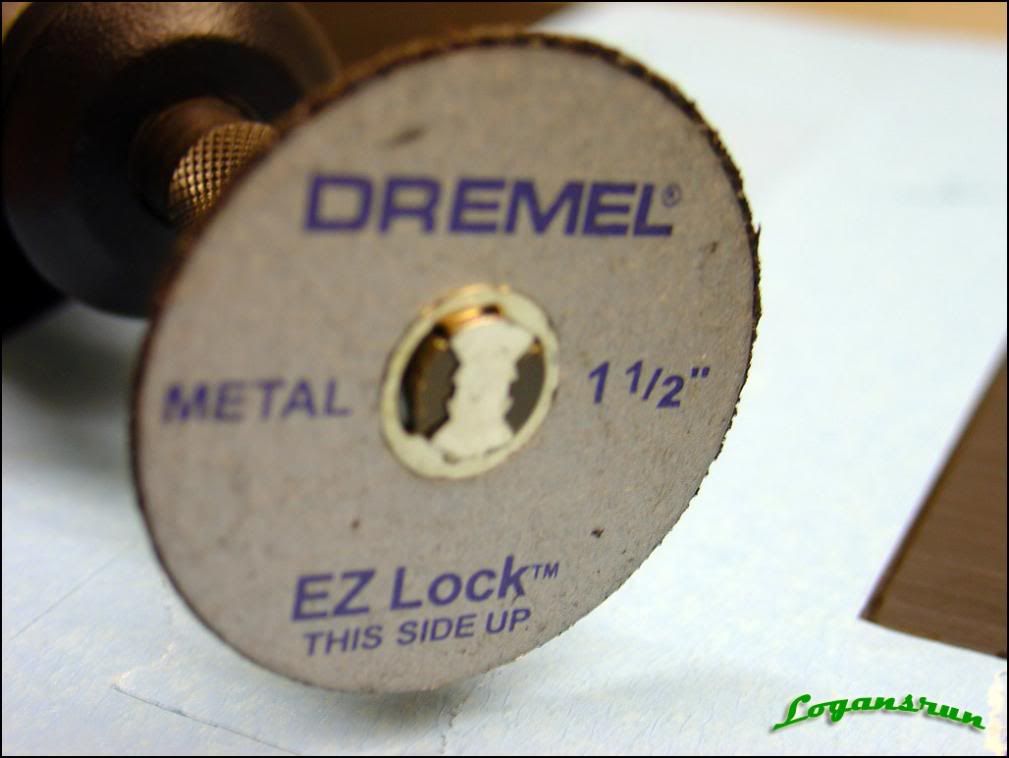
I know how everyone recommendeds a jigsaw for all case cuts, but since we didn't have one, I went with a dremel as that was what I had. And I've never used one of those before either. I thought the cut came out ok.
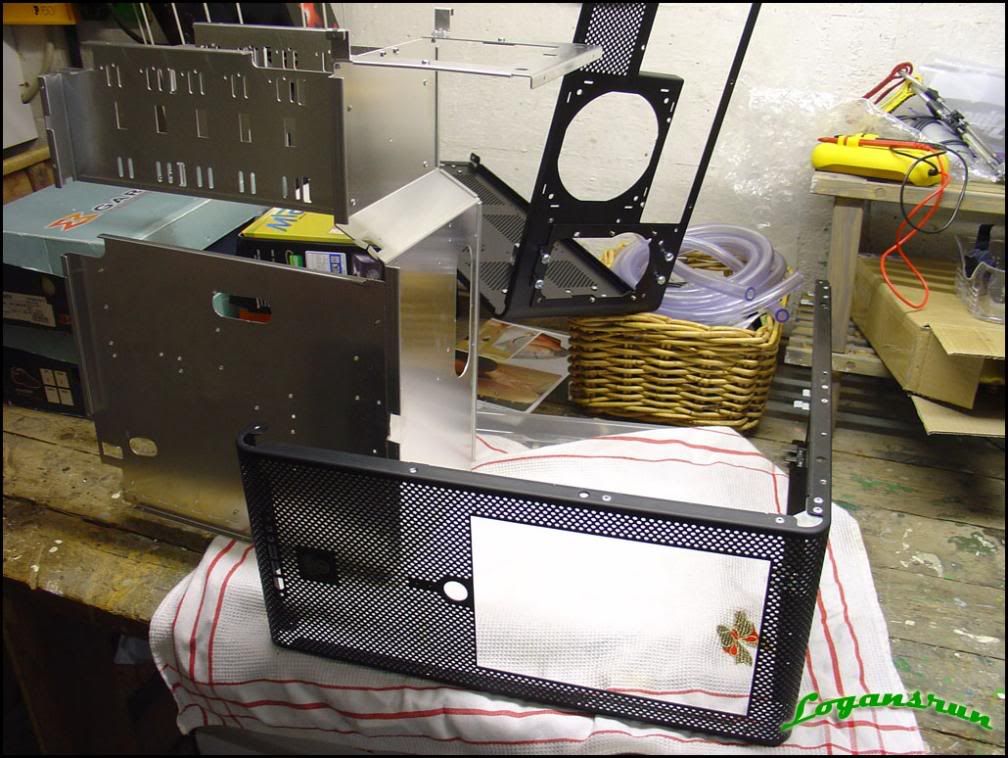
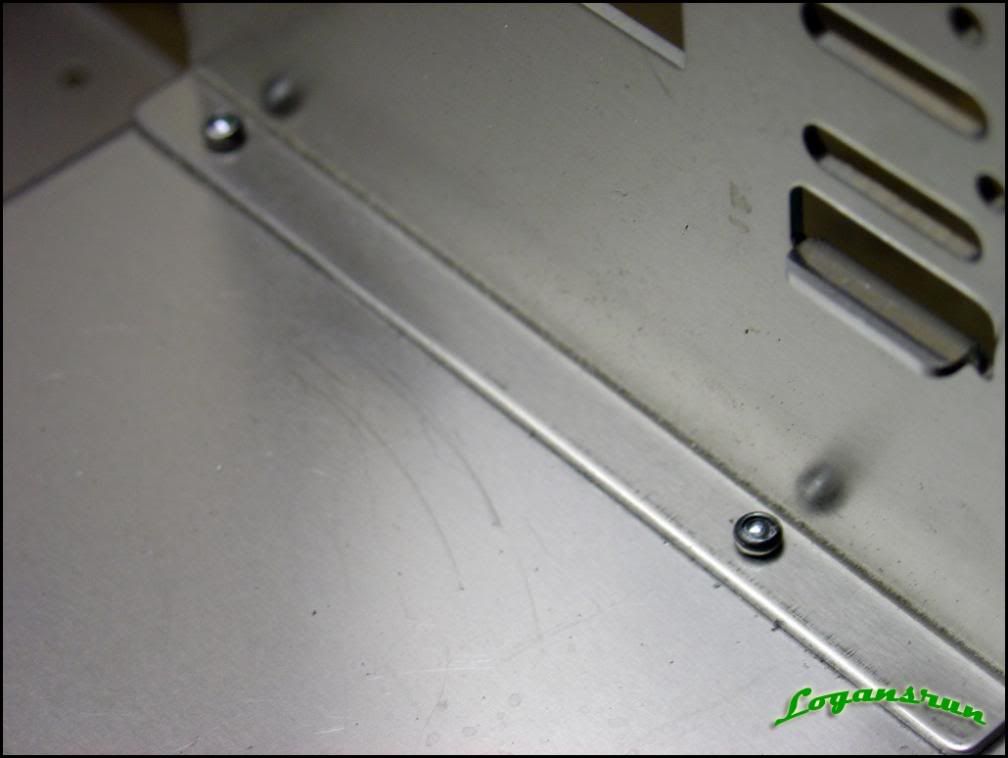
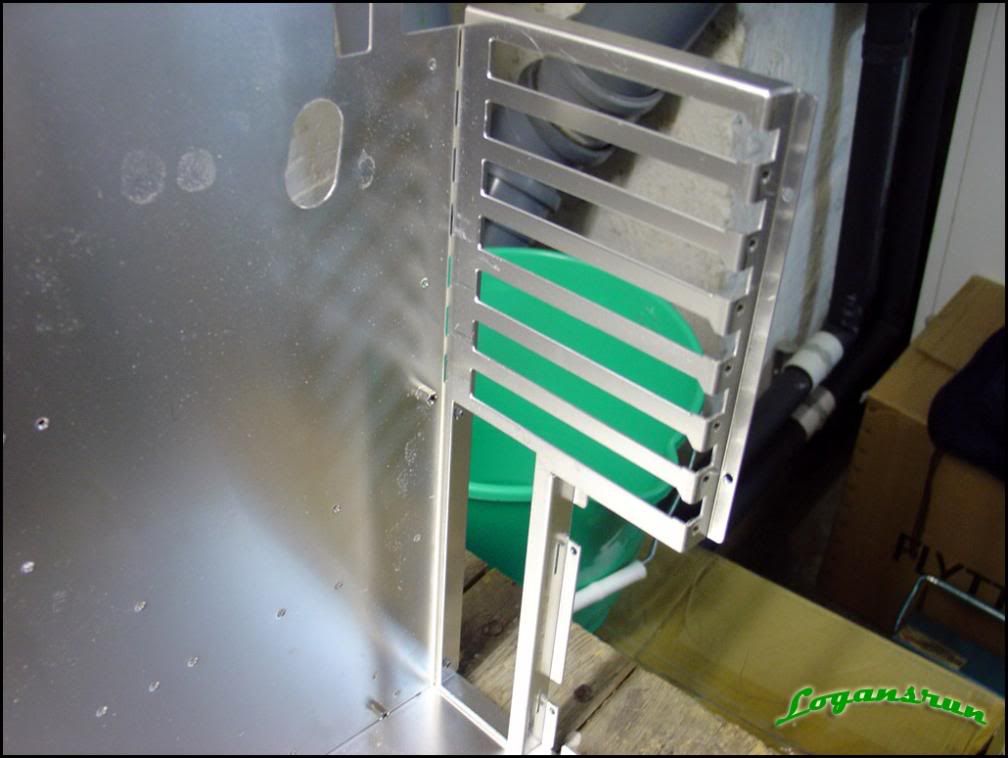
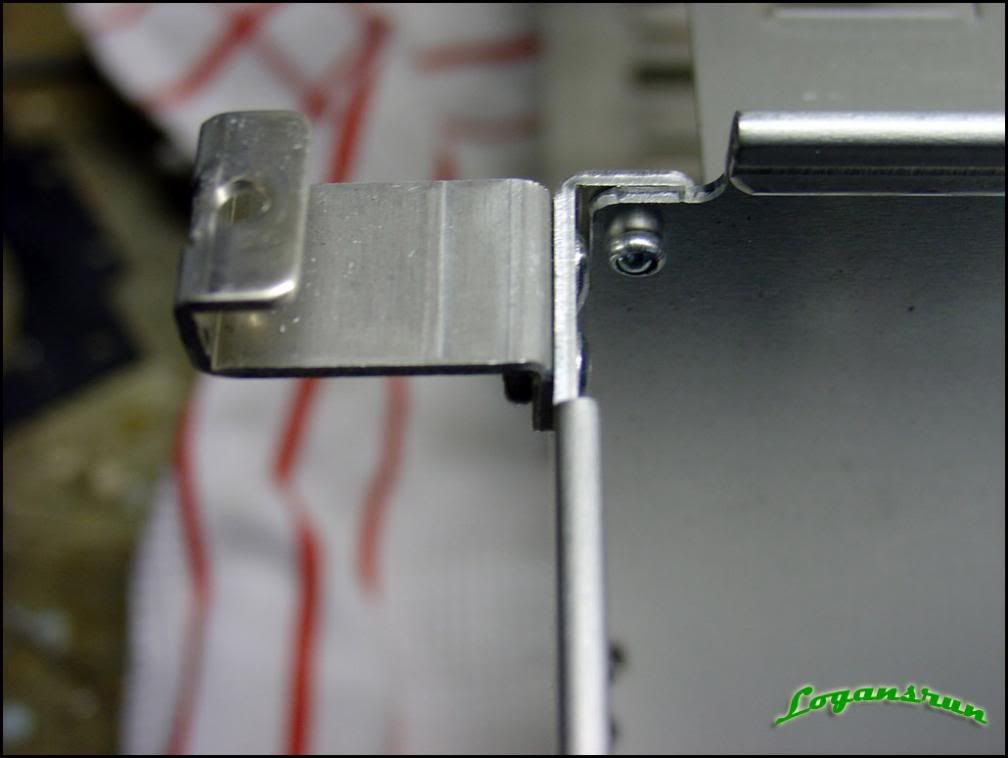
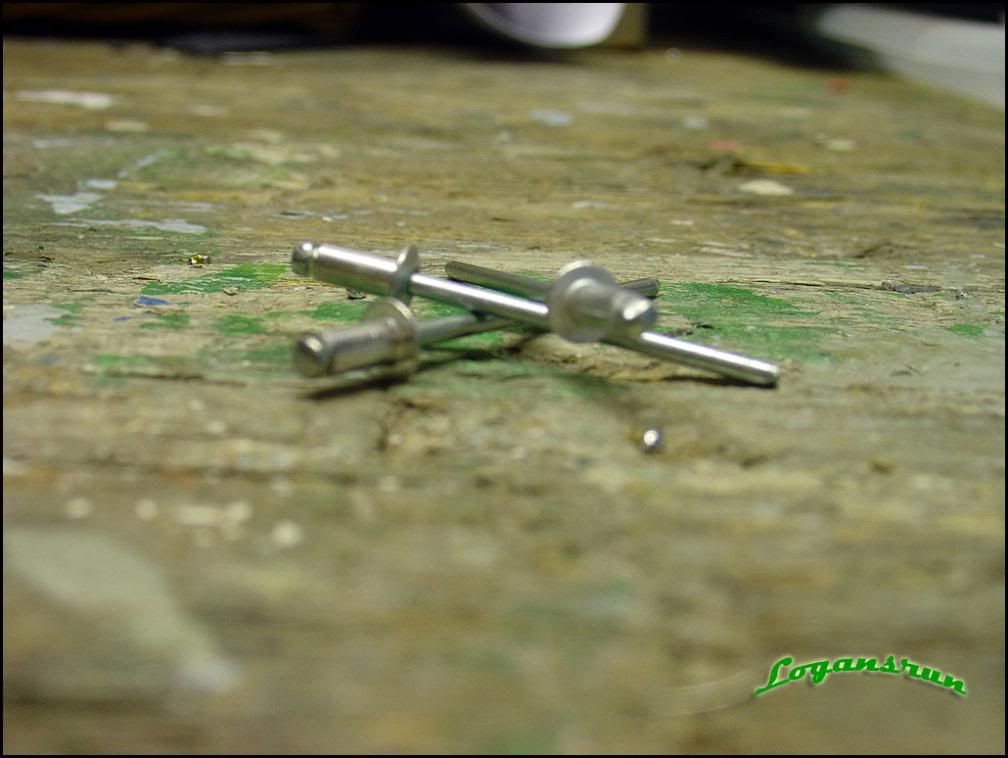
I knew that I wanted to get in and make some cuts for the mobo tray, and being that this is my first build ever, I wanted to do everything right. So I started to look around the case and decide what the easiest way would
be to do that, and I figured if I took out the mobo tray, it would be easier to accomplish. Except I couldn't find how to do that. The easy way that is. So one rivet led to another, and before I knew it, I had this:
DOH!
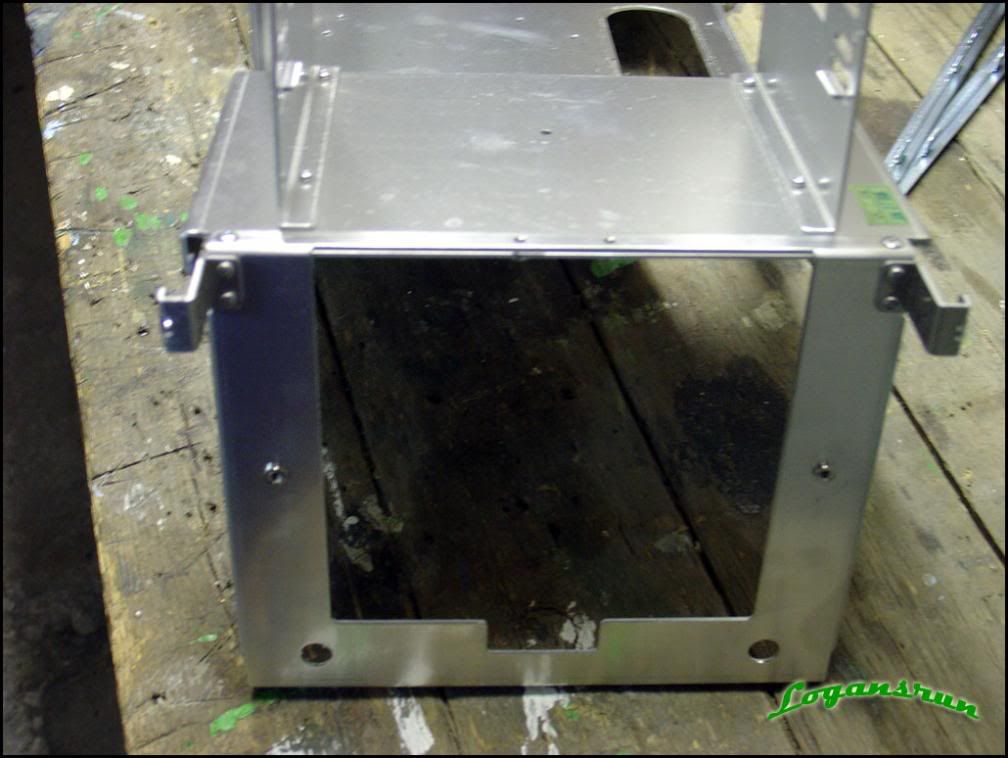
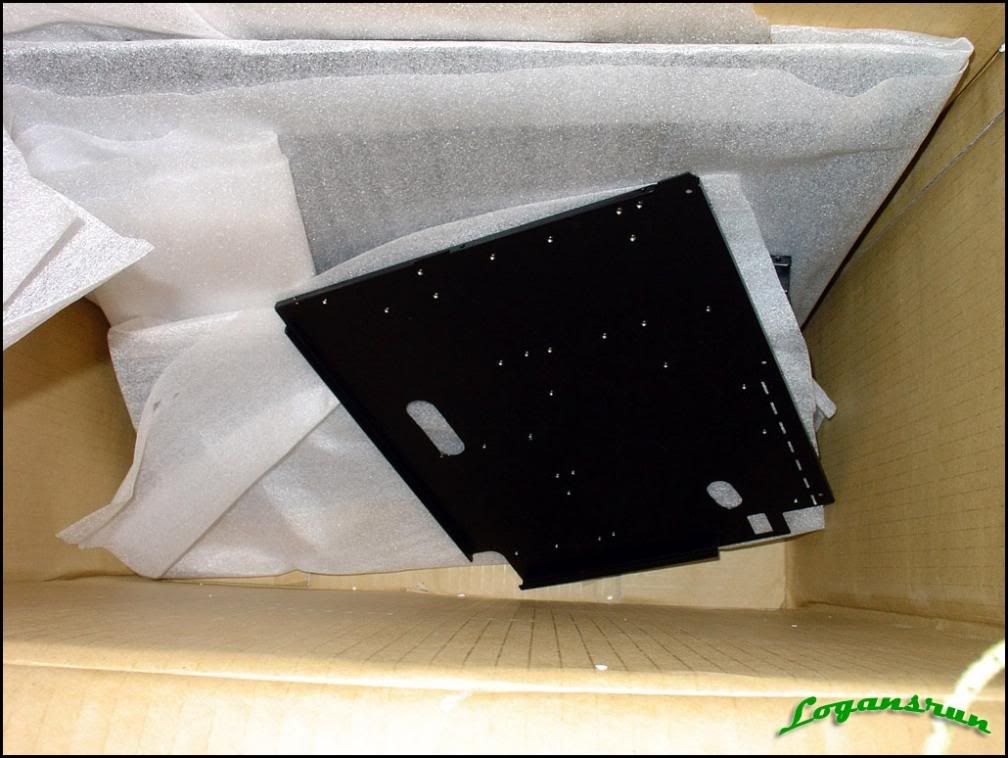
Since the case was in pieces, I needed to take some pics so i could get it back together. . . at least that's what I hoped
I have a ton more raw pics like those, but I figured you get the idea.
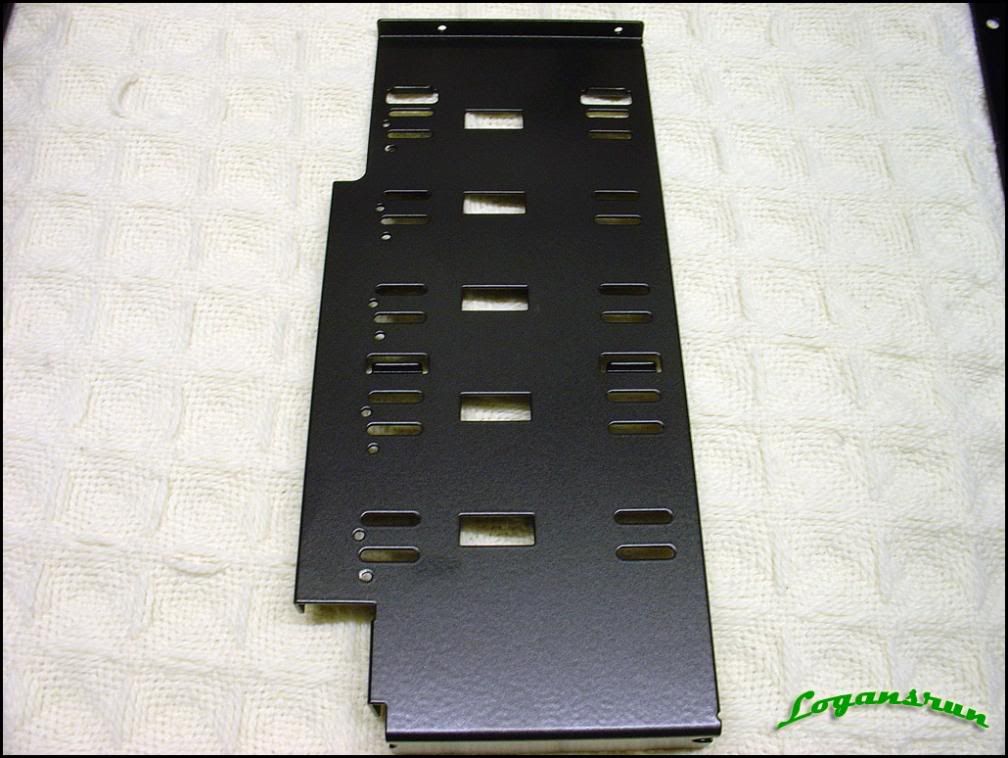
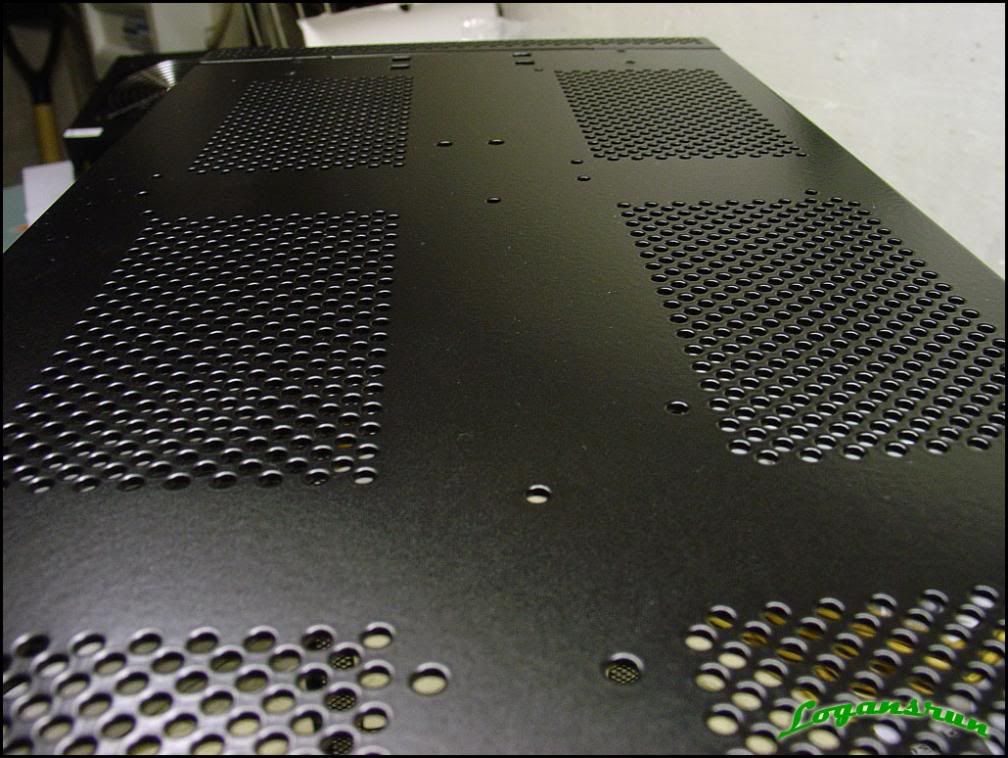
So, since I bumbled into this mess, I wanted to do something about the insides and thought a nice black finish would go good with the look I'm trying to achieve. Off to the powdercoaters went the whole case!!! Let's see what that looks like in a few days when it comes back.
(if pic size is a prob, let me know and I'll resize them)


 Reply With Quote
 , subscribed,


Bookmarks