




I started off creating the hatchway with a 12"x12" aluminum sheet.
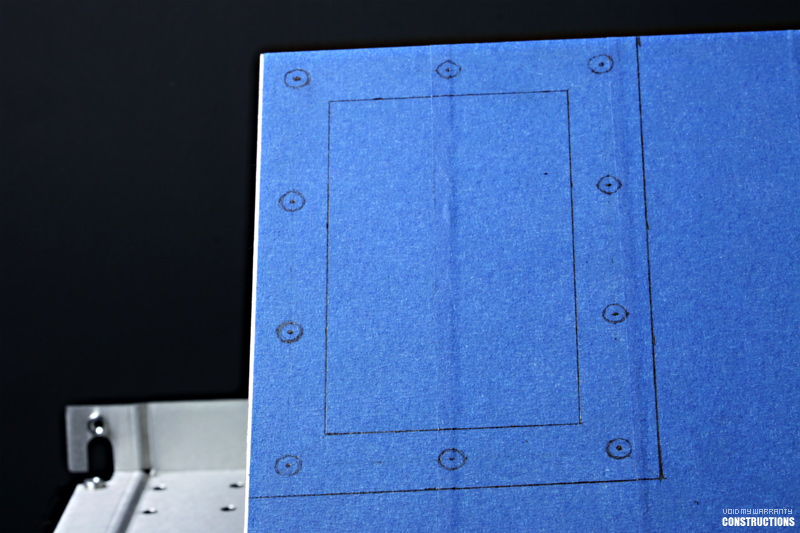
This time my pencil guides weren't so awesome.
Lining up the acrylic to the frame and the screws, while being aligned with the hole in the midplate made the eraser pull some overtime.
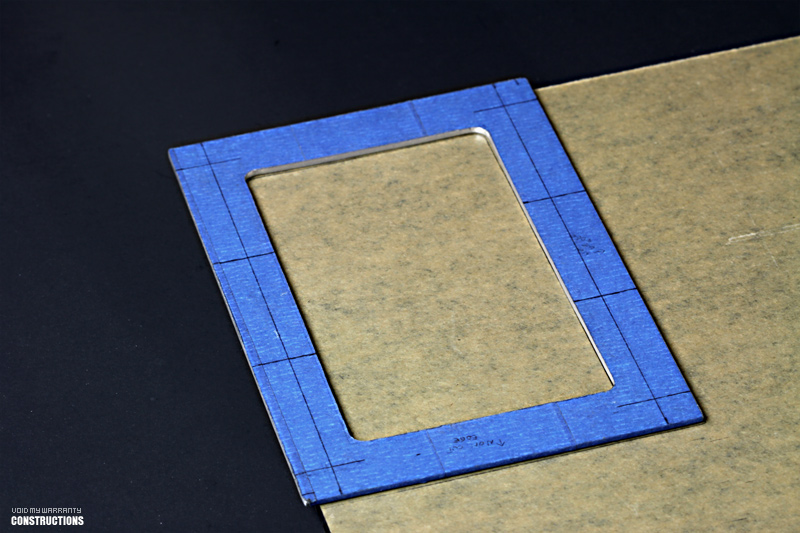
Marked before surgery:
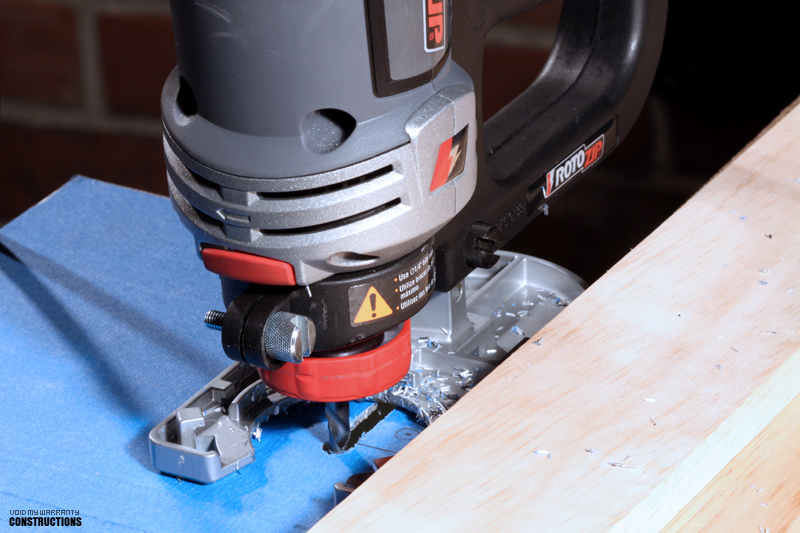
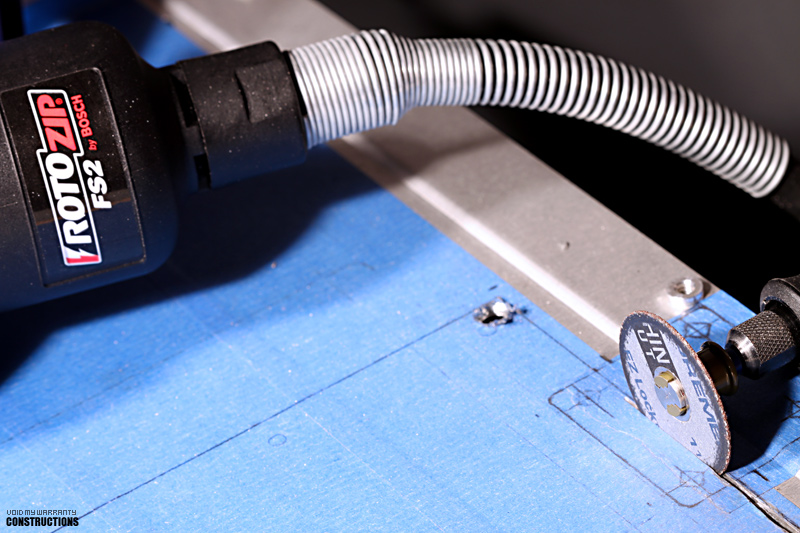
Then I went to town on it using the Rotozip:
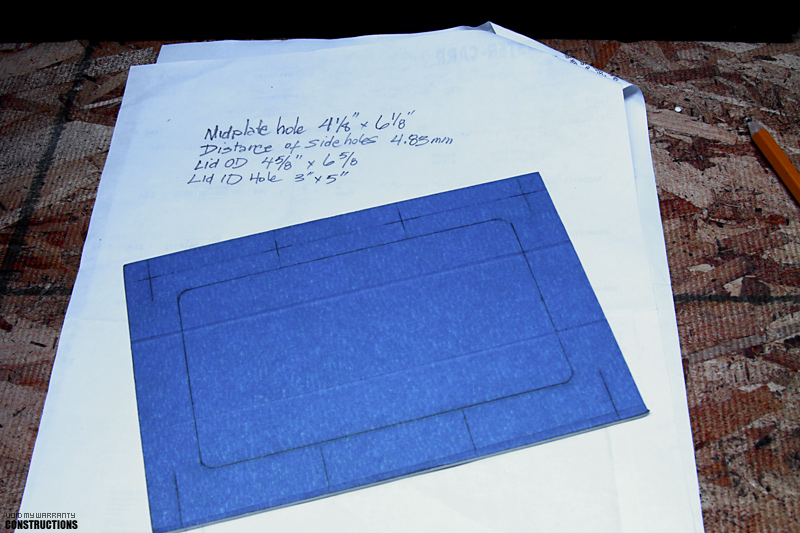
Remeasured, adjusted and remarked:
It was also used to cut out the center hole:
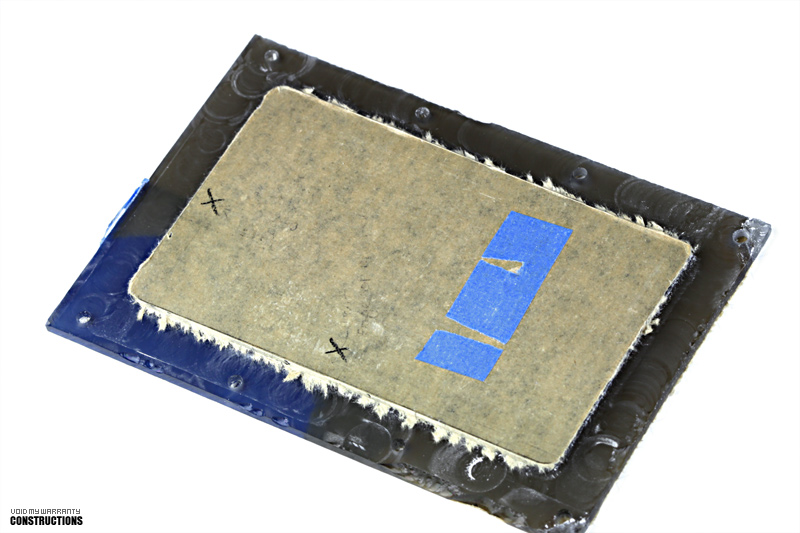
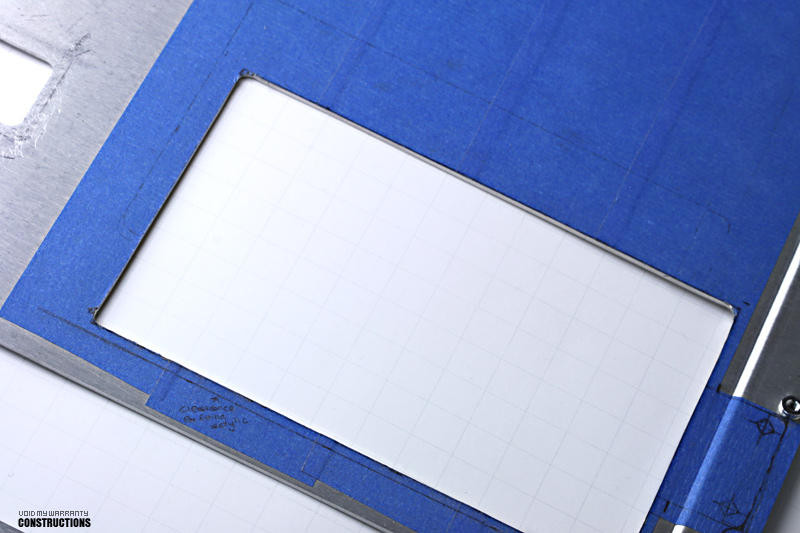
The acrylic piece was routed down to fit flush up against the center hole of the hatchway frame. She shall be polished:
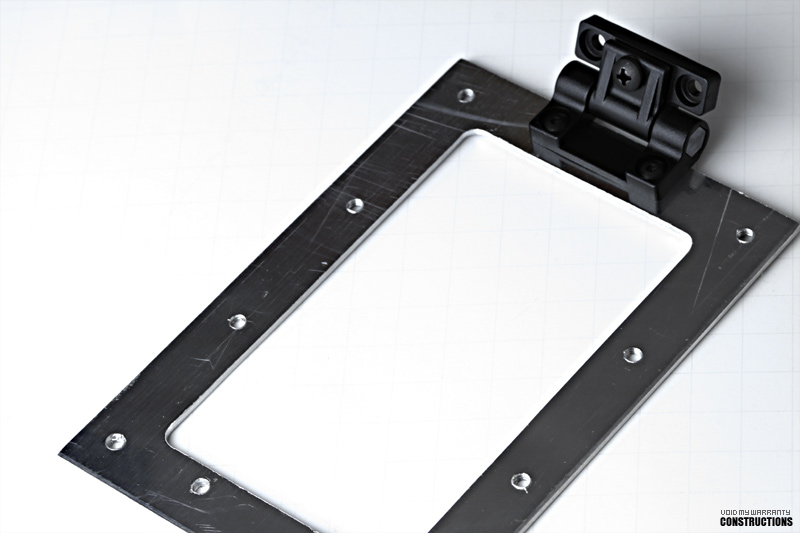
Fitted the frame to the acrylic window:
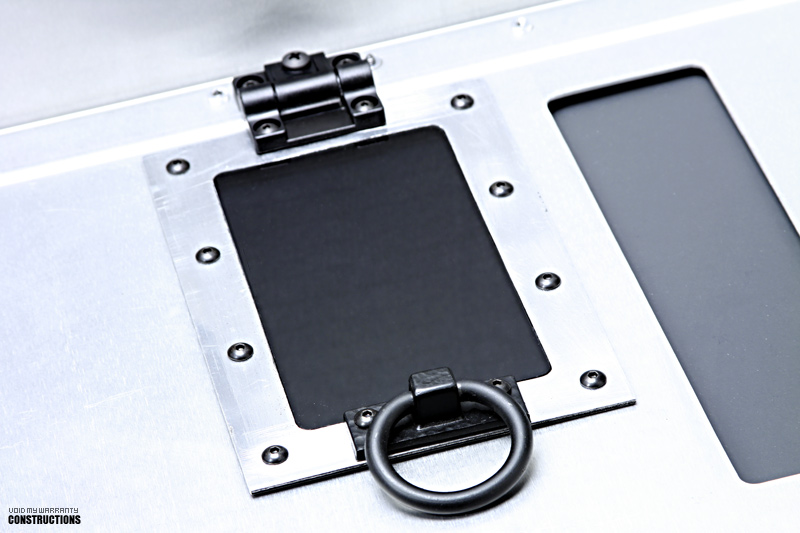
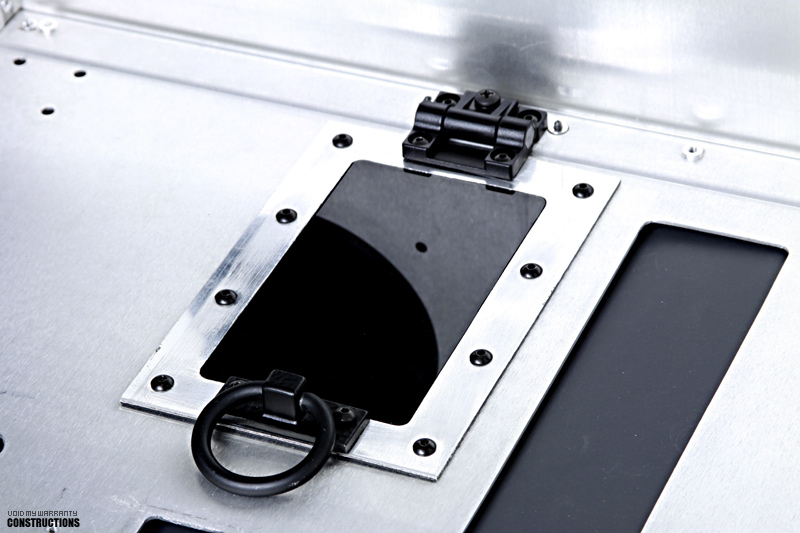
She shoots! She fits! She scores!
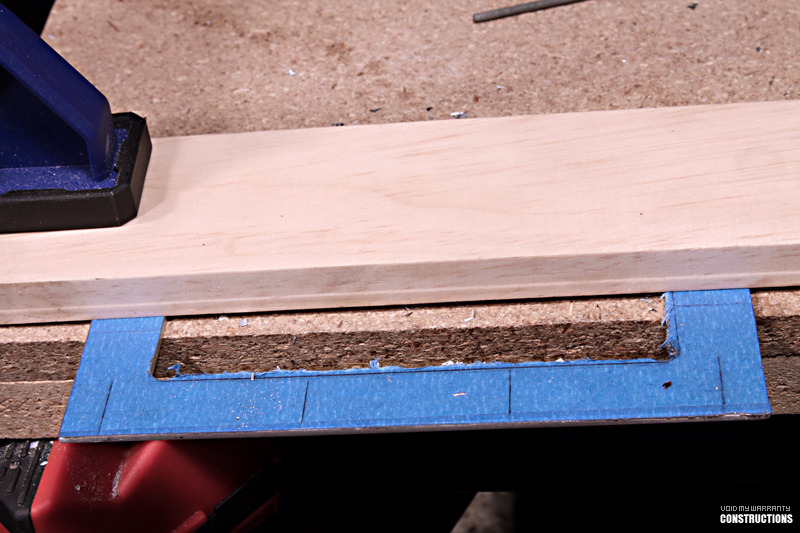
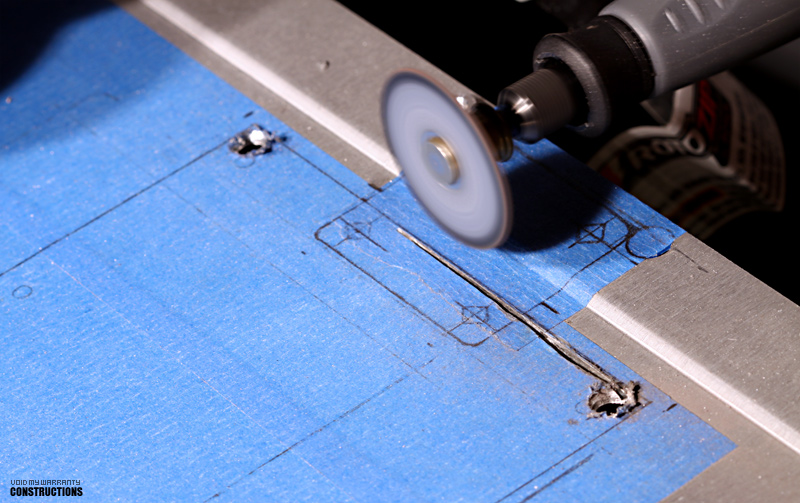
Used up two Dremel cutting wheels on the Rotozip Flex Shaft attachment to cut out the hatchway hole on the midplate:
Aside from using lubricant to lessen the heat build-up generated by the friction (did I just type, "Aside from using lubricant to lessen the heat build-up generated by the friction"???), I went around the perimeter twice with the cutting wheel.
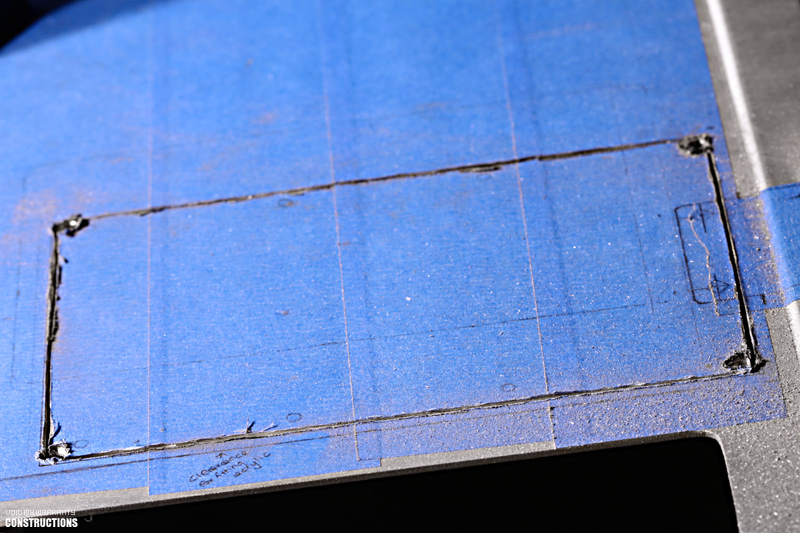
The first go-round was to create the straight "starter" cuts while being careful not to stray outside the pencil guides.
The second go-round was to actually cut through the aluminum.
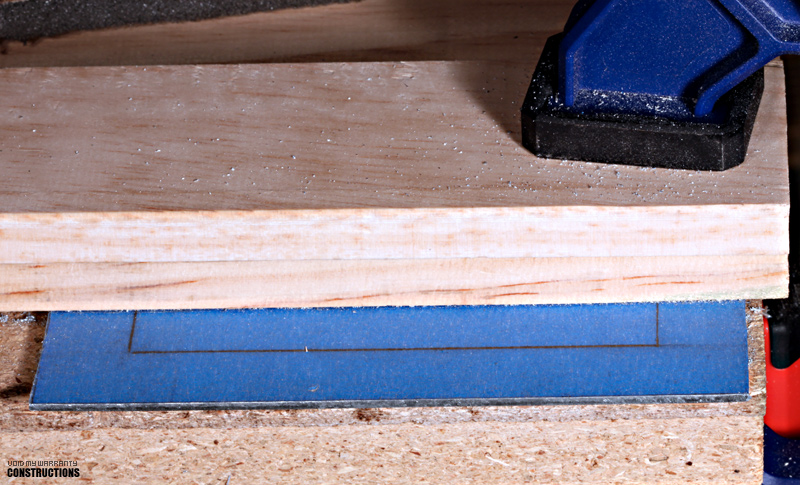
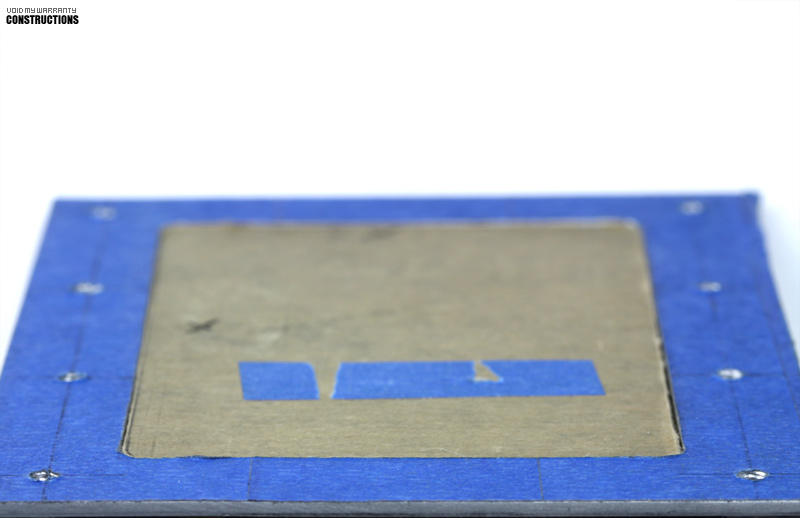
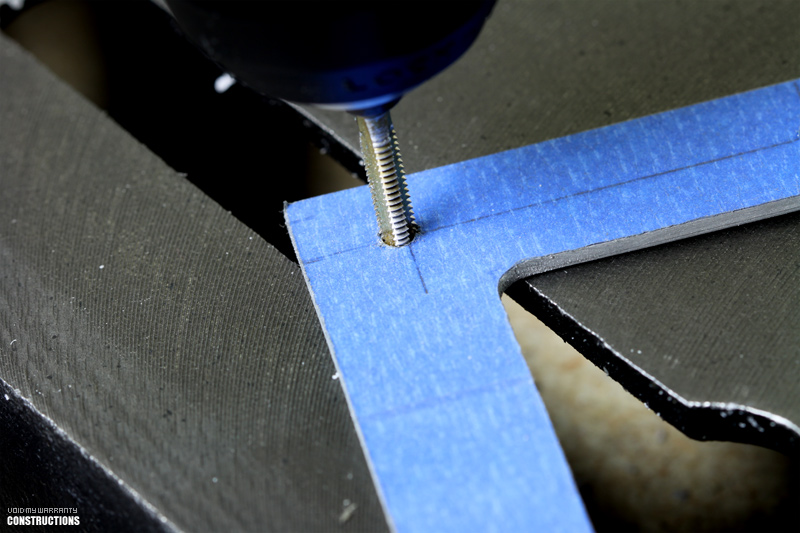
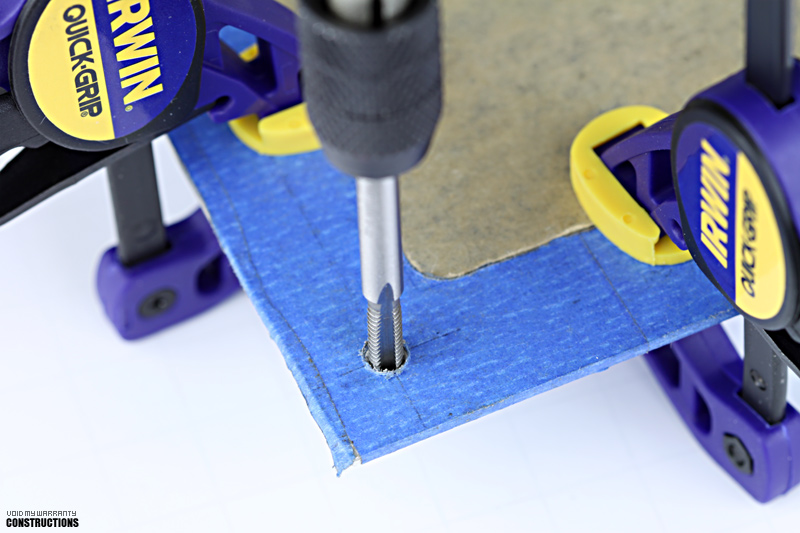
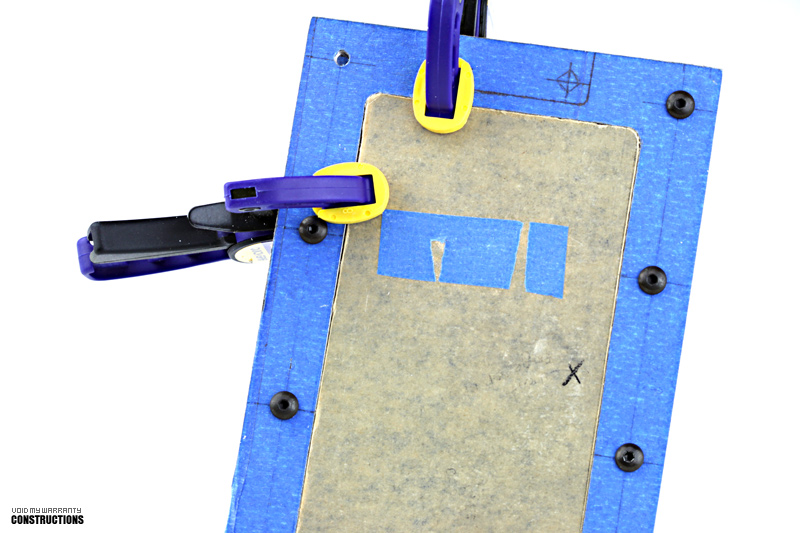
Tapping the alumunimun hatchdoor:
White knuckled the tapping through the aluminum into the acrylic window attached underneathe.
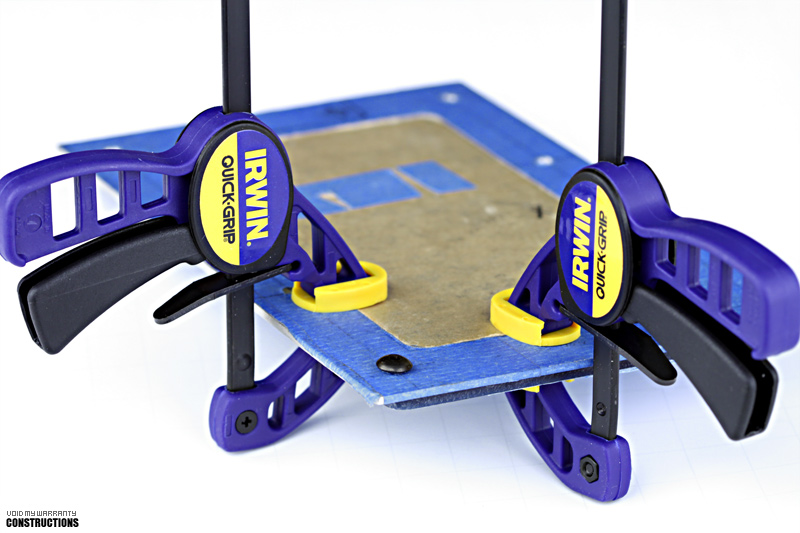
I used the oompa loompa version of the Irwin clamps:
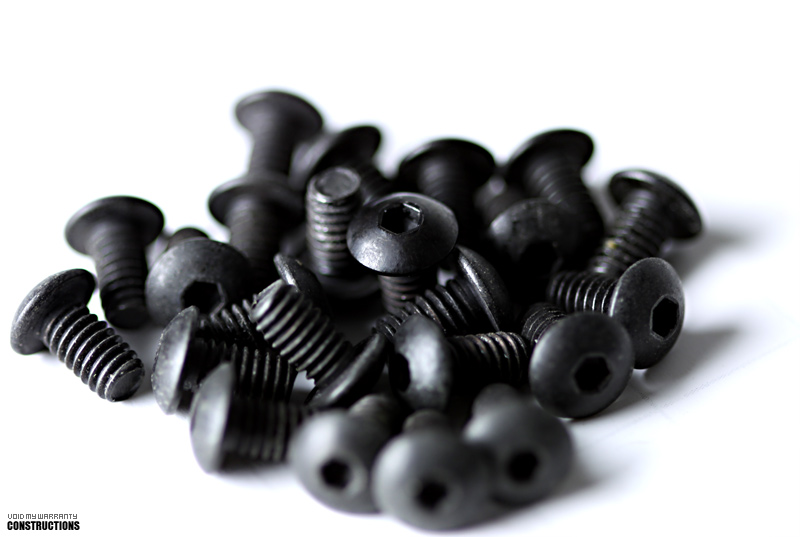
Dressed the hole with screws right after each tap.
To ensure alignment of each hole, I tapped the next hole on an "X" formation (the next tapped hole was the opposite furthest point.)
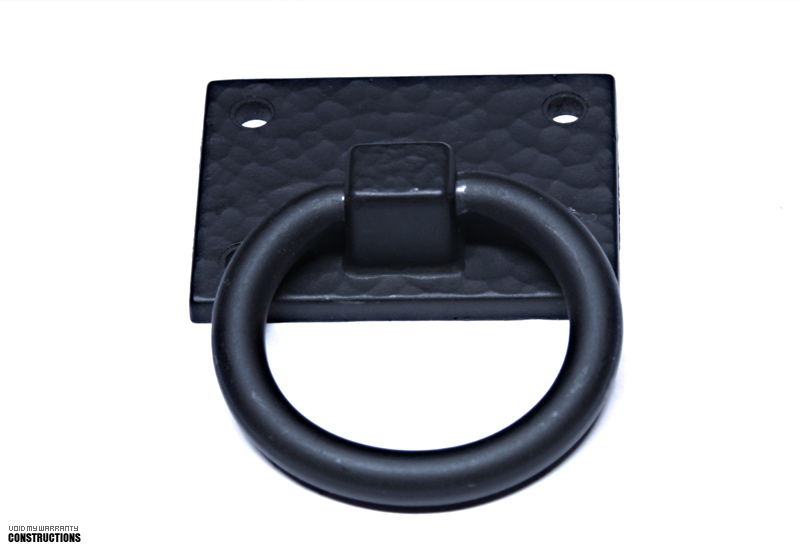
The hatchway handle:
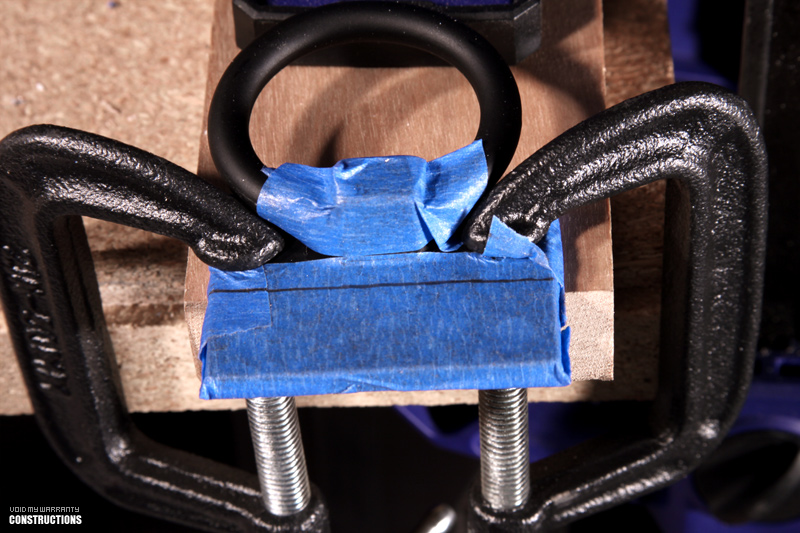
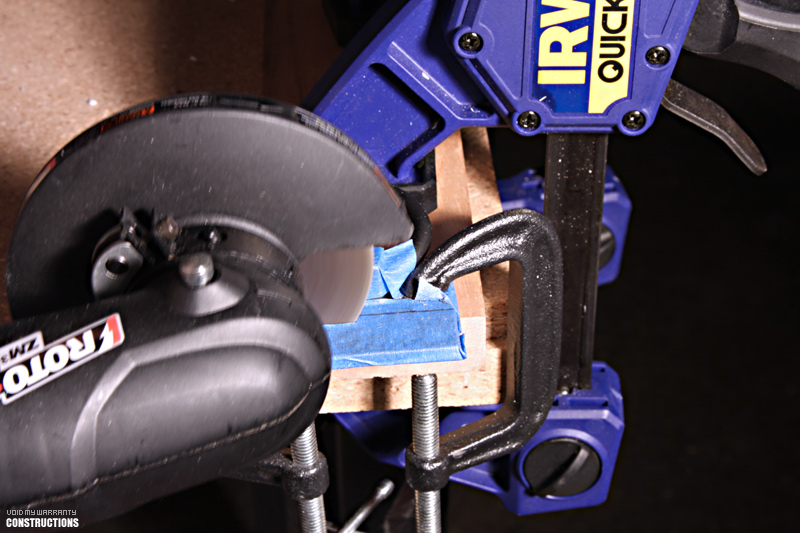
Had to cut an inch and a half off to fit the frame:
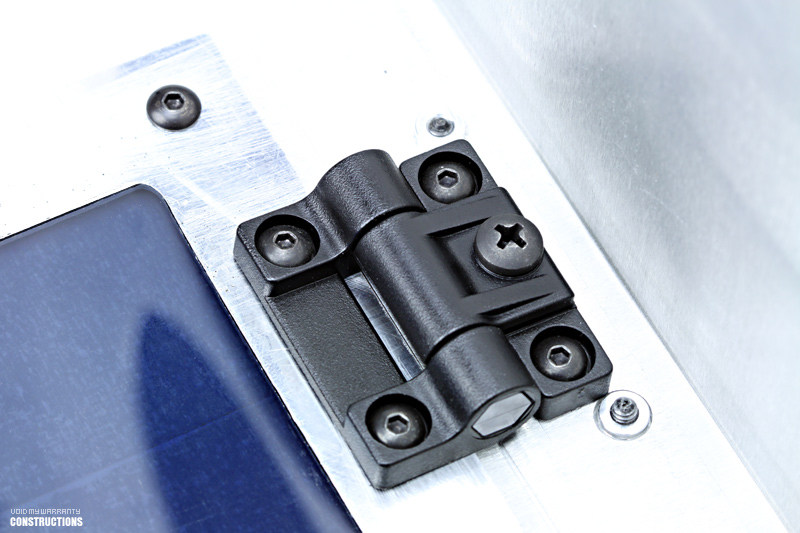
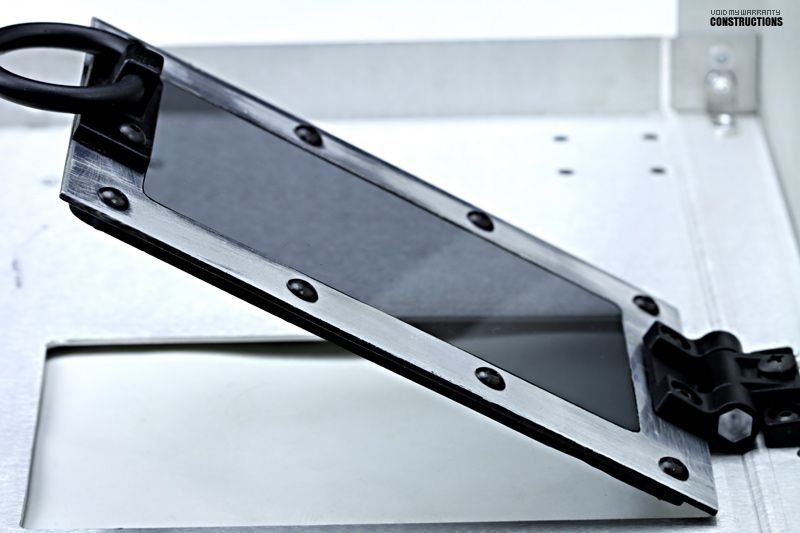
I used a friction hinge.
It sports an "adjustable torque resistance" feature.
The tightness of the adjustment screw dictates the strength of the resistance.
This allows the hatchway door to be suspended at various angles.
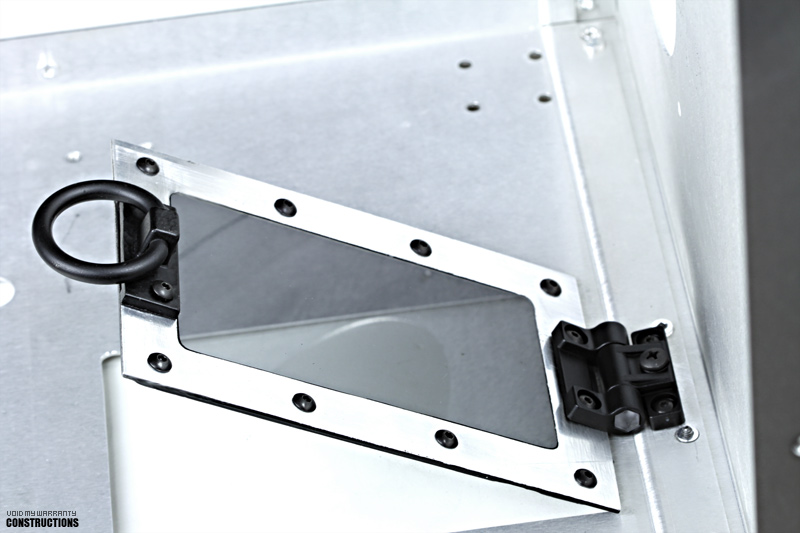
Here is how she's currently looking:
A seque (how unbecoming of me):
I have a birthday coming up.
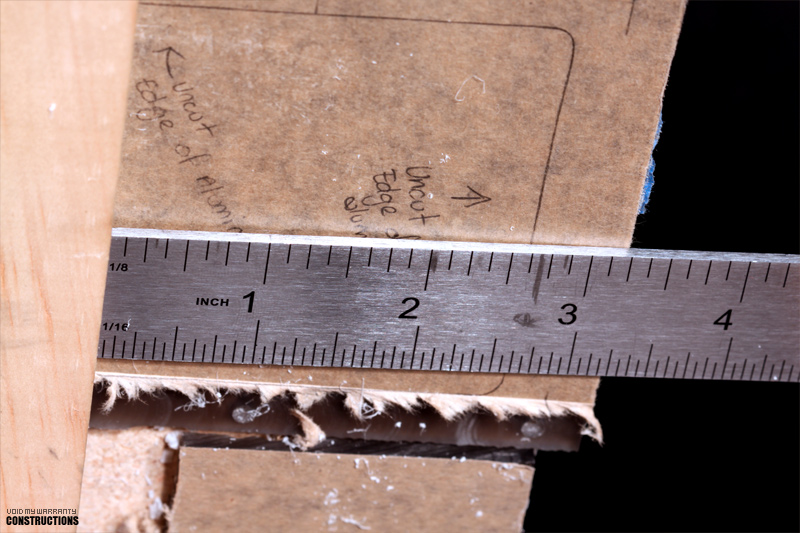
If any of me good hearties wants to purchase this good booty as a pressie so I don't have to post any more trippy/confusing measurement pics like this:
I'll be your best friend.
Currently sanding and polishing the frame. I'm leaning towards having it anodize if my rattle can session doesn't fair too well.
Thanks for checking in everybody!
To be continued...



 Reply With Quote


Bookmarks