


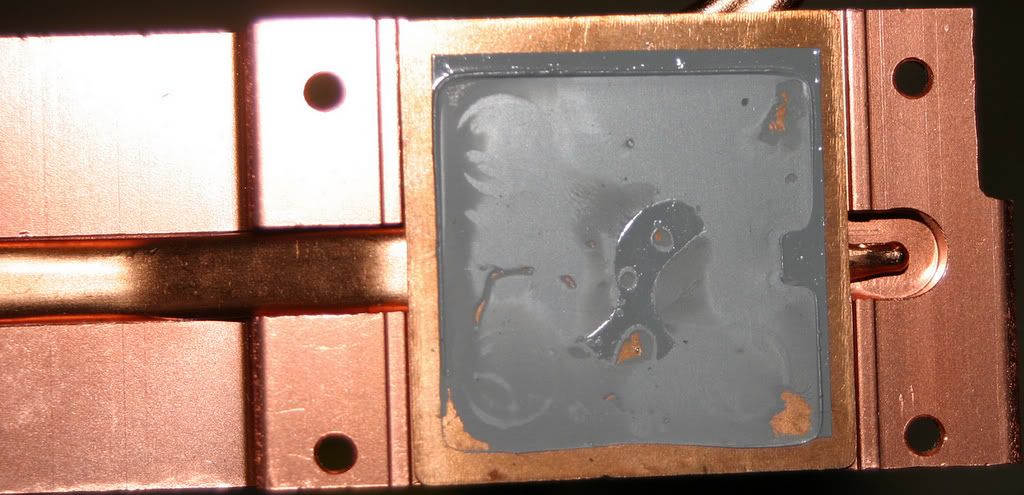
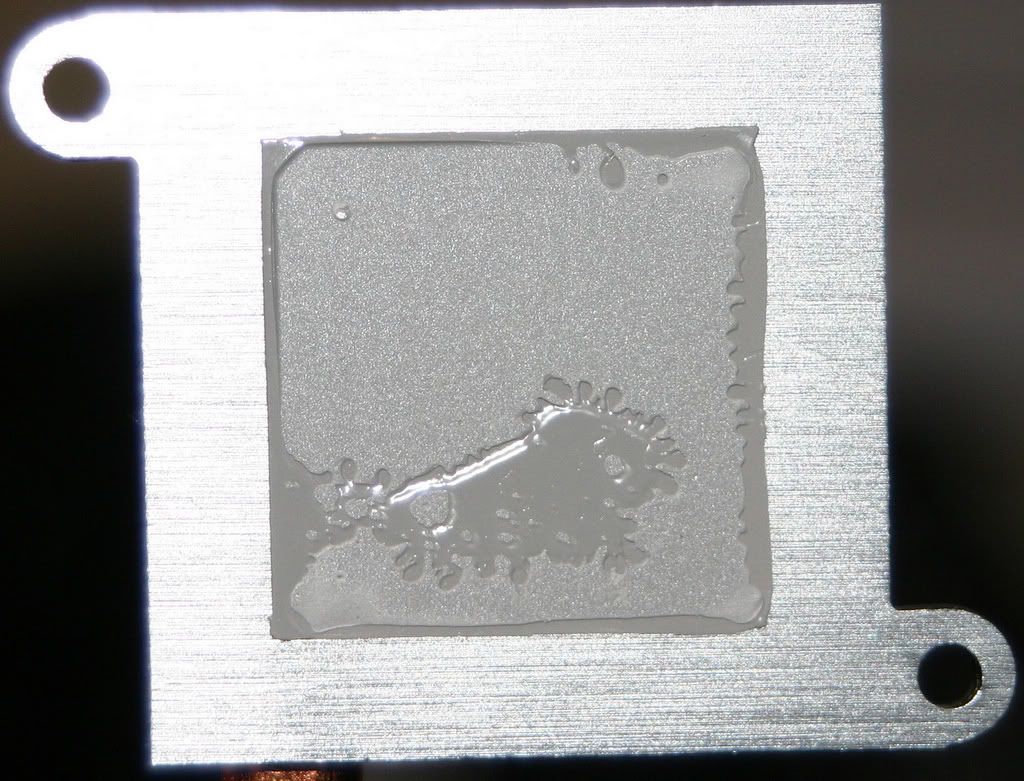
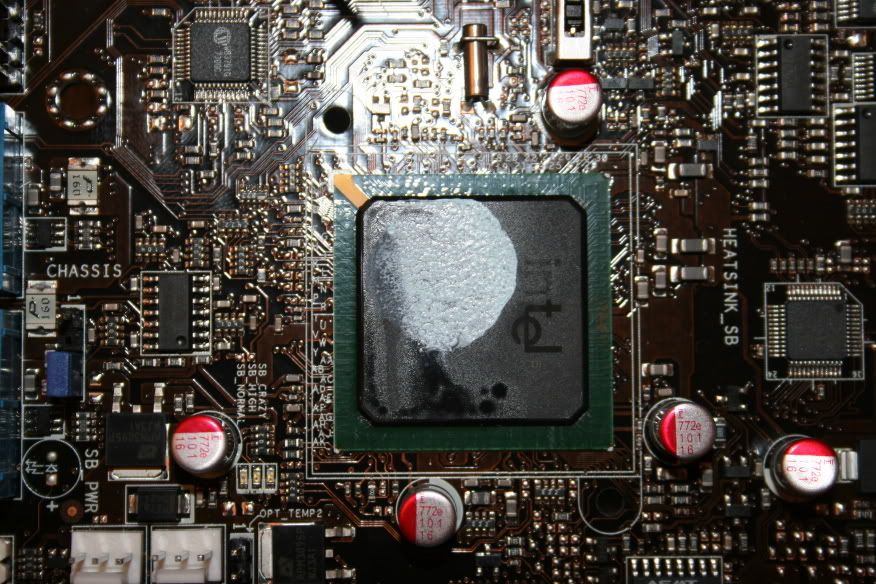
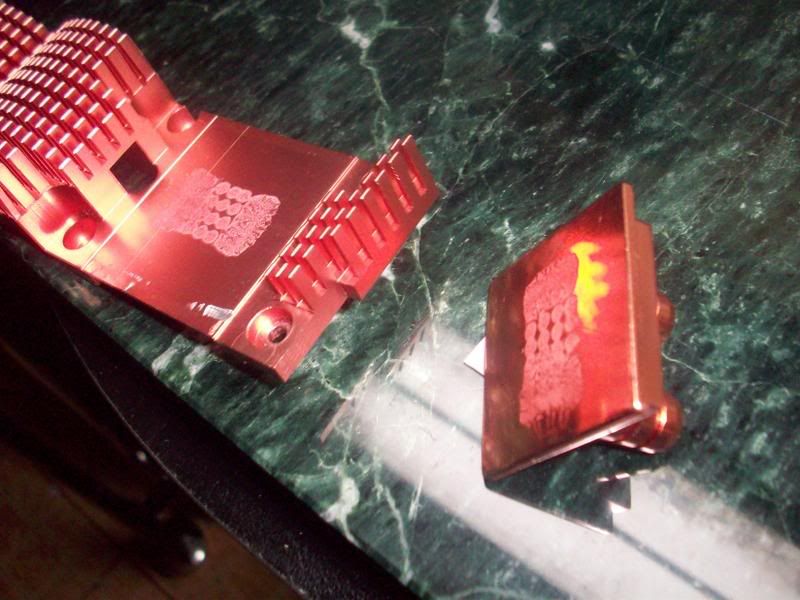
Scope of work: Modification of the Asus Maximus SE X38 and removal of the original Fusion Block.
My existing build is this
By neo_rtr, shot with DiMAGE X1 at 2008-01-20
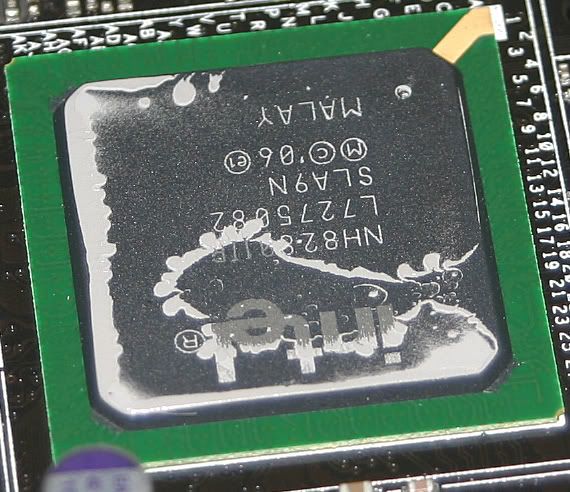
Cpu: QX6700
By neo_rtr at 2008-02-12
Geil PC2-6400 DDR2-800 Dual Channel Kit GX22GB6400UDC
I run them at 900MHz, CAS 4-4-4-12
By neo_rtr at 2008-03-08
Water Cooled solution is based on the following parts
- D-TEK FuZion CPU Accelerator Nozzle Kit
- D-TEK FuZion CPU
- Laing DDC-1T-PLUS
- Alphacool Laing DDC Pro/Ultra top
- Feser One - F1 - Cooling Fluid - UV Blue
- ClearFLEX 60 Premium 3/8 ID
- ATX PSU Starter 20pin
- ThermoChill PA120.3
- 1/4 BSPP 3/8 D-TEK Hi-Flow studs
- Cape Coolplex Pro 25
The replacement part will be a
• 2 x EK-Backplate Mosfet ASUS 1, 3, 3a
• FuZion Intel 775 Pro-Mount Set
• 1 x MCH034 Northbridge
• 1 x MCH003 Southbridge
• 2 x MCH150 Mosfet
Will look something like this
It has been said by MIPS that the fittings should be ¼” and the threads should have max. 5mm, if your fittings are longer than 5mm, then must use the distance rings which are included to every freezer.
Thus the of the HI-Flow Hose Barb - 3/8" (G-1/4" Thread) with the following specifications Thread Length: 4.5mm (.18") should fit and the distance rings are not needed.
http://www.dtekcustoms.com/ProductIm.../DT-G14-38.jpg
HI-Flow Hose Barb - 3/8" (G-1/4" Thread)
Chrome Plated Brass with O-ring retention groove
• Barb Size OD: 3/8" (11.2mm at largest point)
• Barb Size ID: 7.9mm (.31")
• Thread Size: G-1/4"
• Material: Chrome Plated Brass
• Thread Length: 4.5mm (.18")
• Total Length: 30mm (1.18")
• Recommended Tubing: 3/8" ID
1 x MCH034 Northbridge Freezer with 2 Distance rings
Northbridge Freezer:
Dimension bottom plate: 60 x 45 mm
Dimension: 60 x 45 x 10mm (L x B x H)
Weight: ~127g
Bottom plate: 5mm
Platting: Brass 5mm
Thread Size: 1/4´´
1 x MCH003 Southbridge Freezer with 2 Distance rings
Southbridge Freezer:
Footpoint bottomplate: 40 x 38,5mm
Dimensions: 49,5 x 40 x 14mm (L x B x H)
Weight: ~117g
Bottomplate: 5mm
Platting: Brass 5mm
Thread Size: 1/4´´
2 x MCH150 Mosfet Freezer in with 4 Distance rings
Mosfet Freezer:
Footpoint bottom plate: 75 x 16mm
Dimensions: 90 x 17 x 15 mm (L x B x H )
Weight: ~123g
Bottomplate: 5mm
distance plate: Brass 5mm
Platting: Brass 5mm
Thread Size: 1/4´´
The side panel of a Stacker 832 is able to fit 4 fans. Iam using the latest from Noctua NF-P12 120x120x25 mm 1300 RPM 92,3 m³/h 19,8 dB(A) 1,68 mm H2O
Note: I had to cut a small piece of the side panel as it was hitting on the PA120.3 Noctua fans
By neo_rtr, shot with DiMAGE X1 at 2008-01-24
I also plan to use Revoltec Fan-Adapter 80-120mm 2x on the side panel.
The configuration will be: Top 2 to exhaust. Lower 2 Intake with Fan adapter. Given the fact that the motherboard is inverted the CPU is at the lower end thus the BFG 8800GTX OC is placed near the top back fan, exhaust and the hot air is taking straight out of the case.
Same fans have been used on the PA 120.3
By neo_rtr, shot with DiMAGE X1 at 2008-01-17
Front Intake i have one more Noctua and the one fan from Stacker832 with a fanduct
By neo_rtr, shot with DiMAGE X1 at 2008-01-20
The Top 4-in-3 Device Module has the 2x HDD with 2x Coolink Silent Savior 80mm
By neo_rtr, shot with DiMAGE X1 at 2008-01-20
Current Status:
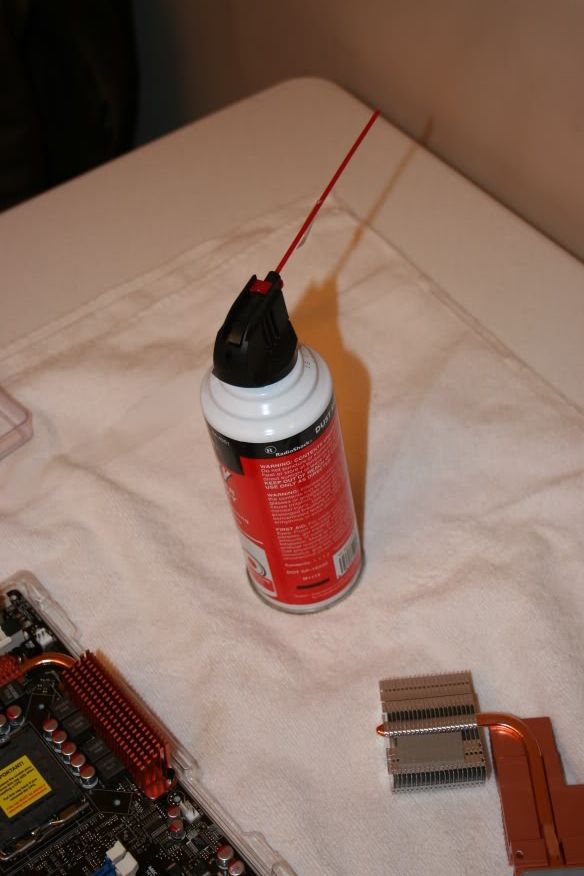
Iam waiting for some parts to arrive before i can proceed further.
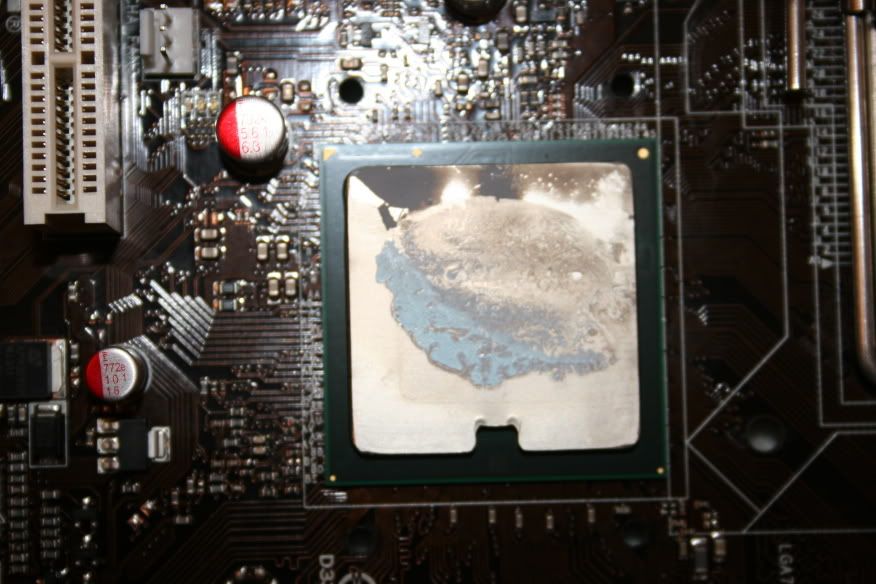
In the mean time if you have suggestions for removing the fusion block pls PM me.


 Reply With Quote


Bookmarks