MMM

View Poll Results: Buy a Mountain Mods Monticle, or continue on with the Lian-Li?

Voters
110. You may not vote on this poll
  • Monticle

    29 26.36%
  • PC-V1000Z

    81 73.64%
Page 3 of 6 FirstFirst 123456 LastLast
Results 51 to 75 of 139

Thread: Project: ZillaPC

  1. #51
    Xtreme Member
    Join Date
    Nov 2009
    Posts
    112
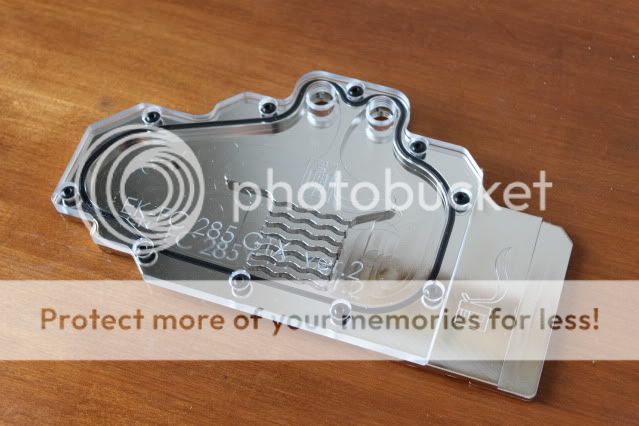
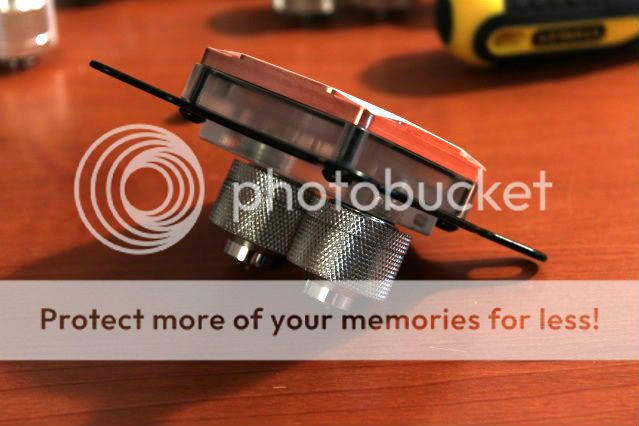
    Not much of an update, but I have some pretty pictures taken from my WIP light box:

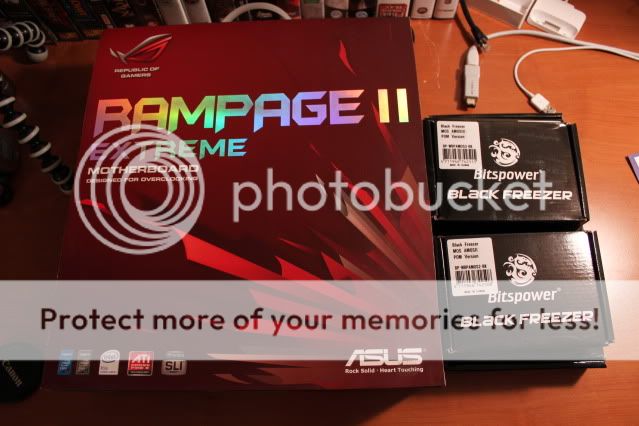
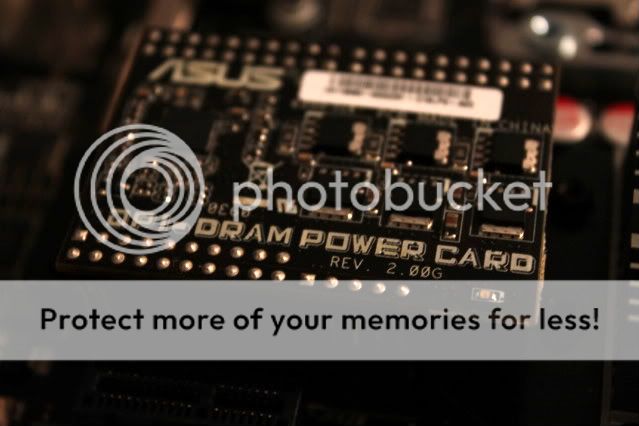
    Not in the WIP light box:


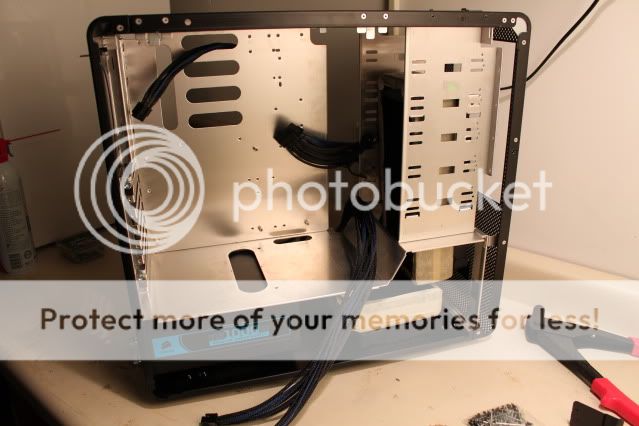
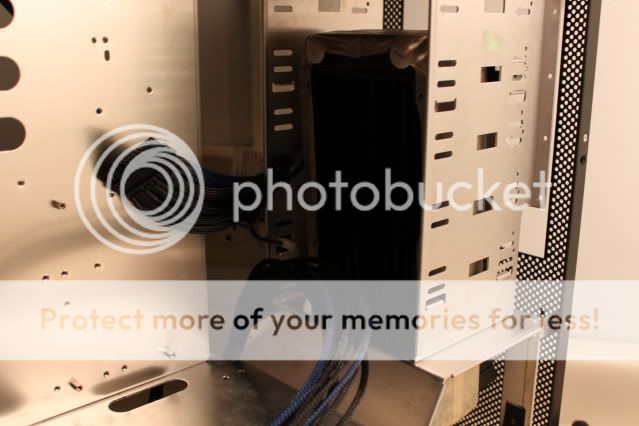
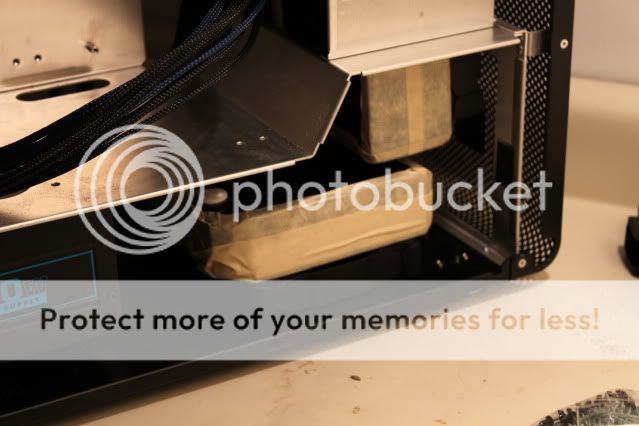
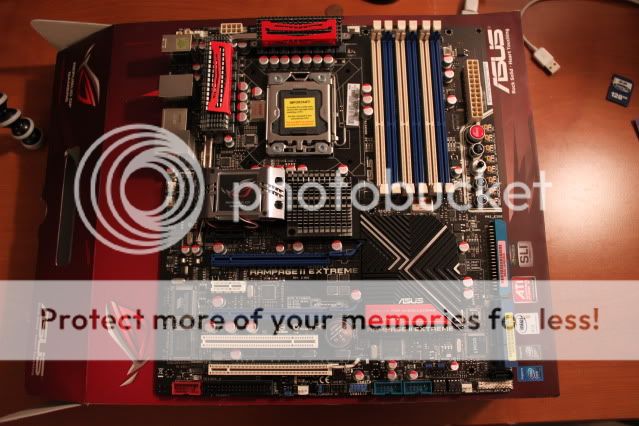
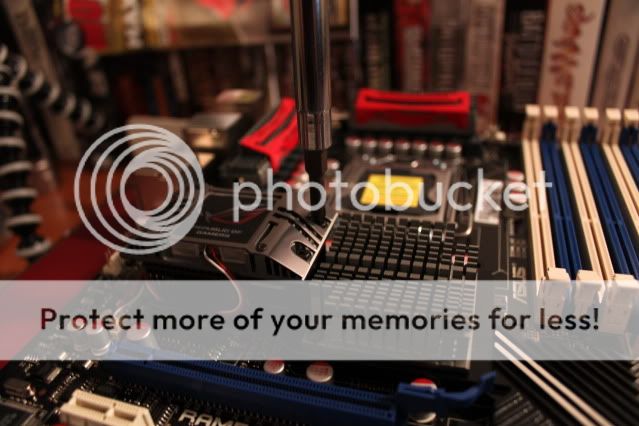
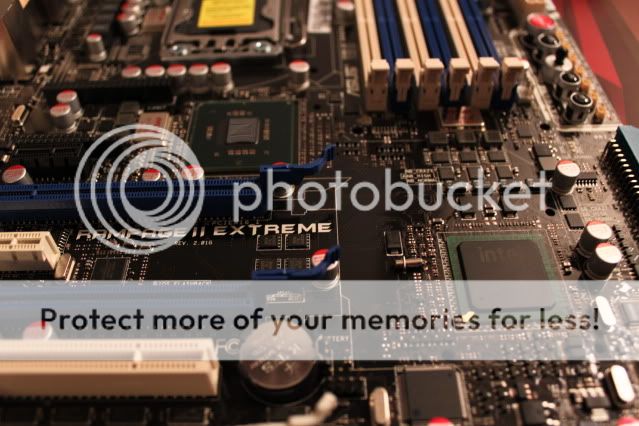
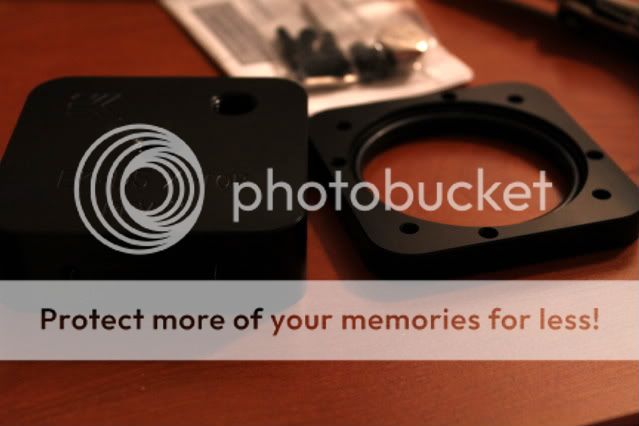
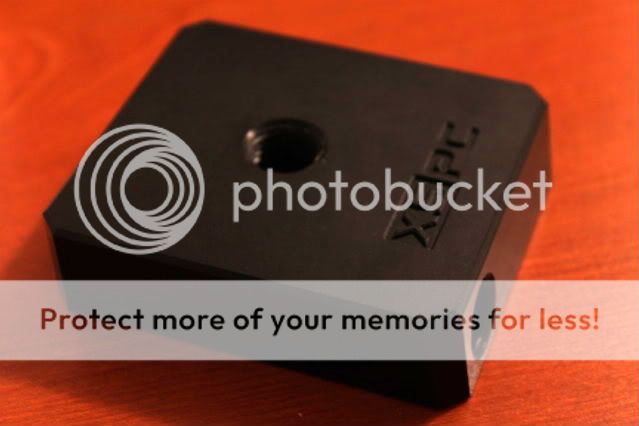
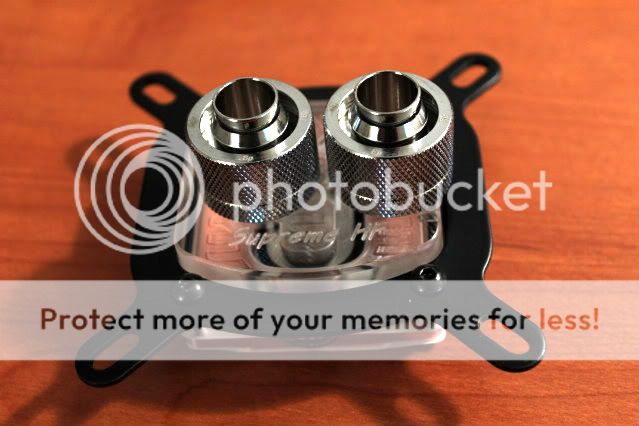
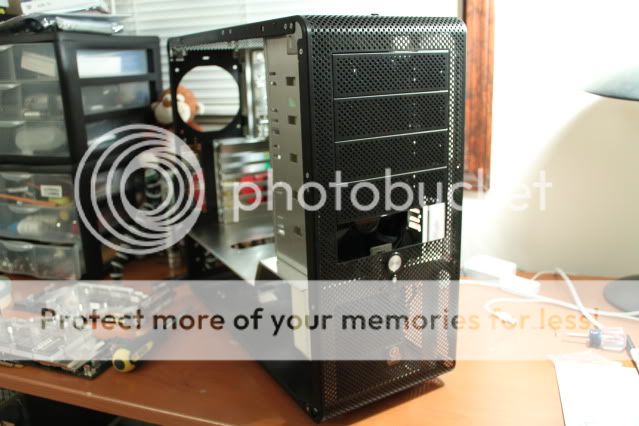
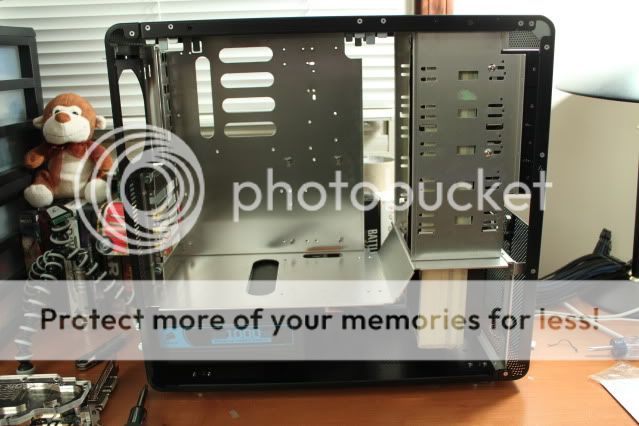
    Now in WIP light box


    Much better I think. Now I just need a tall tripod.

    I still need some parts, but right now I need to focus on getting the case finished.

    -TadZilla

  2. #52
    Xtreme Member
    Join Date
    Nov 2009
    Posts
    112
    Another small update. These will come in smaller doses now that school has started up and I have a kid, but I feel like I've come pretty far over the past few weeks. Anyways, just a mock up of the layout:

    Overall view. Wires are routed roughly the way they will be routed in the final build. I still have to find a spot for the SSDs, res, and pump. Jeez, I'm screwed


    I also would like to find a better way to mount the radiator in the front. Maybe some UN brackets are in order. The rad is just hanging there my the Lian-li rad brackets. They are just so bulky and kinda get in the way.


    Getting fittings down here will be tricky I think. I have some BP passthrough fittings. I was going to put them on the angled part of the midplate, but I don't think there will be enough room because of the front rad. So I might put fitting going straight down through the midplate into the bottom rad. Oh... maybe two d-plugs will fit down there.


    This should provide a decent amount of cooling. I'm looking to do a mild overclock, but this is mostly for quiet and awesome-looking operation.

    Is it just me, does the lighting seem too warm? I can take photographs of smaller components with ease... its the full case that I have trouble with. Oh well, I'll figure it out.

    So, things still to do:

    1. Cut hole for bottom rad
    2. Stop sucking at photography
    3. find better way to mount front rad
    4. Stop sucking at photography
    5. Finish sleeving stuff (fans, SATA cables, more PSU cables)
    6. Stop sucking at photography
    7. Figure out where to and make holes for fittings for the bottom rad in the midplate
    8. Yep, you guessed it...
    9. Wow, this list is getting long... this will be my first stage in finishing the project.
    10. Another list will be made after getting all this done...

    -TadZilla

  3. #53
    Xtreme Member
    Join Date
    Apr 2008
    Location
    Finland
    Posts
    482
    Very nice pictures with the new lightbox. Do you have any pics of it?

  4. #54
    Xtreme Member
    Join Date
    Nov 2009
    Posts
    112
    Thanks woffen!

    I'll take some pics of the setup this weekend. It is a WIP... not really a lightbox (just didn't know what else to call it). Consists of a clamp-on can light with a 100 watt GE Reveal bulb, three sheets of black poster board (looking for something darker and stronger), and I used the side panel from the case as a floor.

    -TadZilla

  5. #55
    Xtreme Member
    Join Date
    Jul 2005
    Posts
    120
    Good job with your progress so far. I'm glad your finally moving forward with your awesomely sleeved PSU! Can't wait to see the rest of your project!

    The pics do look a bit warm. You have plenty of white you can use to have your editing software rebalance the color temp.

    Keep up the good work!

  6. #56
    Registered User
    Join Date
    Aug 2007
    Posts
    17
    HazChem how many meters did you uses for power cables sleeve?
    Blue Dragon
    |-MoBo: DFI Dark P35-T2RS
    |-CPU : e8200@8x465MHz
    |-RAM : 4x2GB
    |-GPU : 8800GT
    |-HDD : 750GB

  7. #57
    Xtreme Member
    Join Date
    Nov 2009
    Posts
    112
    @HazChem: Thanks for the comments! As for the warm pics, I've heard of cameras having the ability to use a custom white balance on this forum. So people will put a coffee filter over the front of the camera to get the custom white balance. However, though my camera has a custom setting, I don't think I can take a picture of white and use it as the balance. I like to do as much as I can on camera without using editing software. But if I have to, I have photoshop.

    Not much to come this weekend. I got a tripod, so maybe I'll have more hardware pics.

    Until then,

    -TadZilla

  8. #58
    Xtreme Member
    Join Date
    Nov 2009
    Posts
    112
    I'm back! Well, I never left, but it feels like I've been out of this for awhile.

    Anyways, I installed the mobo block yesterday and this morning, and received some other parts yesterday. Sorry for the bad pics... I was just trying to get out an update, and I didn't have a lot of lighting. I'll take some better shots later.

    Motherboard and blocks:


    Starting the surgery:


    This stuff is amazing:


    All clean!


    Blocks installed:


    And new stuff:


    D5 top with res attached... might not use though, as after I ordered this I decided to try a DDC:


    I have the (hopefully) last orders on the way (fittings, tubing, pump, EK Supreme, other...). I've finally started to get myself out of bed early enough to work on this while wife and daughter are sleeping. So I'm hoping to finish this within the next month.

    Well, thanks for checking in!

    -TadZilla

  9. #59
    Xtreme Member
    Join Date
    Nov 2009
    Posts
    112
    Another update!

    No true progress, but I did receive some more goodies. I still need things like matchings BP plugs and maybe some rotary 45 degree fittings, but for the most part this is it... oh, except I didn't notice that I ordered an EK Supreme HF without nickel plating from performances pcs. So, I ordered a nickel plated one from EK directly. Not sure when it will be here, but I really like the nickel plate better than the copper, so it is worth it. I'm going to sell off the copper EK, along with some other things I don't need after I'm finished with the build.

    Oh, and I don't have sponsors, but I'd like to thank Sidewinder Computers and Performance-PCs for being great suppliers to buy from. I've had issues with Performance-PCs packing of goods, but they always have the parts I can't find anywhere else. And Sidewinder Computers is actually located in the city in which I live, so shipping takes no time, and they are all around good to their customers.

    Okay, time for pics.

    Ek Supreme-ly awesome!


    My desk is being invaded:


    More bars in more places...


    The water mover:


    This image contains nudity...


    New clothes:


    Some bling...


    The coolant vat attached:


    ...some more bling


    Not only will the silver fittings act as a biocide, they will also keep werewolves from steeling my compy:


    Bling on the block:


    Hang over:


    And bling on the board:


    Thats all for now. I'm thinking about moving the bottom 120.1 rad to the top to make for the SSDs. I might even move the pump down there. I'll get more into placement next week. Man, I still have some sleeving to do...

    -TadZilla
    Last edited by TadZilla; 01-29-2010 at 05:20 AM. Reason: Spelling fail...

  10. #60
    Xtreme Enthusiast
    Join Date
    Jul 2009
    Location
    Perth Australia
    Posts
    651
    Looks really good TadZilla.
    Is that ram block MIPS 6 Corsair Edition.

  11. #61
    Xtreme Member
    Join Date
    Nov 2009
    Posts
    112
    Thanks kgtiger!

    Yep, you are correct... 6 corsair edition.

    -TadZilla

  12. #62
    Xtreme Member
    Join Date
    Nov 2007
    Posts
    146
    So sexy! *drool*

    I can't wait to see the finished build. Your sleeving is immaculate and your choice of parts is so nice. It's gonna be a monster!
    - ASUS P5E (BIOS 1201+Microcode Update) 400 FSB - Intel E8500@3.8GHZ (1.28750 VCORE) - Thermalright HR120 Extreme - 8GB Corsair PC28500CS (1066 3:4) - 2*2TB Samsung -
    - EVGA GTX580 3GB - PCP&C 750W - Antec P-182SE - Plextor PX-760A - Plextor PX-W5224A - Samsung 245T - Razer Mamba - Razer Black Widow Ultimate - Razer Megalodon -

  13. #63
    Xtreme Member
    Join Date
    Jul 2005
    Posts
    120
    Quote Originally Posted by TadZilla View Post

    I don't think you have enough fittings...

    Seriously, keep up the good work!

  14. #64
    Moderator
    Join Date
    Aug 2007
    Location
    Back and forth between Florida and Maine
    Posts
    4,097
    Good stuff, Tadzilla.

    (Re your white balance issue - one way to get it close is to use a "neutral gray card." You include that in one of your shots, then you use your software to adjust the white balance of all shots taken in that same lighting setup This does require the use of software (Photoshop works fine), but is an extra step. Not sure about your camera, but many also have a white balance setting - where you adjust it for the lighting you are using - sunlight, cloudy, incandescent, tungsten, etc.)

  15. #65
    Xtreme Member
    Join Date
    Nov 2009
    Posts
    112
    Thanks all!

    @HazChem: yeah, it looks like a lot of fittings... I may have over ordered, but they're purty! Oh, I sent you a PM about the BP RE2 block install.

    @shazza: half way through taking pictures I manually set the wb on my camera using two pieces of printer paper stacked on top of eachother. The pictures taken after the pump (I think) are the ones with the custom white balance. I have a Canon T1i. I still need to install photoshop. Right now I'm just using photobucket to brighten the images a little bit. Thanks for the tips! So, can you adjust the white balance of photos in bulk using photoshop, or does it have to be done one at a time?

    -TadZilla
    Last edited by TadZilla; 01-29-2010 at 07:57 AM. Reason: Spelling fail...

  16. #66
    Xtreme Member
    Join Date
    Nov 2009
    Posts
    112
    And I'm back with a small update!

    I have some IandH stealth res holders on order, along with a silver KillCoil. The KillCoil is on backorder though, but I should get the holders this week!

    I've done a little bit of work. With school, work, wife, and baby girl it is hard to find time. I do what I can though.
    I decided to do away with the internal DVD-ROM drive in favor of a slim external enclosure with a slot load drive in it. I'm going to sleeve the cables and try to make it look like a detached extension to my build. I think it'll look good.

    Naked GPU!!!


    Hey hey, twins!


    Picture I took with little time to spare:


    The Supreme HF Nickel/Plexi block:


    The reason I ditched the internal DVD-ROM drive:


    I need to buy an extra slot cover:


    So, I'm still waiting on the KillCoil, res clamps, and an EK DDC Rev. Top (order on the first of this month... must be the snow). I'm putting the motherboard in now for a test fit and I might start cutting tubes. I also need to sleeve the fans, and flush the radiator. I might do what fhantastic did and put some MDPC SATA sleeving in my res. I think it looks cool!

    Until next time, thanks for watching!

    -TadZilla
    Last edited by TadZilla; 02-16-2010 at 05:42 AM.

  17. #67
    Xtreme Member
    Join Date
    May 2009
    Location
    Tennessee
    Posts
    158
    damn man that's going to be a ton of tubing. Looking forward to this, have you decided what color tubing or coolant?
    Cosmos S
    Core i7 920 3.9GHz
    6GB Corsair Dominator DDR3 1600
    EVGA GTX 285
    X-fi Forte
    WD VR 300GB
    EVGA x58 MB

    LC Loop
    Swiftech GTZ
    Swiftech MCR-320 Radiator
    Swiftech MCP655
    EK Multi option reservoir
    Feser 1/2" ID tubing (AWESOME)

  18. #68
    Xtreme Member
    Join Date
    May 2009
    Location
    USA
    Posts
    171
    Quote Originally Posted by TadZilla View Post
    So, can you adjust the white balance of photos in bulk using photoshop, or does it have to be done one at a time?

    -TadZilla
    I'm pretty sure PS Lightroom will do that in bulk, but I'm not sure if PS will. In PS, I think an option you might consider is creating a custom preset to do what you want and assigning it to a hotkey. You would still have to manually open each pic, but at least you'd have a shortcut key to speed things up a little. But I'm not sure how well that would work for setting the neutral points, especially if the lighting differed from pic to pic.

    Nice build by the way, can't wait to see it finished.

  19. #69
    Xtreme Member
    Join Date
    Jul 2006
    Location
    Singapore
    Posts
    459
    Its always nice to see another V1K project in the making. Are you planning to use a single 360mm rad to cool all the blocks? Plus are the fans supposed to push or pull air through the rad?

    Phil

  20. #70
    Xtreme Member
    Join Date
    Nov 2009
    Posts
    112
    Thanks for the comments all!

    Yes, one 360 rad for all blocks. I think it'll be okay. I may not use the RAM block, but it is so purty! The fans are going to push air through the rad. I understand this may not be the best setup, but it looks a lot better, and it will still be functional. I've thought about adding my EK 120 rad to the exhaust at the back, but it might add too much bulk in that area and block tube routing. I really like the V1K, and I'm glad I went back to it instead of going with the ATCS, but tube routing will be quite a challenge as you'll be able to tell from the pics below.

    Moar pics!


    Probably my favorite shot:


    I've started using a tripod and it makes a huge difference. Now I think I'm getting too much light!

    As you can see, the tube routing is going to be a pain! Any suggestions on routing? The CPU block and RAM block are the only blocks missing from the loop. I have two options for the pump/res. The first is what is shown here. The second is using some UN 120 brackets and my iandh rad clamps to mount the rad and pump out of the way of everything else. I think option two my be best, but we'll see. Oh, and tube color will be black filled with distilled water and silver ions from a killcoil and two True Silver BP fittings.

    Thats all for now. Again, tube routing suggestions will be appreciated!

    -TadZilla

  21. #71
    Xtreme Member
    Join Date
    Apr 2008
    Location
    Finland
    Posts
    482
    Very very nice, so compact yet so spacious somehow 
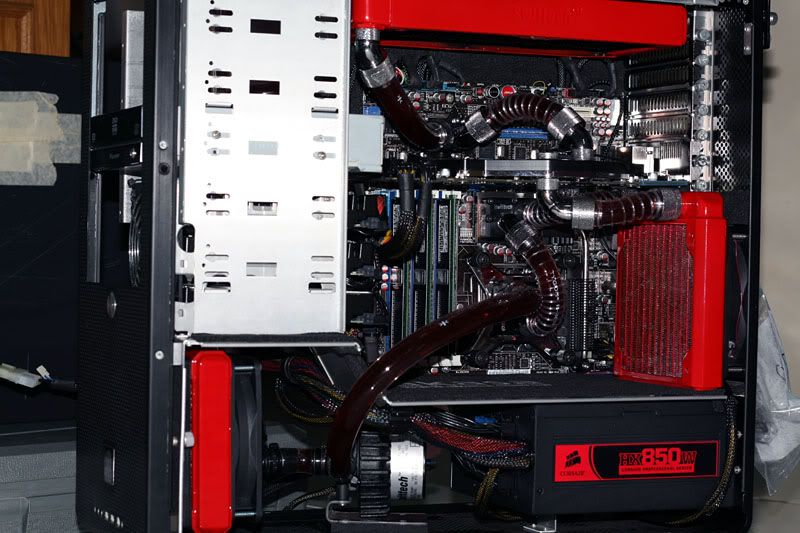
Eagerly waiting for pics with tubing!

  22. #72
    Xtreme Member
    Join Date
    Nov 2009
    Posts
    112
    Thanks woffen!

    Just got my res clamps at work! Bad iPhone pics though...


    Its a Rolo holder...


    -TadZilla

  23. #73
    Xtreme Member
    Join Date
    Jul 2006
    Location
    Singapore
    Posts
    459
    I would suggest moving the rez and pump to the opposite side, right in front of the PCI-E power cables to simplify the loop. Stick with 3/8" ID tubes to accommodate tight bends as well.


    Here's how I route mine using 1/2" ID Tygon which was quite a pain.

    Phil
    Last edited by Philwong; 02-17-2010 at 07:26 AM.

  24. #74
    Xtreme Member
    Join Date
    Nov 2009
    Posts
    112
    Thanks Philwong!

    I know what you mean about the tubing, but I already bought the fittings and tubing (1/2, 3/4) It will be a pain, but worth it. I'm goint to try adding my EK 120 rad at the back to see if it makes it to cluttered. I'm also working out a way to put the pump/res near where you suggested, but I don't want to block the PCI-E power cables. They look to cool

    -TadZilla

  25. #75
    Xtreme Member
    Join Date
    Jul 2005
    Posts
    120
    Take a look at my build for tube routing ideas. I wanted the rad and pump to be on the exposed side of the case which shortened the tubing length but made the routing challenging.

Page 3 of 6 FirstFirst 123456 LastLast

Bookmarks

Bookmarks

Posting Permissions

  • You may not post new threads
  • You may not post replies
  • You may not post attachments
  • You may not edit your posts
  •