


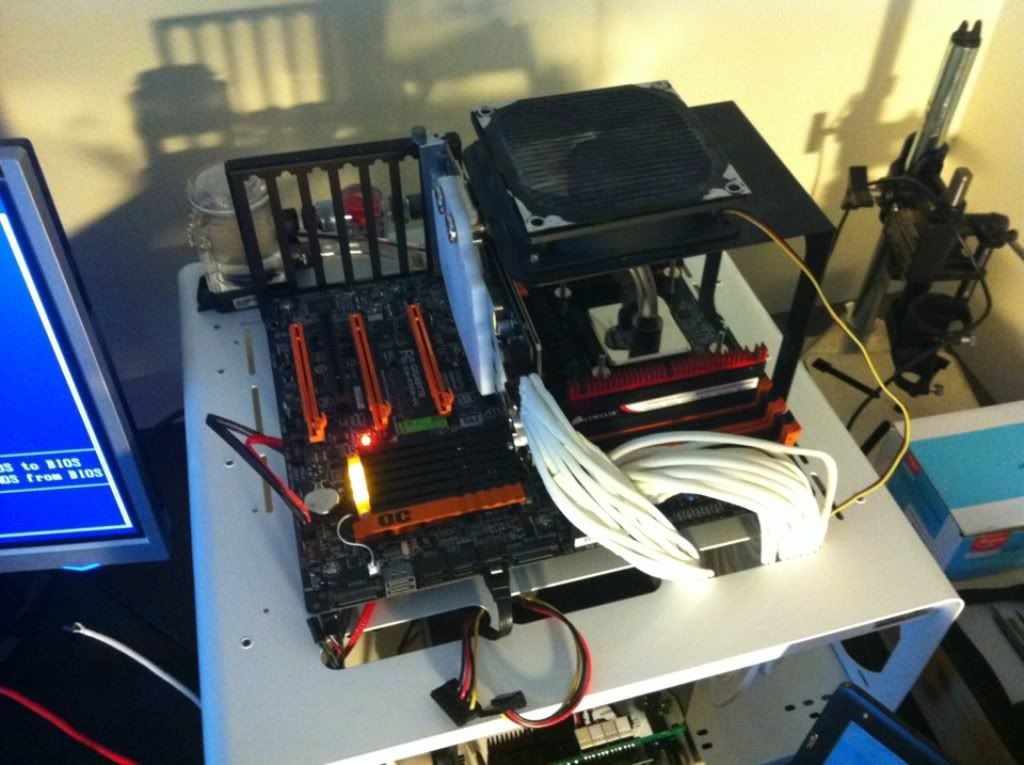
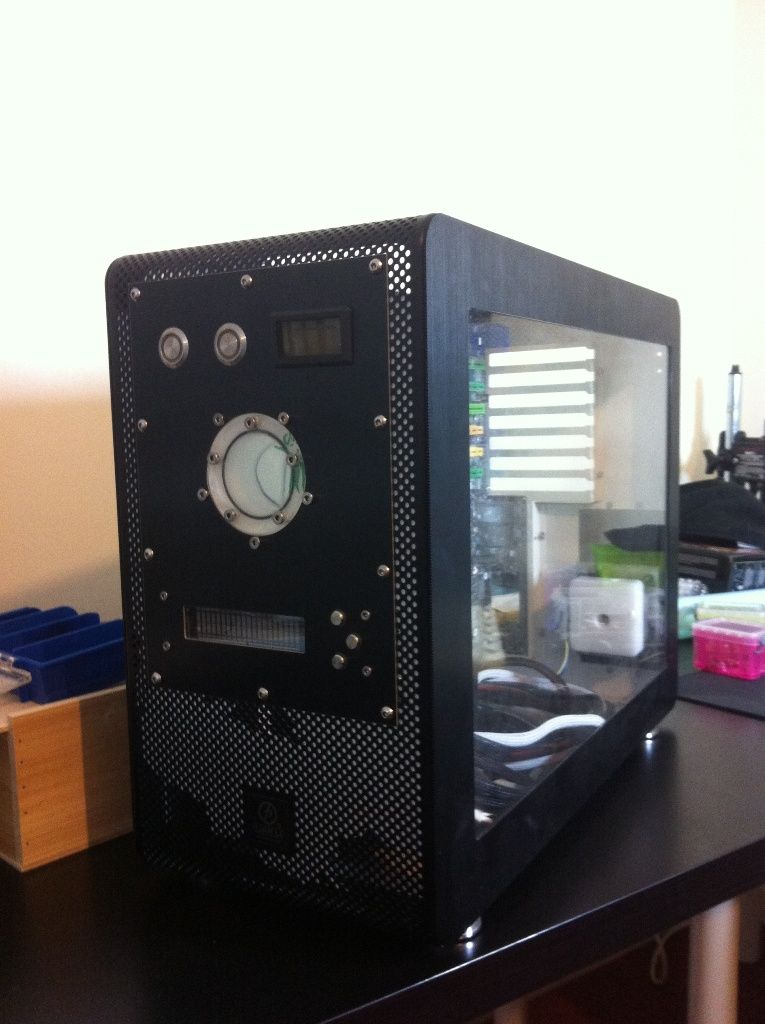
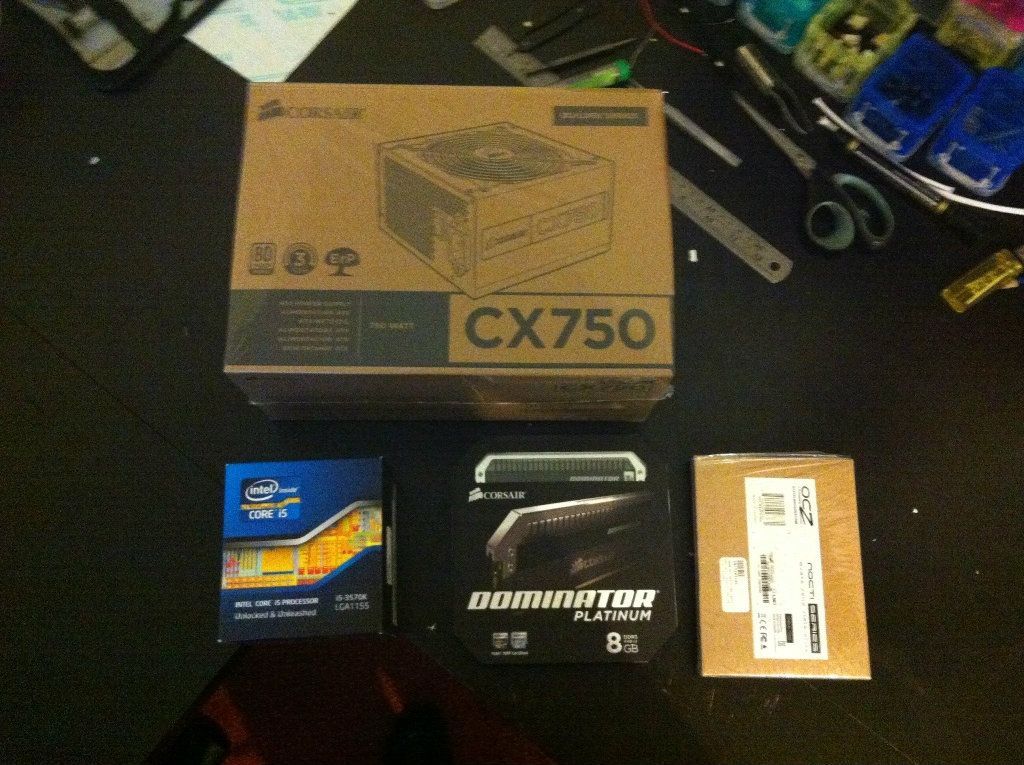
Ok so today I got some new things for the Rig :p
Special thanks to the guys at Specialtech
Again please tell me what you think
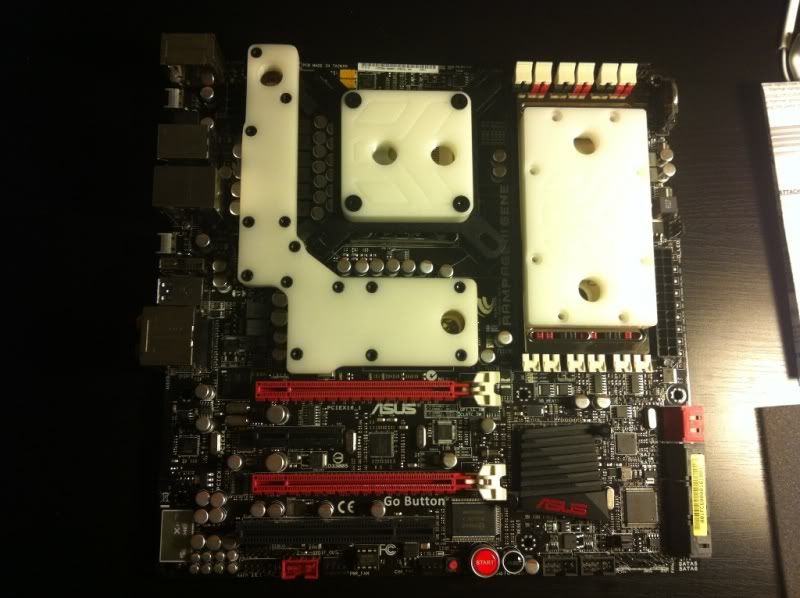
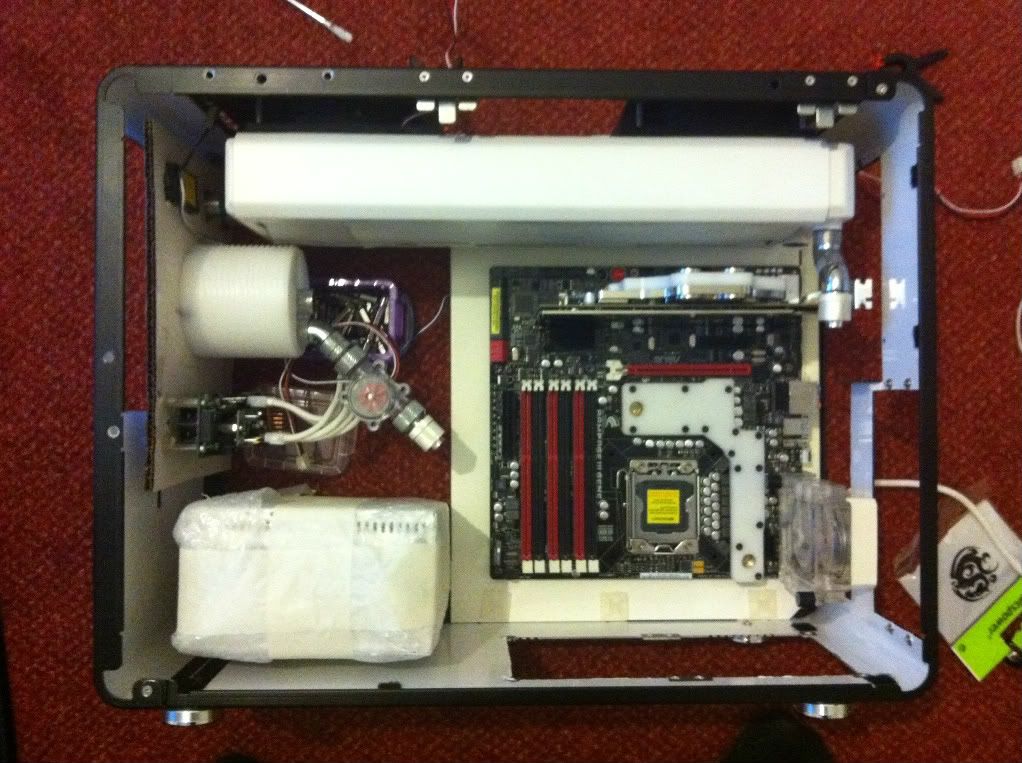
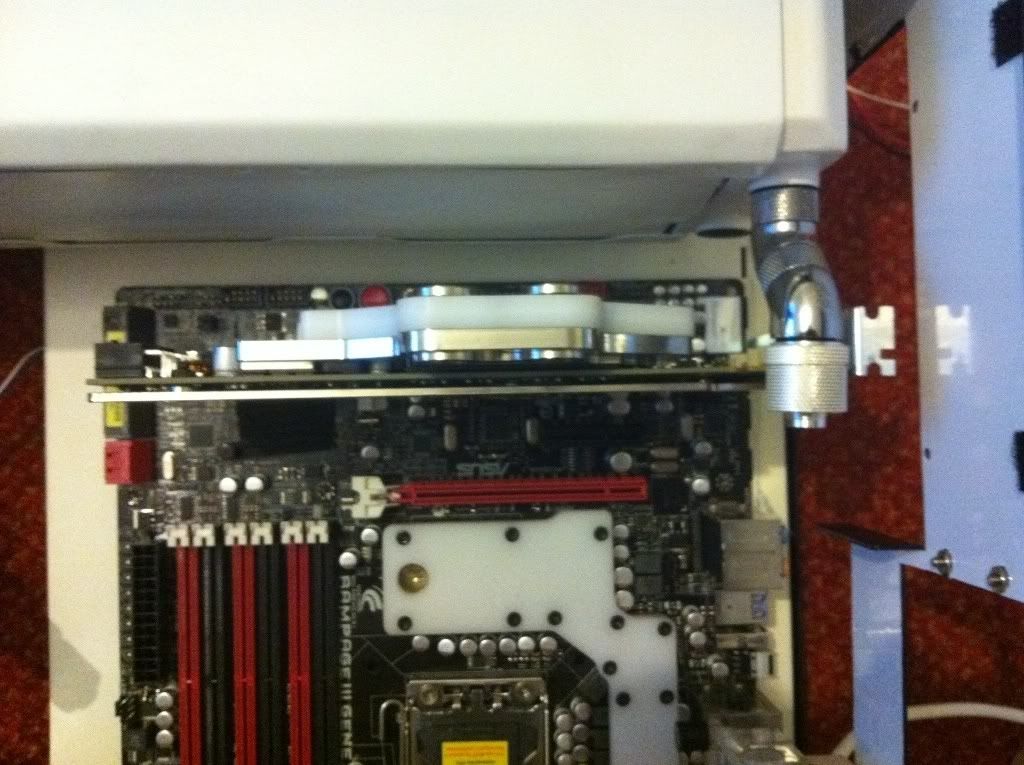
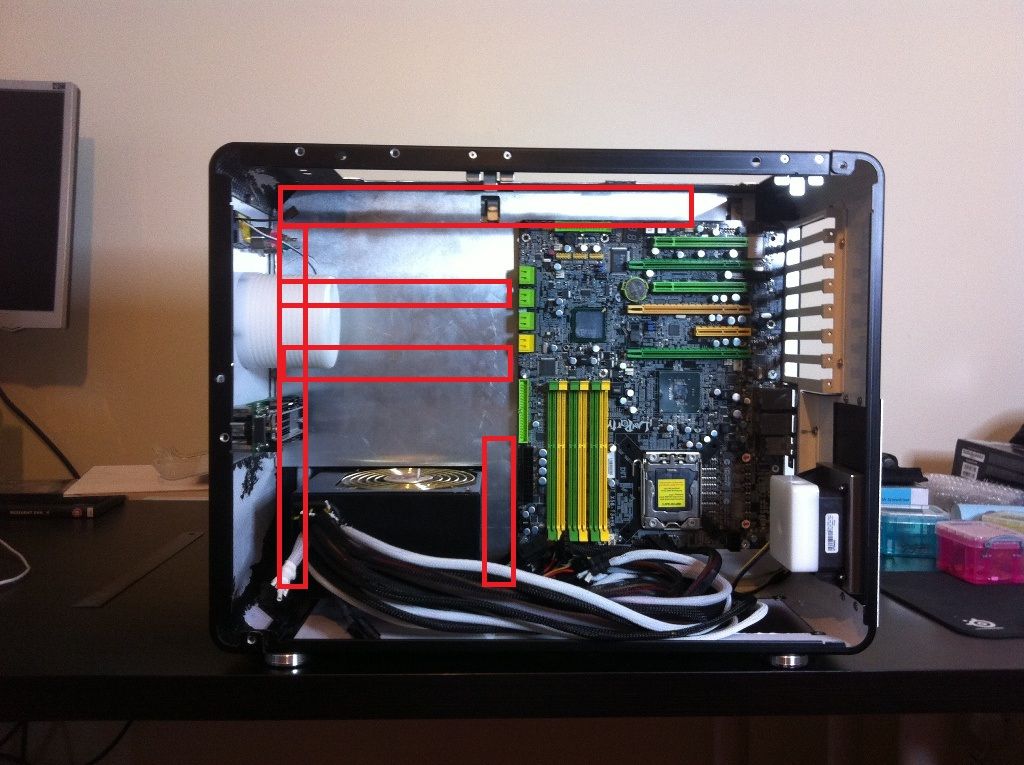
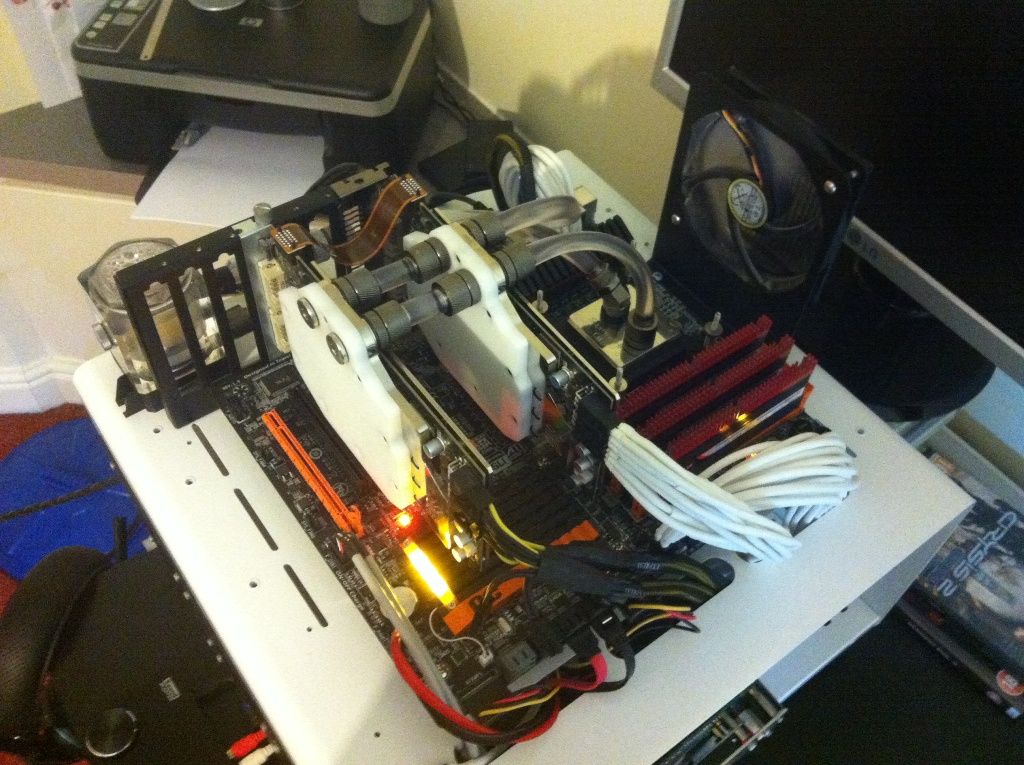
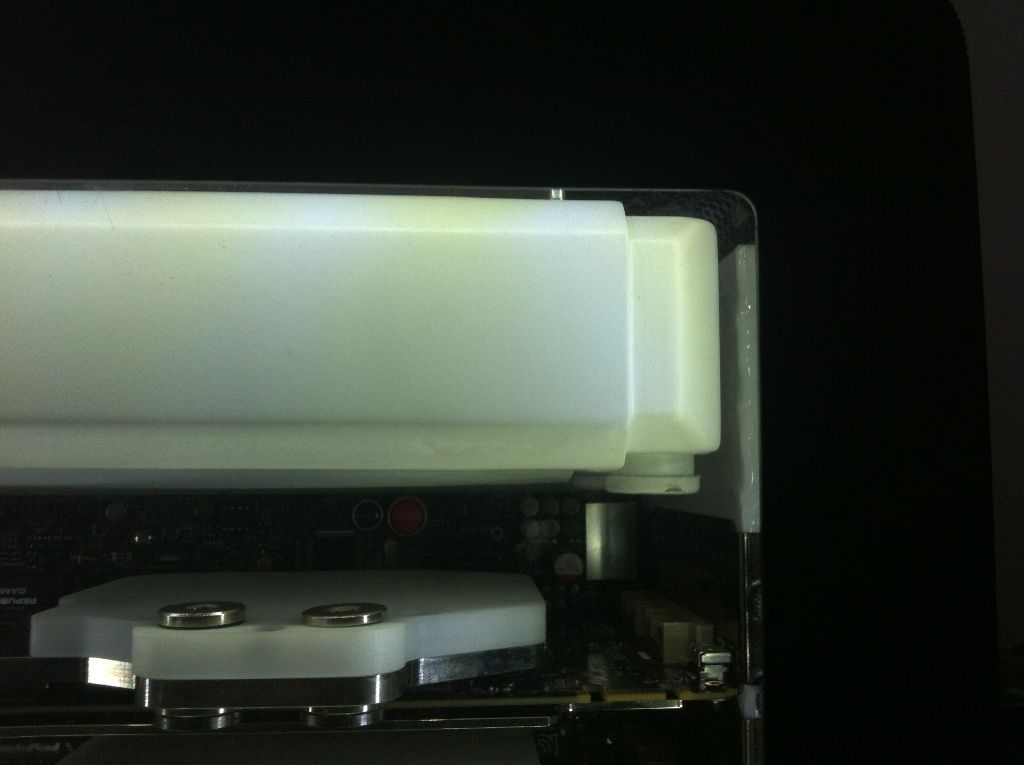
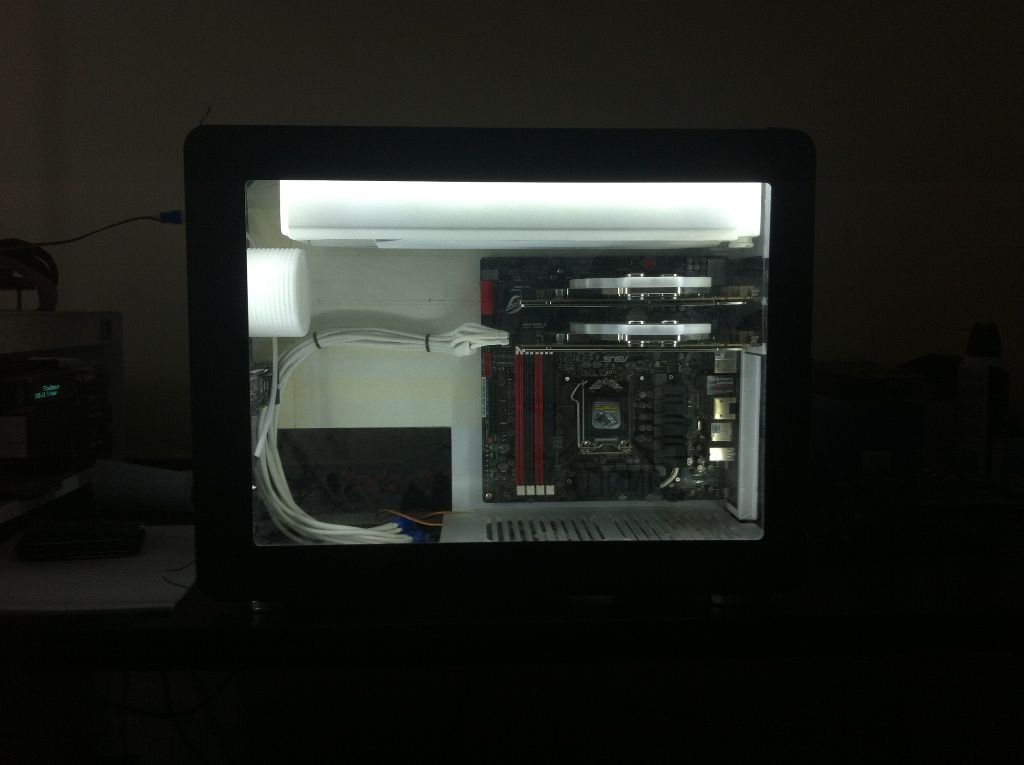
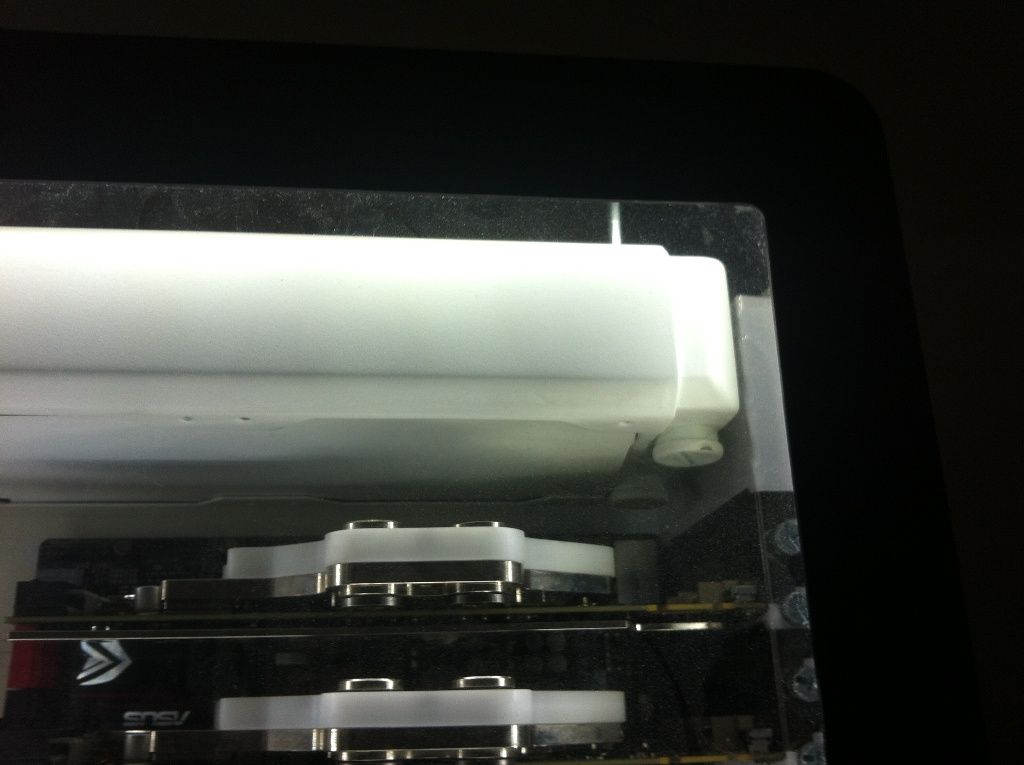
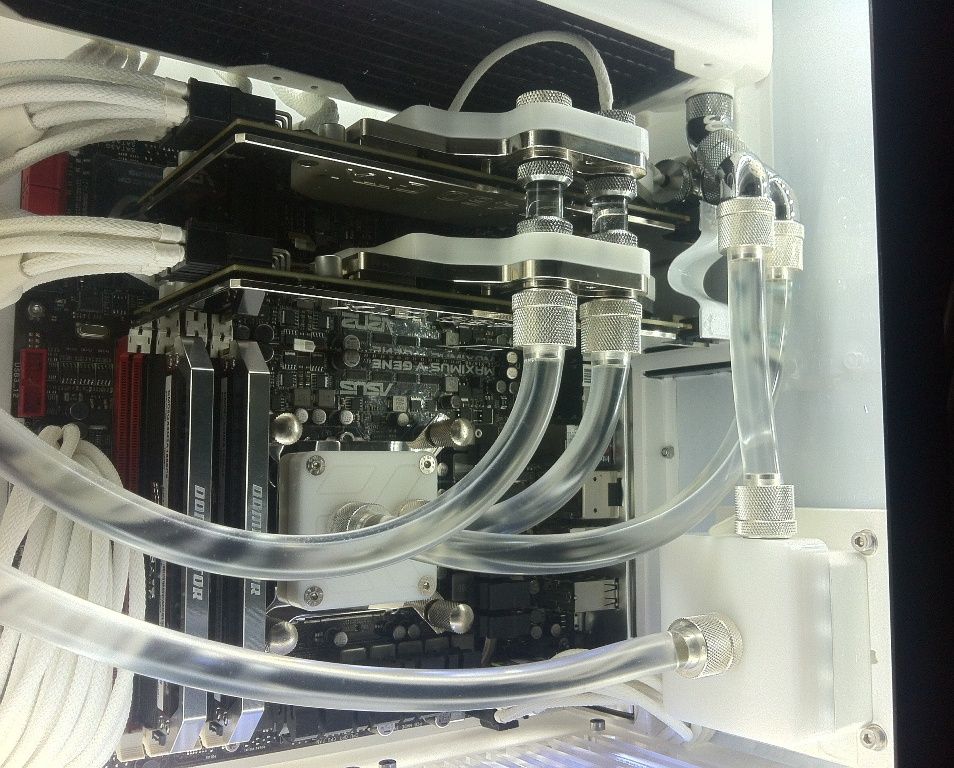
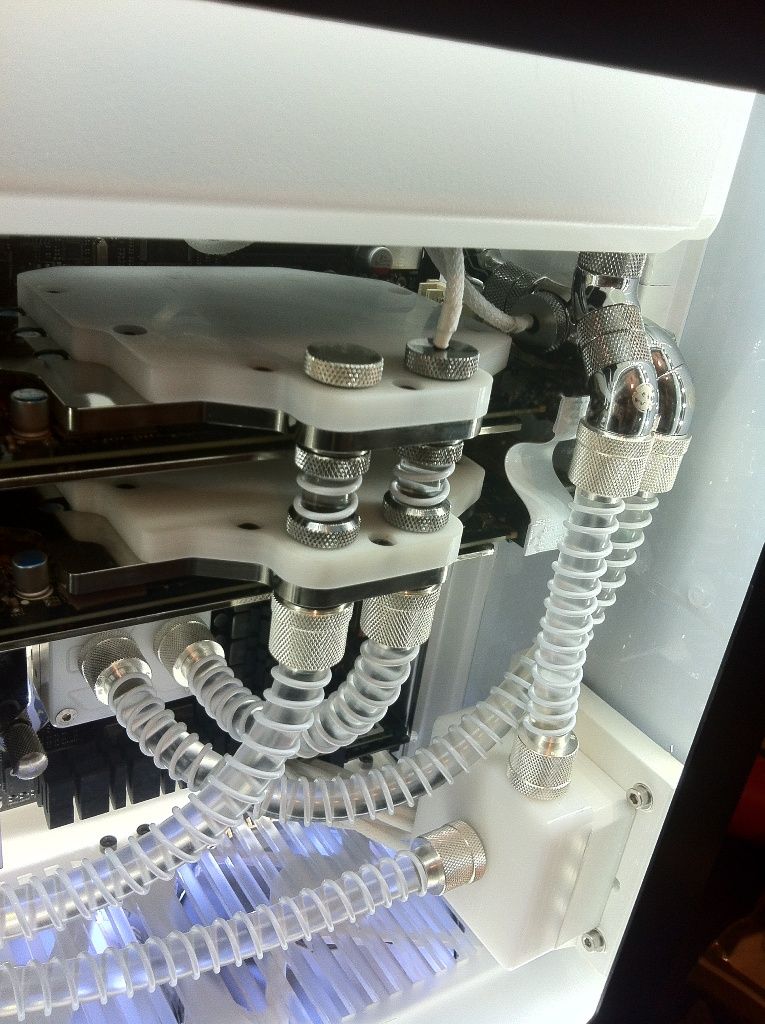
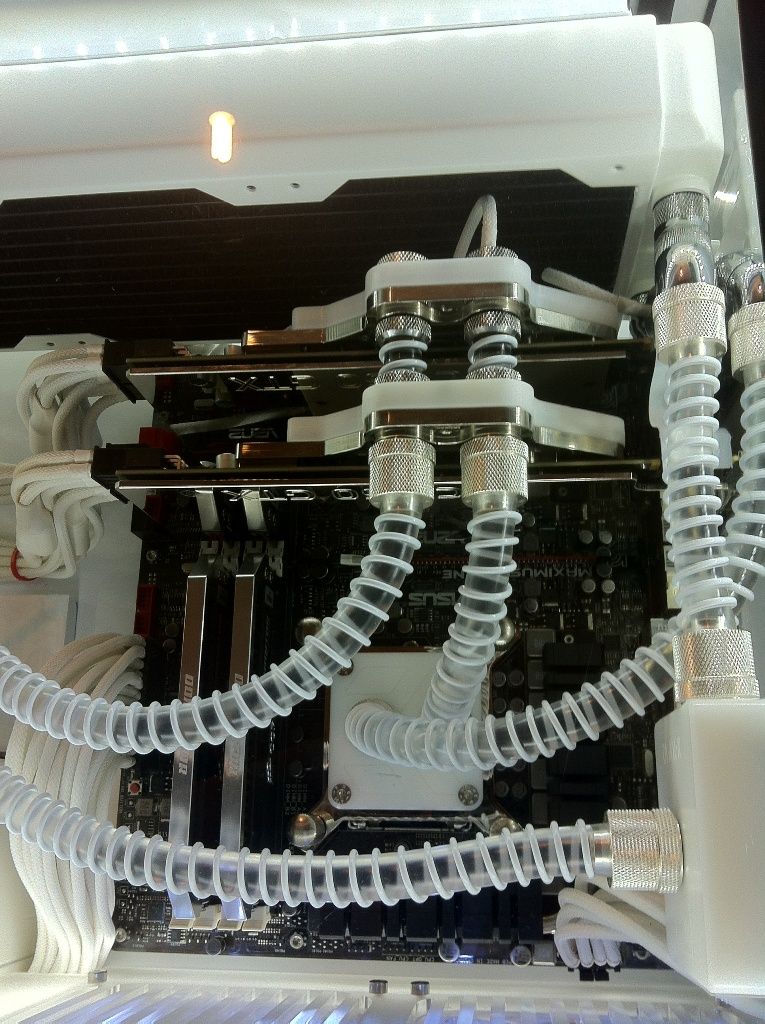
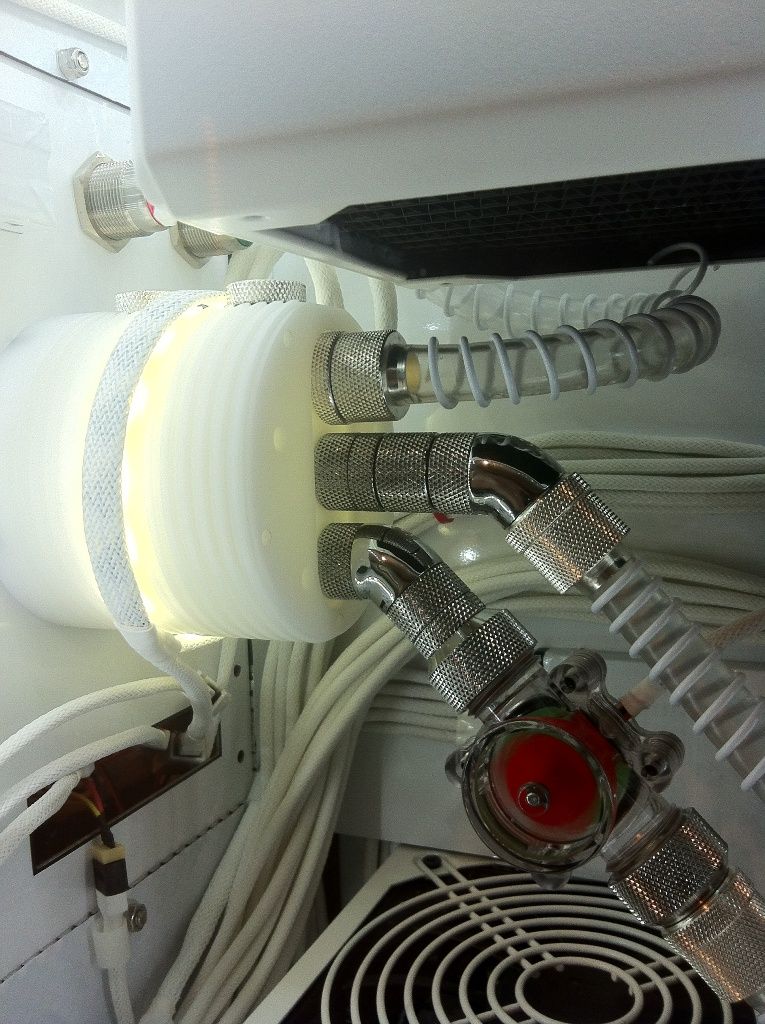
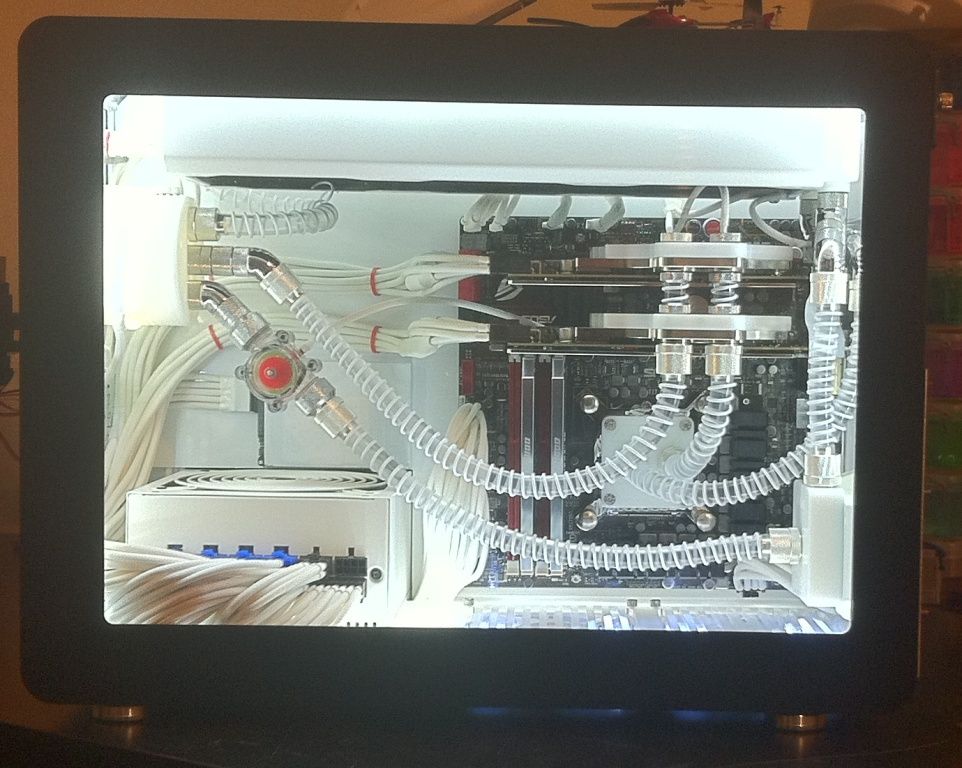
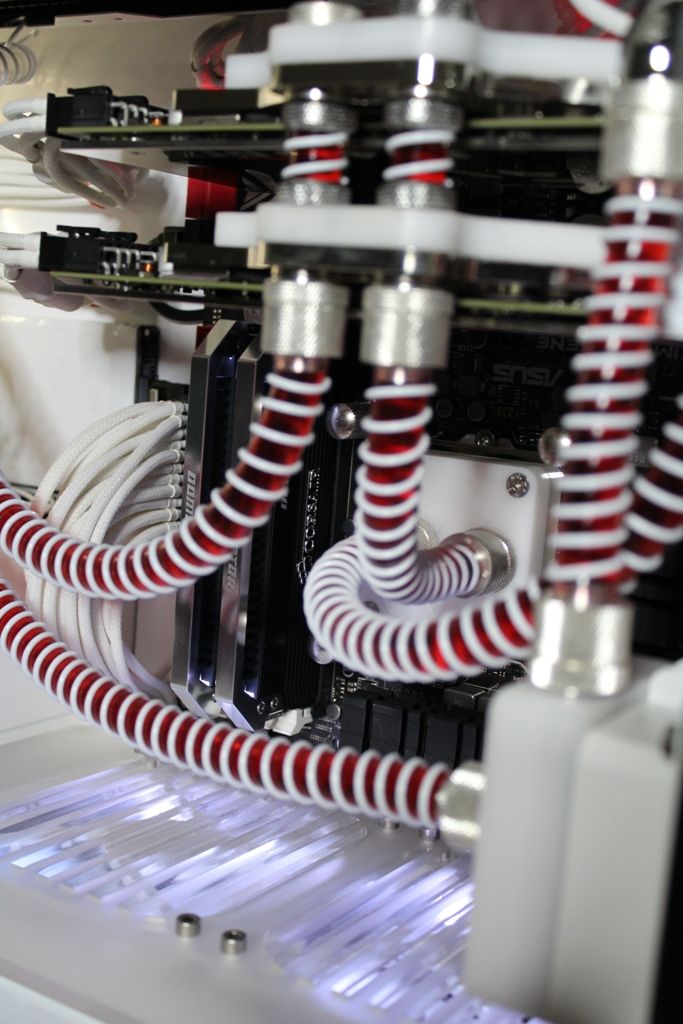
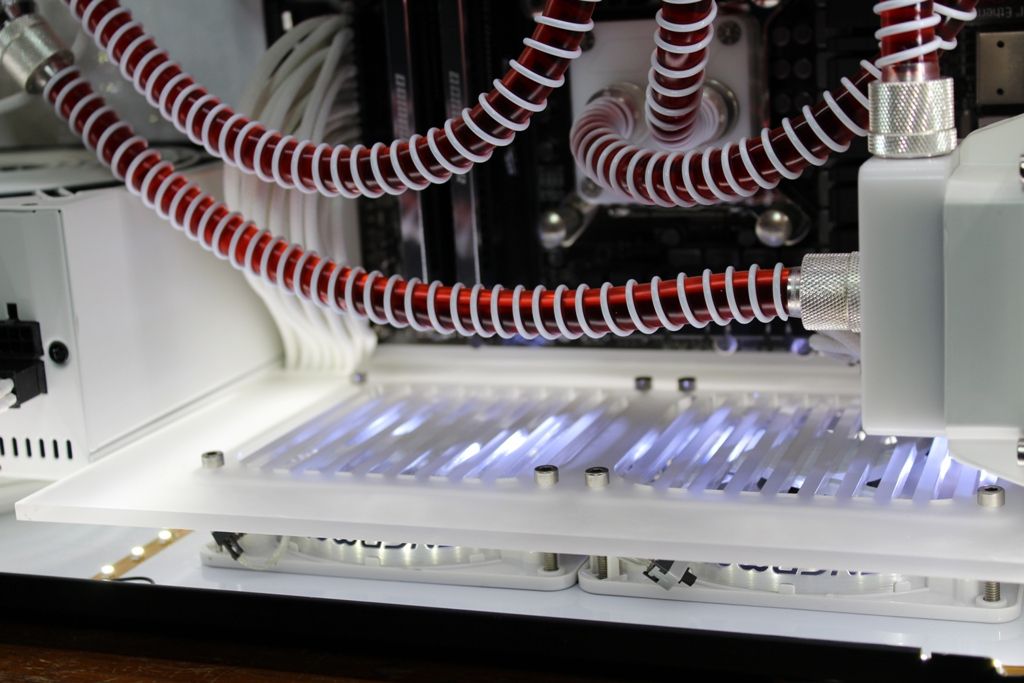
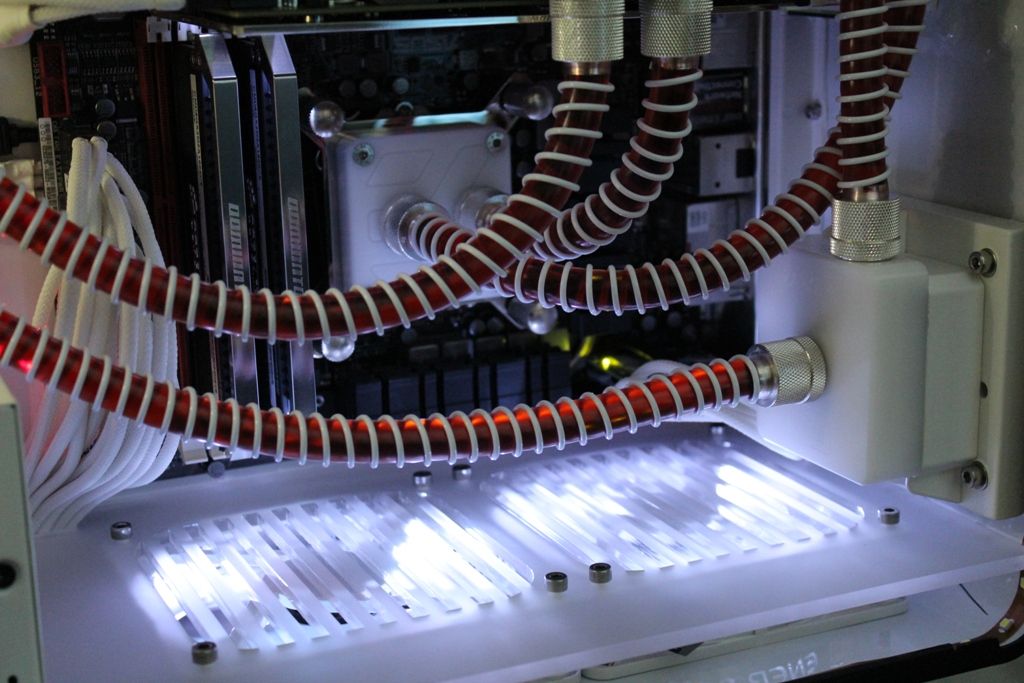
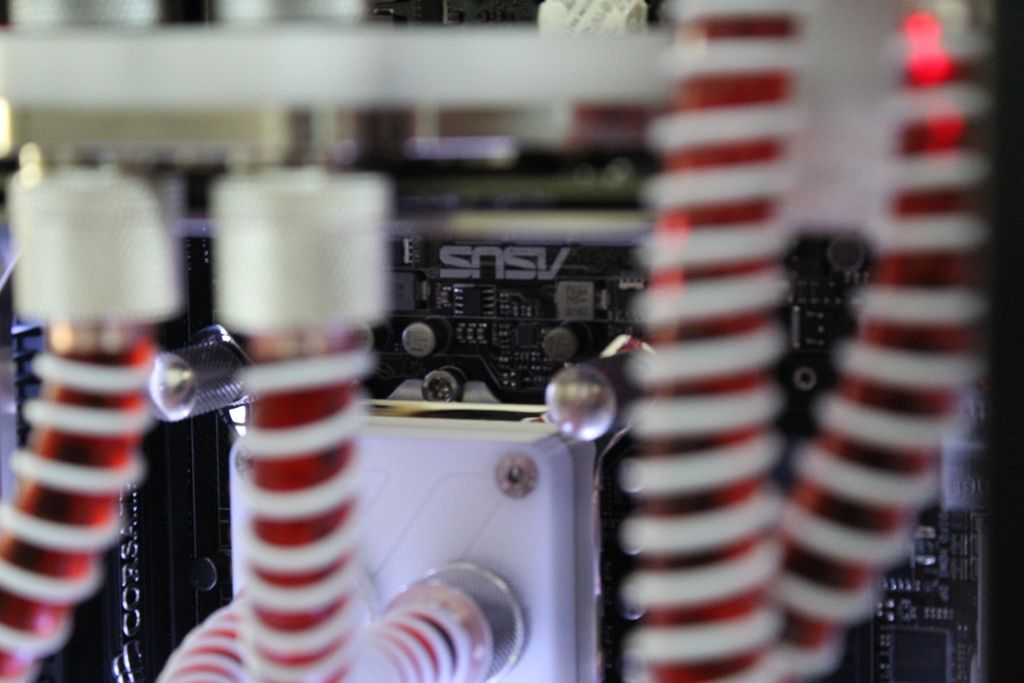
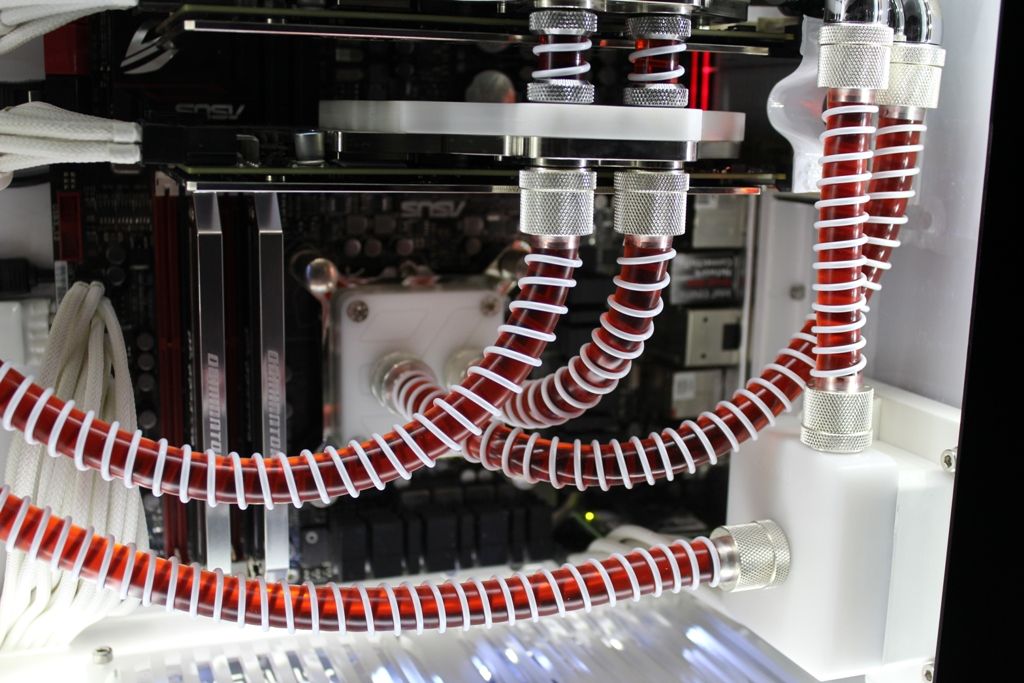
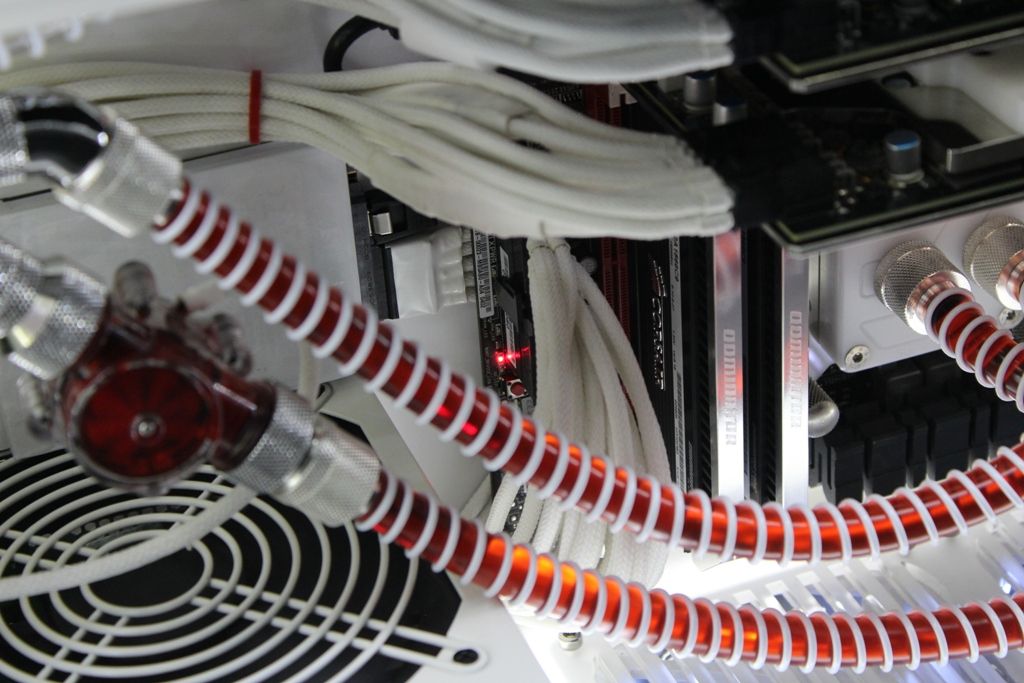
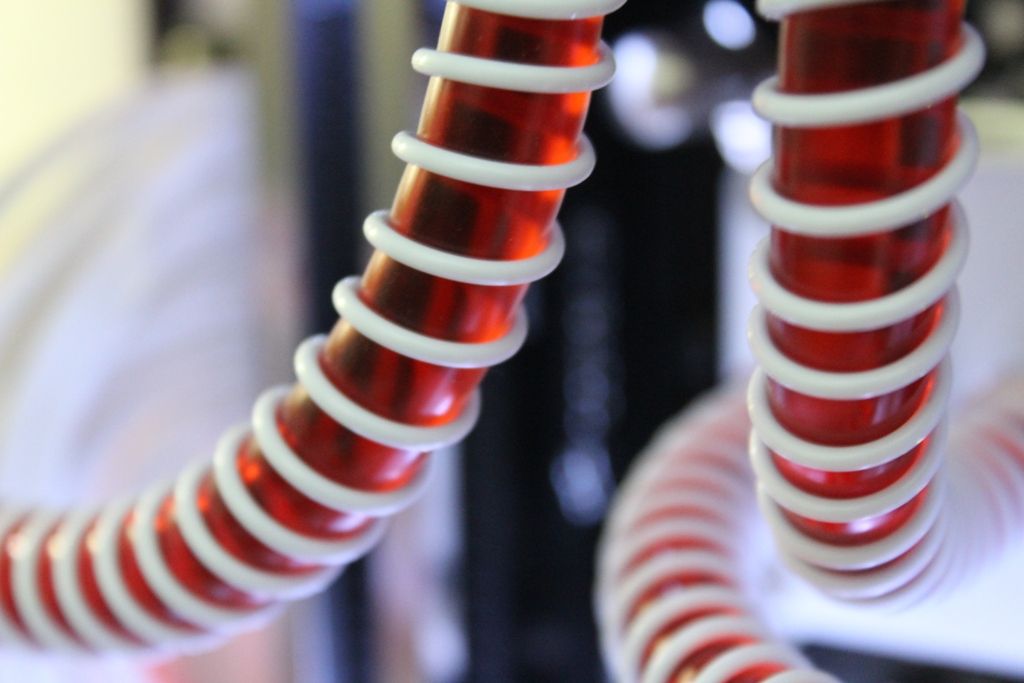
Thats the new Ram waterblock with the other White waterblocks
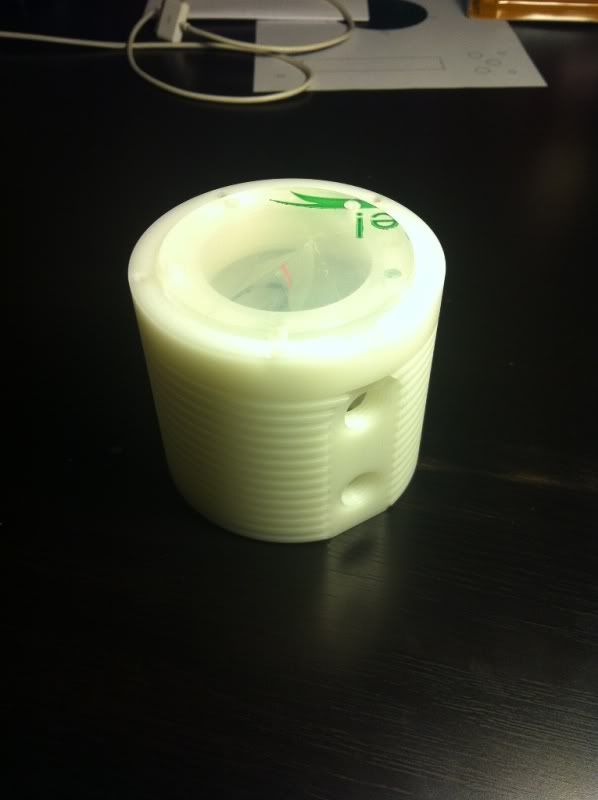
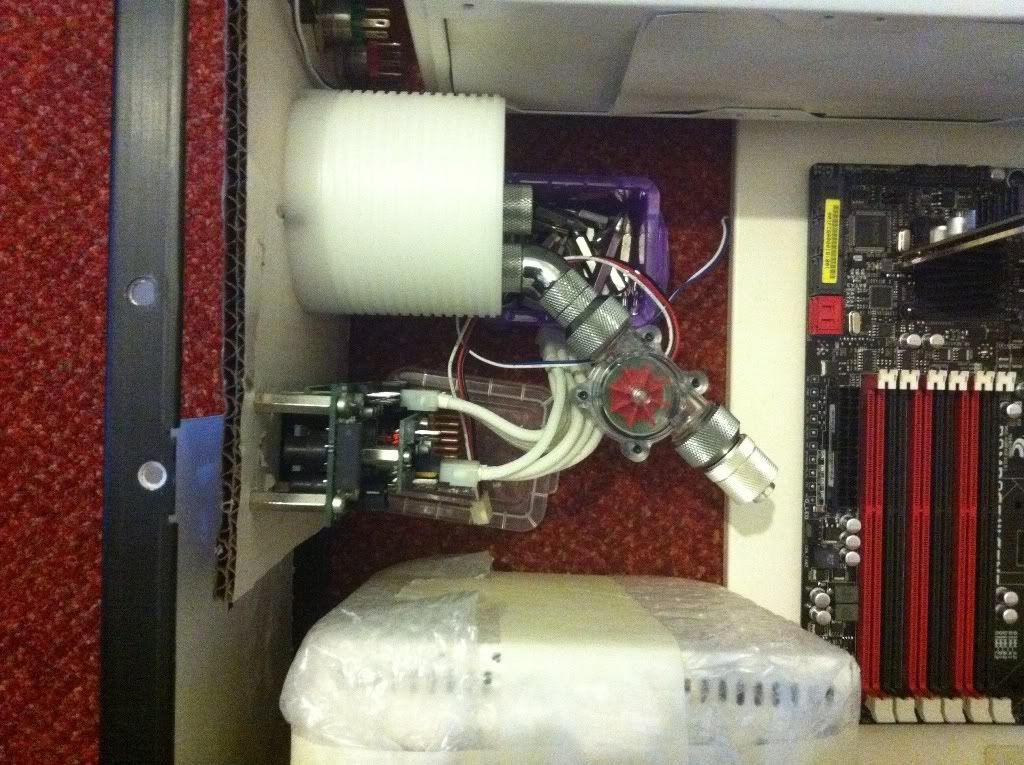
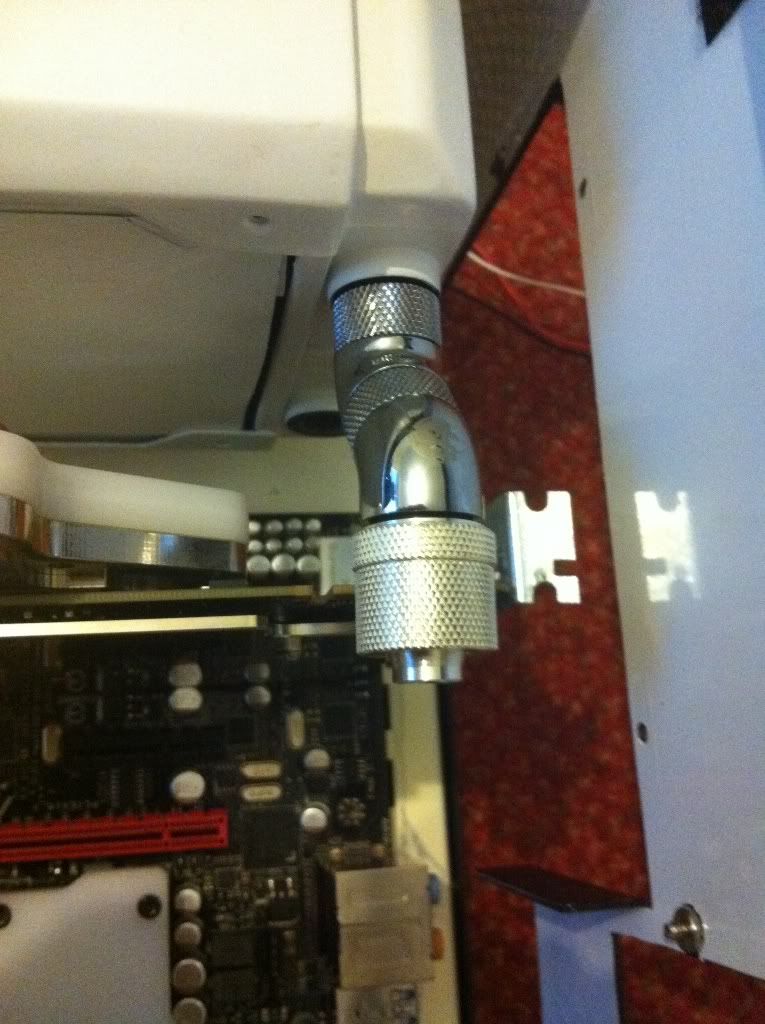
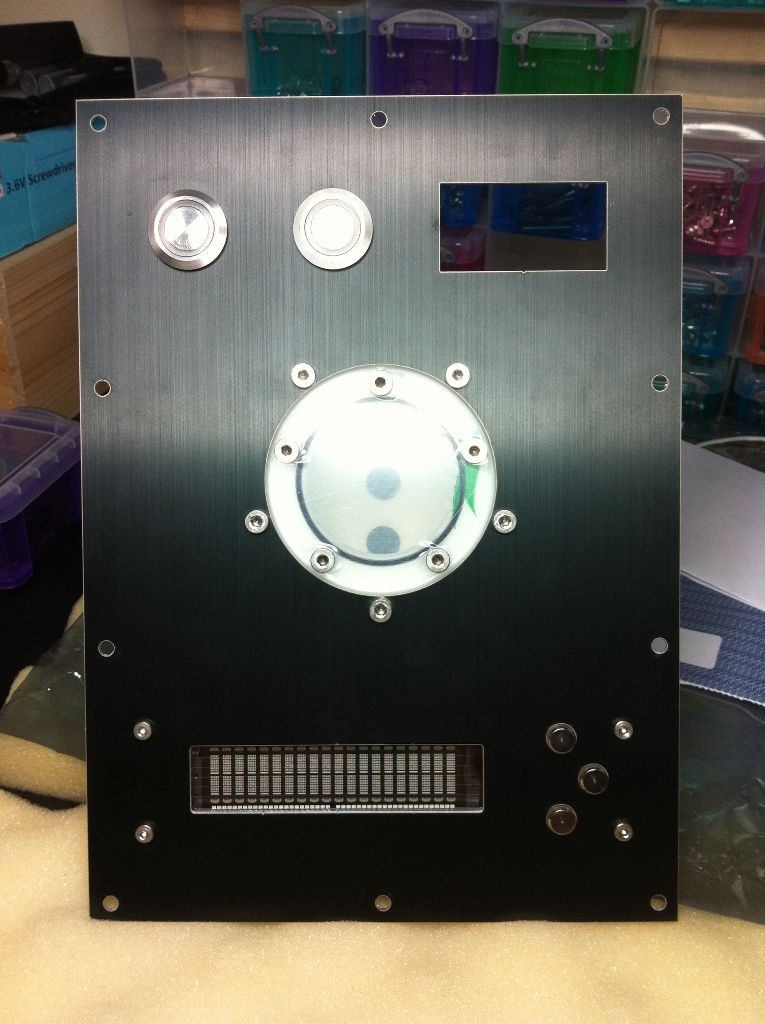
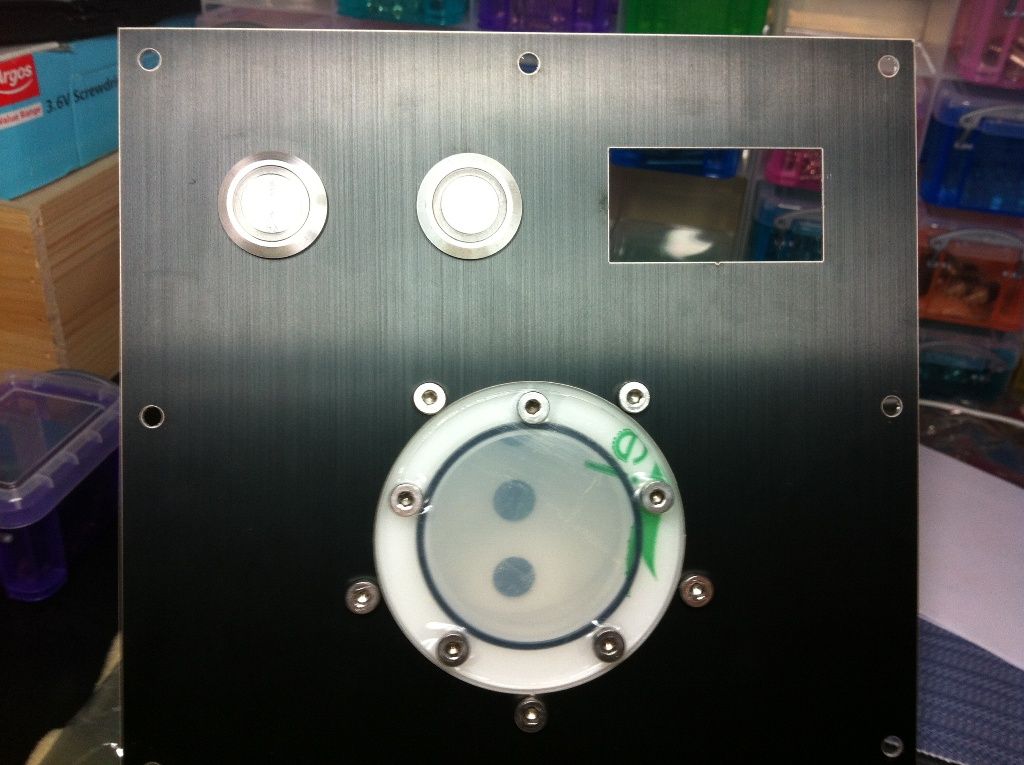
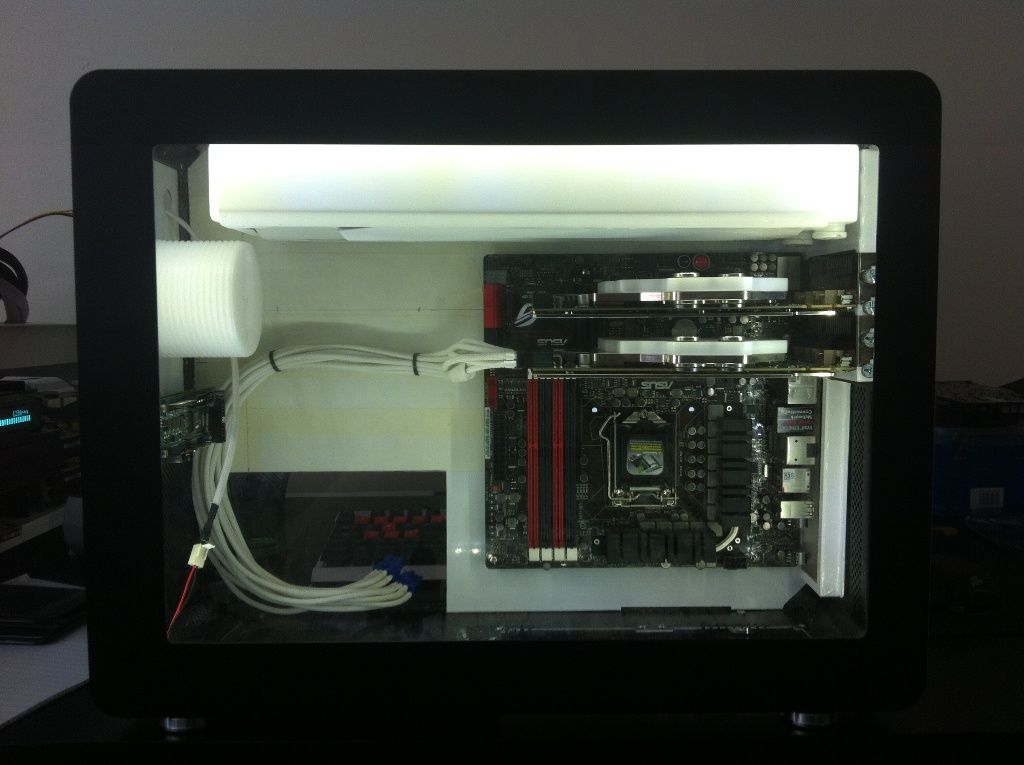
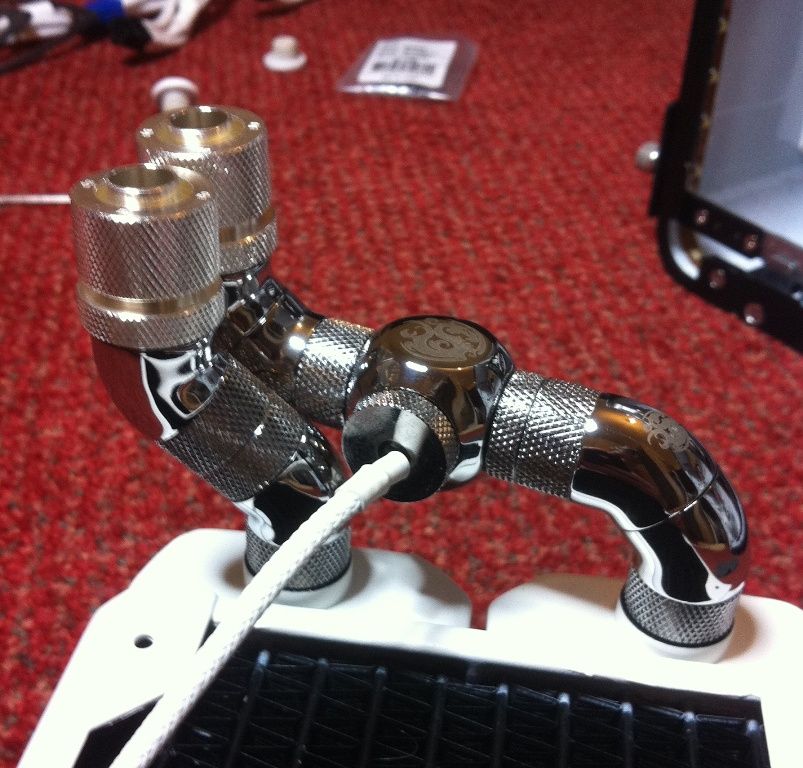
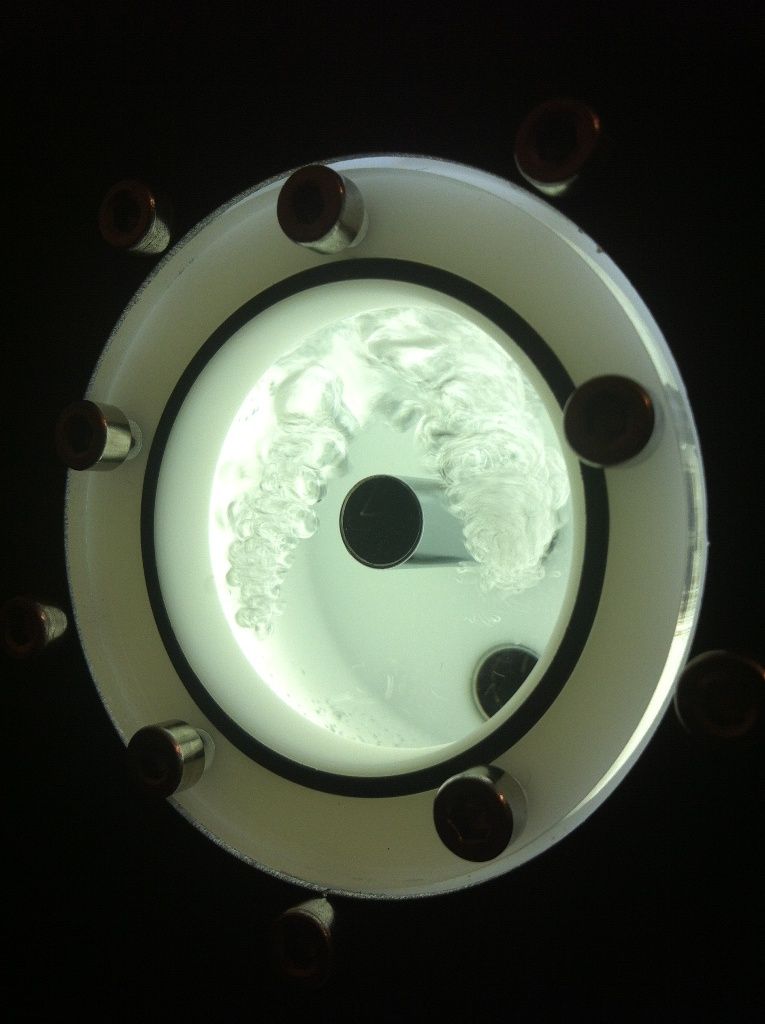
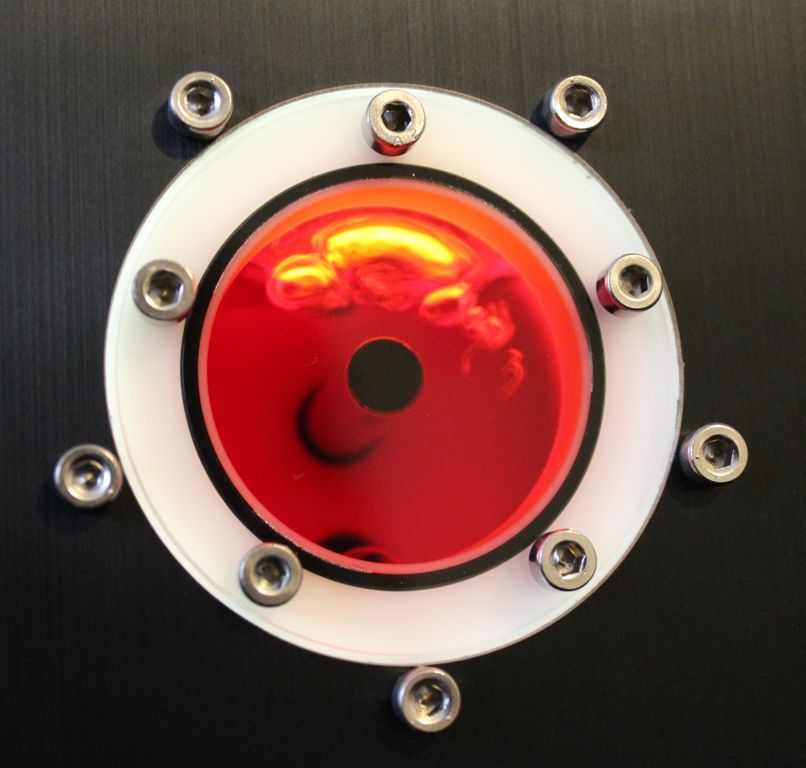
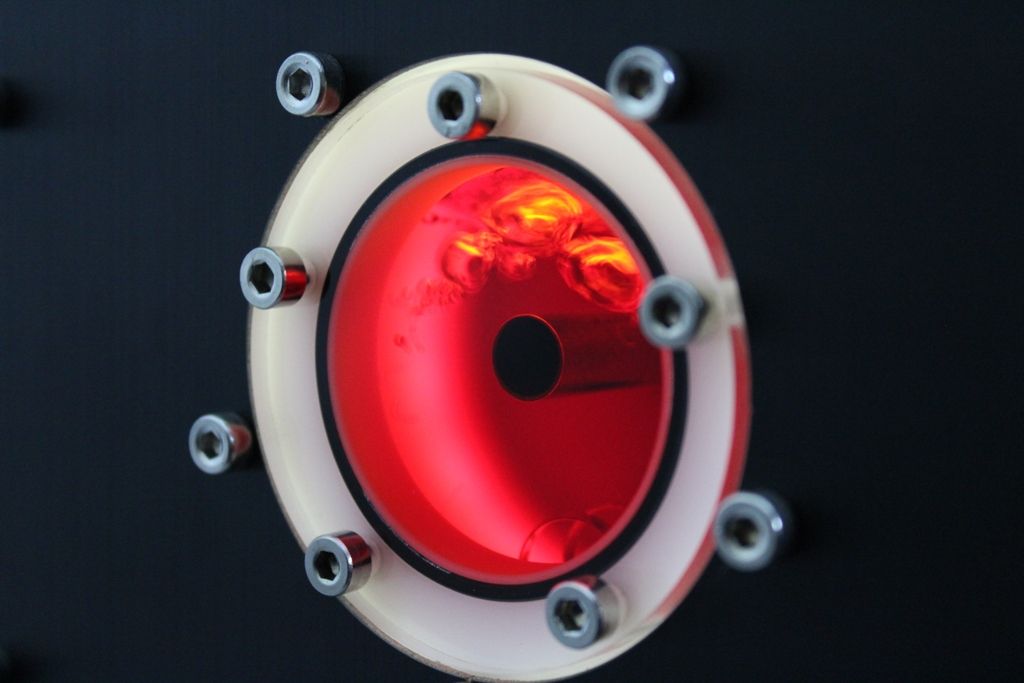
New Aqua Tube in White Mmmmm
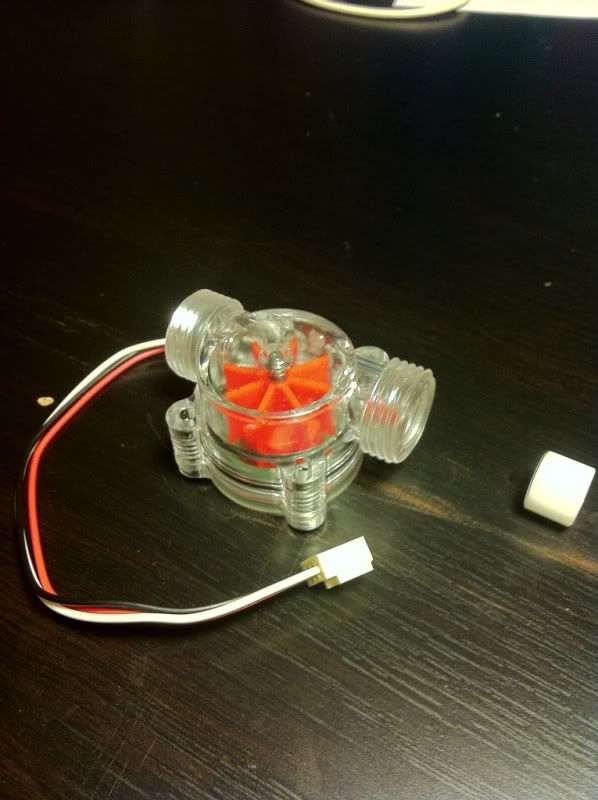
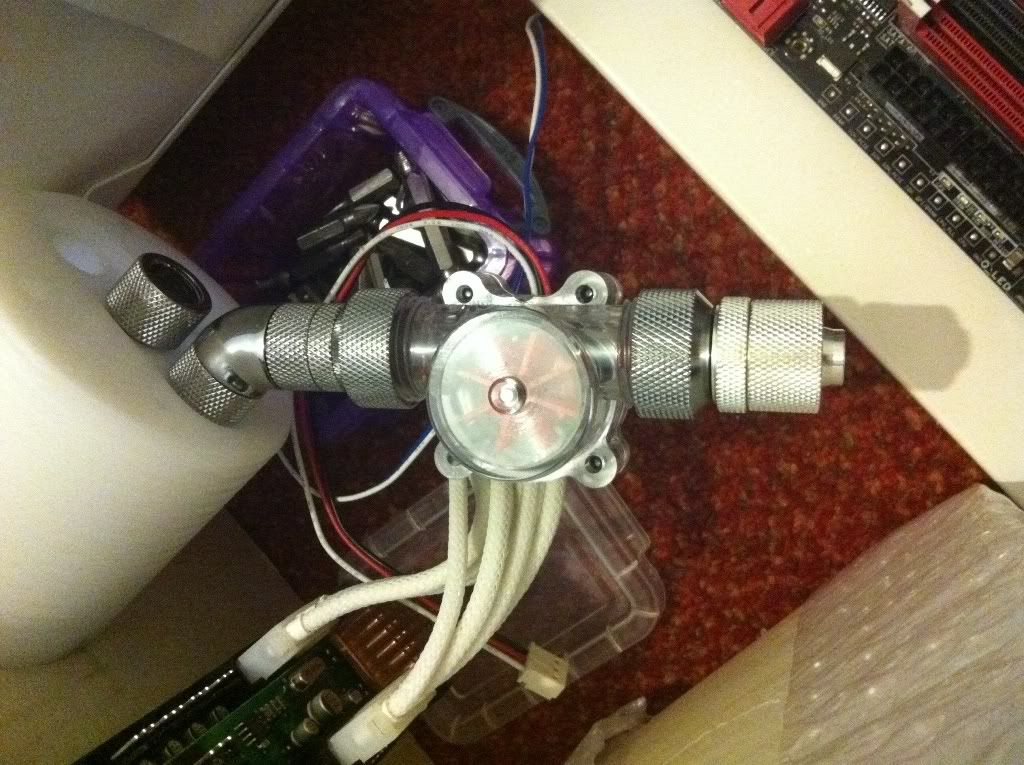
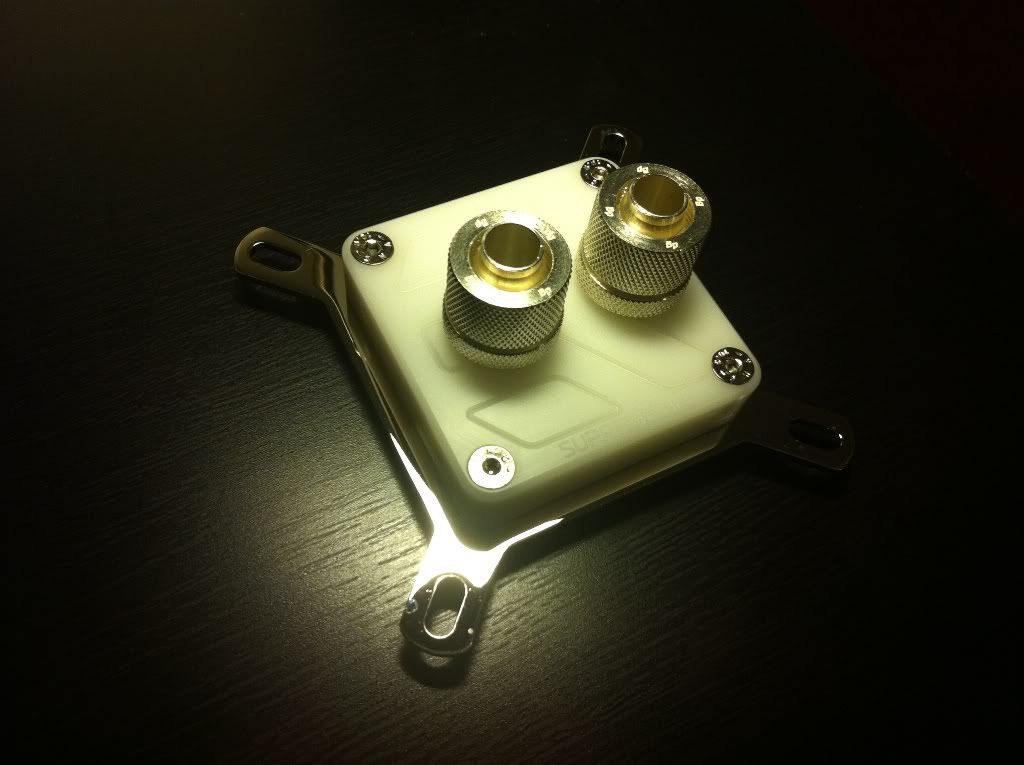
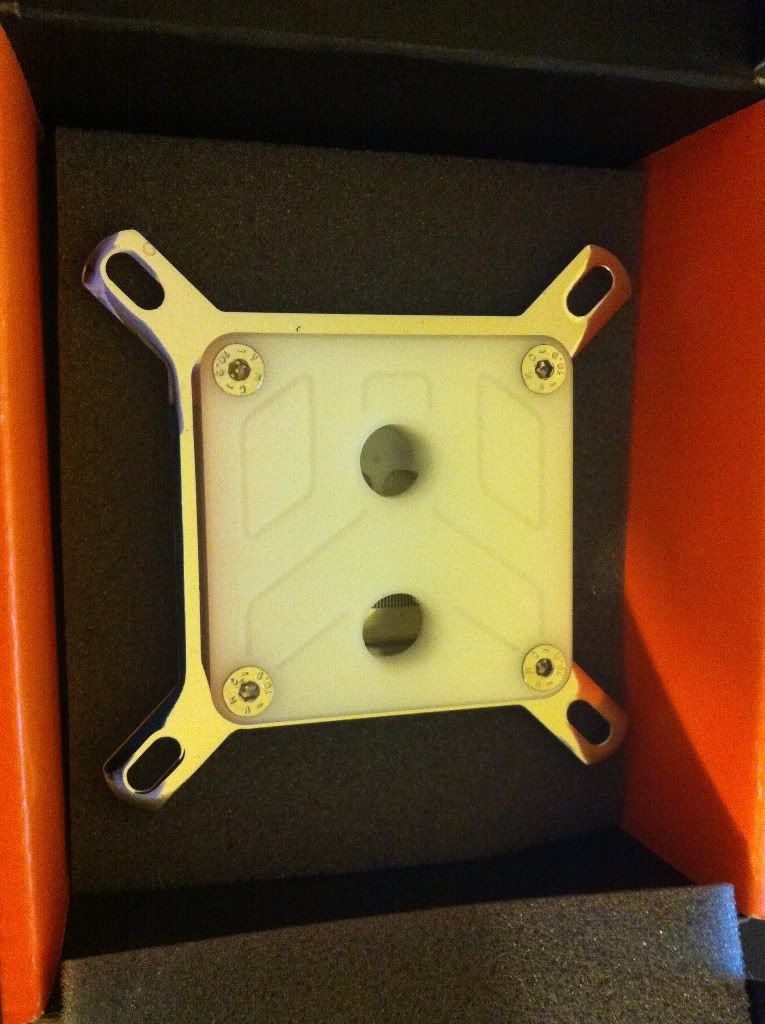
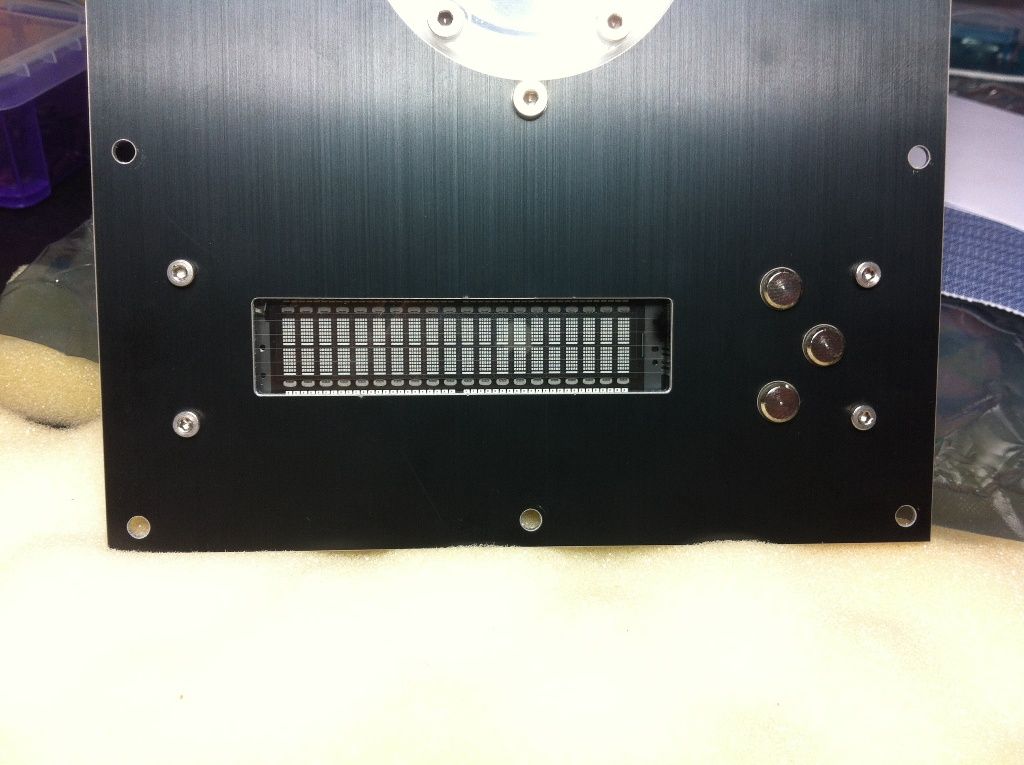
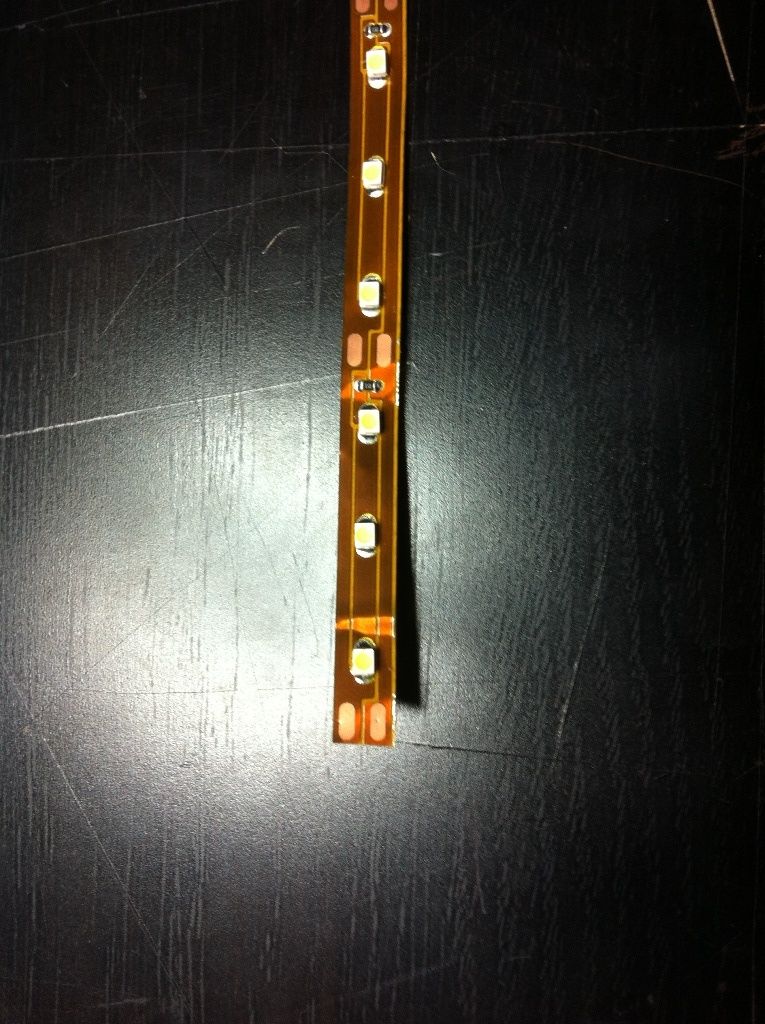
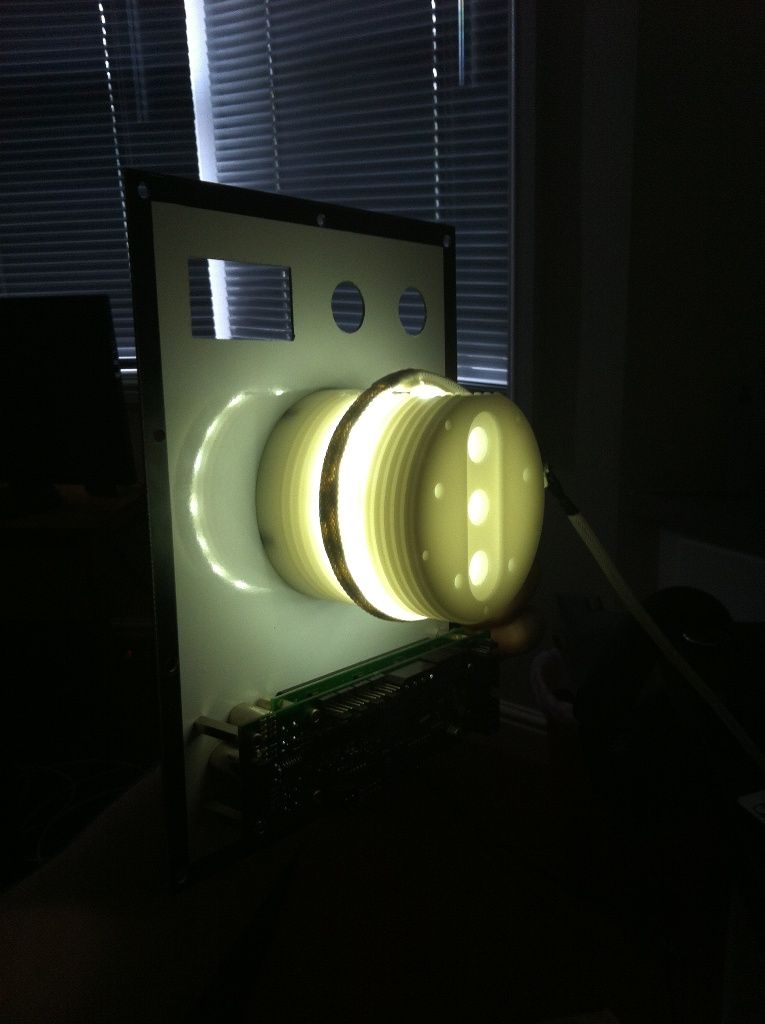
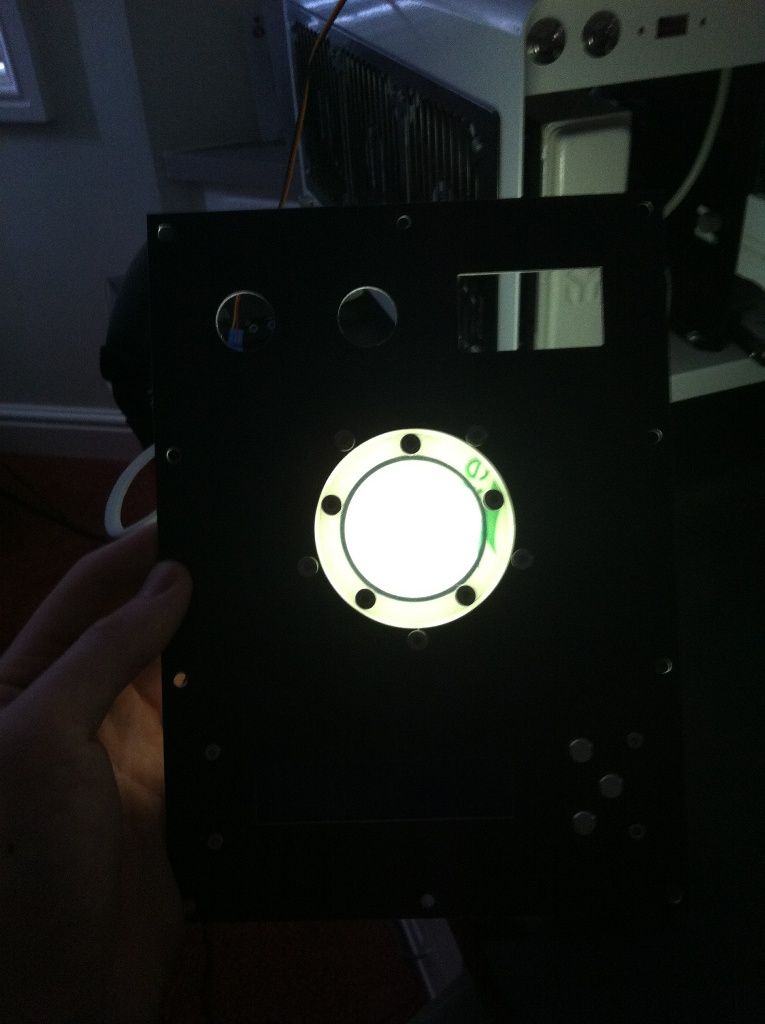
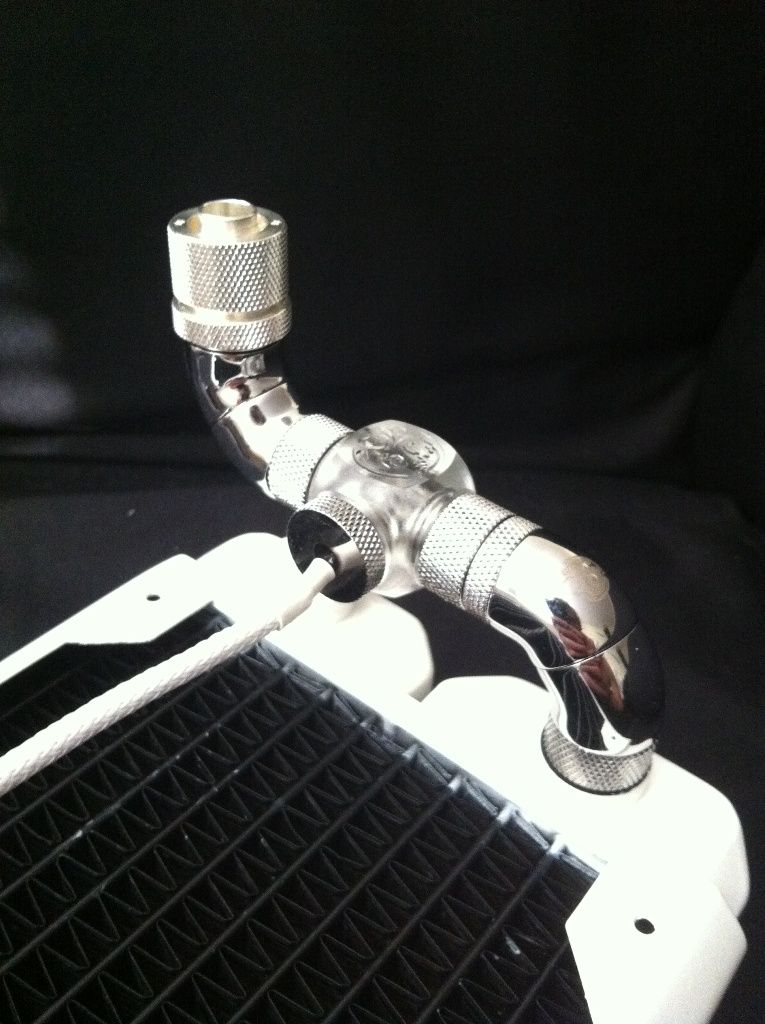
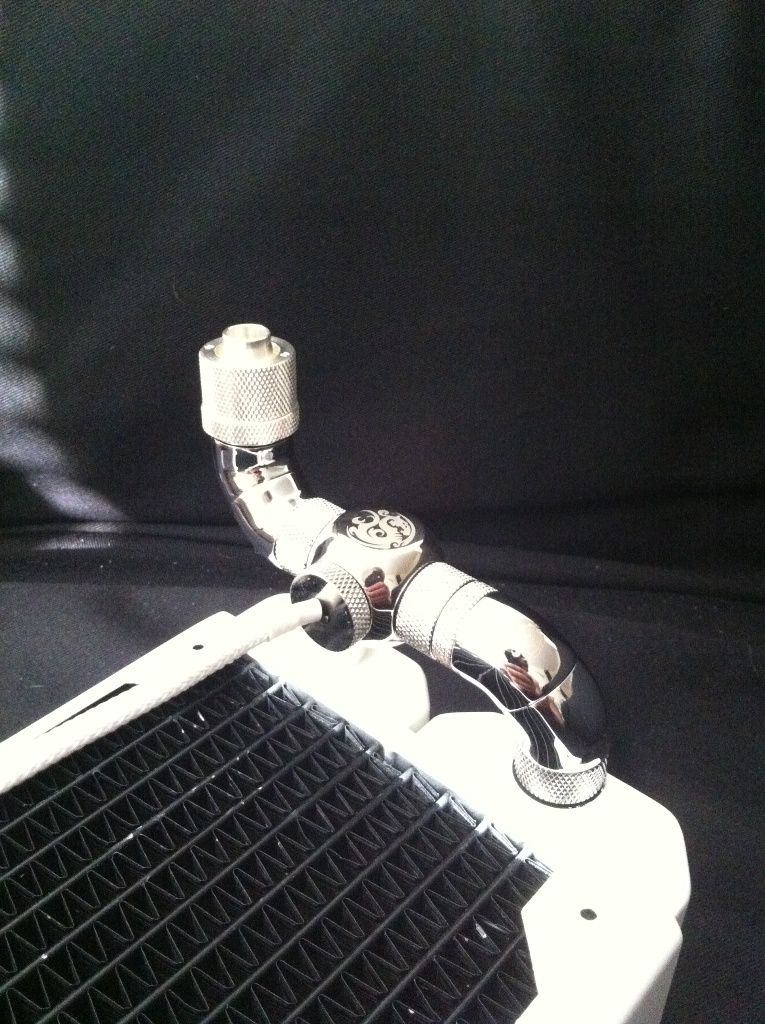
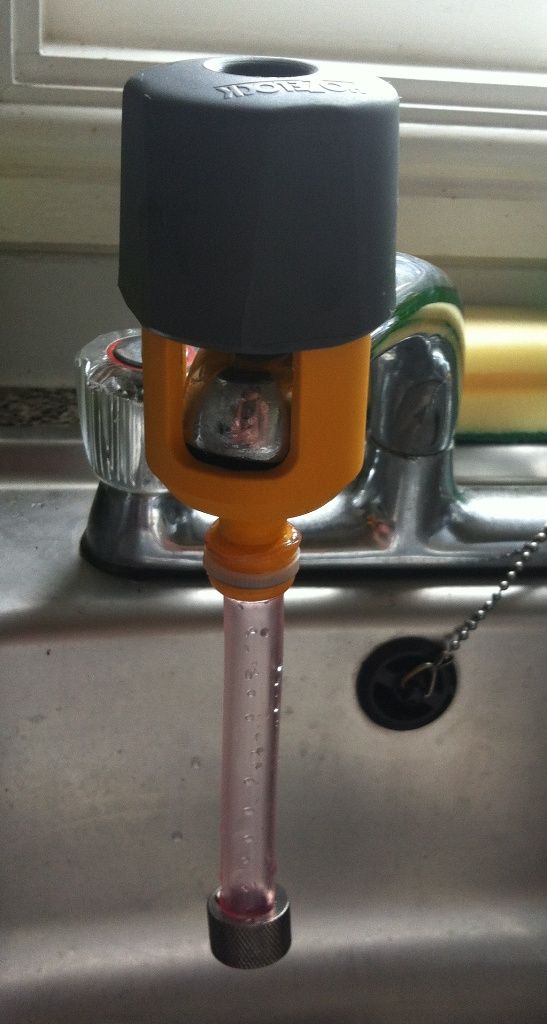
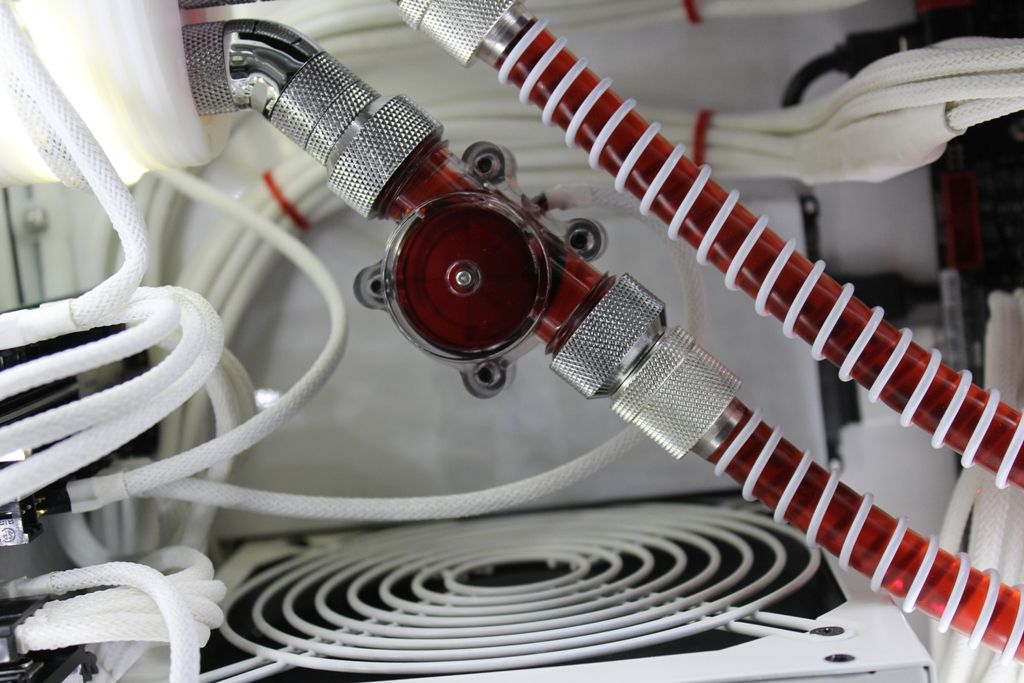
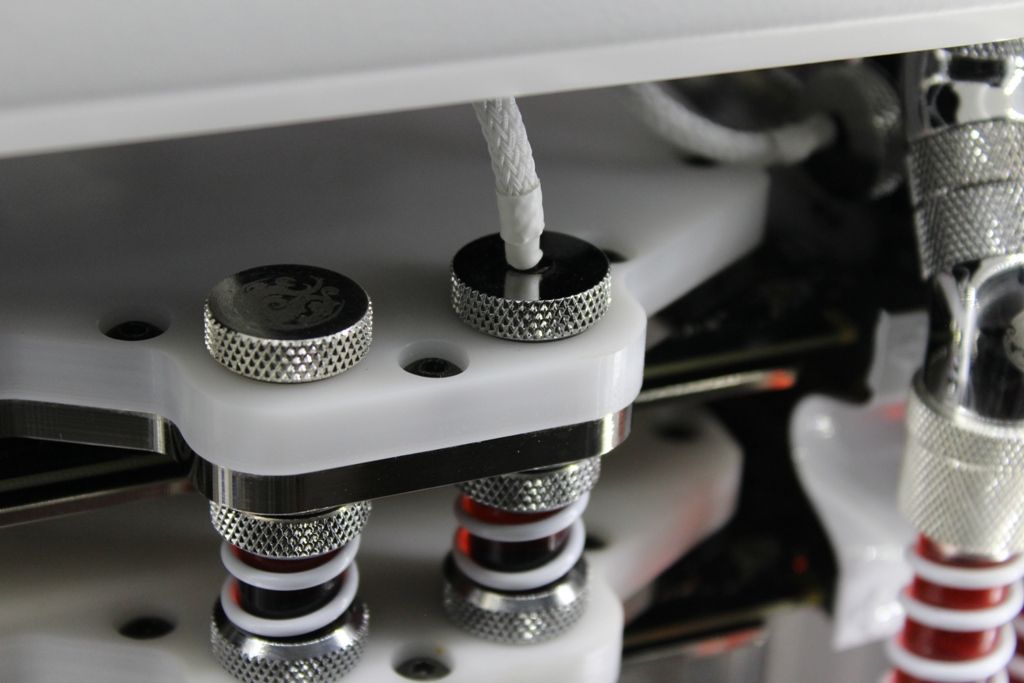
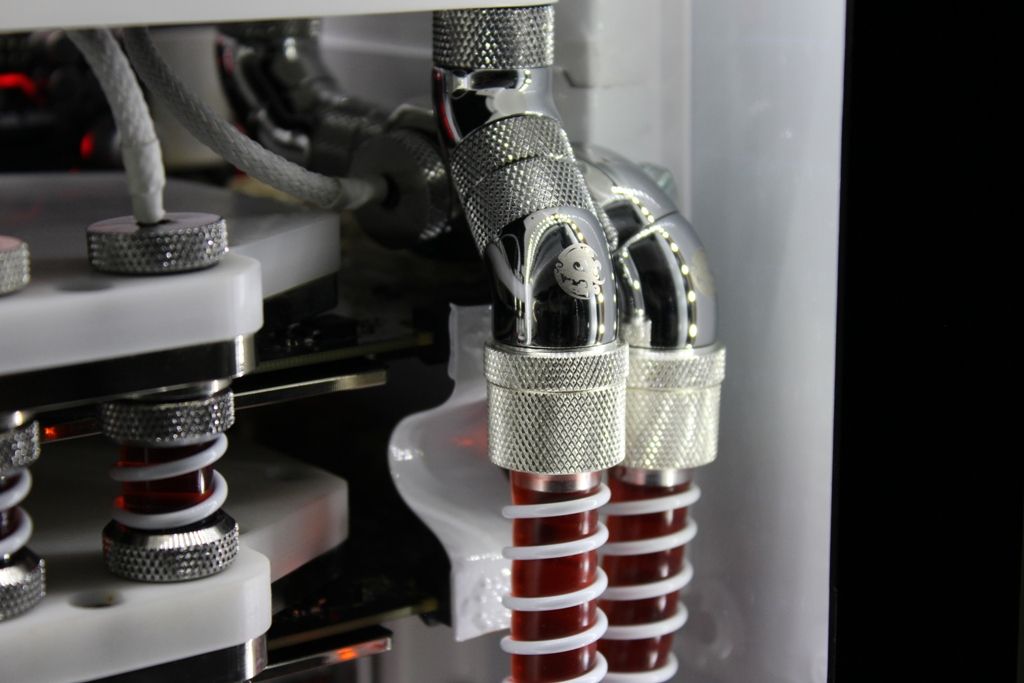
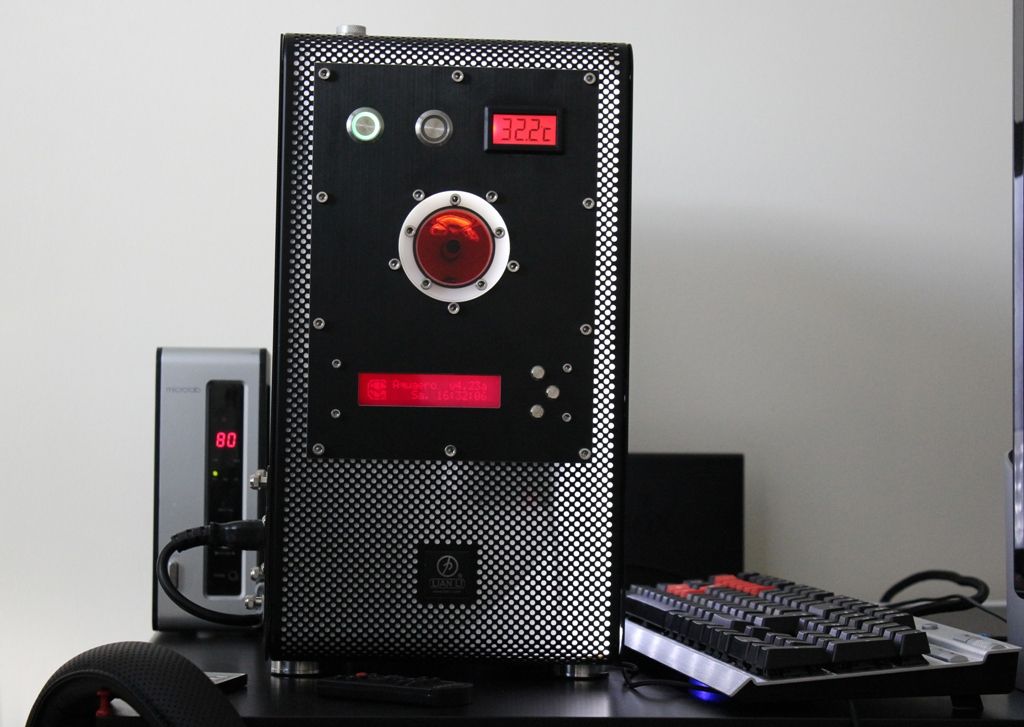
And lastly is a Flow Sensor which is going to be used with the Aquaero, only thing is I dont know what the little white tube is used for think it might go in the sensor but for what ??? Can anyone help???


 Reply With Quote
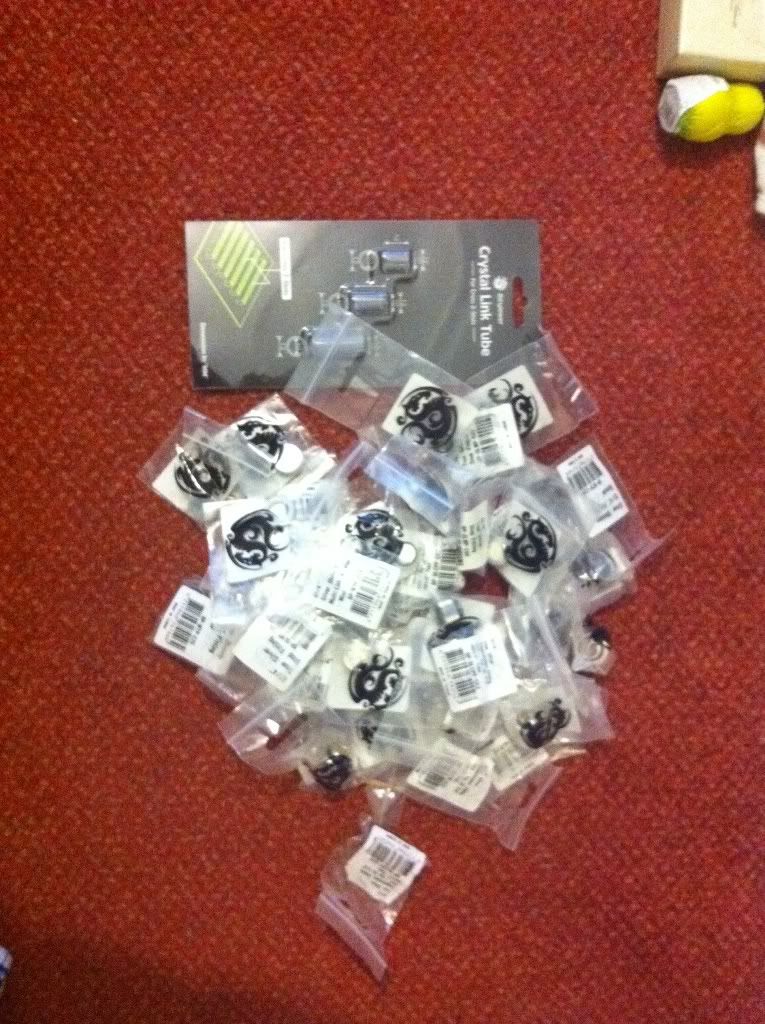


Bookmarks