


Final powder and ceramic coated parts 10-23-10
Well picked up the last of the parts today from Michael at Specialized Performance Coatings.
Everything looks great, but one part which is the bottom of the case. This is the second time he has coated it from scratch and it seems to keep having this pooling effect in the powder where it seems to fold up and collect on an end. So bad to where two spots on the side appeared to resemble actual wrinkles like in bed sheets. My solution for that was to scratch off the wrinkle and I will attempt to match the sheen of the powder color with some paint and see what happens.
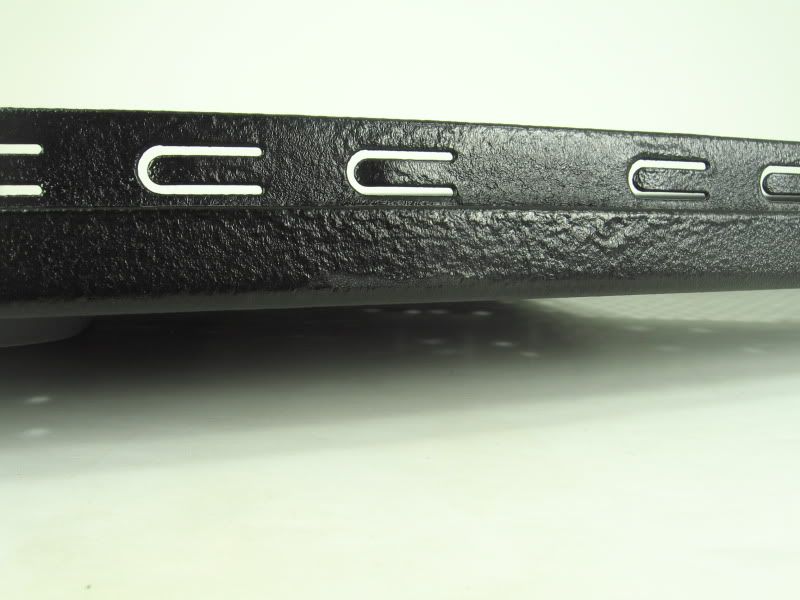
Also on the edge there is some ungodly looking mess with the same effect. Thankfully this will be covered by the plastic front panel pieces. Hopefully everything goes together smoothly and the build up on corners wont effect the fitament of the case panels. Only time will tell.
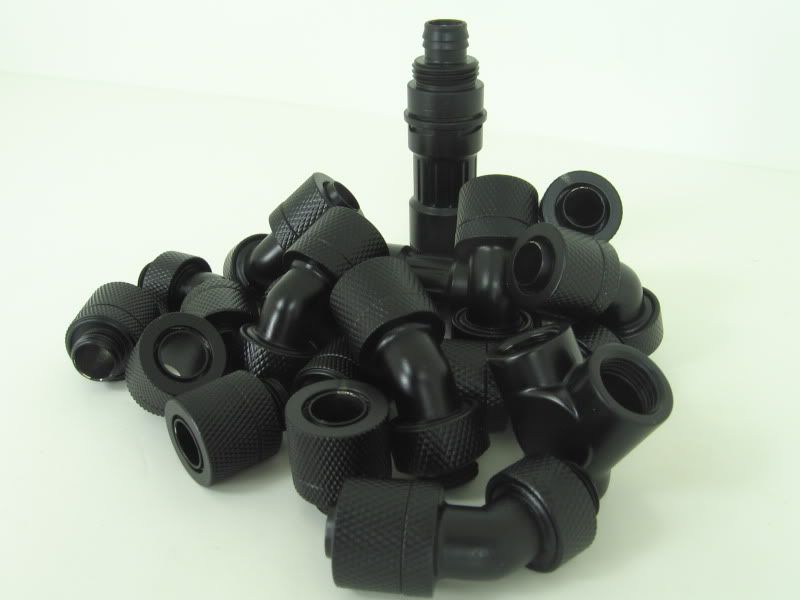
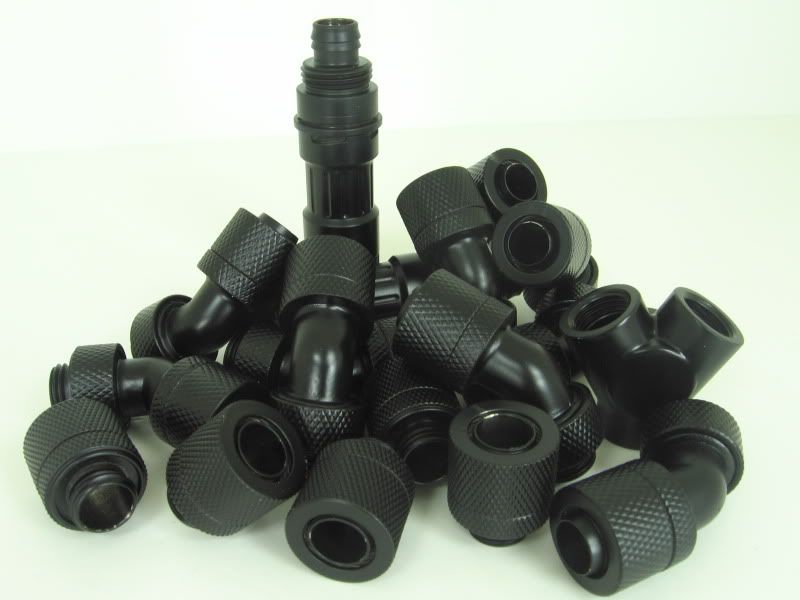
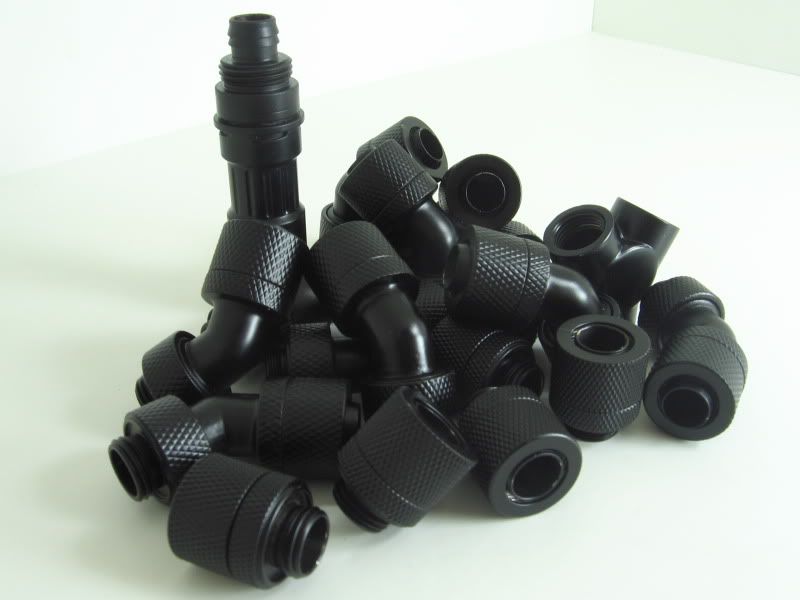
On the other end of the material coating with the ceramic matte black on all the coolant fittings. Some look spot on awsome others show signs of where he had to hang them. Others have minor nicks already in the ceramic (which he warned me about prior to me saying I wanted them ceramic coated since there are o-rings inside the 45s) along with some scuff marks. I received the fittings all wrapped up in newspaper and opened them this way.
Its just something that goes along with the territory of trying to save a buck and get cheaper fittings and paying 50 bucks to have them coated. Next time around I will just order BP matte black and call it a day. They will be coated from the factory and much more durable.
Now I had a serious problem with the no spill fittings. Considering that its such a close clearance with the closure on the inside of the fittings we decided to coat them while connected. This unfortunatly caused them to somewhat fuse together from the ceramic. I had a fun time getting them to unlock then twist loose. After some work they now lock and unlock as well seperate just fine. Sadly quite a bit of fine sanding dust got its way inside and they were stuck open. I shot some high pressure 120psi air through them to blow most of it out then worked with them to get the closure inside to actually close once the male and female were separated.
I'm going to hook up a spare pump and tubing to them and try to flush anymore of the sand particles out as well using more air to try and clean them out. The near $40 fittings may not end up being anything else other then paper weights for my desk. Time will tell. They will have to actually clean out and function properly otherwise they will pose useless. Not to mention dangerous to hardware and furniture.
So enough babbling time to post up some pics:
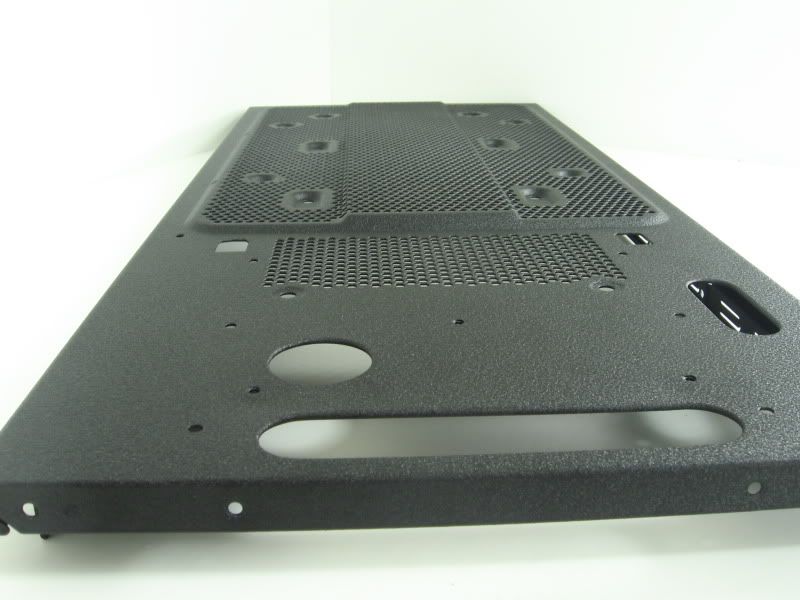
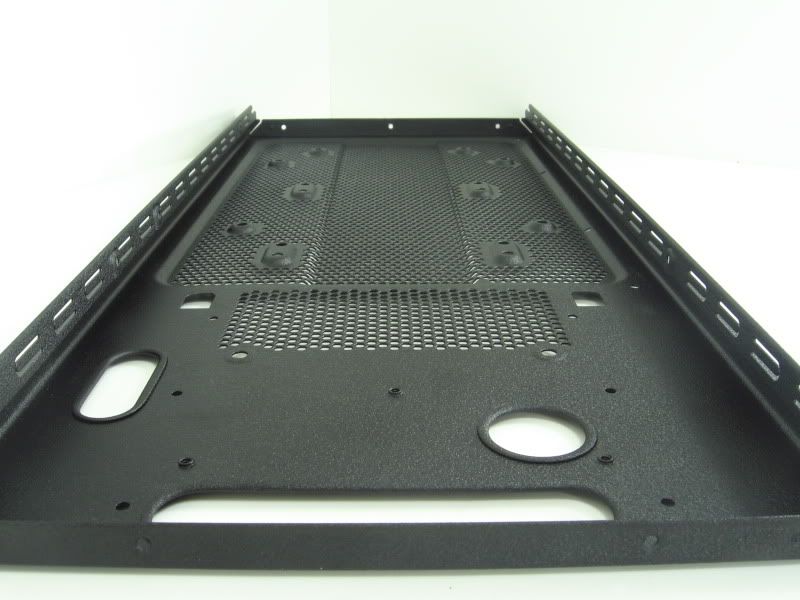
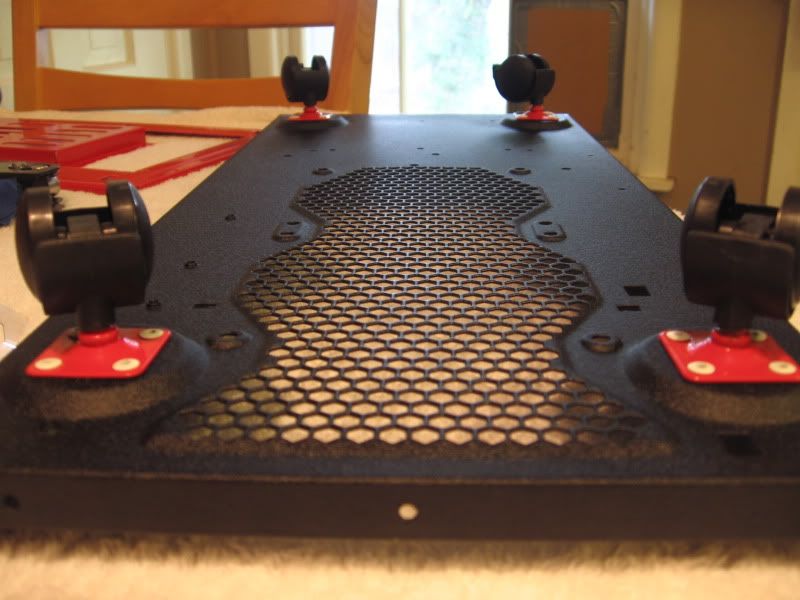
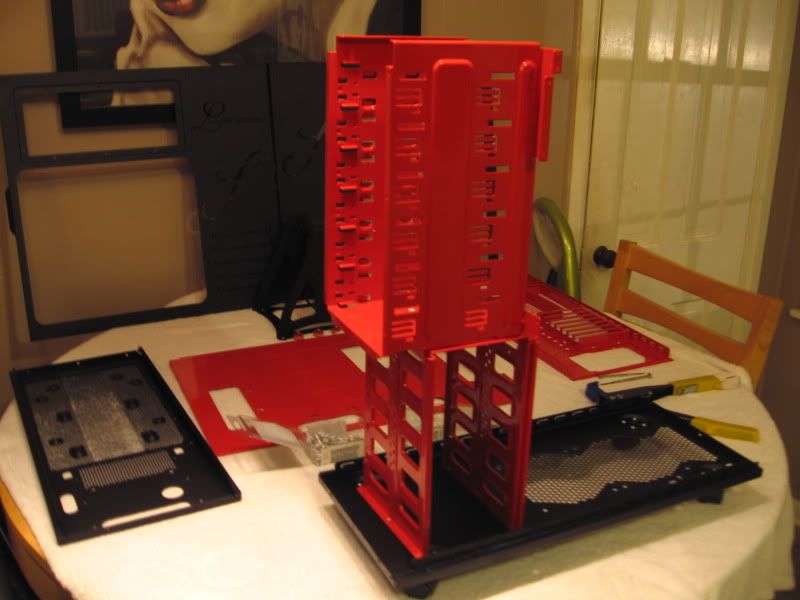
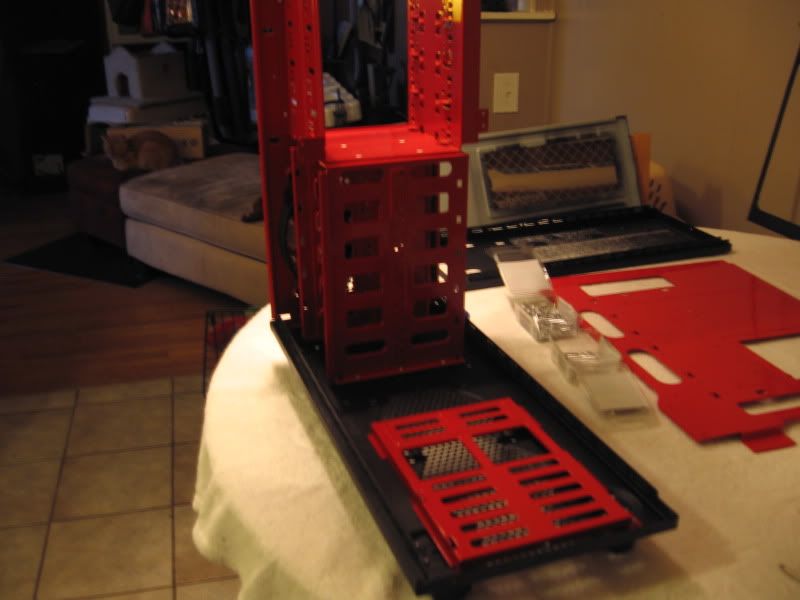
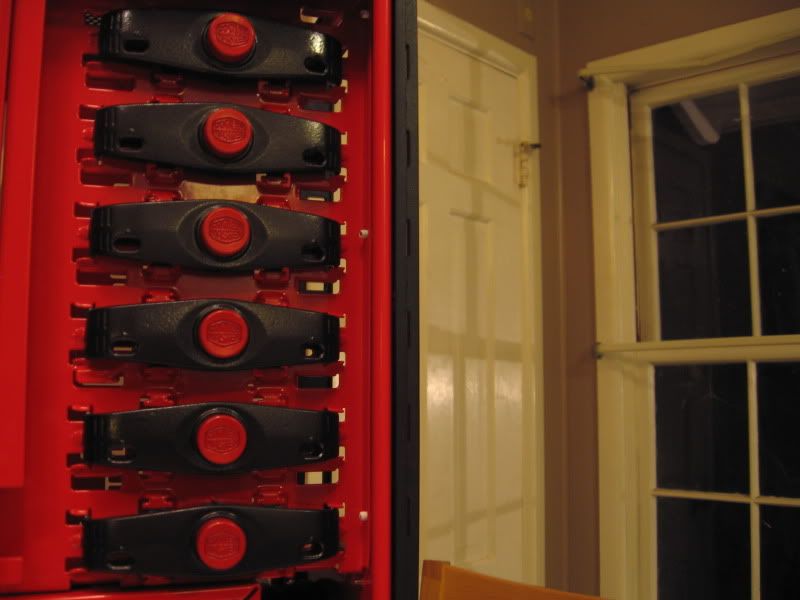
The motherboard tray I had him redo
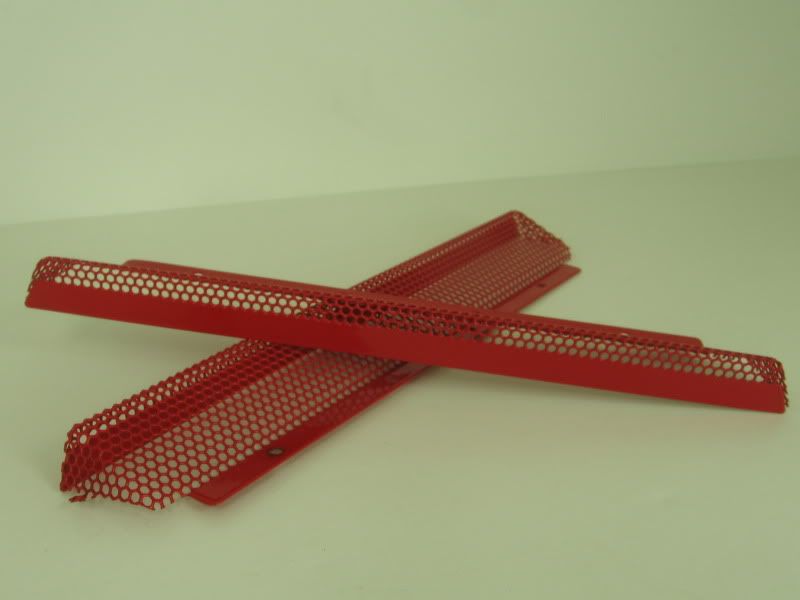
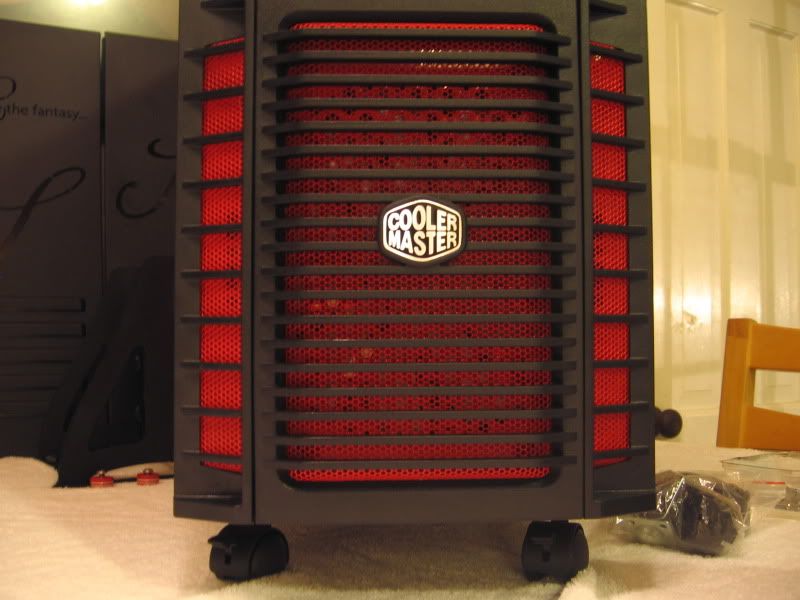
Outer front panel grills
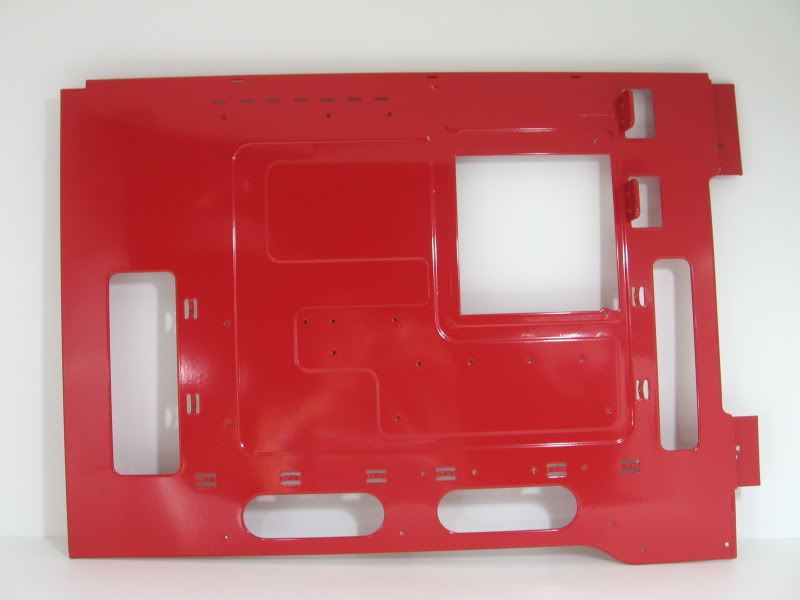
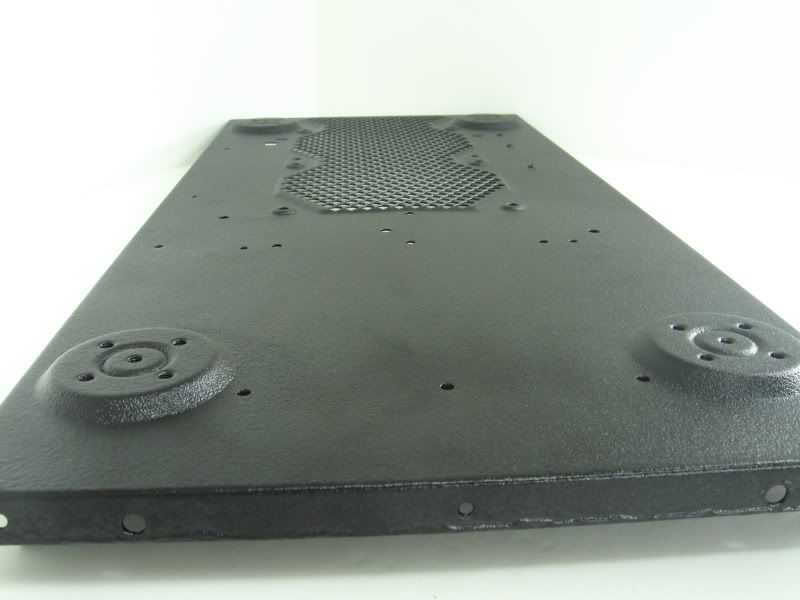
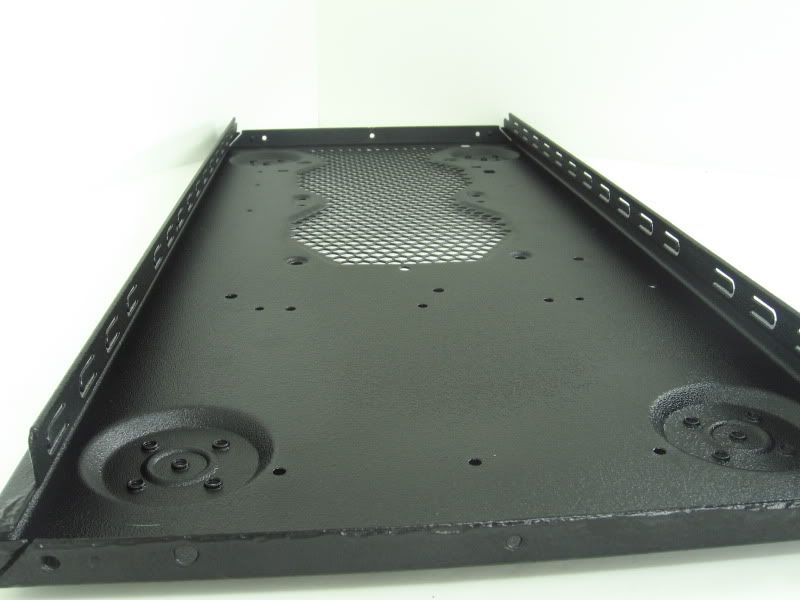
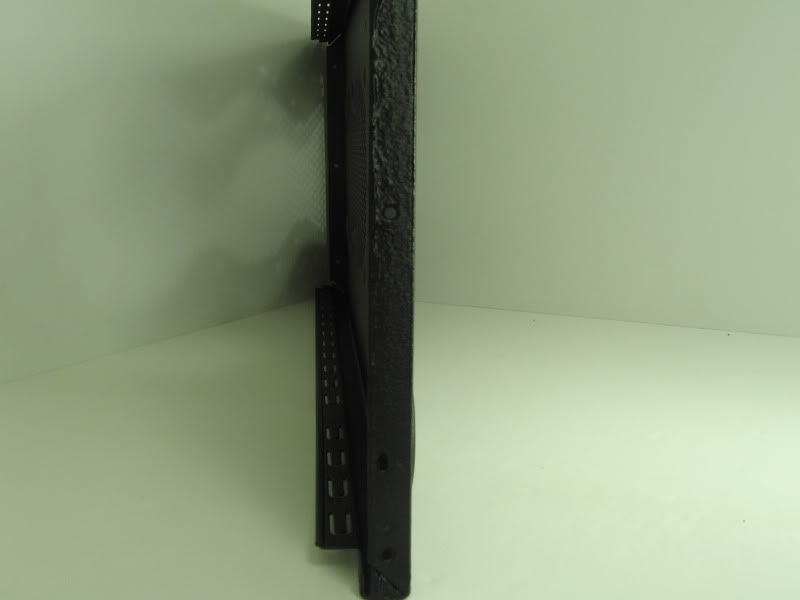
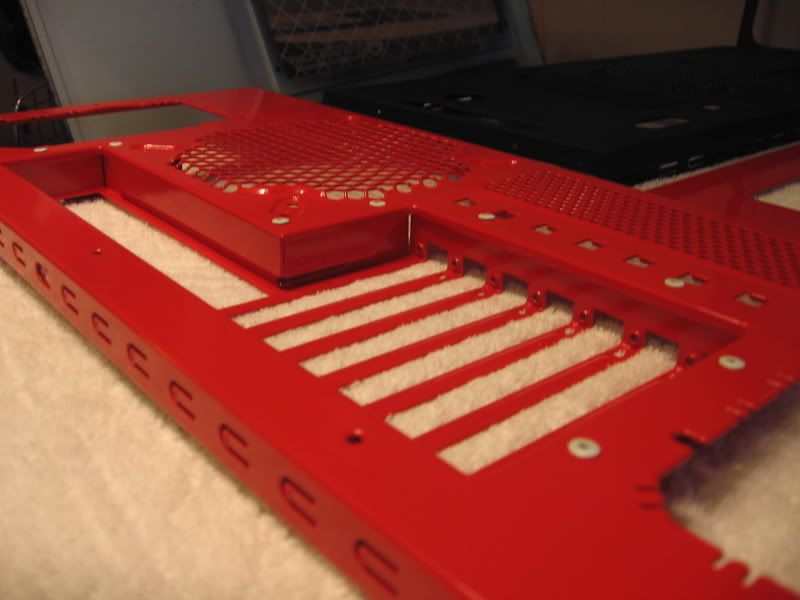
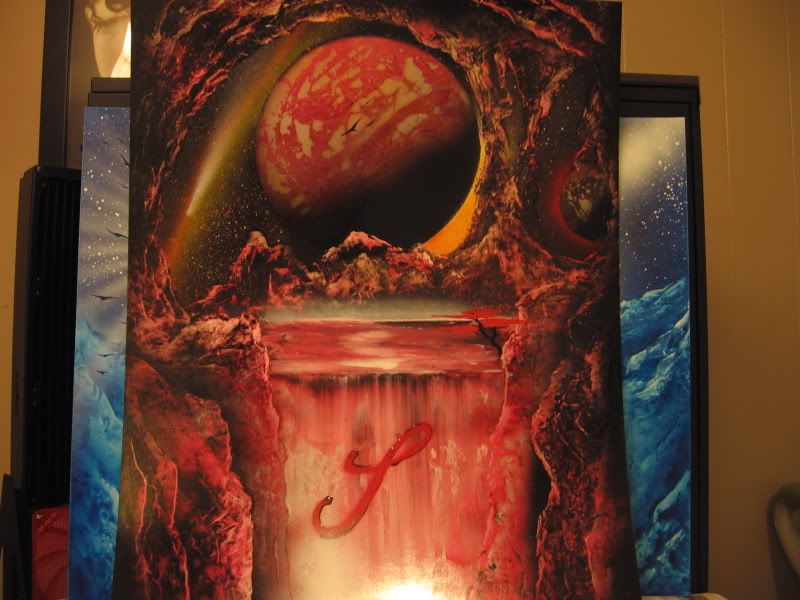
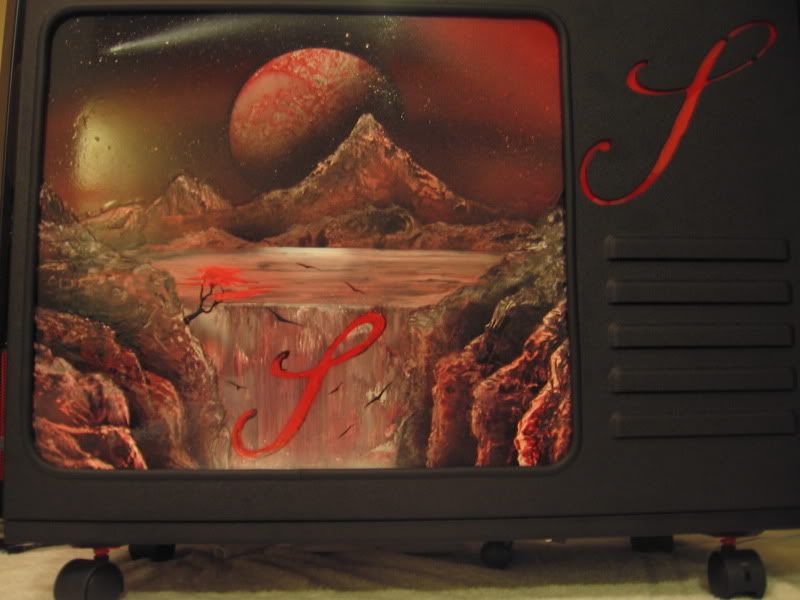
The top and bottom panels. The last couple you can see what I was talking about with the pooling and the scratch marks where I removed the wrinkled line.
As you can tell its not very pretty. The more I sit here and think about it the more I want to take it back and have him burn it so he can remove the powder and have him redo it. The problem is the side panel meets right up with that outside edge and I think the non consistency in the finish is going to stick out like a sore thumb. My big problem in that is when I drop it off it could take another week or more to finish the one panel. I will have to see what it looks like while mocked up.
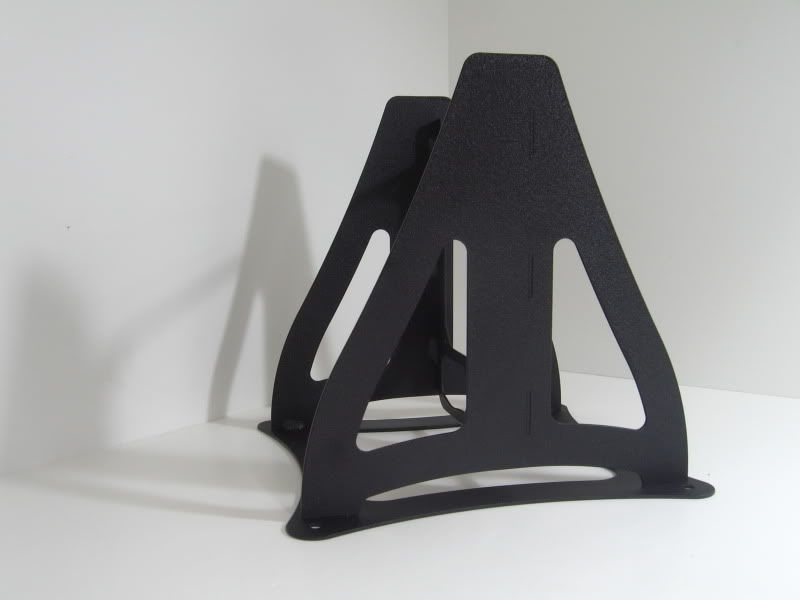
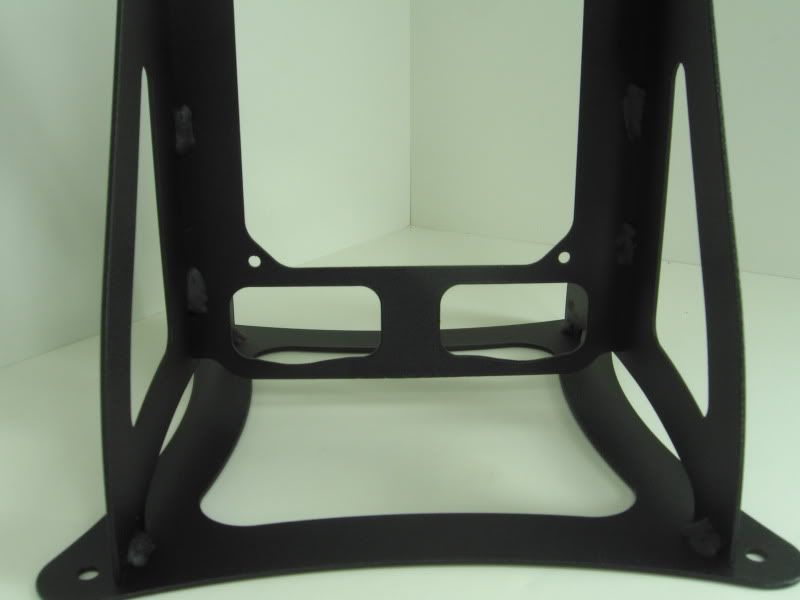
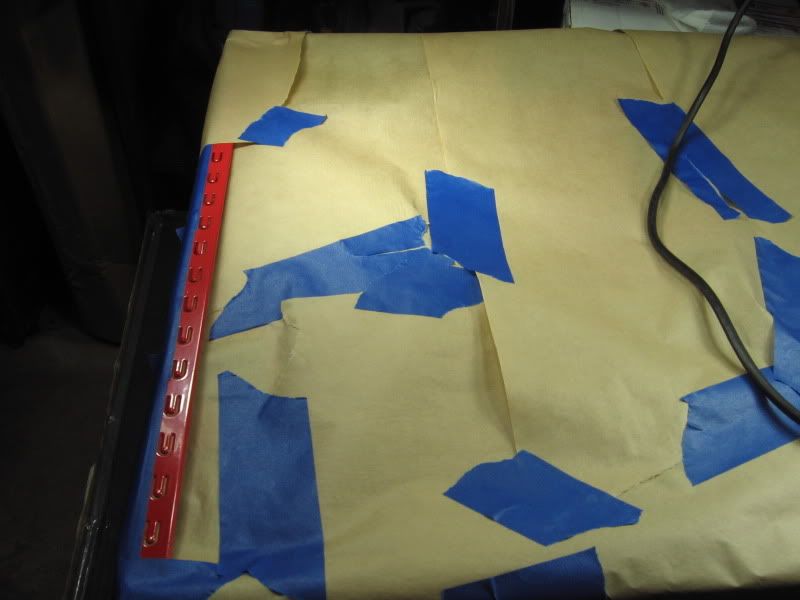
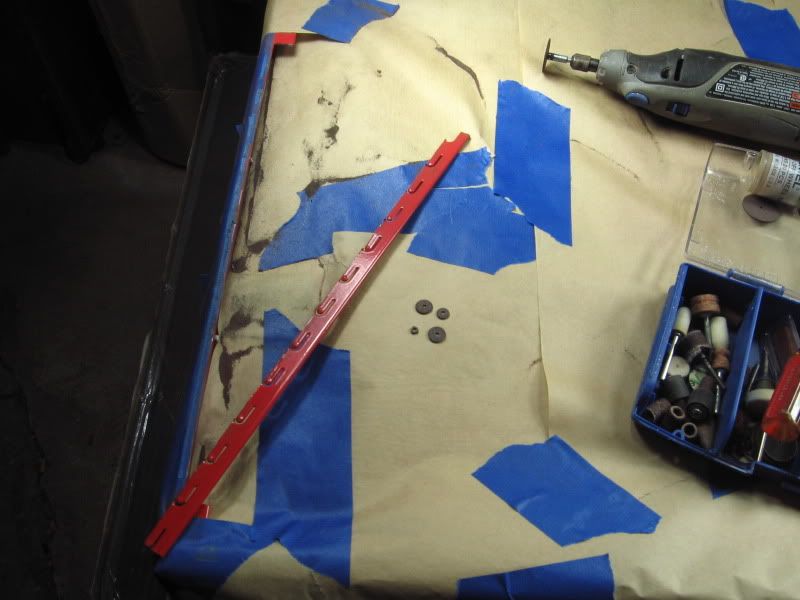
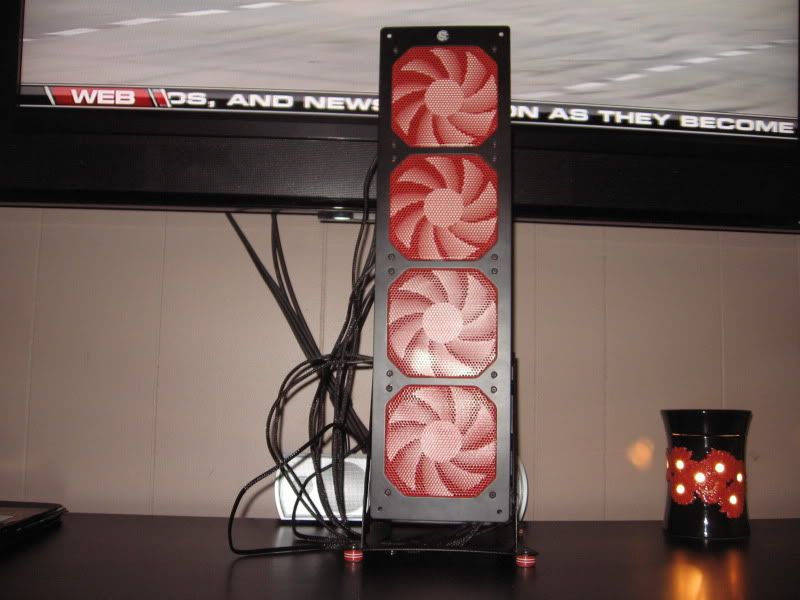
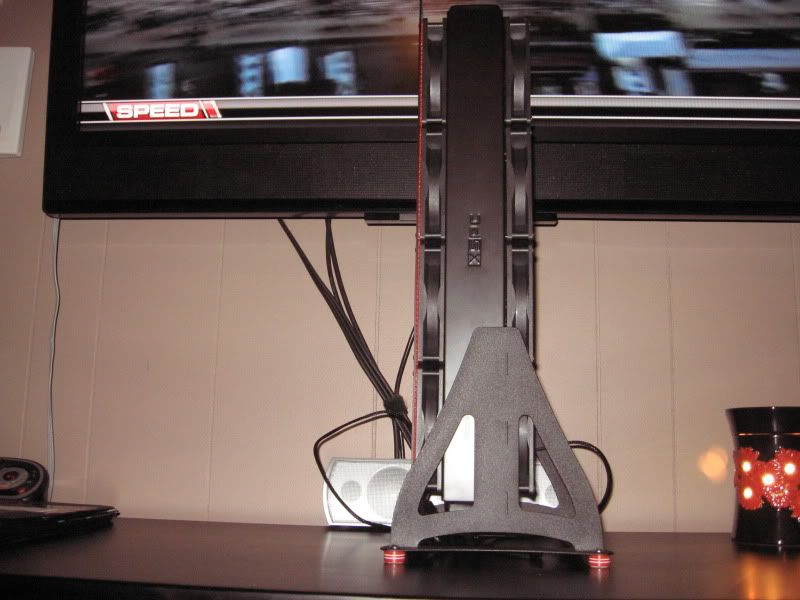
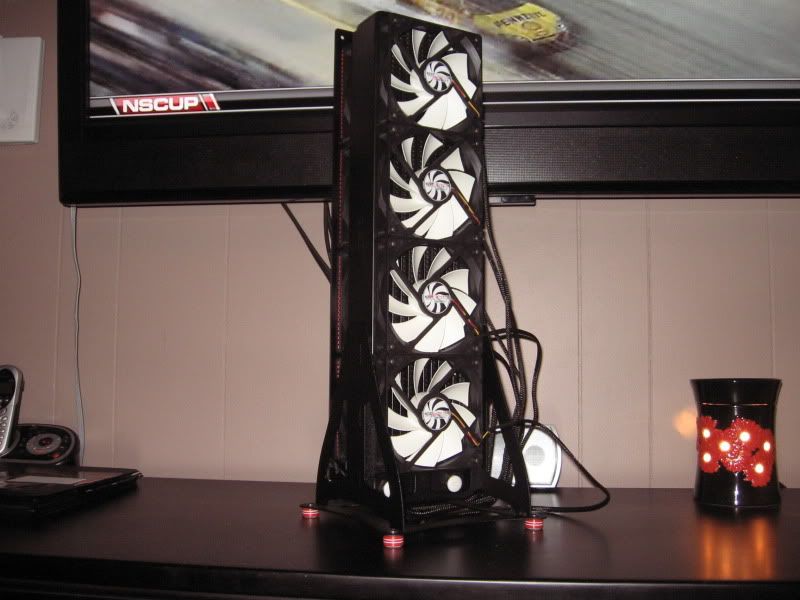
Next up the Radiator stand:
I purchase this from a member on XS forums in the UK which I had to modify for the G 1/4 nuts that are welded to the rad to clear. I've contacted him about this matter to make the adjustment in his cnc file so to allow for XSPC rads to be mounted in the future.
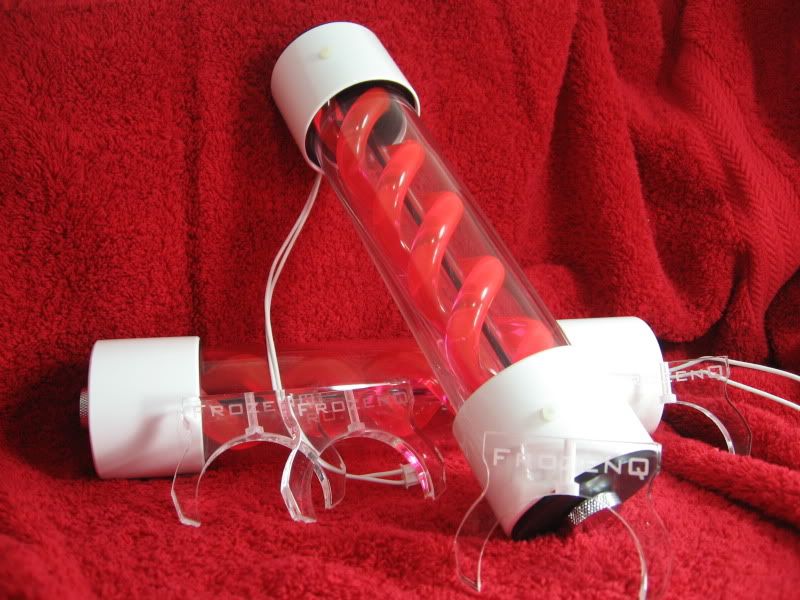
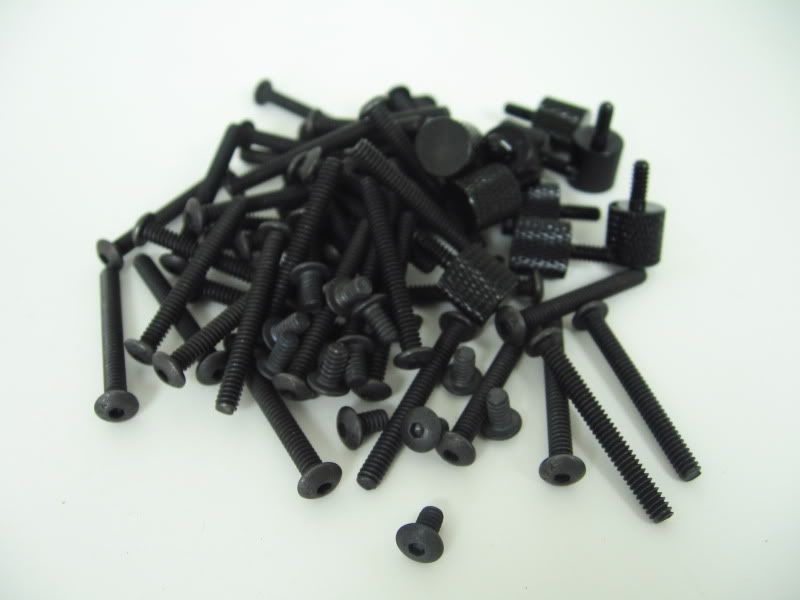
Finally the ceramic coated fittings:
Most look great unless you get up close and personal with some. Which I'm sure will show in the final photos on a couple. For this fact I may end up ordering BP fittings down the road. There are just so many factors that go into coating processes that you never know the outcome. Not to mention these guys aren't used to doing things like this. Most do car parts and wheels. Nothing really small like I took in and as complex as I took in.
So I'm contemplating putting what I can together of the case itself leaving the lower panel loose to see if I want to have it redone or not. I'm leaning more towards yes, but the damn wait to get it done is just killing the thought of dropping it back off.


 Reply With Quote
 Have you tested your ram yet?
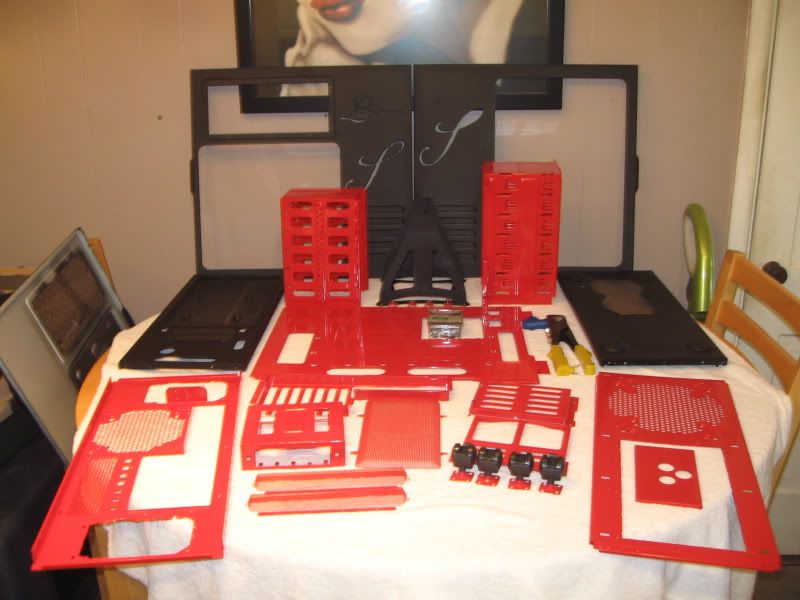
 It never dawned on me that this could have been a problem.
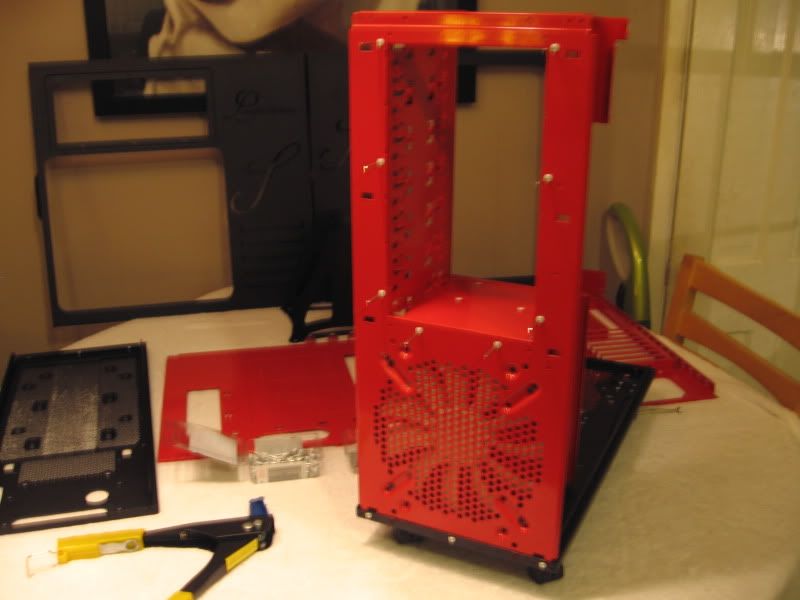


 Then I got to thinking that well I shouldn't have to ever remove them and maybe when I screw them into the res tops they will be hidden. Thankfully that one was hidden and the other res caps were loose enough I could just twist the cap. So none of the nylon screws are showing now.
 Means I have an audience out there and fans. Silent but fans none the less.


Bookmarks