MMM
Page 4 of 6 FirstFirst 123456 LastLast
Results 76 to 100 of 129

Thread: Wezly's Latest Money-sink

  1. #76
    Registered User
    Join Date
    Feb 2010
    Posts
    38
    I guess this is to late to respond to your project here, btw your build is coming along very nicely. But to other news I have just received a diagram from Bitspower about creating extensions for the MCW60s to allow easier tubing hook ups similar to how FC blocks are.

    I have attached the pdf file to this post, hopefully this should help you out a bit or at least give you another idea. I am doing this to my 4870's in crossfire. I will have it completed this weekend. I can PM you pics if your interested in what the result may look like.


    Anyway good luck on your build, cant wait for more updates.
    Attached Files Attached Files

  2. #77
    Registered User
    Join Date
    Aug 2009
    Posts
    588
    I like the idea, and I'd love to see more. Please, feel free to post pics here, I don't mind at all!

    To me, that's a bit much. I am just worried about a new leak every time I introduce a new fitting or connector into my loop. That was the original reason I ditched the Koolance manifolds, despite the fact that they were the perfect solution.

    I also considered a setup like the one you chose, and then I passed out when I put a similar list of parts in a shopping cart >.>

  3. #78
    Registered User
    Join Date
    Feb 2010
    Posts
    38
    haha yeah, sadly it ran me about $120 in just fittings for both my cards >.<

    But I figure hey the MCW60 will work on any new generation card coming out and its a one time fee for the fittings. sure beats spending $150 every card for a new FC block just for easier access for tubing when running multiple cards.

  4. #79
    Moderator
    Join Date
    Aug 2007
    Location
    Back and forth between Florida and Maine
    Posts
    4,097
    Really looking forward to seeing how this works, Wezly. Those Koolance splitters baffle my mind (I know, doesn't take much), so hope you explain how the work and how you set them up.

  5. #80
    Registered User
    Join Date
    Aug 2009
    Posts
    588
    Quote Originally Posted by shazza View Post
    Really looking forward to seeing how this works, Wezly. Those Koolance splitters baffle my mind (I know, doesn't take much), so hope you explain how the work and how you set them up.
    It's magic.

  6. #81
    Xtreme Enthusiast
    Join Date
    Jul 2008
    Location
    kibbler the nibbler
    Posts
    984
    Quote Originally Posted by adamwzl View Post
    I guess this is to late to respond to your project here, btw your build is coming along very nicely. But to other news I have just received a diagram from Bitspower about creating extensions for the MCW60s to allow easier tubing hook ups similar to how FC blocks are.

    I have attached the pdf file to this post, hopefully this should help you out a bit or at least give you another idea. I am doing this to my 4870's in crossfire. I will have it completed this weekend. I can PM you pics if your interested in what the result may look like.


    Anyway good luck on your build, cant wait for more updates.
    If im not mistaken those r the new acrylic sli connectors, which i dont recommend using as per your diagram. They're friction fit so theres nothing stopping them from loosening in that setup, unlike if theyre sandwiched between 2 blocks like theyre meant to be used. Also they would be more subject to gravity which in some cases could cause an uneven seal at the internal oring. Long story short dont think its a good idea, sorry.

  7. #82
    Registered User
    Join Date
    Feb 2010
    Posts
    38
    Yeah I see what you mean. I got the diagram from Bitspower and figured since they are big name for special fittings for PC water cooling that they would have tested the idea and it would be safe. Unfortuantely I've already ordered the parts 
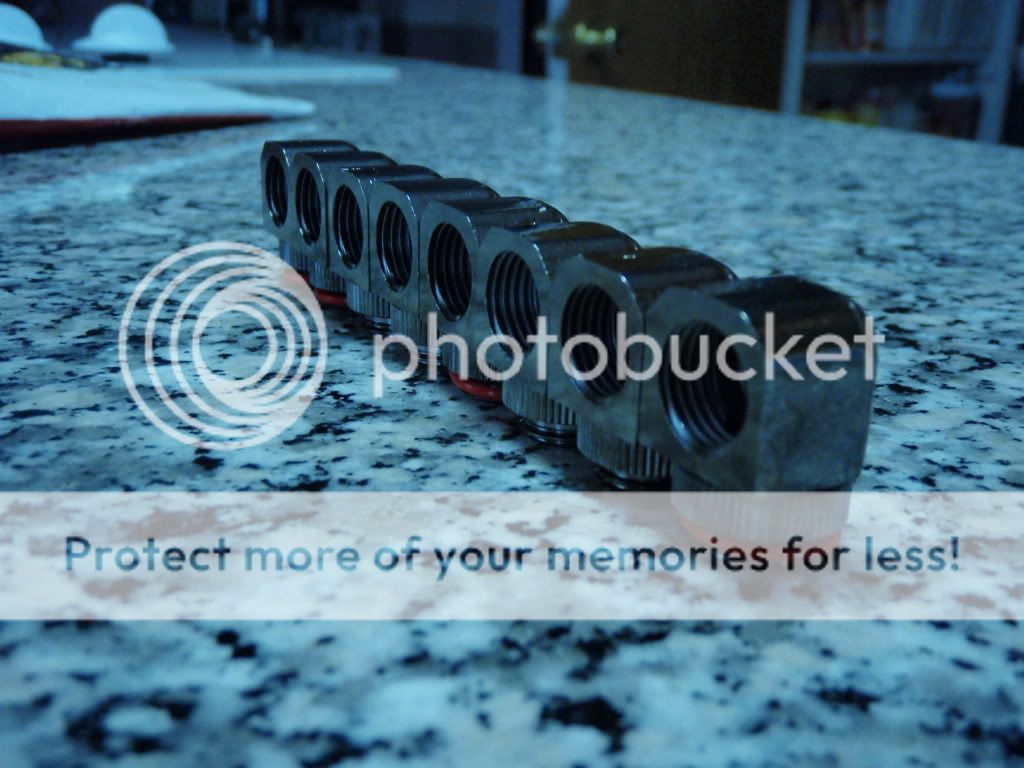
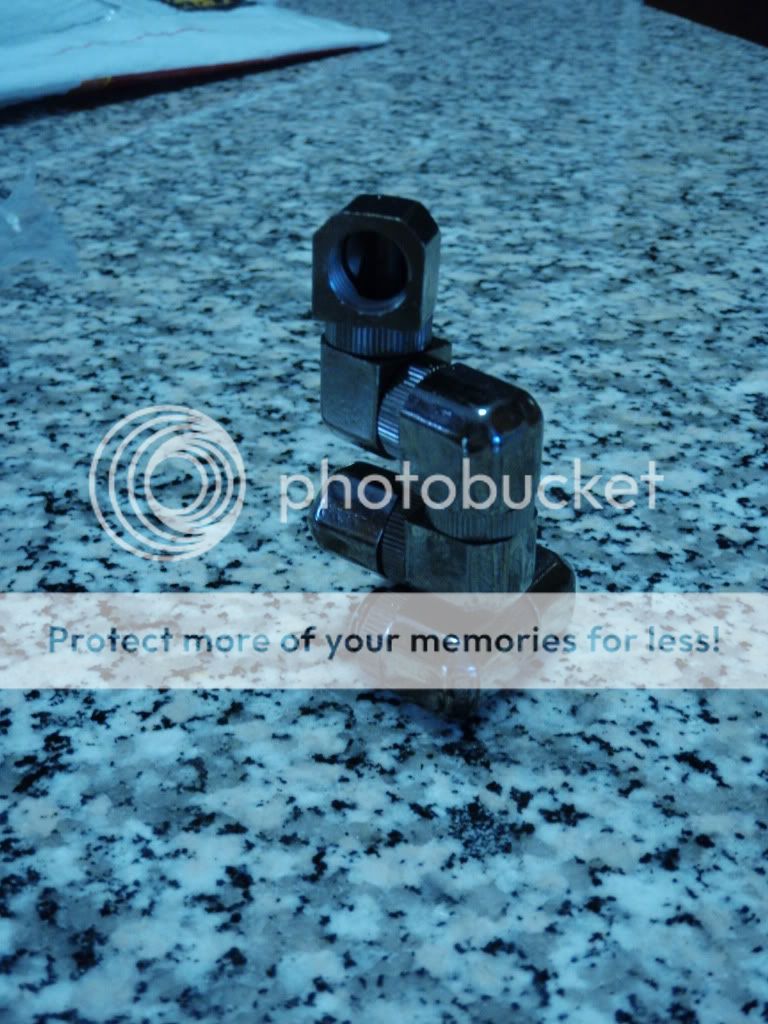
. I will test it before installing and see how it works out. If it doesnt work as planned and has the chance of the acrylic tube slipping and leaking then I will be at a big loss. I'm not sure if I can return those fittings to performance-pcs.. hmm

    But Waterlogged had a decent alternative that I cant believe I didnt see it before. The Koolance Dual VID connectors may actually work when pairing with a 90 degree rotary fitting.

    http://www.performance-pcs.com/catal...ducts_id=21541

  8. #83
    Registered User
    Join Date
    Aug 2009
    Posts
    588
    Alright.
    Today was a busy day.

    Got breakfast with the King, hit Home Depot, got some goodies, took some pictures. That's where the problem is though; photobucket upload seems to be hmm... what's the word... WORTHLESS...

    So, I'll get those up when I feel like wasting an hour or two.

    Then my friend and I racked the mead we are making for my 21st birthday. Taste-test says: LIQUID GOLD. We'll get the final result in May, and see if letting it age longer will pay off.

    Ordered two EK Supreme HF - Gold's from PPCs because I am a sucker for snazzy stuff. That makes three blocks sitting around waiting for a hot CPU to call "home."

    Sorry for the subscription update tease :/

  9. #84
    Registered User
    Join Date
    Feb 2010
    Posts
    38
    Wezly, my fittings and MCW60s came in yesterday. I went ahead and installed them to my loop. Currently I only have iPhone pics.. but its something. Here are the pictures per your request in the forum.


    I did leak testing with all the fittings, prior to install. To my suprise it actually works very well. When I was leak testing, I figured since these arcrylic tubes are connected just by O rings there has to be some way of it leaking. So once I have every attached to a MCW60, I hooked up some spare tubing filled up about 2 cups of water and shook the hell out of the thing. Then I felt the fittings, NO leaking at all, every bit of water stayed within the tubing. So then I installed into my loop. Took a bit of time but everything went well. Once again no Leaks .

    If no one has actually worked with the new Dual card connectors from Bitspower the arcrylic tube takes a bit of force to get it stuck into the fitting, you really need to push it into the C03 fitting. Once its in both sides you need to pull with a little strength in order for the tube to pop off. It deffinitely stays between the two C03 fittings. This is more expensive than other alternatives. Such as the Koolance dual vid nozzels, or just using barbs. But it really does look pretty damn cool and shiny
    Last edited by adamwzl; 03-26-2010 at 04:45 AM.

  10. #85
    Registered User
    Join Date
    Aug 2009
    Posts
    588
    Thanks!

    So, there's an acrylic tube coming off the MCW60, right? and then just tygon or whatever between the cards?

    Nice. Glad it wasn't a mess

  11. #86
    Registered User
    Join Date
    Feb 2010
    Posts
    38
    Well it goes MCW60>C47>CLTAC(acrylic tube)>C47>C03(Female to Female G 1/4") then to my Single rotary 1/2" barb. For the end you can do it multiple different ways, replacing the rotary barb with other fittings that allow you to attach a fitting to go up and down.

  12. #87
    Registered User
    Join Date
    Aug 2009
    Posts
    588
    Don't get too excited, subscribers, no pictures yet.

    I'm flushing my rads, and I still smell vinegar.

    Here's the question: how clean should these be?

    I don't even think I need to clean the other ones. The first was superb. Way to go Swiftech rads!

    I just remembered I need something for all the fans that I think we still have at Micro Center....


    So tomorrow will probably be the big day.

    I'll put together some pics and make it happen.
    Last edited by Wezly; 04-27-2010 at 06:36 PM.

  13. #88
    Registered User
    Join Date
    Mar 2010
    Location
    Melbourne, Australia
    Posts
    90
    Awesome stuff, man. Those Koolance splitters are interesting, keen to see how you work em. Keep it up.

  14. #89
    Registered User
    Join Date
    Aug 2009
    Posts
    588
    Yet another hangup; had to overnight some 90 degree rotaries from PPC's because I want this thing up and crunching on the 1st to the 8th.

  15. #90
    Registered User
    Join Date
    Aug 2009
    Posts
    588
    Just a shot of some stuff I picked up before it went on sale haha:


    OH AND PROGRESS:

    Wet stuff:


    Spinning stuff:

    .... that's the title of photobucket's upload system. I hate it.
    Violently.

    imageshack:
    Not much better. Just tried to link a bunch of stuff, and, nothing....

    More tomorrow when I let photobucket upload overnight and while i'm at work for 10 hours... See ya'll in 18

  16. #91
    Xtreme Addict
    Join Date
    Feb 2010
    Location
    Wisconsin
    Posts
    1,634
    You can flush a rad with tap water?
    Signatures make my posts look huge... but I'm not humble enough to completely remove my signature, so I kept this note explaining it.

  17. #92
    Registered User
    Join Date
    Aug 2009
    Posts
    588
    That's what I read after I dumped a WHOLE BUNCH of vinegar in there haha.

    Then I used distilled like a mofo to clean the tap out.

    I didn't bother with the second rad because the first was so clean and they came from Micro Center so they are probably the same batch.

  18. #93
    Xtreme Member
    Join Date
    May 2008
    Posts
    462
    Quote Originally Posted by ScottALot View Post
    You can flush a rad with tap water?

    Sure, as long as you rinse it with distilled after.

  19. #94
    Xtreme Member
    Join Date
    Oct 2008
    Location
    O-VL, Belgium
    Posts
    364
    Quote Originally Posted by crazy1323 View Post
    Sure, as long as you rinse it with distilled after.
    that's what I do to, rinse it with hot tap water, than flush it for 'bout an hour with distilled , but letting a mcp 350 doing it for me
    Duality: Q9550 - P5Q Deluxe - 8GB OCZ - HD5850 - 4,64TB WD - HX650 - X-fi - Aquaero 4 - Lian Li V1000b II Plus @Dual loops watercooling

    Loop 1 => DDC18w w/ EK X-top V2 - EK Supreme HF - EK FC5850 - PA120.3 - Multires 150
    Loop 2 => DDC18w w/ EK X-top V2 - PA120.1 - MIPS mosfet 1&2 - mips NB - Mips Ramfreezer 4 - MIPS SB - Multires 150

  20. #95
    Registered User
    Join Date
    Aug 2009
    Posts
    588
    Oh, heyyyy


    +


    =

    Boom:


    BOOM:


    BOOM!


    So that is how I mounted the manifolds. I cut up a PCI bracket placeholder (after drilling the holes) and put screws through the bottom. You can pretty much see what I'm gonna do there, but if not, you will when it's done!

    This is the original plan I had before I could find the bracket. Take note of my temporary work desk, which was in fact the basement stairs...


    But that was too thick and dirty.

    Now, I had to order some parts to finally finish this. They showed up yesterday ($40 for overnight shipping of $50 worth of parts... totally worth it).


    It's ok little guys! Come out and play! Don't be scared! :3


    <photos class="obligatory">


    </photos>

    Here's the fun stuff. How I mounted the radiators. I dropped it down to two :<

    I think you can figure it out


    You can see how I held up the pumps is very sophisticated and patented. Don't stealz yo!


    I had to levitate a radiator....


    At this point, I realized that I no longer needed those ugly blue LED fans, but I was NOT going to remount 8 fans... not again.. no no no! So many stripped threads! The horror! That is the only issue I have with Swiftech rads... the mounting holes are like, crooked or not tapped properly, or don't line up in a square....

    This is a solution to a problem before it was immediately in front of me. It was almost like I knew what I was doing...


    That's all for nooowwwwww

    gotta get back to work

  21. #96
    Xtreme Addict
    Join Date
    Feb 2010
    Location
    Wisconsin
    Posts
    1,634
    That's BEEFY looking! I like it!
    Signatures make my posts look huge... but I'm not humble enough to completely remove my signature, so I kept this note explaining it.

  22. #97
    Registered User
    Join Date
    Aug 2009
    Posts
    588
    It is. I like it

    Thanks

  23. #98
    Registered User
    Join Date
    Mar 2010
    Location
    Melbourne, Australia
    Posts
    90
    Man, that's sick. Loving the look.

  24. #99
    Moderator
    Join Date
    Aug 2007
    Location
    Back and forth between Florida and Maine
    Posts
    4,097
    Yay - a photo update - keep 'em coming, Wezly. Looking good so far.

  25. #100
    Registered User
    Join Date
    Aug 2009
    Posts
    588
    It's actually finished, but it doesn't count til it's overclocked.

    Stuck at 144 :C

    SO NO MOAR PICTURES

    (yet)

Page 4 of 6 FirstFirst 123456 LastLast

Bookmarks

Bookmarks

Posting Permissions

  • You may not post new threads
  • You may not post replies
  • You may not post attachments
  • You may not edit your posts
  •