

that looks stunning.
I don't know ho started the cap grinding thing you or Fhantastic but I like it it looks very clean
keep it up


that looks stunning.
I don't know ho started the cap grinding thing you or Fhantastic but I like it it looks very clean
keep it up
asus p6t7 ws supercomputer
i7 920 D0
5870
Corsair Triple3X Dominator 6GB DDR3-1866 CL9 triple kit
Corsair HX1000W
windows 7
lian li pc x2000 window edition
watercooling
http://www.xtremesystems.org/forums/...d.php?t=236704
inTel Core i7, Caterpillar EditionOriginally Posted by Xien16

This looks great! Rivals many a watercooling worklog!
MOAR!!!
-TadZilla
Just a 775
Fhantastic told me that it would be great to grind the caps
Fortunately I only had to clean them with "nail lacquer remover"
The only thing I wasn't able to clean is the white writing on the pcb
Something new:
(sorry - dust, bad light, bad focus - but it was the best...)
(for painting it was just too cold that day)
Hope you like it anyway
Last edited by Xien16; 02-03-2010 at 10:13 AM.
superb work
I didn't paint the RAM new till now...
But I built a totally new ODD-cover:

Last edited by Xien16; 02-09-2010 at 02:39 PM.
wow talk about details... superb work!
I think the bigest problem was to fix the HDD-case down there.
The space between front and MB-tray is exactly the breadth of that case
At the backside I had to mill off some aluminium that I can close the side wall...
And I have to follow this order:
- case feet
- floor cover
- HDD-case
- frontfan
- ODD cover
Last edited by Xien16; 02-09-2010 at 03:21 PM.

nice xien wonder if my build can look as good
to bad i cant put an after market cooler on my tri corsair doms
My build is taking way to long
Quotes
dasickninja
Sweet merciful God... and it survived? Those parts are either Jesus or Juggernaut.
TRUE Lapped - Intel Core i7 2600k 4,7Ghz - ASRock P67 Extreme4 Gen3 - Nvidia GTX 1080 FE - 16Gb Crucial 2133 Mhz CL9 1,51v - Crucial M4 256Gb - Crucial MX300 1050Gb - Corsair AX850 - Fractal Define R3
Me, too
I did some "Cablework"

Sbav...
TRUE Lapped - Intel Core i7 2600k 4,7Ghz - ASRock P67 Extreme4 Gen3 - Nvidia GTX 1080 FE - 16Gb Crucial 2133 Mhz CL9 1,51v - Crucial M4 256Gb - Crucial MX300 1050Gb - Corsair AX850 - Fractal Define R3
damn nice cable-ing
i would love to see a manufacturer like asus adding some sort of addon motherboard pcb like this in the future
Another TJ-07 Builder
Worklog Pending
The problem is that everyone would need this thing different...
I also could have milled it at school with a milling machine but I was to impatient and so I did it myself
![Send a message via ICQ to =[PULSAR]=](images/misc/im_icq.gif)
![Send a message via MSN to =[PULSAR]=](images/misc/im_msn.gif)
![Send a message via Skype™ to =[PULSAR]=](images/misc/im_skype.gif)
Nice work Xien I really like the cabling idea, less cable clutter.
curious how this will turn out... nice job mate!
Replaced the MB-Pins with screws:
And the cabling goes on:
With the case:
Connecror for power LED/switch, HDD LED, reset switch and one fan:
USB-connectors:
Adjustable LED power with switching signal:

Last edited by Xien16; 02-15-2010 at 01:07 AM.
Awesome job.... waiting for more pics
Q6600@3ghz
MSI g31tm-p21
XfX HD5770 1024mb gddr5
2x2gb ddr2@834mhz markvision
hitachi 250gb sata II+ hitachi 500gb sata II
Delux 450w PSU
Homemade Watercooling on CPU
OK - today something special:
With more light:

epic
"Cast off your fear. Look forward. Never stand still, retreat and you will age. Hesitate and you will die. SHOUT! My name is "
//James
I know it's been said, but that mesh work is truly amazing. I've attempted to do some mesh work myself and it is so unforgiving. Keep up the great work.
Thanks
Mesh is not the easiest thing to work with but it is manageable
New cam and the old M42 lenses of my dad are just awesom

Looks great, keep it going
The frontfan is plugged in:
The bios reset is also accessible:
SATA:
Macrorings are just perfect for my old lenses

Last edited by Xien16; 02-21-2010 at 04:03 AM.

so all your cables will be on the other side of the motherboard?
Not all...
MB-ATX and the PCIe cables are at the front as you can see in the 4th picture
Some macros of my LED-distributor

 Posting Permissions


 Reply With Quote
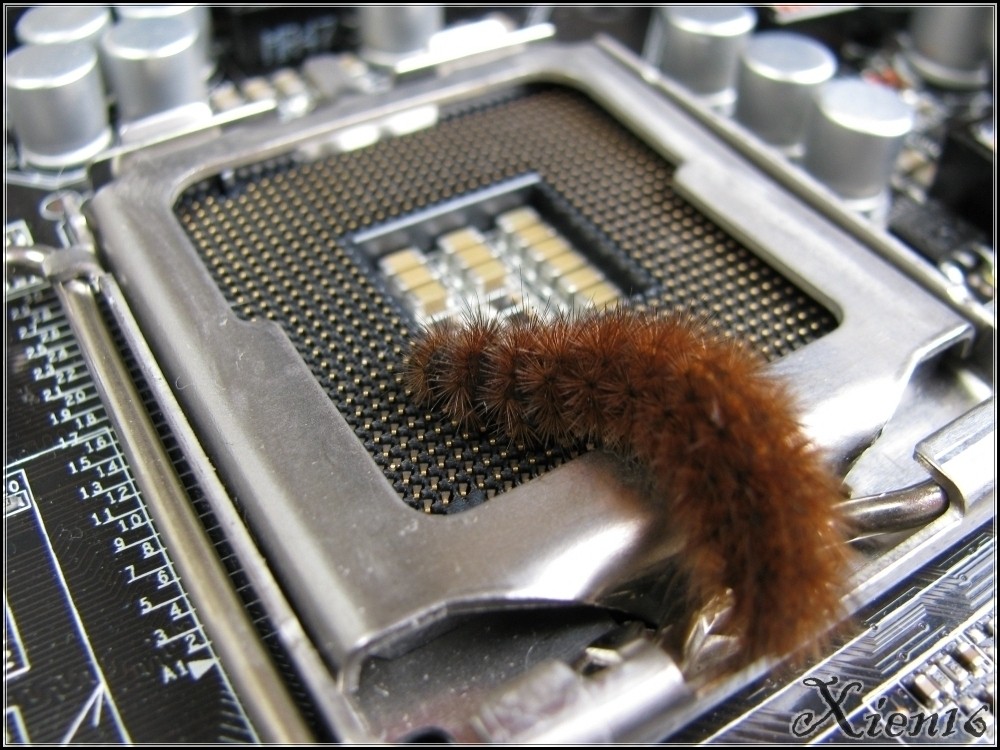


Bookmarks