-
It is built!!
After a last minute push to make the contest stage 2 deadline, it is built! 
I will call it: "White dwarf"
A star that has blown off its outer excess mass, leaving only a very dense white-blue colored core.
Likewise, my case design is devoid of all the bulk of regular computer cases,
only leaving behind the dense powerful components packaged into a small volume,
but with sufficient cooling to prevent it from going "supernova". 
Quiet white LED fans gently let its presence be known.
I didn't have time before the deadline to apply some vinyl or paint as I would have liked,
but I did get the case finished to showcase my design concept and all of the components.
If I make it to the next stage, I will definitely add the vinyl for my primary sponsors.
Here is the case as it sits under the HDTV now,
the front fans are 120mm fans, so you can see how small of a profile this computer is.
Remember this system crams in a:
ASUS P7P55 Premium ATX motherboard;
ASUS GTX 260 GL+ video card (~11" long);
Antec Quattro 850W ATX power supply;
Swiftech complete watercooling system
(XT CPU block, Komodo GPU Full cover block, MCR220 240mm Radiator with 4x 120mm fans in push-pull configuration, MCP350 pump with EK acrylic top, and MCRES reservoir),
8x 128GB 2.5" SSD drives (one sponsored from Samsung):
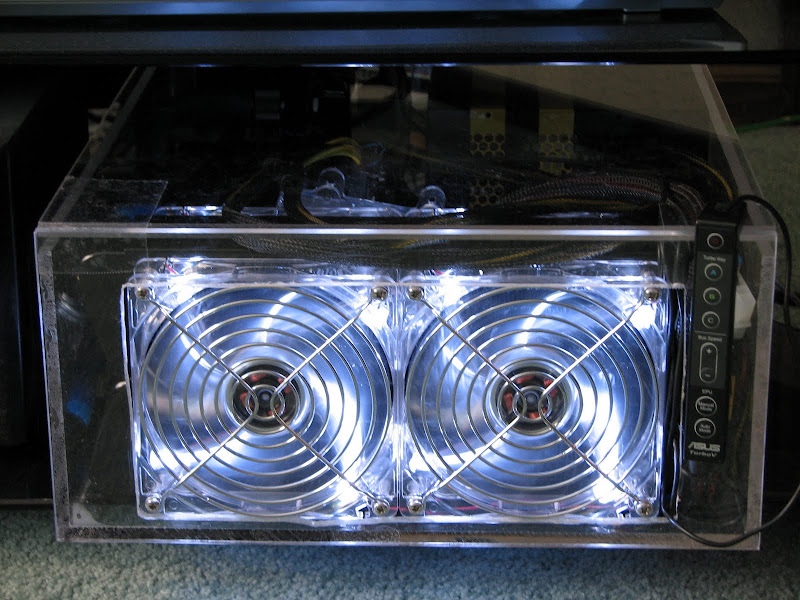
No need for any external buttons!-
The ASUS TurboV Remote hanging on the upper right corner of the case can:
Power on the computer,
Choose one of three user-selectable overclocking presets (or underclocking for power savings),
Adjust Bclk (bus speed/base clock frequency),
and choose EPU mode (for power savings or maximum power for overclock)
3/4 view sitting on my desk/test area:
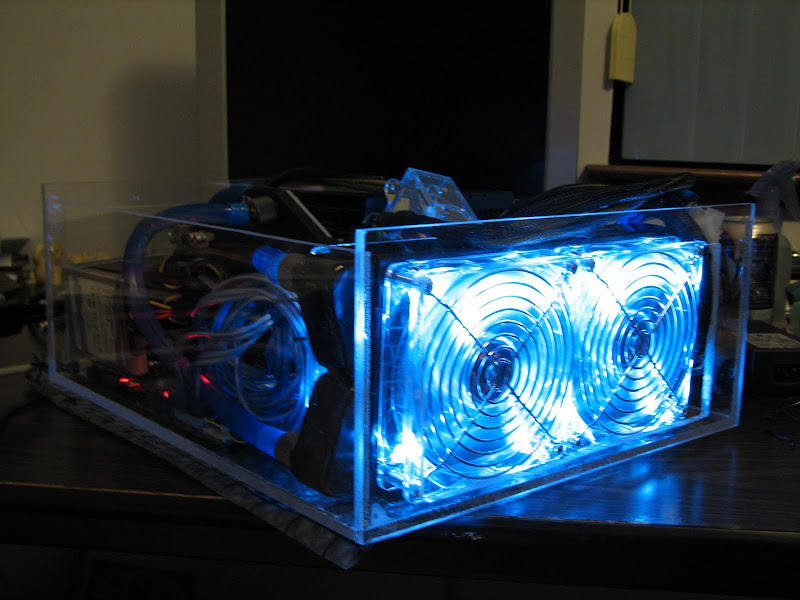
I'm not sure why the LED fans turned out Blue in this picture (maybe white balance?),
they are actually 120mm white LED fans..
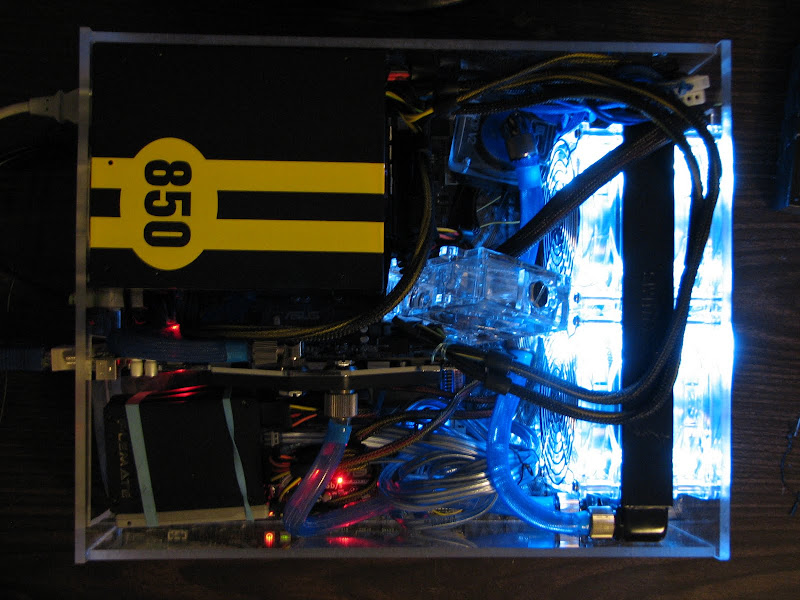
Top view of the packaging of the components:
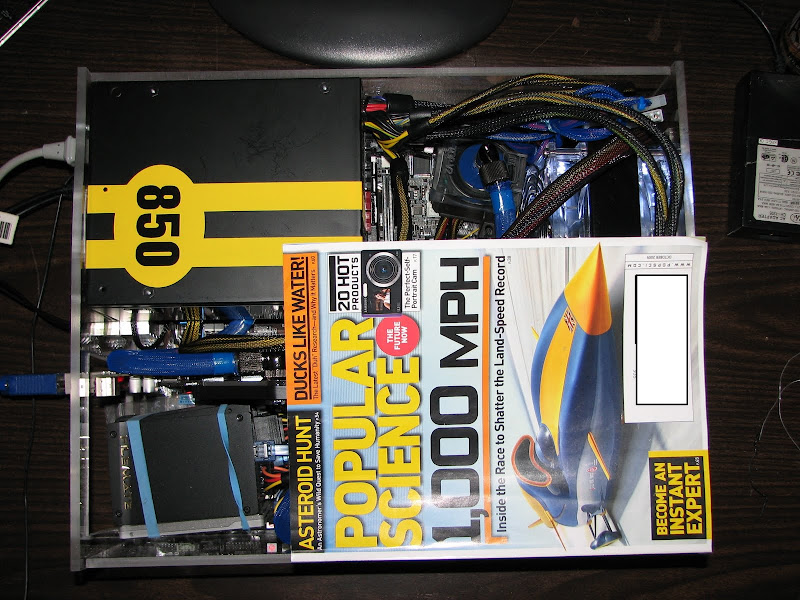
Top view of the relative size/scale of the case,
with your typical size magazine on top of the case-
Side view of the relative size/scale of the case,
with your typical 5.25" Bay DVD-ROM drive in front of the case-
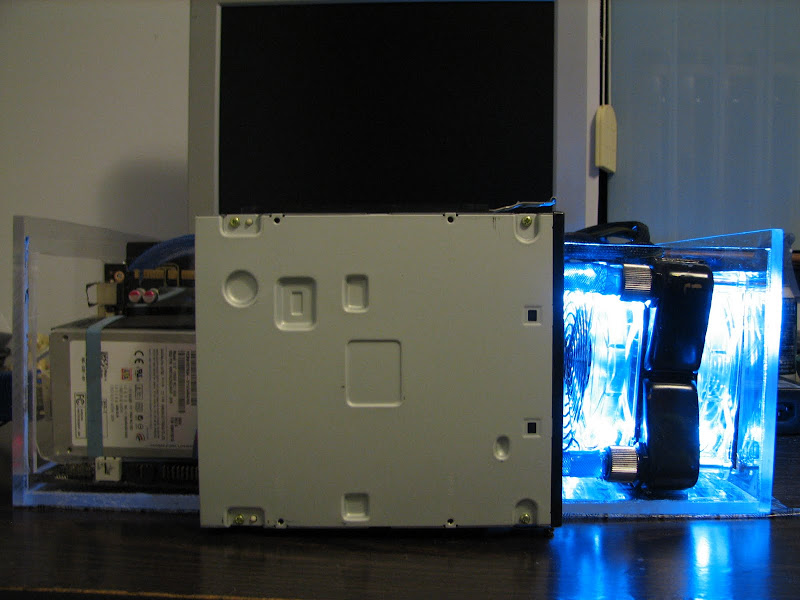
This picture shows how tight the actual packaging is in some places,
here is a shot of (left to right)
MCP350 water cooling pump,
the G.Skill DDR3-2133 memory & sockets,
850W PSU,
ASUS Blue and Chrome CPU VRM heatsinks,
and the G.Skill 40mm memory kit LED fan that I moved to be on top of the VRM heatsinks to keep them cool.
The tube going from left to right feeds directly into the Swiftech Apogee XT CPU waterblock.
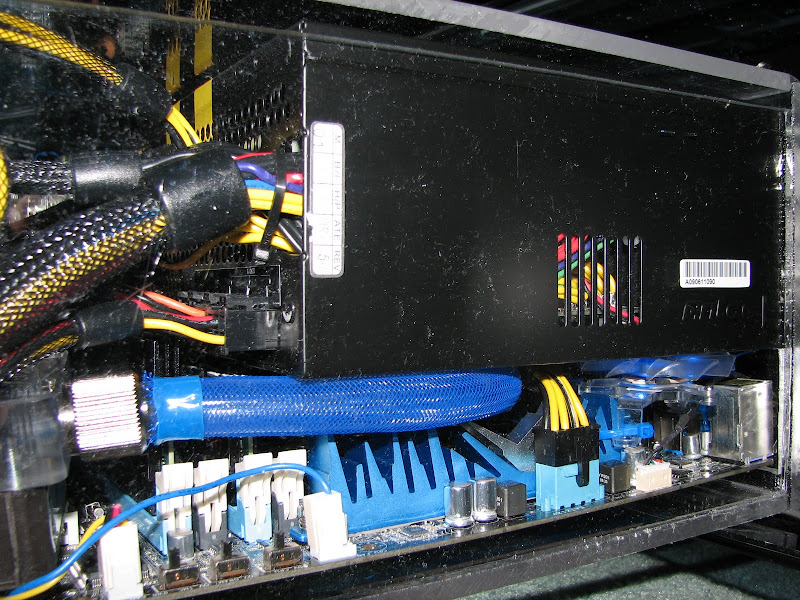
I'm actually kind of disappointed that you can't see the Swiftech Apogee XT block, that thing is dead sexy looking.
But at least you can still see the nice blue and chrome ASUS VRM heatsinks on the P7P55D Premium motherboard.
The PSU fits so tight on there, it actually sits on top of the 90 degree compression fittings coming out of the CPU water block.
Its a bit hard to see in the previous picture, but look where the modular cables come out, and look at the G.Skill heatsinks.
A bit of interference there, since the G.Skill heatsinks are kind of tall...
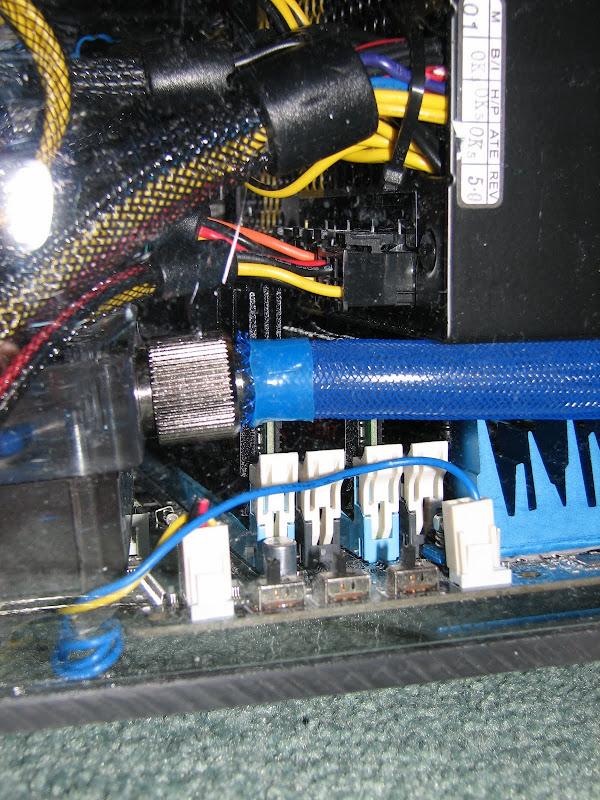
So yeah, had to do some "modifications" to be able to use some of those PSU modular connectors.
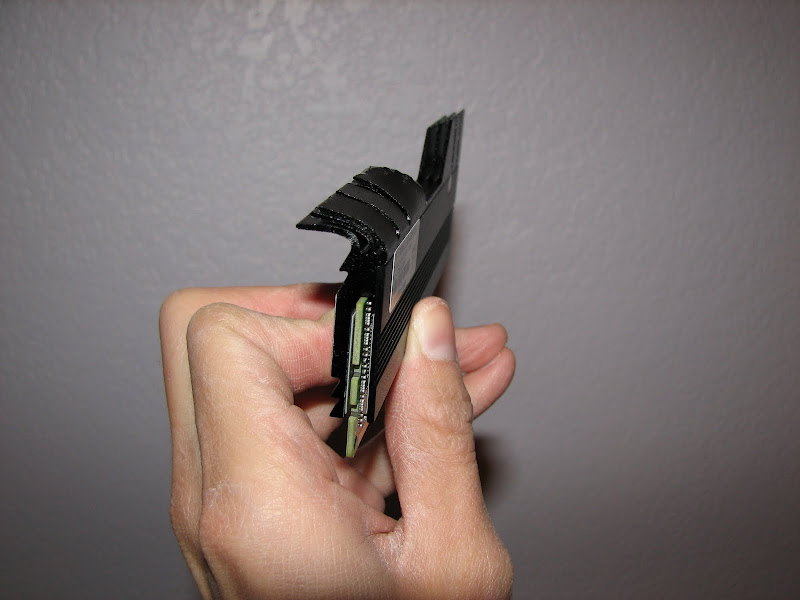
It fits as shown...
but I actually ended up just cutting those extra fins off, although I don't have a picture of that.
Some pictures of the acrylic case during fabrication,
here is gluing the sides onto the front faceplate/radiator intake fan area:
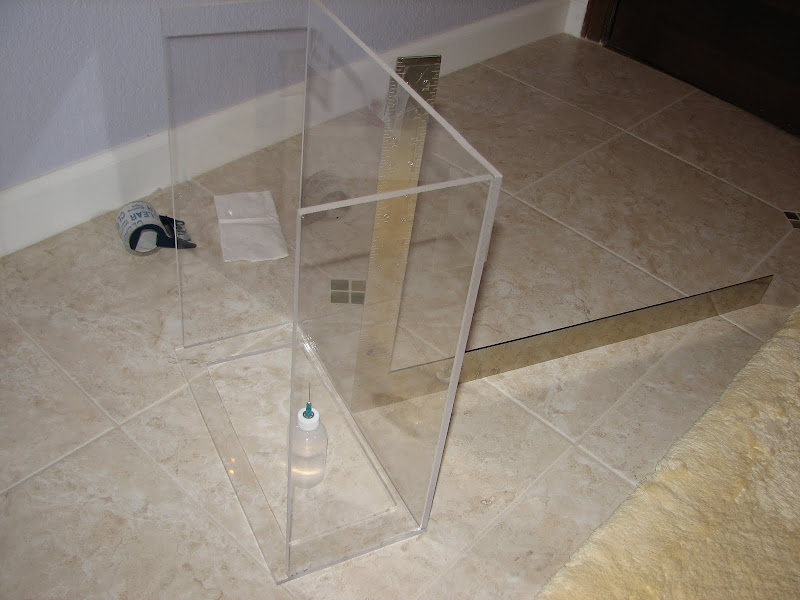
I used liquid Acrylic cement, which is actually a solvent that melts and fuses the acrylic pieces together.
This cement makes for joints that are as strong as the base material,
but you do need to make sure your edges fit together without very large gaps.
Thanks to the guys at TAP plastics for giving me some pointers on acrylic fabrication.
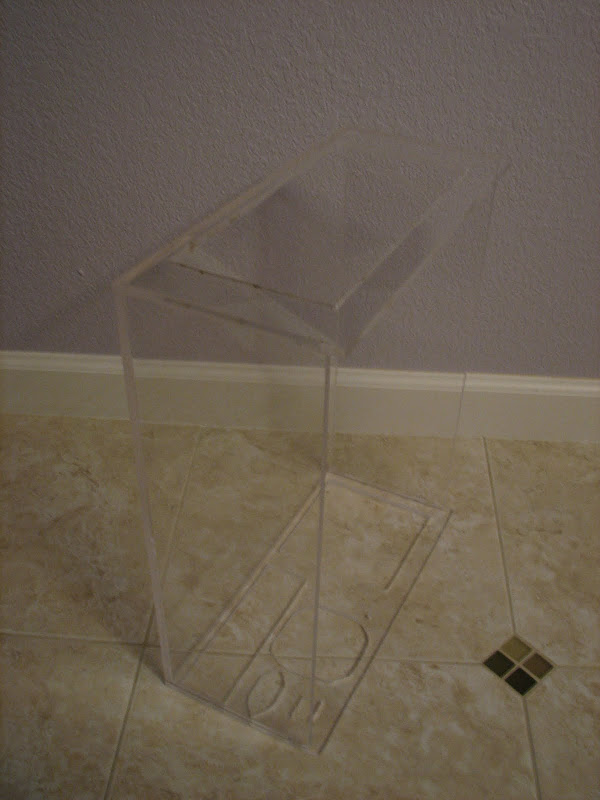
Cementing the rear plate (sitting on the floor) onto the rest of the pieces,
note the cutouts for the I/O panel, expansion cards, and PSU exhaust fan, power cord, and power switch.
Last edited by zads; 12-27-2009 at 04:02 PM.
Tags for this Thread
 Posting Permissions
- You may not post new threads
- You may not post replies
- You may not post attachments
- You may not edit your posts
-
Forum Rules


 Reply With Quote
Bookmarks