

Arent they quite restrictive?Originally Posted by woffen


Arent they quite restrictive?
Love the pump mounting.....
Does that comes standard with the case?
They seem almost the same inner diameter as the 1/2" Tygon, so seem great. Nice smoth bend inside too.
The bracket comes with the pump, and then it's bolted to the hard drive bay. So you loose the hard drive mountings down there, but you also get 4 s-ata hot swap bays next up accessable from the front where I'll put my two hard drives.
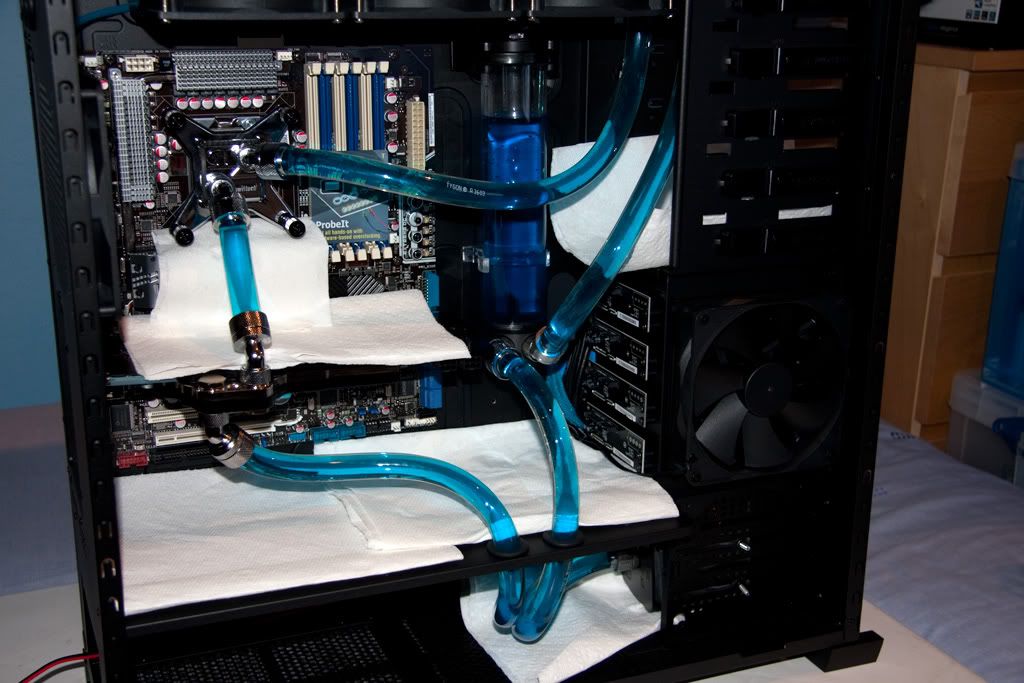
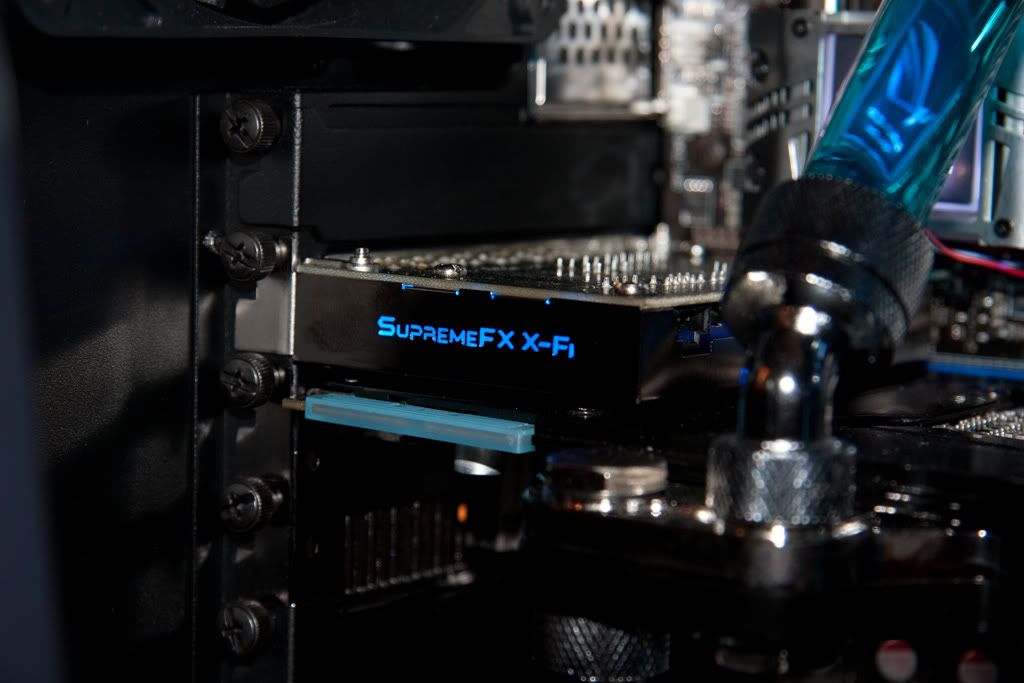
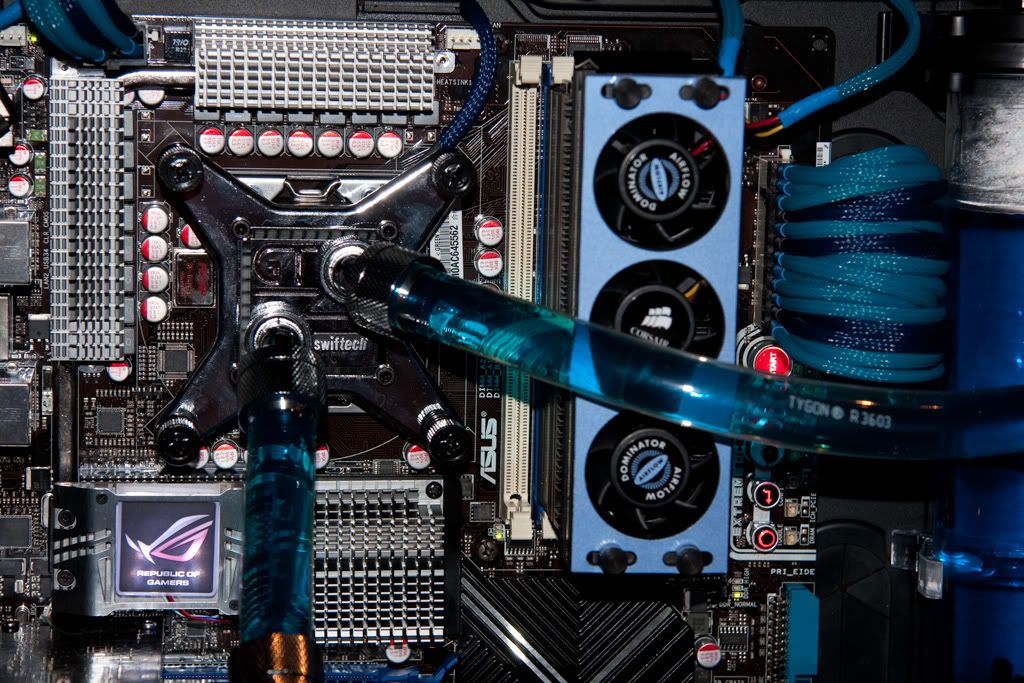
So I've been advised on another forum that I'm not making the best use of the parts I have with regard to the loop order.
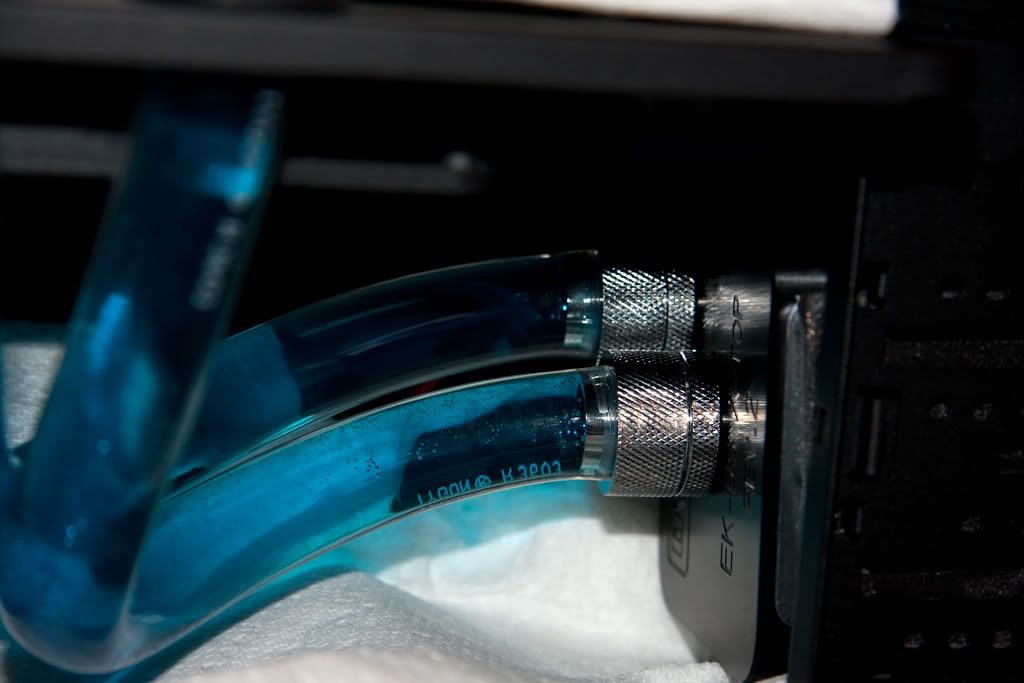
It's been suggested to get the EK X-top for the pump I have to allow me to have the inlet and outlet on the same direction rather than going out and behind the case side.
Then it will let me have the loop running res > pump > gfx block > cpu block > rad > res using the top inlet of the EK res as the inlet.
Will let me know the water is flowing by sight seeing the water flowing into the res from the top will be a bonus. Will shorten the loop itself also, and I'll not have to worry about squashing the pipe next to the case side (even tho it seems to be ok).
So leak testing has halted until the X-Top arrives and I can change the loop around. Shold still look as clean as it does now I think so the only main difference is the water hits the gfx before the cpu which I hope is ok.
The EK top does offer better performance, but I don't see anything wrong with the way you have it setup. As long as the tubing doesn't get kinked, you will be ok.
Also, you will know if water is moving by looking in that res. Also, setup your BIOS so that it shuts your comp down if it overheats and you won't have to worry about the pump failing and killing your components.
Project Millertime: The Core I5 build
Crunching/folding box on air: AMD Athlon X2 7750 Black Edition; Sapphire Radeon HD 4830; Gigabyte MA78GM-US2H; Lian Li PC-V351; Windows 7 RC
im in love with that case. nice build so far
e8500 c0 - 4275MHz - 1,344 vCore
DFI UT P45-T2RS
4x1gb D9GMH
Ati HD4870
Modded HAF 932
Watercooled:
Heatkiller v3.0 cu - D-tek Fuzion GFX 2 - PA120.1 - PA120.2 - PA120.4
Quick update...
I've now got the EK pump kit for the MCP655, and also the rest of the cable sleeving from MDPC-X. So I'll get some work done on the piping and see how far I get with the rest of it. Hopefully some more pictures tomorrow or Sunday.
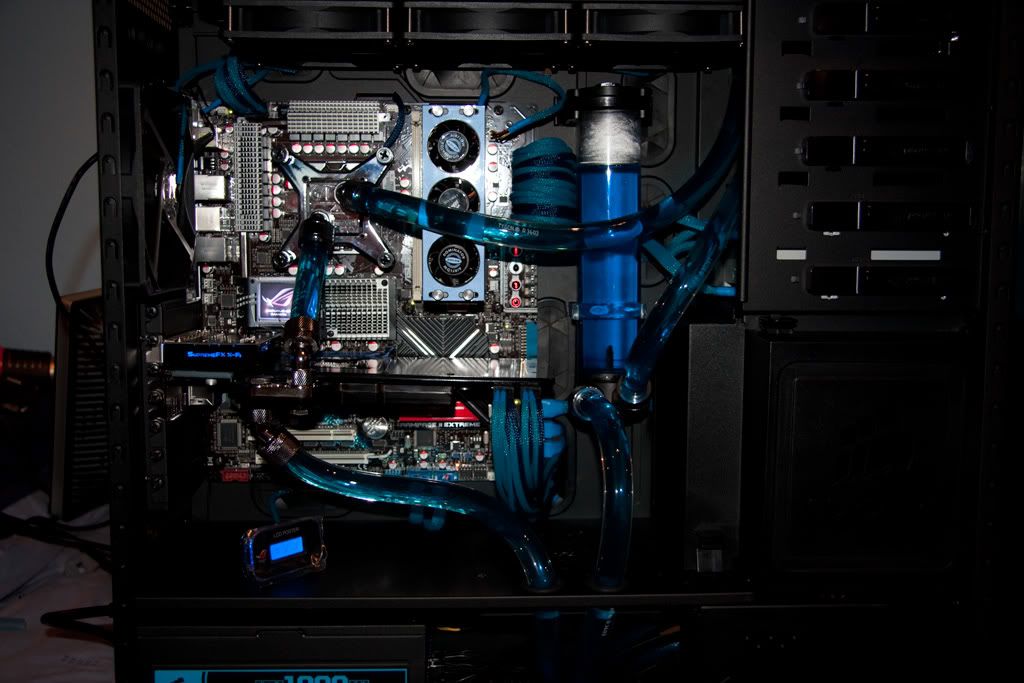
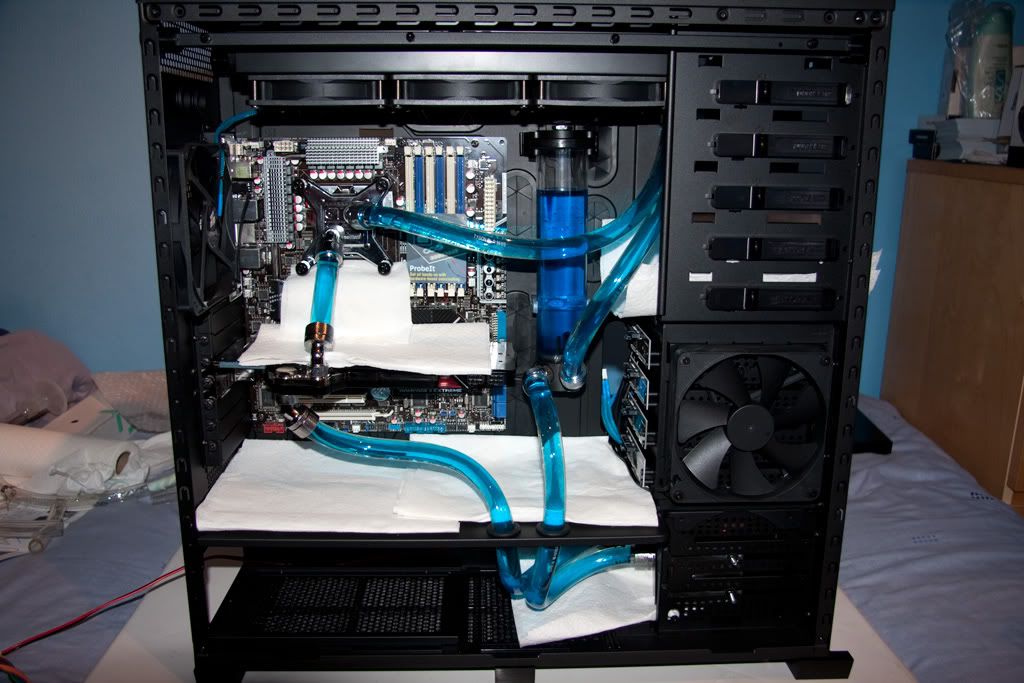
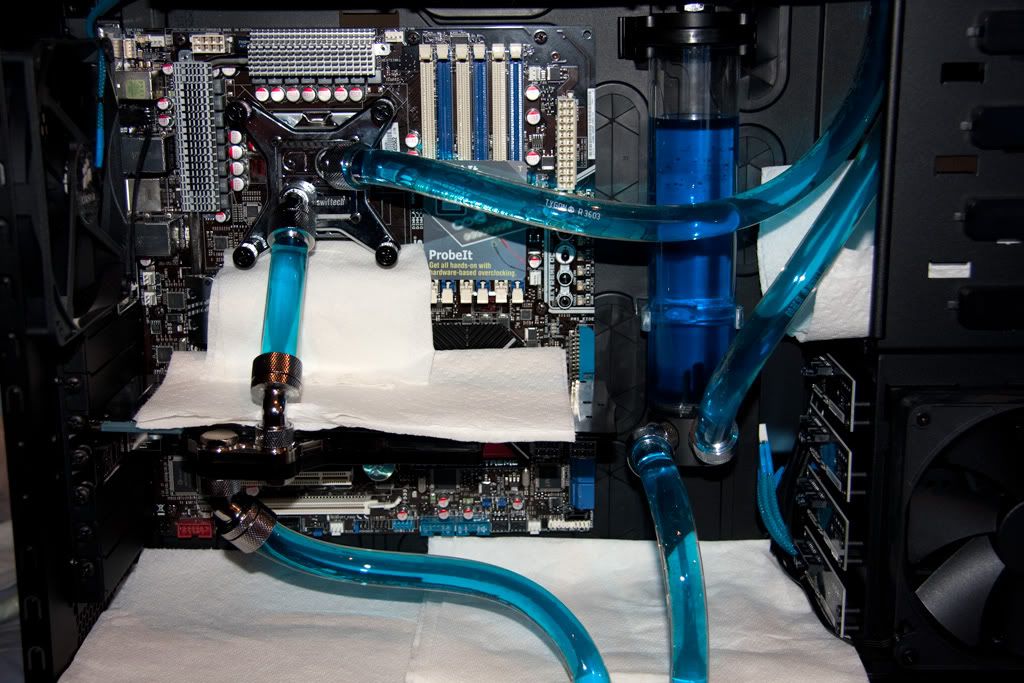
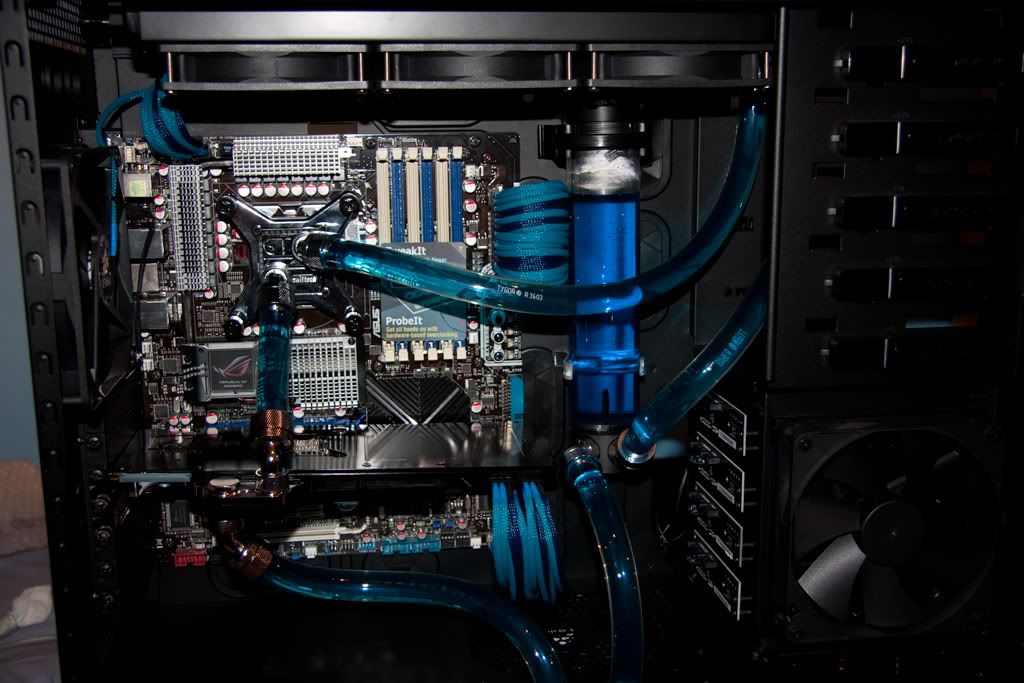
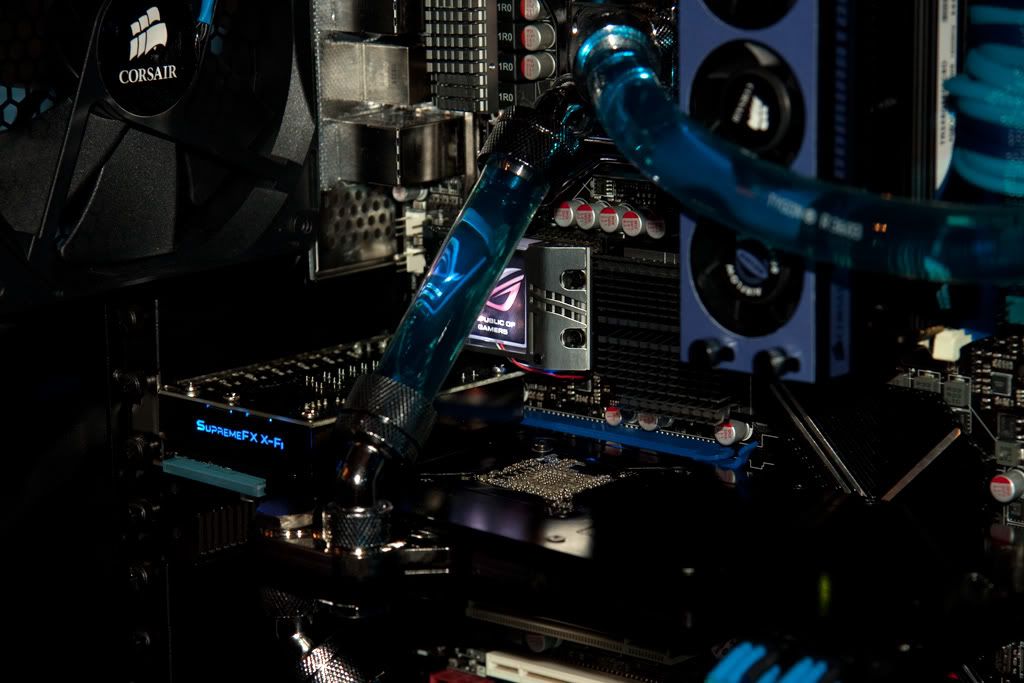
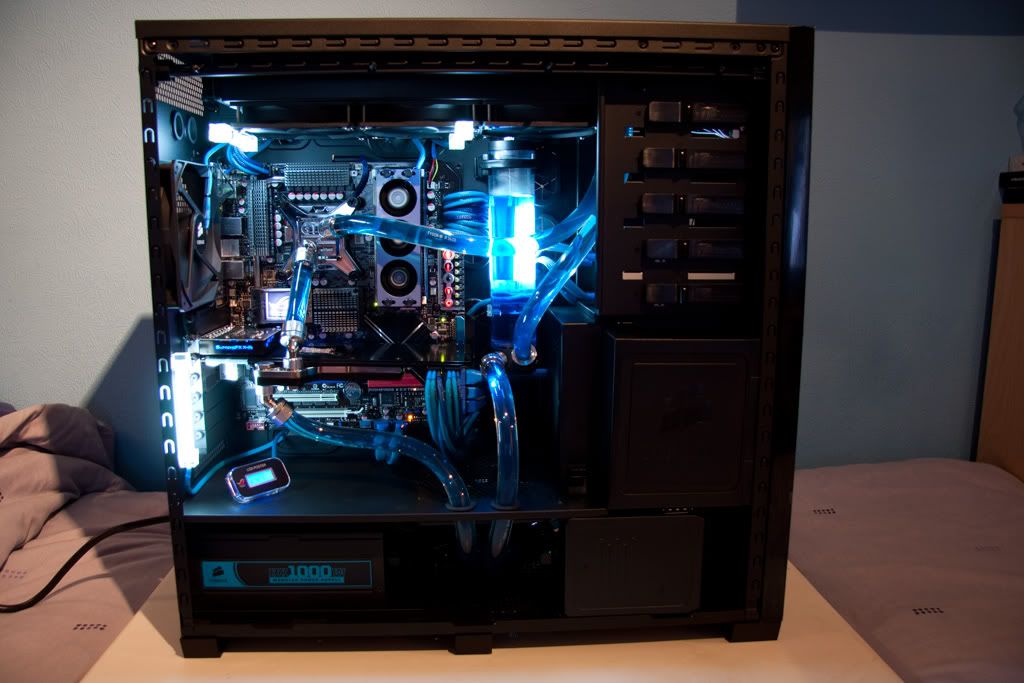
Right, new piccies!
I've fitted the EK Pump kit which allows you to have the inlet and outlet on the same direction. Basically lets me use both of the pre-fitted grommits in the middle case floor instead of having that long pipe up the back side of the motherboard tray.
I did try the layout suggested above, having the radiator go back to the res top inlet, but I was just getting too many bubbles from the water dropping back in and the pump was just pushing froth around the loop. Also the pipe from the res down to the pump wasn't great and at the point of kinking.
So after draining it all for the 2nd time, and a couple of pipe changes later we have this:
Last edited by Nem; 02-24-2010 at 05:31 AM.
The way you originally did it looked alot cleaner. The long run of tube wouldn't have been a big deal. The biggest concern would have been a kink or a cut.
Project Millertime: The Core I5 build
Crunching/folding box on air: AMD Athlon X2 7750 Black Edition; Sapphire Radeon HD 4830; Gigabyte MA78GM-US2H; Lian Li PC-V351; Windows 7 RC
Please post your temps (stock&OC) as soon as you have this baby up and running! I'm thinking of building a system like yours, but I wonder if a single 360mm is enough to keep temps down.
Dutch techies visit www.geekswarm.nl
Hardware: Antec P180b | Corsair HX850W | MSI P55-GD65 | Core i7 860 | 2*2GB Corsair Dominator PC12800 CL7 | Sapphire HD5870 + XFX HD5870 | OCZ Vertex 2 120GB|WD Caviar Black 1TB
Cooling: Swiftech MCP355 + XSPC ResTop | ThermoChill Pa120.2 & TFC X-changer 120 | Swiftech Apogee XT | EK-FC5870 Acetal+Nickel | Tygon 3603 |Feser Ultra Pure + Corrosion blocker | 6*Scythe S-Flex F @ Scythe Kaze Master Ace
Bench: DimasTech Easy 2.5 | MSI-P67A-GD65 | Intel Core i7 2600K | 2*4GB Corsair Vengeance PC12800 CL8 | 2* MSI R6950 CFX
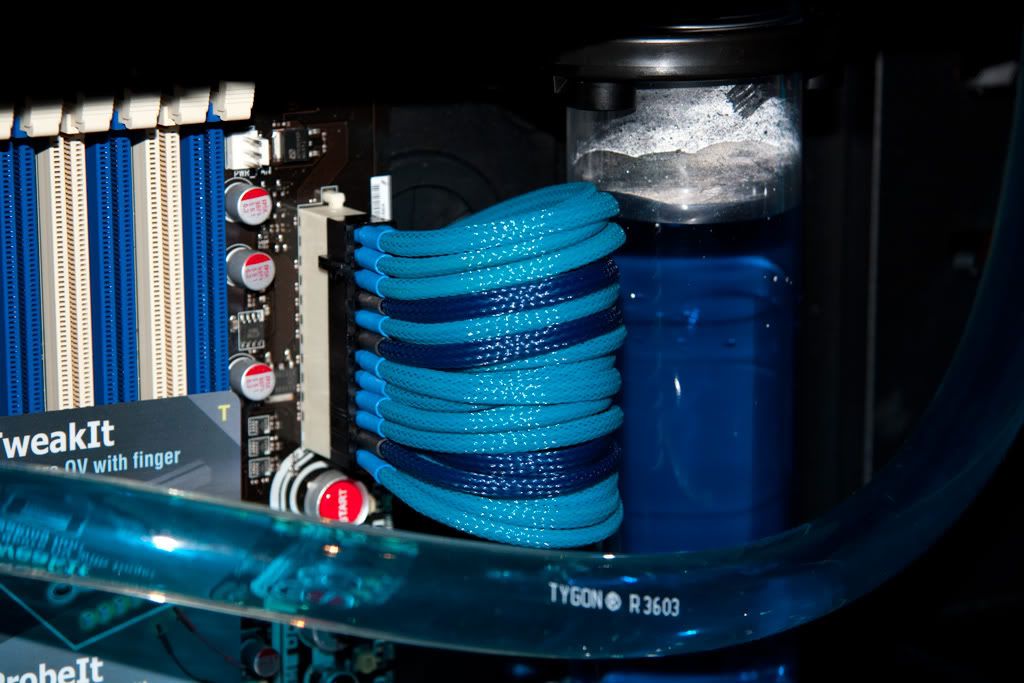
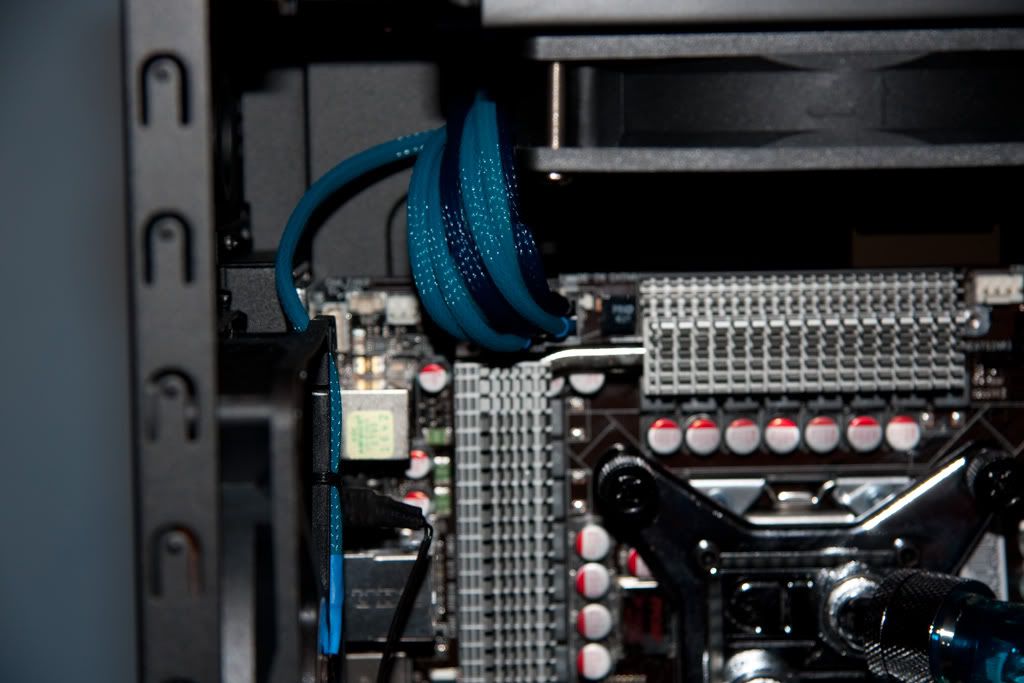
The blue looks nice, very clean.
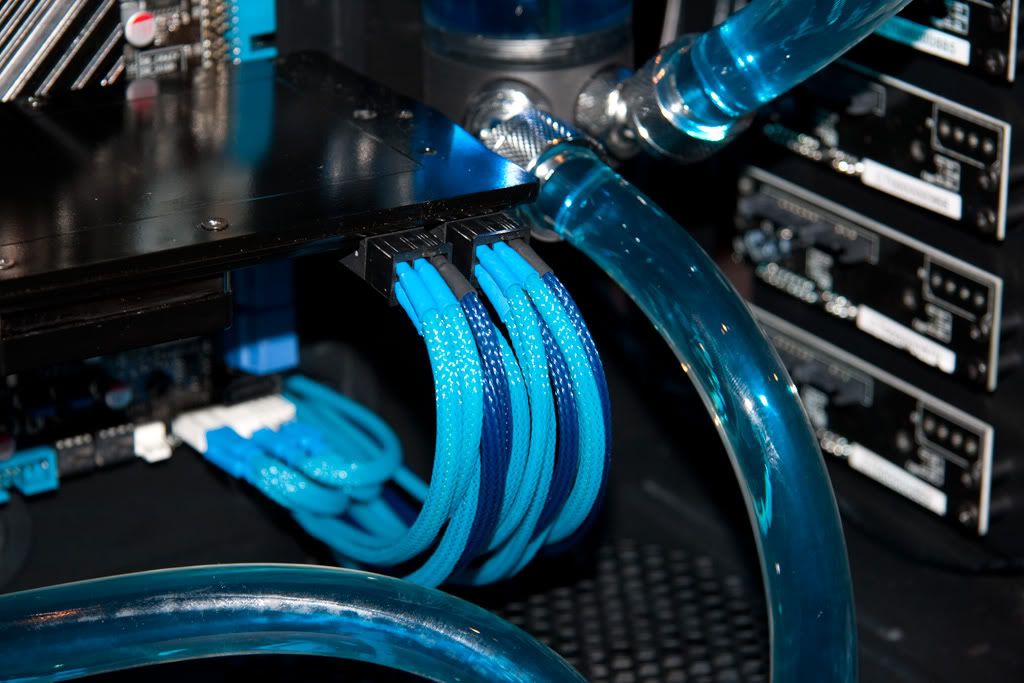
Next stage now complete. 24 / 8 and two 6 pin psu extention cables sleved and heatshrinked!
Tomorrow should see psu fitted along with fan / temp bay panel, optical drives and possible even get to boot it up!
Last edited by Nem; 02-24-2010 at 05:32 AM.
Nice job with that sleeving.is that a mix of Nil's aqua blue and royal blue?
Project Millertime: The Core I5 build
Crunching/folding box on air: AMD Athlon X2 7750 Black Edition; Sapphire Radeon HD 4830; Gigabyte MA78GM-US2H; Lian Li PC-V351; Windows 7 RC
Certainly isMDPC-X Aqua and Grande Bleu.
It completes very beautifully!
It is while I still have XSPC480+XSPC240 as a case.
http://bbs.kakaku.com/bbs/-/SortID=10440975/?s1
http://bbs.kakaku.com/bbs/-/SortID=1...mageID=477481/
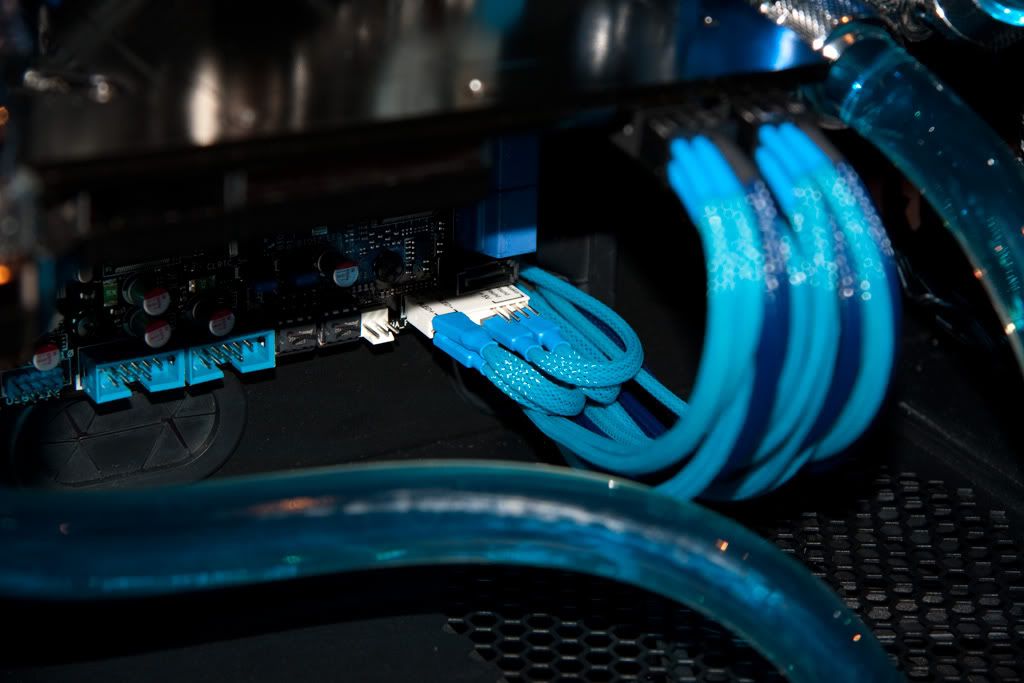
So latest news is that the psu was installed last night, along with the optical drives, sleeved the s-ata data and power cables and installed them also. All that is left now is to pop in the memory and cpu and then connect all the wires currently hanging out the backjust need to decide if I can make it all tidy or to just connect it all and put the side on and not open it again, lol!
Will update with pics this evening!
Nice sleeving job, Nem. I like the colors.
Project:
[sigpic][/sigpic]
That Grande Bleu is really nice looking. I was debating about getting some myself, but decided to just stay all black.
Coming along nice. Looking forward to more photos.
Project Millertime: The Core I5 build
Crunching/folding box on air: AMD Athlon X2 7750 Black Edition; Sapphire Radeon HD 4830; Gigabyte MA78GM-US2H; Lian Li PC-V351; Windows 7 RC
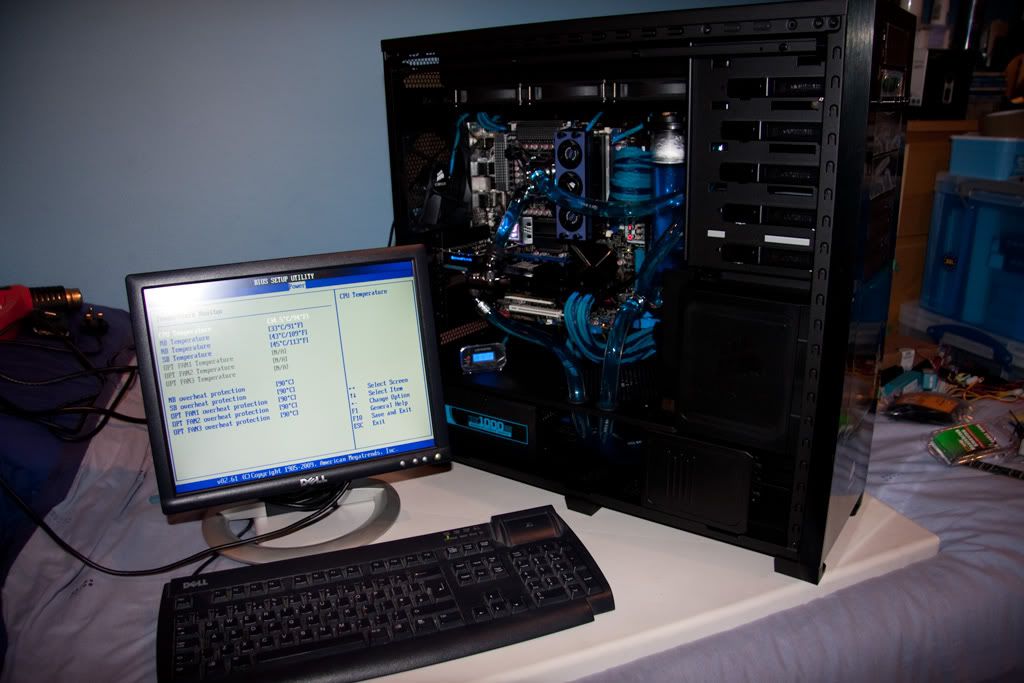
Well after a long evening, it lives!
That cpu temp was after it had been sat in the bios for about 15 minutes, after an hour it was at 38DegC, but I've yet no idea if thats good or bad?
I've still got a lot to do yet, but couldn't wait to get it turned on and make sure it was all going ok so far
Job list looks like this:
Resleeve the power cable for the RAM cooler unit,
Spray paint the cases of the DVD drives black,
Try somehow to make the 24 pin cable look tidier,
Then I've got some white strip cathodes I'm hoping to fit in somehow, I want some basic white light in there, but not too much, and not so that you can see the light source at all. The cathode wires are already sleeved so they just need placing when I can work out where. I definitely need one to light up the res
I'm also thinking of some sort of support for the gfx card, it's definitely bending over at the front end, just some sort of thin metal tube to wedge from one of the power connectors to the middle case floor to prop it up will do I think.
I'm also looking again at fans, I've found a lovely fan for the case rear but it's only in 120mm and not 140mm as is now. There are holes to fit a 120mm fan in that place, but I'm not sure of the effect of the smaller fan. The current 140mm one is sat at 900rpm and really doesn't feel like it's doing that much. Also the fans on the rad were meant to be the 1900rpm ones, but I got sent the 1200rpm version instead, and I didn't notice on the packets untill after I'd sleeved them all, doh!
Anyway, after a few more bits sorted I'll get some more, and maybe final, pics up in a few days time.
Last edited by Nem; 02-24-2010 at 05:33 AM.
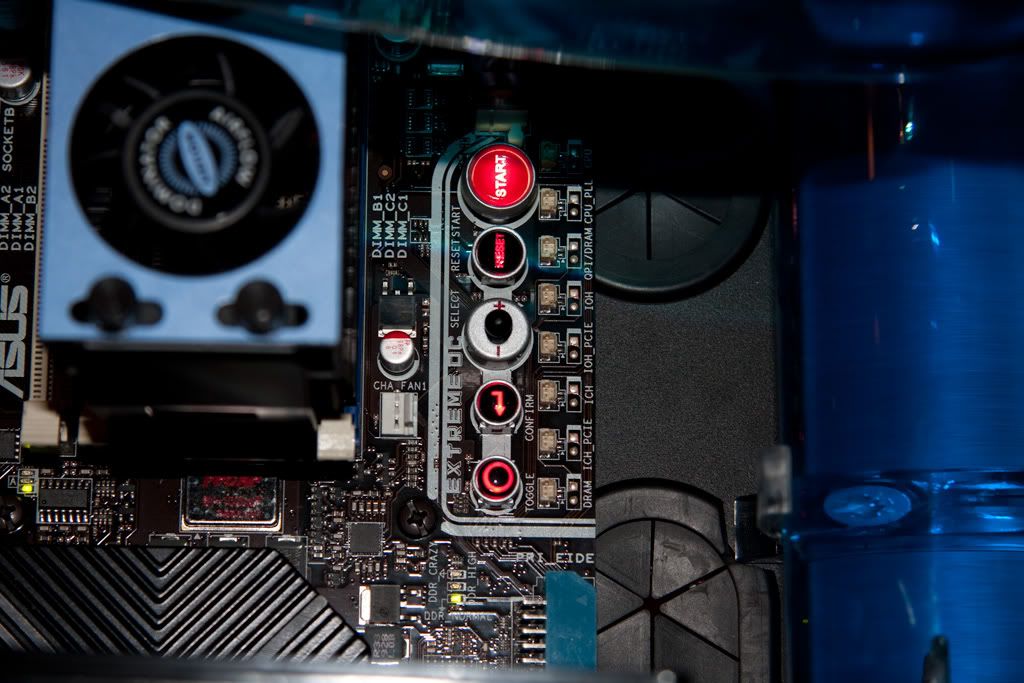
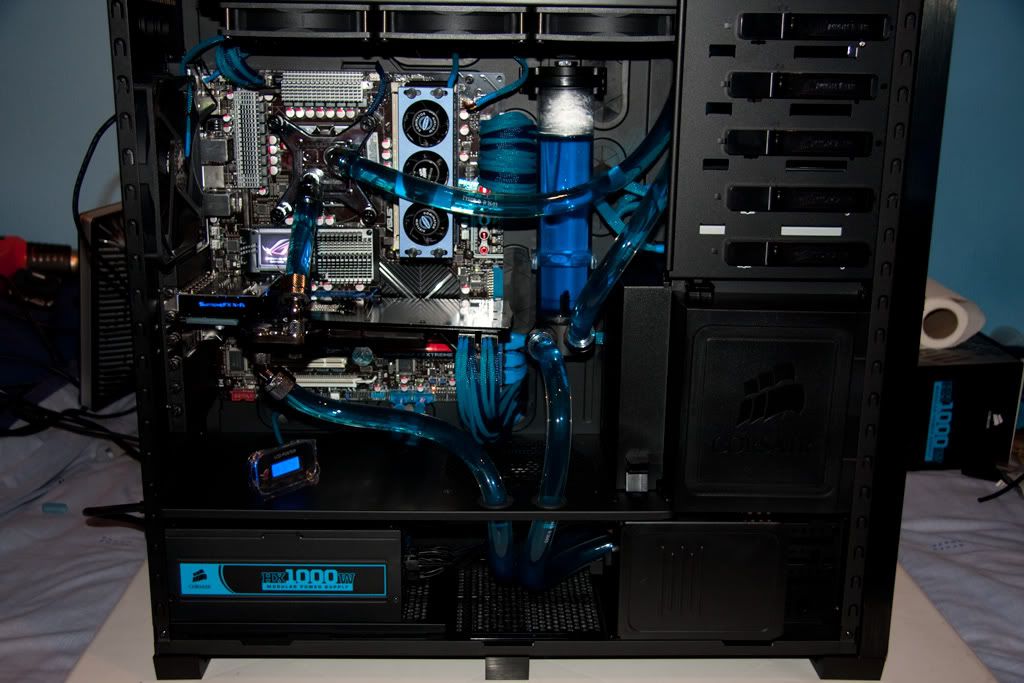
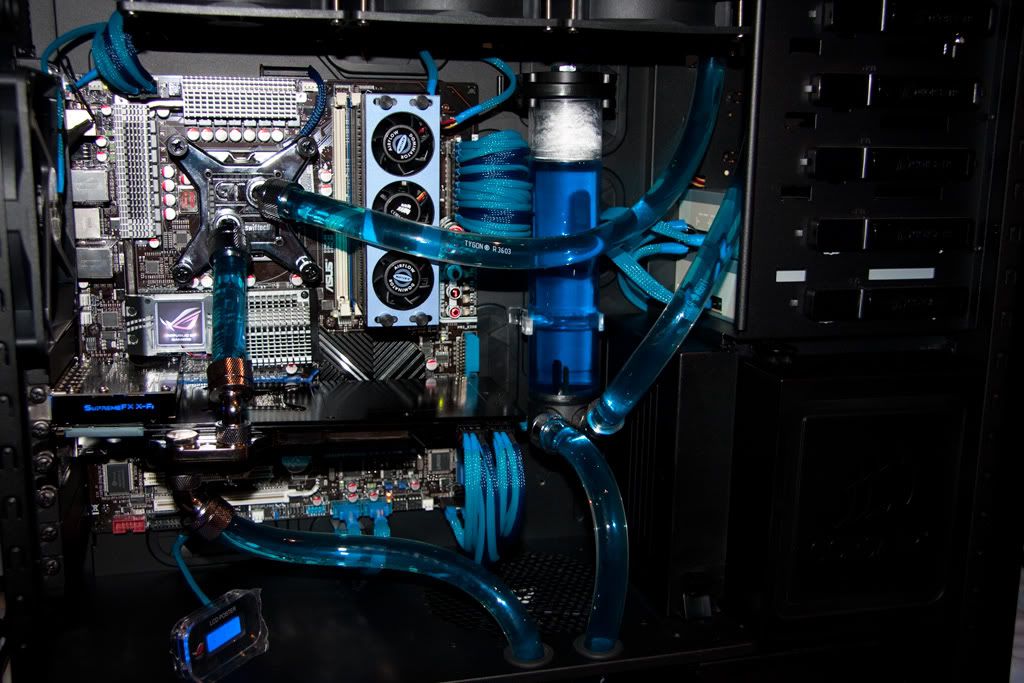
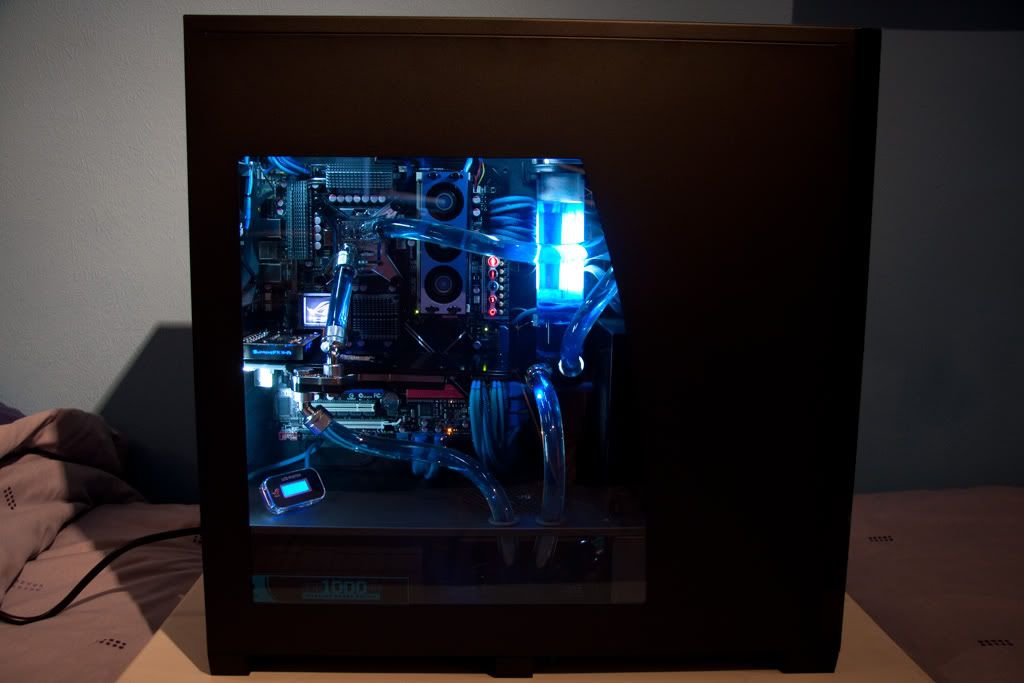
Decided to do a couple more pics...
Last edited by Nem; 02-24-2010 at 05:33 AM.
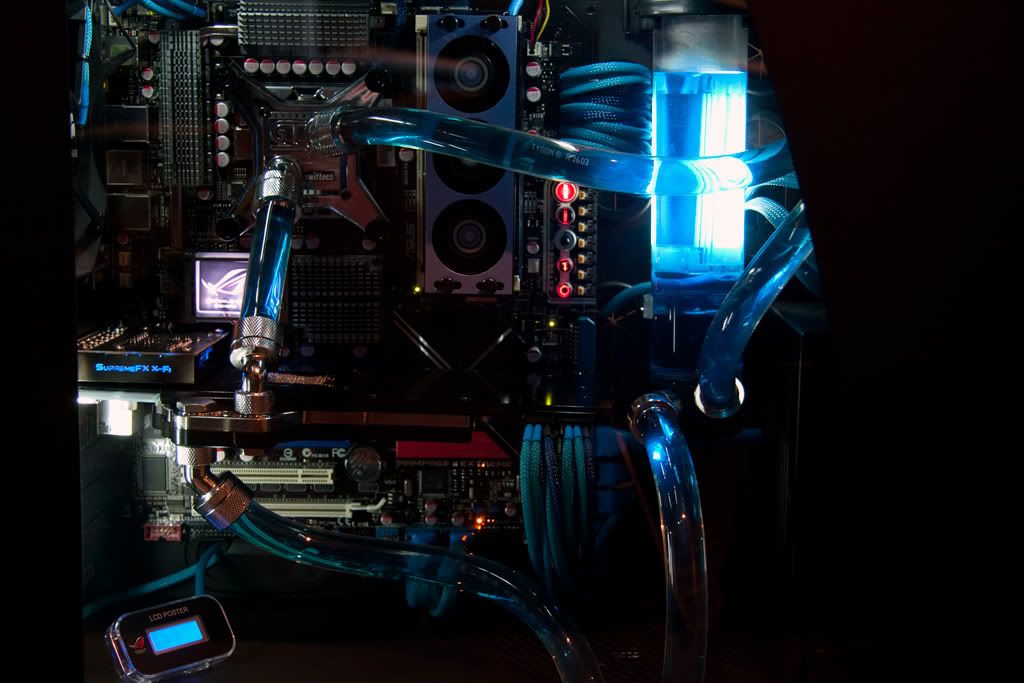
Think I've sorted the lighting out. Decided to ditch the 30cm cathodes as they definitely put out too much light. Instead I've used all 4 of the 10cm ones, one mounted vertically behind the res, one at the bottom lower rear of the case mounted vertically next to the expansion slot screws, and the other two fixed across the case to the fans on the radiator...
Thoughts?
The only thing I'm thinking is the one behind the res is too much, and possibly needs to be an LED plus in the bottom res socket to shine up into the liquid?
Last edited by Nem; 02-24-2010 at 05:34 AM.
no Uv lights?
Love the coolant colour, I also think the tubing routing is very decent. Great job!
And wow @ the monitor size compared to the case!
Edit: your lighting is fine now IMO, I'd keep it as is. Or perhaps move the cathode to the right even further that way so it's doesn't show in the window.
Last edited by zalbard; 11-10-2009 at 04:16 PM.
Donate to XS forums
Great Sleeving job + craftsmanship + colorways!
I've finally got Windows 7 (64-bit) installed after a few issues with the S-ata cables. I'd got them too tightly bent behind the motherboard tray and 2 had snapped on the connections
Anyway, bought some new (better) ones and resleeved them, and this time they are just mounted straight accross and under the res area through to the drive bays.
So, next problem is temps. Just sat in the bios the cpu is at 35deg C and in windows using RealTemp it's saying about 40deg C. I ran a quick stress test from within RealTemp and the cpu maxed out at 60deg C, which sounds very hot to me. Also this isn't with any load on the gfx card which will add a lot more heat to the loop when I do any 3d Bench's
I then tried the "easy oc" function in the bios which lets you select either 2.9Ghz of 3.2Ghz for the cpu. Selected the 3.2Ghz option which worked without any problem, but in windows the temps were 45 - 50deg C, and under load hit 75deg C.
So I'm more than a little miffed that the temps seem so bad. Any thoughts anyone?
 Posting Permissions


 Reply With Quote


Bookmarks