


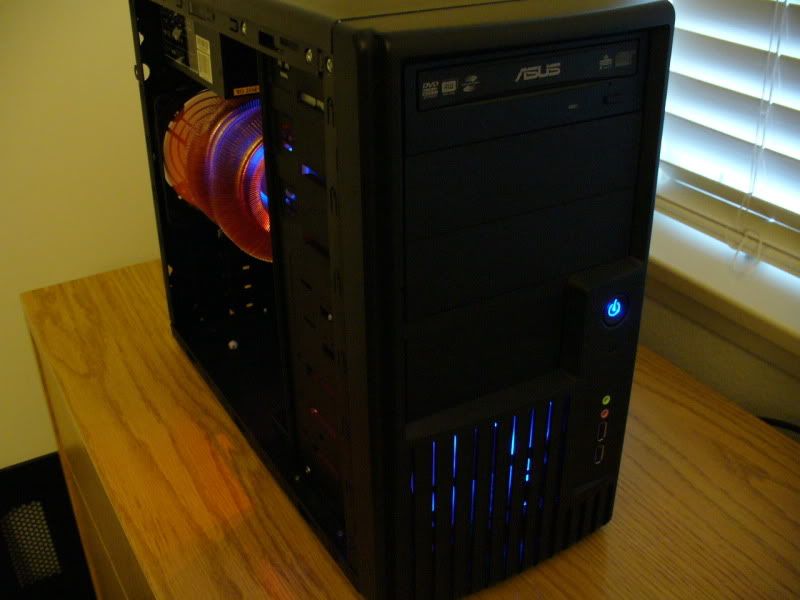
this will be my first case mod and worklog. it's actually just to practice my case modding since i've never done this before, in preparation for my real project that has been planned for 2 years now! i decided to just buy an extremely cheap case to play with, and the victim is this Rosewill R101 mATX case that i bought for only $20. it was fairly cheap and looked decent, so i decided to give it a try. you probably guessed why this project is code named "guinea pig".
sorry guys, this will only be an aircooled rig (no subsection for aircooled worklog so i thought i'd just put in here. mod, please move if you feel it's more appropriate). stay tuned for my WC worklog but for now, this one will have to do. this is more of a worklog for myself to document, not expecting much comments since this is nothing special. no special hardware planned for this case, pretty much will just take whatever i have laying around go on in it after it's finished, but most likely here is what it will probably have:
- intel e8600
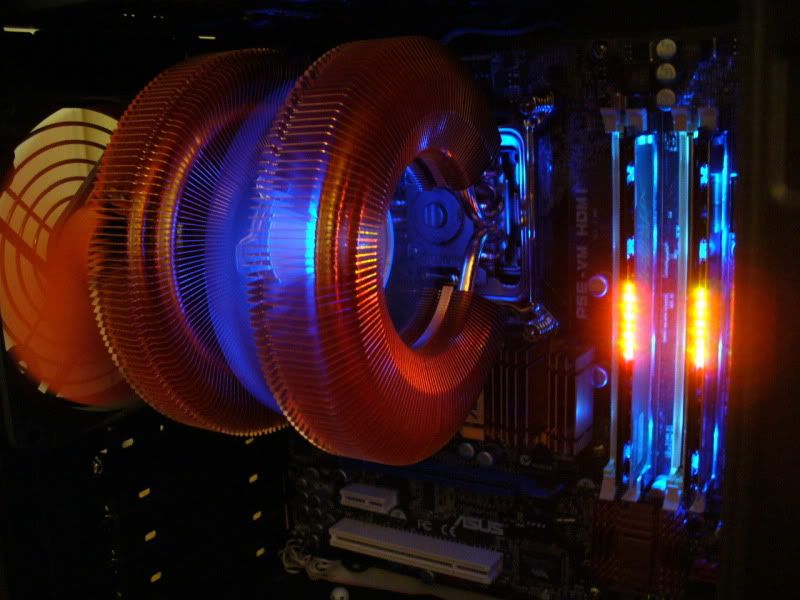
- Asus P5E-VM HDMI
- OCZ StealthXStream 400w
- Crucial 2x1gb Ballistix Tracers
- WesternDigital 80gb Velociraptor
- Thermalright 120 extreme
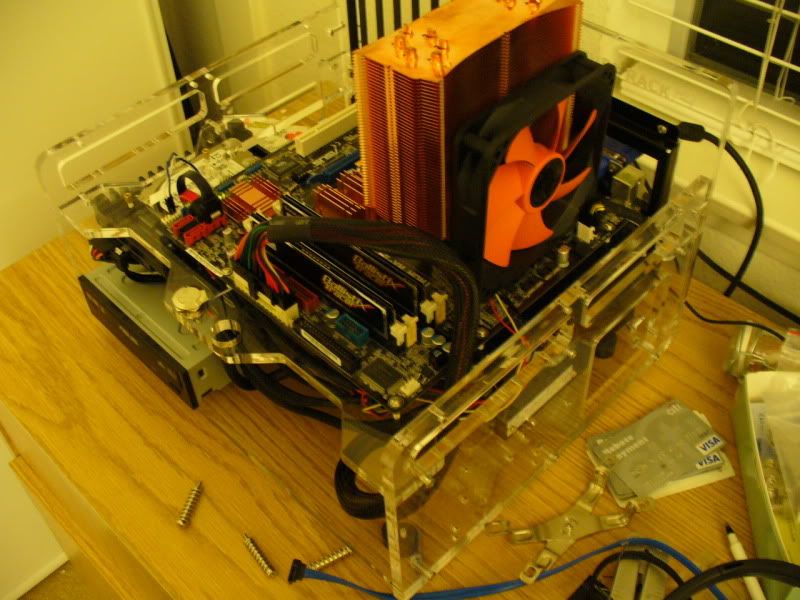
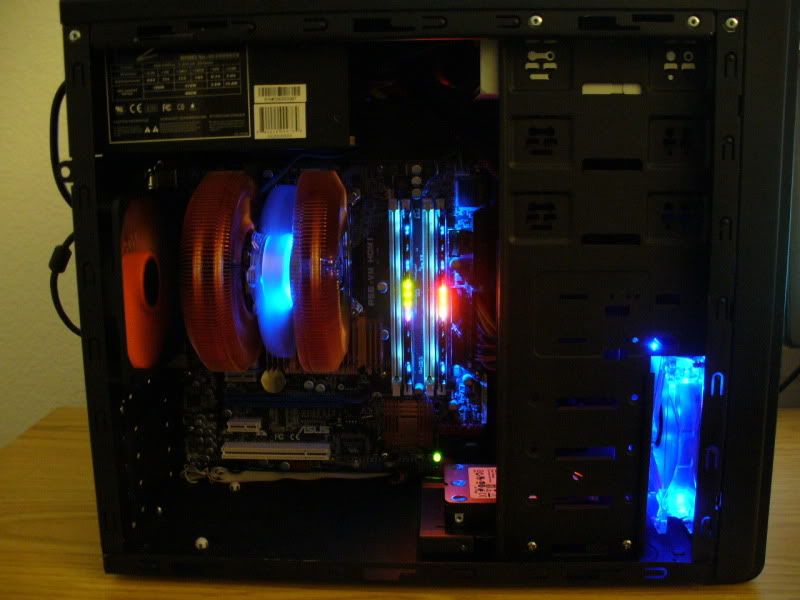
here's the setup while i'm working on the case
--------------------------------------------------------------------------------------------
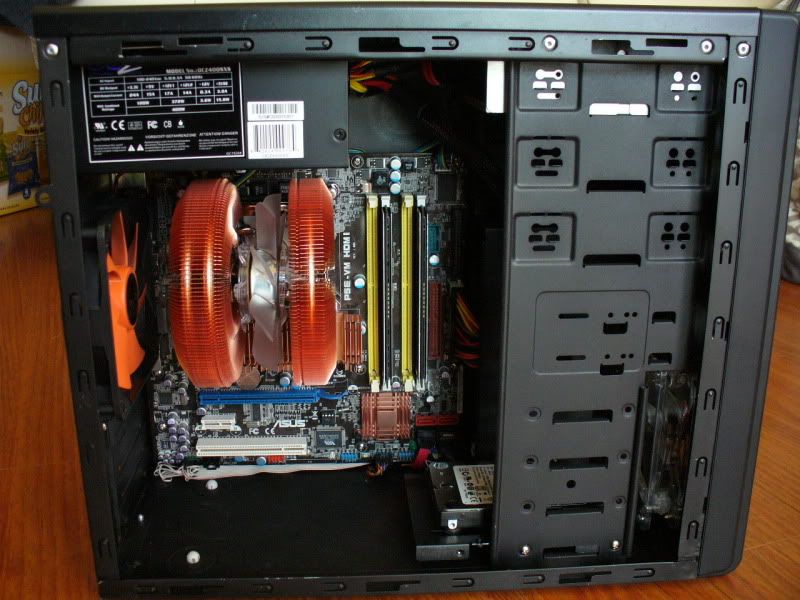
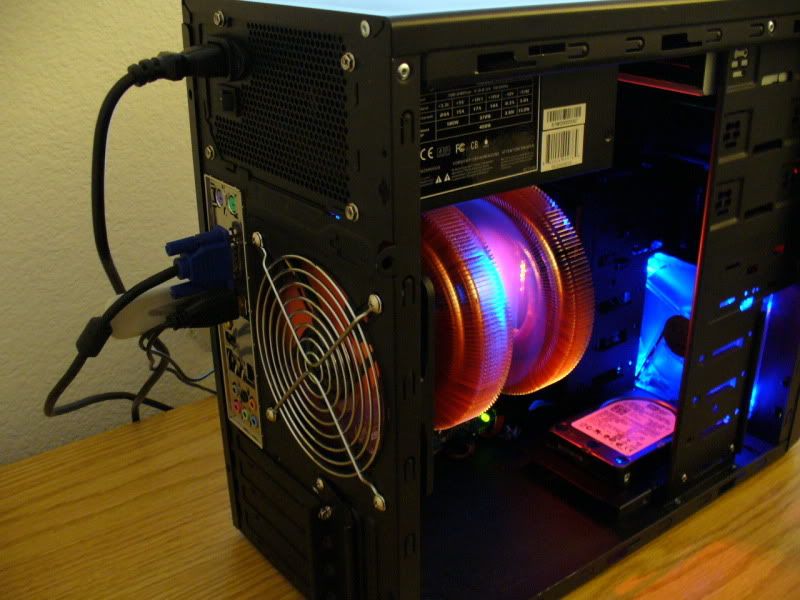
project now finished. here are the final pics


 Reply With Quote


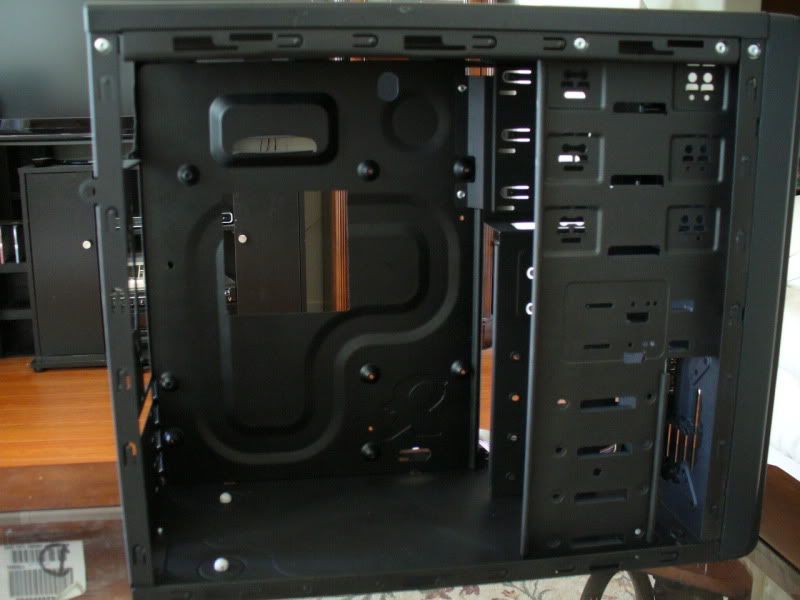


 . you can see that i was forced to reroute the peripheral and SATA wires in the same rectangle slot with the main 24pin wire.


Bookmarks