

Hell yeah!!! gears of war ftw!!!!!Originally Posted by FloofyFox

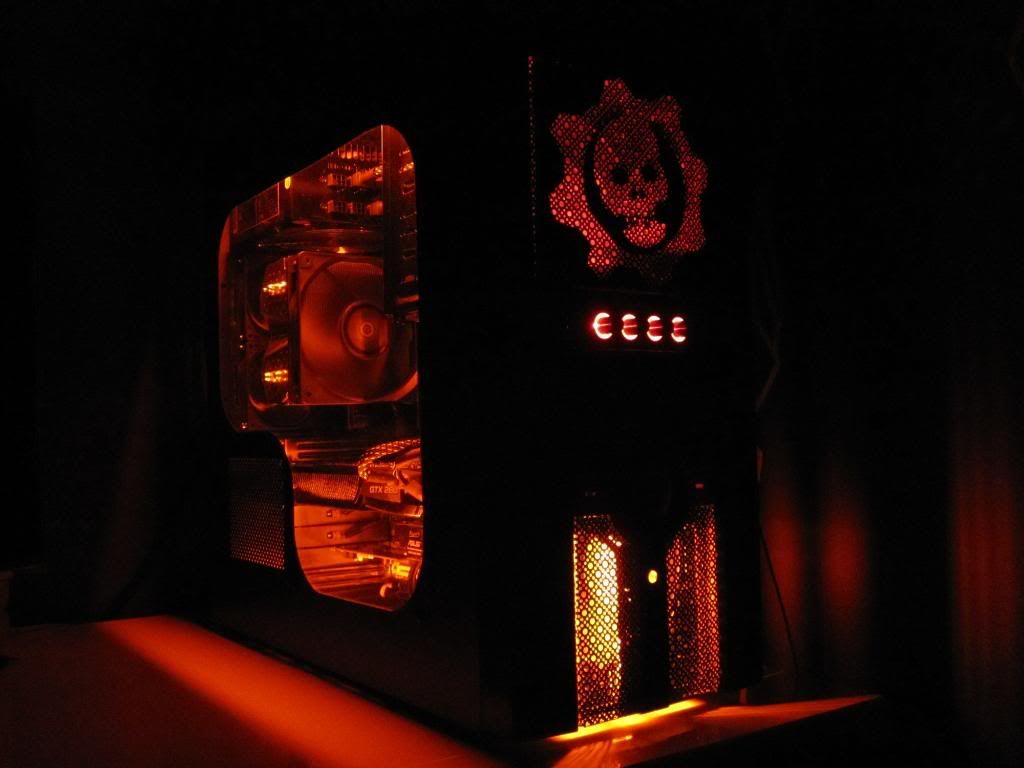
Where did you found the GOW logo? did you made it yourself?


Hell yeah!!! gears of war ftw!!!!!
"friends don't let friends run RAID-0"


 Reply With Quote
Bookmarks