-
Top Trim, Front Trim, Side Panels and Mounts
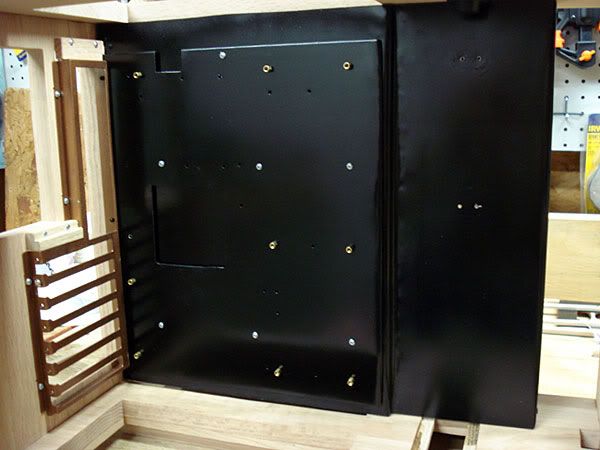
MB Tray Mounted
I mentioned in the last post that I got the MB tray mounted to the air chamber. Here is a better pic. The MB tray mounts directly to the radiator air chamber. This way it is stable. I originally didn't plan on the air chamber idea, so I was going to be leaving some room behind the MB tray for wiring. With the air chamber however, that space is gone. I however am not too worried about it though as I think it won't be a big deal as far as wiring goes, and the benefit of having the rad air isolated far outweighs this.
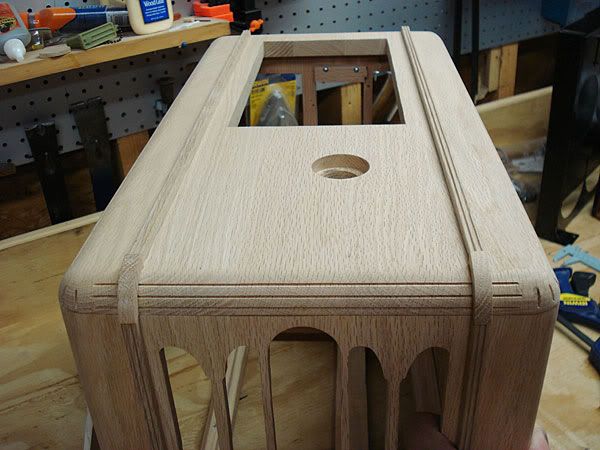
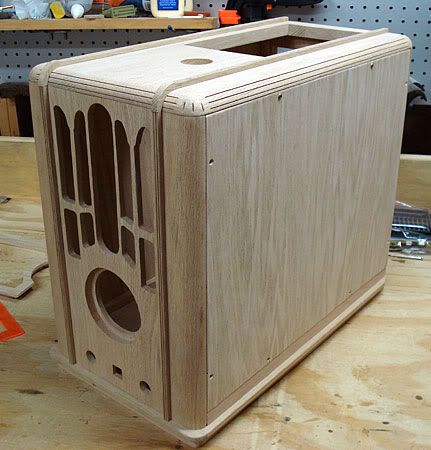
Top Trim
I got the top sanded the way I wanted and have glued down the front curve and top trim pieces.
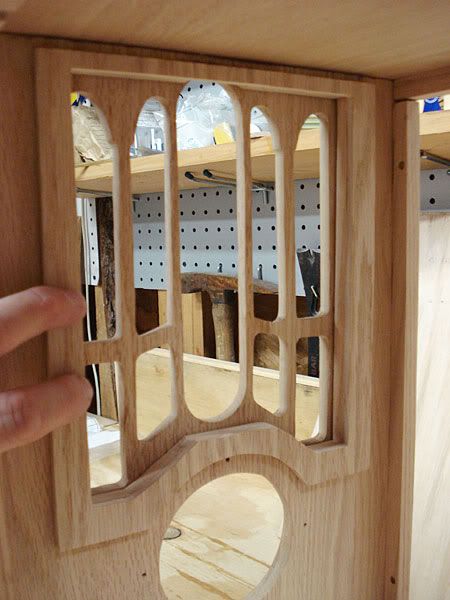
Front Grillcloth Mount
I made a piece to fit inside of the front grill to use to mount the grillcloth with. It completely hides the area where I routed the thickness down. I spent too much time on this piece as it really was a pain to make.
This is how it will look in place.
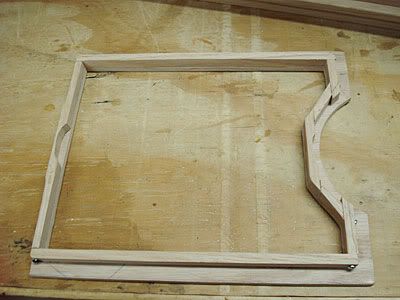
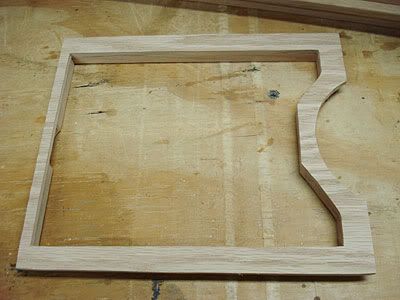
Front Oval Trim
I made the front oval trimpiece. This is made out of 3 pieces so that I could route the edges of the curves. I used a 1/8" cove router bit to cut the edges of the curved pieces, and then glued them to the center trim piece.
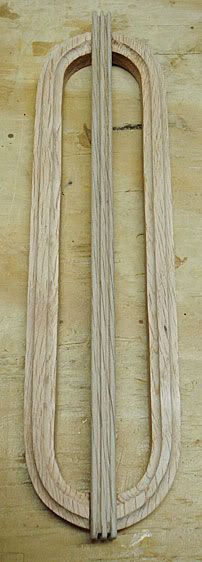

Since taking this photo I've gone ahead and glued the oval piece on the front and used 2 small screws on the backside for extra reinforcement.
Side Panels Mount Strips
I cut and glued in all of the 1/2" x 1/2" strips that the side panels mount to. I had to do some cutting and measuring to make sure that the metal air chamber would still properly mount with them in place. I was thinking about just having the side panels stick on with magnetic strips, but I decided against it and am using threaded inserts to screw the sides on instead.
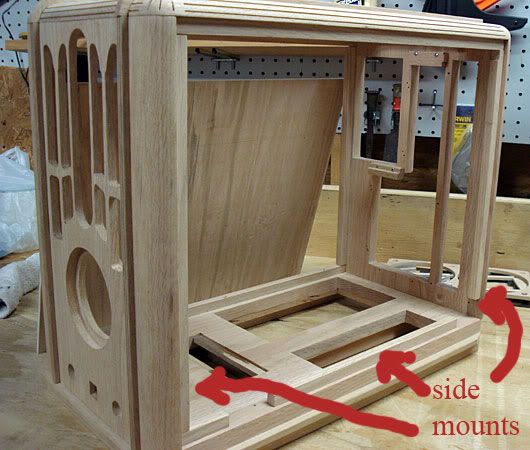
I've cut both side panels. Here is a pic of the panel partially mounted. Instead of using the round head brass screws on the panel, I've got brass flat head screws in the mail coming my way so that the screws will sit flush with the sides.
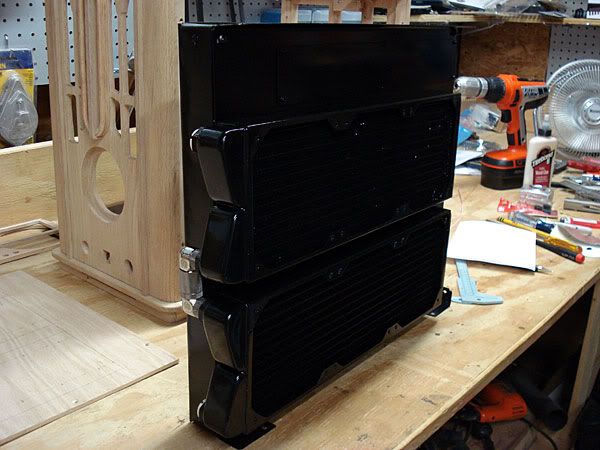
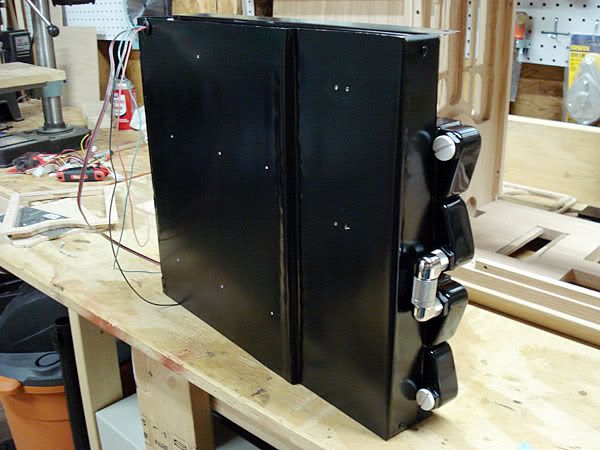
Rads and Fans Mounted
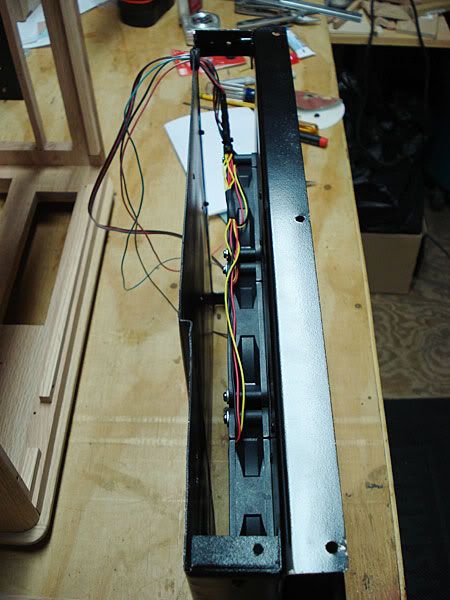
In order to know exactly where the holes need to be cut into the side panel for the radiators, I needed to mount the radiators and fans onto the mount. I took both rads, cleaned them with hot soapy water, then DOW Scrubbing Bubbles, then more soapy water, then lots of rinsing, then distilled water rinses, and baked them both at 170f for a few hours to dry them out. I cut and soldered in wires for the fans, cut a hole and mounted a grommet in the air chamber, and mounted the fans and rads.
While I was screwing in the Bitspower fittings, I noticed that the metal on the fittings was going all the way down against the rads. The o-rings are too thin to seal properly on the MCR rads. So I took a trip to ACE hardware and got some thicker o-rings. I'm really glad I noticed this as I am pretty sure it would otherwise end up leaking, and taking this back apart later would be a real pain.
I plan on cutting out the grills for the rads and fan on both sides tomorrow. I have a few more knick knacks still to do, but I should be ready to start staining soon. 
 Posting Permissions
- You may not post new threads
- You may not post replies
- You may not post attachments
- You may not edit your posts
-
Forum Rules


 Reply With Quote
Bookmarks