

I'm sorry if you got to use up your bandwidth
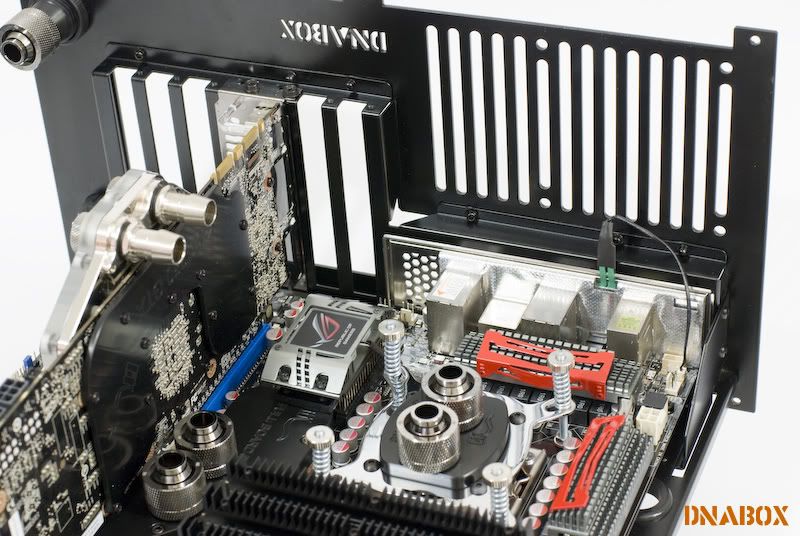
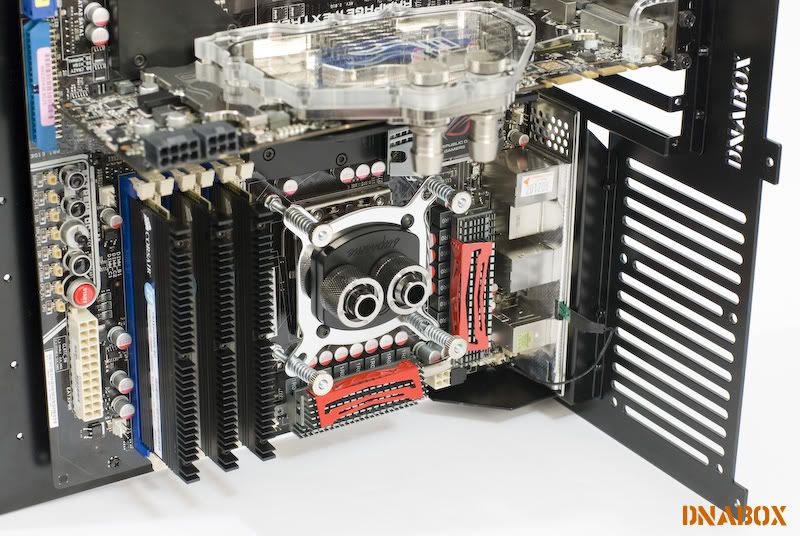
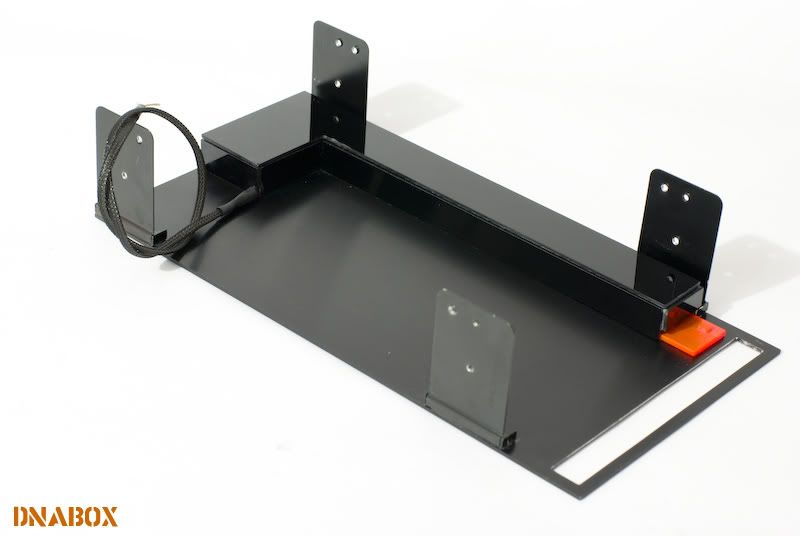
Try out the motherboard tray ... looks so good!
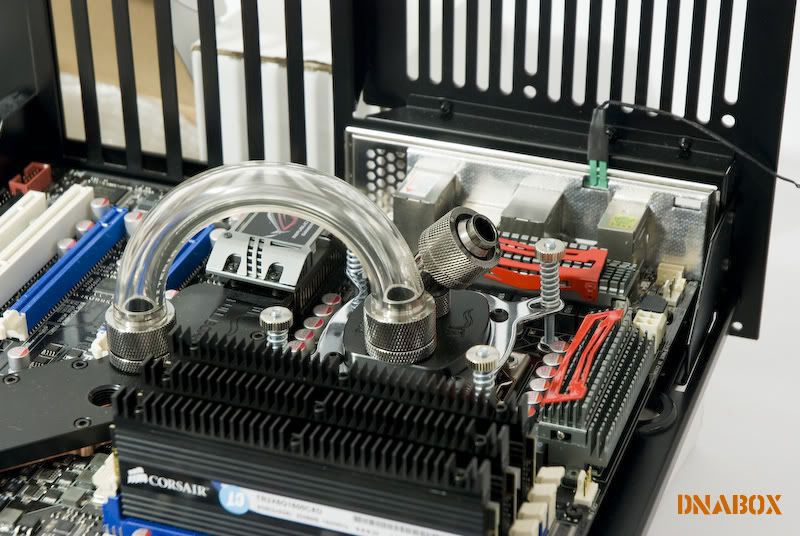
my first tube!


I'm sorry if you got to use up your bandwidth
Try out the motherboard tray ... looks so good!
my first tube!
that's sweet! keep on goin'
Amazing work Joe!
Fantastic presentation - really nice!
Looking forward to seeing how it turns out.


I have question to you JoeChoe
Could you tell me how much space is between gpu card and fittings in ek block ?

Because i worry that is no option to put there gpu card with this block:

Looks like might be needing a couple of 45s or a 90 thereOriginally Posted by Malik

This is going to be a great looking rig Joe.
Project Millertime: The Core I5 build
Crunching/folding box on air: AMD Athlon X2 7750 Black Edition; Sapphire Radeon HD 4830; Gigabyte MA78GM-US2H; Lian Li PC-V351; Windows 7 RC
Thanks! Charles. You are my idol.
Hi Malik, I can't really take an accurate measurement right now ... away from my rig. They are pretty close ... but I'm sure that It's about ~1cm to the card [PCB] and ~3mm to the ek ram backplate.
Nice work and photo skill
Last edited by seba84_2005; 06-14-2009 at 10:43 AM.
i7 2600K @ 4.5GHz 1.28v 24/7 with offset mode + Venomous X black - ASUS Maximus IV Extreme R3.0 - EVGA GTX 570 SC - Corsair Dominator GT 2x2GB 2000MHz CL8 @ 2133 Cl9 + AIrFlow PRO- Corsair AX850W - Silverstone Fortress 2 - LC back soon
Ie no chance to have a 200 series card with the backside full cover block Malik.
Oh did I say how much I love this build? Heck, the pump symmetry is amazing.
Thanks!
Love that pump symmetry too .. thinking to add a res on top of it.
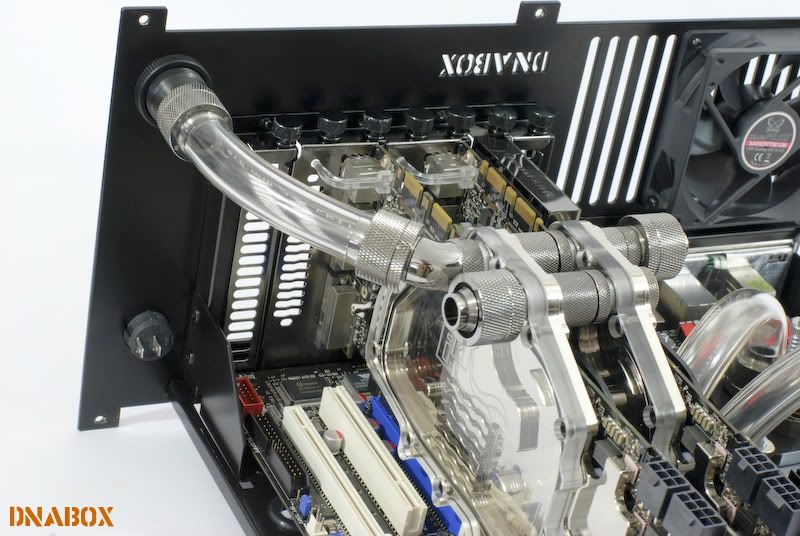
More tubing madness >>
GPU in SLI config is on water! It's look like a big machine!
http://i300.photobucket.com/albums/n...C_6002copy.jpg
I can only repeat myself: EXCEPTIONAL! ... it's just... why do I get the feeling that at any given moment if you so wanted, you could upload 200 beautiful pictures of the full build at once?
I think you live to torture us via supreme quality build induced suspense and give us all carpel tunnel due to clicking refresh or F5 40 times an hour..
j/k ...
Agenda: I have 0 projects prioritized for the year, 0 in progress this month, 0 this week, and 0 as of this moment.
Current primary function: traveling.
I like how you connected the fill port joe, great idea
Project Millertime: The Core I5 build
Crunching/folding box on air: AMD Athlon X2 7750 Black Edition; Sapphire Radeon HD 4830; Gigabyte MA78GM-US2H; Lian Li PC-V351; Windows 7 RC
This workmanship is really excellent, great job
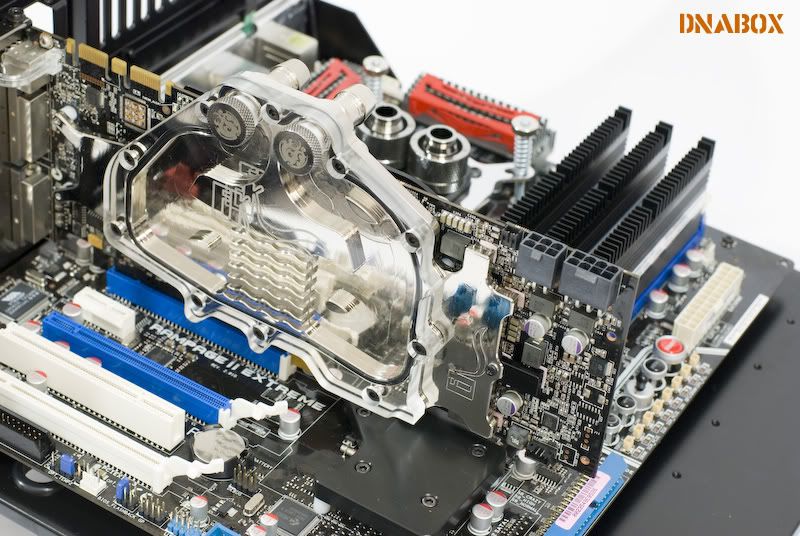
There are a few things that I think need to be addressed. For one I think you need to re-do your GPU arrangement.
1) That fill line will trap air, which in itself is not a problem but you need to constantly monitor your coolant level to make sure the 2nd GPU block doesn't basically become another res (i.e. trap more and more air).
2) Remove 1 of these d-plugs and plug it up. I don't think you intend to go parallel here.
3) I assume this is the inlet? The way it's setup now, your coolant will shoot up, thru the d-plug, past the other block, and into the fill line. It will splash and foam and mix with air and drag small bubbles into your loop. No good.
My suggestions for now:
Move the inlet to the other port. Remove the d-plug direct above that. Maybe put a valve on that fill line.
Additionally, having 90deg turns right after the pump will hurt your flow.
Last edited by Kibbler; 06-14-2009 at 07:15 PM.
Looks like an exceptional build. The attention to detail is just amazing. Keep it up!
Haha! I wish I could do so ... sorting those pics like playing a maze games.
This is just temporary ... if I gonna to put a third card there , this fill port need to be remove tho ..
Thanks for the input bro!
1. You are right here, there is an air trap. I'm going to remove the fill port later on ...
2. I wanna to try out the parallel configuration here
3. I need to investigate the loop again. Thanks!
Thanks!
Let's move on!
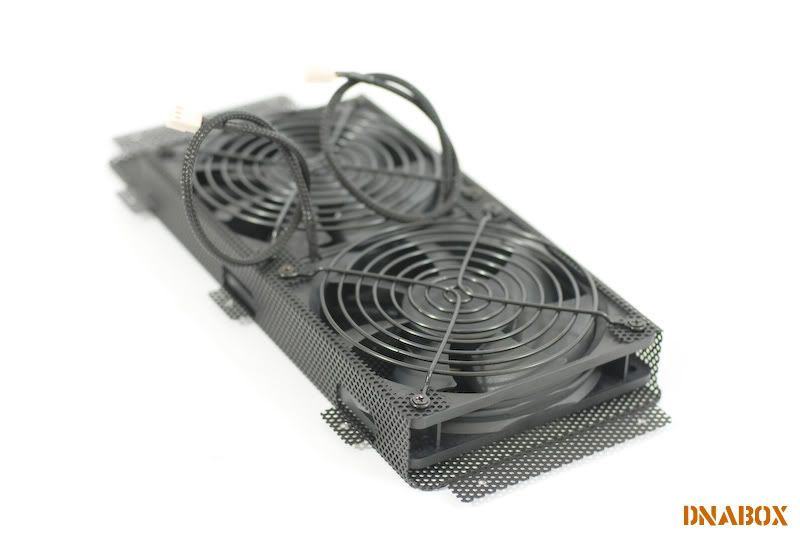
Top case fan ...
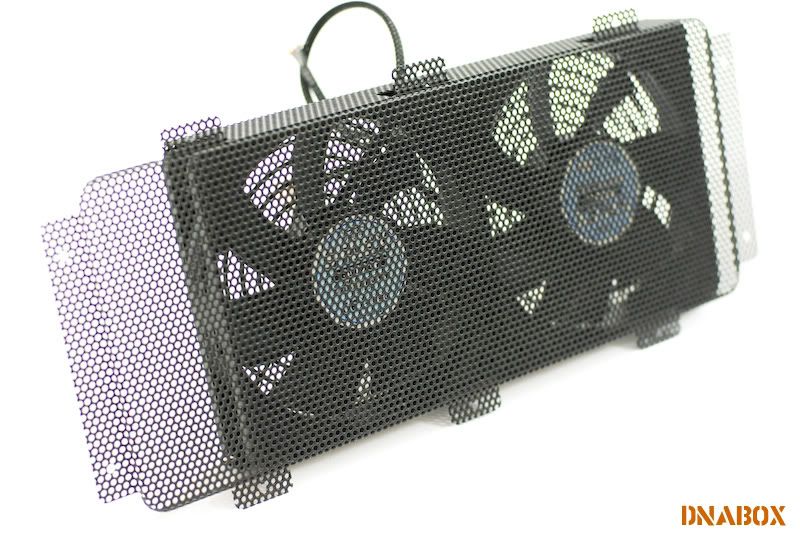
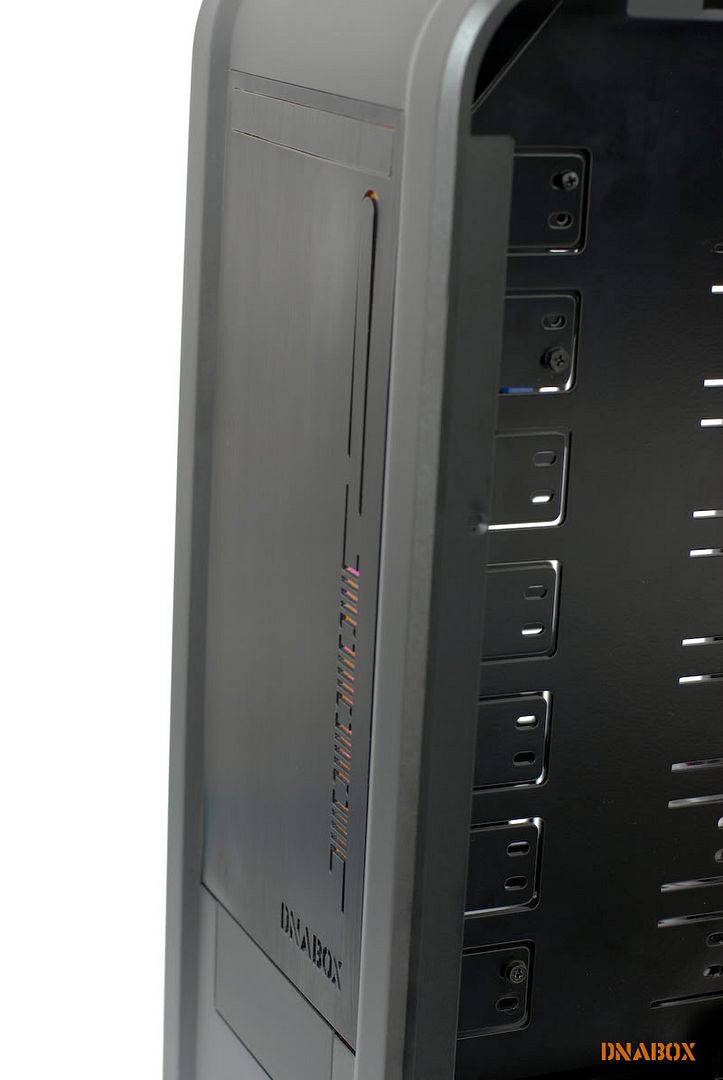
Front panel mounting MOD
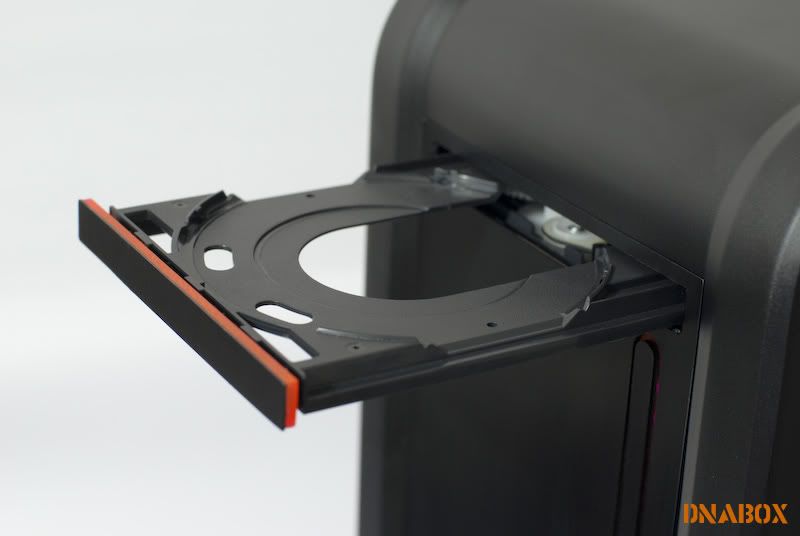
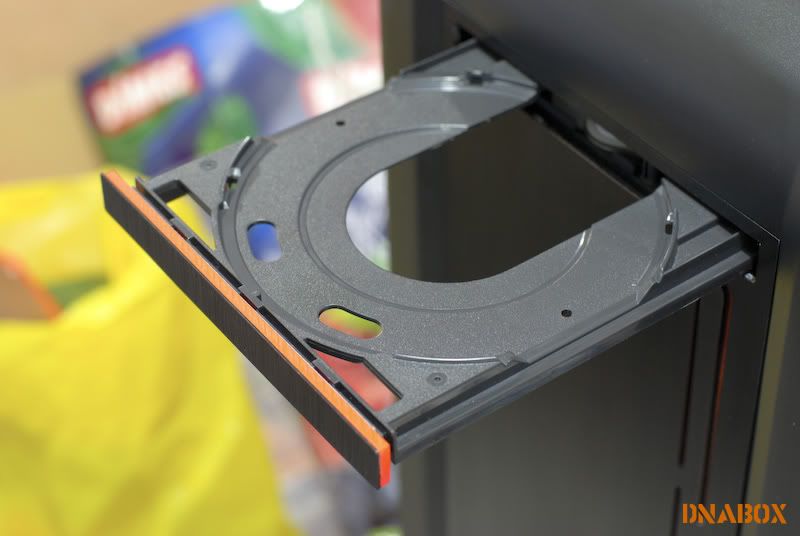
Using the 3.5" bay cover ... eeew! a lots of finger print!
Gluing process! Using Epoxy here ... should strong enough ... cheaper solution
Try out the faceplate
Replaced the original slot cover with arclic and 3.5" bay cover [ Cut to size ]
Lights MOD
Lovely Orange acrylic ... next the light please
LED installed ... it will be orange color!
Finished!

Leds on, night/dark shot NAOOOOOOOOOOOOOOOOOOOO
Woo can't wait to see how that looks!
Yeah............
naaaaaaooooooooooooooooooooooooooooooooooo!!!!!!!! !!!!!!!!!
Please?
Tomorrow then?
[It's already night here lol]
Hi Bro, can advise/PM me where did u buy the LED strip from in SG ?
Thanks in advance
i7 | AX 1200 | murderMod TJ07 | Maximus Extreme-z| 16gb Corsair vengence | GTX580~SLI | Apogee HD+ Airplex modularity 480 + MCP35X | Z5500 |
Wow!
I'm really loving that fill port!!

awesome worklog
Soon to be :
ASUS P8P67 Deluxe, Intel SB i7-2600k, G.Skill Rj-X F3-12800CL6D-4GBXH, MSI HD6950 2GB, Corsair 750AX, Intel 80GB G2 SSD, DELL U2410
Used to be: SaFrOuT

seeing bullydog post this image reminded me - did you just use contact cement to attach those bay arms? or is it a solder/weld?
Corsair 700D
Intel i7 920 @ 4.20|Asus P6T6 Revolution|G.Skill 6gb DDR3 1600|Zotac GTX480|Intel x-25-M 80GB x 2 / Raid0
H2O
|Perfecting the Obsidian series case. Build log to follow soon...|
yeah I fail at reading

 Posting Permissions


 Reply With Quote


Bookmarks