-
Trim Pieces and Edge Cutouts
Front Trim
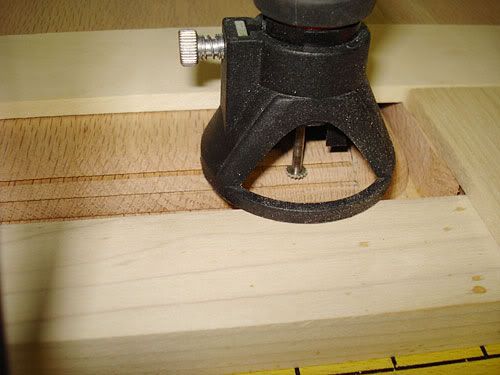
I took my router and a 3/4" slot cutting bit and routed out the backside of the front grill to reduce the front depth from the full thickness of the wood (3/4") to 3/8". I also allowed enough room to put in trim pieces to hold the front grill cloth in place. It doesn't matter that the edges aren't straight as they will be covered with trim.
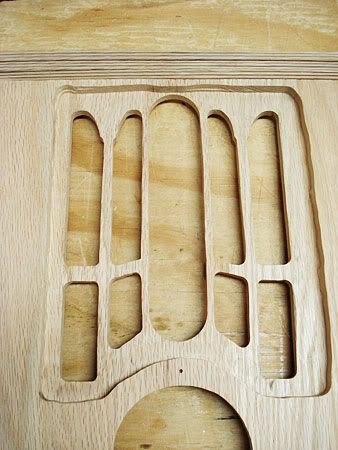
Getting the front and top trim pieces cut out was a real pain. The trim strips are only 5/16" wide x 1/4" thick, and the cutouts are only 1/16" wide. It took me several different bits and tries. I first tried a 1/16" slot cutting router bit, but it snapped in two after just the first try. I tried several Dremel bits also. Finally it was this little cutting wheel bit that did the trick. I set up a jig so that I could evenly and at the rigth depth pass the cutting wheel over the trim pieces to cut the grooves.
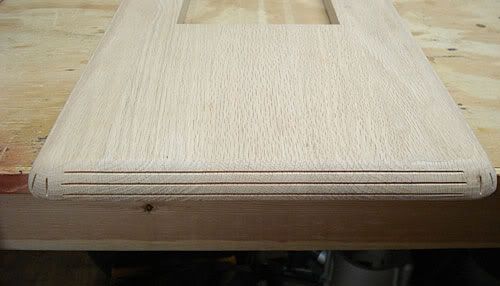
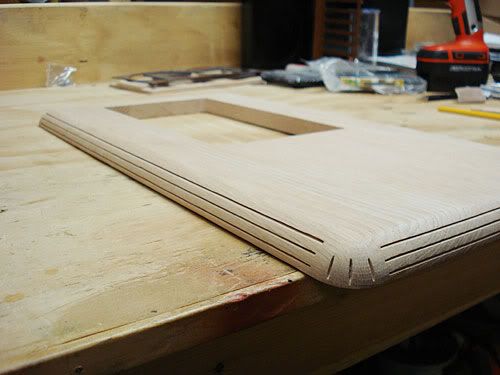
I then spent quite a bit of time rounding over all of the corners to give the trim a fluted appearance.
Edge Cutouts
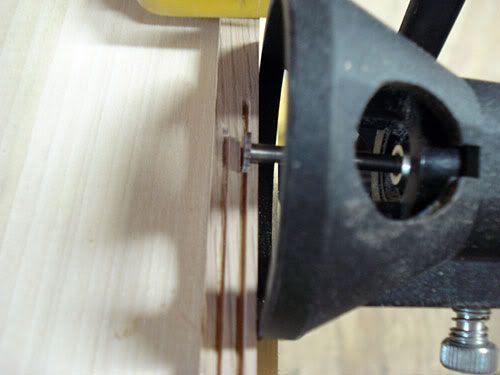
The cutouts on the top edges were something that concerned me from the start as I wasn't sure how I was going to do them given the curve of the edge. The Dremel cuttting wheel again did the trick. I again set up a jig so that I could cut the grooves consistently across the sides and front and get them straight. I would get the depth on my Black and Decker Dremel clone, and cut the slots on all three sides so that they would match. I started with the bottom slot and worked my way up.
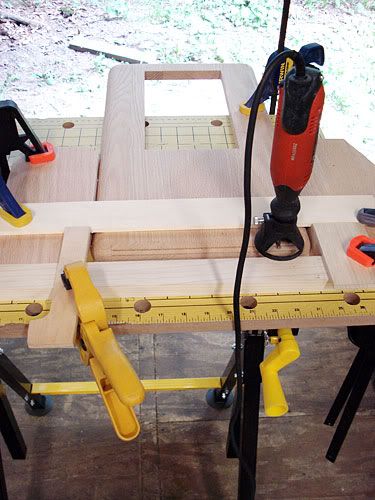
With a little careful marking and freehanding on the corners, here is the result:
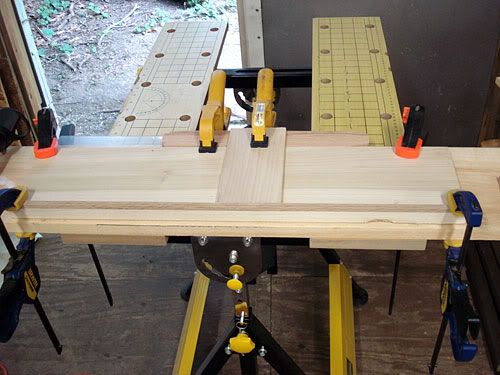
Gluing
I drilled out all of the holes for dowel rods on the ends, and glued the main pieces together. It takes this step to realize why you need all of those different sizes and numbers of clamps.
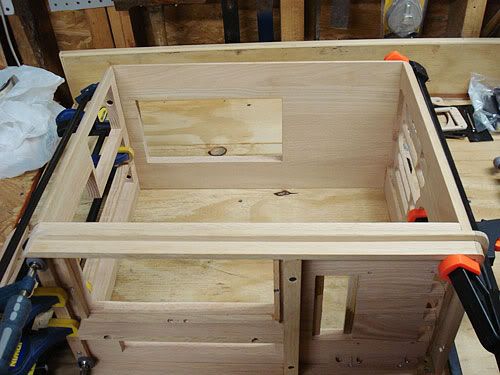

I next have to drill the hole for the fillport, do more sanding, and glue on the top and top/front edge trim. I have to go out of town for a couple of weeks in a few days, so unfortunately I won't get the case done before I have to leave. I guess It will be waiting for me when I get back.
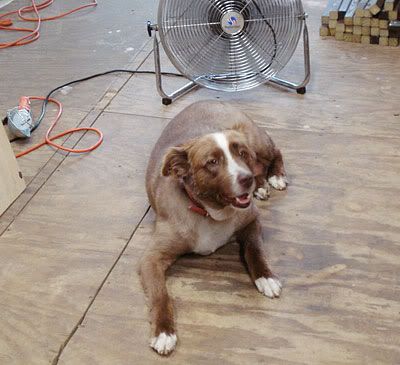
One last pic for this update- my security detail guarding my project. She smartly positions herself in front of the fan. She is an Australian Shepherd, and really is a very smart, quick to learn, and great guard dog. This dog also is great with kids as she is gentle as can be yet guards them tenaciously.
 Posting Permissions
- You may not post new threads
- You may not post replies
- You may not post attachments
- You may not edit your posts
-
Forum Rules


 Reply With Quote
Bookmarks