

Dude, this build is seriously GORGEOUS, I kinda wanna do one like it now


Dude, this build is seriously GORGEOUS, I kinda wanna do one like it now
Updates?
Ah hope so soon. Kinda been putting my efforts into finishing the radbox.
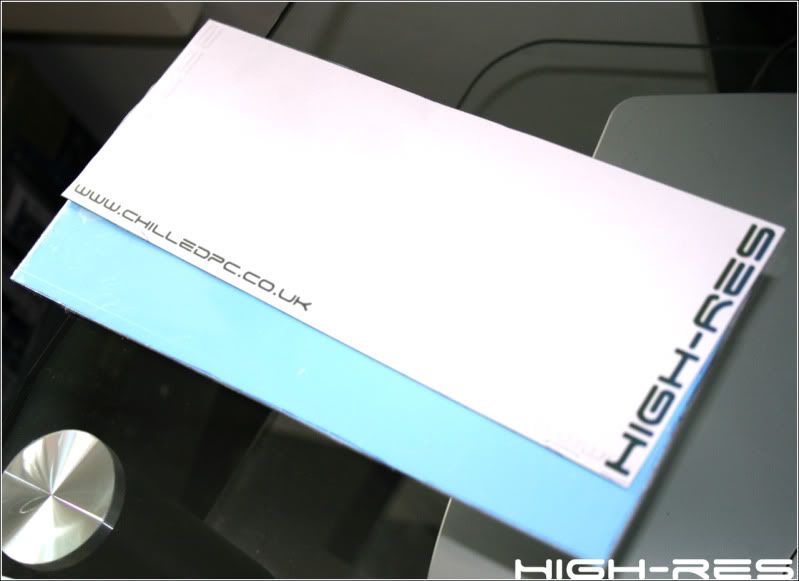
Update 1st June.
So so hot today but now the Radbox is complete I thought i better go outside and get some filing done.
Needed to be filed down was the roof, roof res and the Acrylic sidepanel that hides all the nasty drive bays.
My helpers today all suffering from the heat, gotta feel sorry for the dog as she cant get away from it been black.
I had a late night sat night and ended up having a quick sunbathe on sunday but managed to fall asleep to wake up 2-3 hours later burnt pretty nasty on my face, chest and legs...
Superlative craftsmanship! beautiful sleeve job, unique concepts, and excellent choice of fans. subscribed.
Agenda: I have 0 projects prioritized for the year, 0 in progress this month, 0 this week, and 0 as of this moment.
Current primary function: traveling.
+1
I'm in too
Great comments as always thanks chap!Originally Posted by xaxis

Glad you like mate!
Great job Brad, can't wait to see finished piece.
Project Millertime: The Core I5 build
Crunching/folding box on air: AMD Athlon X2 7750 Black Edition; Sapphire Radeon HD 4830; Gigabyte MA78GM-US2H; Lian Li PC-V351; Windows 7 RC
nice dog, mine looks very similar to yours. where are you from where its so so hot out?
Intel Core 2 Quad Q9450 Yorkfield @ 3.2GHz | Asus P5Q Deluxe mobo | 2x OCZ Reaper HPC 4GB (2 x 2GB) DDR2 1066 (PC2 8500) | Sapphire 4870x2 | Western Digital VelociRaptor 300GB 10k RPM | Intel 120GB SSD | Western Digital Caviar SE16 640GB 7200 RPM | Hitachi 2TB 7200 RPM | PCP&C 750W Power Supply |Cooler Master HAF932 | Windows 7 64-bit | Dell ULTRASHARP 2408WFP 24-inch Widescreen Flat Panel Monitor
Join Us in the XS World Community Grid Forum & Help Fight Cancer and Other Diseases
Lol im from wales in the UK its hitting 80f i think LOL. Thats stupidly hot for us.
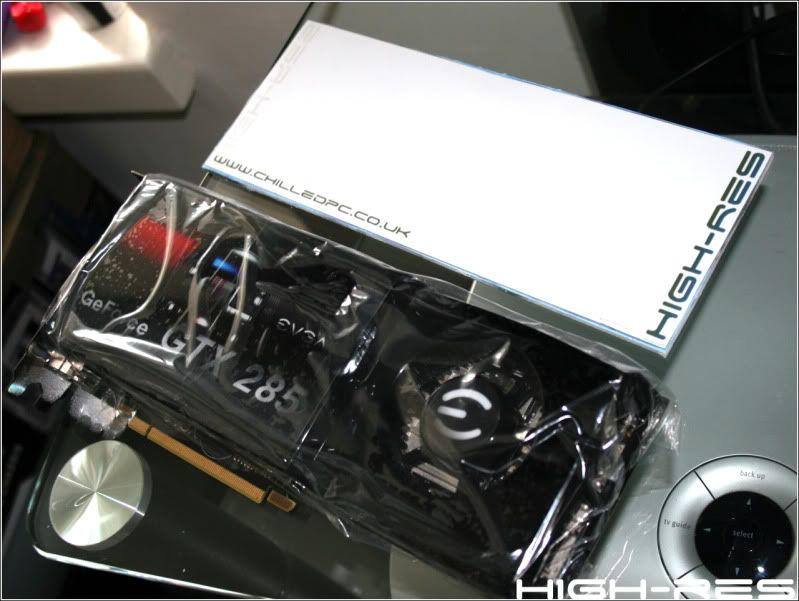
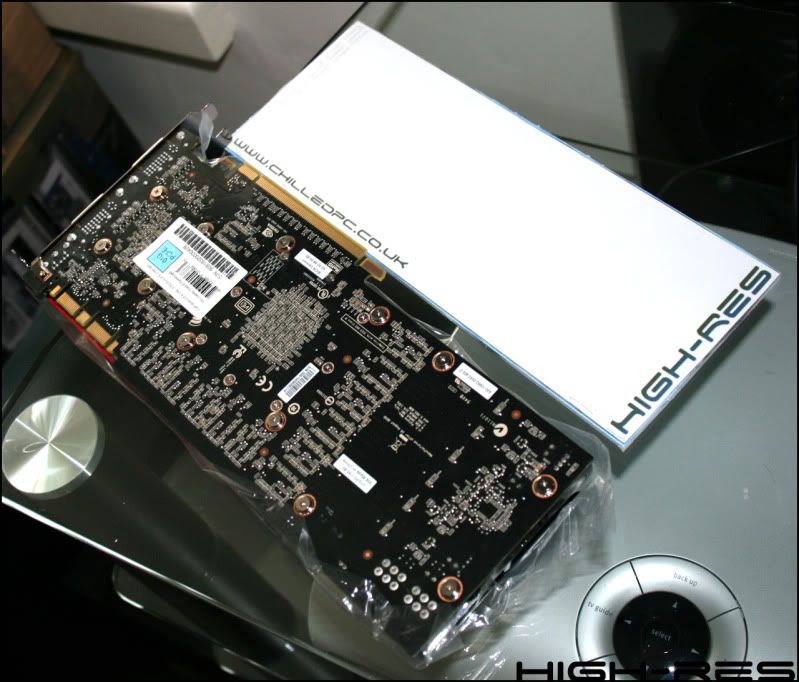
Update 3rd June.
Not much of a update today just a few parts arrived. I know i was not going to go i7 but i just cant help it so thought i would grab a decent air cooler as one come up at a good price. Also my bits from the USA, including my card from EVGA Step-up but as its the new PCB my block wont fit so gotta get that returned
Noctua NH-U12P SE1366 CPU Cooler
EVGA GTX 285 1Gb.
Lots of Bitspower and Koolance fittings.
Half are oggies though
Beautiful pics, I've debated switching one of my air cooled rigs from the TRUE to the Noctua just because it looks amazing.

hows that aircooler goona be it looks sweet ?
I prolly wont use the noctua much but it came up cheap so i thought why not eh.
Wrote this before the build started but added to it along the way.
Build list.
*Done* *Still to do*
Main Case To Do List.
1, Cut CPU hole in mobo tray.
2, Cut 8 pin ATX cable hole in mobo tray.
3, Cut 24 pin ATX cable hole in mobo tray.
4, Cut Sata cable hole in mobo tray.
5, Cut front panel cable hole in mobo tray.
6, Cut roof to allow view through res into the case.
7, Test Radiator mounting in front of case.
8, Drill holes for Vandle switches.
9, Start window designs.
10, Start door designs.
11, Decide on final blue and white powdercoating with Tom.
12, Get case ready for sending off to Tom for powdercoat and paint (including the rear plate).
13, Fully braid PSU.
14, Decide on radiator finish.
15, Source company to do door sticker designs.
16, Make acrylic Bay cover.
17, Design Rear card cover.
18, Make Rear card cover.
To Paint.
1, Roof.
2, Door without mesh.
3, Rad + shroud.
4, PSU.
To Powdercoat (Sky/Baby Blue or White).
1, Main case frame (Blue).
2, Mobo tray (Blue).
3, PCI brackets (White).
4, Single slot bracket for 285 (White).
5, Rear mobo tray plate (White).
6, Fan grills (Undecided)
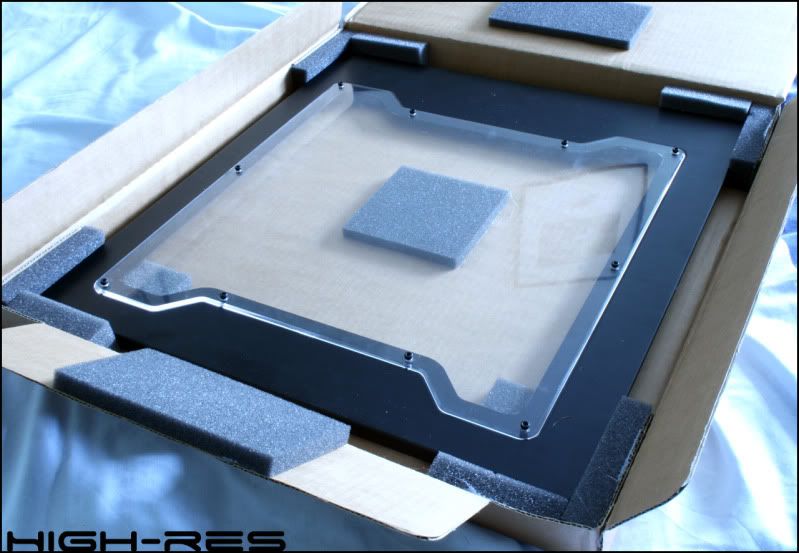
Roof Res To Do List.
1, Source acrylic.
2, Measure the original roof to get basic dimensions for each piece.
3, Work out the angles of joining pieces.
4, Do a mock up if possible.
5, Figure out the best way to plumb in the roof res.
6, Source the best fillport (koolance is top of list).
7, Get a template made of the roof for the main base piece.
8, Keep in touch with Tom for advice along the way.
9, Get final dimensions and get it all sent off to Tom for CNC work.
10, Do mock up to make sure all fits.
11, Do final assembly.
12, Leak test.
To order.
DD White tubing.
Lian-li P60 Armour Suit.
White braid and heat shrink(Enough for PSU, Fans, SATA cables, Lighting).
1 X Thermochill PA120.3.
1 X PA120.3 Shroud.
10 X Nexus White fans or White Clusters. *4 more needed.*
1 X Fillport.
Tube Cutters.
1 X Lian-li rad mounting brackets.
1 X Lian-li PSU Extender.
Enough Acrylic Glue but must dry clear and be water tight.
Enough Bitspower barbs and fittings.
Step-up to GTX 285.
1 X Koolance GTX 285 full cover. *Need new one*
1 X Single slot bracket for 285.
1 X Silver dome vandle switch.
1 X DDC 18w.
1 X Alphacool DDC Pump Acrylic Top.
Pump mounting brackets.
Source CPU block.
Case Lighting.
Mobo, Ram & CPU.
very interested in the reservoir, did you plan to have the inlet/outlet like a simple reservoir? or will you incorporate some type of "effect" like the frozen.q spiral effect or waterfall effect?
or just a big tank? lol
I honestly dont have the skillz or the tools to do anything like that. I wouldn't mind some sorta bubble effect in it but will most likely be a large tank that you can see through into the case below. I will be using a few fittings to bridge the outside and inside.
Update 8th June.
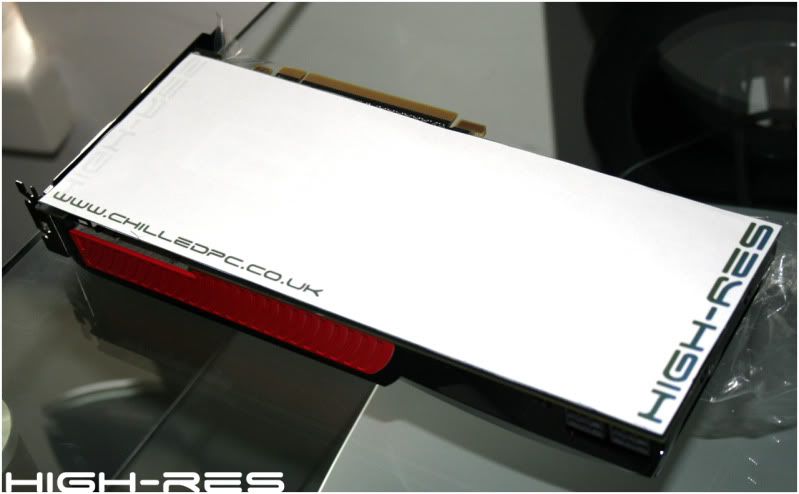
I dont want any black in the whole build if i can help it so the rear of my card is on show and not fitting in with my all white and blue look so something needs to be done. Im going to make a cover out of differnt colored bits of acrylic sandwiched together with my project name and sponsor CNC cut into it which will hopefully glow blue along with a strip all around the edge. I made a load of designs up but settled with this.
As i have a few bits been sent to Tom@ChilledPC next week I got on sorting what i needed cutting for the rear card cover. Now my cards arrived i measured it and transfered that to Photoshop to be able to accurately print it out.
This is how its going to sit on the card.
As im happy with it I then cut a piece of White acrylic(Has blue protective film on) that it will be cut into.
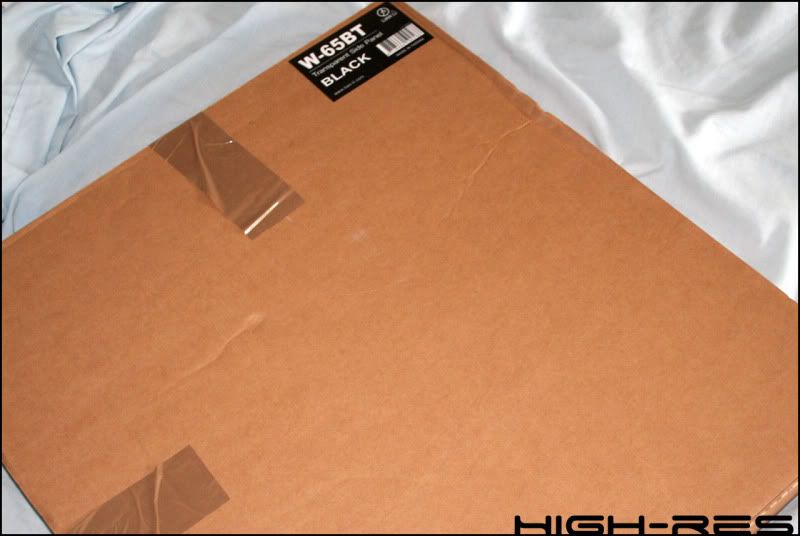
Also my mate Oggie sorted me out with a side panel which im not 100% sure i will use but its def different to the normal square or rounded corner cuts so may go with it. Been Genuine lian-li it fits perfectly and is very good quality.
Cheers.
Really nice build!
I have been trying to locate these male to male. Where did you get them?

Here mate
Isn't that the big variant? I ordered the ones on that picture from sidewinders and they are much bigger :\ Maybe its just the picture that is wrong?
Thanks though!
Well thats where they came from and the only ones i can see on there that look like the one i have. Maybe they stopped selling them?
Probably, I talked to gary at sidewinders and he thought he had some. He was going to put them up on his site soon.
Anyway thanks!!
I guess it is this one? http://www.sidewindercomputers.com/bishsimatoma1.html
It sure looks like it.
Looks like it but the code on the bag is #BP-WTP-C08 Called a G1/4" Silver shining Dual G1/4 fitting. Hope this helps.
Last edited by Brad8988; 06-11-2009 at 02:38 AM.
 Posting Permissions


 Reply With Quote


Bookmarks