

excellent job on the sleeving!
Looking forward to the next update.


excellent job on the sleeving!
Looking forward to the next update.
Bwuhahahaaaa... love the sleeving! Bring it on mate. I rarely get time or energy to go through worklogs at the moment but I will try to keep abreast of this one. ;-)
Keep up the quality! (To me, quality is what really counts ;-)
Cheers
GAM
Thanks Charles - that is a great compliment coming from you!Originally Posted by charles_h

Thanks GAM - you have helped me outso much since I got into watercooling!! I know we shall talk again soon....
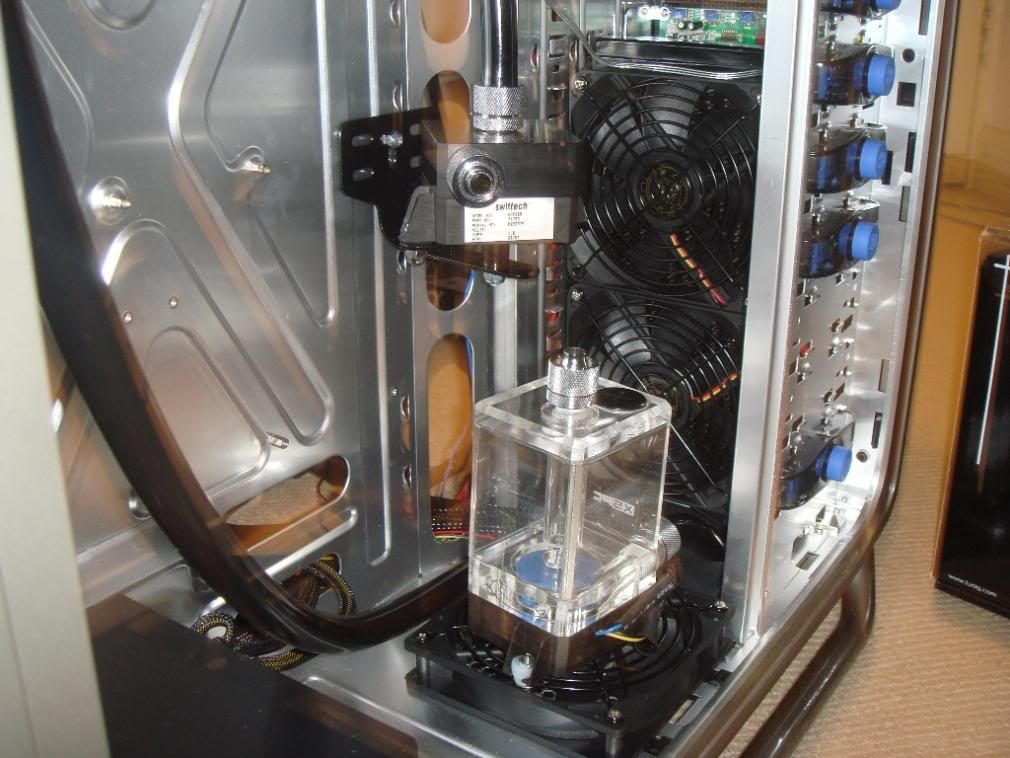
I actually got quite a bit done today - got nearly all of the sleeving finished, mounted the 220 rad in the front, mounted the pumps and res....just need the motherboard to arrive (should be tomorrow) and then I can start to route the tubing and get this sucker fired up!!!
Custom length sata cable
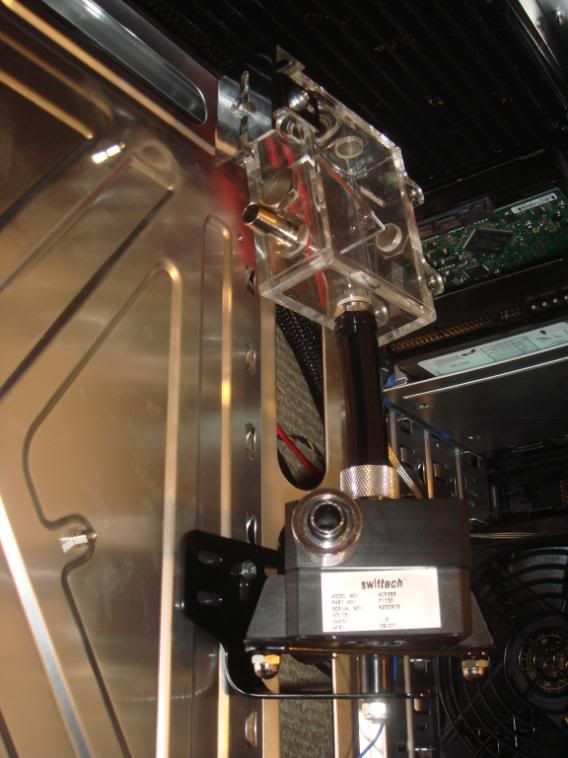
pump with restop - please note that the cables will be resleeved in red. (sorry for the crappy photo)
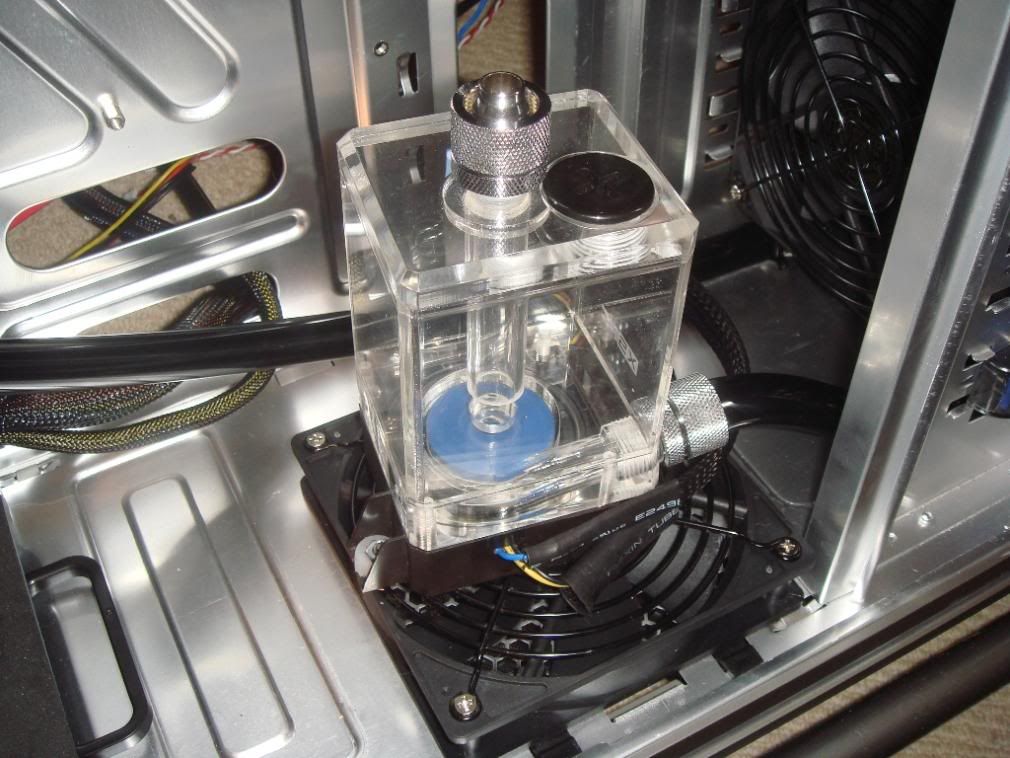
2nd pump with microres - note that the ide hdd is just in there for me to test space between it and the res
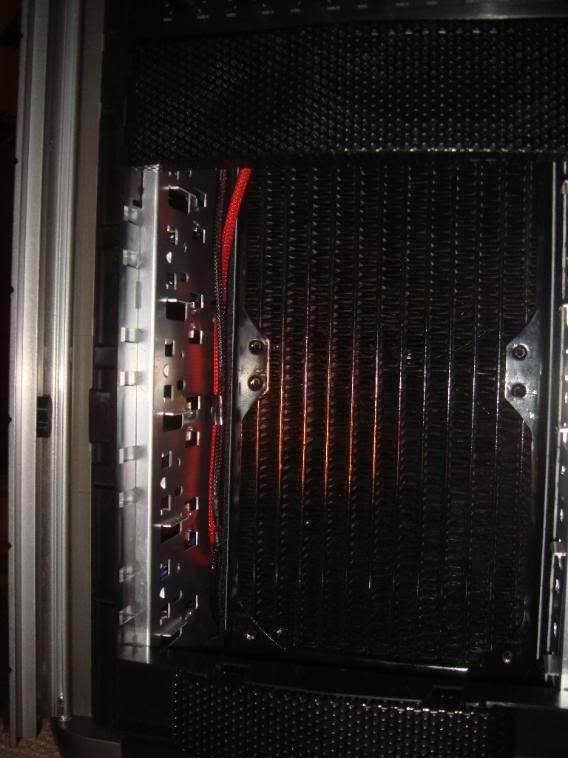
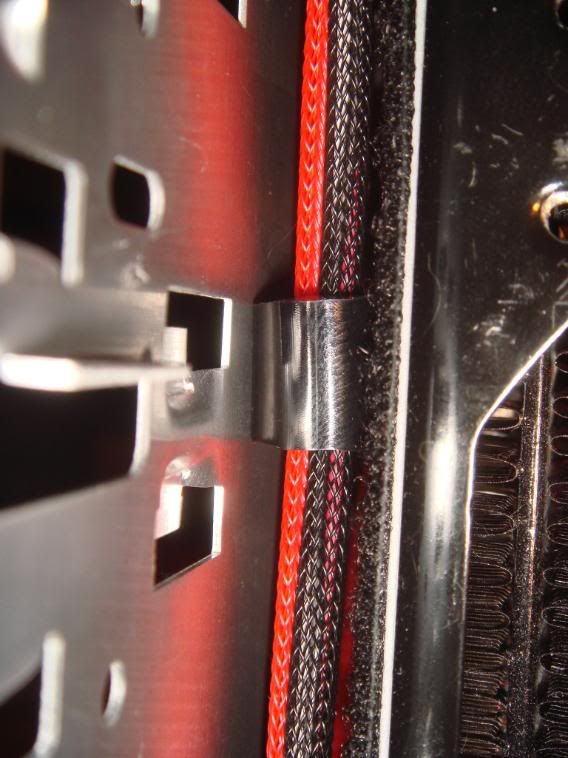
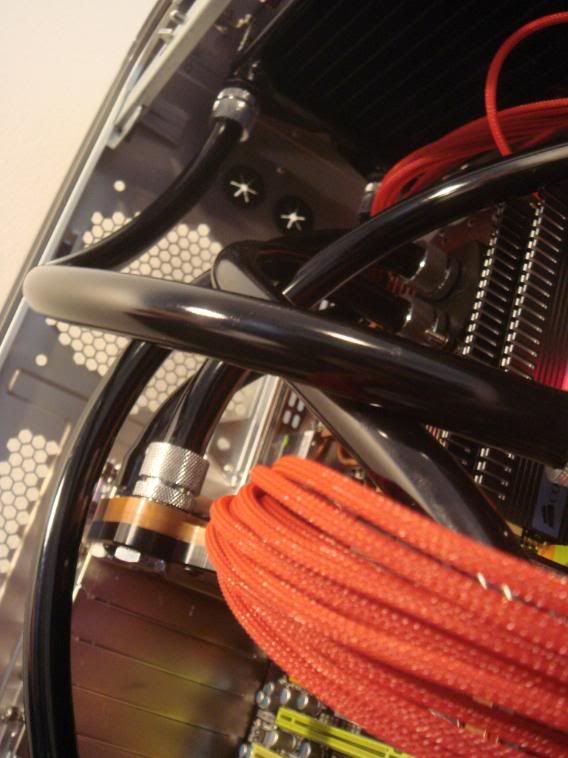
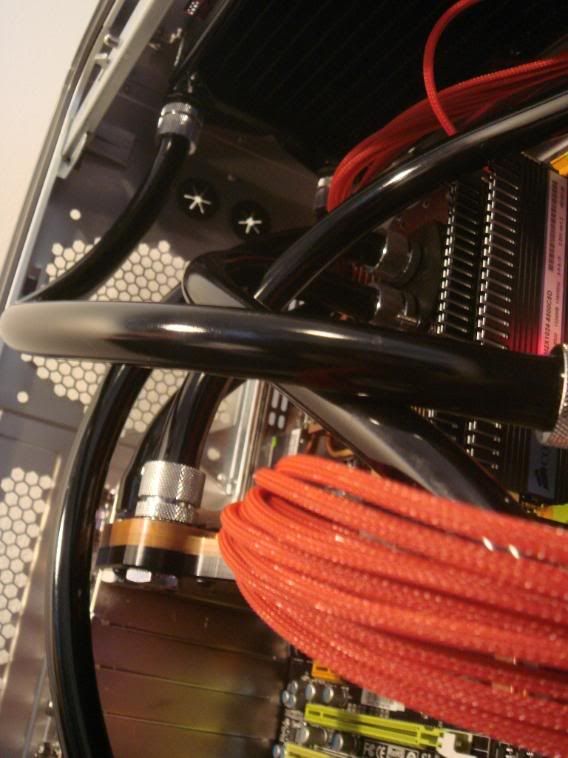
For the mounting of the 220 rad what I ended up doing was simply use some velcro to stick it to the side of the case - initially that seemed ok but I wasn't happy with the gap between the rad and the other side of the drive bays
So to fix that I took a small off-cut of tubing and jammed it inbetween the case and the rad - it also serves as a handy cable retention device for the fan cables running up to the controller. Here is a better shot of the tubing.
So currently everything is in place awaiting the delivery of the motherboard so over the next few days I will be able to put it together - do a leak test and then hopefully by the end of the weekend it will be ready to power up
That red look really nice
~~~~~~~~water ed ~~~~~~~~~~
Sry 4 my english
http://galeriawc.pl
Nice!
My Idea FTW!! hhaha
Very good sleeving bro!
Regards!
Why did you do that? For better air flow across your top rad? I think I might do that too.. did you notice any weakening of the case stability?I also used the dremel to remove the mesh from the top section of the case
and also the plastic mesh from the inside of the top grill
Yeah that was part of it - but I must admit for my TJ07 build the sleeving will be black but for this one I thought I would try something a little different. Pretty happy with the red though
I said that I would take that idea and use it in my build!
Yes it was to help with the airflow for the 320 rad up top. Case was absolutely fine afterwards
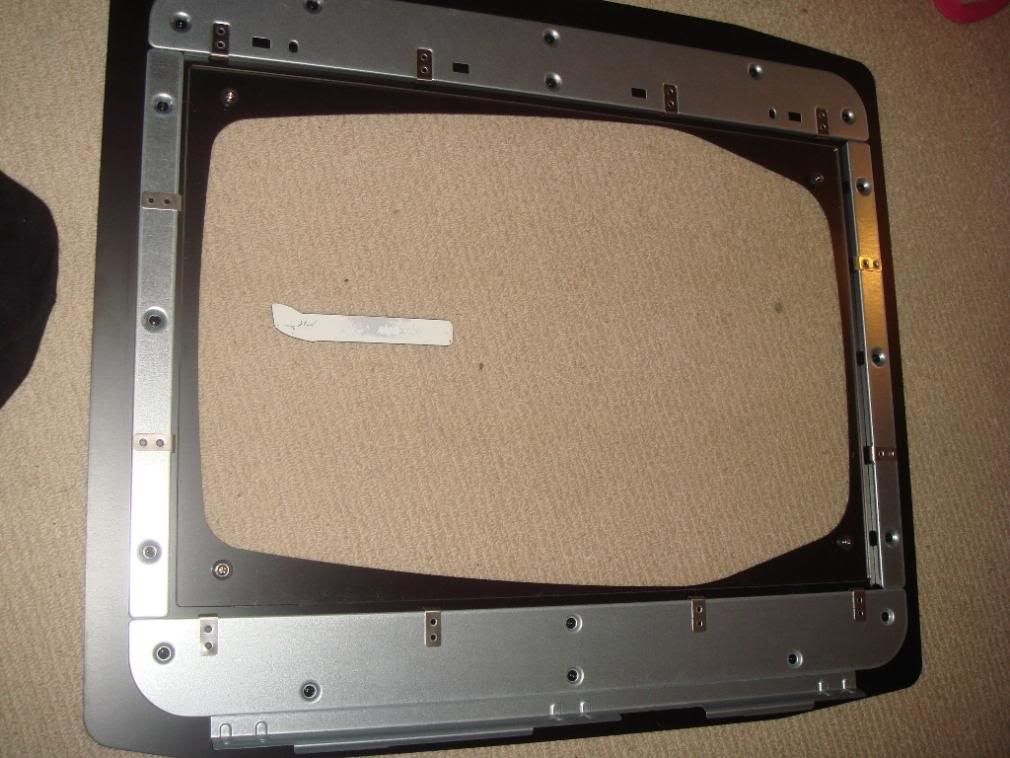
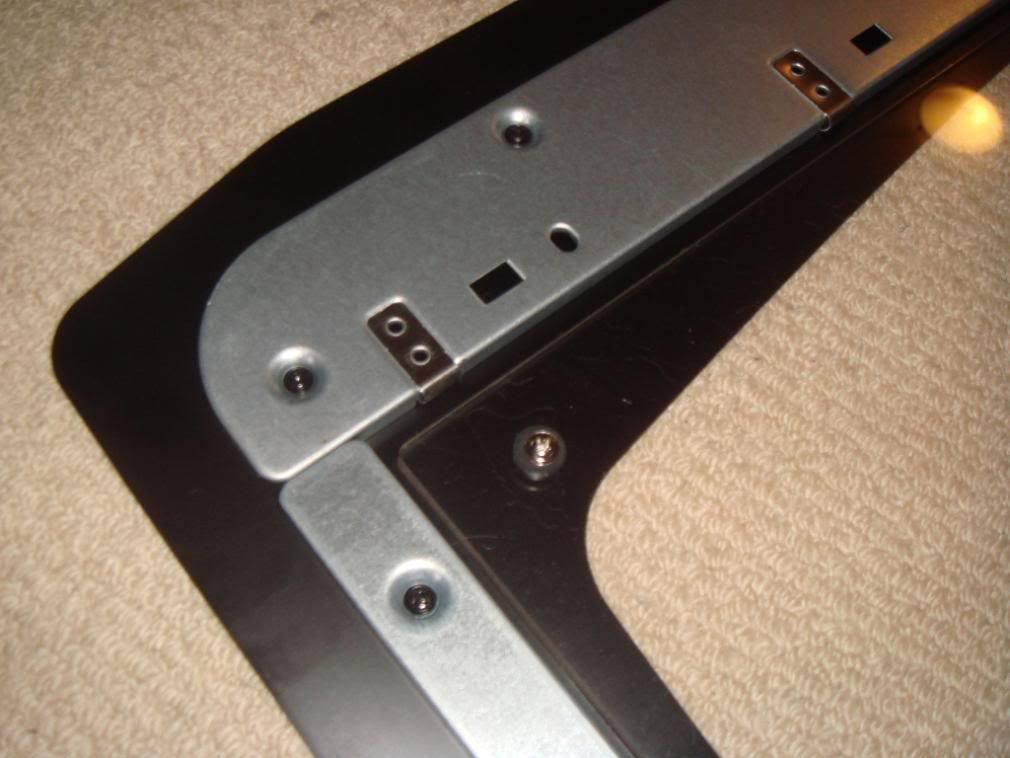
Can you show the inside of your window panel, I'm curious how you mounted the plexi glass to the metal
Sure - the window I purchased from a local shop cut to size with the holes already drilled to line up with the side panel - also included was a set of rubber washers and all you do is use the 4 screws that attach the mesh to the panel for the window. Simple as that. As for the Logo - well I simply took that off the mesh and stuck it on the window
Hope that helps
awesome, looks great
Looking very sweet. Makes me want to pull mine back apart and re-sleeve like you did, but it is such a pain getting the ATX pins out with a tool or using pins. Still maybe when I get bored.
Utnorris
CPUID http://valid.canardpc.com/show_oc.php?id=484051
http://valid.canardpc.com/show_oc.php?id=484051
http://valid.canardpc.com/show_oc.php?id=554982
New DO Stepping http://valid.canardpc.com/show_oc.php?id=555012
4.8Ghz - http://valid.canardpc.com/show_oc.php?id=794165
Desk Build
FX8120 @ 4.6Ghz 24/7 / Asus Crosshair V /HD7970/ 8Gb (4x2Gb) Gskill 2133Mhz / Intel 320 160Gb OS Drive, WD 256GB Game Storage
W/C System
(CPU) Swiftech HD (GPU) EK HD7970 with backplate (RAM) MIPS Ram block (Rad/Pump) 3 x Thermochill 120.3 triple rads and Dual MCP355's with Heatkiller dual top and Cyberdruid Prism res / B*P/Koolance Compression Fittings and Quick Disconnects.
Yeah I know what you mean about the tools - I originally bought two AC Ryan tools - snapped one and after that I simply grabbed a pack of staples - pulled two off the strip and folded them over so now they slide right in over the pin and it just pulls straight out - so amazingly simple!! If you decide to give it a go later on definately try the staple trick
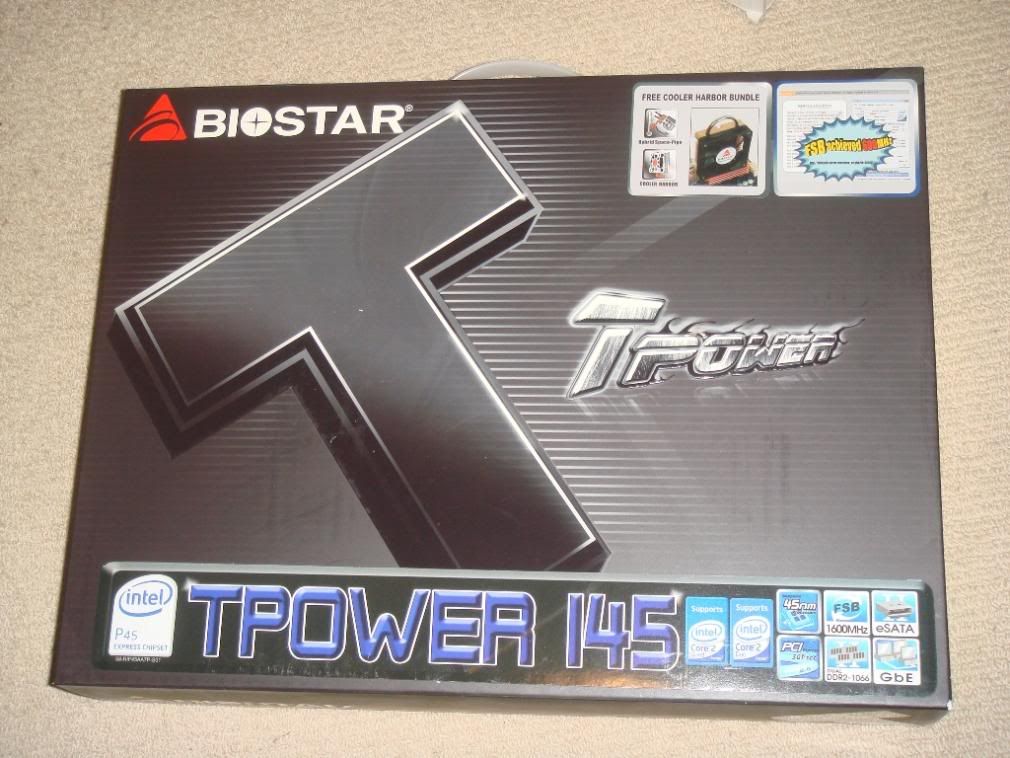
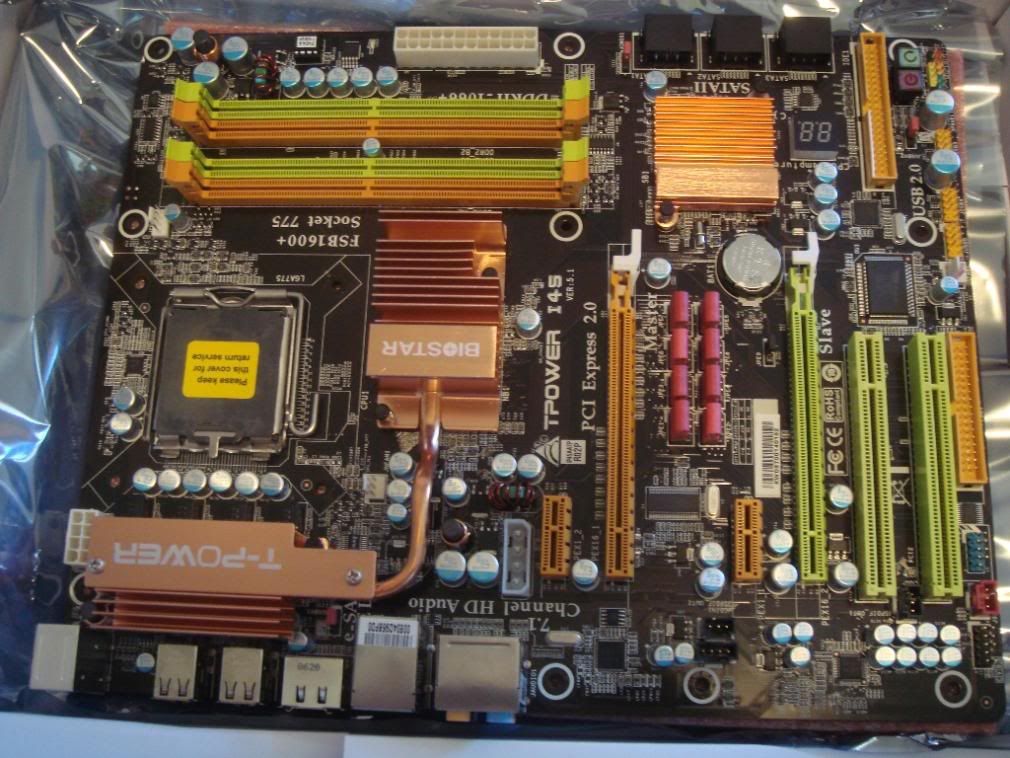
Anyway something else that you brought to my attention is this - which turned up today!
I will get this fitted in over the weekend and do a leak test and I should be able to post some pics along the way!
With that MB and the E8400 I expect to see a 4.5Ghz from you,. Seriously, this is looking sweet. Let me know what you think of the MB. I have thought about getting rid of my Blitz for it to see if I can get my Q9450 to 4Ghz.
Utnorris
CPUID http://valid.canardpc.com/show_oc.php?id=484051
http://valid.canardpc.com/show_oc.php?id=484051
http://valid.canardpc.com/show_oc.php?id=554982
New DO Stepping http://valid.canardpc.com/show_oc.php?id=555012
4.8Ghz - http://valid.canardpc.com/show_oc.php?id=794165
Desk Build
FX8120 @ 4.6Ghz 24/7 / Asus Crosshair V /HD7970/ 8Gb (4x2Gb) Gskill 2133Mhz / Intel 320 160Gb OS Drive, WD 256GB Game Storage
W/C System
(CPU) Swiftech HD (GPU) EK HD7970 with backplate (RAM) MIPS Ram block (Rad/Pump) 3 x Thermochill 120.3 triple rads and Dual MCP355's with Heatkiller dual top and Cyberdruid Prism res / B*P/Koolance Compression Fittings and Quick Disconnects.
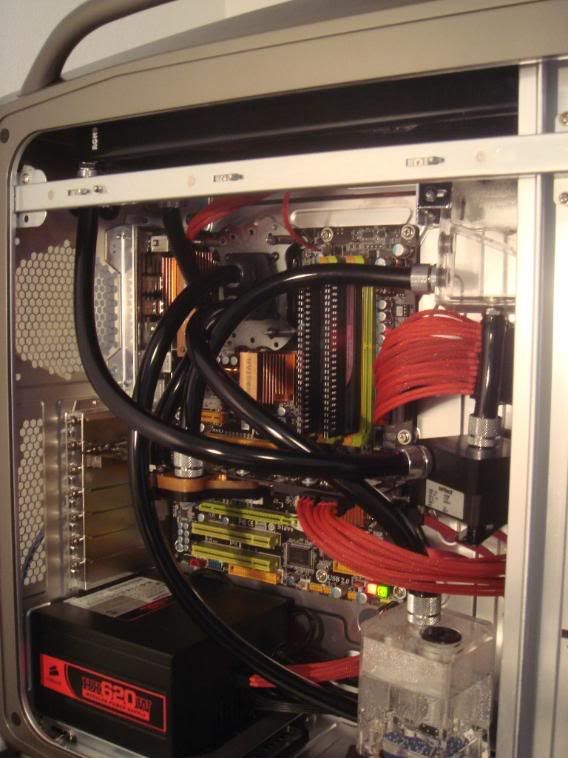
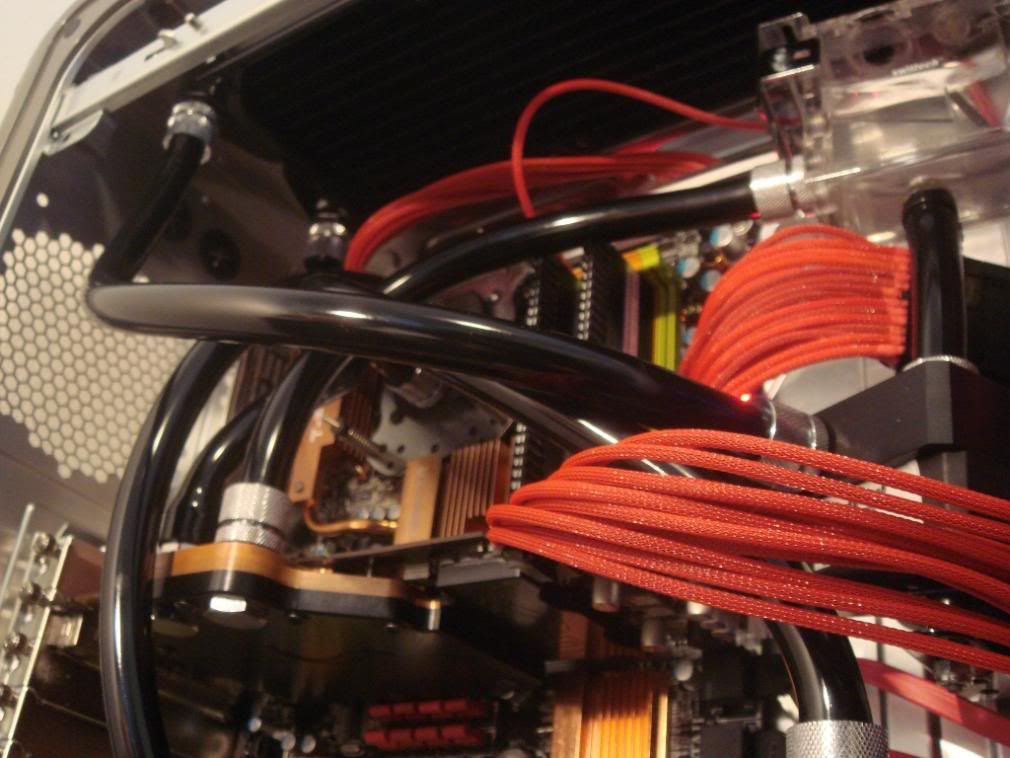
Well it has been a busy weekend but I managed to get this nearly finished - still a couple of things to do.
But first the annoying - my Zalman fan controller seems to be DOA - didnt have an opportunity to test it when I bought it and so when I started the machine for the first time...nothing...- so in the meantime I am using my sunbeam extreme till I get the Zalman replaced....so no frontal shots till then.
Oh and as the place where I was going to get my new CPU was out of stock of the E8400 and the E8500 I have resorted to taking my Q6600 out of my TJ07 to use while it is being rebuilt.
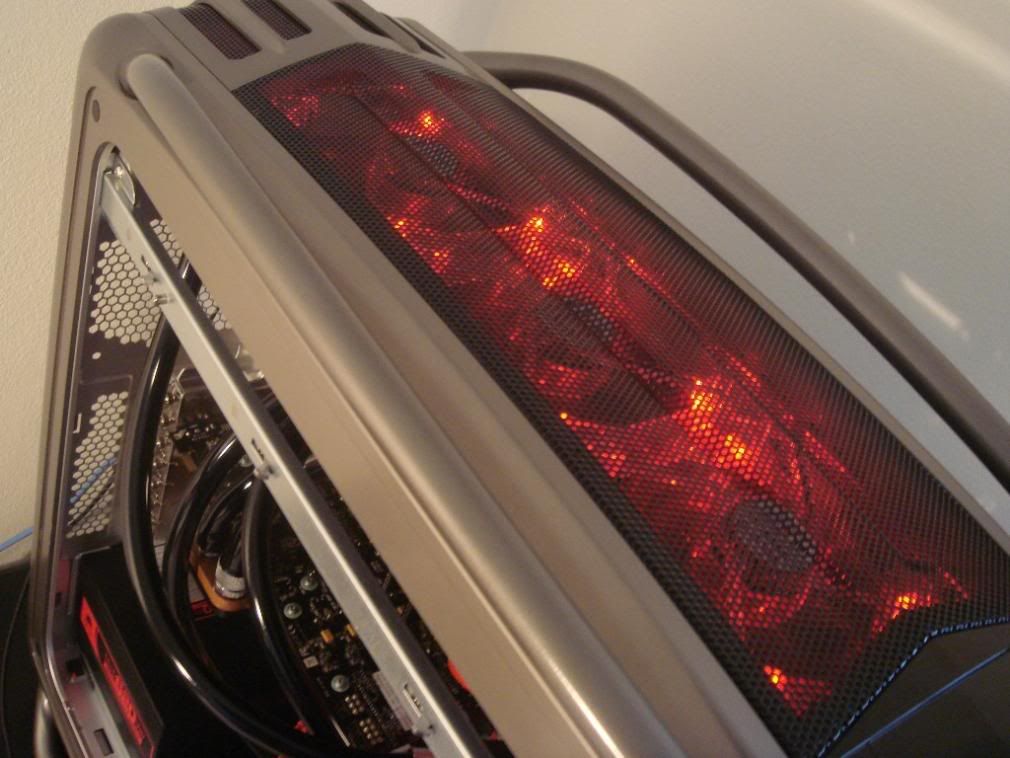
So here are some pics of the machine as it currently sits...
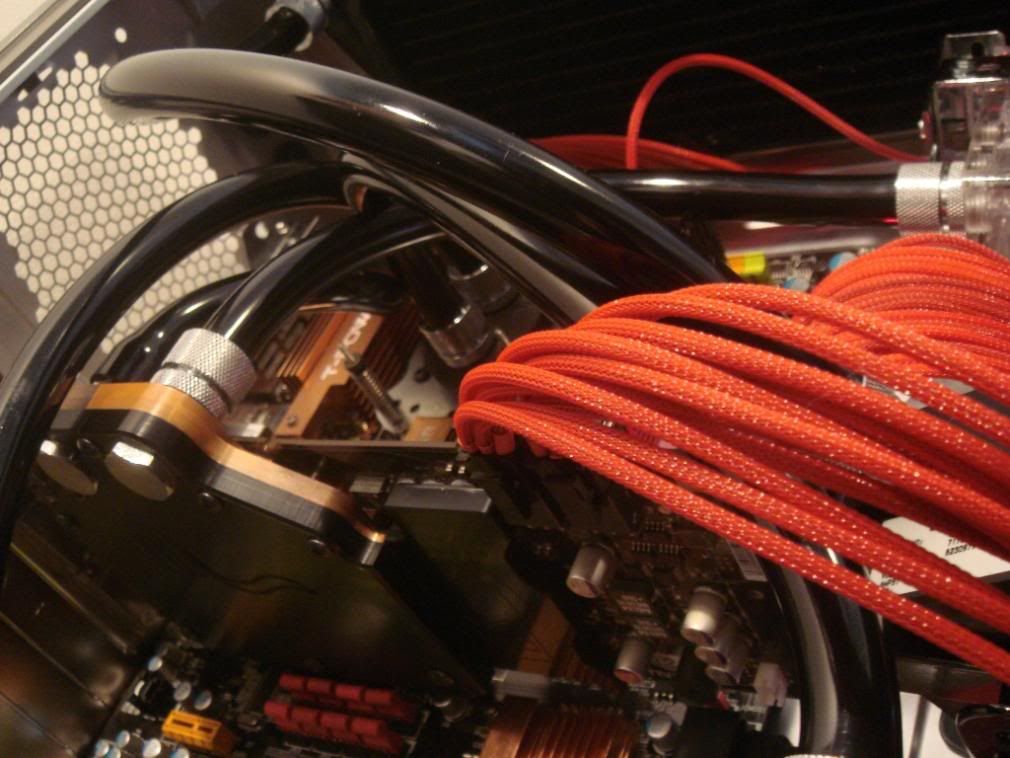
I couldn't decide between these next two
So thats this one nearly done - a little bit of cable management to be done on the back - but I cannot do that till the fan controller is back....
Till then....

The red sleeving is looking pretty nice.
mmm... computer-erotica
very clean and tasteful build
}{ my photoBLOG
Canon 5D | Canon 17-40 F4L | Canon 135 F2L | Sigma 70 F2.8 EX Macro | Manfrotto CXPRO4 | Markins Q3 | Lee filters
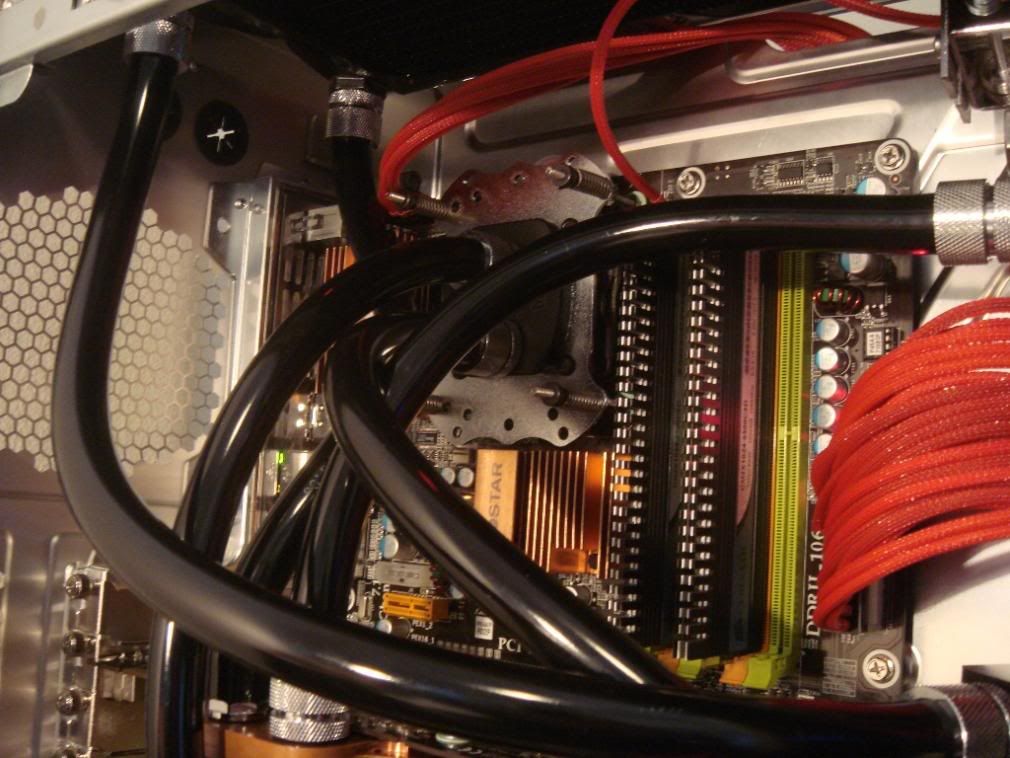
looking good mate ...I noticed the ek mounting plate on the cpu is the wrong way around ...is there a reason for that?
Thanks I am really happy with how it turned out in the end
Thankyou
yeah when I got everything I cleaned it just to be thorough and for some reason I could not get it back on...no matter which way I tried...plus the more I thought about it the more I like the rough look instead of the other way up....plus its nice to be a little different
btw everything that you send it working great - couldn't be happier!
thats awesome... yeah i tested everything beforehand so i knew it would be good..
I hate having to troubleshoot when things don't work 1st time around
Build is looking Good let us how well that mobo oc's
Thanks mate - definately will let you know about the mobo - havent really had time to oc it yet too busy playing games at the moment!
 Posting Permissions


 Reply With Quote


Bookmarks