

3/8" ftw


3/8" ftw
They say the definition of madness is doing the same thing and expecting a different result.
Howlin' Pelle Almqvist
Project Log Completed: all internal v1000
That is the best cpu waterblock I have ever seen. It's absolutely gorgeous.
Asus P6T, I7-920, 6gb ocz xmp, 4890, Raid 0-1 Terabyte, full watercooled - Triple Loop 5 radiators

lovin it
Originally Posted by skinnee


nice...
maybe get some ideas from your trip... inspiration...
Usch,
Somethings I've learned is that balancing life work family and then hooby's always is more complicated than you think.
It's been a hectic time and I'm trying to get back in the swing of things when it comes to modding. I've learned something though (since this is my first mod) that I should never, never paint first before I have everything figured out. What a nightmare this has been. To top it off, I found a window design I absolutely loved and then went and had watercut (which I have the guys email at work, and as soon as I go back on monday I'm going to link his business, because of all the places that I found in Stockholm, this guy gave me the time to listen to what I wanted and was courteous and respectful, and charged me a price that I was more than happy to pay. A couple hundred crowns and little drive got me a perfect window. He's awesome and totally respects crazy modders. All 08's should email this guy.)
Anyway, what I discovered is that since I bought the 1000b+ model, it had a fricken cut-out in the panel which LL thought people would want. Well, I figured I could just swap the panels and be done with it. How wrong I was. That little mistake has cost me so much time and dremel work that I will never show you what the insides of my panels look like, you'll only see the outsides. I had to do a lot of cutting of rails, taking off rails and reapplying them with 2 step epoxy and so on that they're a mess. Nothing I can do at this point.I thought about starting over with the whole thing, but then was like 'meh'. Live and learn. I'm already thinking about the next one and looking to use this case as a big learning project.
So let's get on with some pics eh??
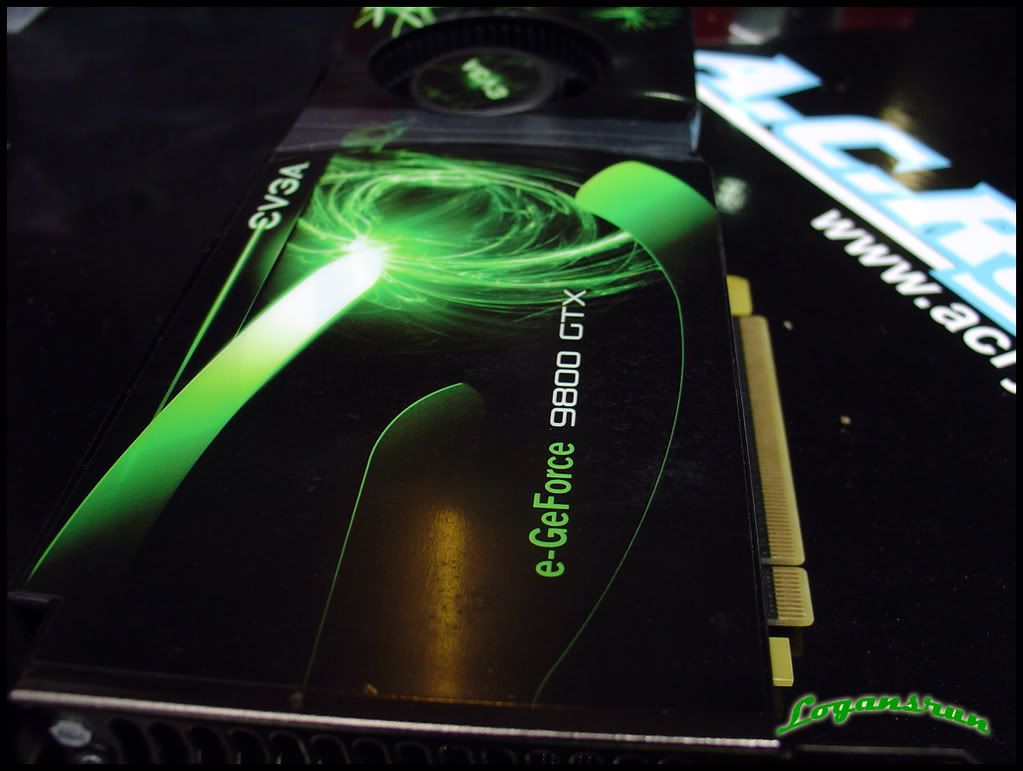
my sponsor:
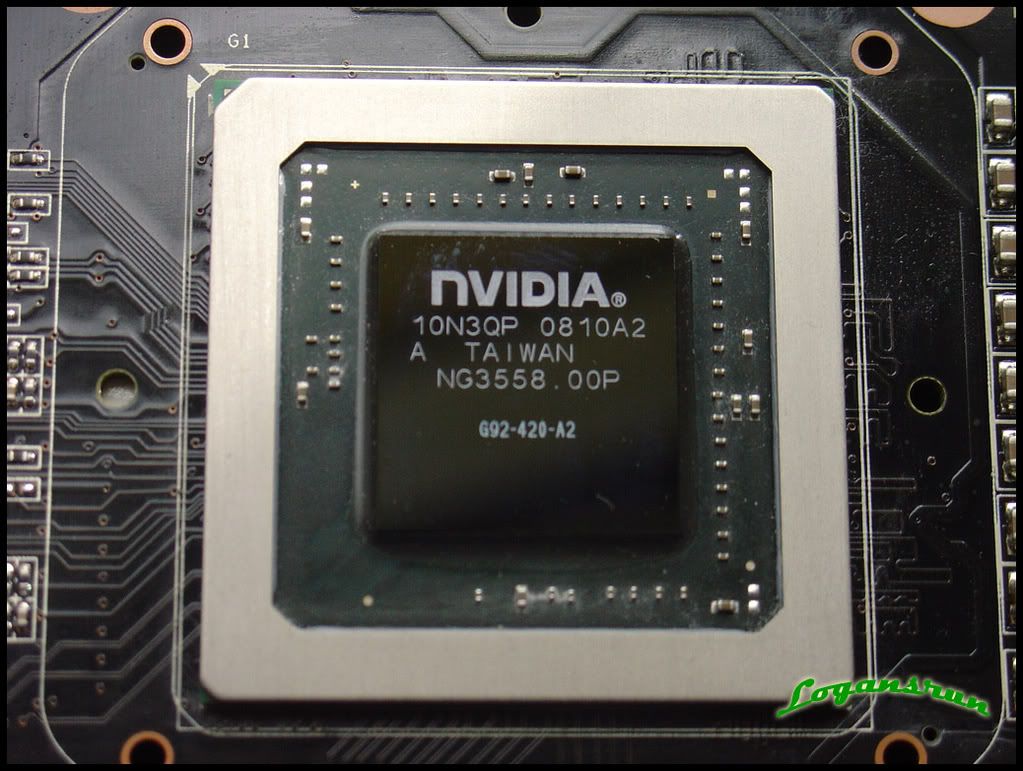
Updated my 8800GTS that I started this thread with to a 9800GTX (only to have bought it when it still cost 379USD, thankfully Tigerdirect was more than understanding and gave me the difference in credit when the prices fell through the floor)
had to take the stock cooler off for a little WC action
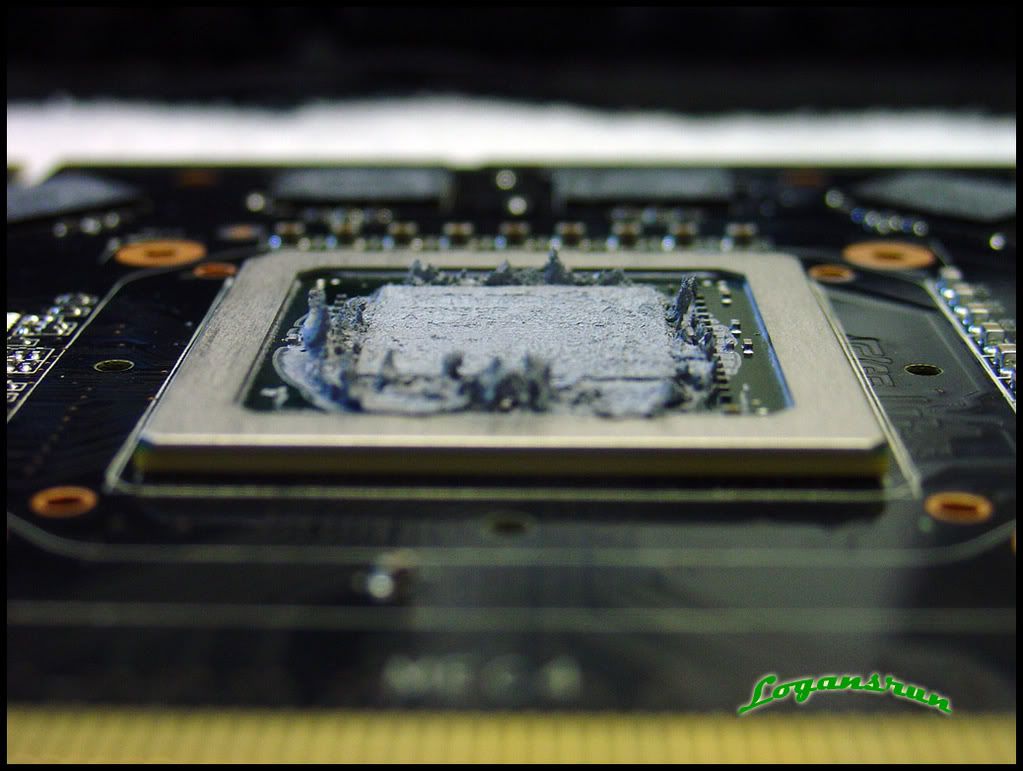
damn, that's a mess. And to continue the mess
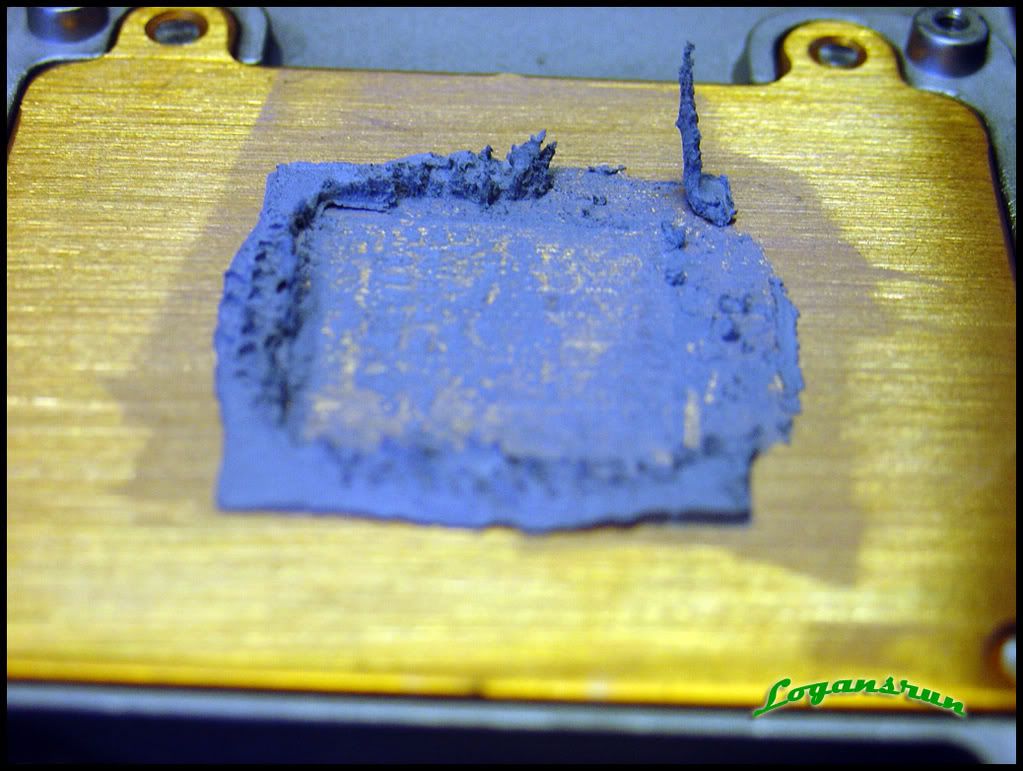
makes you wonder if they put on the paste with a butter knife.
This looks a little better:
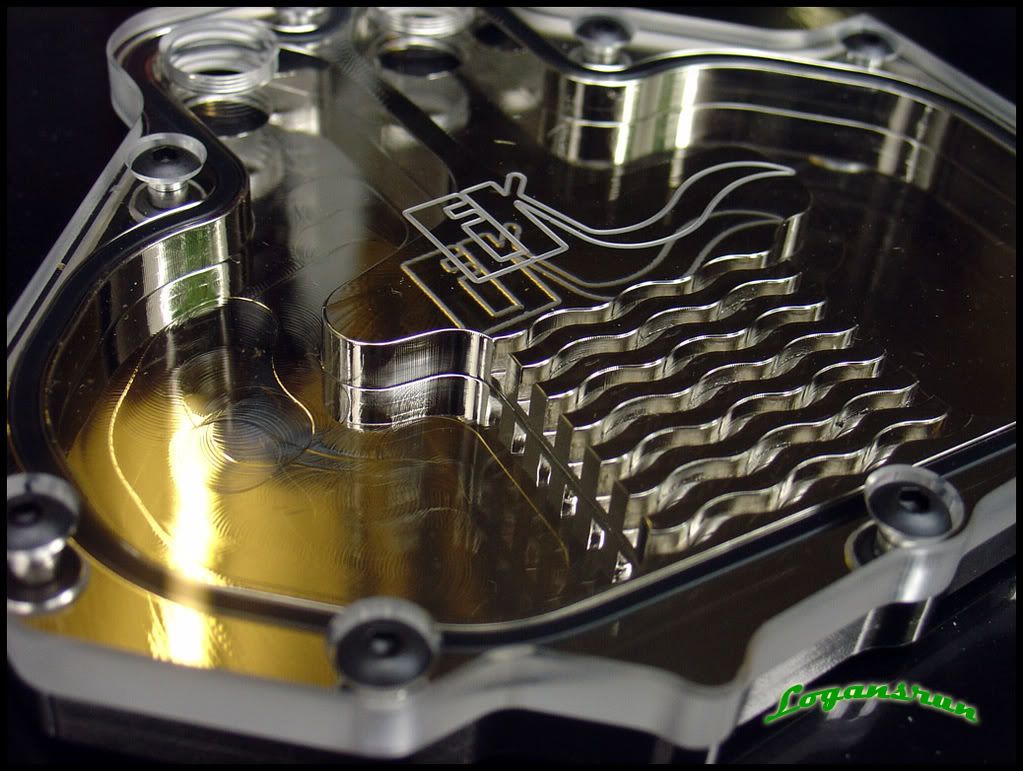
Now I needed a new GPU block for this card (oh by the way, I'm thinking about the step up program and moving into the 280GTX unless someone can convince me otherwise. . .) and hands down the sexiest block on the planet has to be this (and of course it fits my black and silvver/chrome theme)
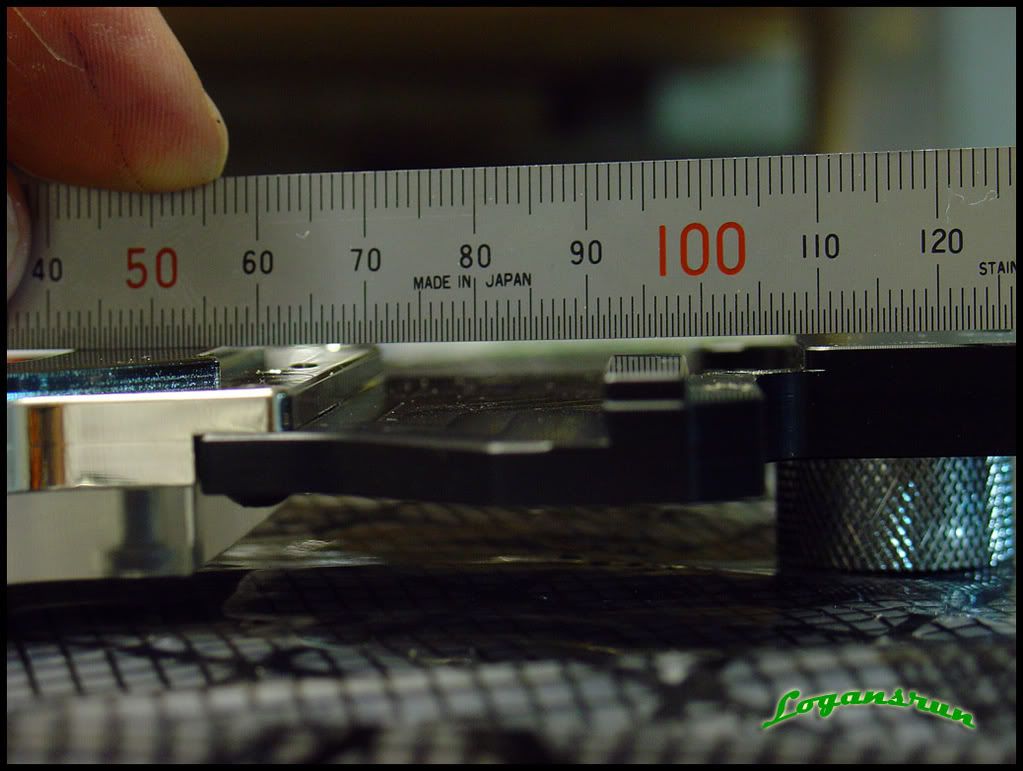
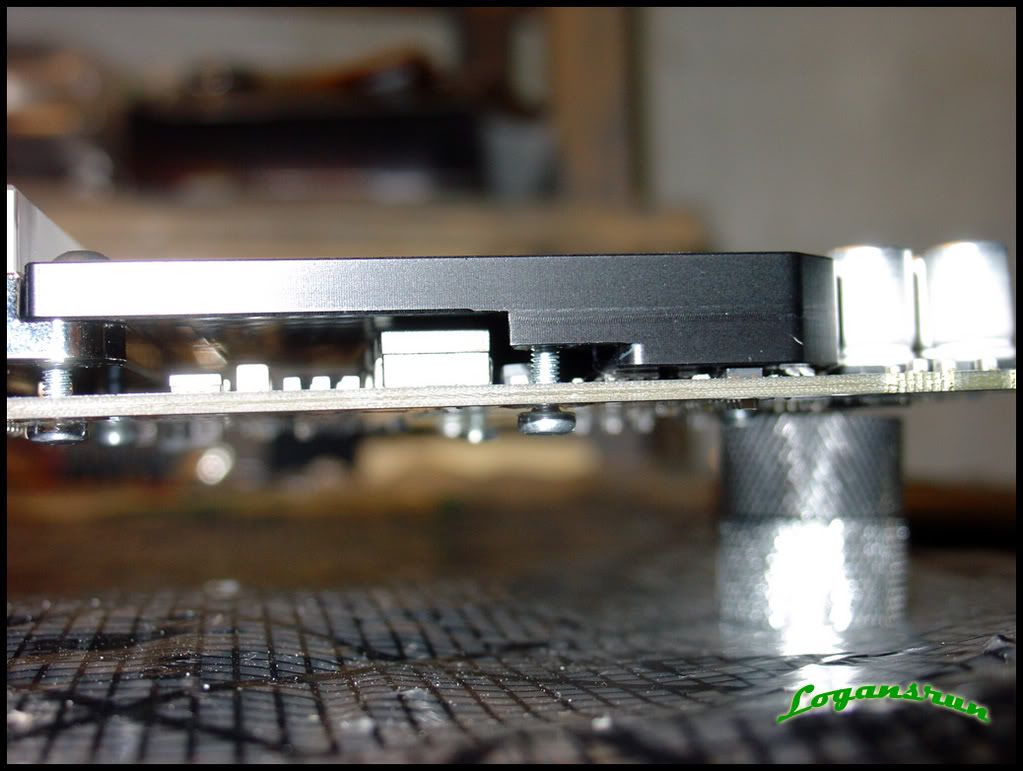
I'm a little concerned that the ALU plate rises at a slight angle:
and I emailed Eddy about it and showed him this pic:
and he assured me that it's ok and not a problem. I don't know, it's my first full cover block and I didn't think that it should bend the card, but it does a little. But Eddy said it's no worries, what do you guys think?? I know that Charles H of Murderbox had a similar issue and he changed his out, I'm wondering if I should do the same.
chaotic life:
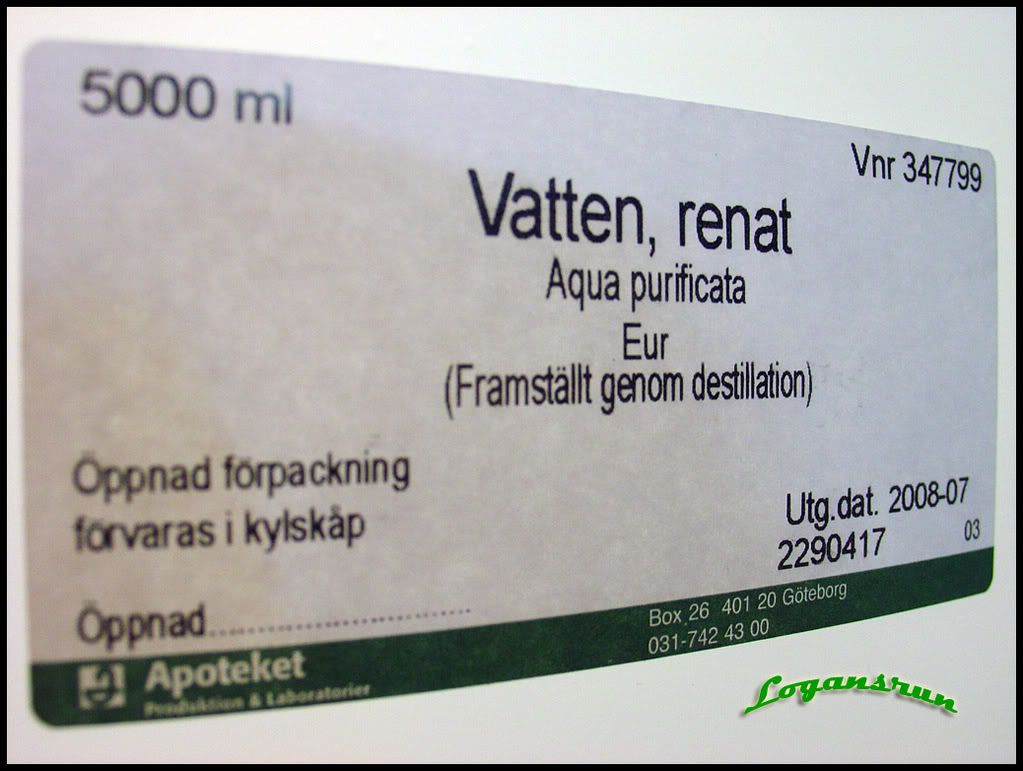
Distilled water from the Apoteket (govt. pharmacy, cost me an arm and a leg for a 5 lt jug)
got 10 ltr
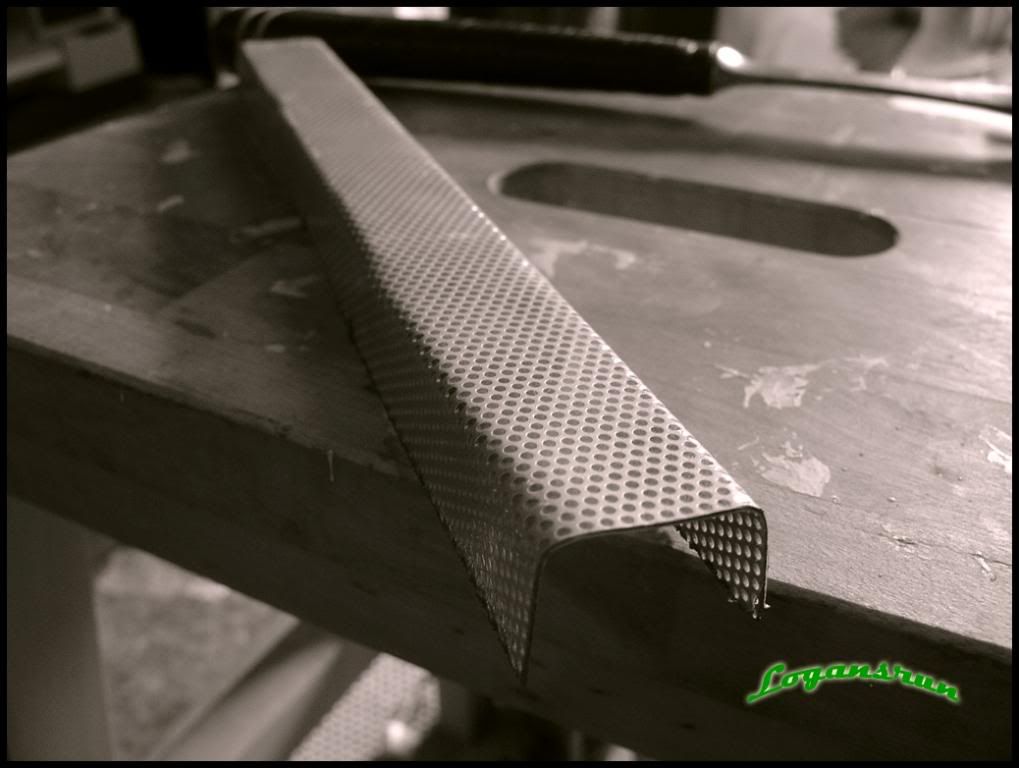
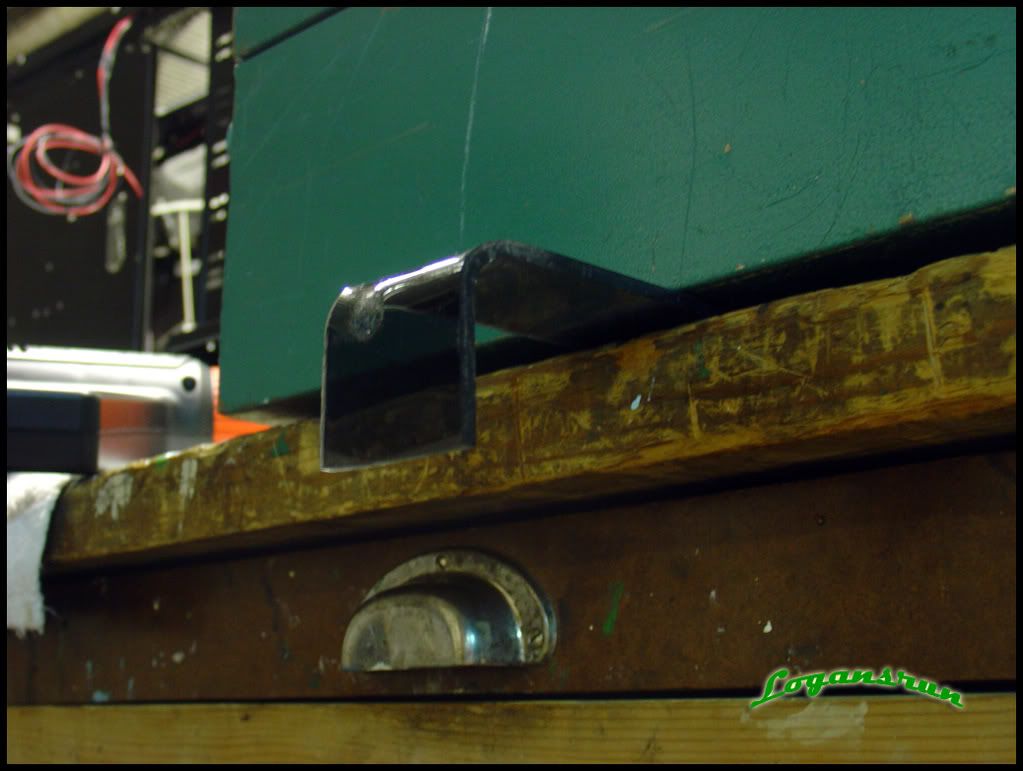
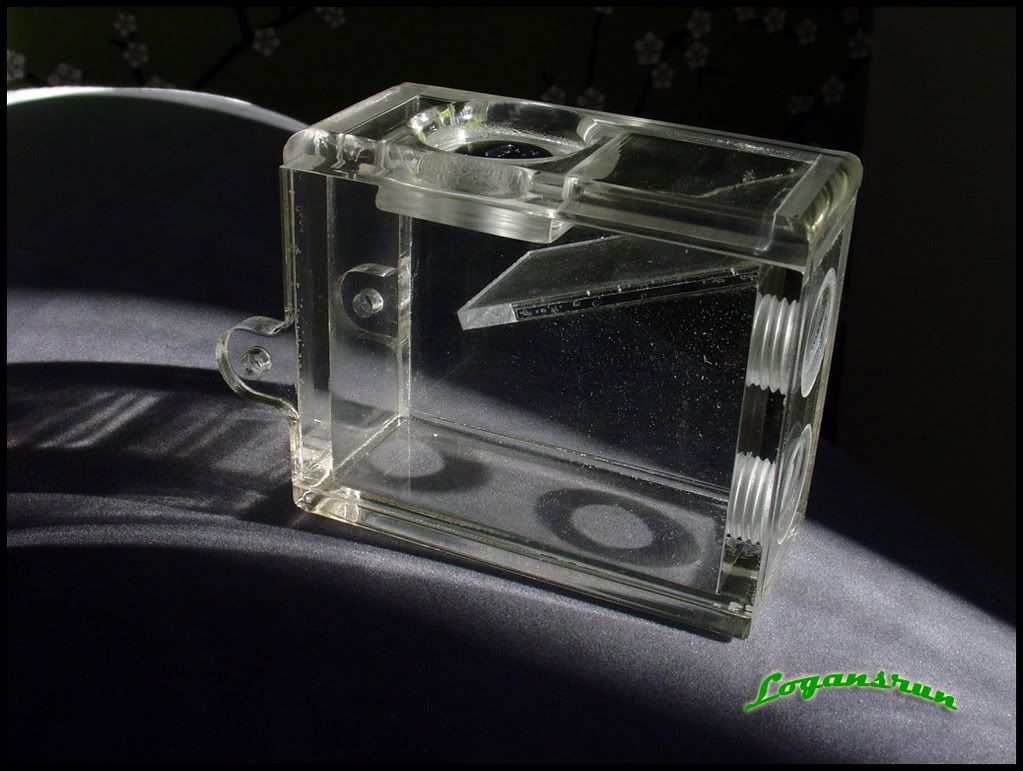
Decided to add a PA120.1 where the front fan sits, so I needed a base to rest that on (felt the weight was too much for the front fan brackets alone). Here's a little acrylic bending in process :
it'll look much better and you prolly won't see it when I'm done. It'll be just a U bracket for the PA to rest on.
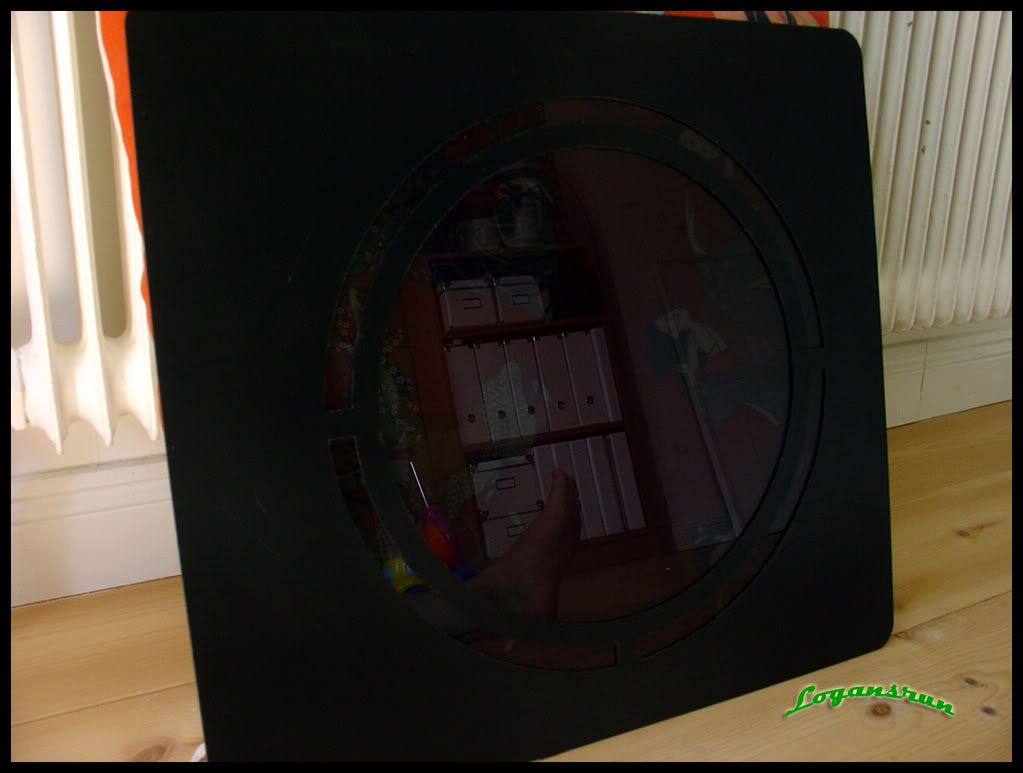
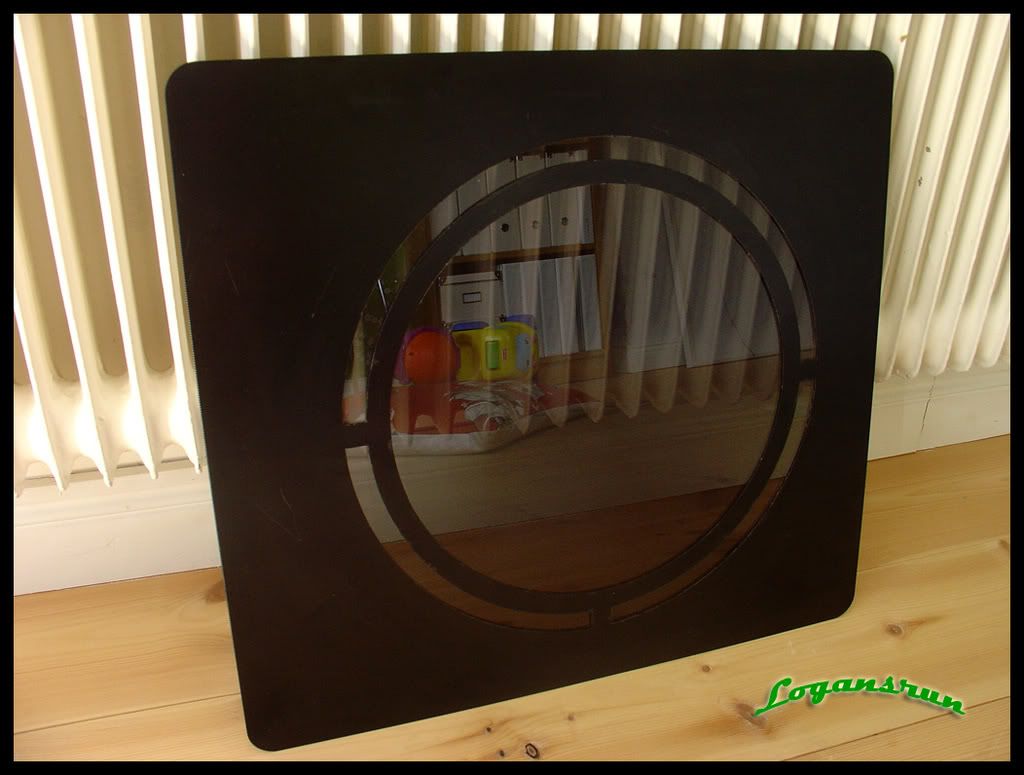
Of course now to the door:
Have some nice dark acrylic behind it with some super sticky thin double sided tape I found at an art store.
Little pic to see how it looks through and through:
ignore my big foot
So I think that's it. I've picked up a BigNg and sensor bus, have a sweet spot to put them in (gonna utilize that window panel from the other door), and can't think of a single thing left to buy. In fact, when I'm done, I'll have WC parts for 2 more rigs as I have bought so many blocks, hose, fittings, everything that I just need to find a case now. LOL
Lastly, if this thread is in the wrong section , admin please move.
They say the definition of madness is doing the same thing and expecting a different result.
Howlin' Pelle Almqvist
Project Log Completed: all internal v1000
I like it
~~~~~~~~water ed ~~~~~~~~~~
Sry 4 my english
http://galeriawc.pl
For the FC block, don't worry. Mine also bend a bit around that part and it still run great after 8 months.
ok, well that's good to know at least. I'm still wondering if I should take advantage of the step up though, I have 30 days left and rumors are Nvidia will drop prices again. . .
EDIT: As promised , here are the links to the watercutters and the acrylic shops that I found, used and think highly of their service. Perfect for those in the need in SWE 08.
Choke Ferm - Super Nice guy, willing to help, they have a fyndhörna where you can buy all sorts of 'scrap' for nothing prices. I found almost a panel sized 4mm clear acrylic piece for 20kr here. Bought my shaded acrylic but that was cut to specs, 4mm boat window the darkest they had, still cheap!
Arvid Linden Another hero, listened to what I wanted and was wiling to help out for extremely reasonable prices (my door cost less then 300kr to cut). One of the only shops that spoke to me like a real customer and didn't just quote me 1000kr to blow me off. of which there were many 08 shops.But these guys are champs.
Last edited by LogAn'sRun; 07-21-2008 at 02:30 AM. Reason: added links for acrylic and watercutter shops
They say the definition of madness is doing the same thing and expecting a different result.
Howlin' Pelle Almqvist
Project Log Completed: all internal v1000
Since I feel like I'm winding down to the end of my mod (and the strong feeling that I'll be completing this soon, I mean, my god haven't I procrastinated enough?), I've been doing some small things to kill time. Must be the fear of failure in me that I need to find other projects instead of just completing the one that I have - lol.
Anyway, I had picked up some of these as a good way to add a little wiring to my case, and I figured, what the hell they're YATES! Right? In my mind, my concept originally started as a more BLING and less ZING, but as time has progressed, I've come away from that and want to be more low key.
But why the LED fans then? Well, what if I could turn it on and off? With a little help, I was able to make a simple LED fan mod that I figured I could share with those here: so here goes.
LED FAN mini guide
When you peel the sticker off of the Yates, you're left with this:
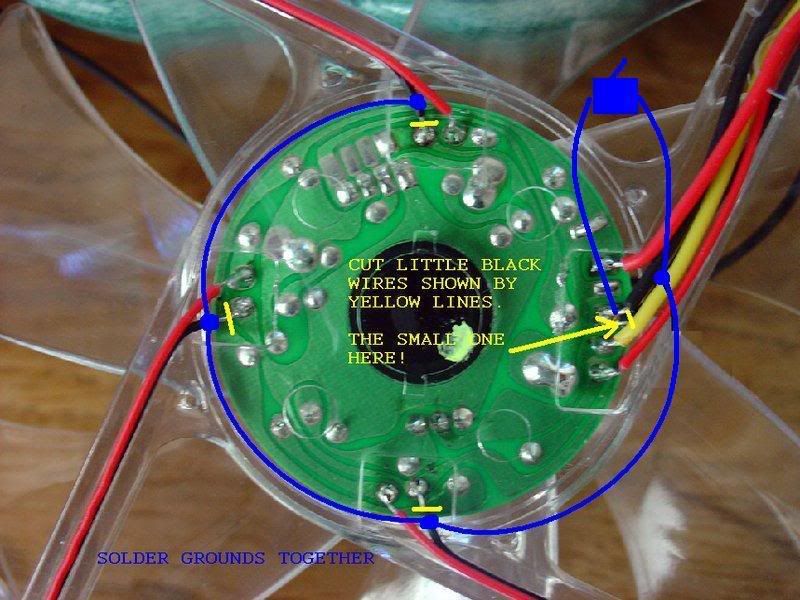
It's a circuit style LED fan which means that I have to connect the wiring together and then bring the power to an external switch that I can control. Here's the idea:
borrowed from Lost-Modder-thxs!
STEP 1
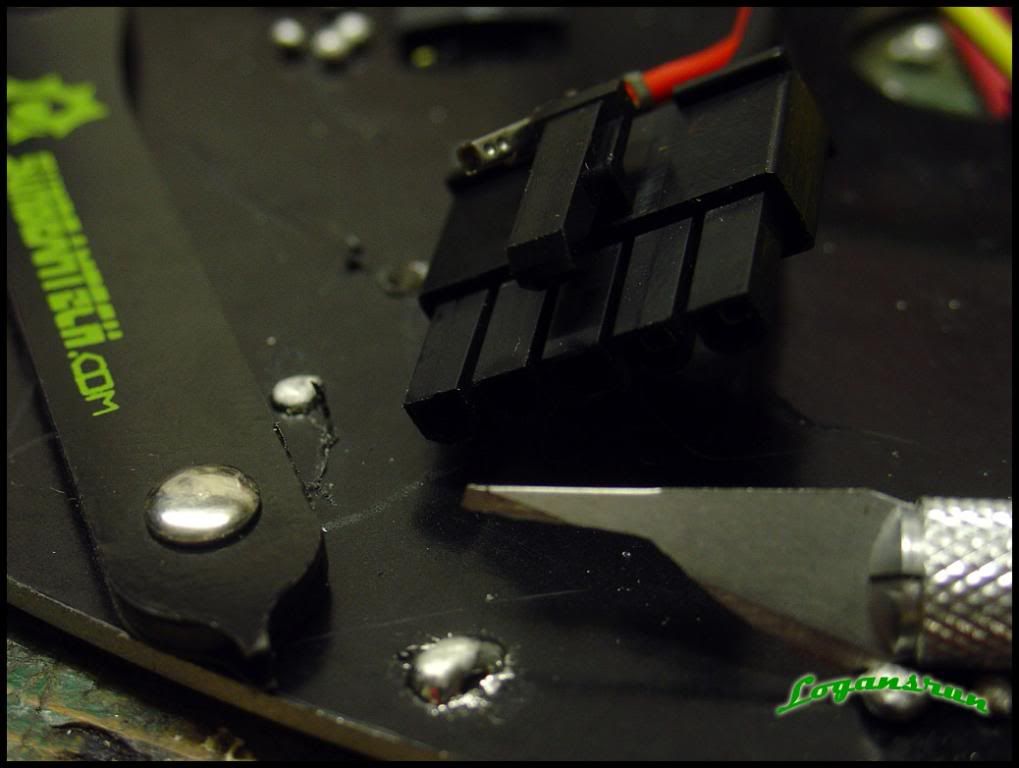
I began by cutting all the black wires as instructed that connected the LED's to the PCB board. The picture shows a wire cutter being used, but this was for illustrative purposes only; I ended up using an Art Razorblade Knife (or Exacto or whatever it's called) as the wirecutters would not fit into the small area's that were not covered by plastic.
(pic A)
STEP 2
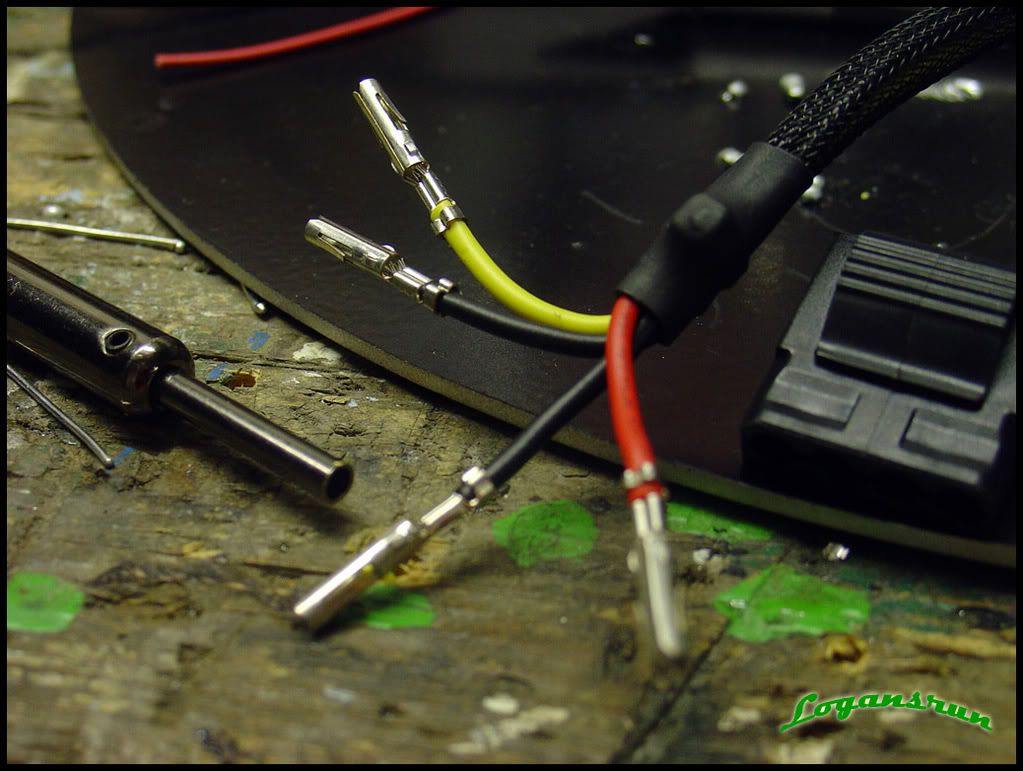
After cutting all wires I began on the side just after the main connection area so that I would end there. I began by soldering the 2 ends together, and then using the smallest heatshrink that I had. A Heat Gun is highly recommended for this. I next coupled the middle of the wire to the next end, thus saving solder steps. To do that, I cut the rubber off with the razor exposing the bare wire (pic B). I then used a slightly larger heat shrink to safeguard this coupling and moved on to the next junction. Progress is shown in pic C. and pic D.
(pic B)
(pic C)
(pic D)
STEP 3
After completing all the LED's, I ran the wire down the fan channel by the main circuit area. I then connected a new ground wire to the main connection where the LED wire was earlier. I also ran this wire down the same channel. I used a very slim piece of electrical tape to hold the wires in place. I may substitute this for hot glue later. At this point, I connected the two black wires to a non-led rocker switch. With the wires connected, I turned on the fan via my PSU (also jumping the PSU by connecting a wire from the green connection to a black/grnd connection on the 24 wire molex). It worked and the LED's were off (pic E)! I then put the LED's on using the switch (pic F), and that worked as well! I then turned it off and on for the next few minutes while patting myself on the back. Very happy with the finish here.
(pic E)
(pic F)
STEP 4 - GO NINJA!
Here's my semi-lame attempt at hiding my work, and I may change this in the future with just black elect. tape, or whatever I may find. But for now, I think it looks good from outside the case, but if you were right up on the fan, you would notice that something wasn't quite right.
What I attempted to do was burn a groove in the plastic to tuck the wires in. The problem that arose was I was nervous about going to far and dripping plastic onto the circuit board. So I only went down about halfway which left the wire slightly on top of the cover. Also, my wiring itself had been a tad too short, so that the loop isn't perfect or a perfect circle, it pulls a little in.
After the groove was cut, I reapplied the sticker and that's what you see in the last picture (pic G). What's left to do is sleeve the exposed wires with black sleeving, and then decide where the switch will go.
(pic G)
I didn't take any pics of the rocker switch, but this is simple to do if anyone wants to see that. If there are other pic requests, just ask as I may do 1 more fan and can take more pics.
Again, thanks for the help, and I hope this mini guide helps you!
They say the definition of madness is doing the same thing and expecting a different result.
Howlin' Pelle Almqvist
Project Log Completed: all internal v1000
HiHi,
I've been busy with the build, so busy that I stopped taking work pictures and feel that you all may be more interested in a final pics instead. TOO BAD! Not today anyway. Here's a few work pics to show a little of what I've been up to, and hopefully final pics will be this week (or next week at the latest).
In no particular order:
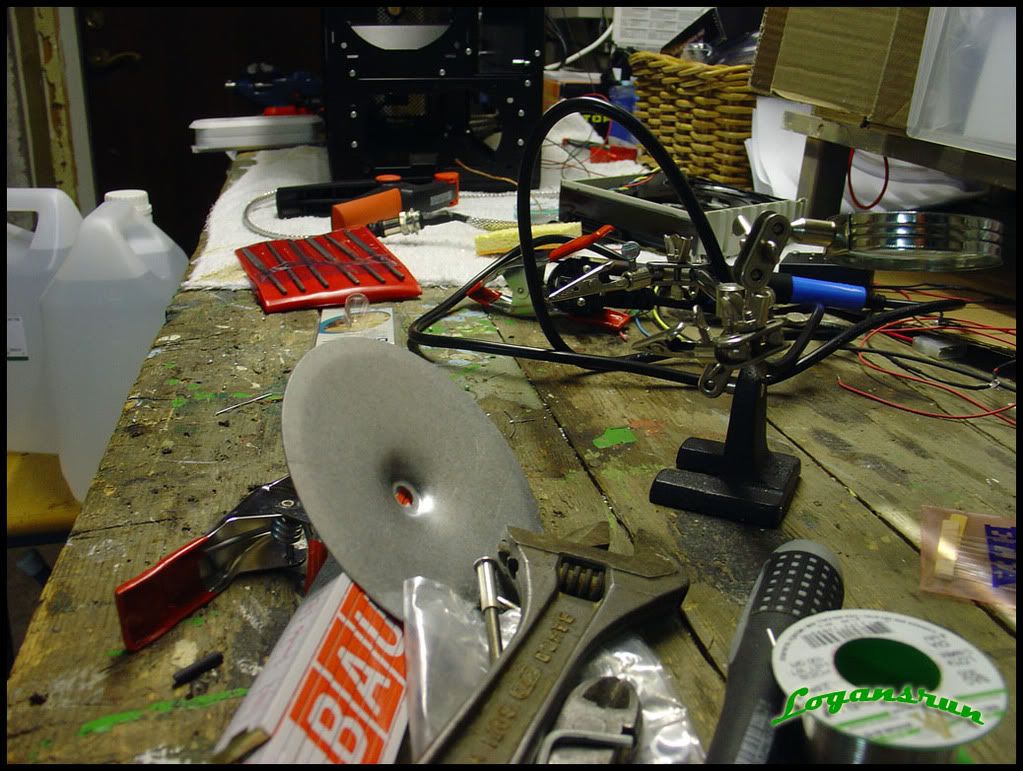
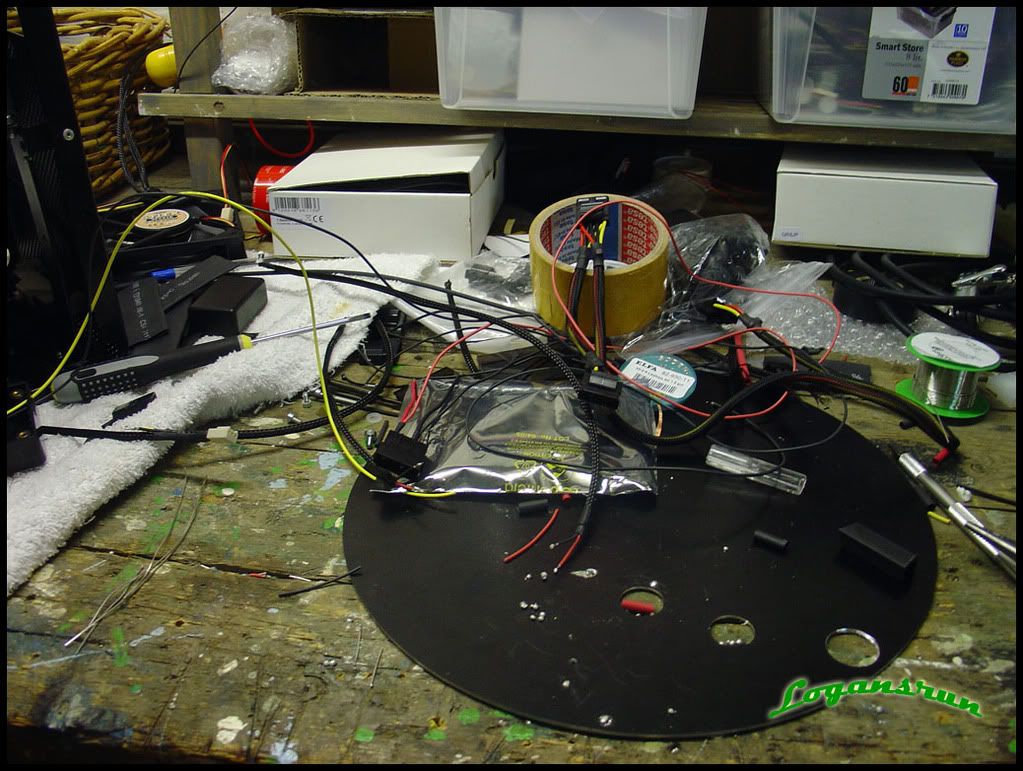
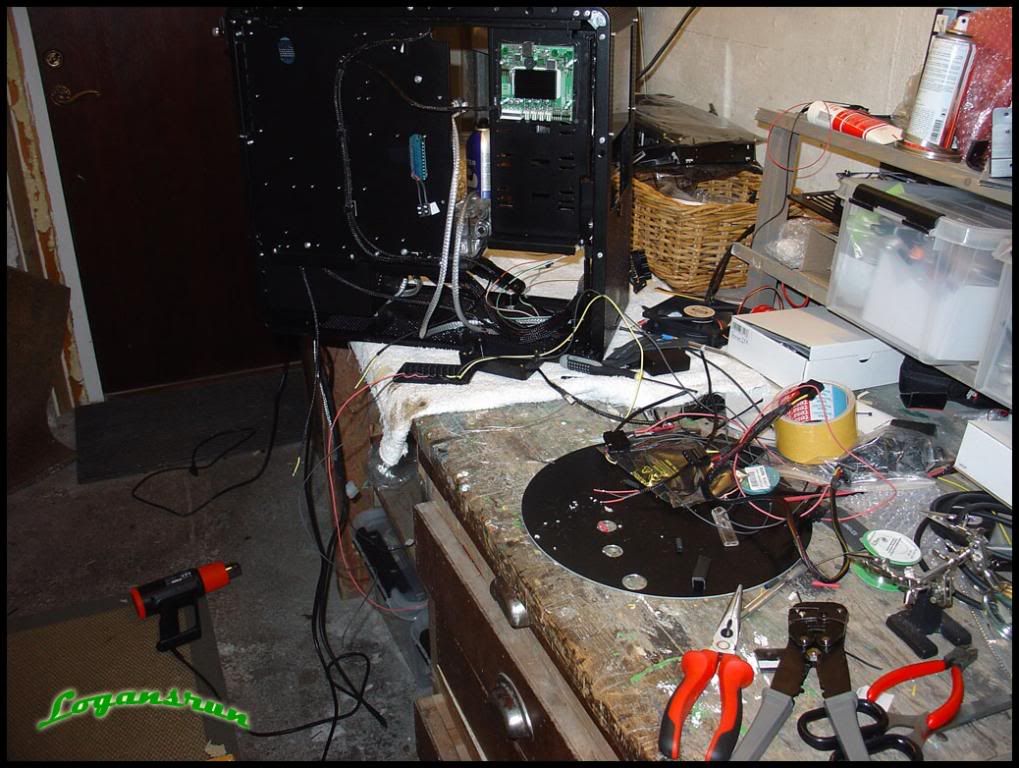
the calamity of a busy workspace
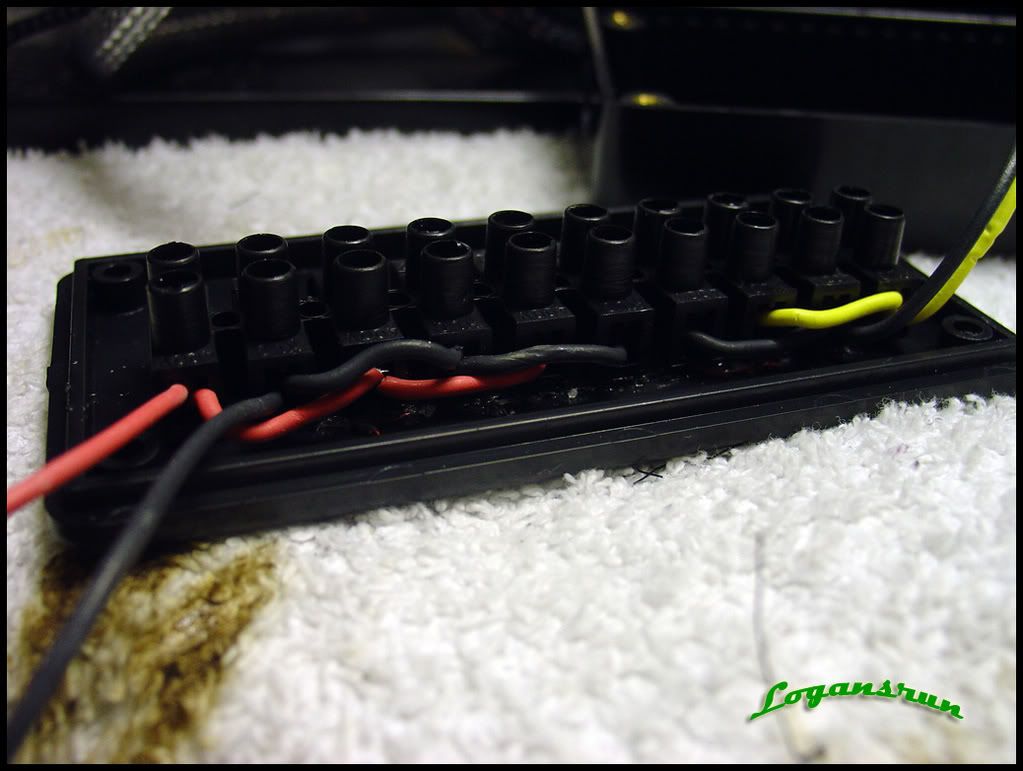
wiring
more wiring
even more wiring
Evil-98 inspired mod (thanks for the advice btw!)
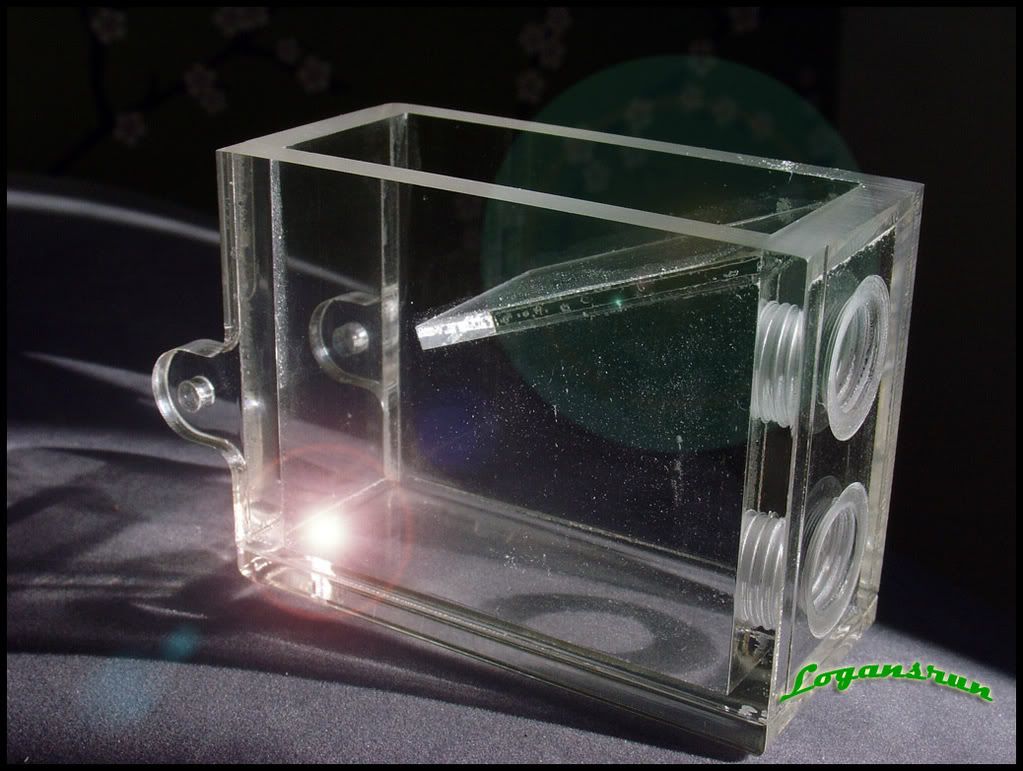
a small step in the lid
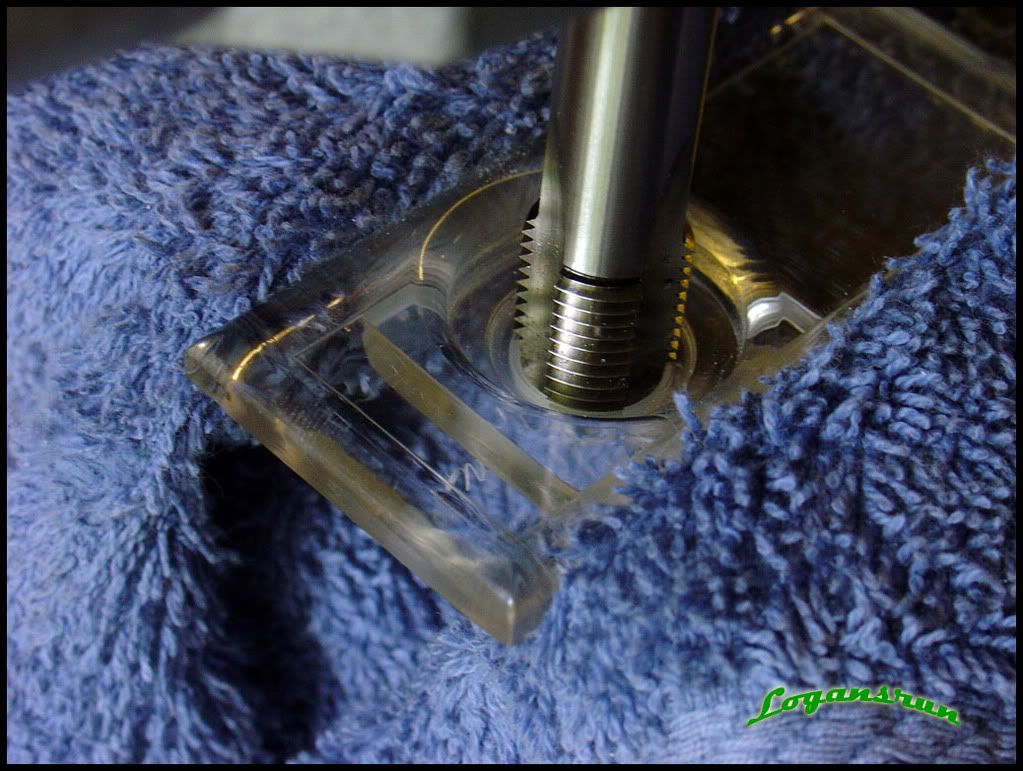
needed one of these (talk about expensive)
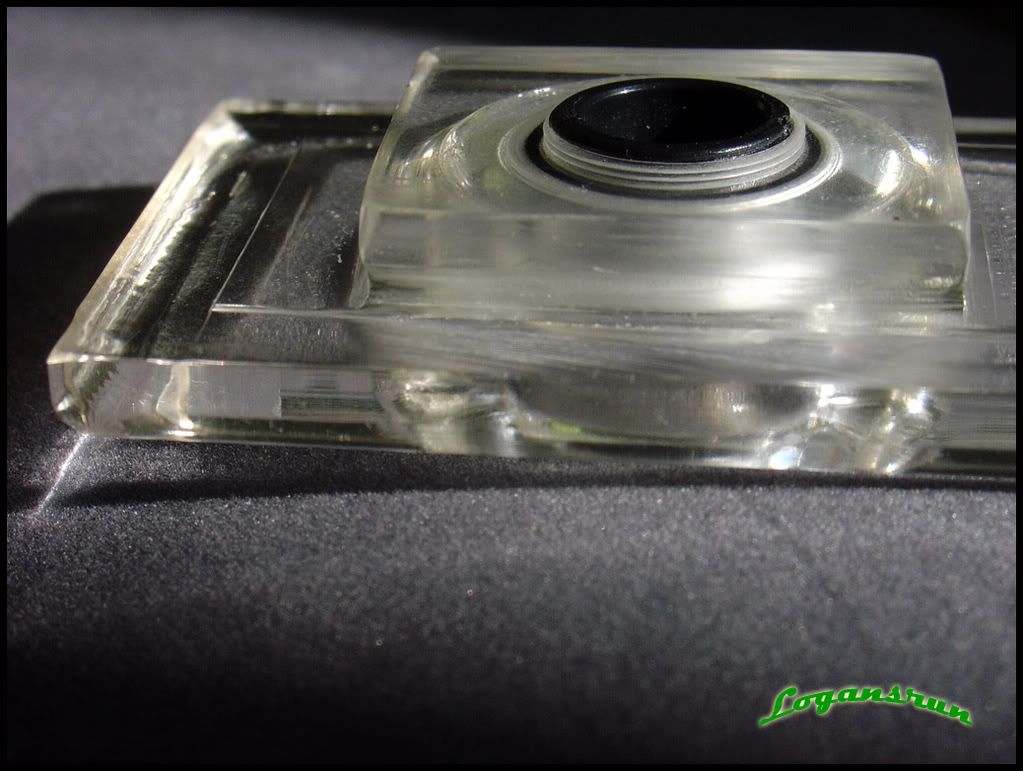
and a little glue
and we got this
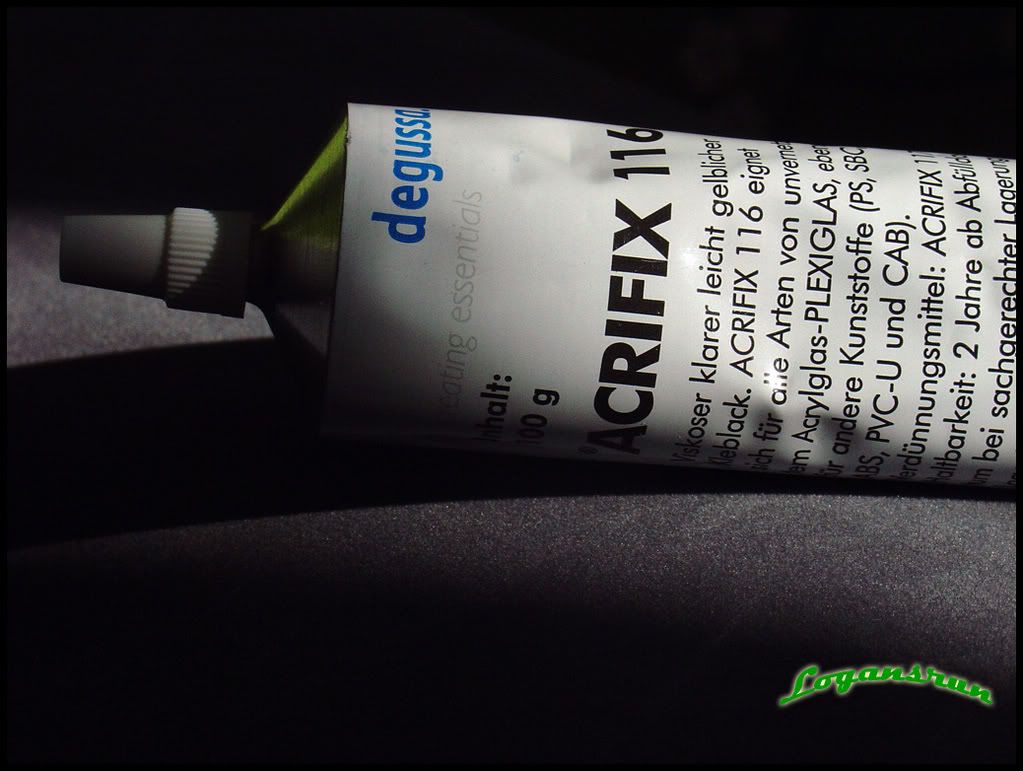
but that wasn't until after I used this
so that's it. For now. You wouldn't believe how much time I've spent wiring, shortening and lengthening and sleeving and finally routing of wires.
Soon, it will all be done
They say the definition of madness is doing the same thing and expecting a different result.
Howlin' Pelle Almqvist
Project Log Completed: all internal v1000
Mcres was small now is tinybut still nice looking

~~~~~~~~water
Sry 4 my english
http://galeriawc.pl
some more random pics
like I said, the calamity. . . (note to self, never put heat gun in lap directly after use)
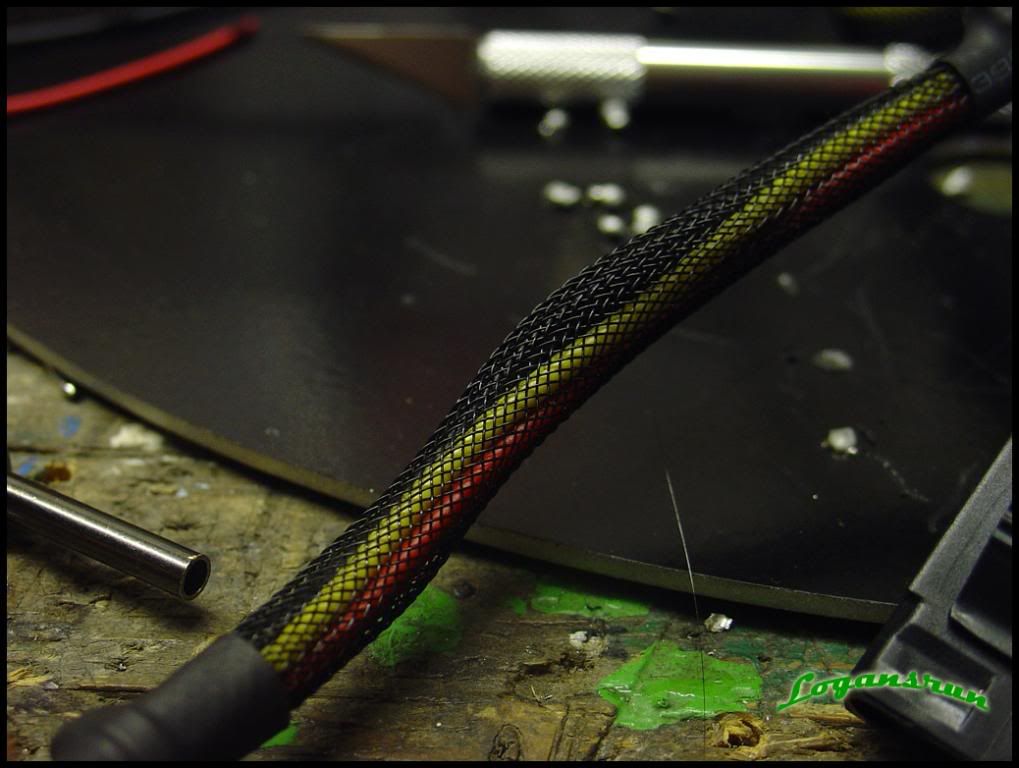
the crappy sleeving which started the problem in the first place (problem = lost days to sleeving and wiring)
I sleeved so much, I broke my sunbeamtech pin remover tool and had to dremel me a new one outta a razorblade. . .
I wonder where this will go. . ..
They say the definition of madness is doing the same thing and expecting a different result.
Howlin' Pelle Almqvist
Project Log Completed: all internal v1000
I like what you did with that micro-res...Great work
- Case : Silverstone TJ07 Black
- Sound : Asus Xonar Essence STX
- Video : Asus GTX 680 4gb w/ Ek Nickel Block
- Board : ASUS Maximus V Formula Z77
- CPU : Core i5-3570K @ 4.5 Ghz
- CPU Cooler : EK-Supreme HF w/Plexi Top
- Memory : 16GB Samsung 2133mhz 10-9-10-29
- PSU: Enermax Revolution 85+ 1050w
- HDD : Crucial 250gb M4 Raid 0
- Radiator : Thermochill PA 120.3
- Reservoir : EK-Multioption Res 250 Rev.2
- Water Pump : Laing DDC-3.2 w/XSPC Top
LogAn - I've been thinking about doing something exactly like this so I can put my whole rig into "stealth" mode with all the lights out. I've been hesitating because I didn't want to trash a fan. Thanks for showing how it's done and giving me the push to 'just do it'.
w00t! the micro res looks good! better then mine
I didn't see an answer to this, were you refering to this:
http://en.wikipedia.org/wiki/The_Sha...Things_to_Come
Nice job!!!
Thanks!!!!!!!!
If you need more help, let me know, it was actually quite easier than I expected and my 'job' isn't perfect by any means (I was too scarred to create a deeper channel in the plastic with my soldering iron to hide the cables - I was afraid of going through the plastic)
Thanks d00d! You're my inspiration for that
Well, that wasn't exactly what I was looking for, but I'll give you bonus godis for that. PM your address to me and I'll ship em out
What I was referring to was an oblique reference to a great Swedish Band which if you knew them, you might have gotten the clue. . .
They say the definition of madness is doing the same thing and expecting a different result.
Howlin' Pelle Almqvist
Project Log Completed: all internal v1000
Tja svenne
Nice build going on here
You're attention to detail is amazing! This is an awesome reference, the photos are excellent!!
Keep up the good work! (subbed)
insane pc. subs'
Corsair Obsidian 650D - EVGA P67 FTW - Samsung F3 1Tb - 8Gb A-Data cheapest crap DDR3 - Intel Core i5 2500K w/ Corsair H50 - EVGA GTX 295 co-op - Corsair AX650
Wow lovely photos. It's good to hear that this build is almost complete.
Thanks for all the comments guys!!!!
I've had a slight hiccup with some electronics and I'm trying to figure it out. My BigNg isn't playing nice with the LED fan and seperate lighting switch and before I short out the BigNg I need to see if there's something wrong somewhere.
Sadly, no pics will posted this weekend , sry
They say the definition of madness is doing the same thing and expecting a different result.
Howlin' Pelle Almqvist
Project Log Completed: all internal v1000
micro res to mini res... nice work. keep the pictures coming...
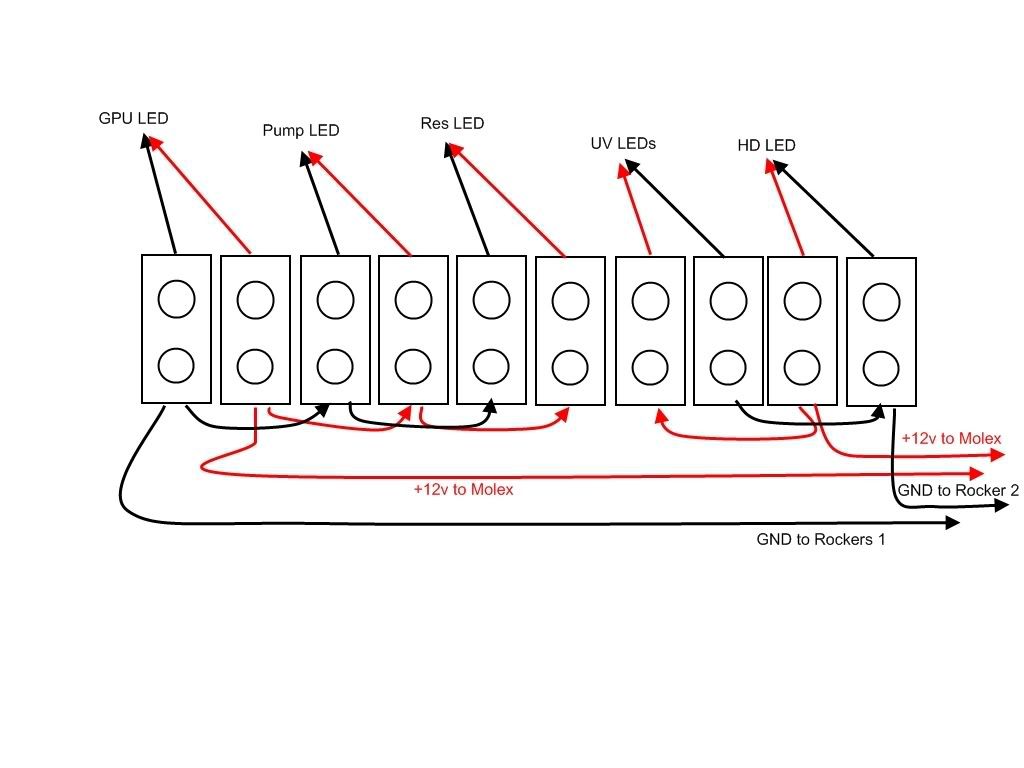
well, I got my electronics issue solved, so I thought I'd post my diagrams to give you a sneak peak at what's to come. . .
Complete system:
JunctionBox Closeup:
Cablehell:

They say the definition of madness is doing the same thing and expecting a different result.
Howlin' Pelle Almqvist
Project Log Completed: all internal v1000
 Posting Permissions


 Reply With Quote


 )
)

Bookmarks