-
Armor.exe
Hi, welcome to my humble build log. This is my:
First time painting,
First time modding,
Second time computer building.
I would really like some feedbacks on what I could have don't to yield better result. Anything, anything at all feel free to comment and criticize. Mistakes are the best material to learn from .
.
==============================
Spec:
CPU: i7-920
Motherboard: Foxconn Bloodrage X58
RAM: OCZ DDR3-1600 6GB w/ custom ramsink
GPU: [unknown]
PSU: Corsair HX1000
HDD: WD WD6401AALS Matrix RAID-0 [300GB Vista, programs and games]
HDD2: WD WD6401AALS RAID-1 [500GB Mirrored storage]
HDD3: Maxtor Diamond 10 300GB [for Win7 beta]
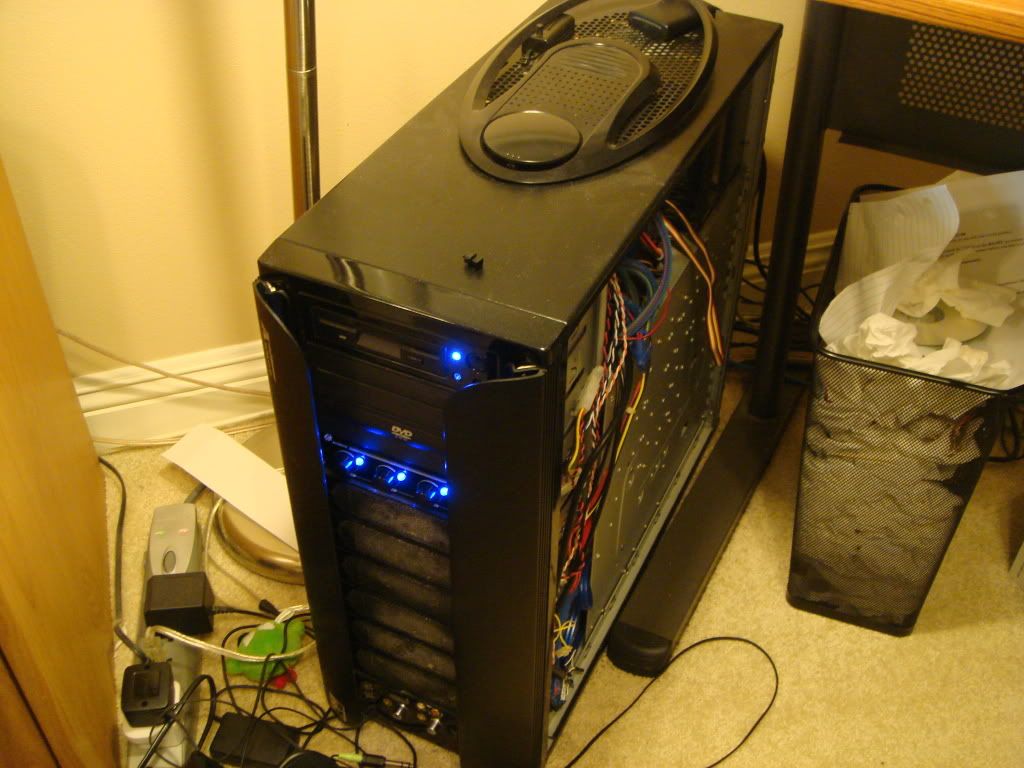
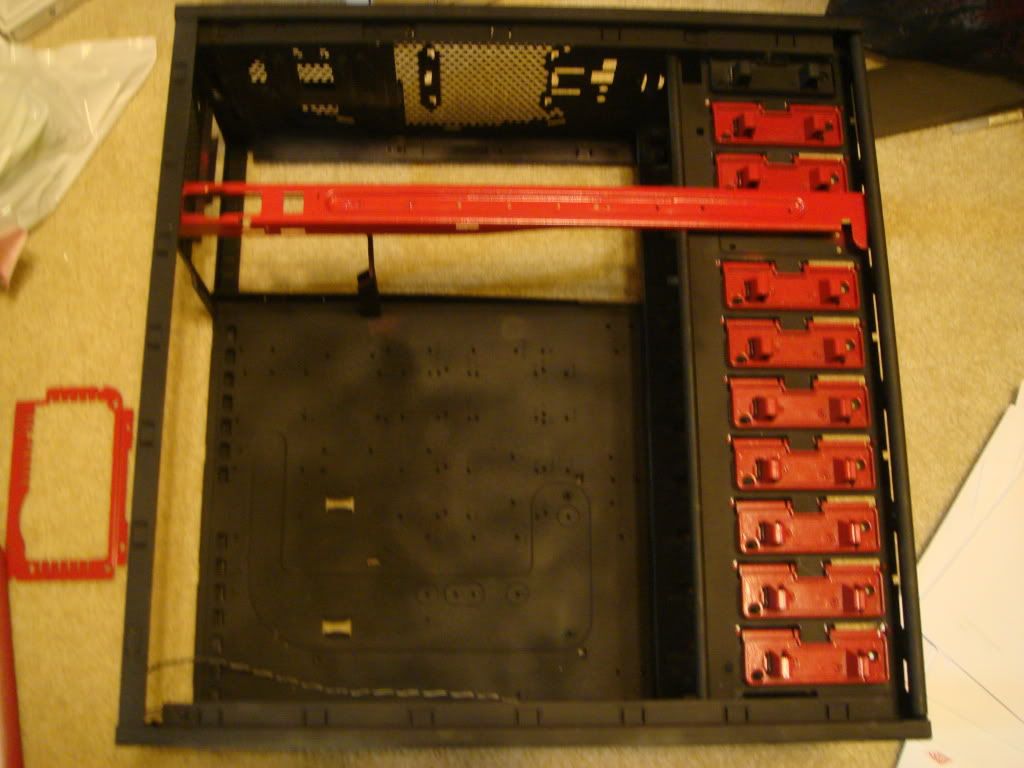
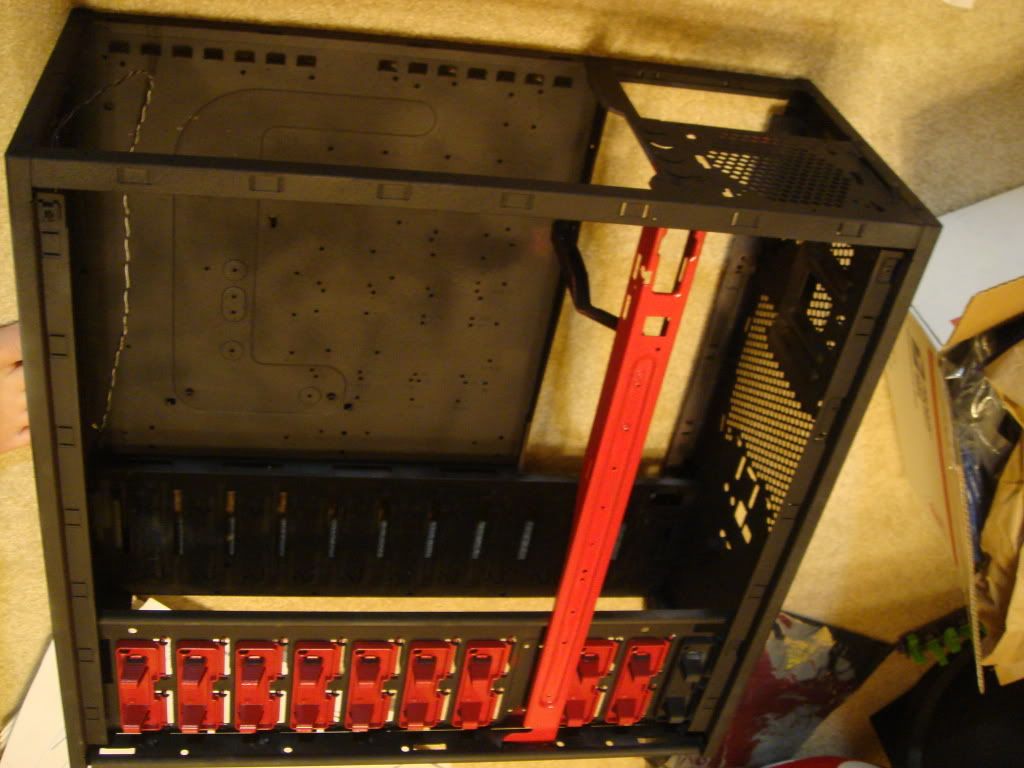
Case: My old TT armor 
==============================
Water-cooling:
1 x Swiftech GTZ CPU water block with i7 mount
-1 x XSPC 4870x2 FC water block
1 x Thermochill PA 120.3
1 x XSPC RX240
2 x MCP355 DDC3.2 pumps
1 x XSPC DDC reservoir top
1 x XSPC DDC Acrylic top
1 x Swiftech Micro Res v2
-1 x Swiftech "Radbox"
? x Masterkleer 7/16ID 8/5OD clear tubes
2 x Killcoil Silver
==============================
Case in the past:
==============================
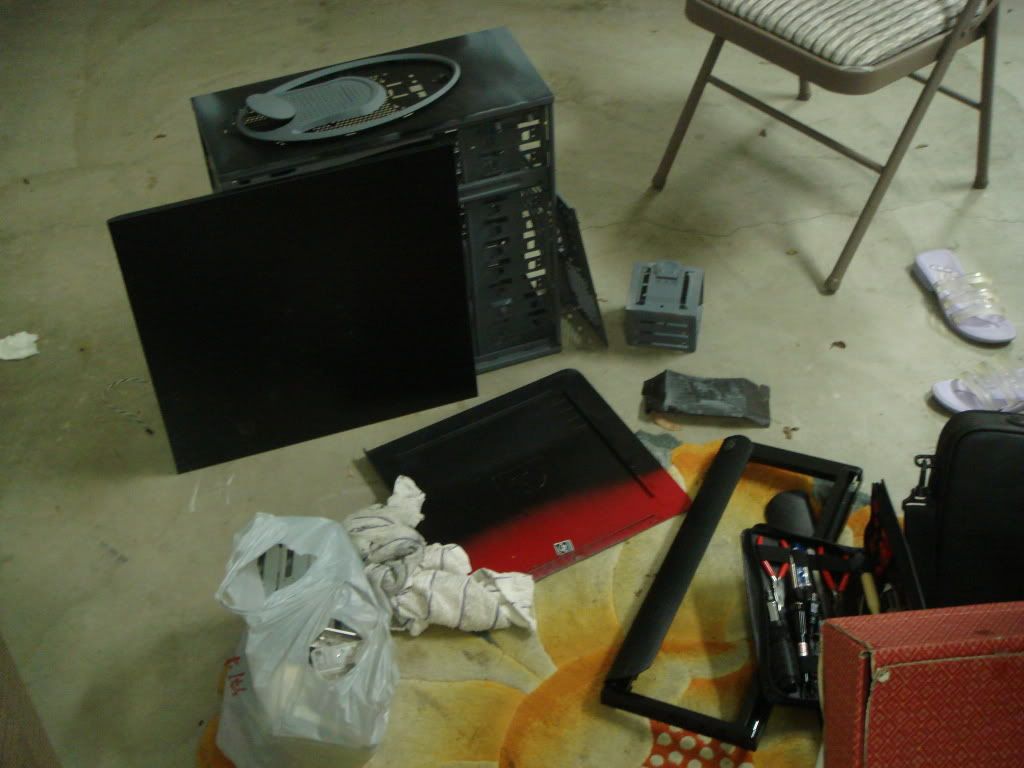
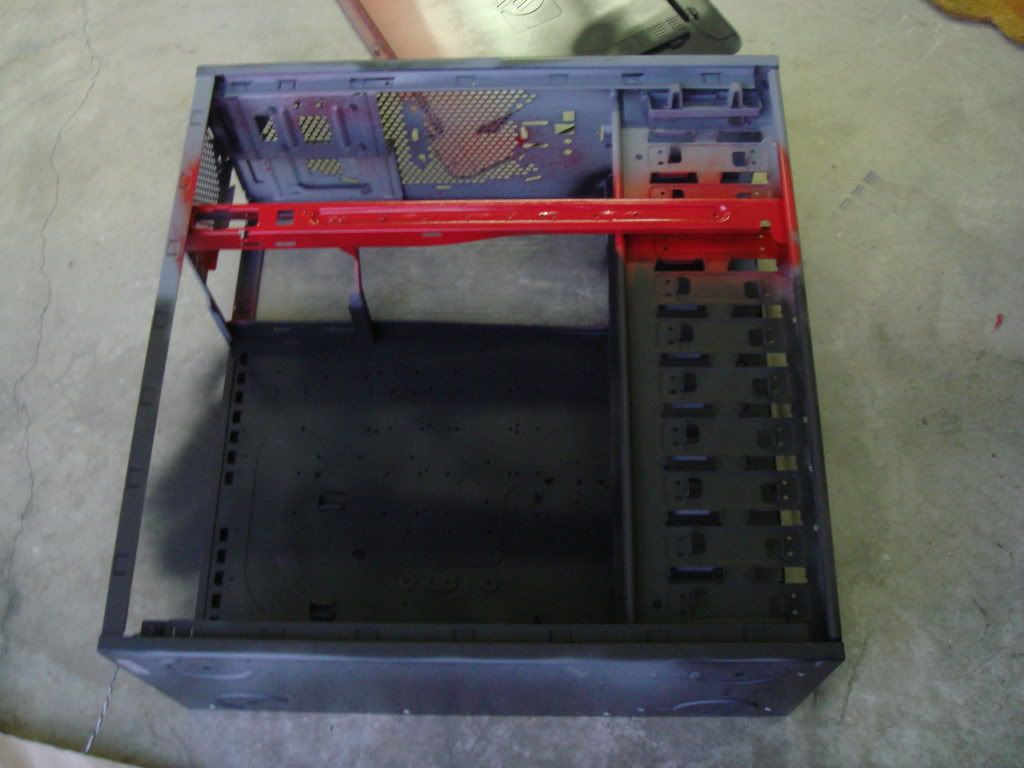
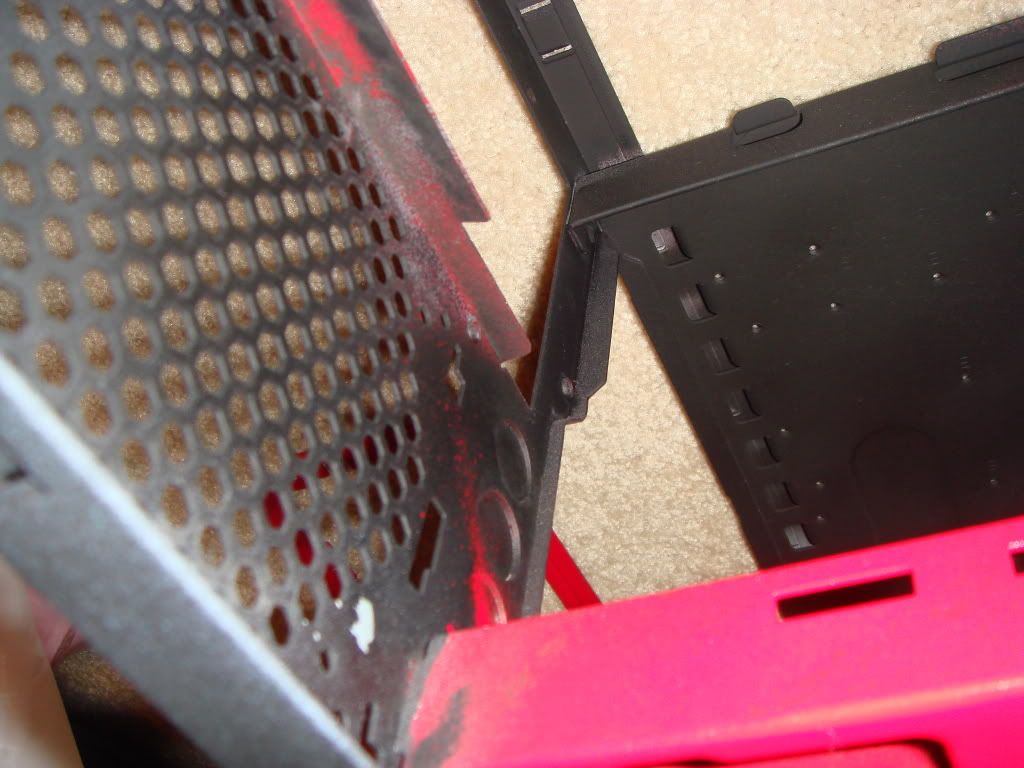
First thing first, strip the case naked and redress her.
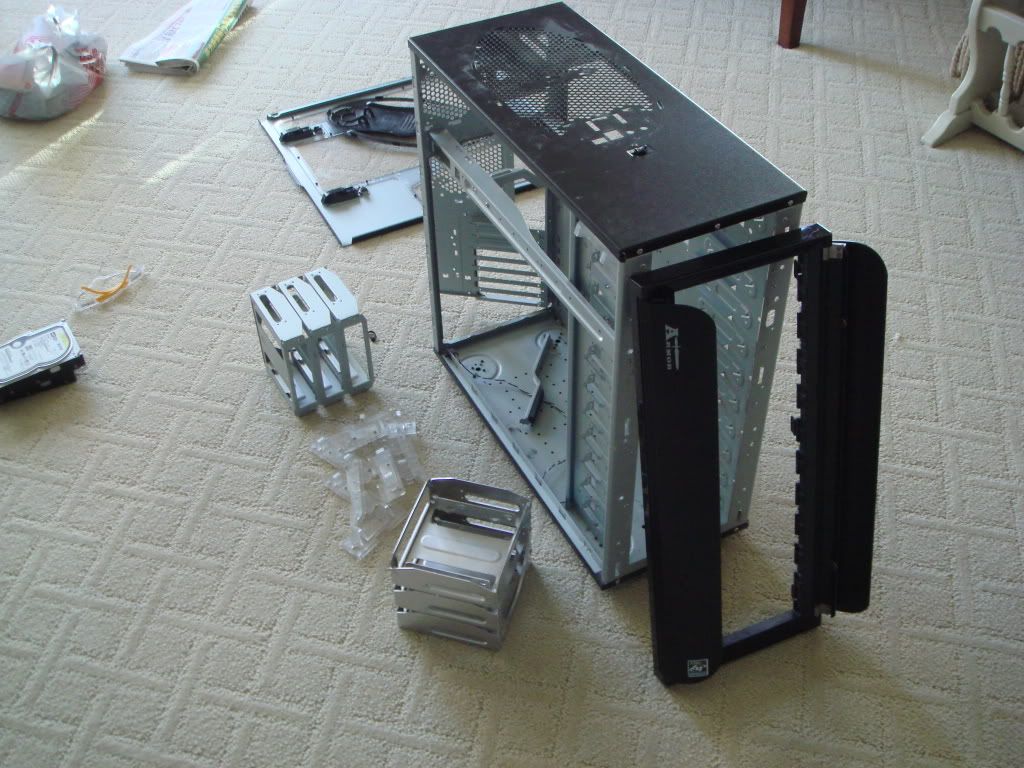
This is the original materials I used for the paint job, as I progress, I figure I need more paint than I have, so I went out and restock them.

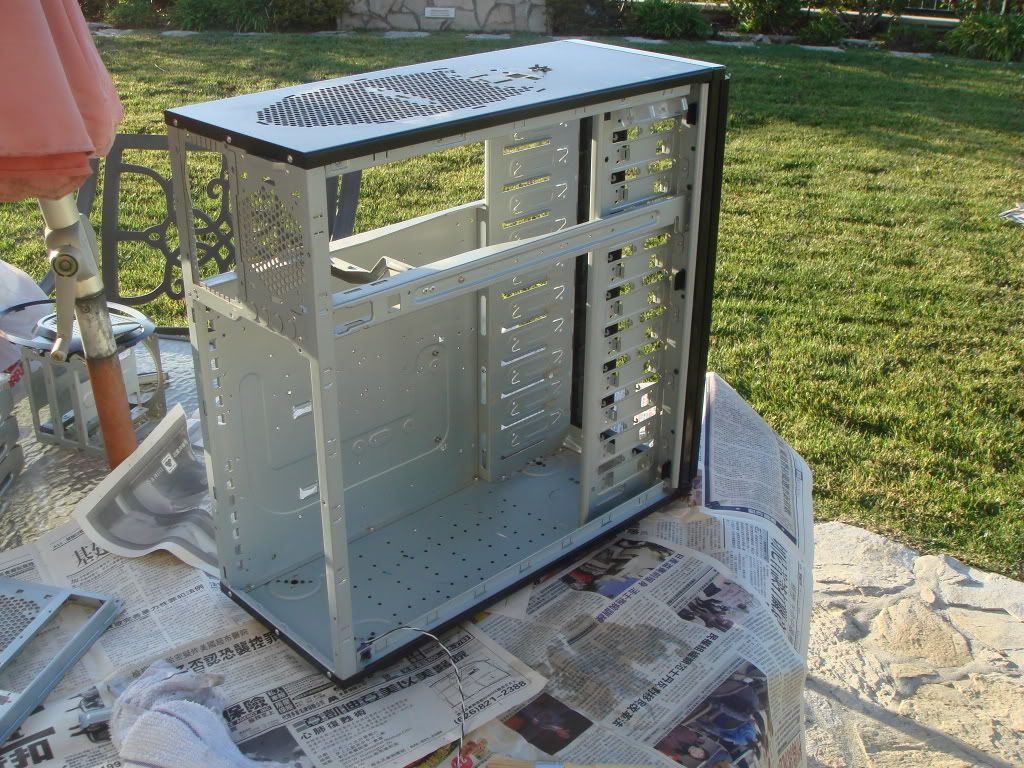
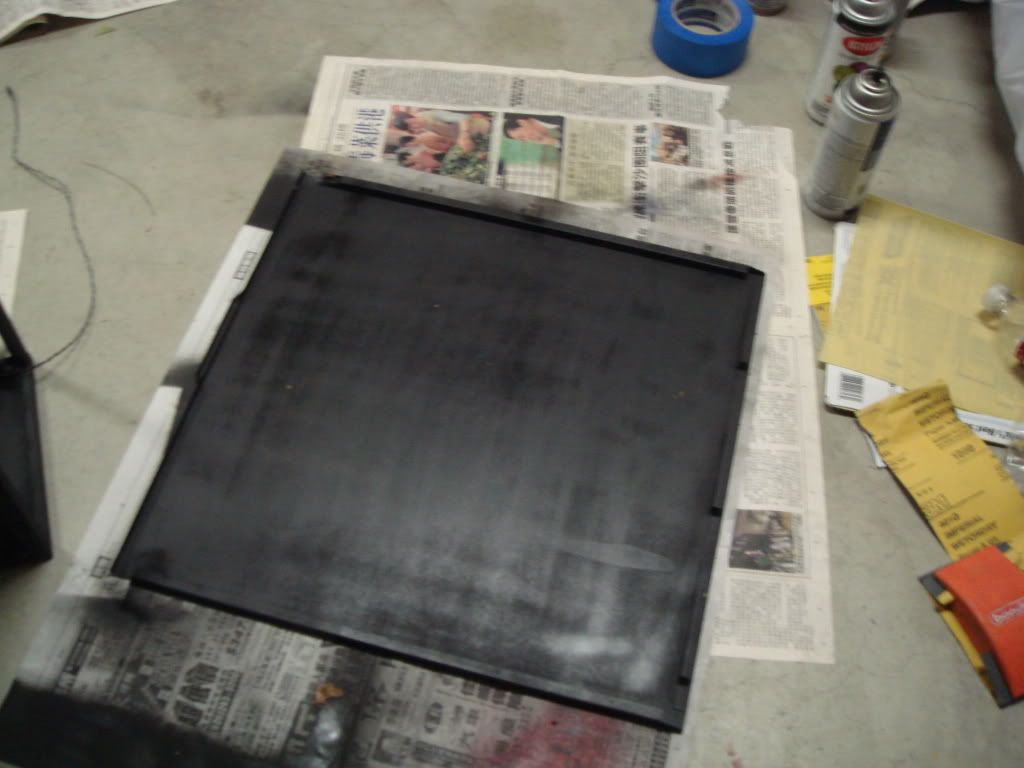
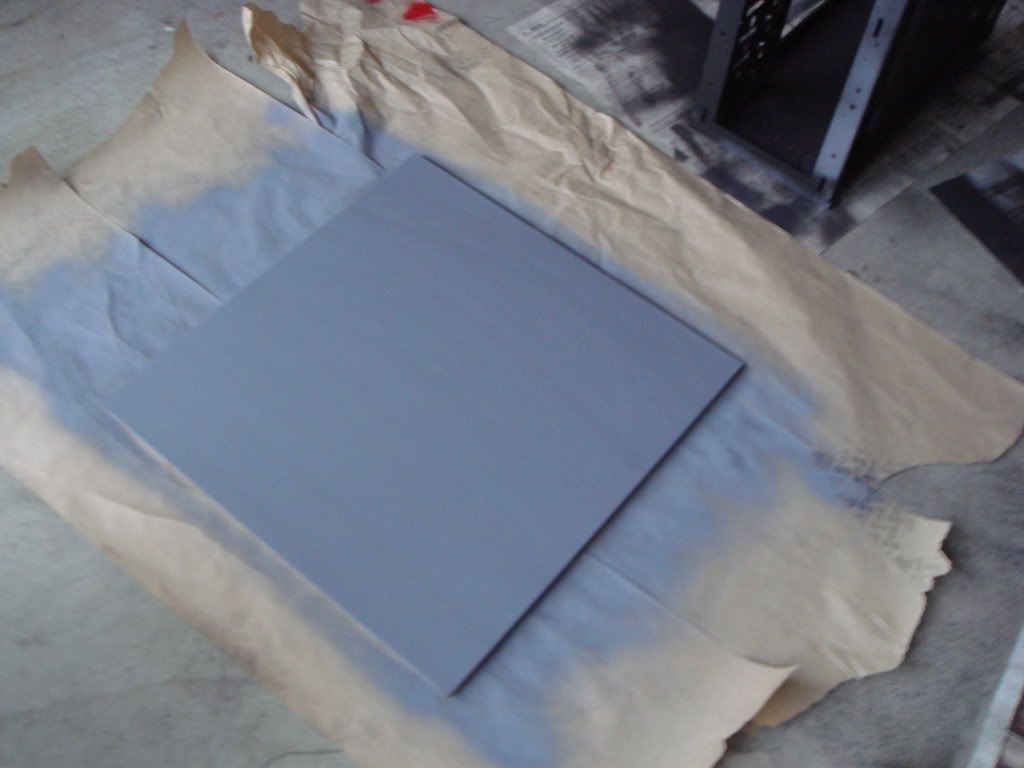
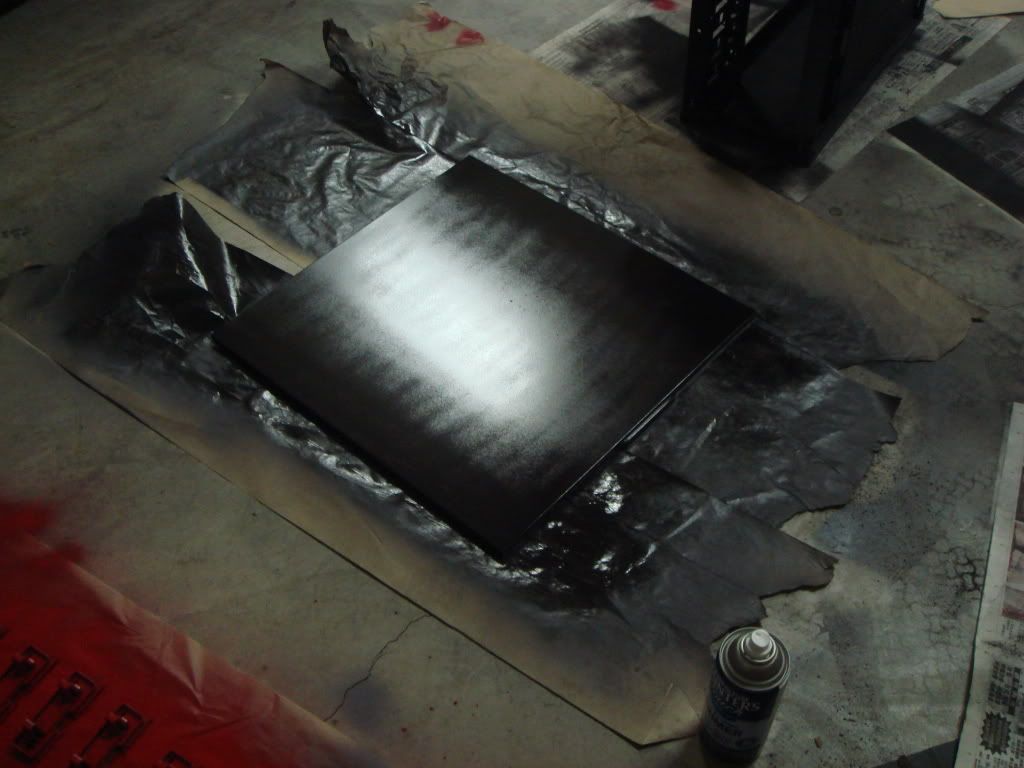
Primer applied
After a day of drying, I decided to move on. But later found out it takes more time to dry that 24 hours, I will put this into my notebook so I won't make the same mistake again
Doesn't look too good so far  .
.
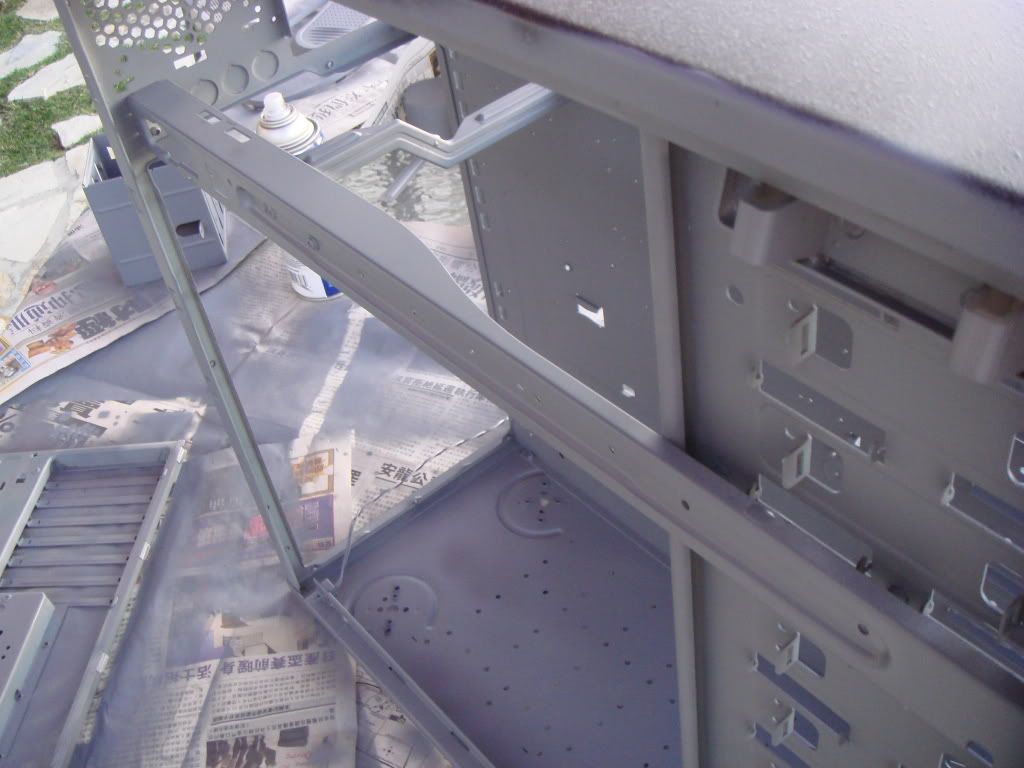
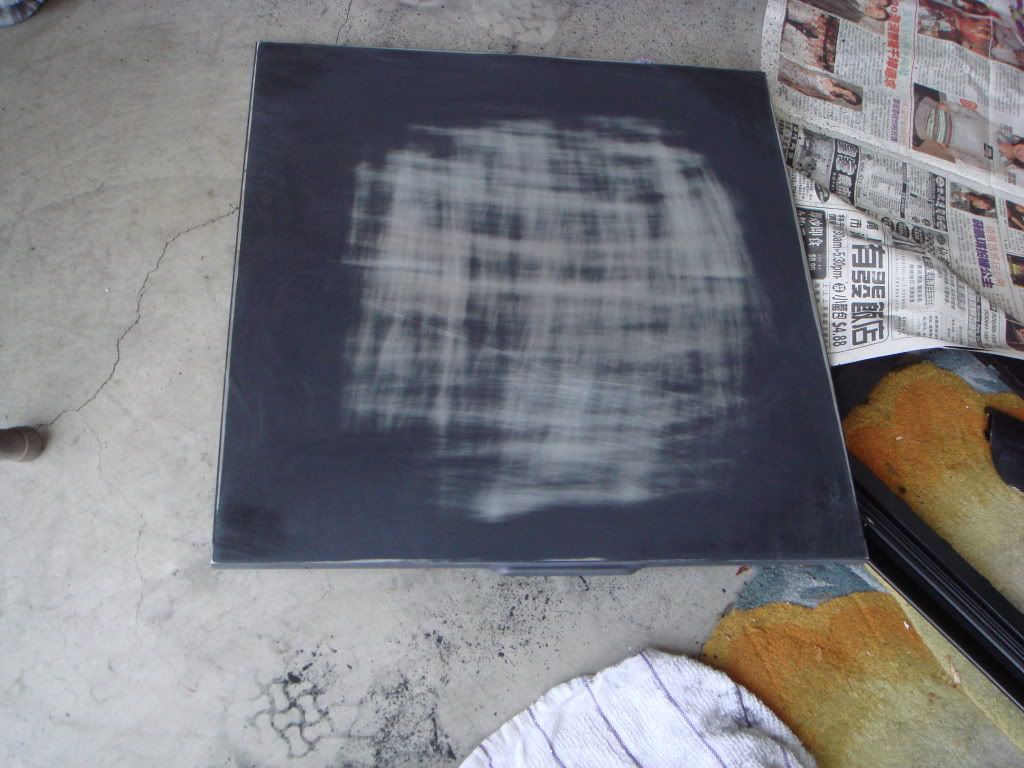
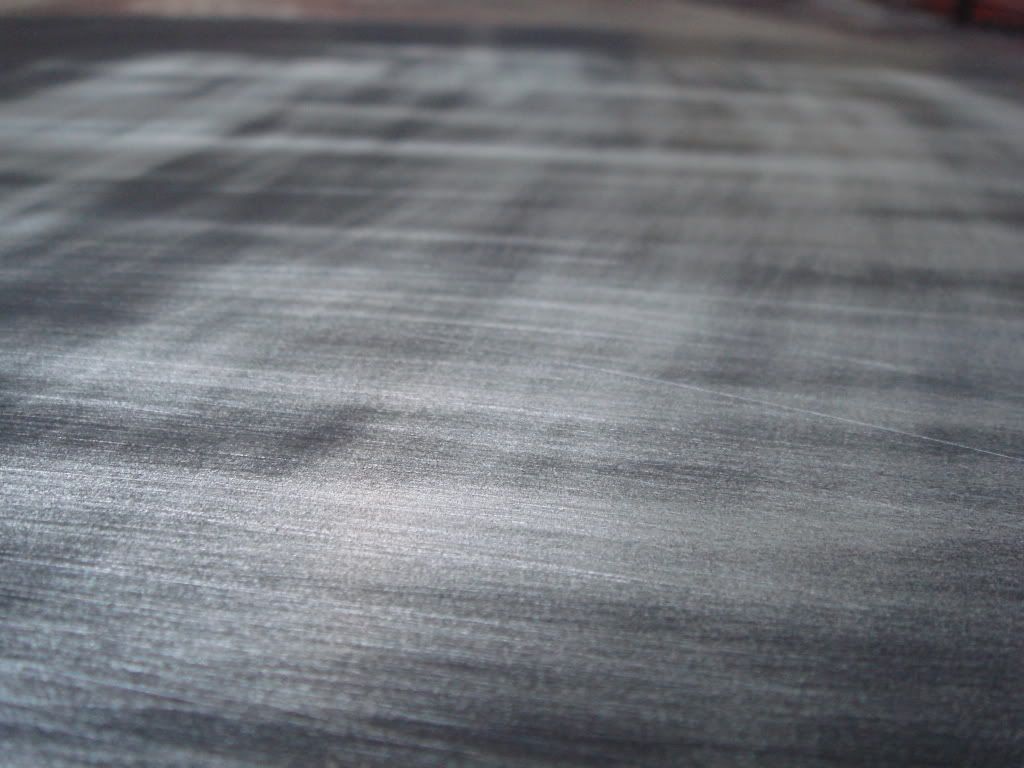
Big mistake on my sanding part. Again I did not wait until the paint are fully dried before sanding, which the paints ending up sticking on my sand paper, with little pressure results devastation scratches  .
.
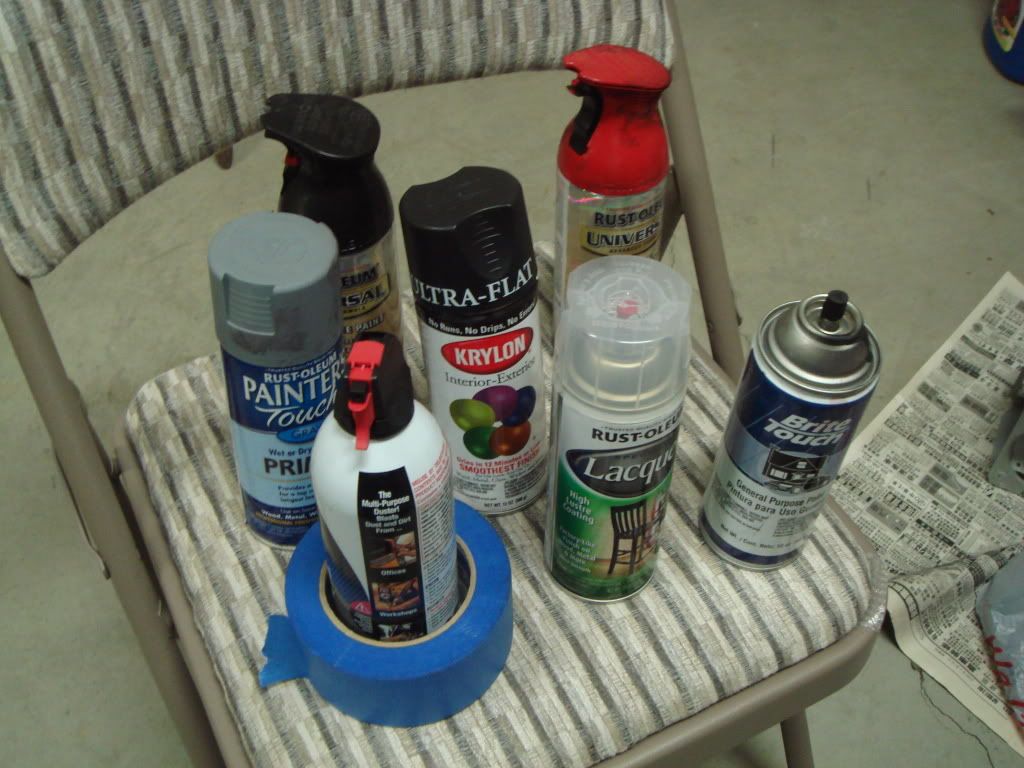
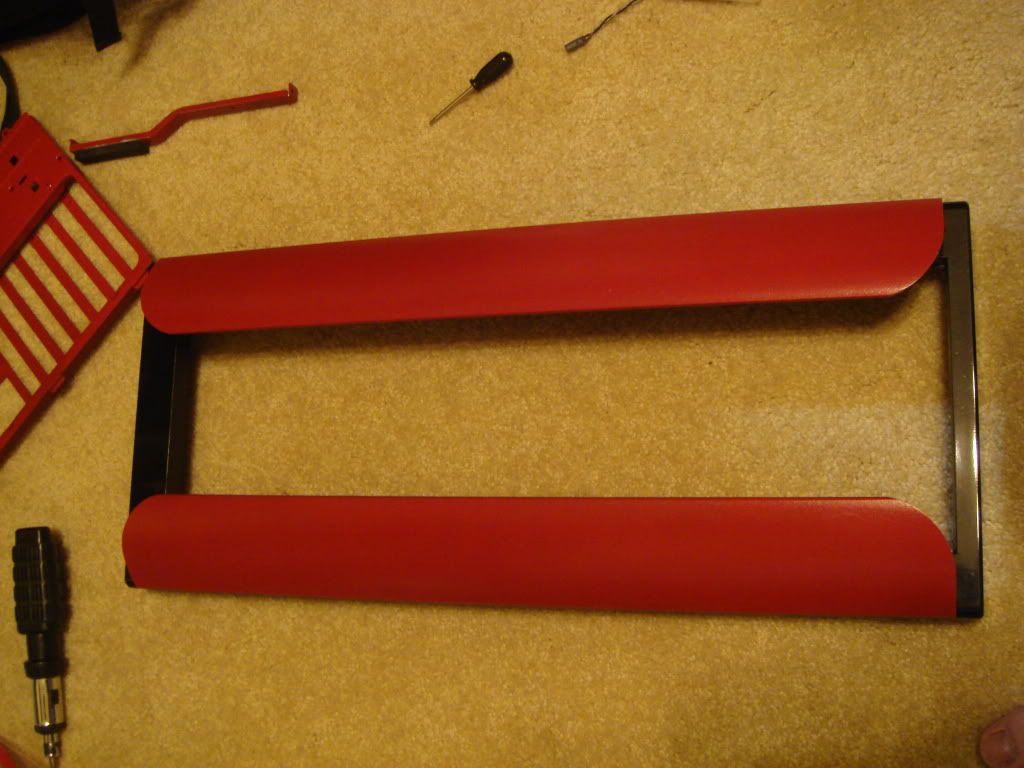
This is the final types of paints I used.

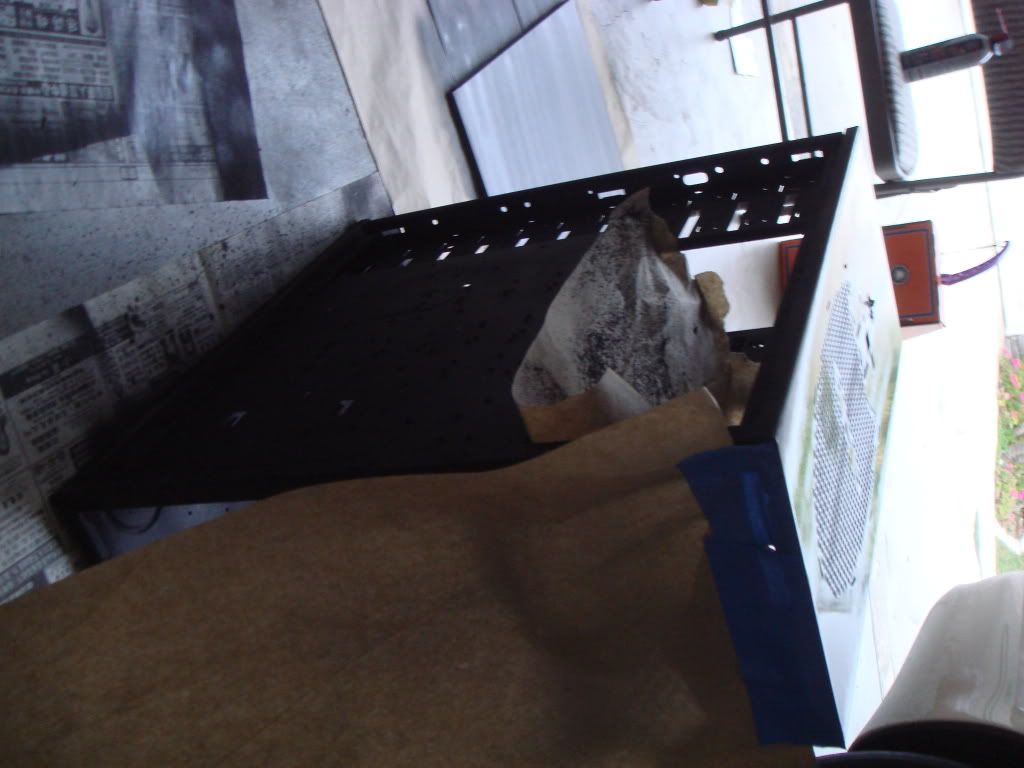
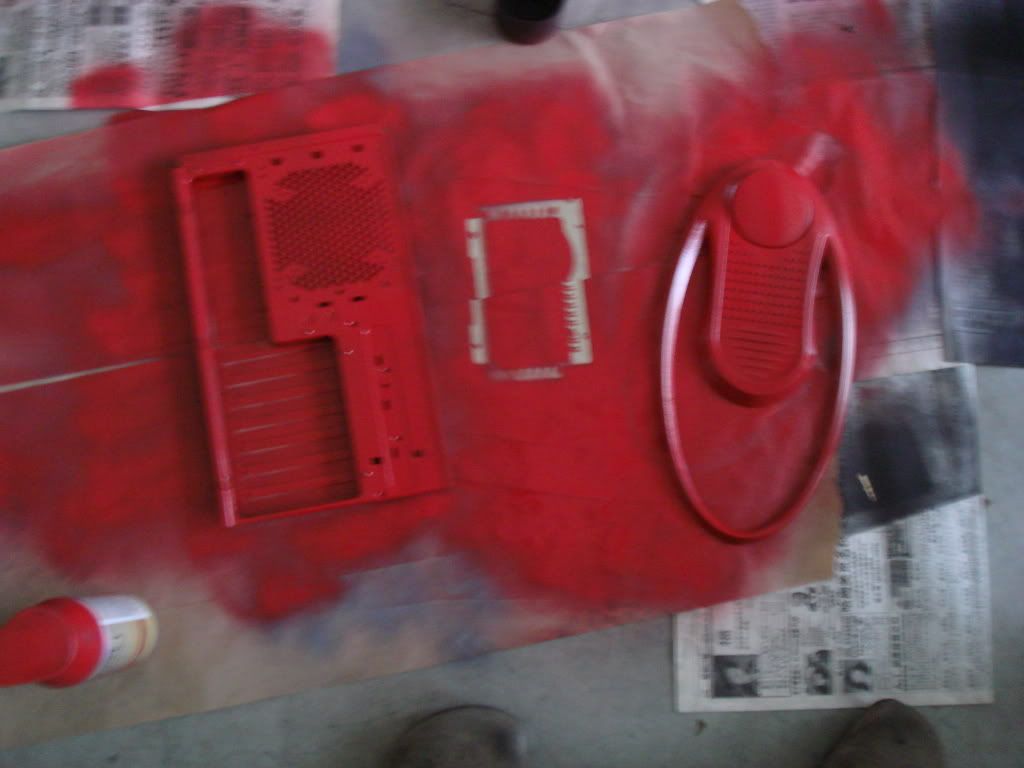
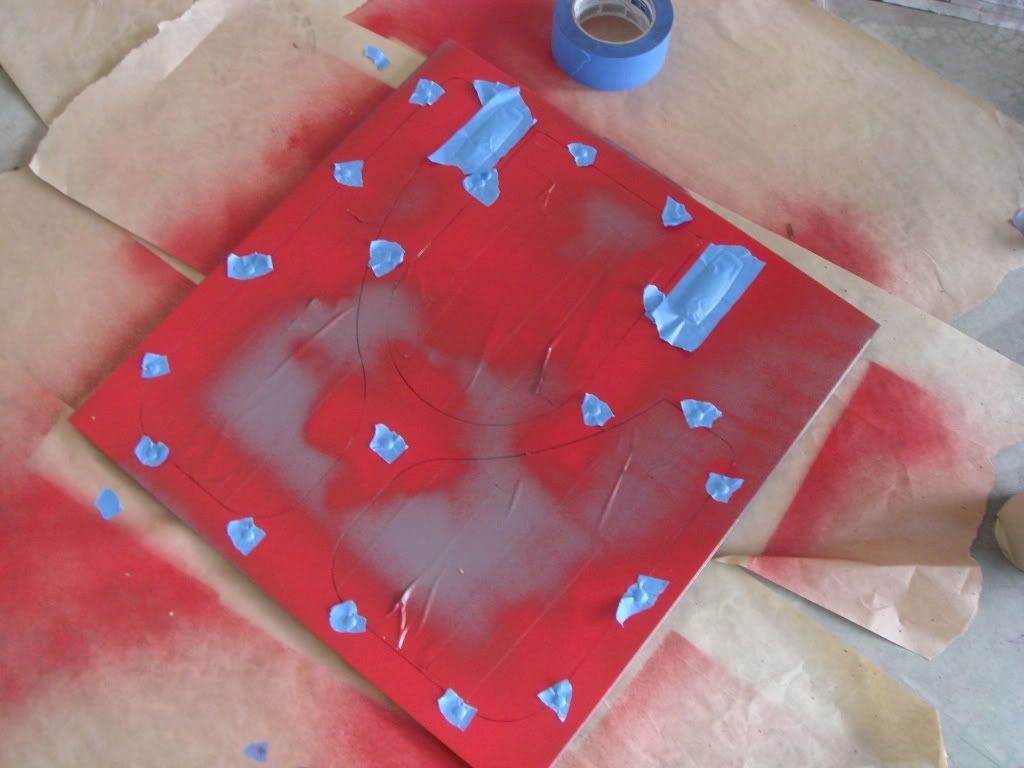
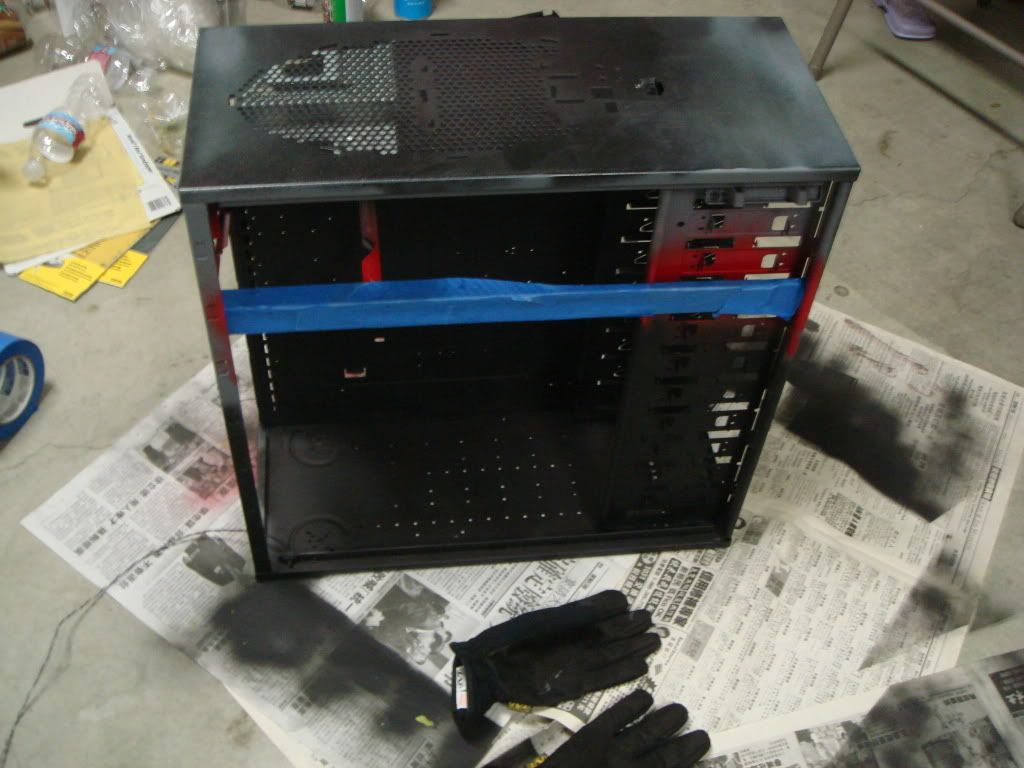
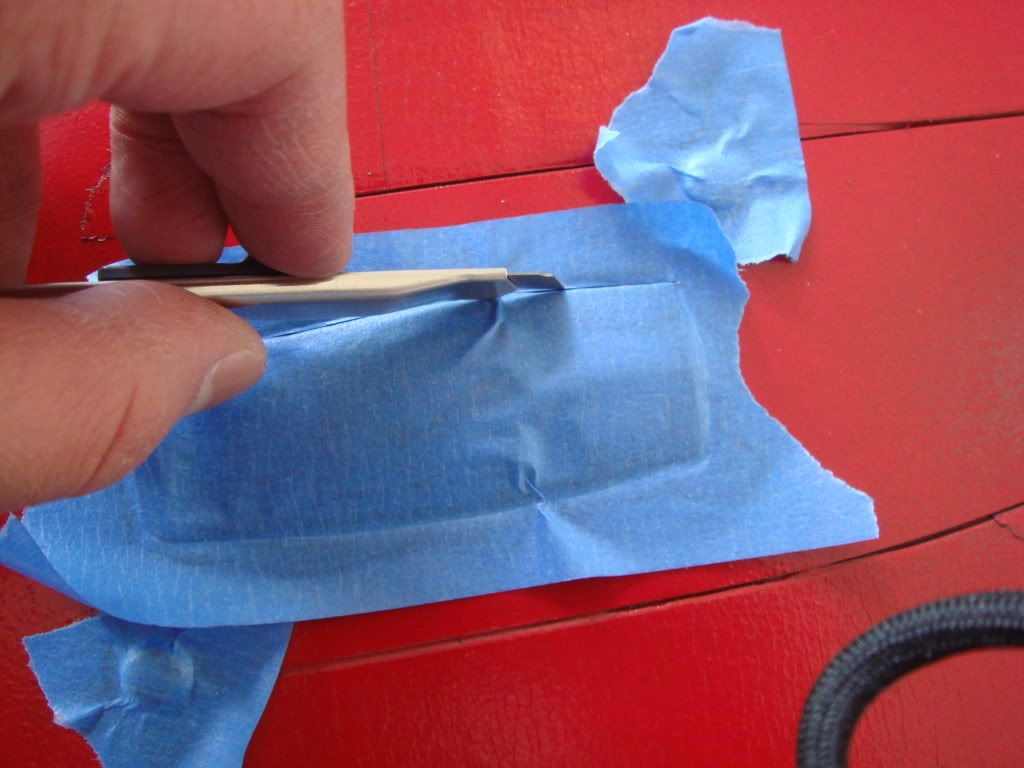
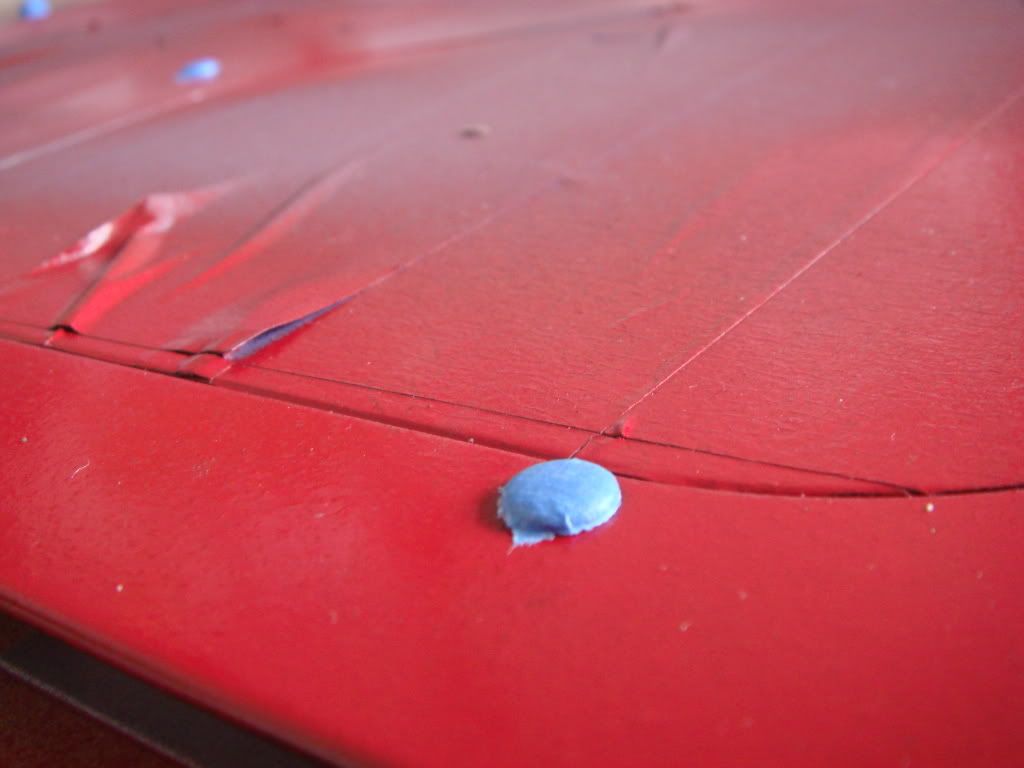
I went the safe way. Instead of completely removing the rivets and window, I decided to just mask them. Due to my limited skills I do not want to screw up the case.
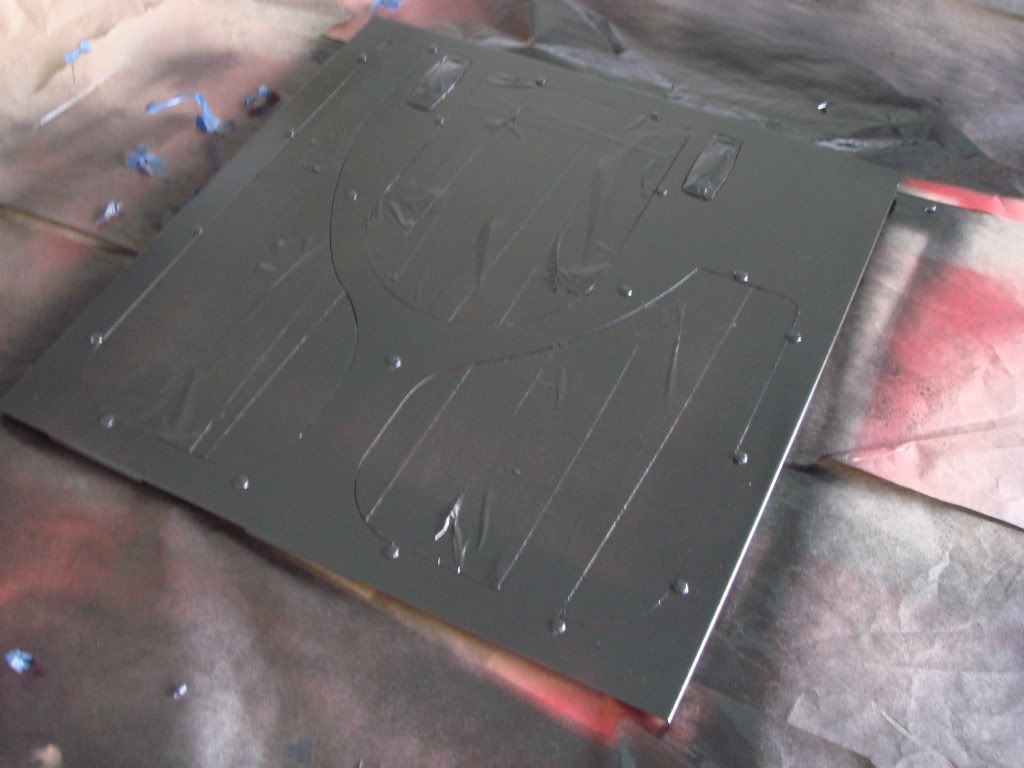
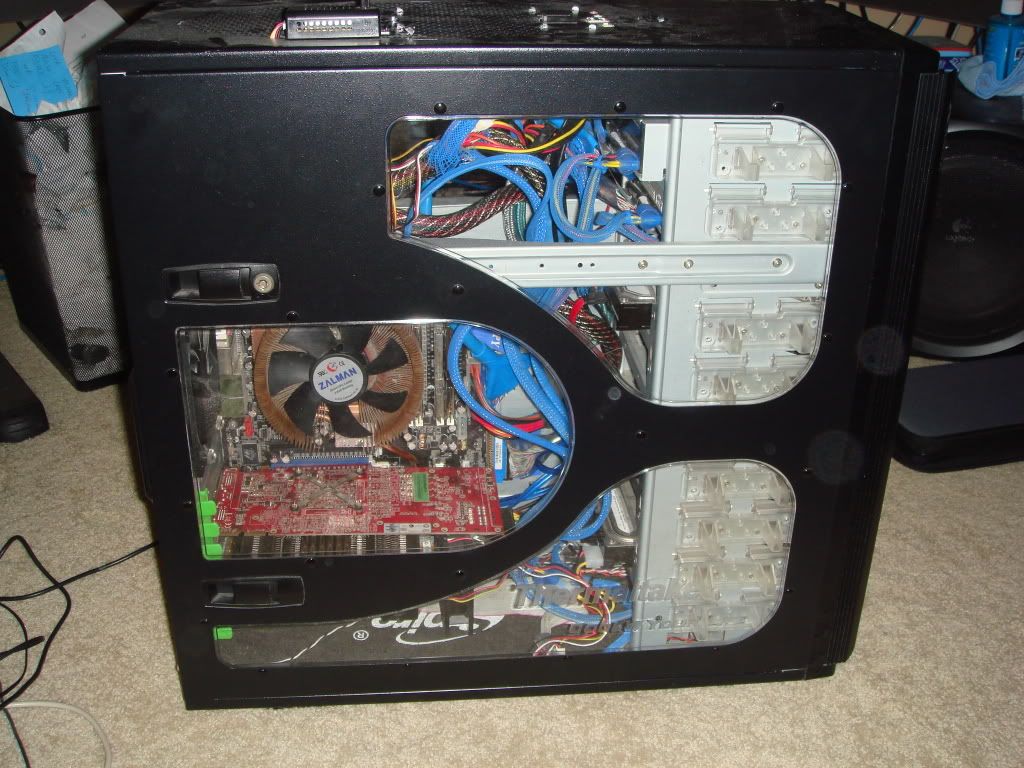
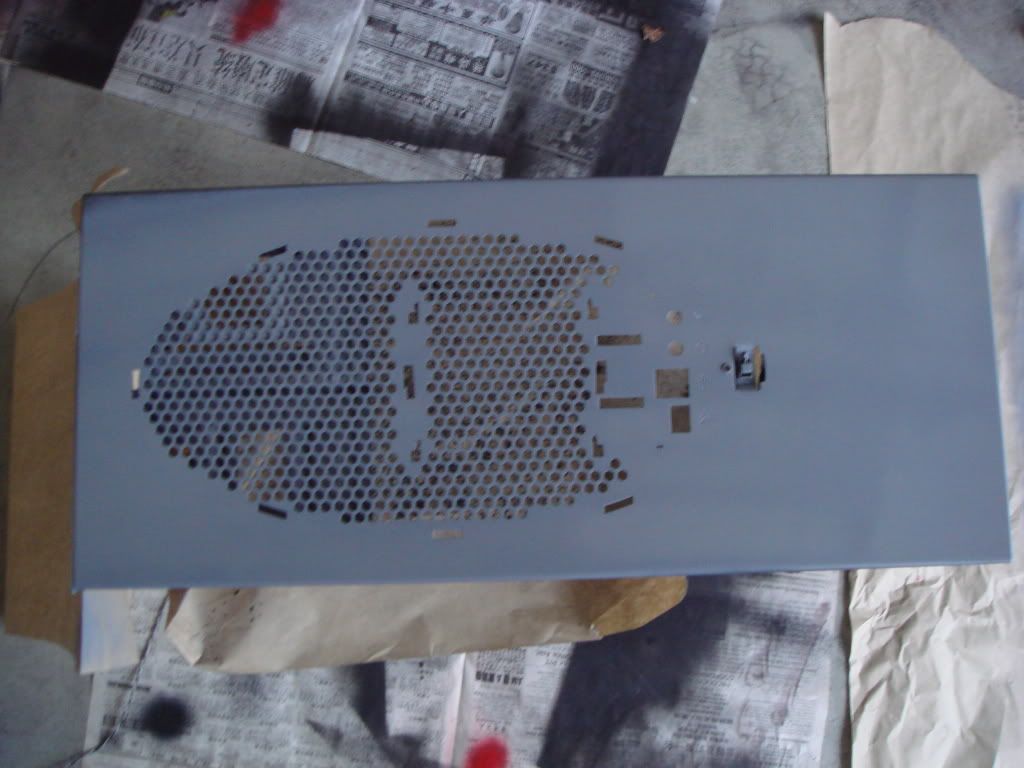
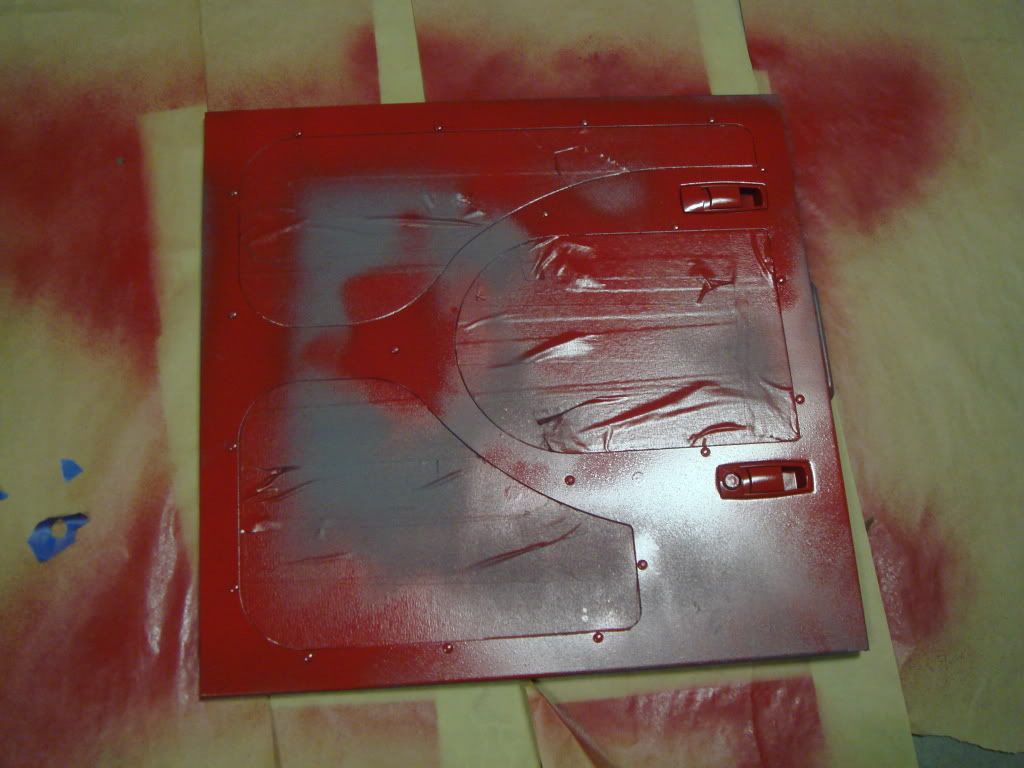
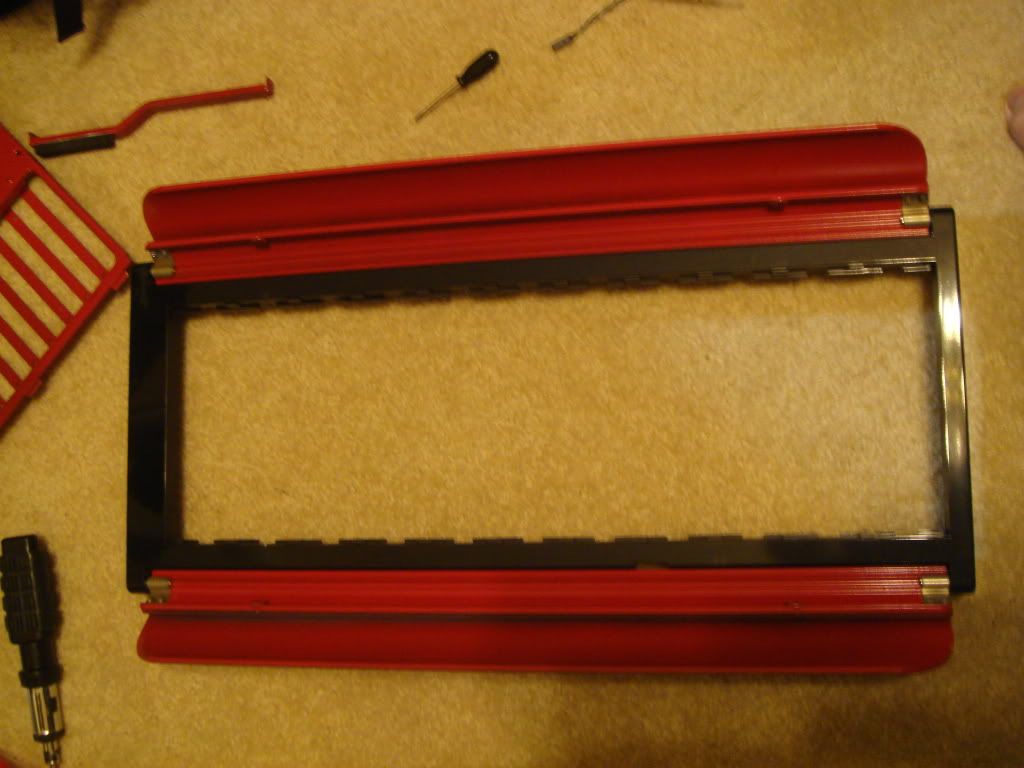
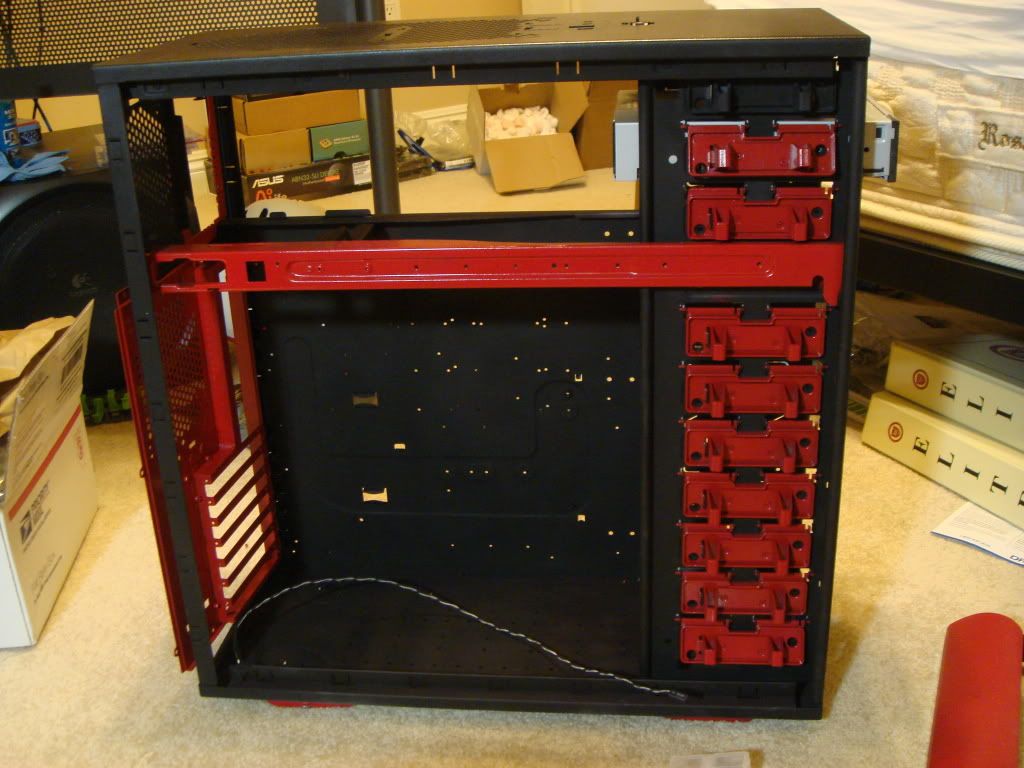
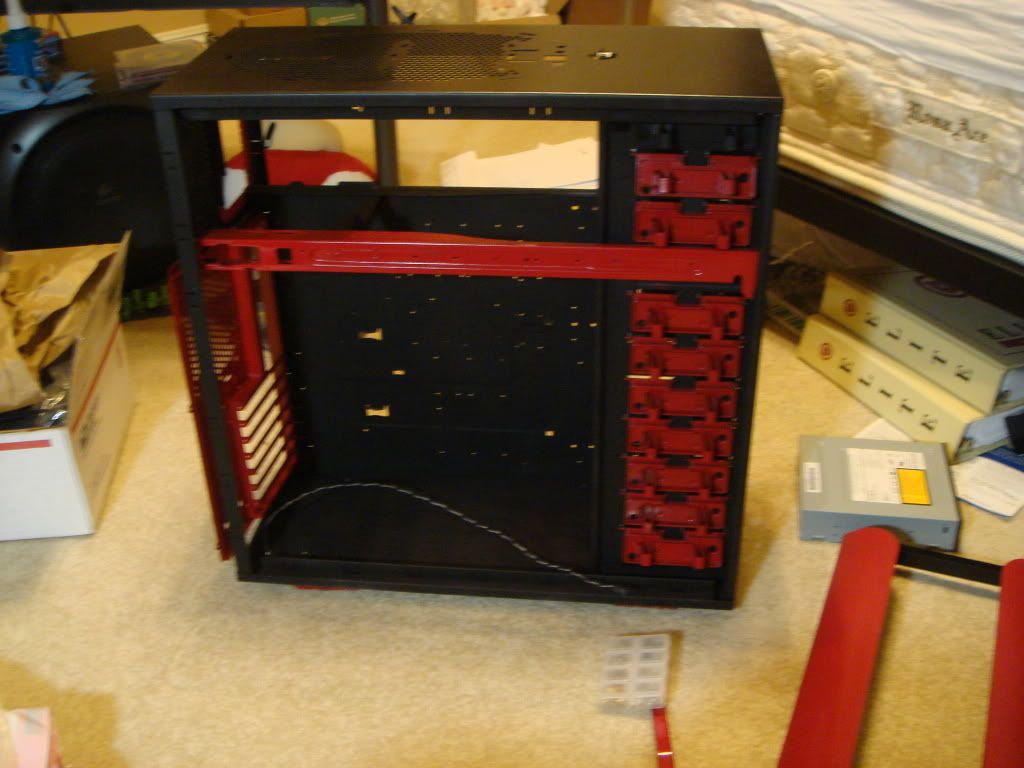
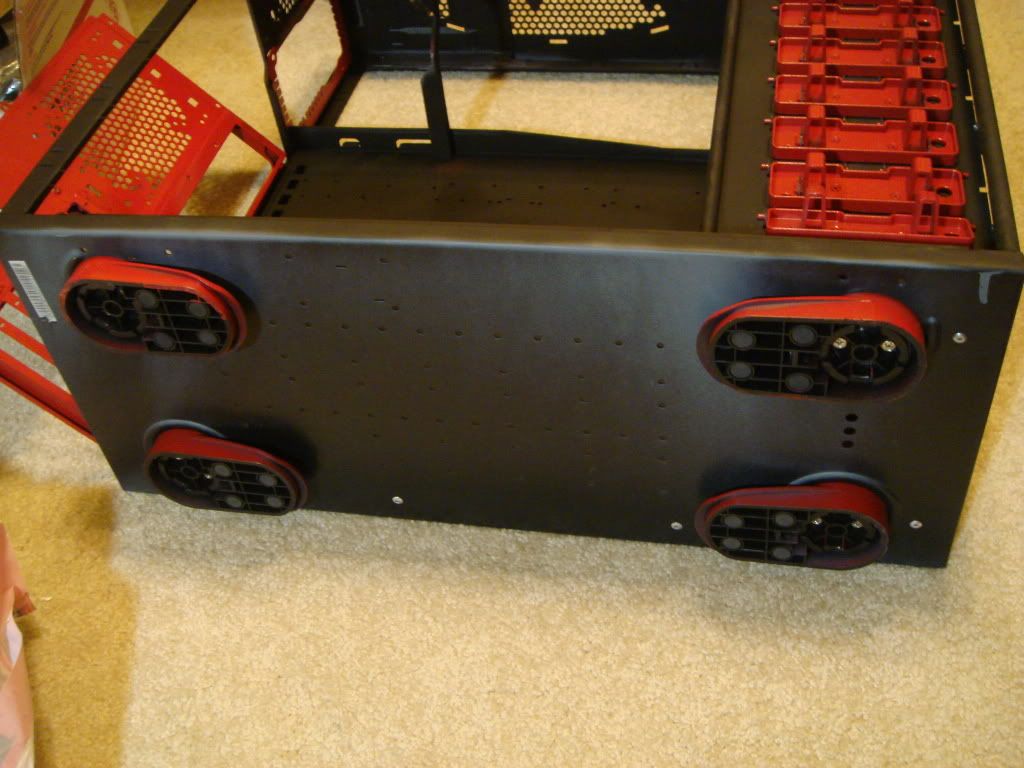
And this is what I ended up with...
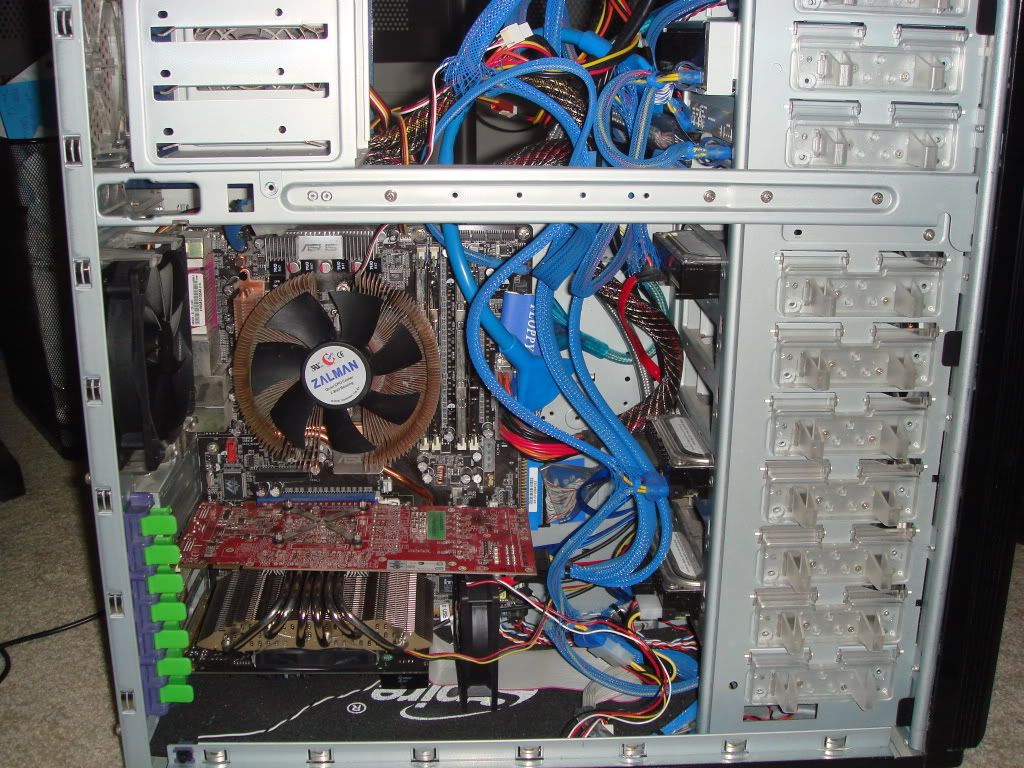
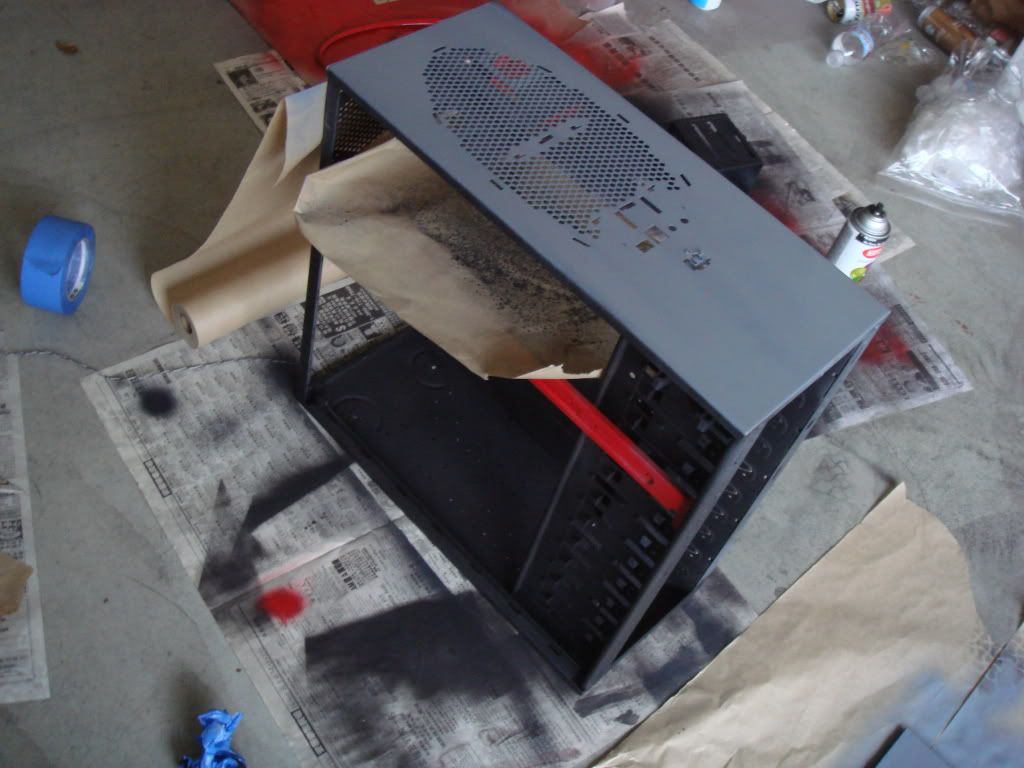
The motherboard tray area paints are all over the place, due to the limited amount of room to work with, I couldn't perform the full motion of swing my arm and spray evenly over the case. Anyone got suggestion how to get a good paint layer in small areas?
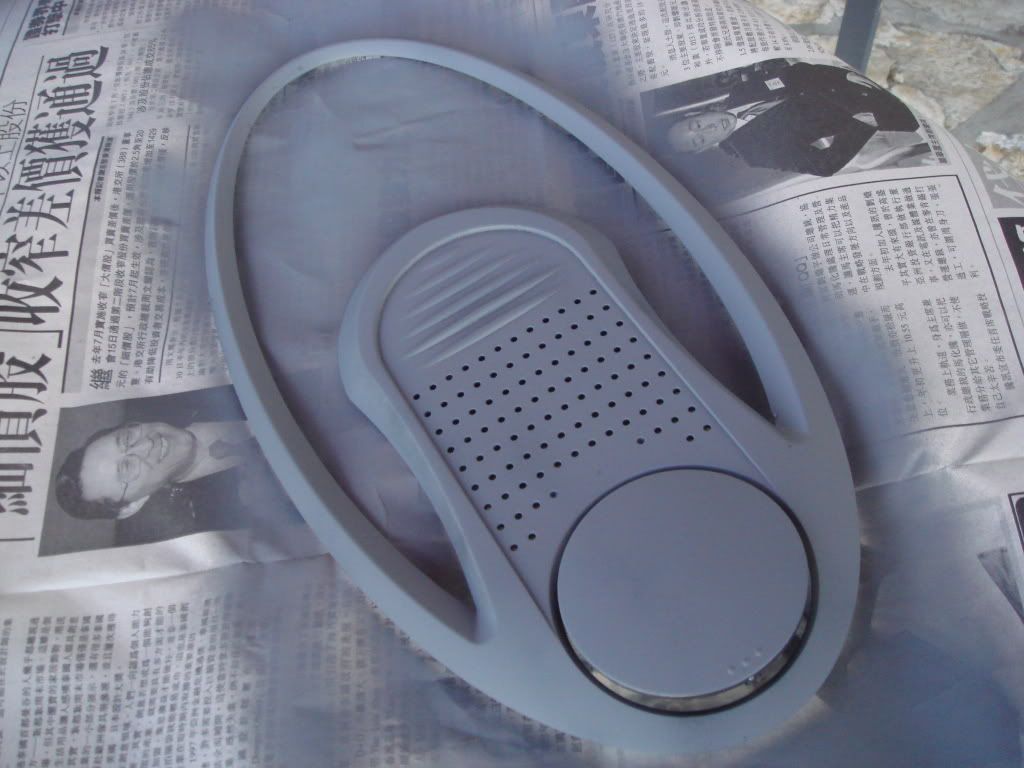
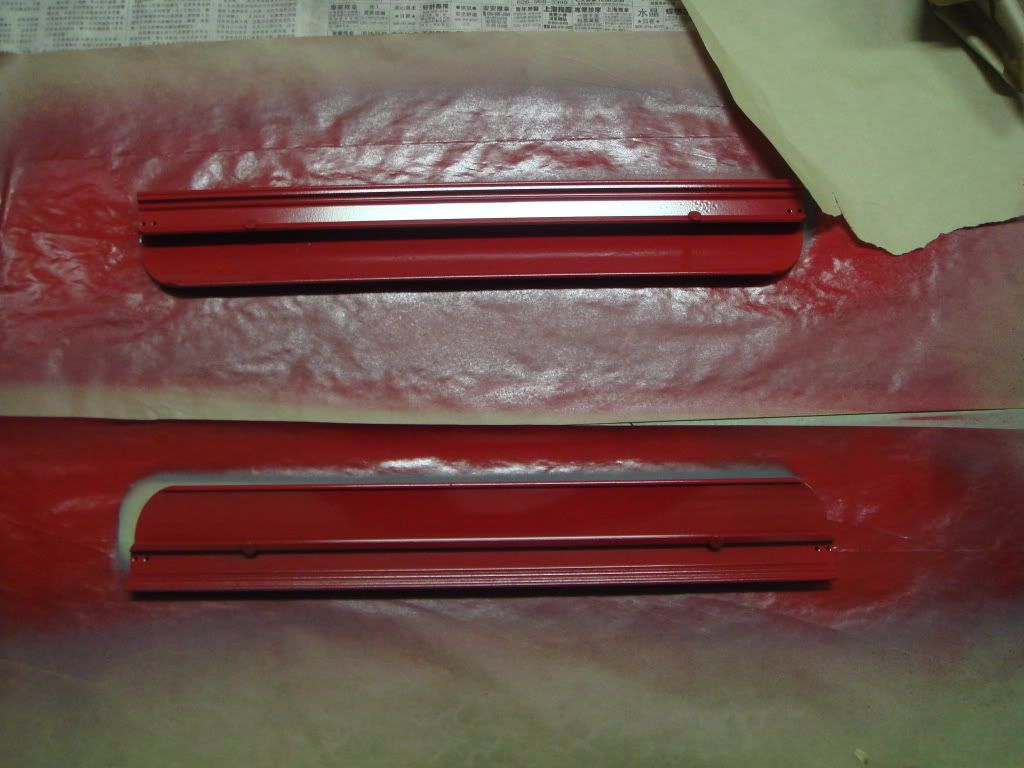
Silly mistake made by me. Since they most likely won't be visible after the build is finish, I decided to ignore it (will do a better job next time for sure).

=================================
I will update once all my main components arrives. Please leave some comments on what I could have done better, or anything related/unrelated.
Thanks for viewing my log. I hope you enjoyed it.
PS: how do you link to specific post? It would be nice to know as it would help me add links to updates, thanks!
Last edited by exe163; 01-28-2009 at 07:28 PM.
 Posting Permissions
- You may not post new threads
- You may not post replies
- You may not post attachments
- You may not edit your posts
-
Forum Rules


 Reply With Quote
Bookmarks