Hi Nem:
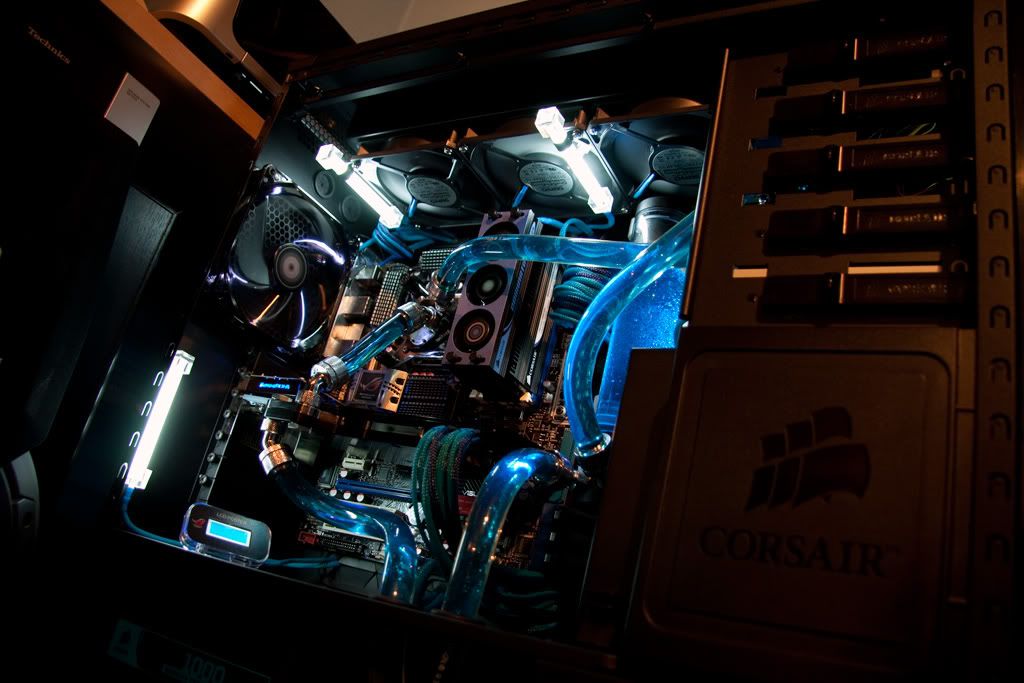
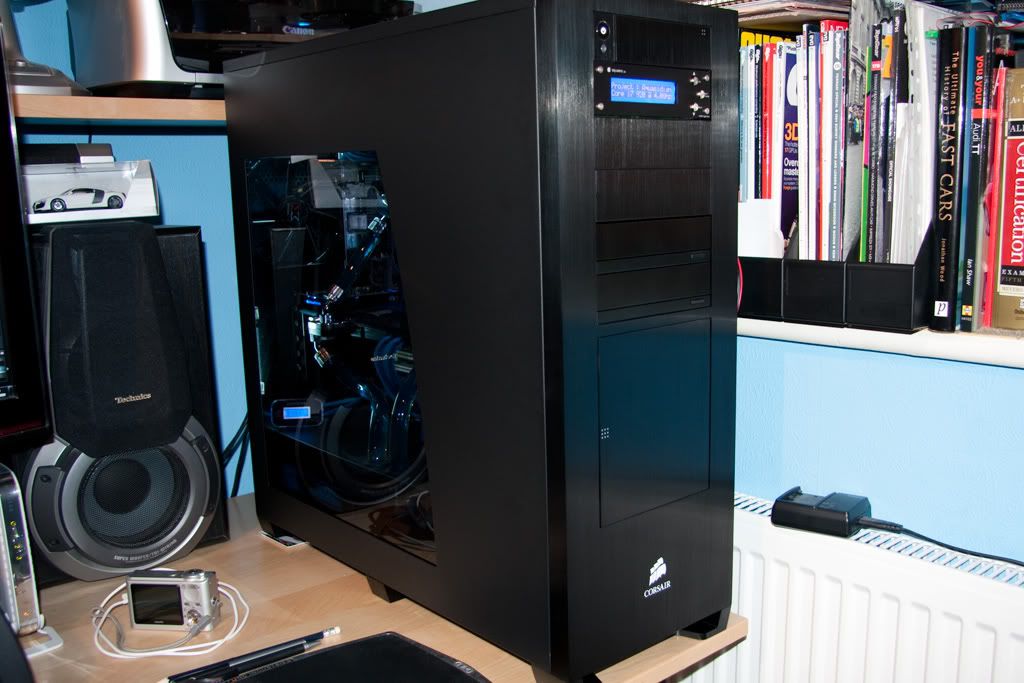
I love your build. I have been closely watching it come together these last few weeks as I have decided to leap into my first WC project with a Corsair Obsidian.
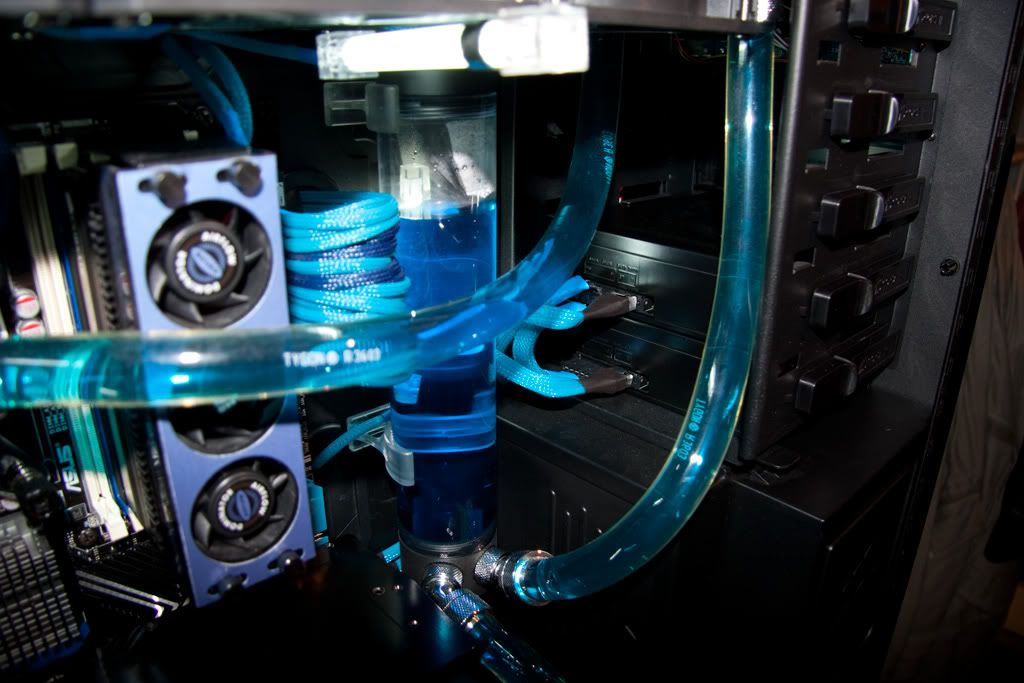
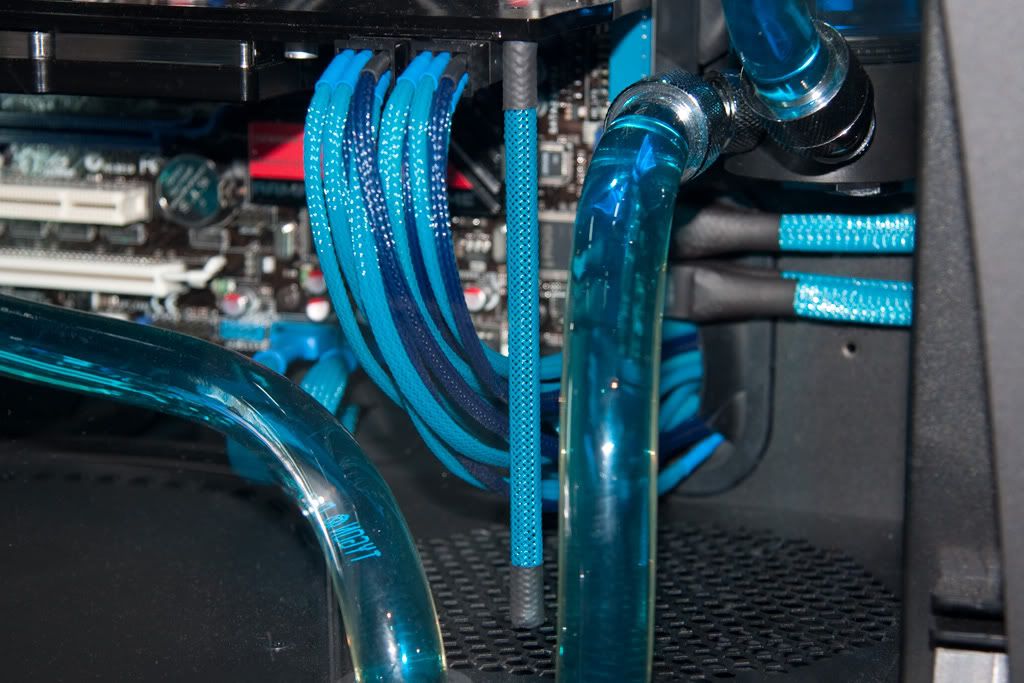
My build is planned to be a little different in that I will be using distilled + UV blue tubing and a dual 5.25'' double reservoir instead (2 loops).
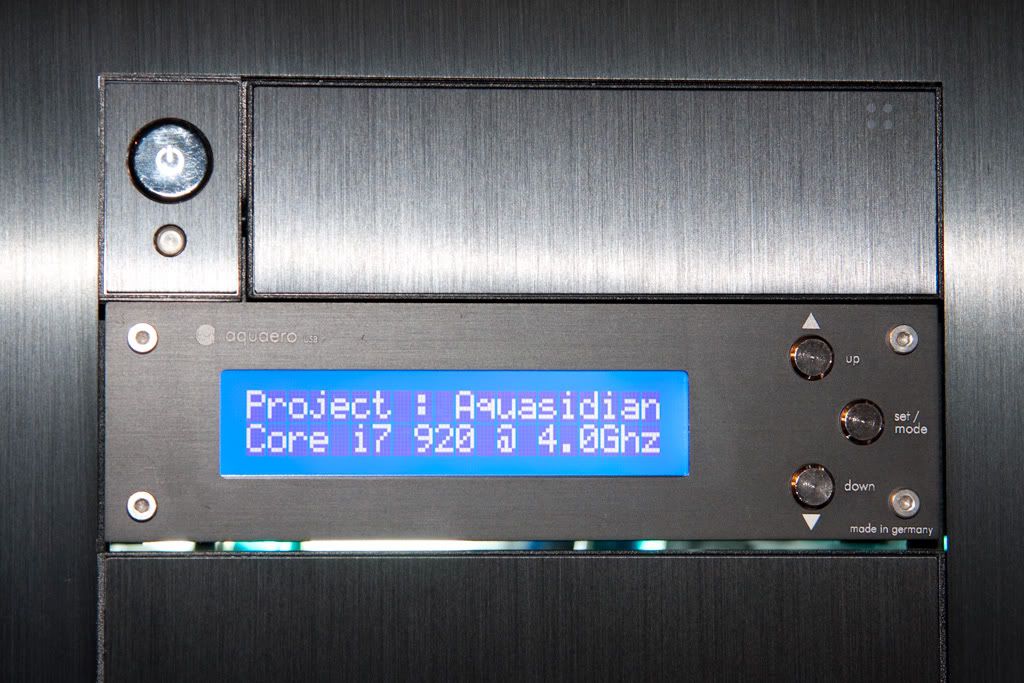
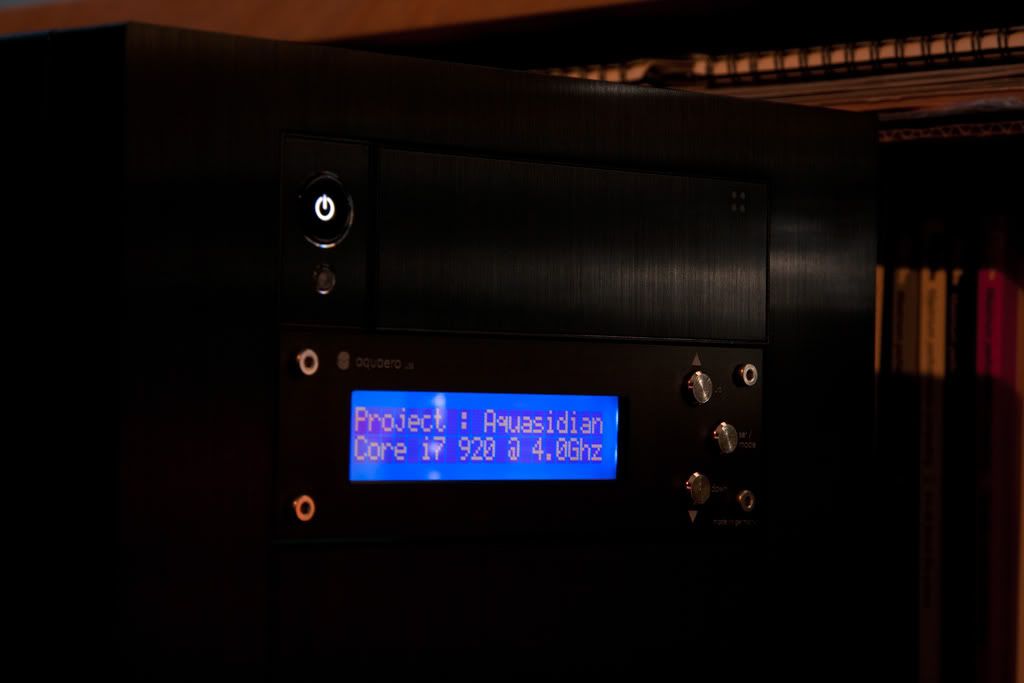
That last update also sold me on that new fan controller (can only seem to find it at sidewinder computers, and is out of stock)
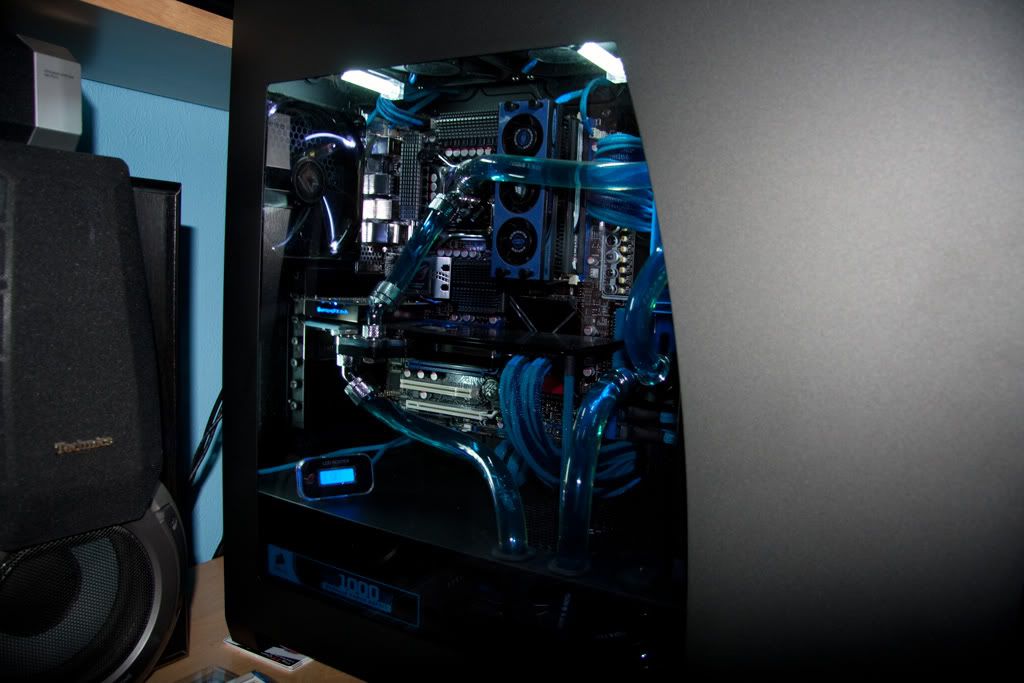
If I may, I do have a few questions for you now that you're about finished. I noticed that pieces of the red heatsinks that come stock on the Rampage are missing. Did you remove those and how much of a pain was it to do? I'm going to shoot for black and blue theme also but wanted to keep this legendary Asus motherboard.
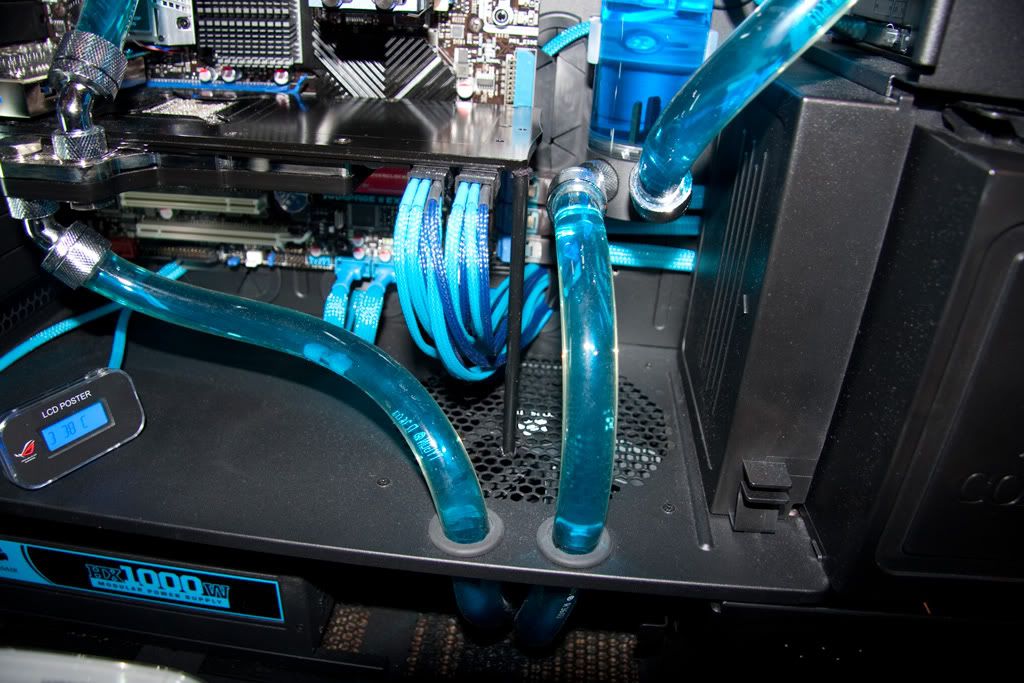
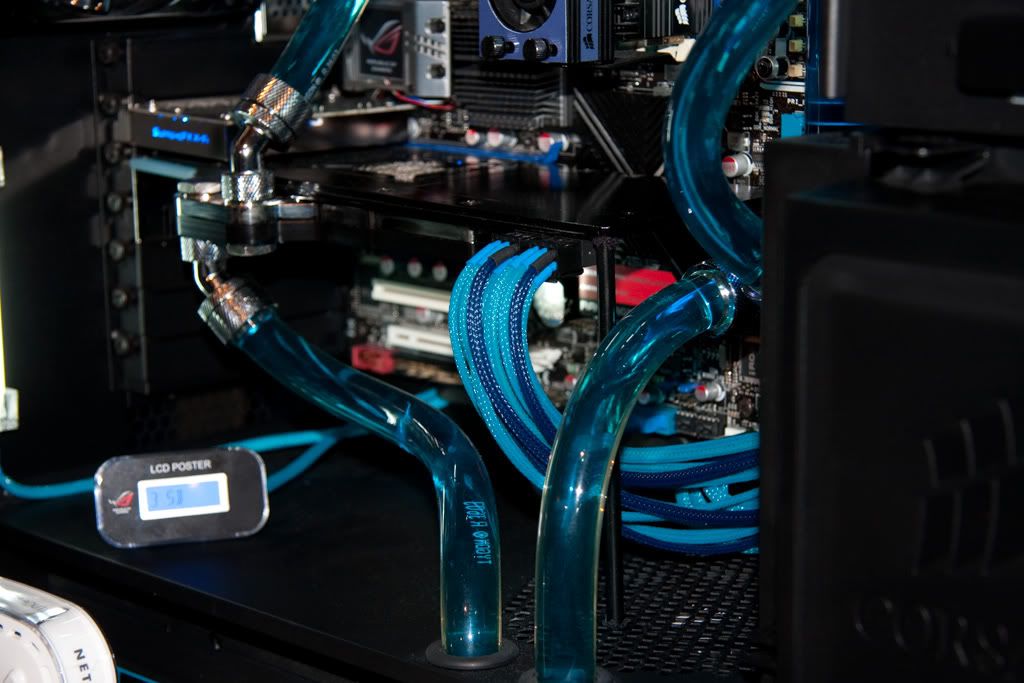
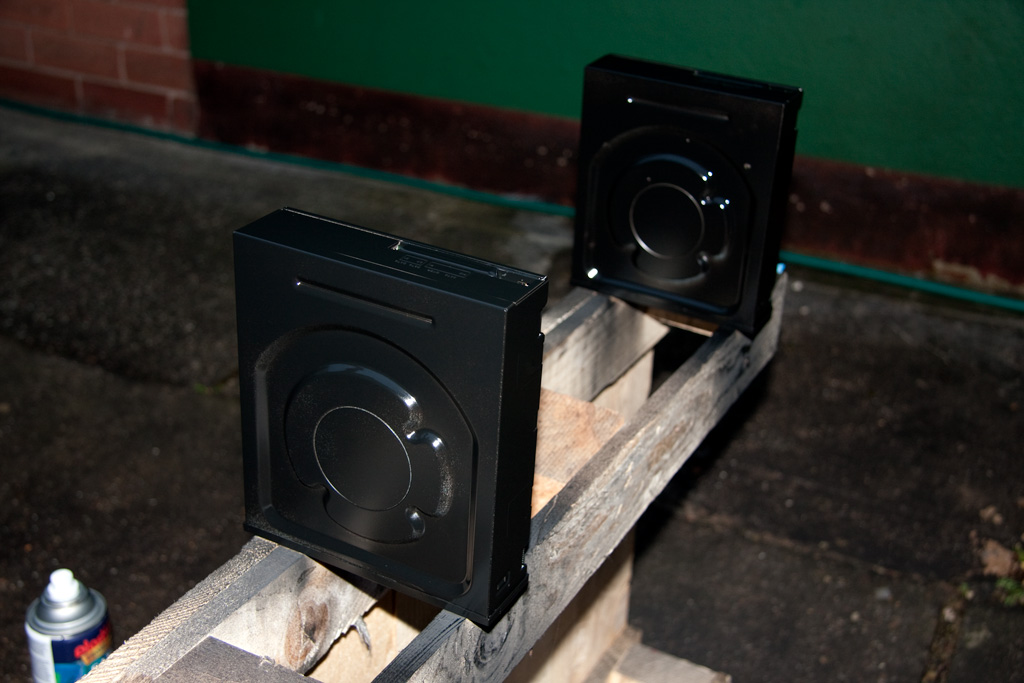
Also, I've taken one of your pictures and circled an area in which I would like to pass through 1/2'' ID tubing. Was wondering if you could confirm it will actually clear that size hole.
Finally, if you could please post your final temps

Thanks!


 Reply With Quote


Bookmarks