


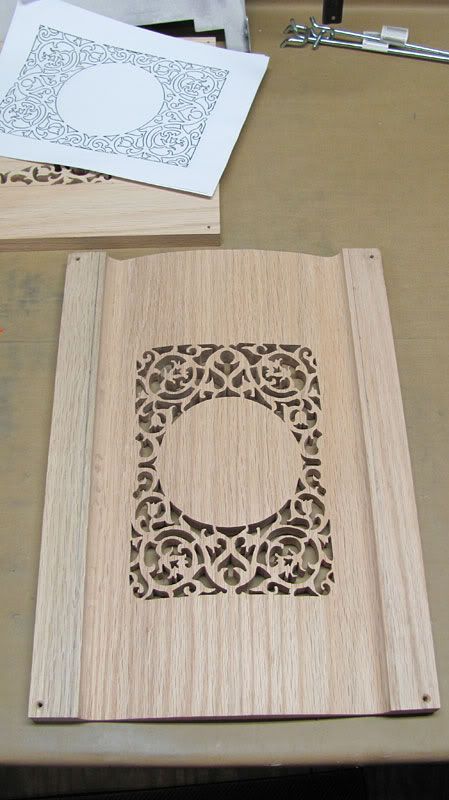
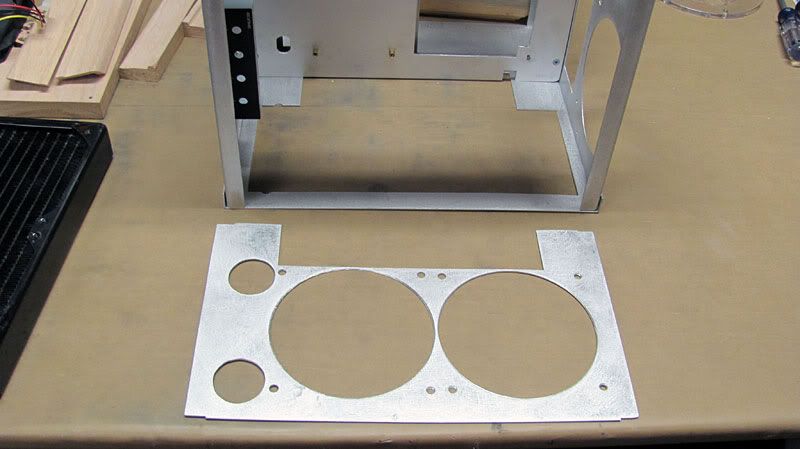
Thanks Rich. I called and talked to a guy who does laser cutting locally, and he said that he can only go 1/4", and at that thickness, the edges would be charred.Originally Posted by spotswood

Thanks.
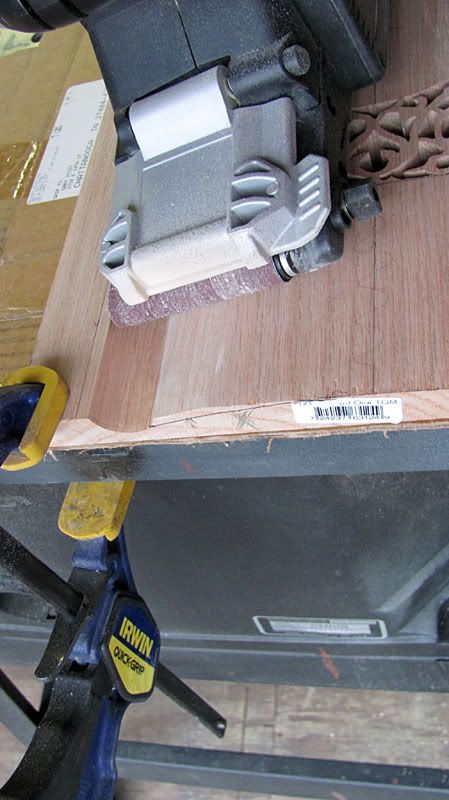
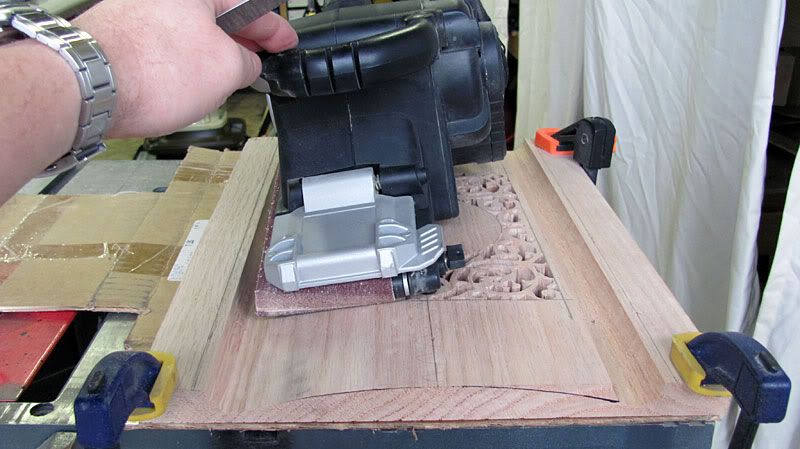
No great arms here to be sure, but definitely too much of a gut! It doesn't take any real strength per se, it just takes a lot of patience.
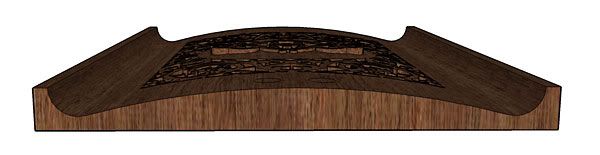
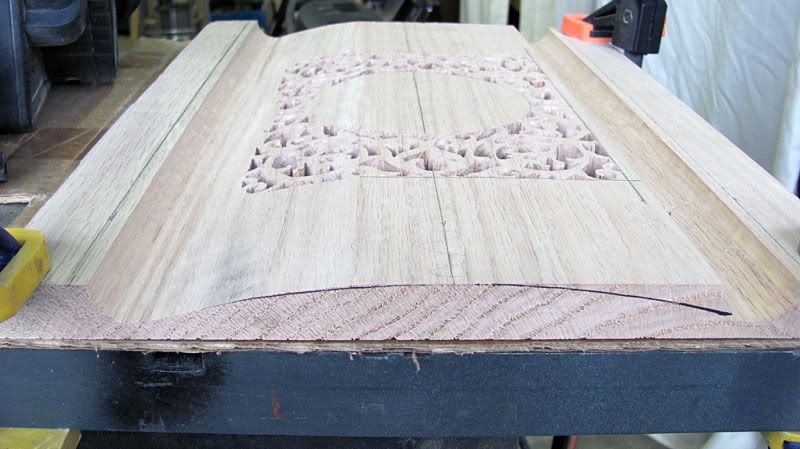
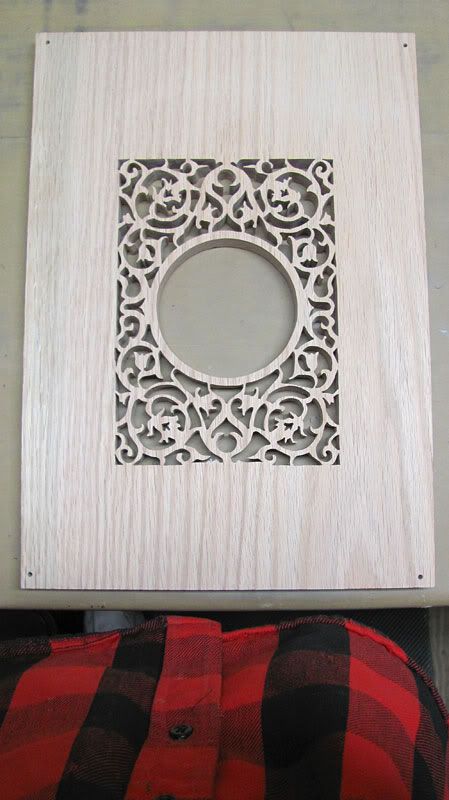
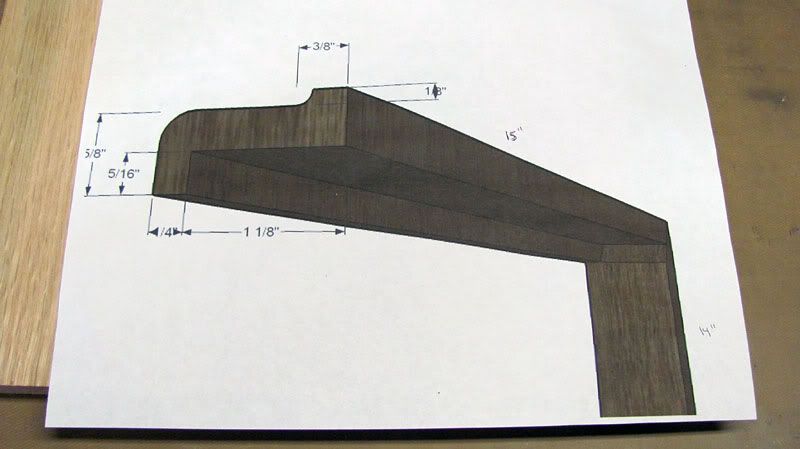
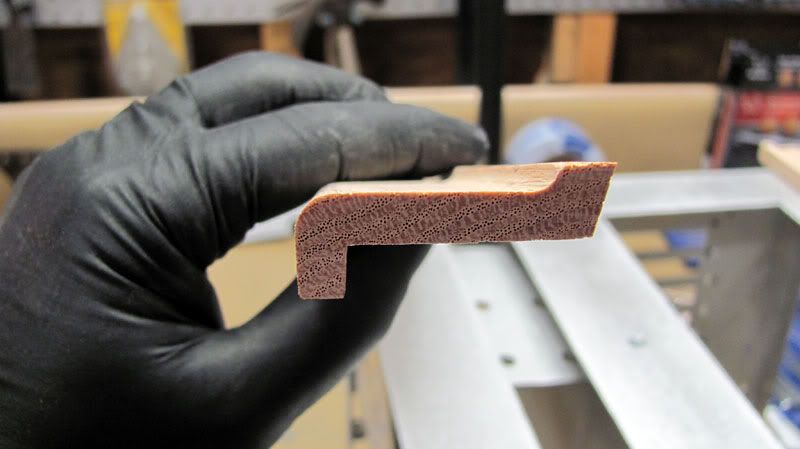
You feel my pain. I have yet to sand off the paper from the front piece, and I suspect that it will be a bit more on target than the top piece which was on the bottom of the two when I cut them. I could use a 1/4" piece on the top panel, but the front panel has to have a 3/4" piece to work due to its shape.


 ).
).
 Reply With Quote

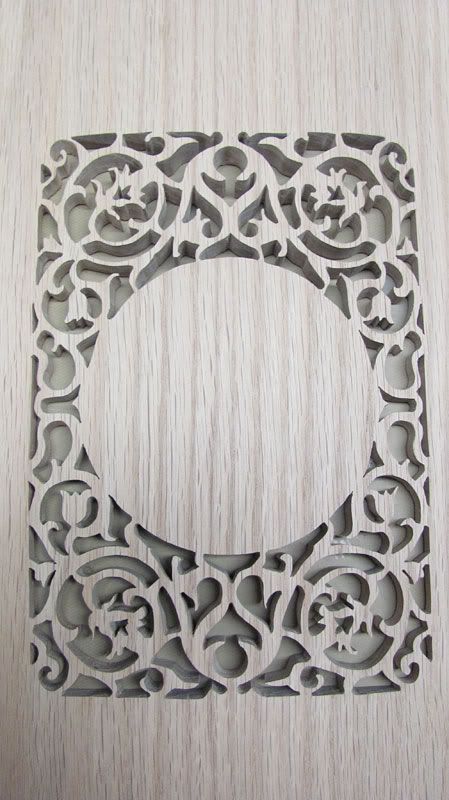
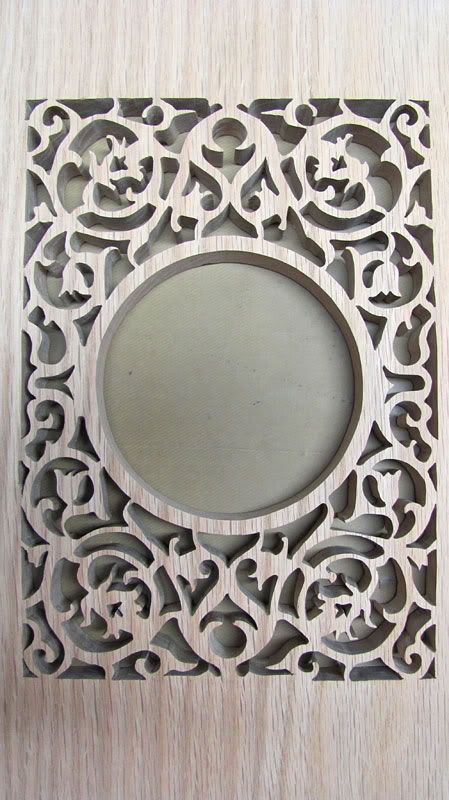
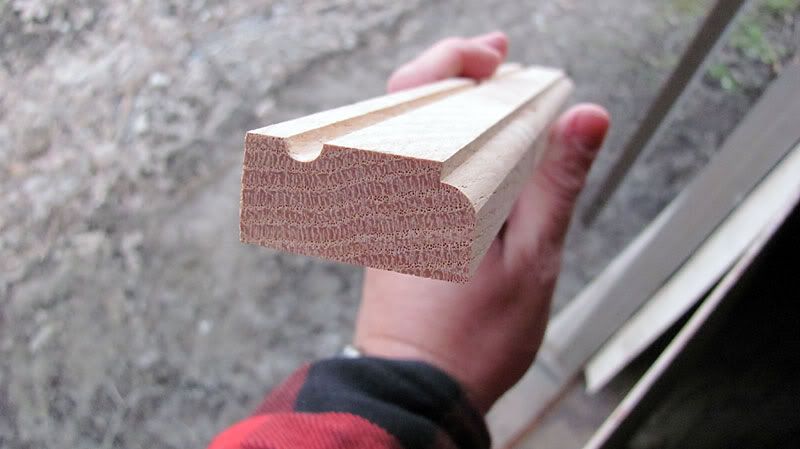
 It turned out real nice.


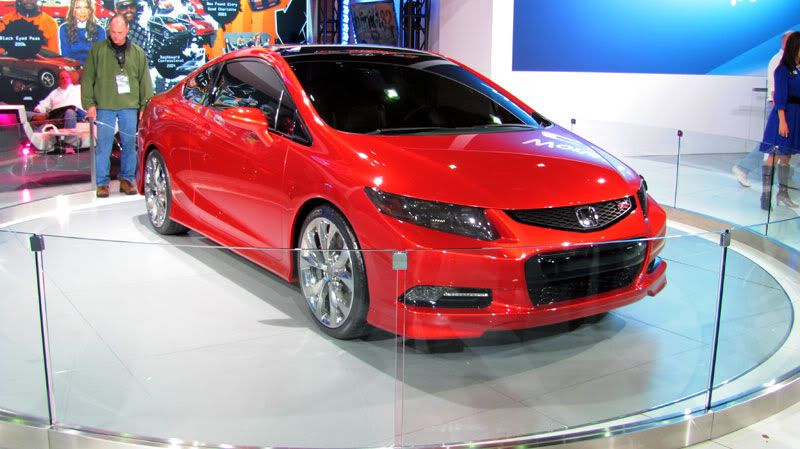
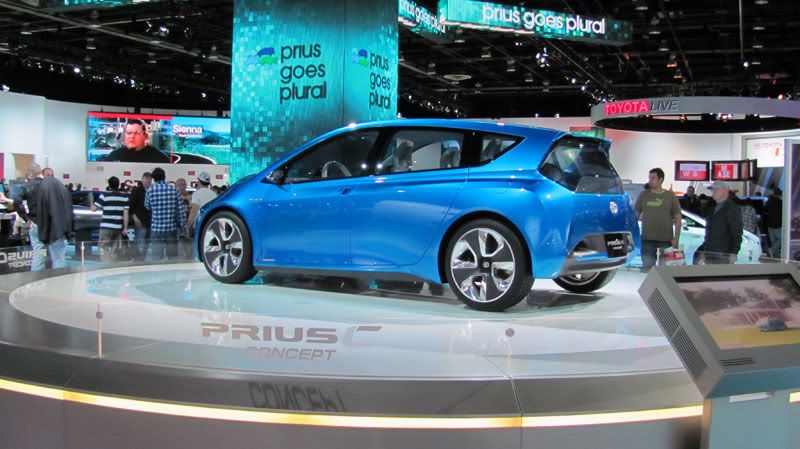
 , and while we were there, we went to the annual International Auto Show. I'm not a car connoisseur really, but it was fun to see what is out there. I've never been to a show like this.


 I'll just put it this way. I doubt she misses me either. Polite tolerance are the words that come to mind.
 .
.

 . Ah well, at least when I need to redo things, it isn't as crazy as that awesome front panel of yours
  . I'd almost get depressed if I messed something up there
  .
.


Bookmarks