


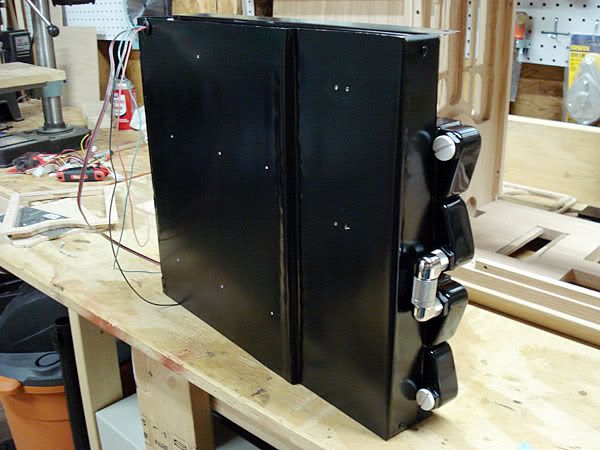
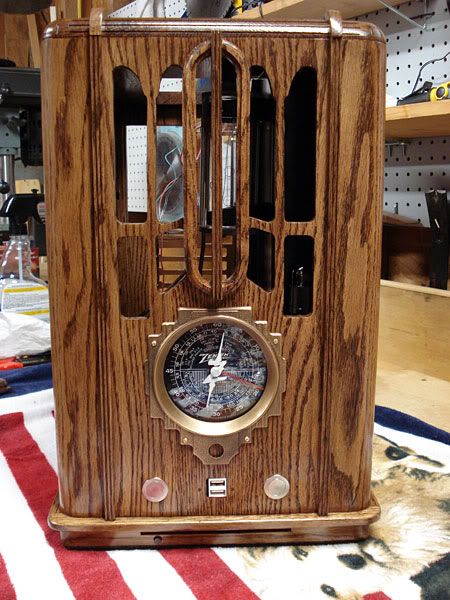
I completely agree on the constructive criticism regarding the rad grill side panel, and I really do appreciate it. I want to get the case itself finished so that I can start tearing mine down and moving into it. I am hoping to get the last two coats of finish on the case today, and if I can, it needs a day or so to really dry well during which time I may give the side panel another go. I can easily work on finishing a side panel redo while putting moving my parts over to this new case.Originally Posted by Rise

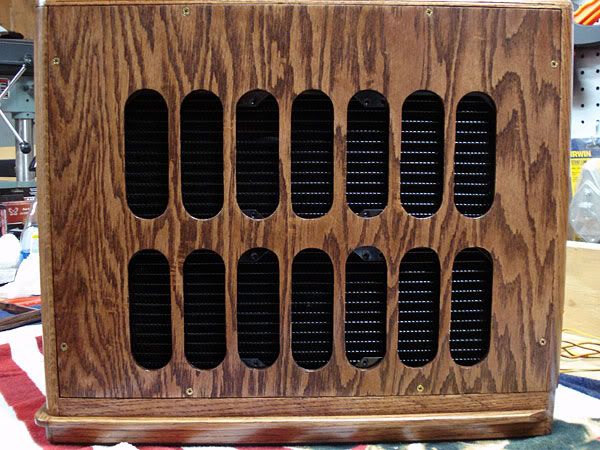
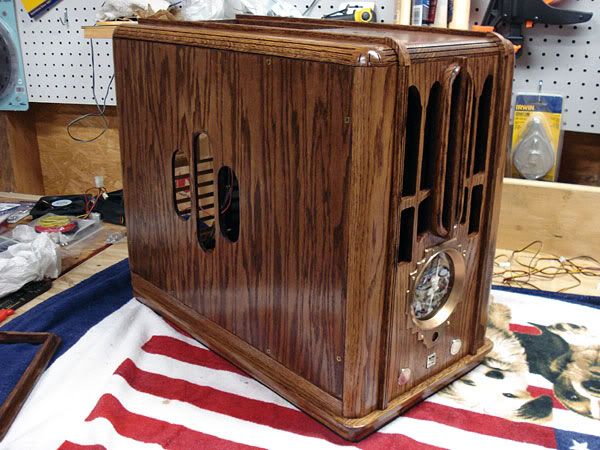
It really is very hard to get the cutouts just perfect. The arm on my scroll saw isn't deep enough to make all the cuts with it alone, so I have to drill out the holes for the ends. But my desktop drill press isn't deep enough to make all of the holes either, so I have to use a drill. It is very hard to get the holes exactly where you want them by hand. I think what I'm going to do is to use a bit smaller dia holes of 1 3/8" (instead of 1 1/2") with a wood spade bit and leave 3/8" between each cutout instead of the current attempt at 1/4". 1/4" is simply too thin.
Edit-- I measured the arm on my scrollsaw and it is should be long enough to be able to cut out all of the pieces, so that is what I will do as I should be able to get them straight with it.

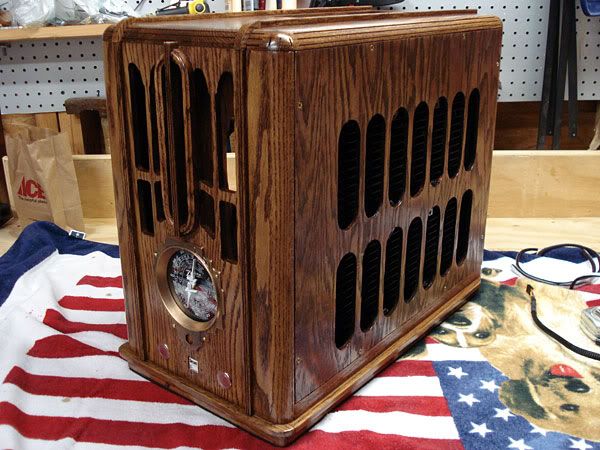
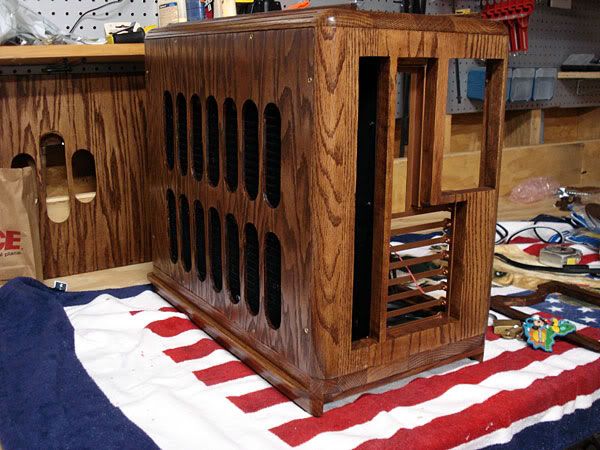
 I don't like the rad grill cover piece. I think its sub standard compared to everything else you've done on this build and I was a little surprised that you went with it. The cuts don't look straight and the ribs aren't lined up very well. It looks like it was a lot of work but I don't think it's the best you can do! this is just some constructive criticism... I really think you should give that panel a 2nd go.

 Reply With Quote


Bookmarks