


The point of my "Fuel Injected" Stacker Project was to build the highest-reliability, industrial-strength water cooled PC, without superfluous decoration or frills. The project was completed last year but I haven't had a chance to take the final photos and process them for posting. To the best of my knowedge, this is the first and only PC made completely with true aerospace stainless-steel braided hose line and fittings.
Russell Performance #6 stainless steel hose is used throughout, with Russell 6AN Full-Flow aluminum fittings. This hose has a 1000 PSI rating, is extremely resistant to all chemicals, and withstands -40F to 350F temperatures. The fittings use a 37-degree bevel aluminum sealing surface. There are NO hose clamps, NO hose barbs, and NO O-rings in this setup. All fittings are easily removable and reusable. One essential find that made this possible was Kinsler Fuel Injection's -6AN to G1/4" adapter fittings.
Creating these hose assemblies requires cutting the stainless braided hose with a hacksaw equipped with 2 blades, one facing each direction, so the stainless wires are not all bent in one direction while cutting. The hose is held in a vise during the cutting procedure, then the fittings are attached using hose lube and wrenches. I used a water-based hose lube to avoid contamination and flushed the system with a filter installed for 48 hours before use.
The front bays of the Stacker have been replaced with 3 Silverstone 4-in-3 drive bay units with integrated 120mm fans for a cleaner look. Two fan controllers are used to control the system's 7 fans (3 on the radiator, 3 in the front bays, and 1 in the back).
The drives currently installed are not the final hard drives. Note the LSI Serial Attached SCSI adapter in the lower PCI-e x16 slot, this will run the 15K SAS drive array. Likewise the RAM installed is not the final RAM. The mainboard is a D975XBX2 with a QX6800 but that will probably be switched out to an X48 by the time I'm done.
Anyway, without further ado, here is the overview pic:
The reservoir is a billet aluminum power-steering reservoir made for hot rods. The weight of the billet part, plus the water it would hold, made me concerned about its mounting point bending the side of the case, so I reinforced the case side with heavy aluminum plates:
Here are the Thermochill PA radiator and reservoir being mounted on the case side. The Thermochill is attached with dual Swiftech RadBox units:
The reservoir includes an integrated anti-foam inlet pipe:
Installing the EK full coverage block on the 8800 GTX. Both CPU and GPU blocks are by EK with black delrin tops.
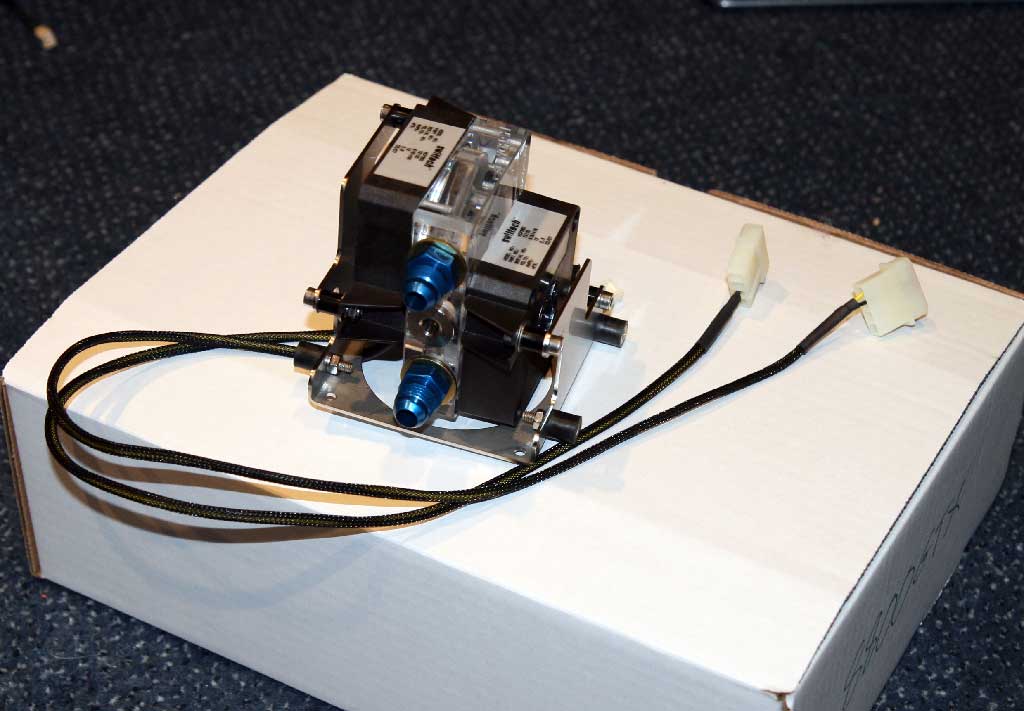
The pumps are dual redundant Laing 355s using an Alphacool plexiglas dual-pump adapter, plus their 3.5" bay mounting bracket that I had to order from Germany:
Here I'm cutting aluminum bar stock with my metal-cutting band saw for the billet case feet:
Machining the feet on my milling machine:
3 nearly completed feet:
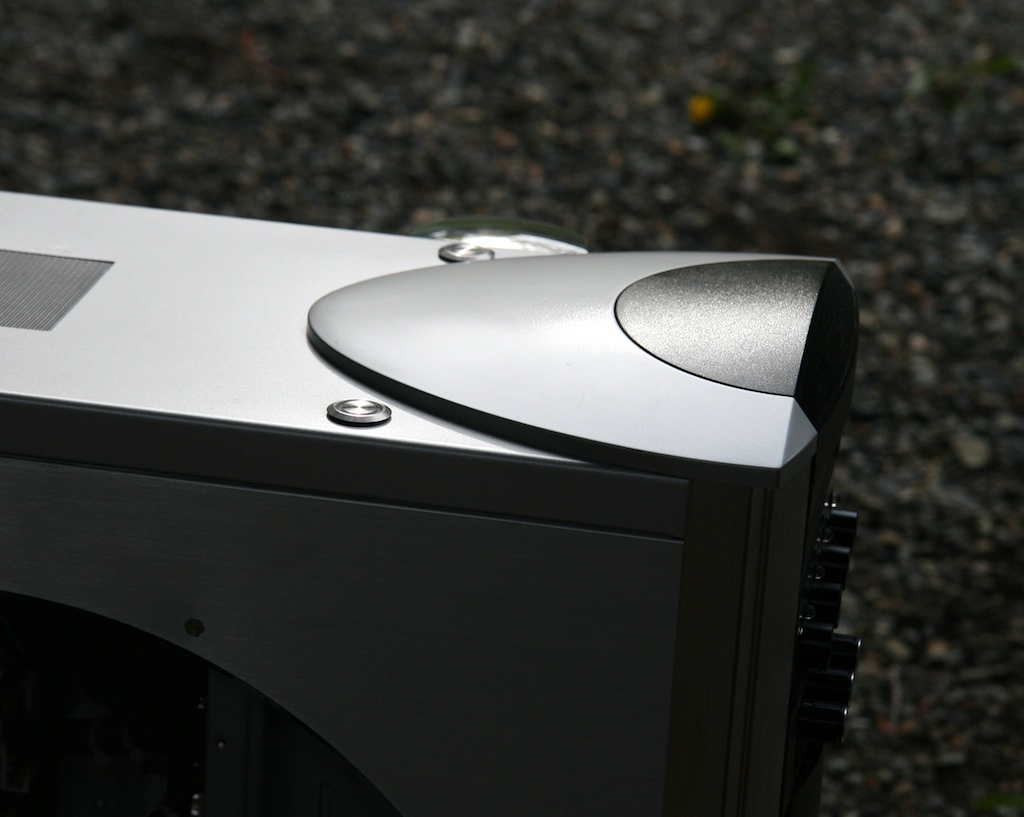
All 4 feet are done! I'm going for an art-deco look here.
Angle shot of the feet mounted to the case. They spread the center of gravity so the large radiator and reservoir mounted to the side do not cause the case to be unstable.
Since all front bays are filled, I removed the power/reset switch bay unit and installed Bulgin illuminated vandal-resistant stainless-steel switches in the case top:
Artsy shot of the Bulgin switches. The lighting on the power switch acts as the power on indicator, while the lighting on the reset switch acts as the drive activity light.
Close-up of one of the Bulgin switches mounted:
Overview of the radiator/reservoir side of the case:
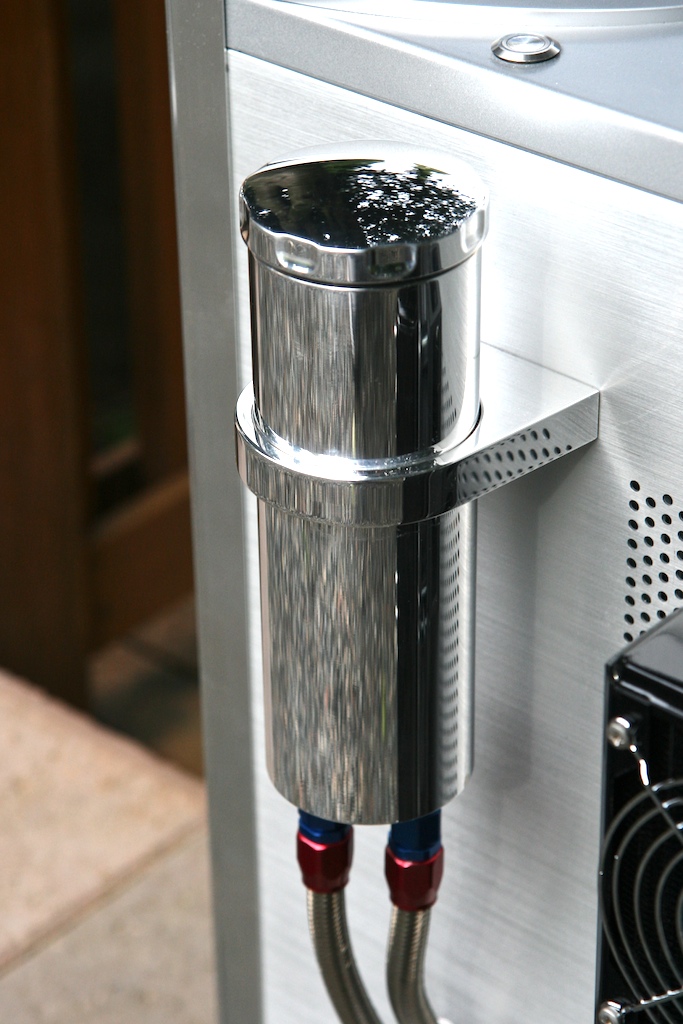
Showing off the polished reservoir top and switches:
The reservoir mounting mechanism clamps from the inside of the case side, so there is no visible mounting hardware (screw heads, etc.) on the outside.
This shot illustrates the exterior plumbing. One line from the reservoir goes into the case through a bulkhead adapter, the other goes directly to the Thermochill. Note that these are full-flow fittings so a right-angle adapter doesn't have the flow restriction that you would expect.
Here is the plumbing exiting the reservoir. This reservoir uses two different size tapped openings so I needed to use two different -6AN adapters. Note the trick billet hose-separator clamp.
Another shot of the exterior plumbing:
Window side of the case:
Interior plumbing:
Closeup of the GPU block:
Hoses leading to the dual pump assembly in the lower front drive bay:
CPU attachment -- note the CPU block inlet uses a 30 degree angle fitting to lessen strain on the EK CPU block:
Fittings connecting to the EK GPU block:
Another angle of the CPU block fittings and attachment:
There is an integrated drain T-valve in the bottom of the case for flushing the system:
Fitting detail on the bottom of the GPU block:
Closeup of the mounted billet-aluminum feet, note the screw reliefs cut into the back of each foot, which allow the stainless-steel high-strength screws to secure the feet to the case:
Here is a low angle of all 4 feet plus the drain valve:
And some overview shots to wind things up:


 Reply With Quote

 **
**
 The res is a Billet Specialties which runs $144 at Summit. I would have given a shot at making one, but I didn't have my lathe at that time, just the milling machine.


Bookmarks