


The latest from the hands of fliptone et alle... (figured better to do it's own thread than use gallery, as there's far too many pix n' text!)
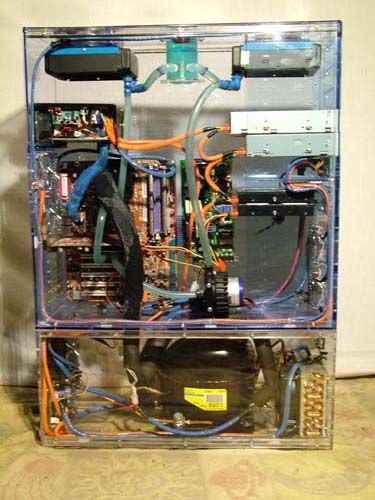
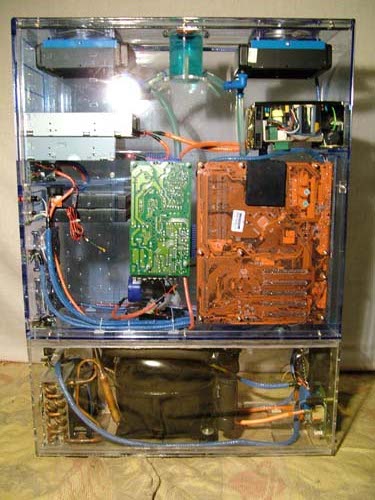
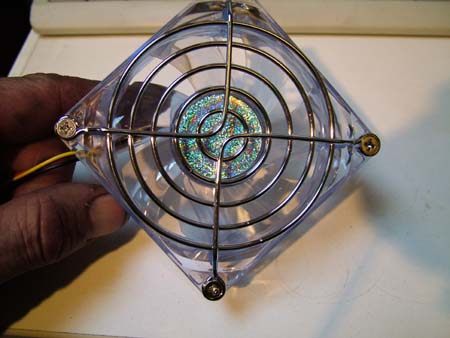
As you can see from the shot above, this is a Beantech FullTower Plexi case fitted with Watercooling, additional 12v TEC PSU relayed to the Prometeia MkII mounted in the custom hand-built plexi base.
Mounted in the top of the chassis are 2x HE120.1 radiators and a DangerDen Clear Reservoir... All mounting holes were cut with a jigsaw...
Due to the Beantech FullTower being of an increased depth in comparison to the MidiTower, the whole Prometeia chassis has been replaced with a custom size-matched plexi base box.
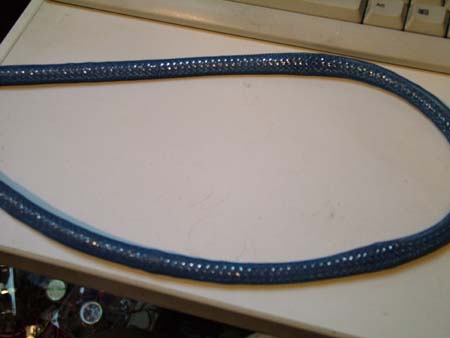
To accomodate this, all wiring has been extended and double-braided with a chrome-braid base layer, and colored-braid top layer.


 Reply With Quote
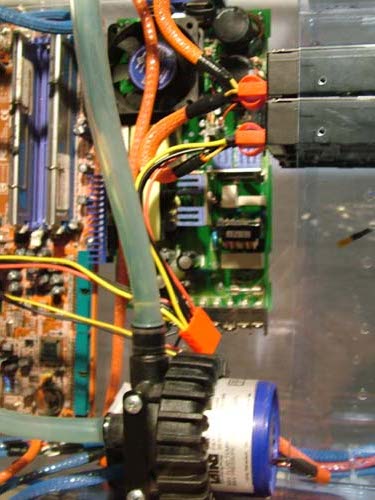


Bookmarks