


This is one of three projects that Im trying to work on at the same time, so it will be referenced in other work logs. This is my first build in a long time where Im not recycling an existing case. Itll have a time line to bring everything up to date.
06/06/10
Originally this was to be a re-boxed "Kermit" with a bit more room to play. However my nemesis (eBay) and a desire to go SLI changed it all. That is why the MSI 785 mATX was replaced with the NF750. Other wise you would have seen some "building" going on. The other goal was to have a maxed out Zalman build as Ive only used them for CPU coolers and hadnt realized the scope of their products.
Besides waiting for the mobo from eBay, the flu has slowed me down big-time!! Anyway here are the "known" specs:
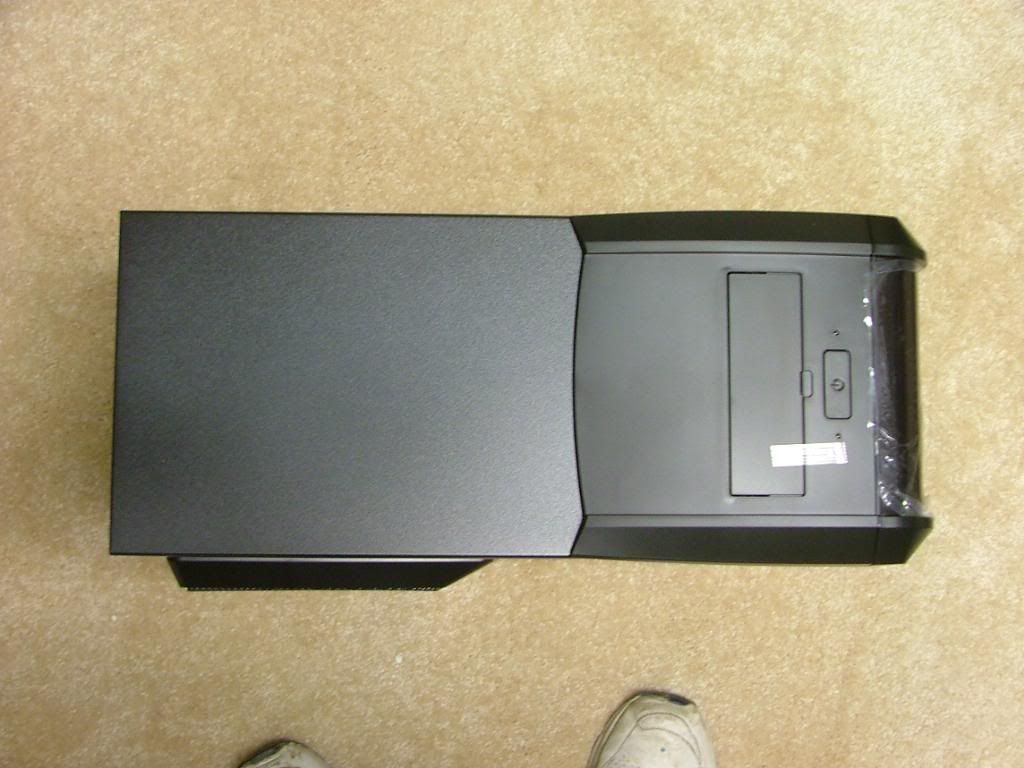
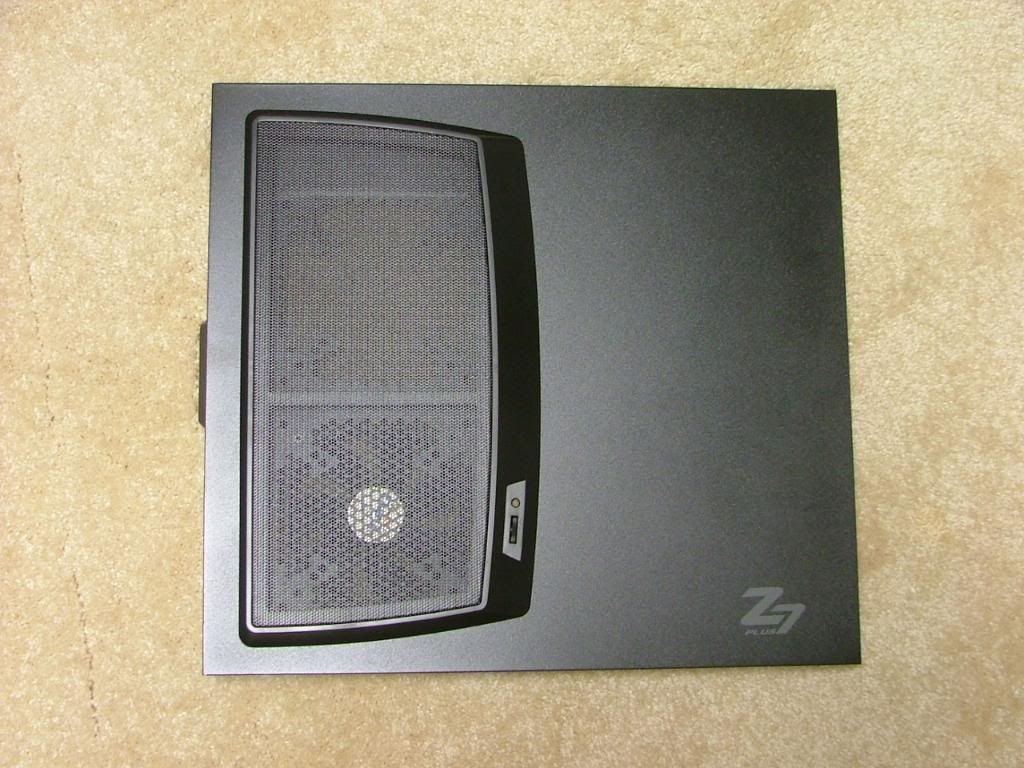
CASE: Zalman Z7 Plus
PSU: TBD until something by Zalman can be acquired
MOBO: MSI NF750-G55
CPU: PII X4 955 BE
HSF: Zalman CNPS9900-NT
GPU: XFX GTX 285 w/ Zalman VF3000N
MEMORY: TBD w/ Zalman ZM-RC1000
HDD 1: 2 x WD Raptor 74GB (Primary RAID1)
HDD 2: 2 x TBD(RAID0)
Optical Drive 1: TBD
Fan Controller: Zalman ZM-MFC3
Another issue that dictated the move to a larger case was the acquisition of a VF3000N cooler for the XFX GTX 285 that is/was in Kermit. Being of the open style it would not vent the heat out the rear of the case and would require more internal space as well as fans to dissipate the heat. As usual what is happening with another build also impacts things. With the death of the mobo in DreamCatcher and waiting on the RMA from BFG for the 280, I made the other accidental purchase of a second 285 with the idea of using that in DC v4. However it seems in the back of my mind was how nice it would be to have 2 x SLIed 285! Hence the accidentally win of the NF750 mobo.
As the bigger case is the Zalman Z7 Plus it has a very nice drive cage that will hold 5 HDDs .which caused me to drop the idea of an external dual bay drive box for file sharing and just put it in here. Then I started thinking again (BIG trouble) about how to do the hard drives. With another win on eBay that I hadnt planned on I found myself with a second 74GB Raptor (currently one in the defunct BluHaz build). With out a window to see Kermits RaptorX window I started wondering what it would be like to have the 74s in RAID1 for the OS, etc. Worse than a set of dominoes!!
Anyway to show that there is some progress Ill shortly toss out a picture or two of what I have and we can go from there!
Later in The Day
As I need to wait on the motherboard, not much will happen for a while on this build. Need to get DreamCatcher figured out so I can get some of the mess out of the floor .besides it is inheriting Kermits MSI 785GX-E65.
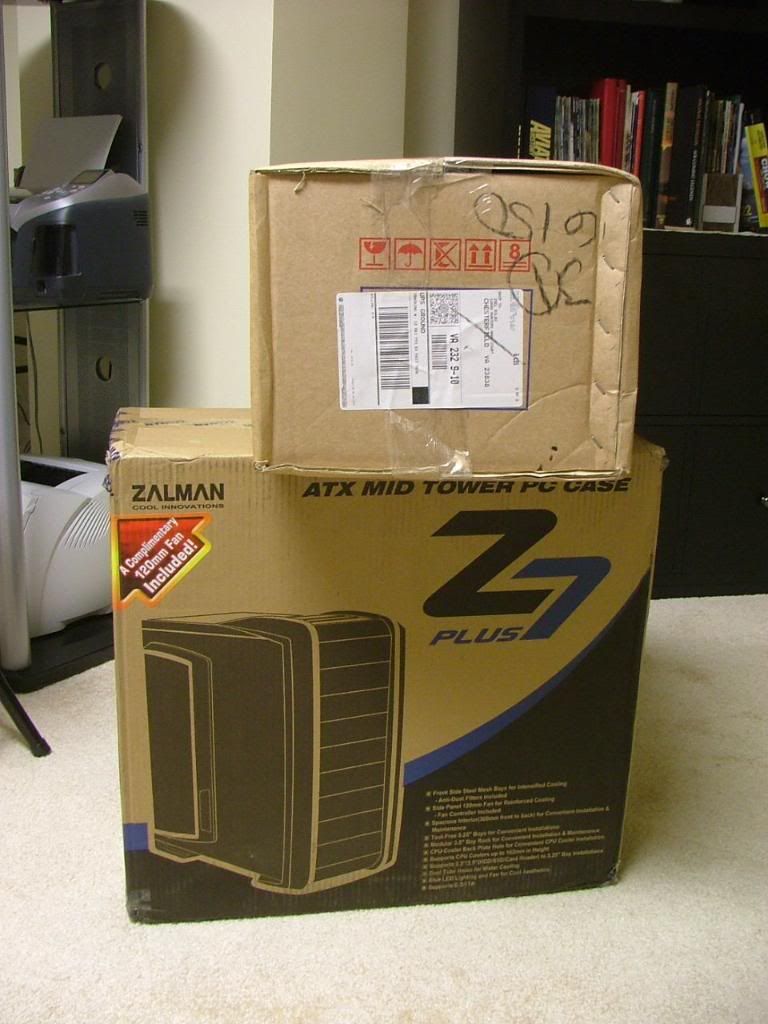
Ill toss out these pix and give you a little initial thought first of the case and then modify those as necessary as things go together!! Starting with the arrival
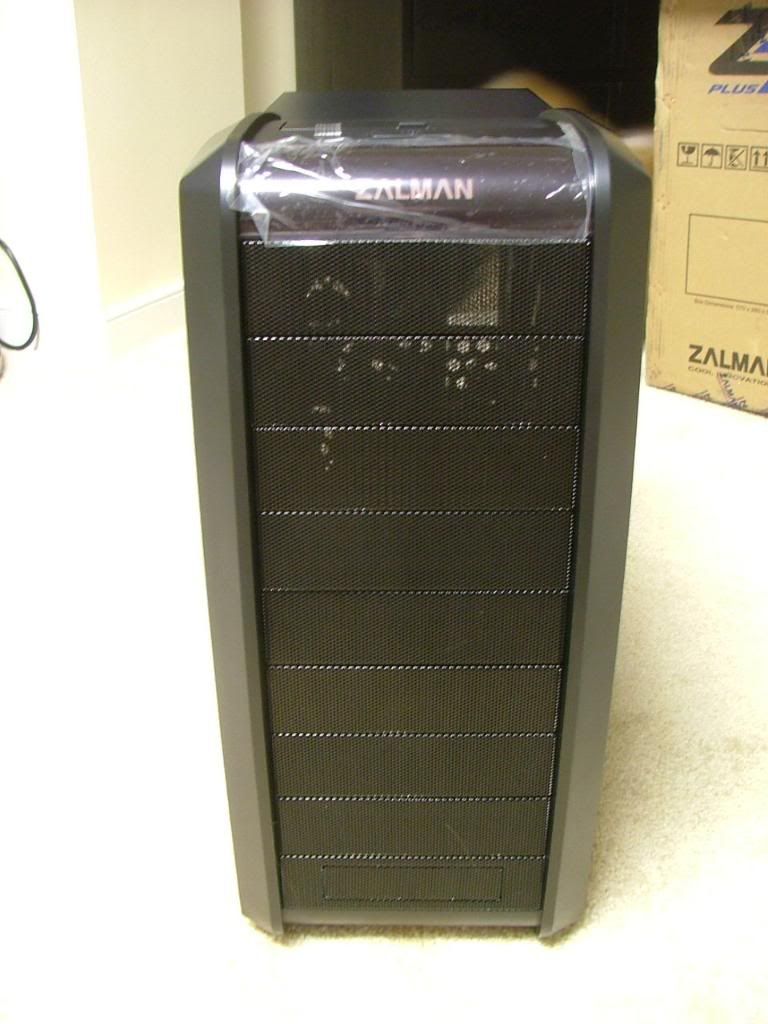
and then go through the customary Case shots first .oh yeah and by the way got lazy and didnt edit my toes out of the pix either!
First off these initial thoughts are going to make me sound like a Zalman fanboy (I am) and part of their PR folder however that is how it stands until I get a chance to really get into things! And yes as typical of my logs, this one will be long winded with lots of pictures.
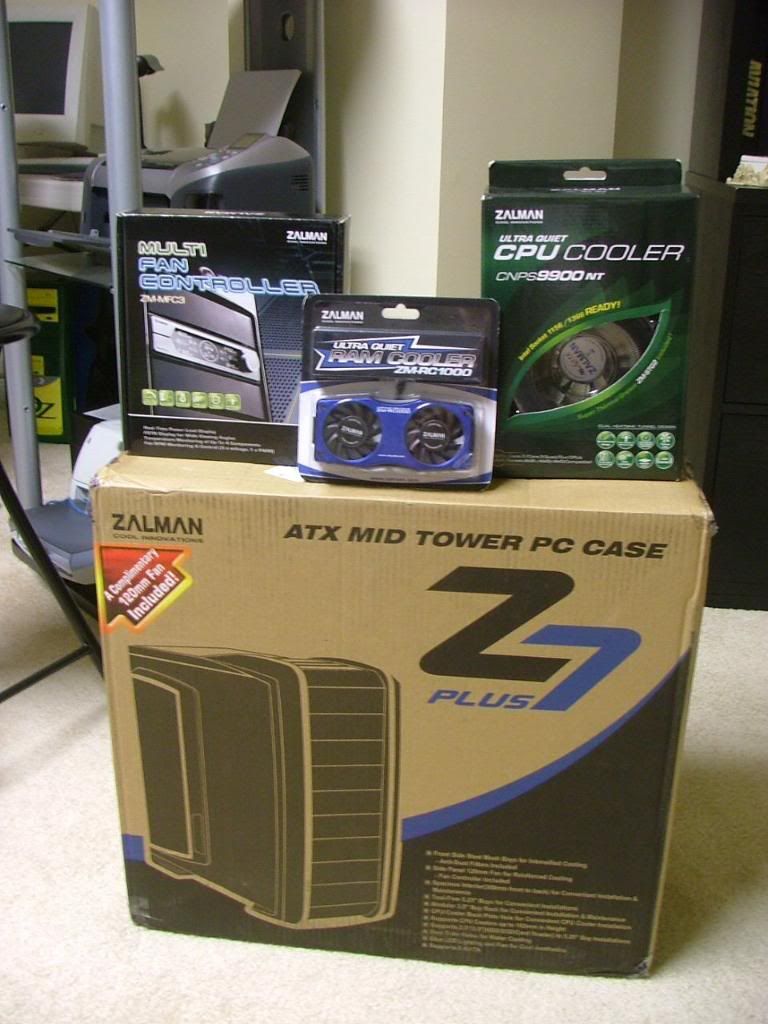
You have the arrival of the packages after being brought down into the office and then un-boxing the less obvious items. So for now we have the case, a fan controller, the HSF, and a memory cooler. The GPU cooler arrived earlier and can be seen in more detail in a user review that I putting together. After that the 285 will join the pile.
Please realize (other than making changes to Oz1a) Ive only been building mATX systems for over 8 years.
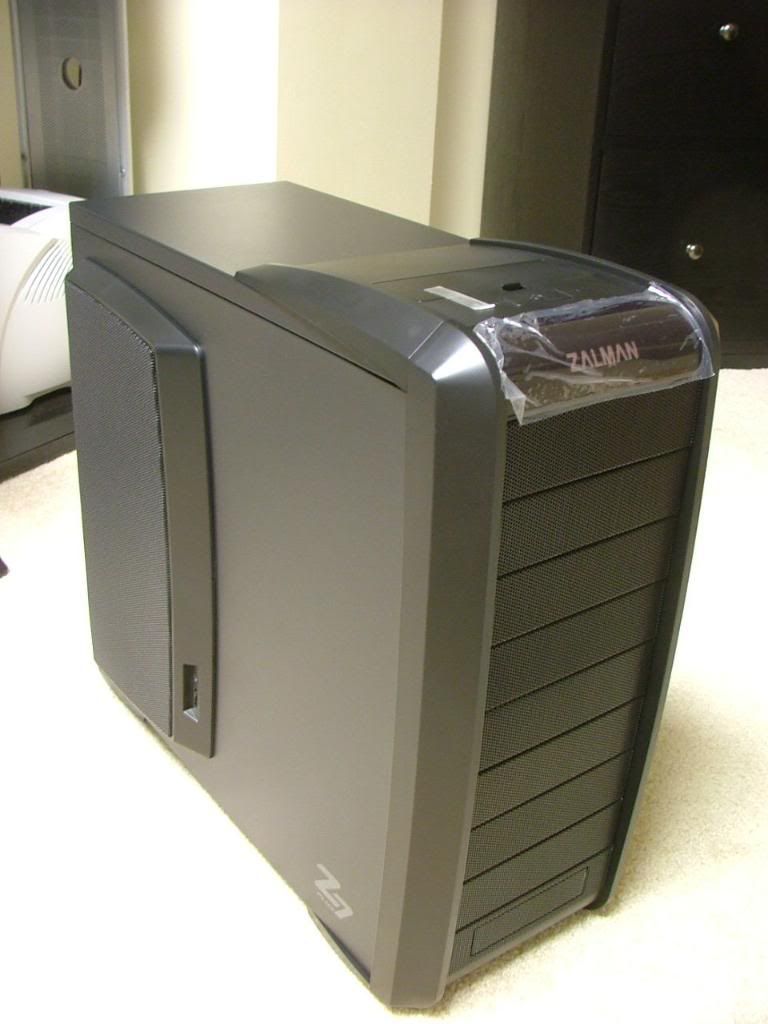
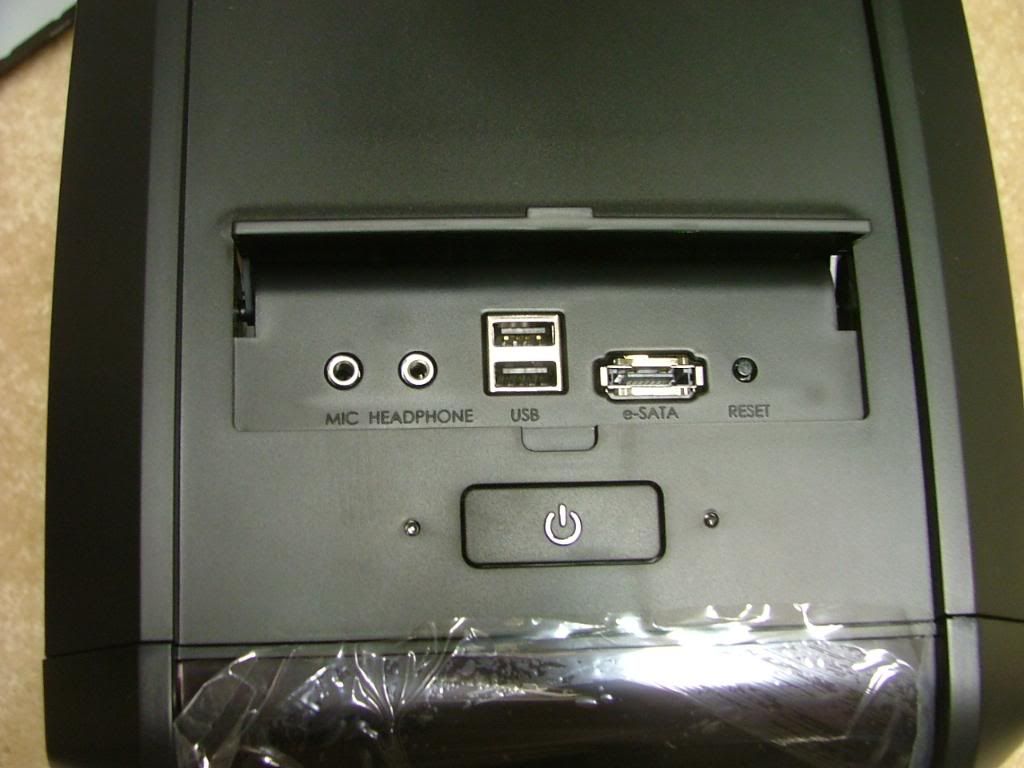
Part of the deciding on this case is the fact that while a full size case it isnt too tall to sit on top of my desk as opposed to under it. However with the location of the front ports on top, Ill have to mod my reach a little!
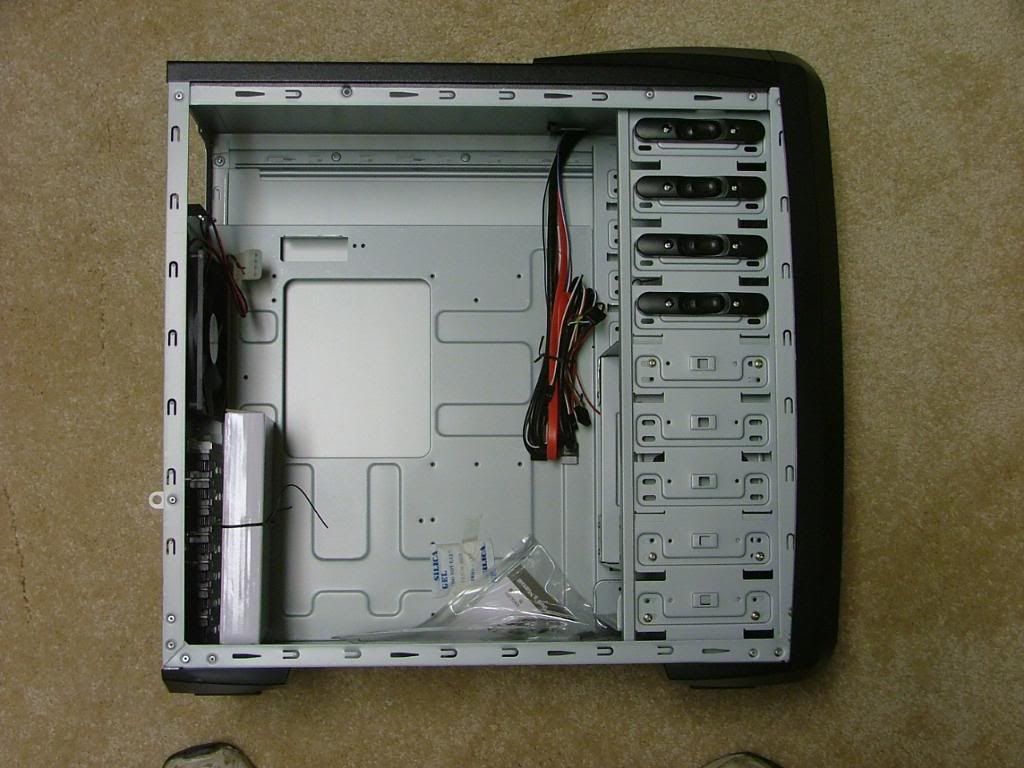
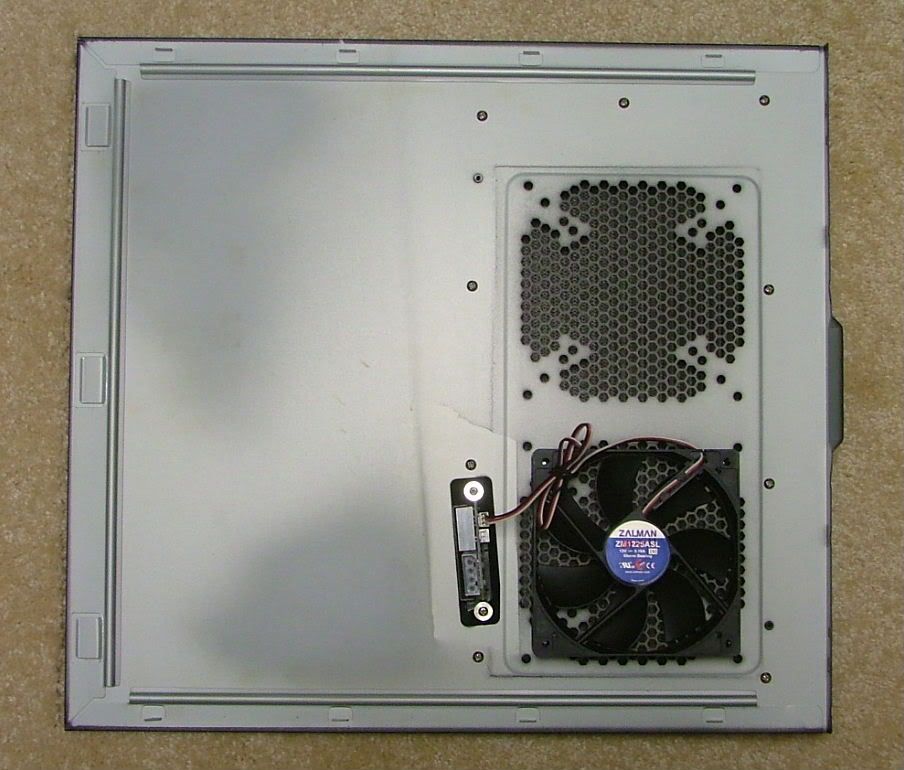
Component cooling has always been an issue with mATX so all the fans that come with this case is cool .literally. The Z7 Plus come with provision to mount three 120mm OR 140mm fans and 1 120mm on the rear. Matter of fact Zalman provides 1 120mm LED in the front (mounted to the HDD drive cage), the 120 for the rear, one mounted on the door, and had one in a box inside. That one would be the second one on the door. Also all intake areas come with filters to help keep dust bunnies and their relatives out. Having the bay covers basically vents with removable filters adds to the air flow. Believe most give Antec the credit for coming up with this idea.
There are two versions of this case and the only difference I can find between the plain Z7 and the Plus is the Plus gets a neat fan cover on the door that comes with a speed control. For me it would have been better to have gotten just the Z7 as there is a window in the works that will remove that part.
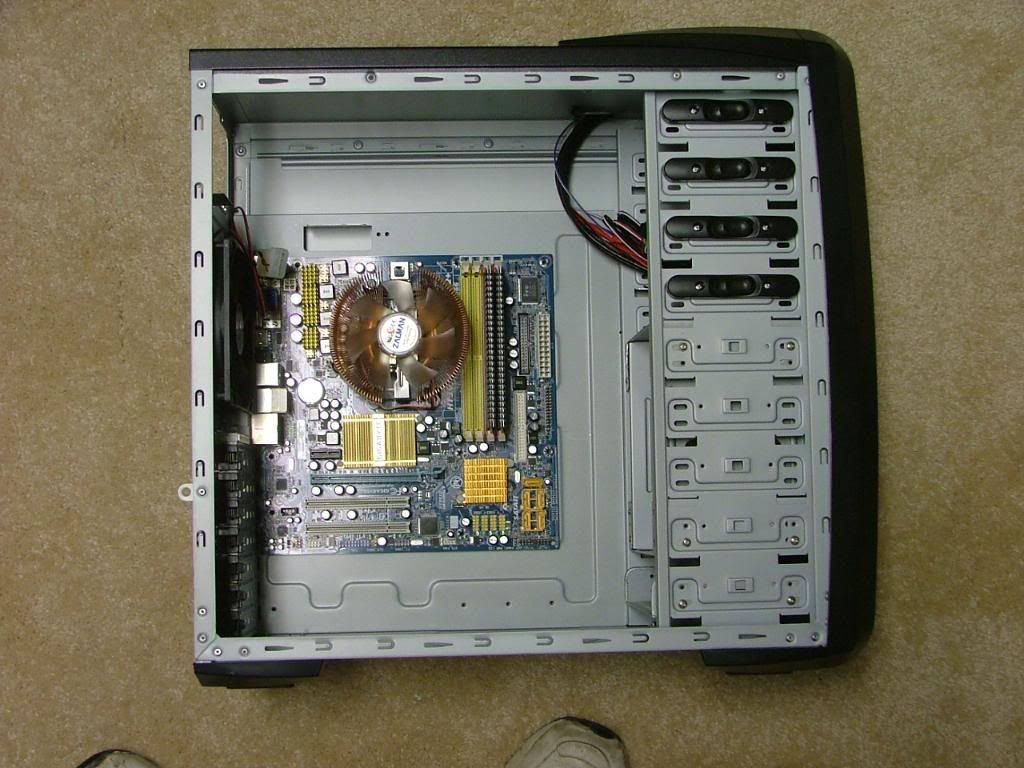
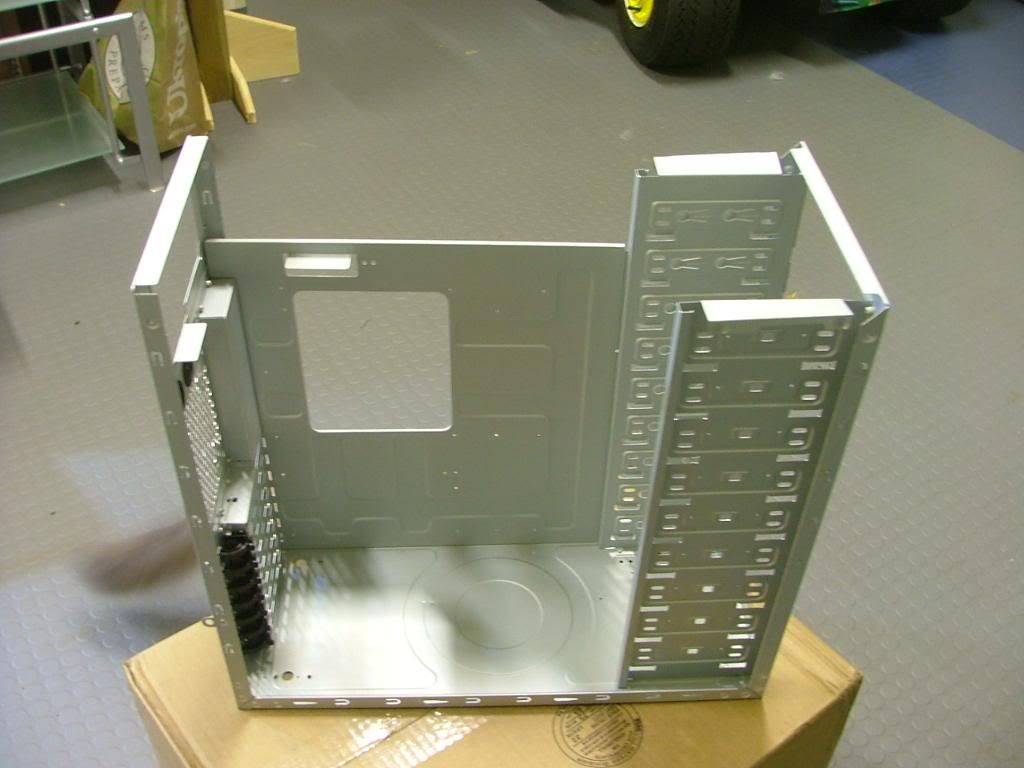
On the inside, for me, I love all the room as shown by the interior view with a mATX mobo. Zalmans tool-less system seems fairly simple and functional, the only exception is while the hard drives are mounted tool-less it requires one to remove four screws for the cage to be taken out. I need to work up some pix to show that later.
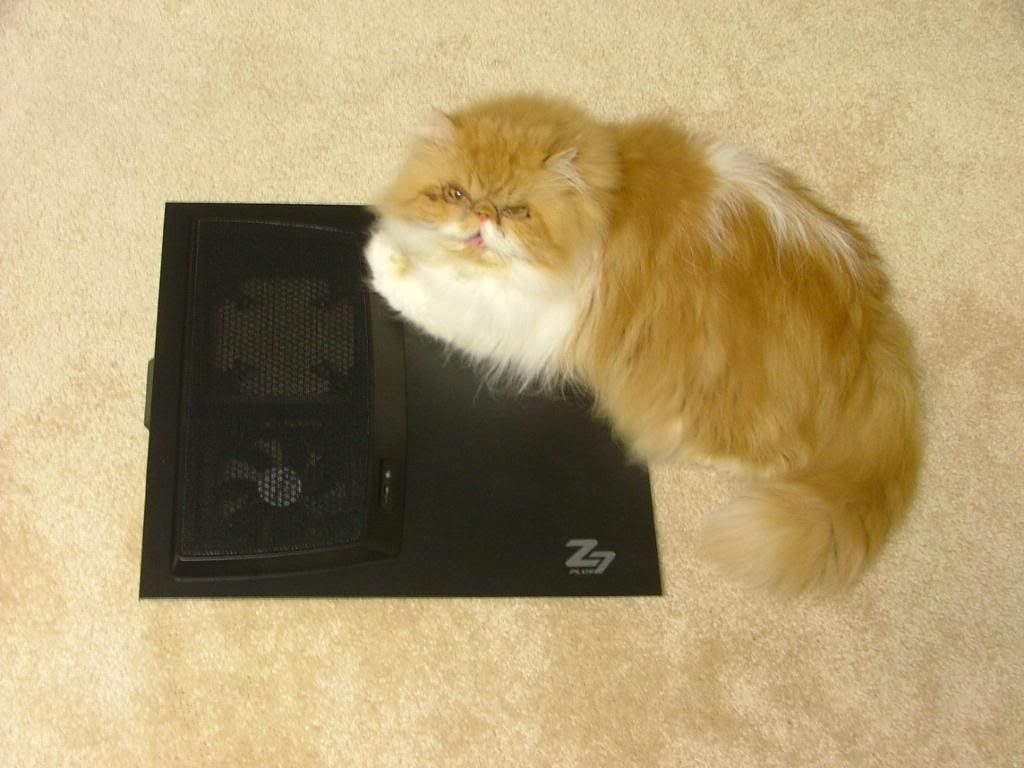
Finally where you see the plastic covering is the Zalman logo that lights up blue when powered up. Also in closing it looks like assistant #2 approves as he decided to bed down on the left panel.
To The Wee Hours & Through the Day 06/27/10
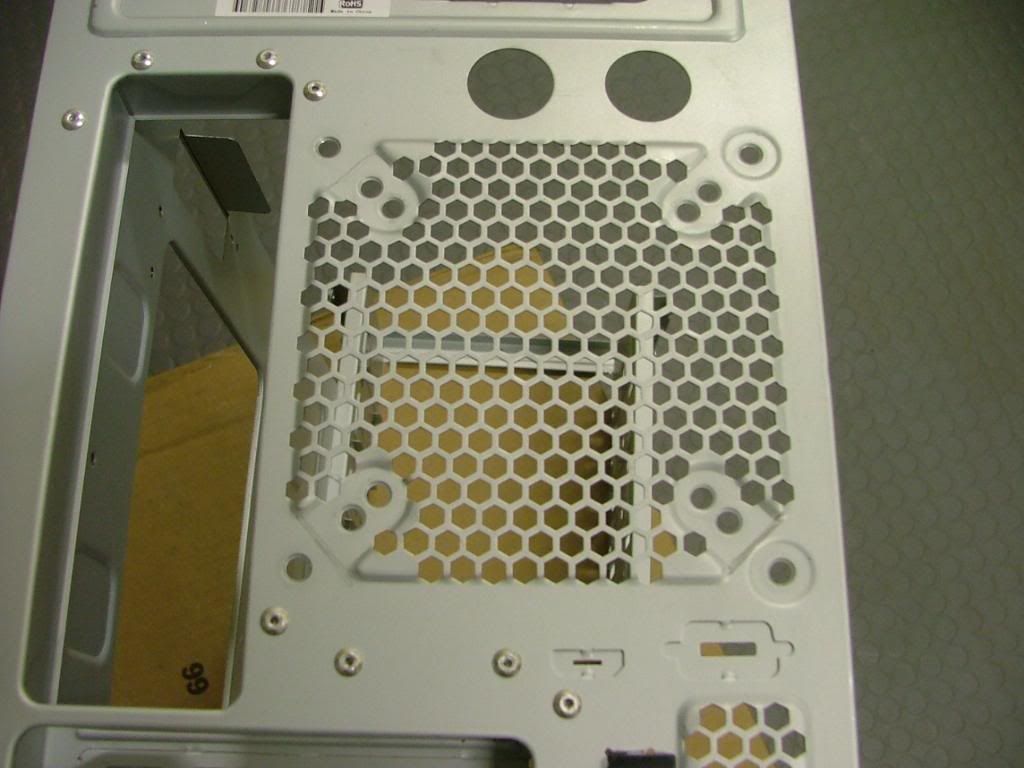
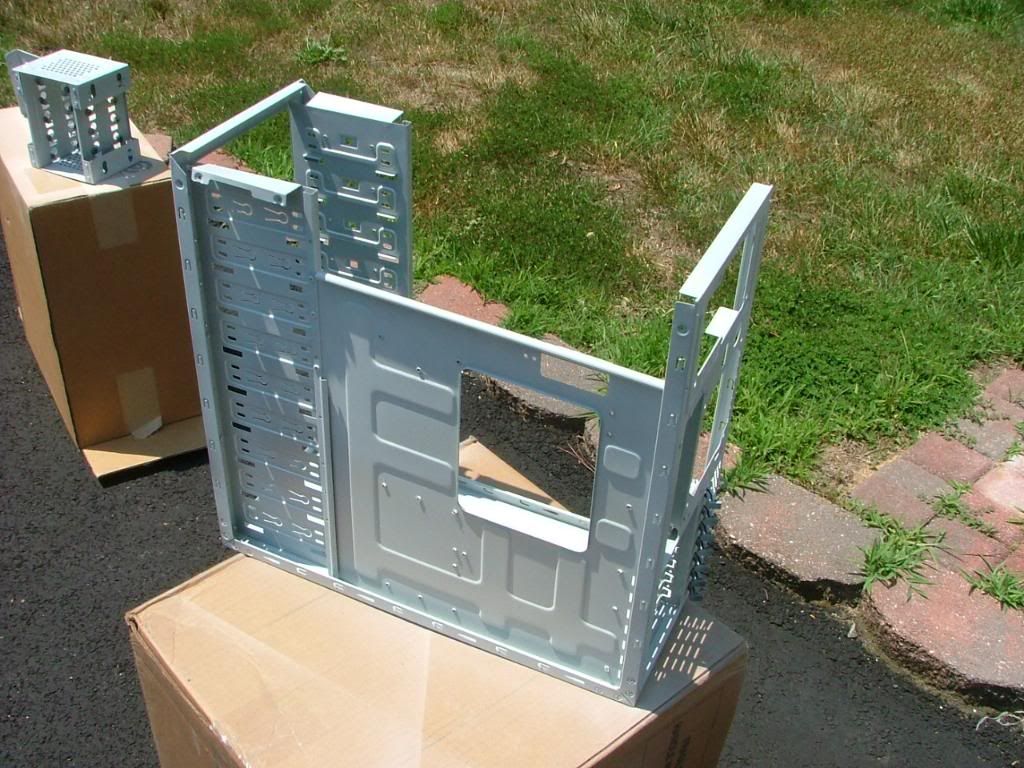
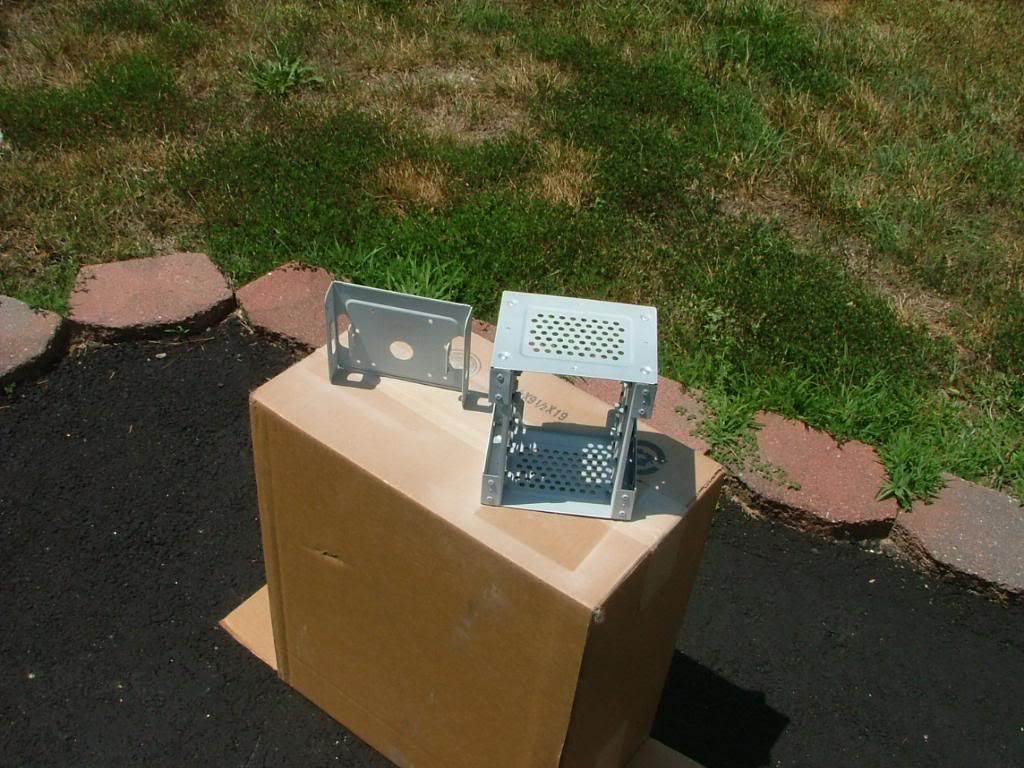
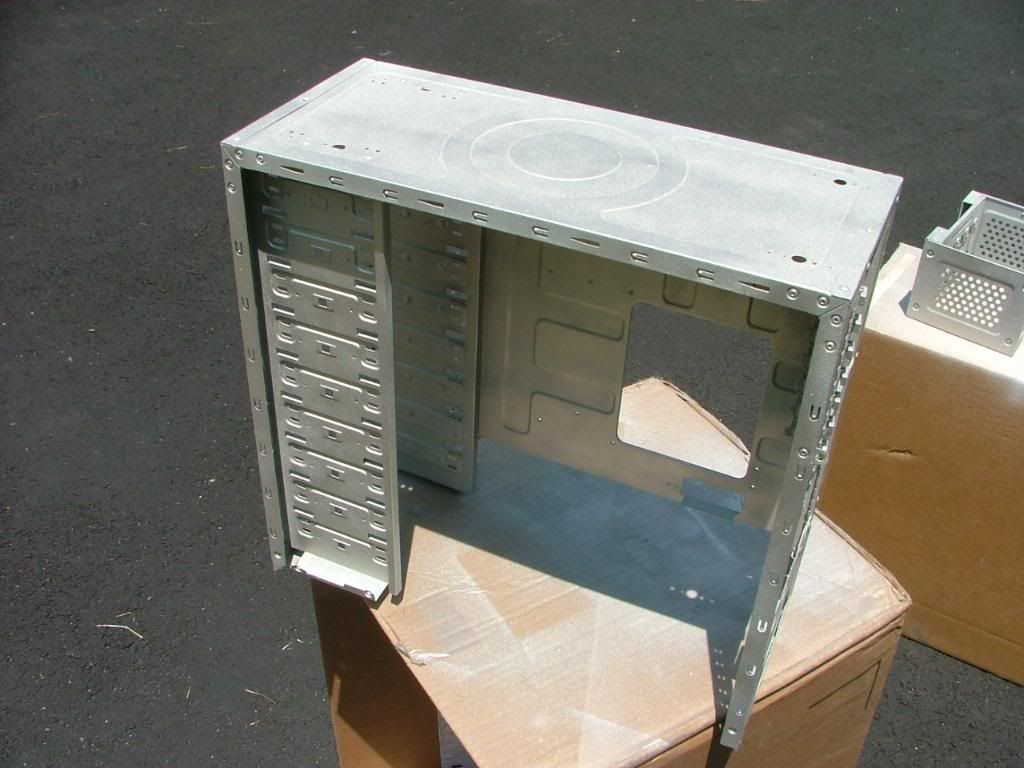
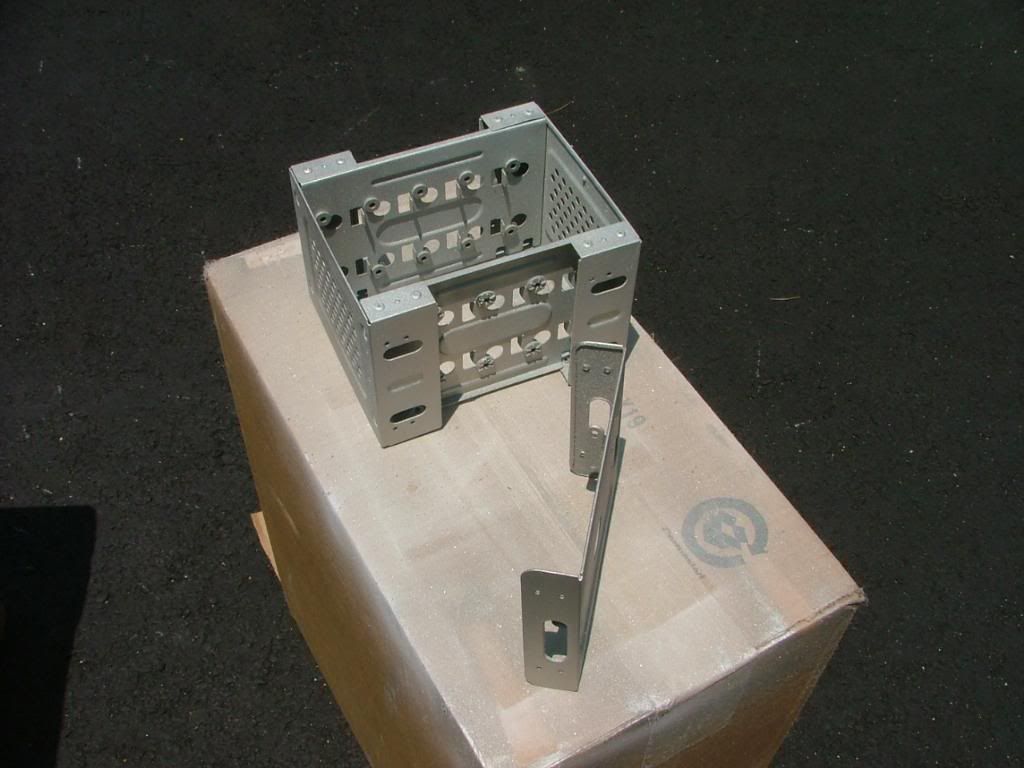
Finally picked a paint color but dont know how well itll work as it might just look like the natural aluminum. Keep gravitating to white but that has already been used. Going to throw at a few pictures to show that I am doing something (mainly working on DreamCatcher AM3). We have the chassis rear stamped fan grill marked for cutting, the chassis after de-milling the top for painting, and then all the parts waiting for the first coat of primer.
Havent done the grill yet or anything as these shots were taken just before crashing at 03:20 EDST.
Today was a total bust on the painting between the humidity, "breeze", and whatevers, back to square one as I'll have to sand and do whatever to undo the mess.
Present
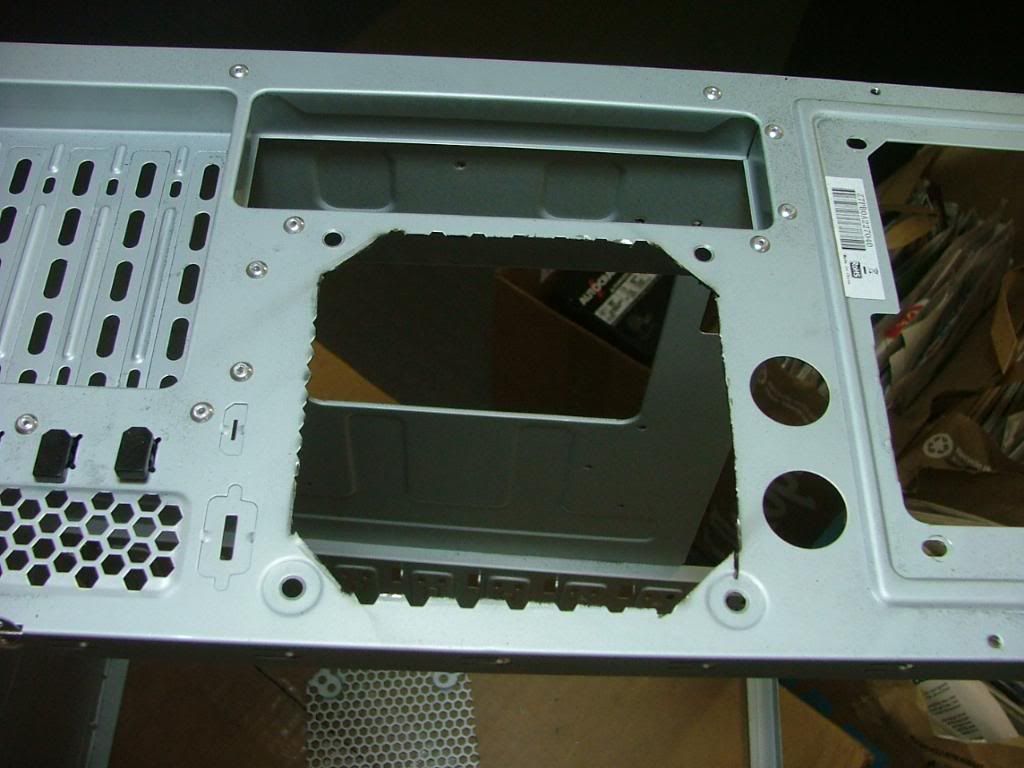
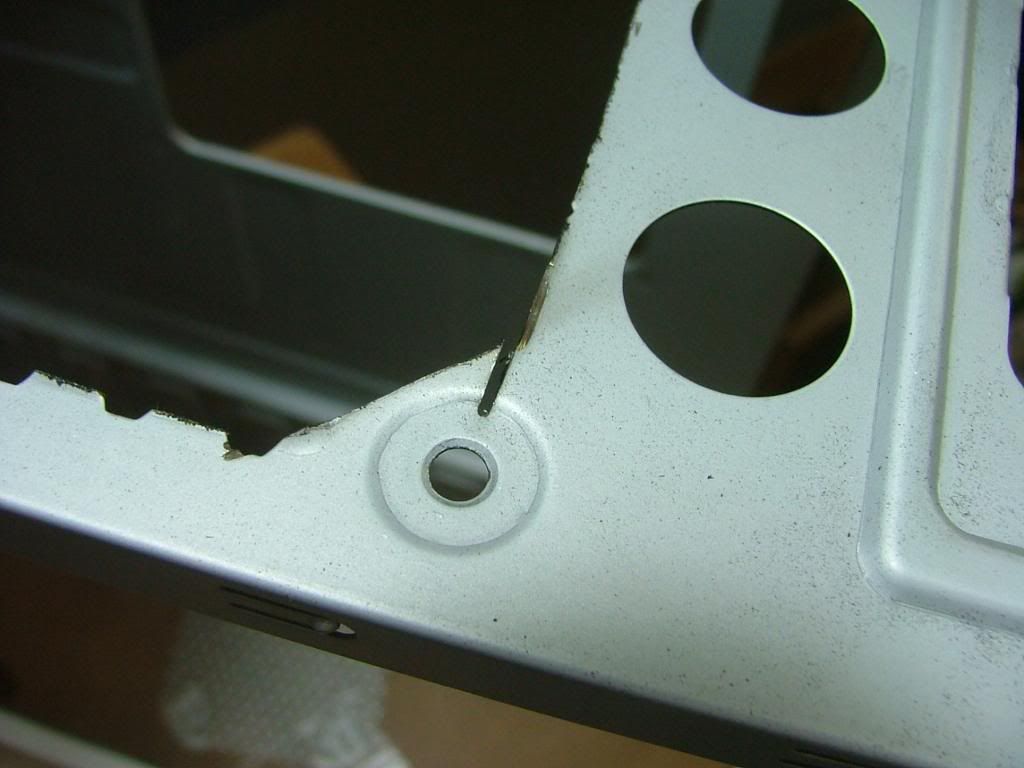
Well with the fiasco that was my painting attempt Ill throw out these pics associated with it. Also managed to do one of my worst grill cutouts so this thing seems to be jinxed!
Im used to working with round stamped grills but Zalman has done square on both the side panel and the rear of the case. This allows for going with the different size fans. I bought that new quick release type mandrel and cutting disk for the dremel. Also managed a nice oops when the disk grabbed and it went the wrong direction.

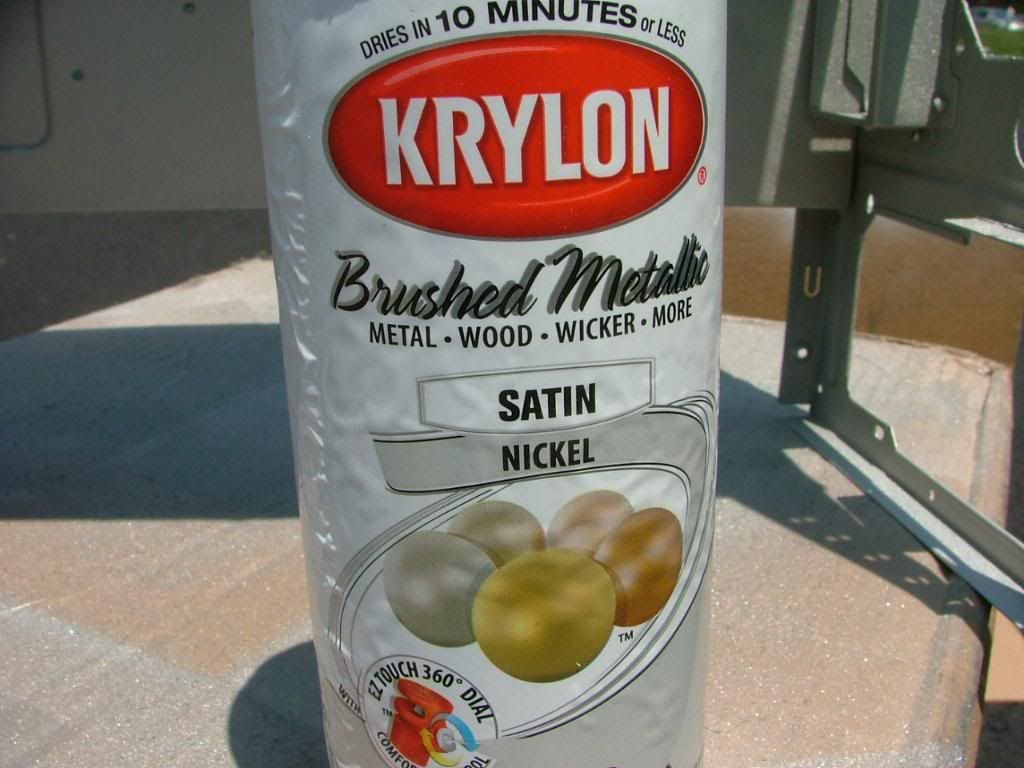
The color I thought Id try is Krylons Brushed Metallic Satin Nickel to keep with the theme of the coolers on the mobo as well as the 9900-NT Max. Not sure what I may have done mechanically to mess up the pain as I primed first and then painted. However I did what I said I wouldnt and rushed the time between coats. While they stated 10 minutes between coats (I did 20+) not sure if I should have waited longer. At any rate not only was the color uneven but felt like sandpaper. When I tried rubbing it with a cloth in case the roughness was just stuck overspray in came off all the way down to the primer.
So the plan is (if I get the gumption) will be to de-mill the whole thing, hit is with steel wool, wipe it down, prime, and try the paint again!
Additional Information.......
According to UPS I have a delivery from the 'egg tomorrow so will post a pic or two of a major change then!


 Reply With Quote

Bookmarks