


As you can see from my sig, I have a fairly good AMD 64X2 4400+ system, but when the Conroes came out, I had to have one. I have an Asetek water cooling kit on my AMD system, but I wanted to make an extreme system from scratch for the new rig.
System
Lian Li PCG 70B with window side panel
E6600 (retail)
Asus P5B Deluxe (replace stock NB HS with CM Blue Ice Pro)
G-Skill 6400HZ 2GB
OCZ GameXtreme 700W PSU
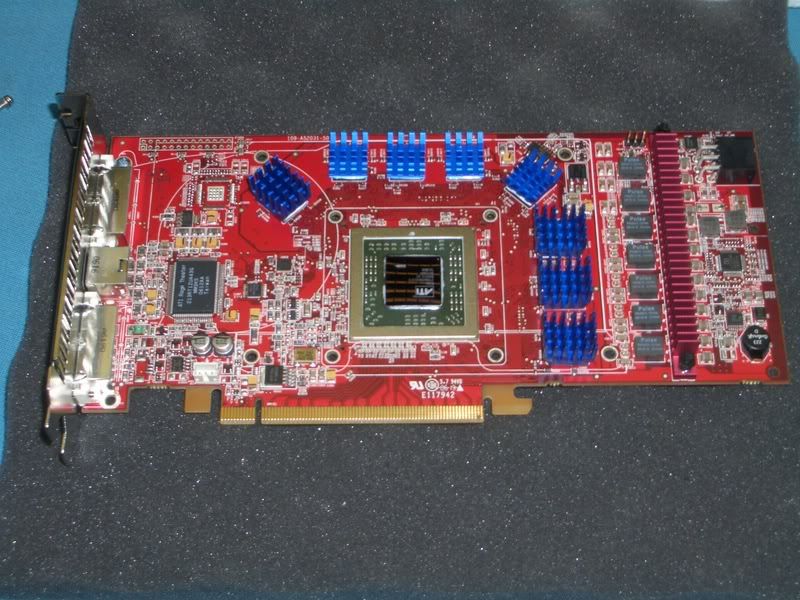
ATI X1900XTX
150 GB Raptor
750GB Barracuda
Cooling
Thermochill PA 120.3 with Cooltechnica 1/2" barbs
DDC 18W with Radiical head and Danger Den 1/2" barbs
AquaXtreme MP-05 SP Limited Edition CBU block
Maze4 GPU block
Masterkleer 7/16" tubing
Delrin fillport with T line
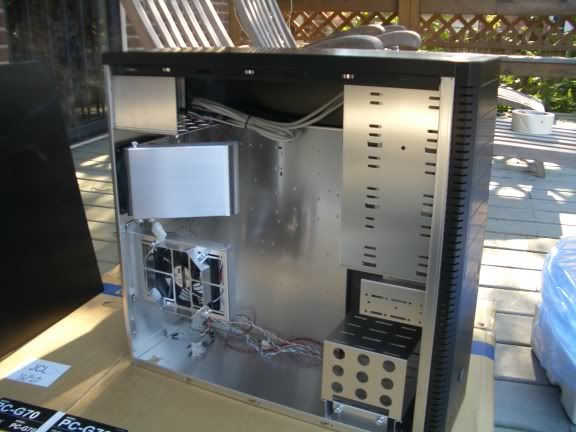
Here's a few "before" pix of the case...
Oh Boy...My E6600 arrived...It's a week 27, which have a good rep for overclocking...
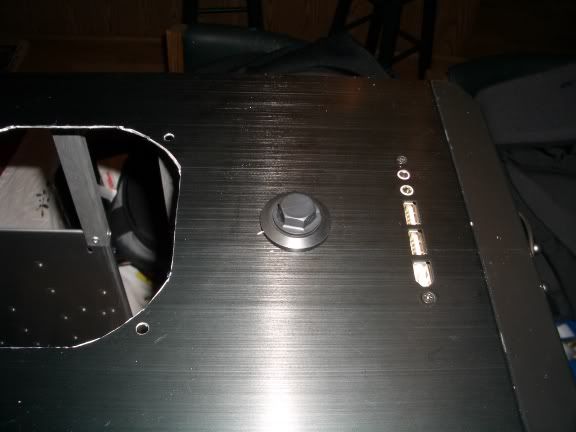
The first attempt at cutting the holes in the top of the case was less than spectacular, because of lack of a template...
Then I finally stitched together 3 PA 120.1 templates, taking care to leave the proper distance between them. I highly recommend cutting holes in this shape, as opposed to circles, as it is much easier to do this shape, mostly straight lines and just a few arcs at the corners.
I am still waiting for hardware to arrive, but I was able to mount the PSU. It's upside-down, so as to give the fan more room to breathe.
I get most of my stuff this week, and I'll be working on the project and posting more pictures as I go.
One question...Would it be advisable to remove the cage that a top mounted PSU sits in? It will certainly make the Rad easier to mount, but I am somewhat concerned that doing so will alter the structural integrity of the case. If I do remove it, do I just drill through the rivets holding it in place?
8/29 Update:
Radiator installation delayed while I wait for my barbs. I did manage to get my fillport and T-line installed...
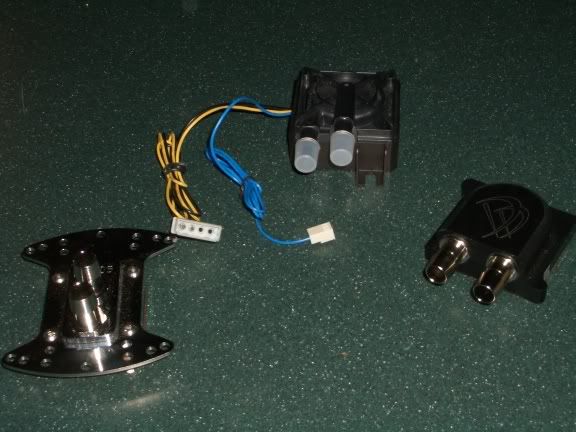
Got lots of goodies from the UPS man...
Rad installed...
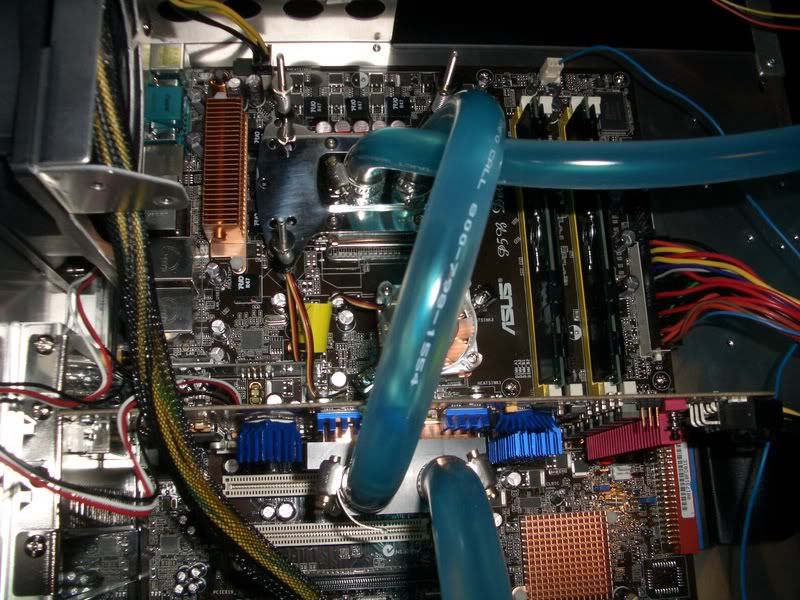
Some mods done to my P5BD to ready it for water cooling, and an aftermarket NB cooler. I used AS5 on the mosfet HS.
I guess my warranty is void now...
Voiding more warrantys, this one on my new X1900XTX
My DDC-18w with Radiical head...
Due to me not knowing the intake from the outlet, and asking for the output to go up and inlet to the side, Radiical gave me 90 degree barbs. Since it will be 2 weeks before I can get replacements, I went ahead and constructed my loop. I will change to straight barbs later.
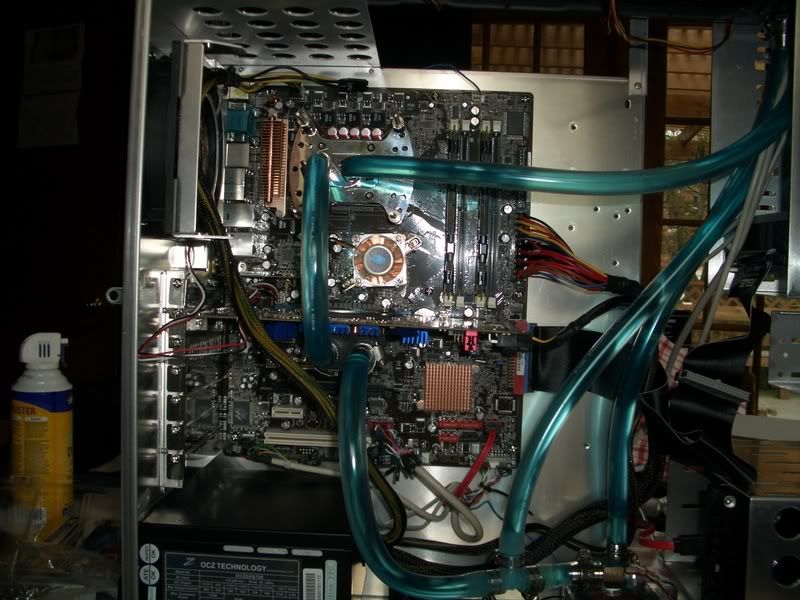
And the finished loop...
Leak testing...
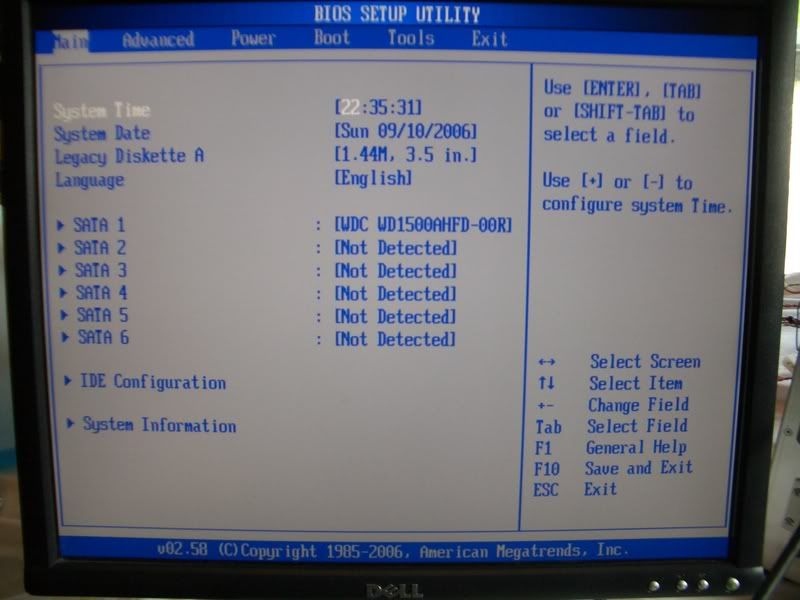
Passed a 14 hour leak test, so I got up bright and early this morning, installed the motherboard, drives, and mounted my GPU (big PITA) and CPU waterblocks.
I mounted the DDC on a square of Petra's gel stuff
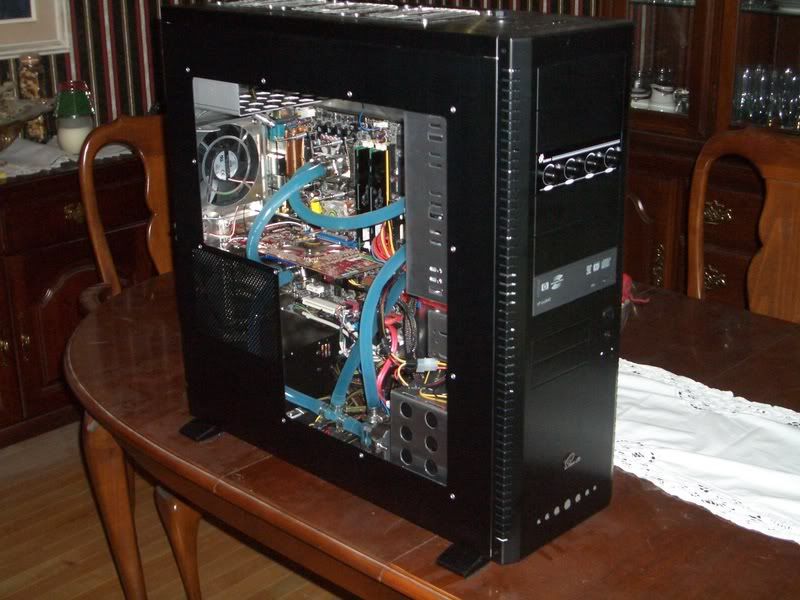
A little cable management aside, she's ready to go!
Success!!!
...not so fast...about an hour later my DDC failed, almost (I hope) destroying my CPU, so I have to get a new one. Hopefuly Danger Den will get me a replacement quick, so I can get my system up and running without too much delay.
Got my new pump and new straight barbs. After substituting the new pump for old, I did some testing of the system. Temps were much higher than I thought they should be (70C under load at stock speeds). After a little investigating, I found out that my waterblock only fits in certain orientations. the part of the block that contacts the CPU is not centered on the mounting bracket. Therefore, when I installed the block (incorrectly, as I discovered later) capacitors next to the socket on the mb prevented good wb/cpu contact. I needed to rotate my wb 180 degrees, which added a "twist" to my loop, but as far as I can tell, no flow restriction ( I REALLY did not want to drain the system and swap the tubes on the wb).
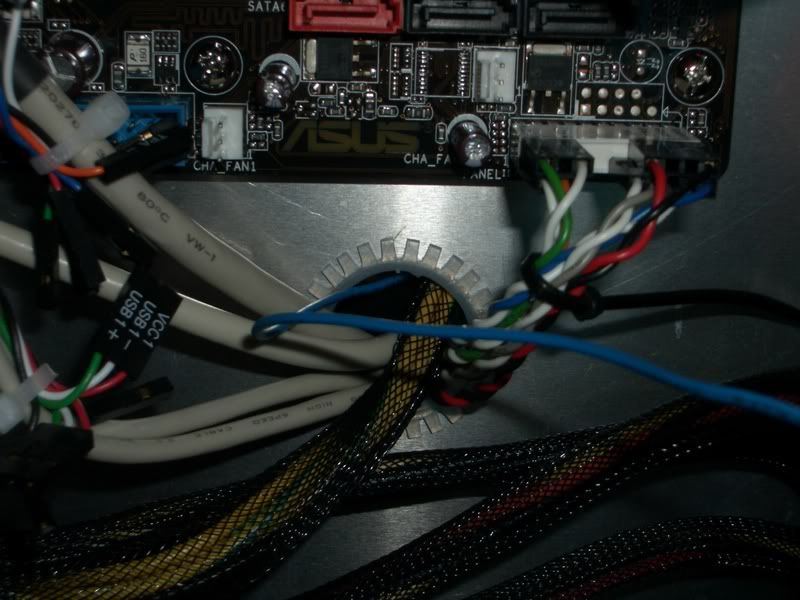
I drilled a 1" nole in my mb tray, and lined it with some edging for cable management...
Here's a shot of the new pump in the Radiical bracket...
My aftermarket NB cooler, which keeps my NB temps cool...
I had to get a new LCD widescreen, this LG has great contrast, 5ms response time, and is very reasonably priced ($309 at Circuit City, you have to order on the web)...
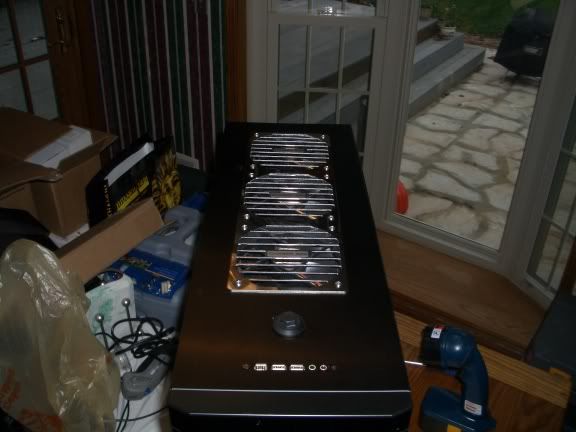
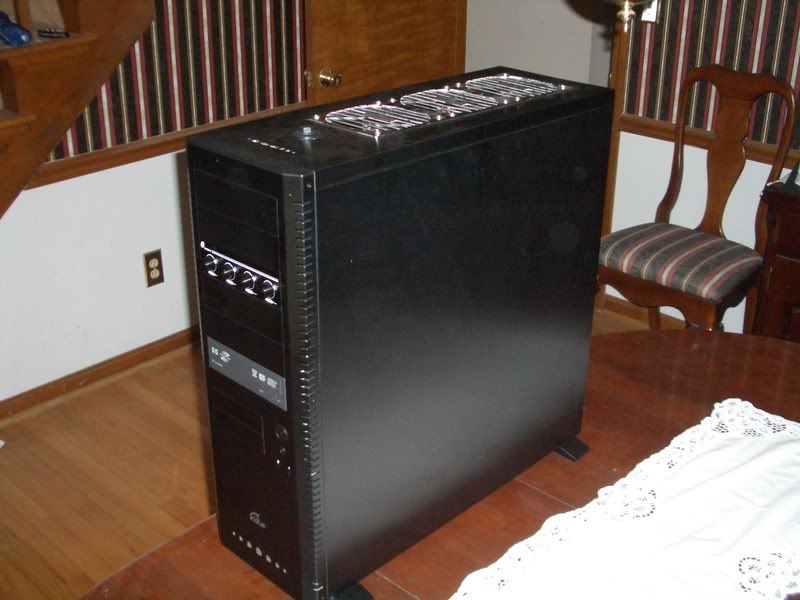
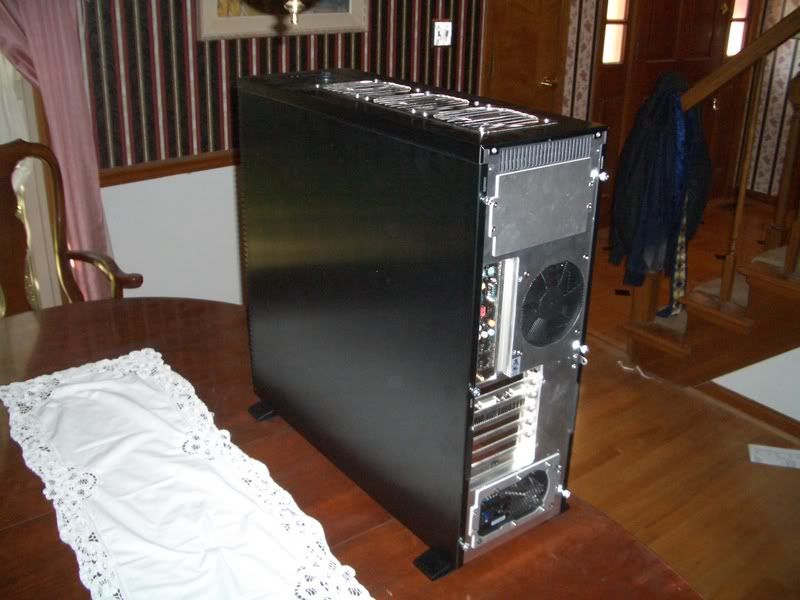
and a few pix of the (almost) finished rig before putting the side panels on...
And now a few pix with the case fully assembled...
If there is anything you want to see that I haven't shown, let me know! Again, thanks for all your help.
Mark


 Reply With Quote


 just haven't thought that through the Asus mob


Bookmarks