


Hi Everyone,
As I mentioned in my Fallout Cause SP, I was done for the season modding wise. This project is actually for a client who has asked me with quite a bit of detail exactly what he wants. Since it was simple enough and not to expensive, I figured it´s a cool way to do a sort of tutorial about painting and light modding on a budget for those of you who want to get in to modding but have no idea where to start.
This project should be done in a matter of days, and well, I hope it helps you newbies to get ideas of what to do for your first project. For those of you more experienced and hardcore modders I invite you to comment on this thread giving suggestions on things newbies can do and of course feel free to correct my way of doing things if you feel yours is better or simply easier for newbies to do, I will be using my methods which I have learned out of trial and error over the years.
Because it is meant to be a budget mod I am going to be using spraycans as opposed to my usual compressor and gun to show you that you can get a decent finish even with cans. And that at the end of the day most of us buy compressors and paintguns to do fine detailing and to save money (paint is much cheaper if it doesnt come in a spraycan).
Things you will need for this mod (hardware and accesories not included, that part is really up to you).
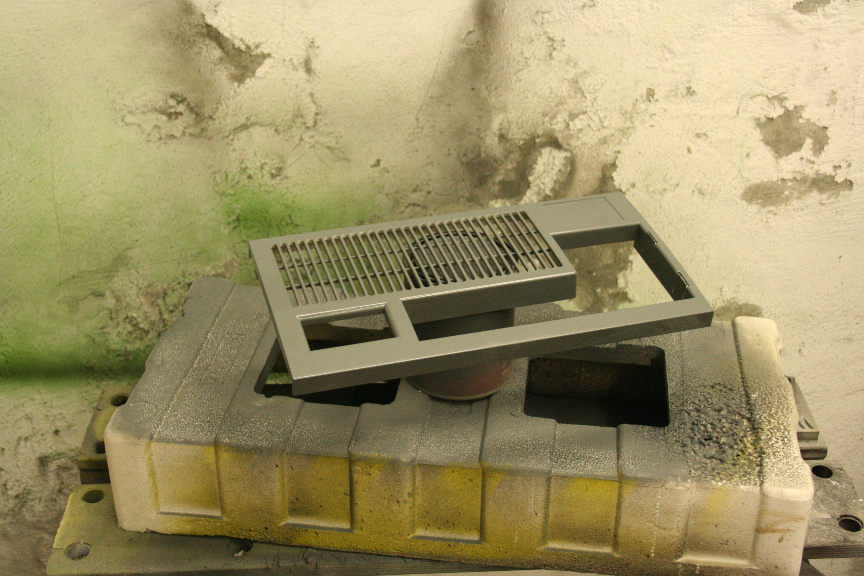
1: Sanding paper of two kinds. First a High gritt to remove old paint from the old chasis and a low gritt to sand down between paint layers (this last one is not essential but you will find you get a much smoother finish by doing so).
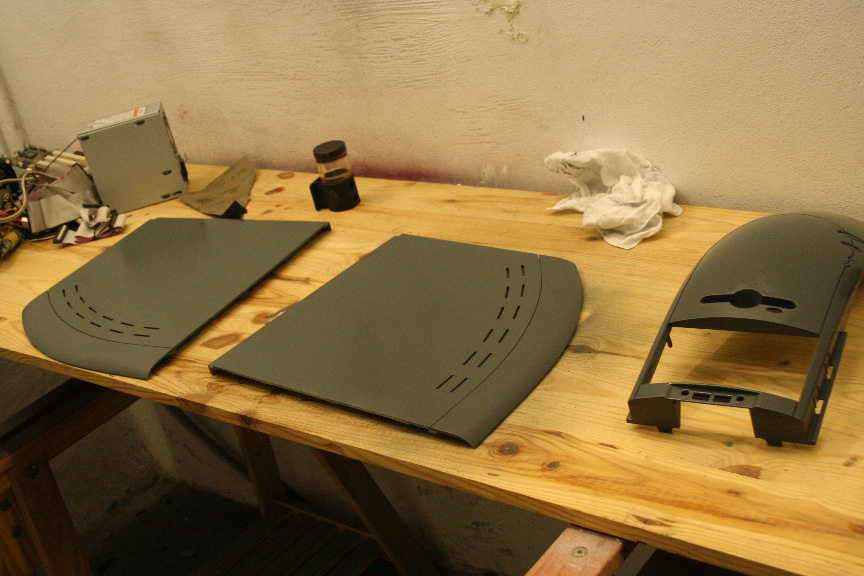
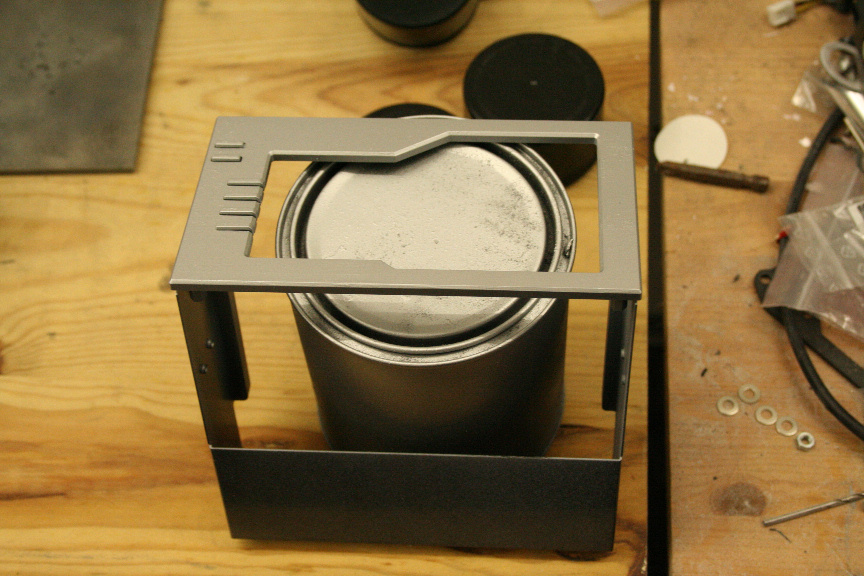
2: Spraycan Primer (Acrylic based, not plastic, sinthetic or any other kind), I will be using a grey primer but really any other color primer is fine.
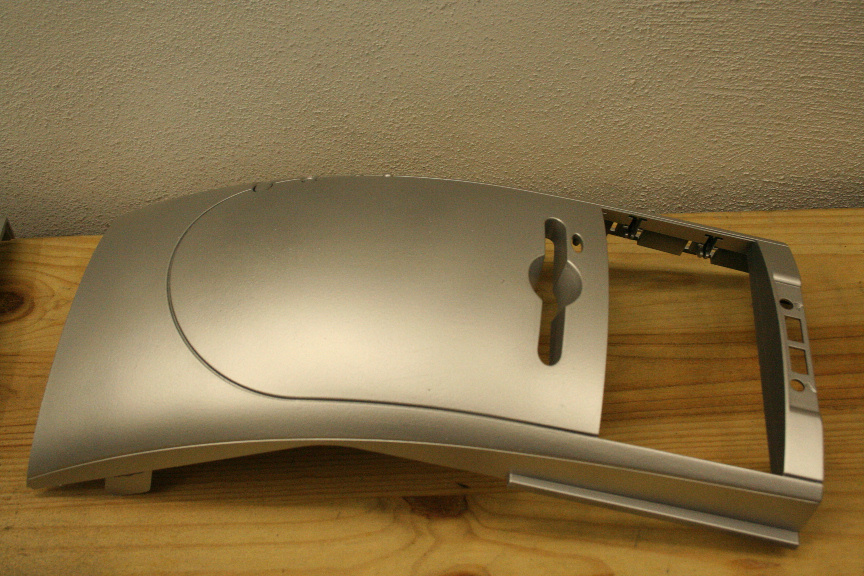
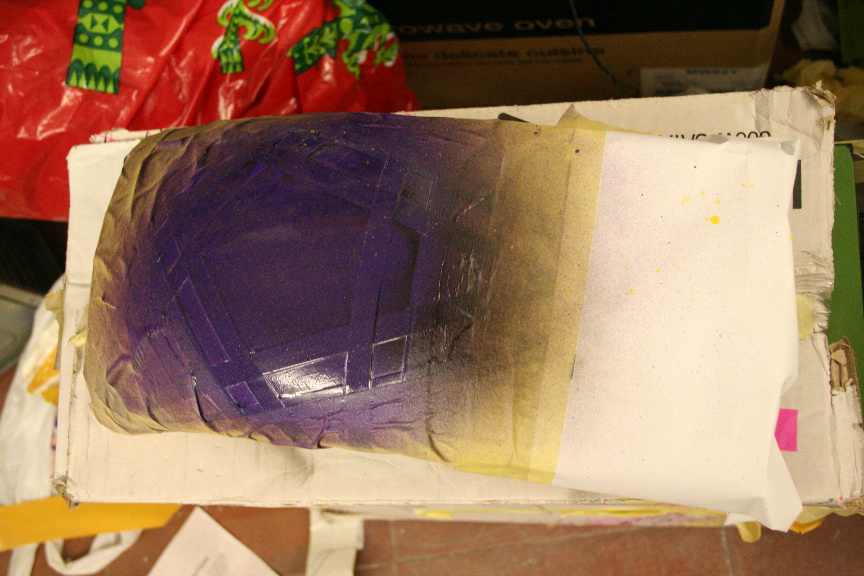
3: Spraycan Paint, (Acrylic based, not plastic, sinthetic or any other kind) 1 400ml can should be enough for a mid-size chasis if you do it right but get 2, just in case and of course extra cans for any other secondary colors.
4: Spraycan Clear Lacquer (Acrylic based, not plastic, sinthetic or any other kind), once all is dry you need this to seal the job and prevent paint from peeling off and scratching due to use and abuse.
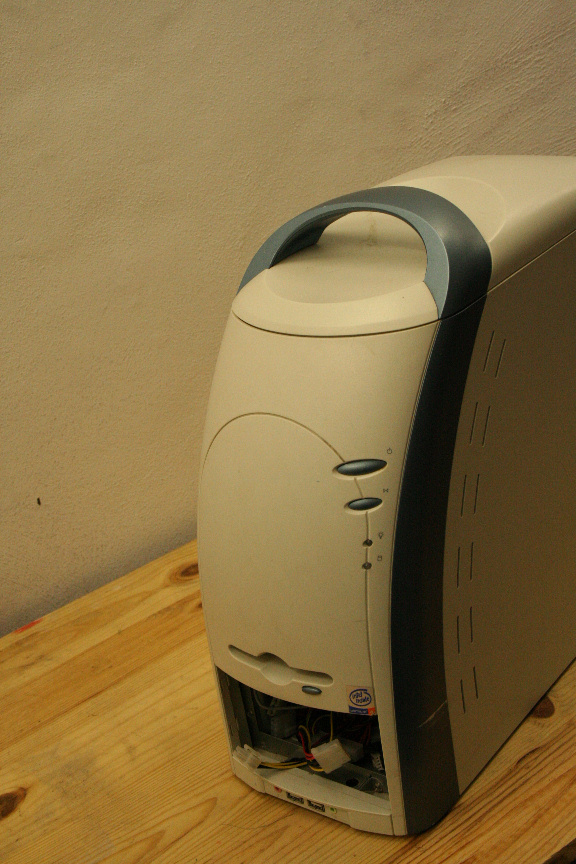
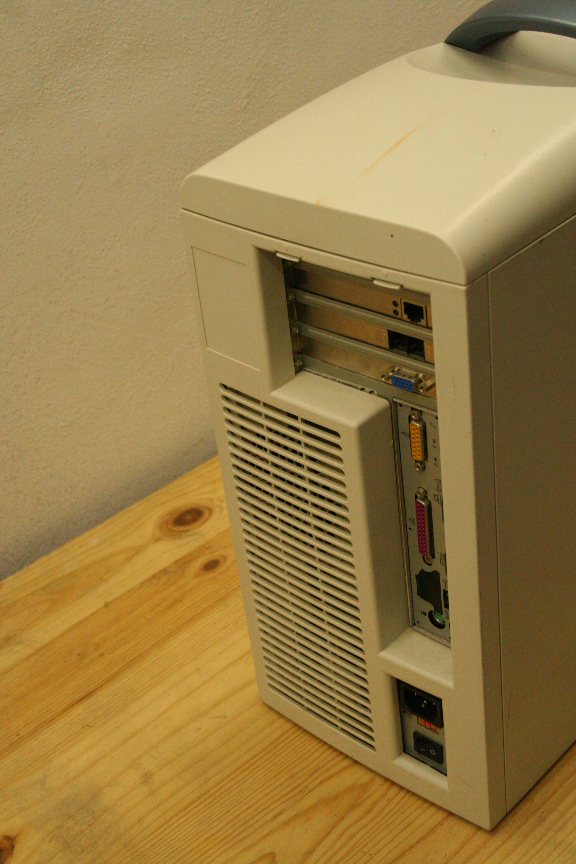
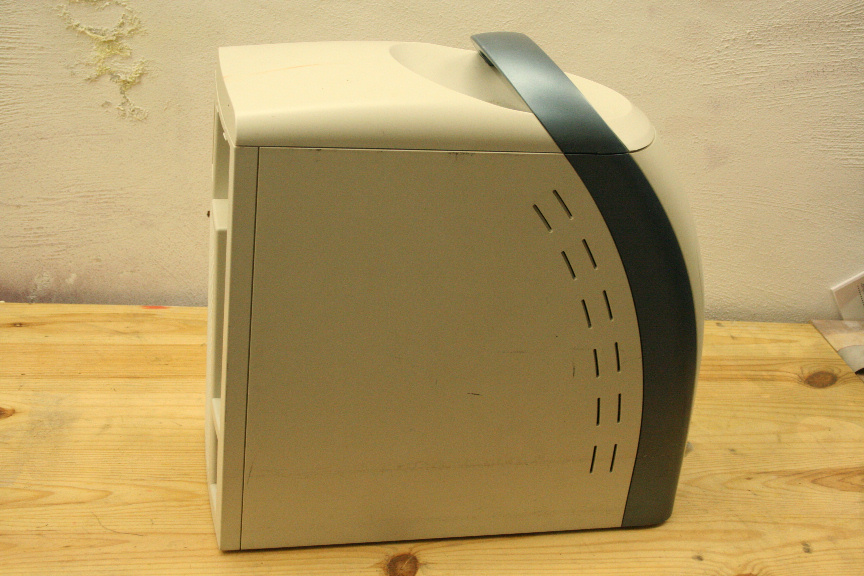
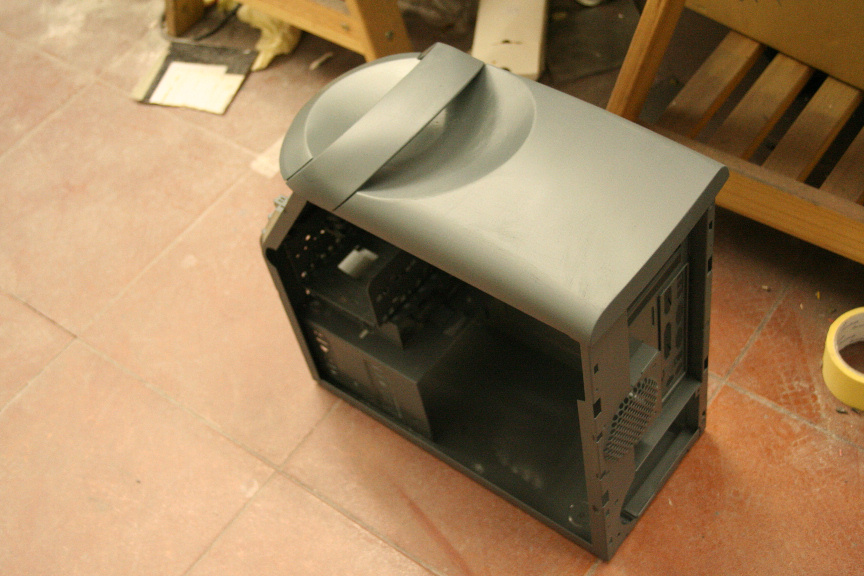
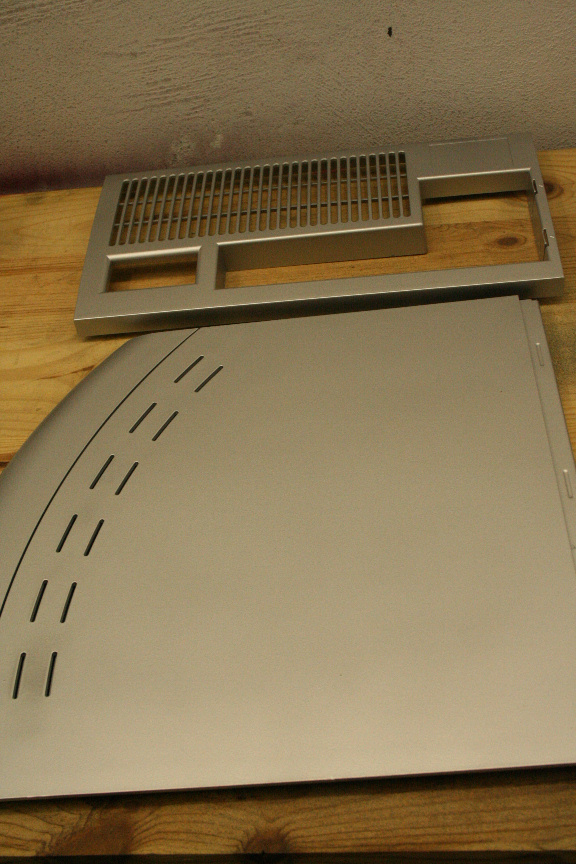
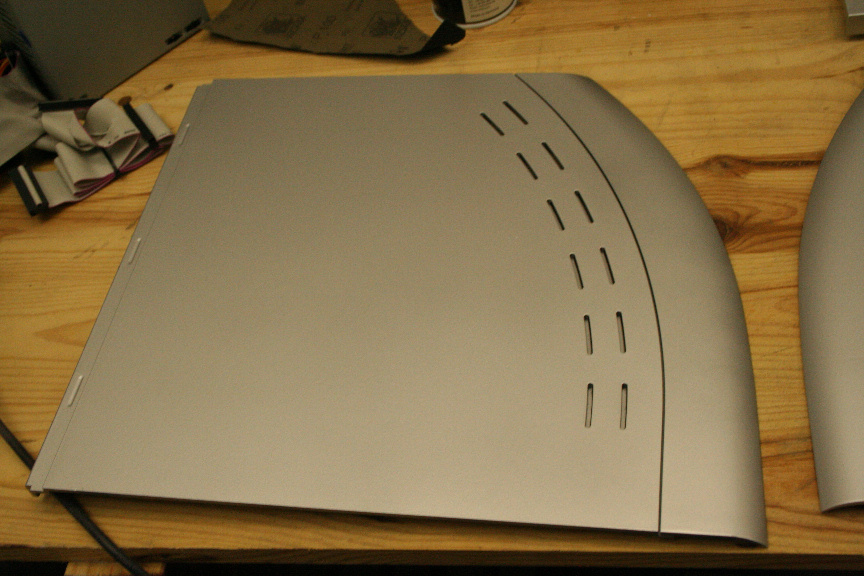
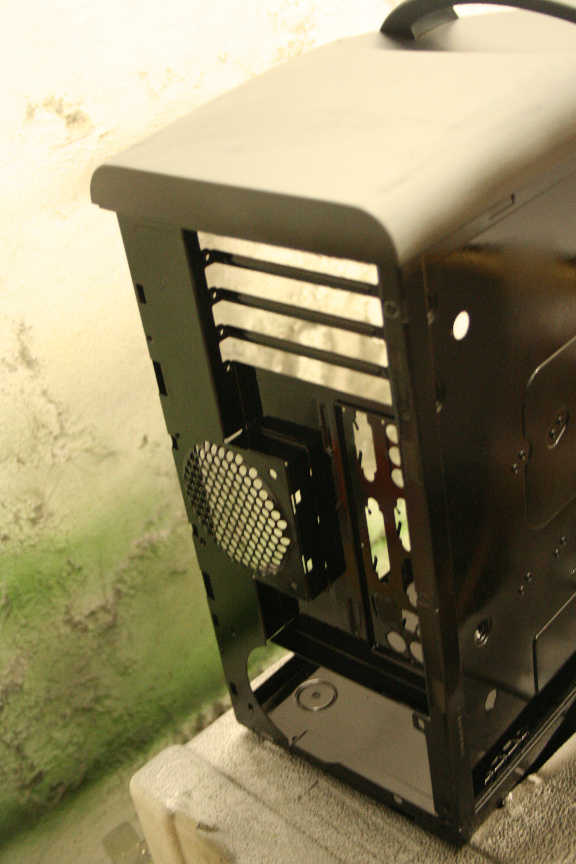
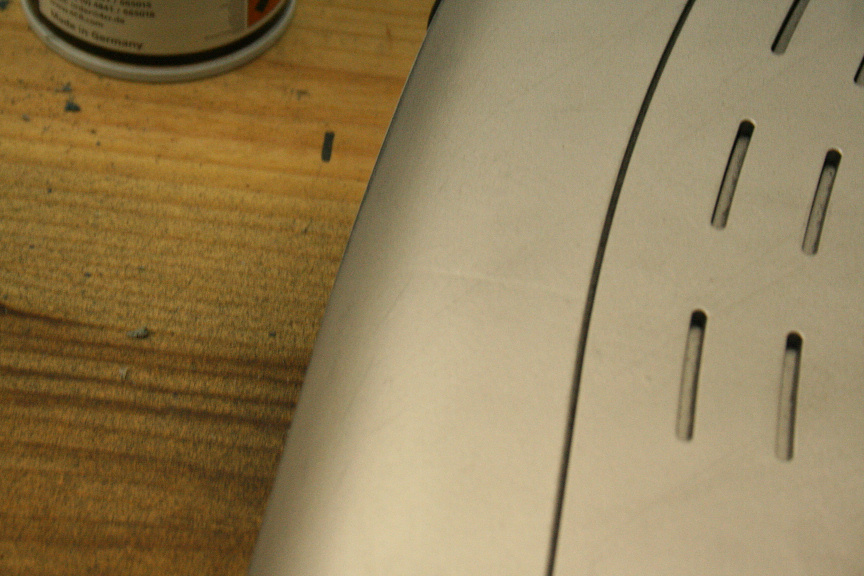
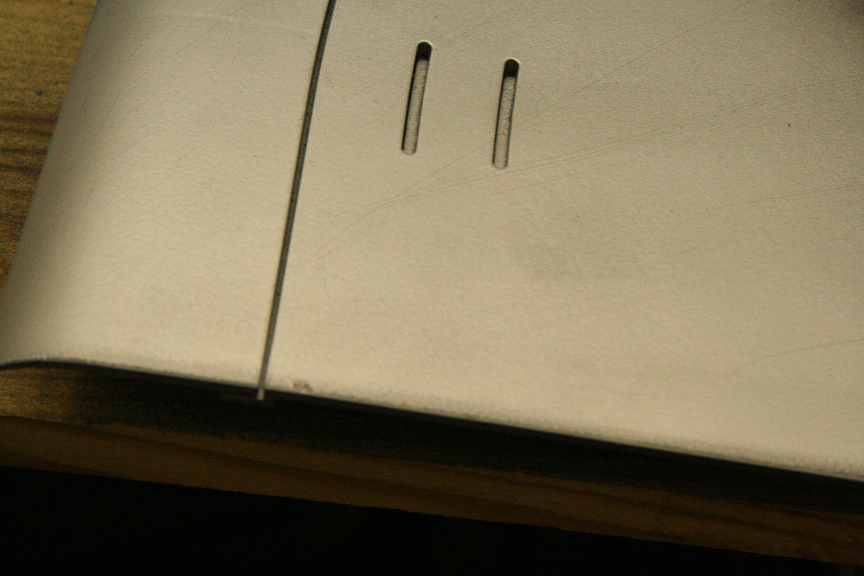
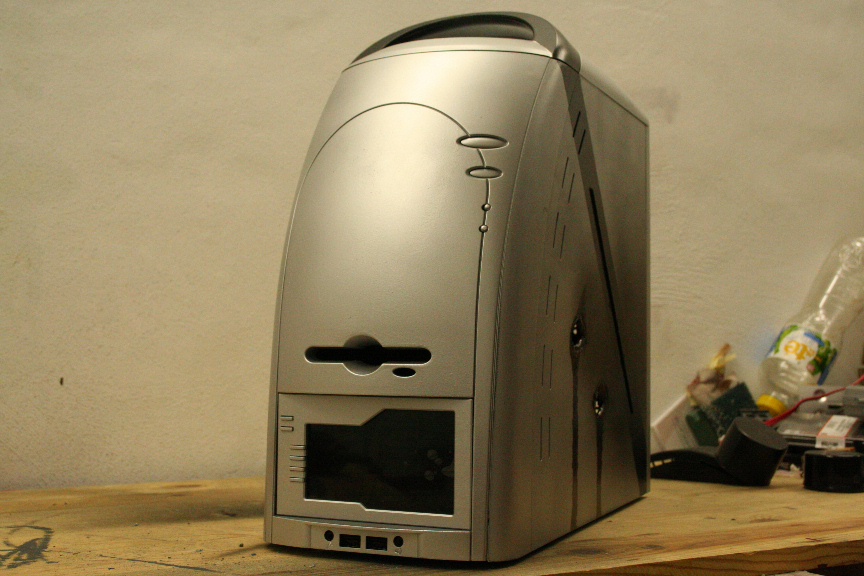
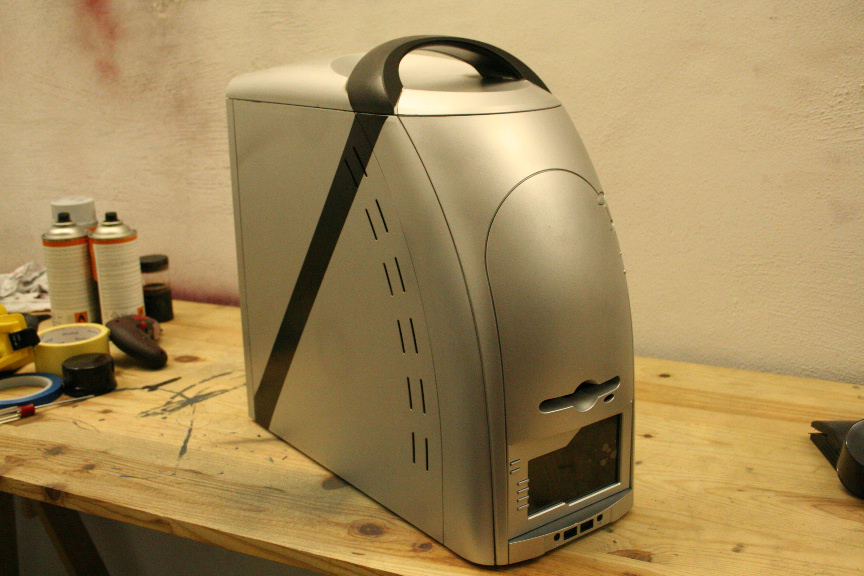
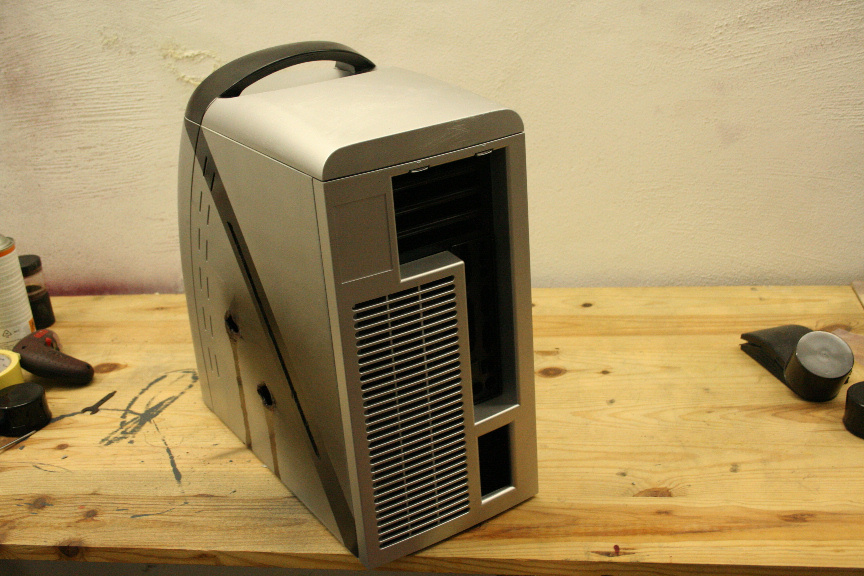
5: An old chasis, the older and cheaper, the better.
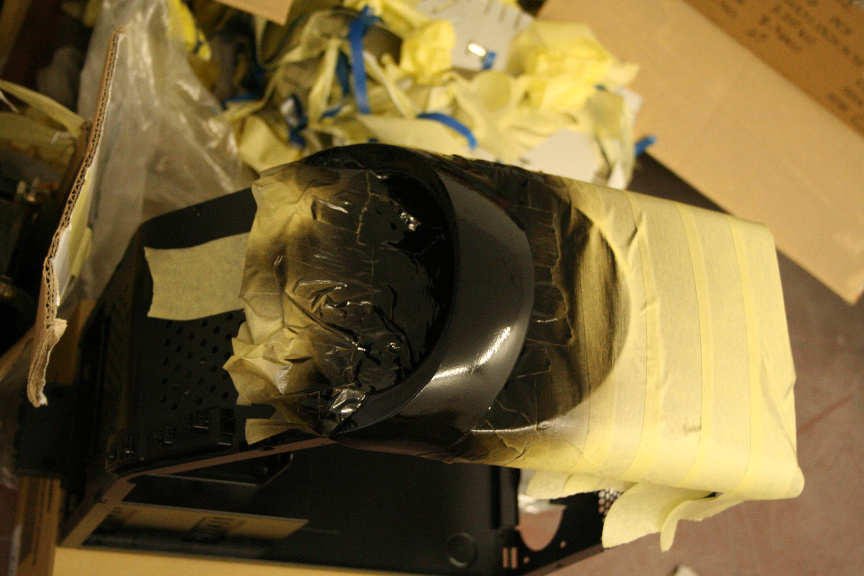
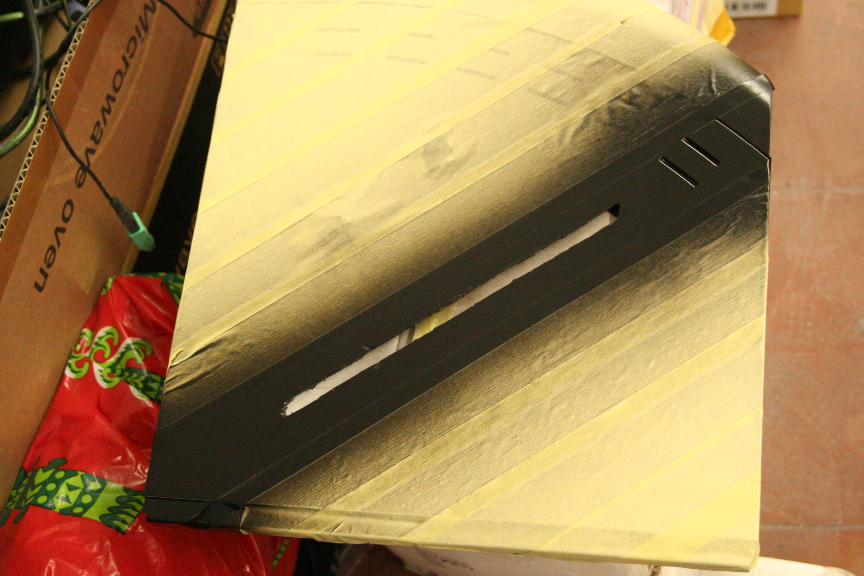
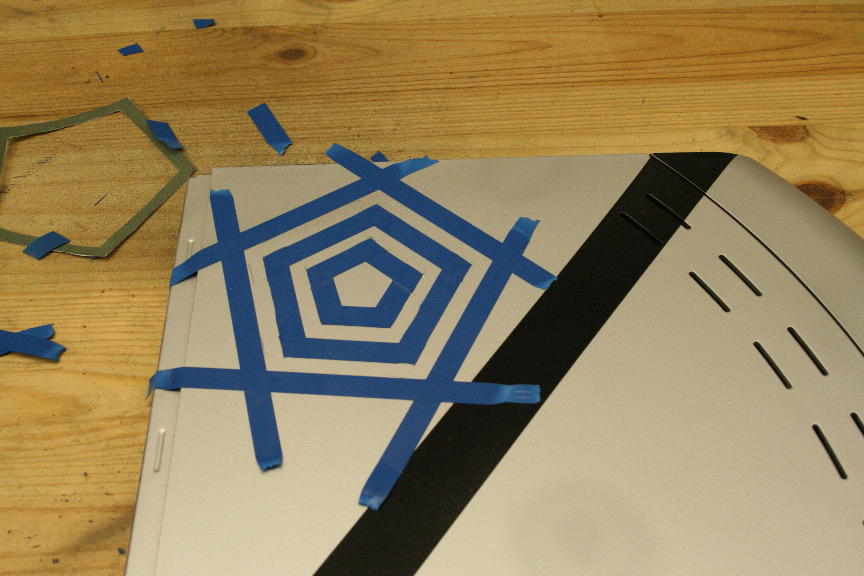
6: Masking tape or Painters Tape, the second one gives you a cleaner finish but the first one is much cheaper, so it´s up to you.
Total Cost in my specific case (this may vary) 60
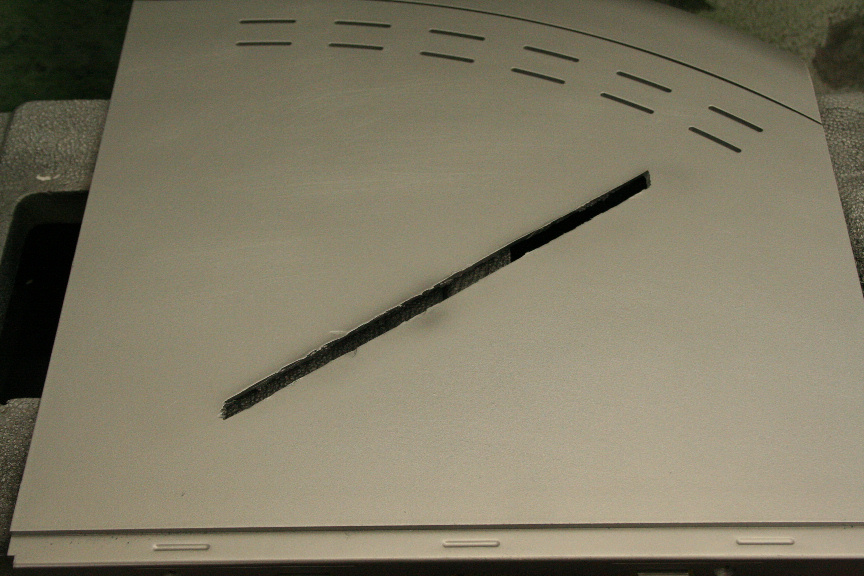
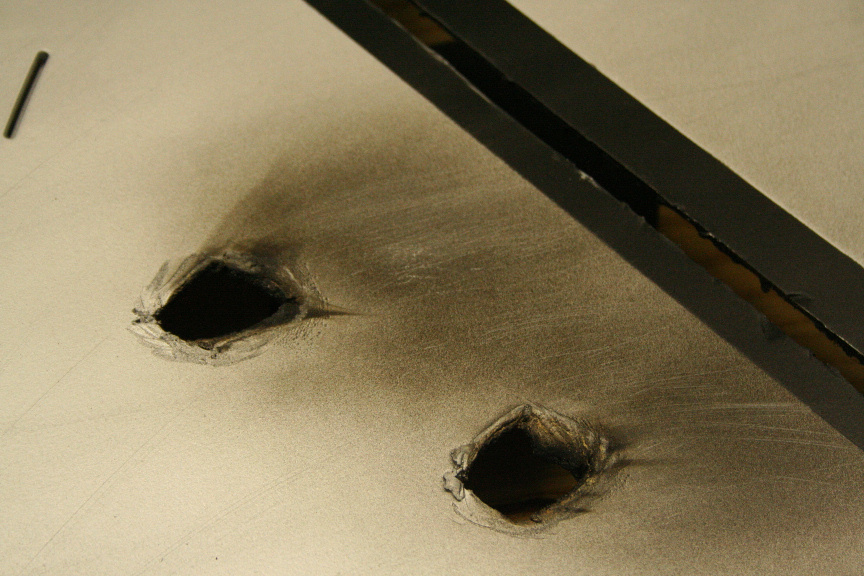
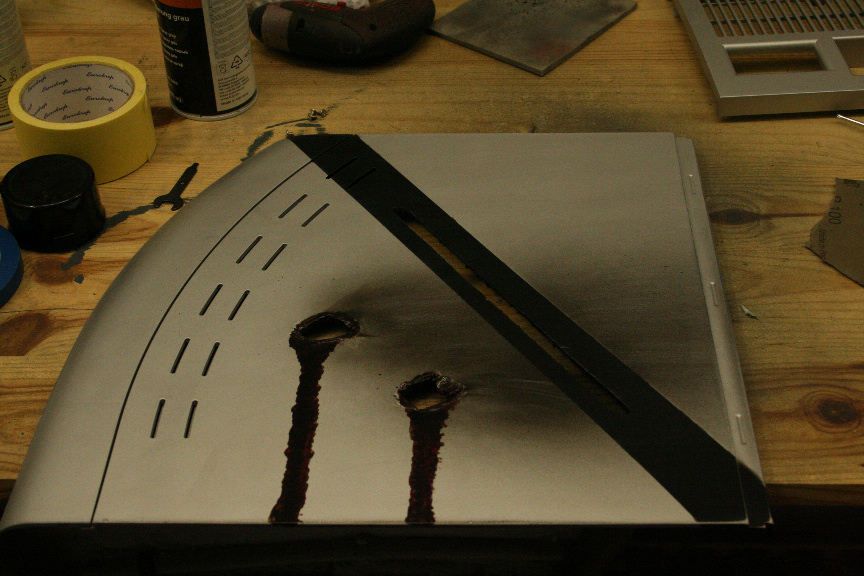
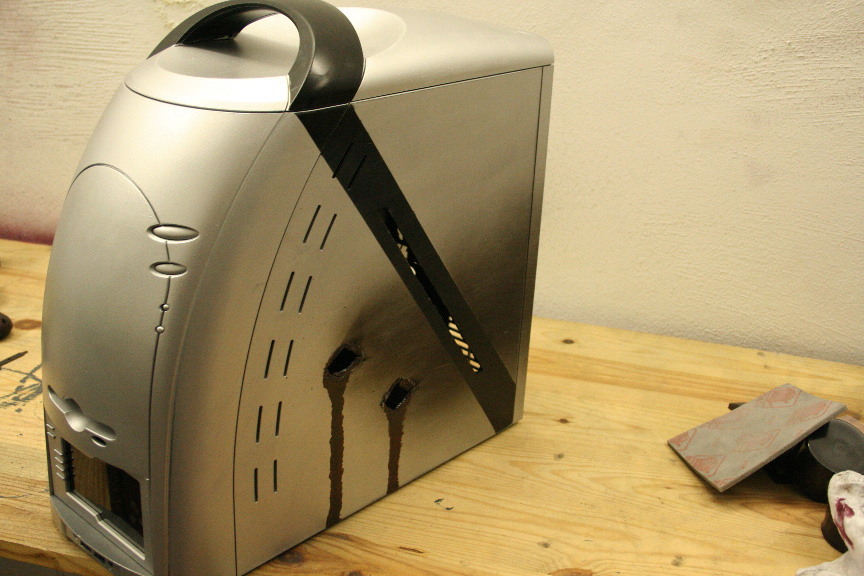
Optional: A Dremel rotatory tool. Get the wired one, not the wireless one. If you go for the most basic one (the 200) it should be enough for what you need for this project (i.e. the cutting discs it brings) Total Cost in my local store: 40

 Reply With Quote
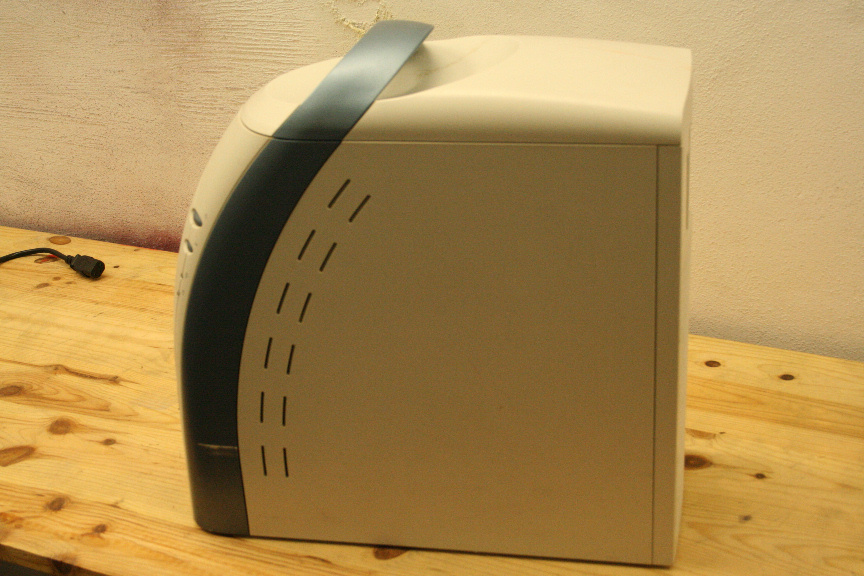


Bookmarks