


So, i'm finally going to lay it all on the line and attempt a buildlog after 8 years of membership. Utterly terrified of failure, but I figure if it goes wrong it'll at least be spectacular. I'm nowhere near as creative as the majority of people here and am approaching my build from a cooling first aesthetics second approach. I don't have the skills to be able to make the looks of the case the focal point.
I have to admit to some cheating going on here as well. This part of this build log is retrospective. I already have the loop fitted and the pc up and working. Its nowhere near finished - more a test fit that went so well it stayed
together. There's plenty left to do and few extra bits I need to mod that I missed first time and spotted during use. More on this later though. For now the build is approx 50% complete. It will need a full tear down and rebuild (with a bit of dremelling), extra sleeving, a little soldering and of course the painting.
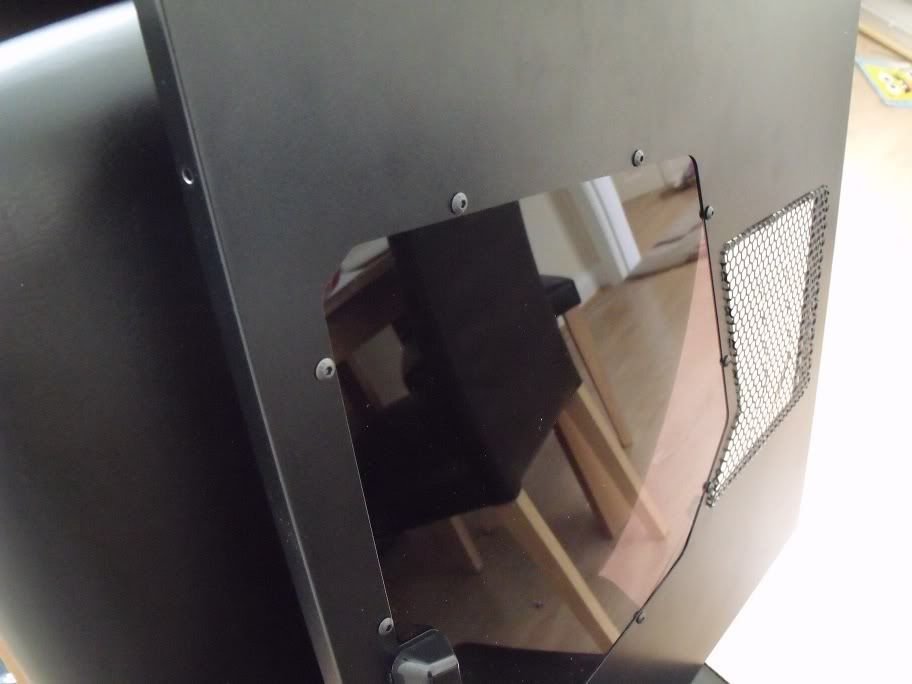
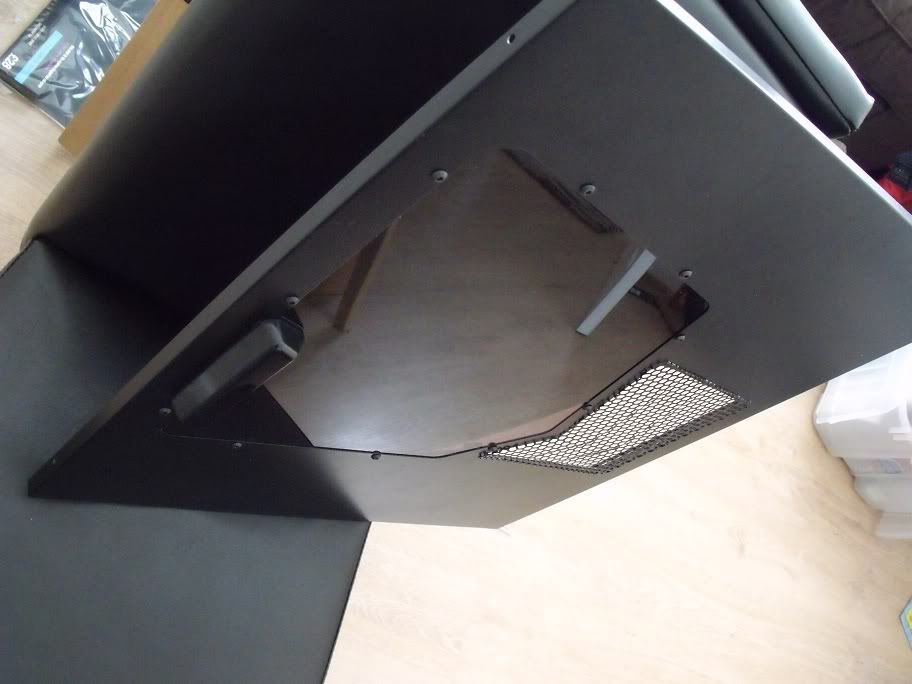
Apologies for the lack of pics during the modding process, managed to snap the camera SD card in half somehow. To be fair modding is minimal, some very basic cuts and that's it. I've snapped what I've done after the fact anyway and that should be plenty clear enough to see what's been done.
Current parts from I7 build:
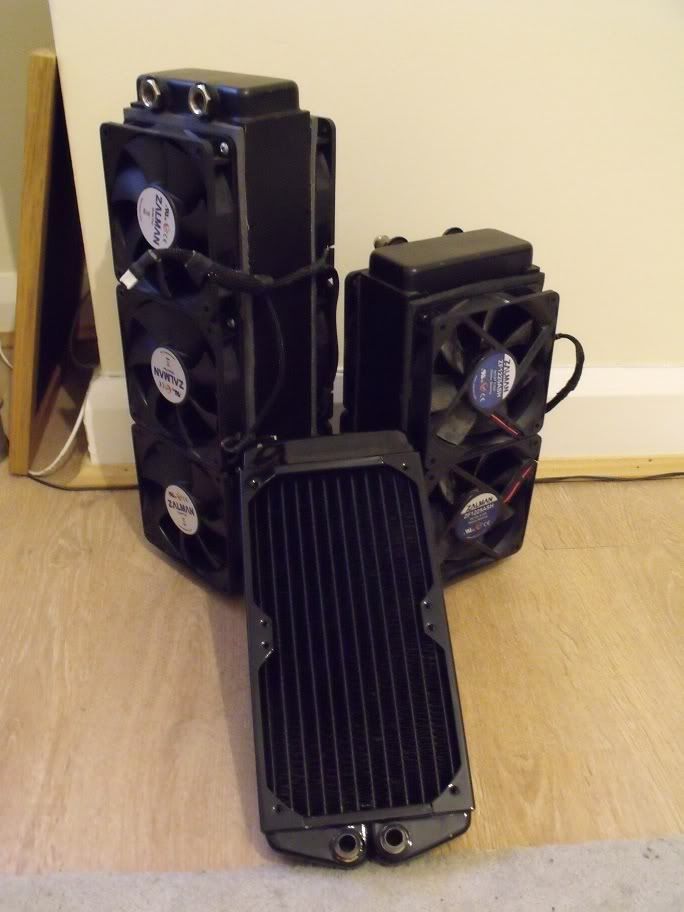
360mm PA360 15mm
240mm PA240 15mm
Jingway DP-1200
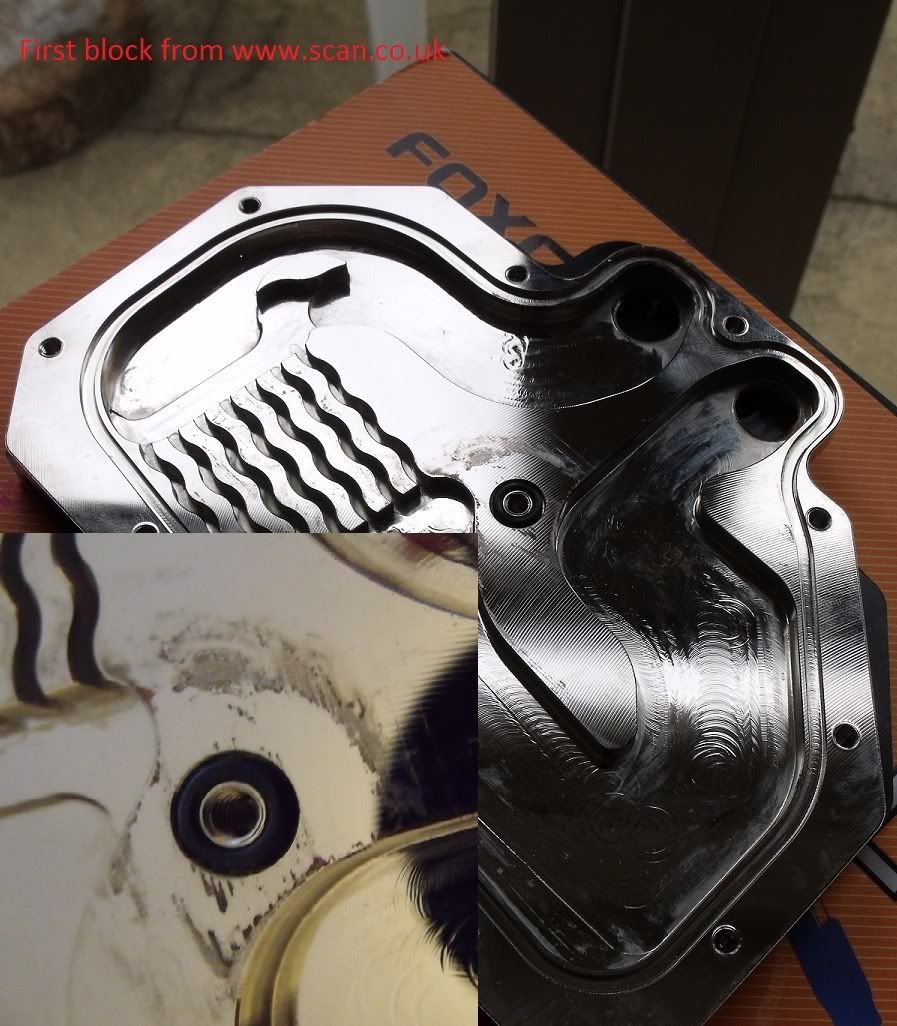
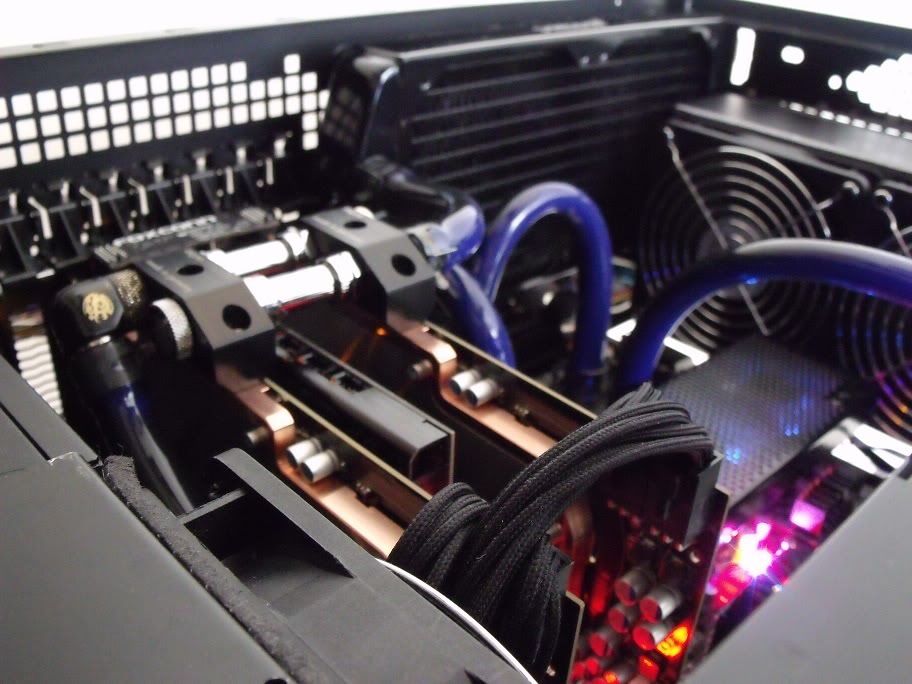
EK Supreme HF Full nickel
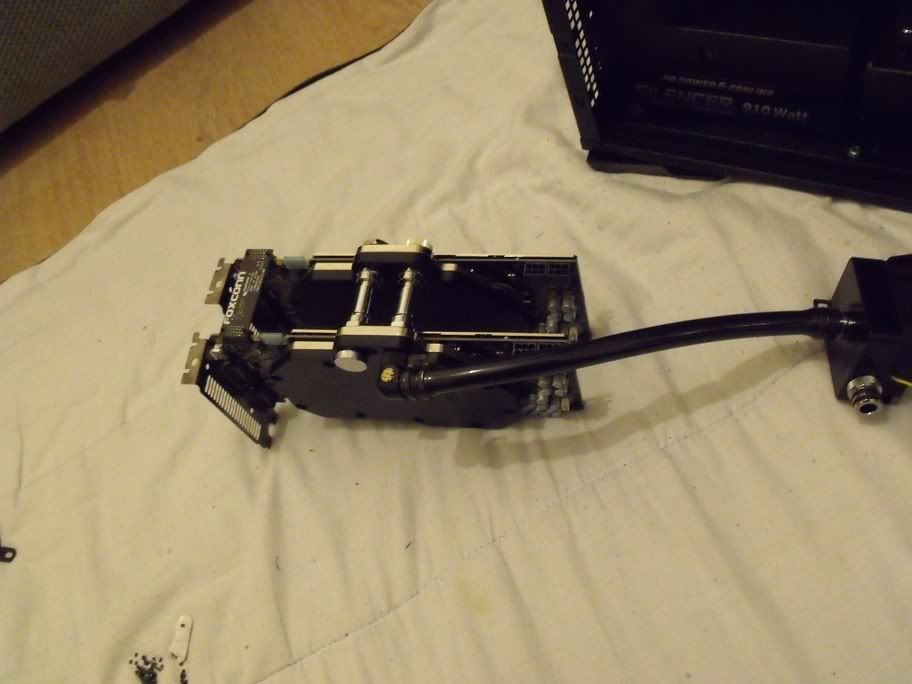
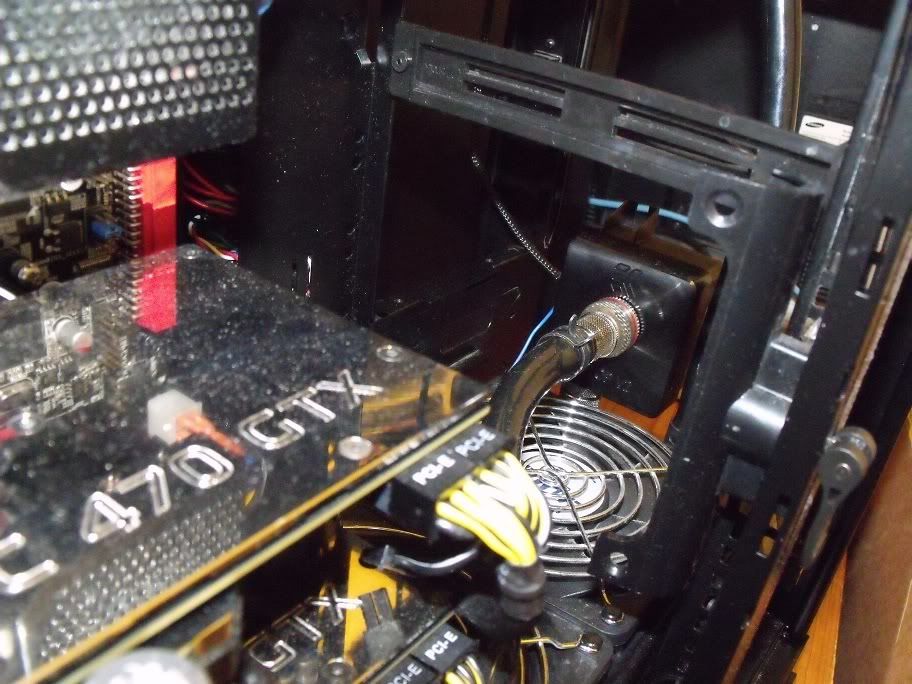
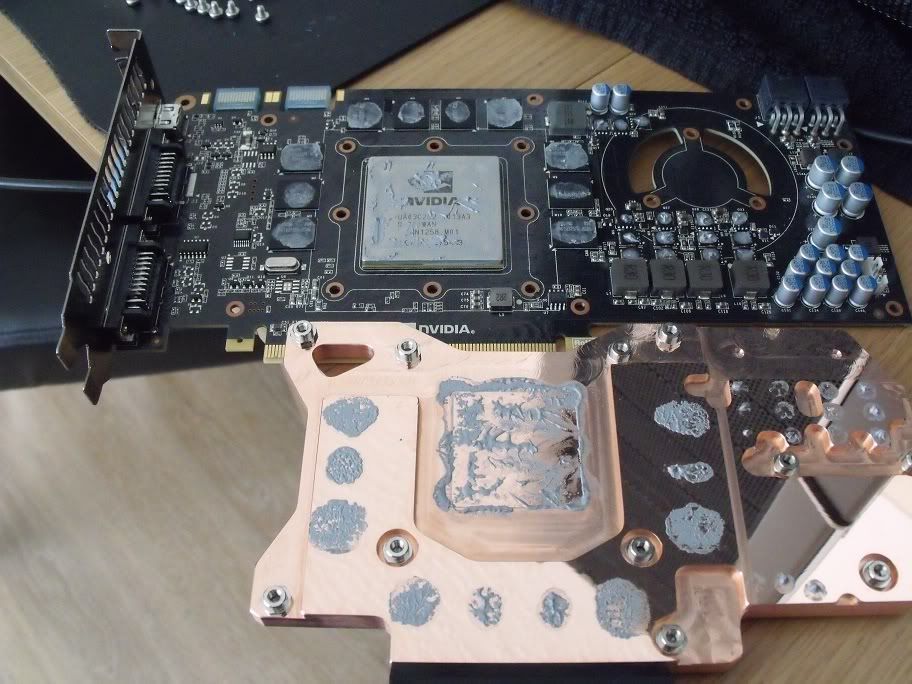
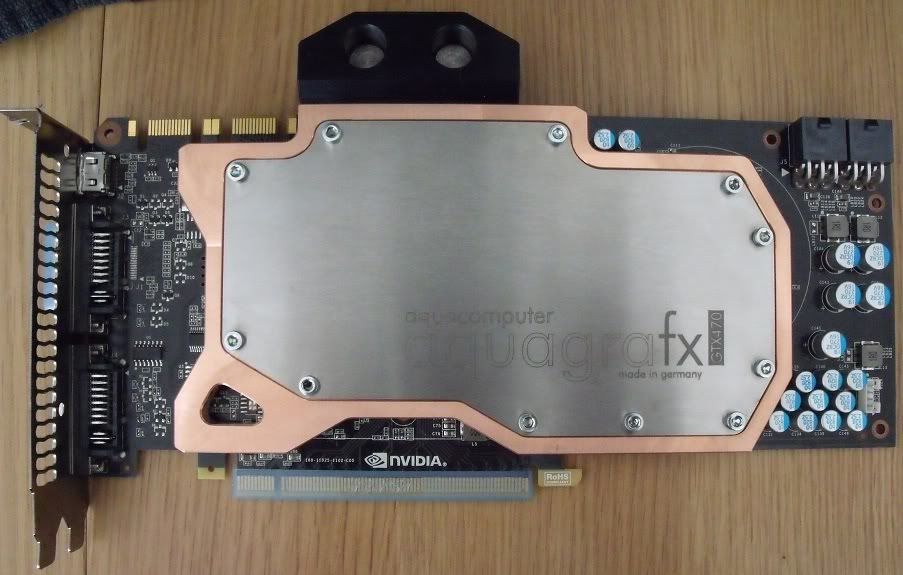
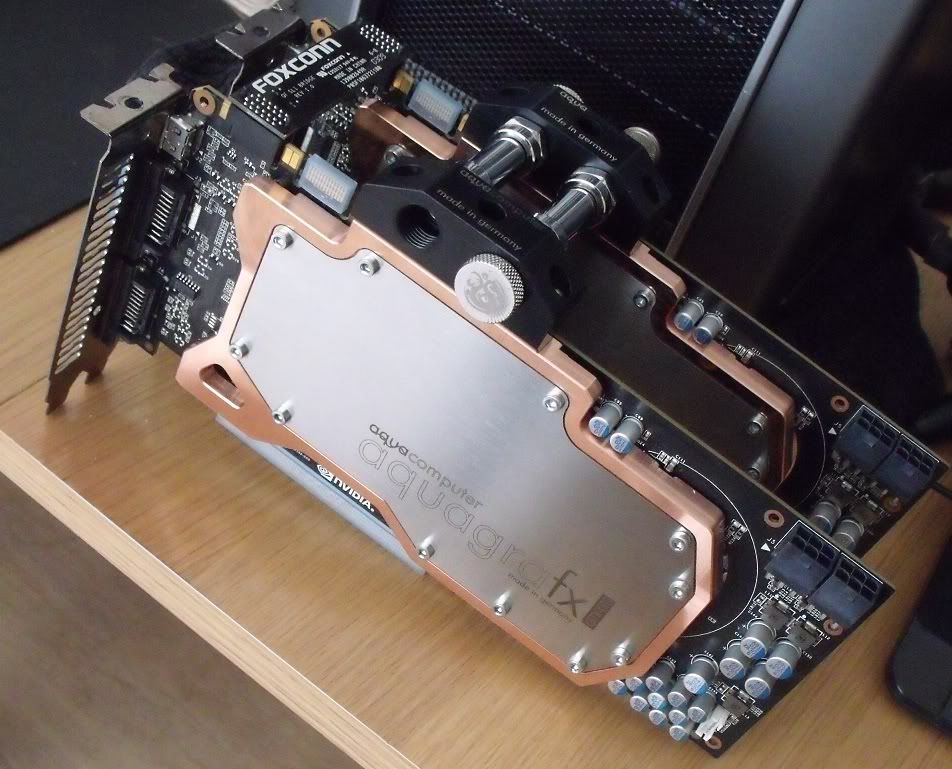
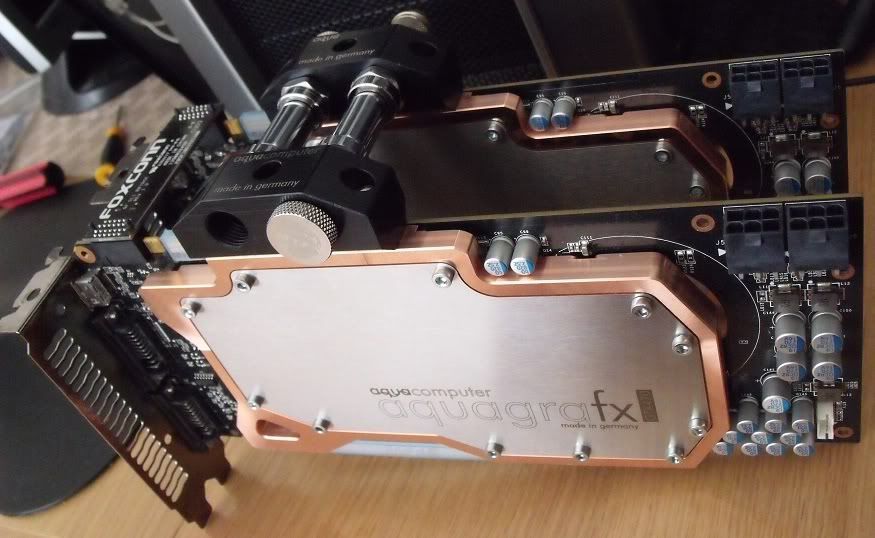
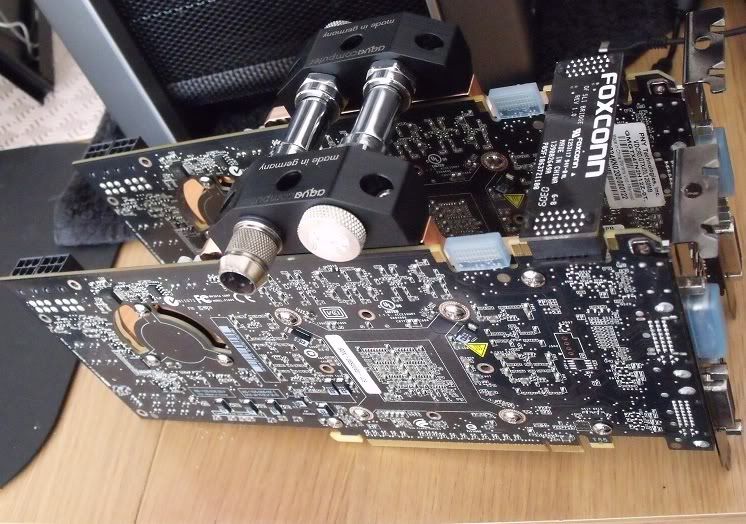
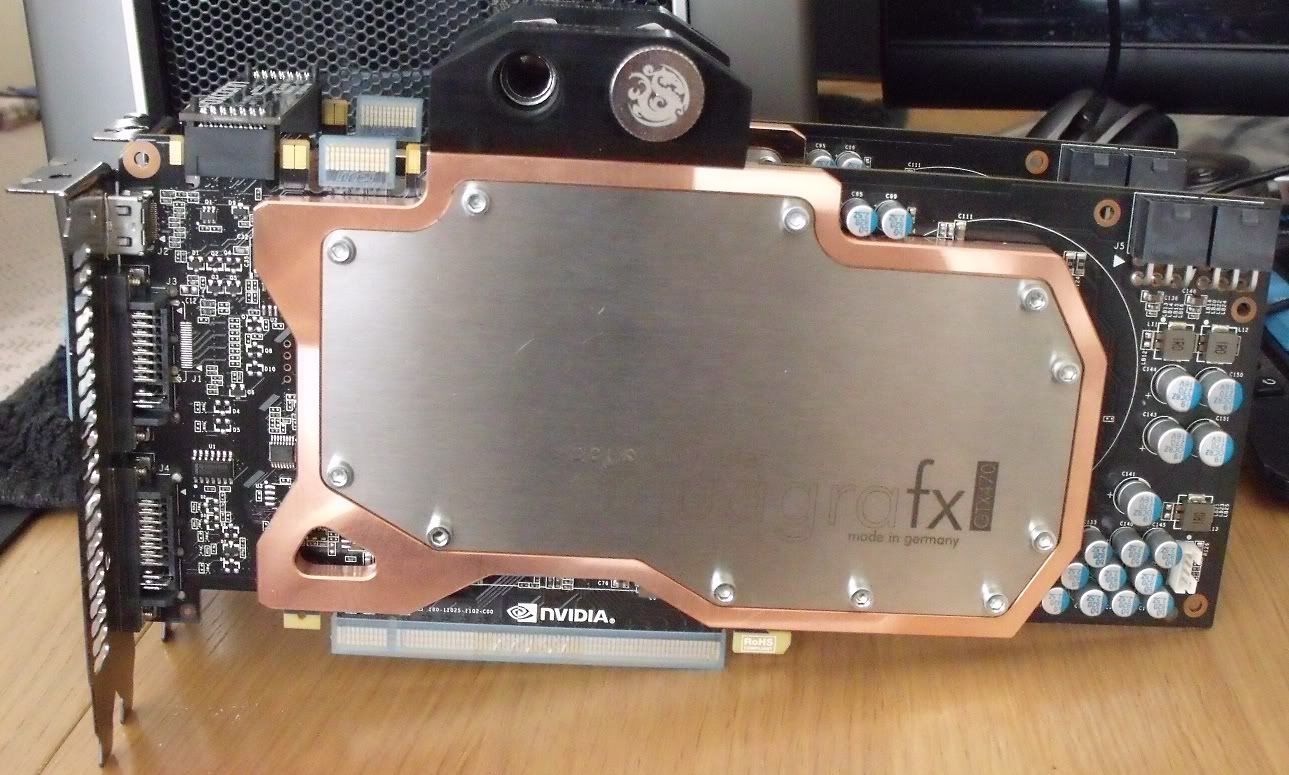
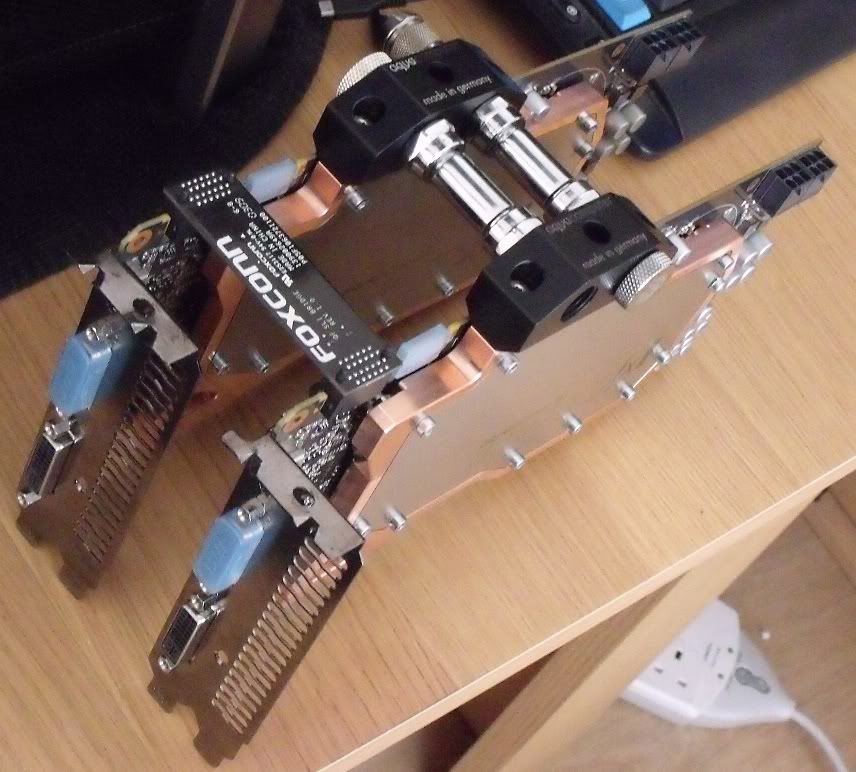
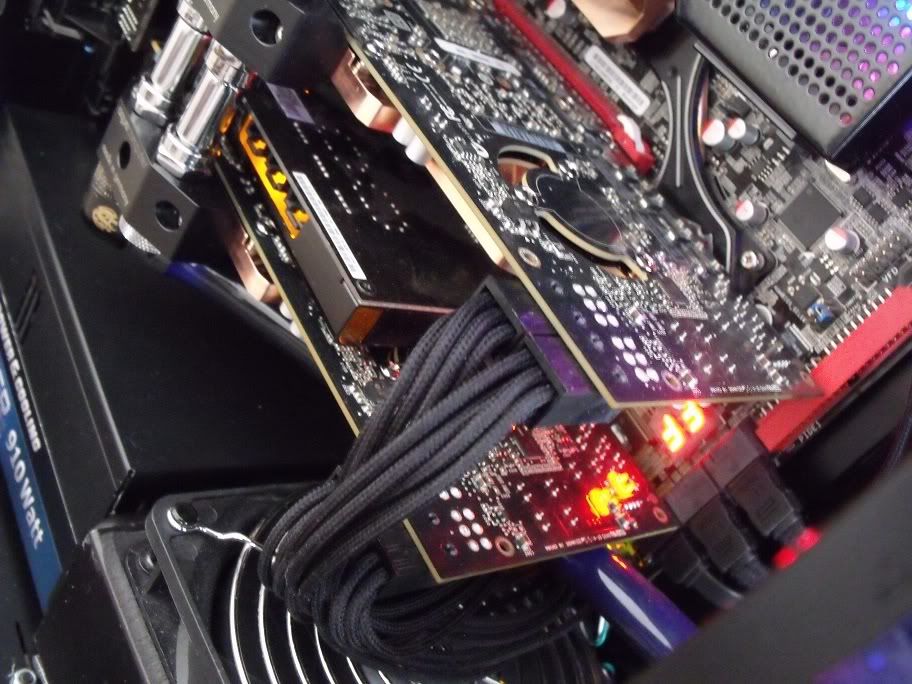
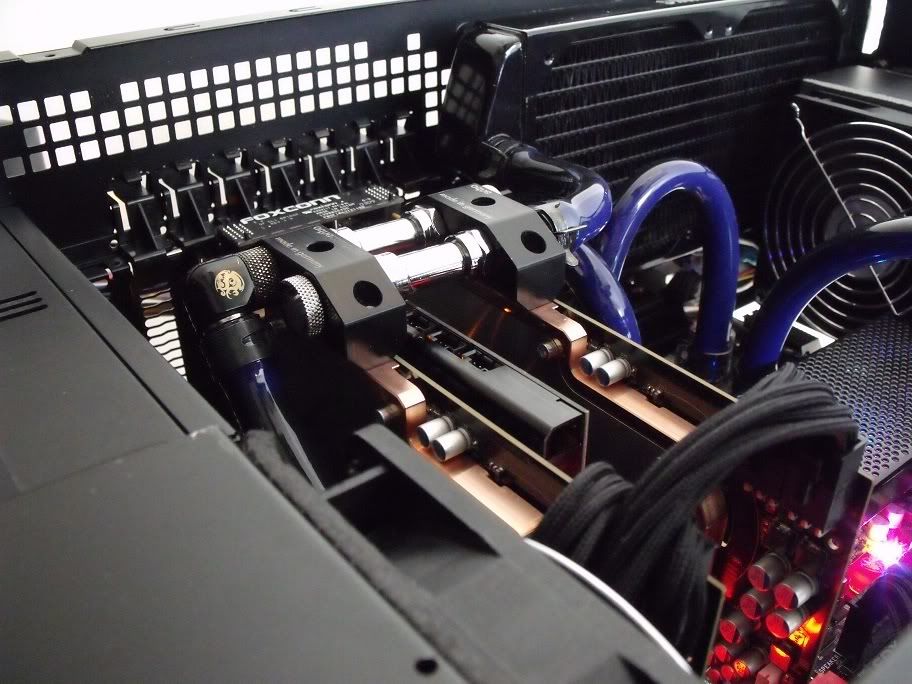
EK GTX470 Acetal/Nickel + Nickel backplate x 2
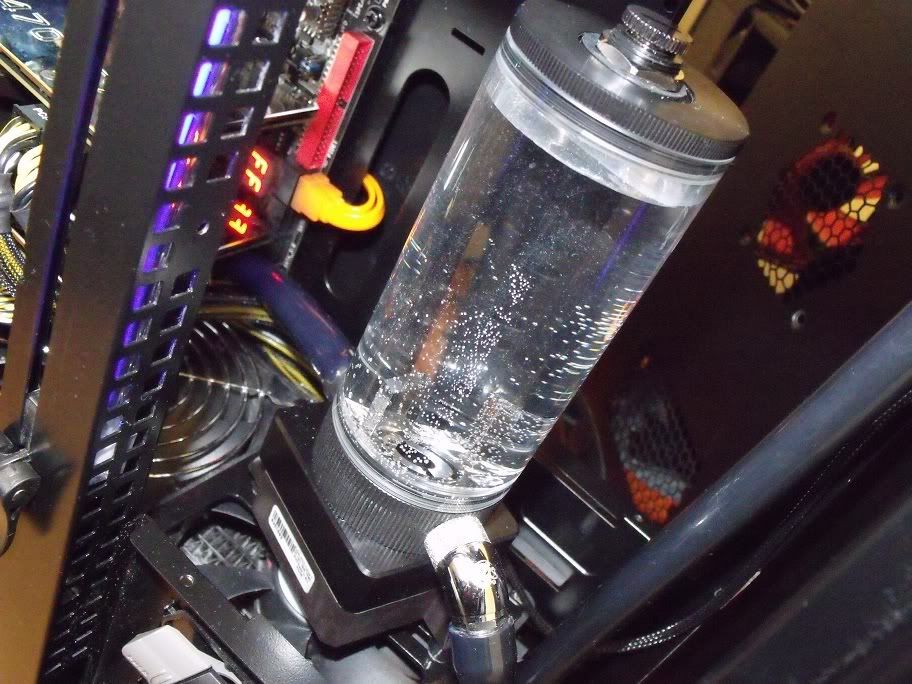
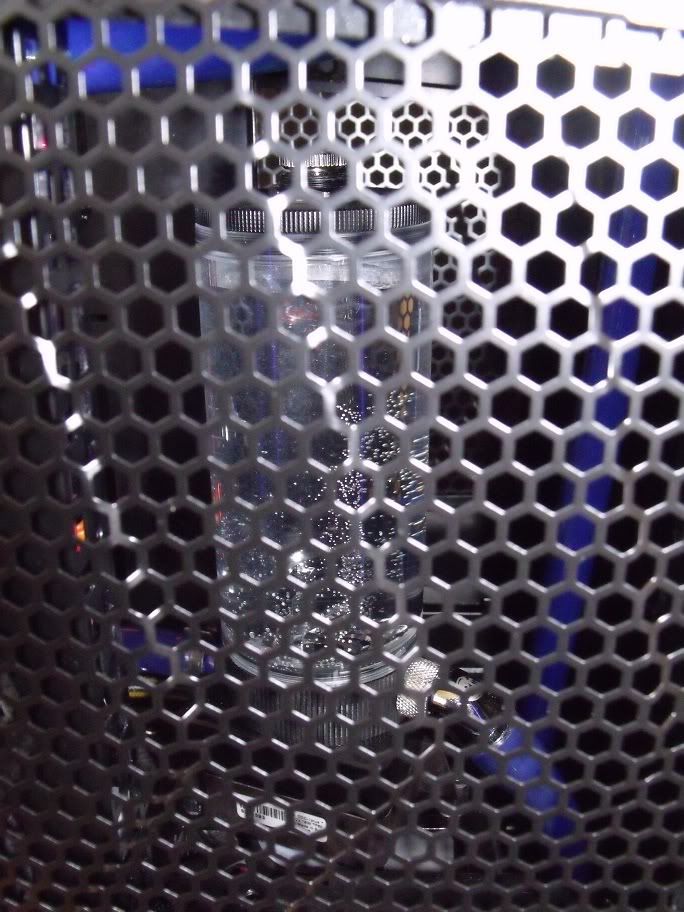
Bitspower Z Multi 80mm res
Masterkleer 10/16mm Black/Uv Blue tubing
I7 950
Foxconn Bloodrage
6gb Crucial Ballistix
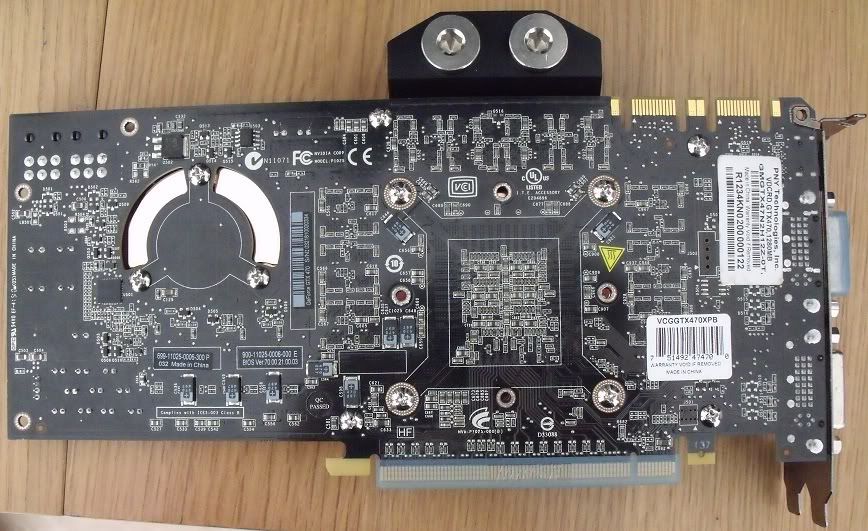
2 x GTX470
Asus Xonar D2 PCI
G.Skill Falcon 64gb SSD
Seagate 250gb 2.5" HDD
OCZ Silencer 910w
Original Brief:
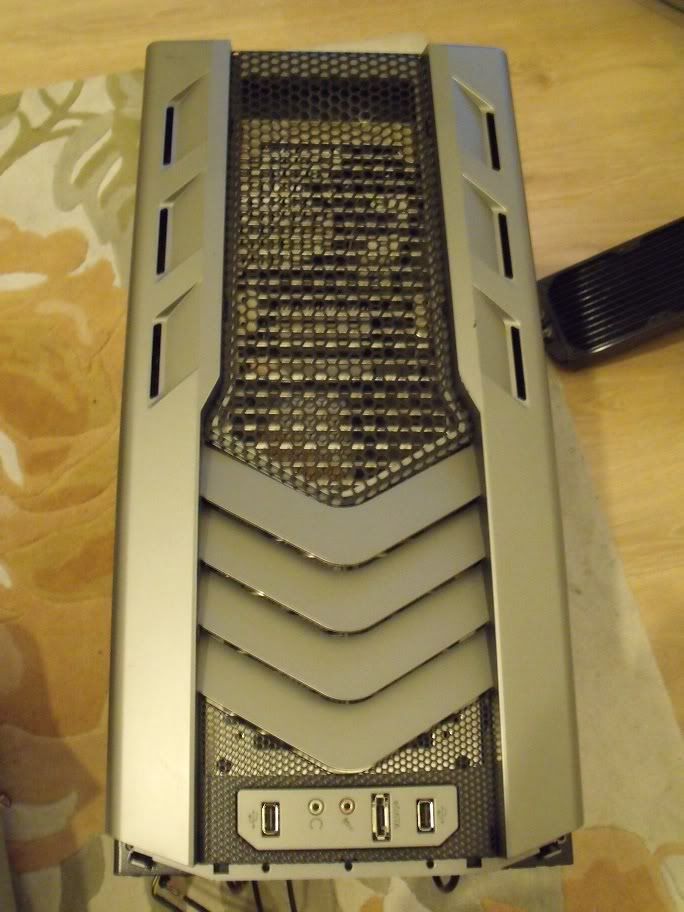
Current case has an external 360 and internal 240. Midi tower standard atx. Not much space left inside, external rad is fed hot air from the psu exhaust and rear system fan. 240mm rad at front of case heats up system temps. Using 10x Zalman F3 at full power - no fan controller. Its noisy! TBH it's really beaten up as well after years of impromptu mods as the water loop has been added to and changed.
Aside from that the standard concerns are price, capability of fitting rads with minimal cutting (lack of talent) and price must be below £150. Size wise front to back is a concern - MUST be below 550mm to fit on the desk. Also cannot be wider than 300mm (so no cubes or double wide). I'm not a fan of lots of angles and moulding on the outside of a case so the HAF series and every NZXT case ever is off the list. Painted interior is a must. Current scheme of
components is black, chrome and red with a little blue lighting.
The core of the build must be cooling. I at least want to retain my current 360 + 240 but both in an exhaust capacity - no hot intake air. If possible adding another rad would be nice but not a necessity. Must be easy to access all parts when fitted and refillable without having to strip it down.
I'd also like to have something a bit different. That means none of the usual Coolermaster, Lian-Li and Silverstone models. Hell I don't even care if its borderline ugly
I'd like to have a crack at painting - my last custom builds have been from old server chassis and the painting hasnt gone well. Can't get a good environment to paint in - I either get particle contamination or humidity/heat issues. This is kind of making me lean towards something with plastic fittings - pretty much all of them are just plain ugly though, let alone borderline!
Finally I can afford no appreciable downtime. This is my main pc and it'll annoy me beyond belief if im without it for days. I've given myself 36 hours to go from empty case to working pc (finished or not is a different matter).
Picking the right case...
Anyway, I eventually got a shortlist down to the Xigmatek Utgard and Midgard, Thermaltake V3 (cheap thrills?), Thermaltake Element V, T and S, Thermaltake Spedo Advance, Lian-Li K62R and P50R and finally the Silverstone FT-02R. Everything else was either over £150 or just plain fugly/useless for watercooling.
After a bit of consideration I eliminated the Thermaltake V3 and Element cases - just too much work to mod with plenty of possibilities for just ruining the case. The Lian-Li and Silverstone cases I know I couldnt bring myself to cut - just out of fear of messing up! That left me with the 2 Xigmatek cases and the Thermaltake Spedo.
The Midgard is tricky to fit a 360 up top and 240 on the bottom (the only config that fits my brief) as there isnt a top piece to cover the roof fitting (and my poor modding skills). That crossed that one off. So down to a choice of two - the Utgard or the Spedo. Now being a hater of all things TT I found myself in the odd predicament of having to seriously consider a TT case. My main concern tbh was how plasticky the clip on fittings would look. All that internal junk for airflow would go straight in the bin along with having a few choice case cuts, but that aside the black finish was by all standards good inside and out, the case spacious and well laid out plus it offered me the oppurtunity to add my loop with minimal cutting. Add to the fact that until I did a forum search here i'd never seen a real world picture of one my choice was made. I was going to take on a Thermaltake Plastic Palace and attempt to make it into something you dont want to hide inside so nobody knows you own it. Plus if it all goes horribly wrong, well its a TT case anyway - what better excuse do you need?
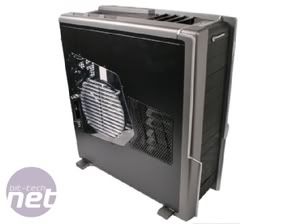
Here's a couple of promo pics nicked from bit-tech to replace the unpacking shots lost on the sd card.
Loop design.
Weighing up how my loop would fit I took a look at the bit-tech review which has some pretty good pics. I had three sides to work with - top, rear and floor. The whole front section I wanted as an air intake (no fans, just filtered and
meshed via drive bay covers). The only sacrifice to this I was prepared to make was for the fan controller (chose an FC-2) and dvd-rw (though im highly tempted to get rid of this for an external Bluray drive). The top section was pre-cut for a 240mm fan plus an extra grill part extended forwards. By eye it looked like it would take a 360 easily. The rear 2 x 240mm case fans again by eye looked like theyd take a standard 15mm spacing 240 with enough room between the back of the 360 and the top of the rad. Theorectically I could then cut a 240mm hole in the floor and fit that 240mm matte black ally rad grill I bought for a couple of pounds on sale about 3 years ago...
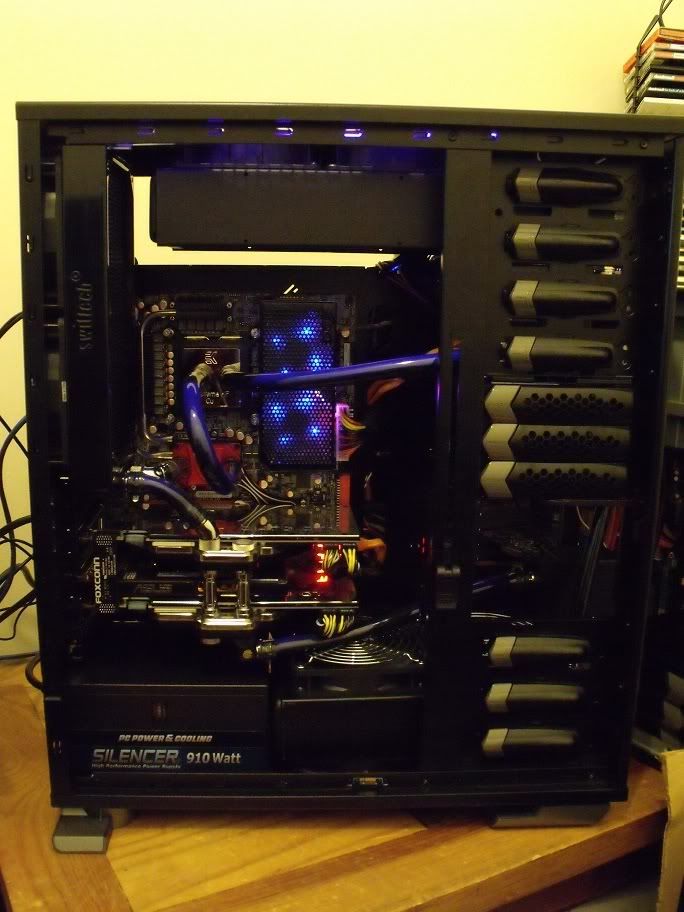
This would leave me with the following loop (pump direct attached to rad):
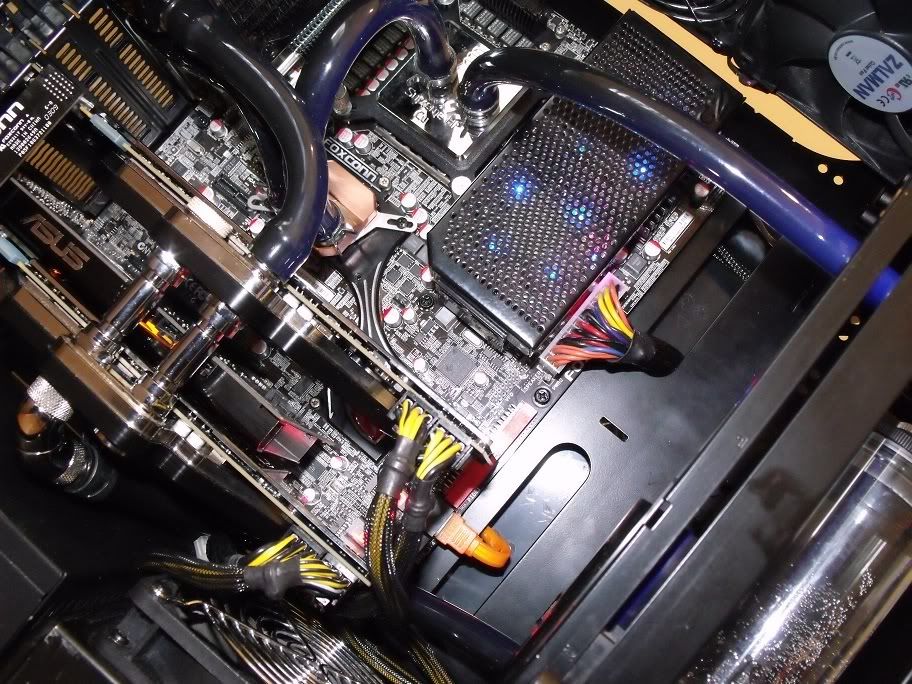
Jingway DP1200 > 240mm floor rad > 360mm roof rad > cpu > chipset > 240mm rear rad > 2 x parallel gpu > Res
It'll be interesting to see what I can come up with for routing the tubes down the front of the case. I've got an FC-2 and a DVD-RW to accomodate somehow.
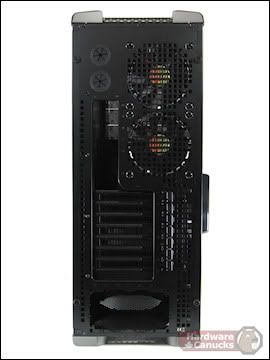
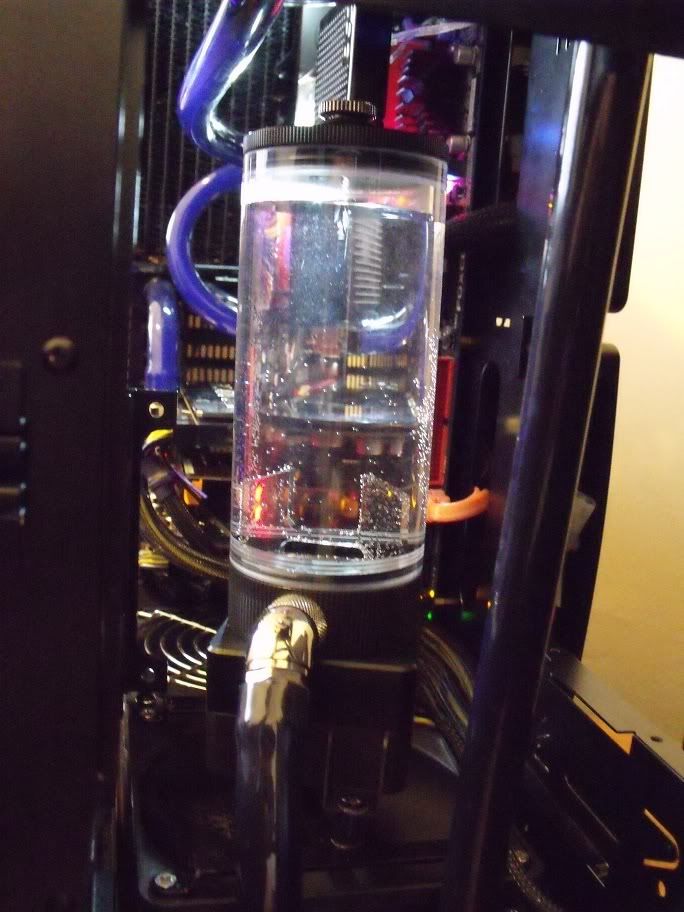
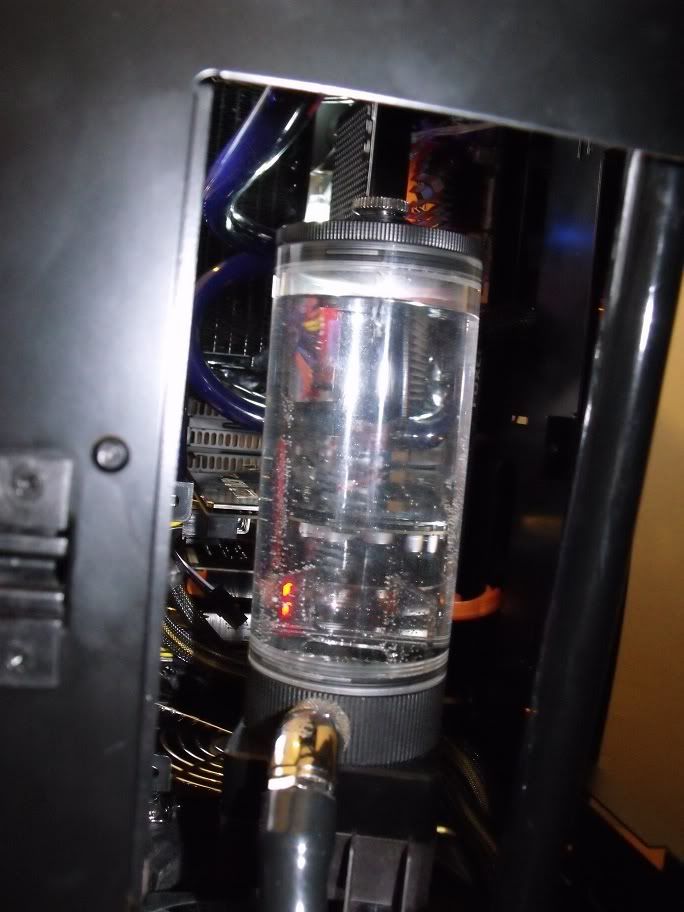
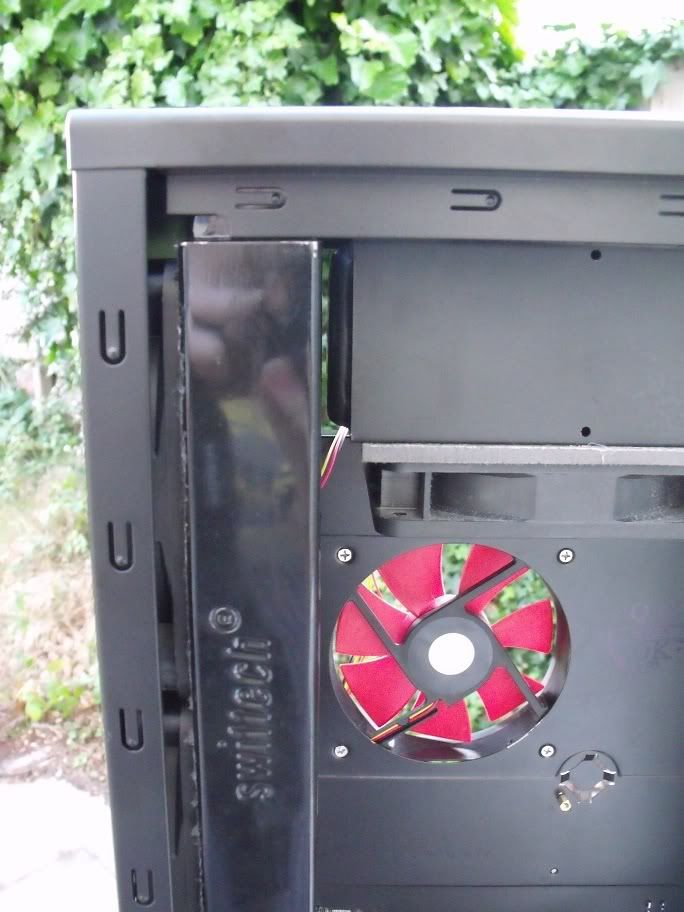
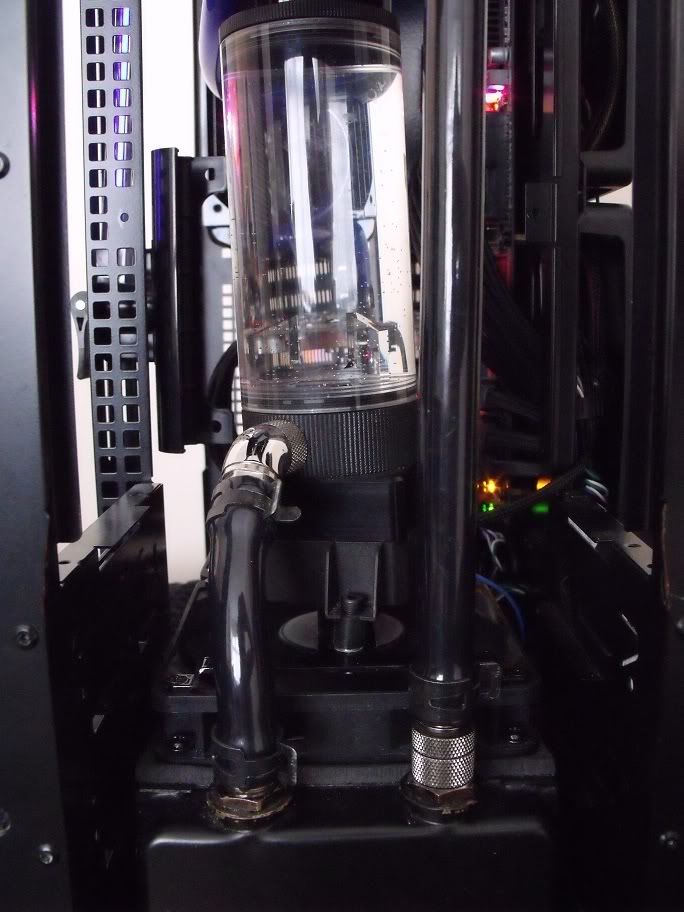
While I was pondering this it then struck me that I could get rid of my res and combine it with the rear mounted 240 if I used a Swiftech MCR220Res. This would need a small hole cutting in the case roof for filling which should be comfortably covered by the plastic roof panel. It looked like it'd fit from the pics. Tight but it'd fit.
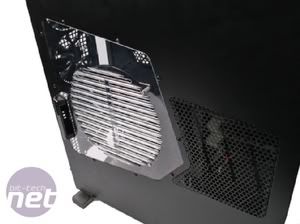
Pic from Hardware Canucks.
It has a name!
This tight fit theme combined with Thermaltake's poor choice of name then inspired me to call this build - Project Budgie Smuggler
Every pair of Speedo's should have red trim...
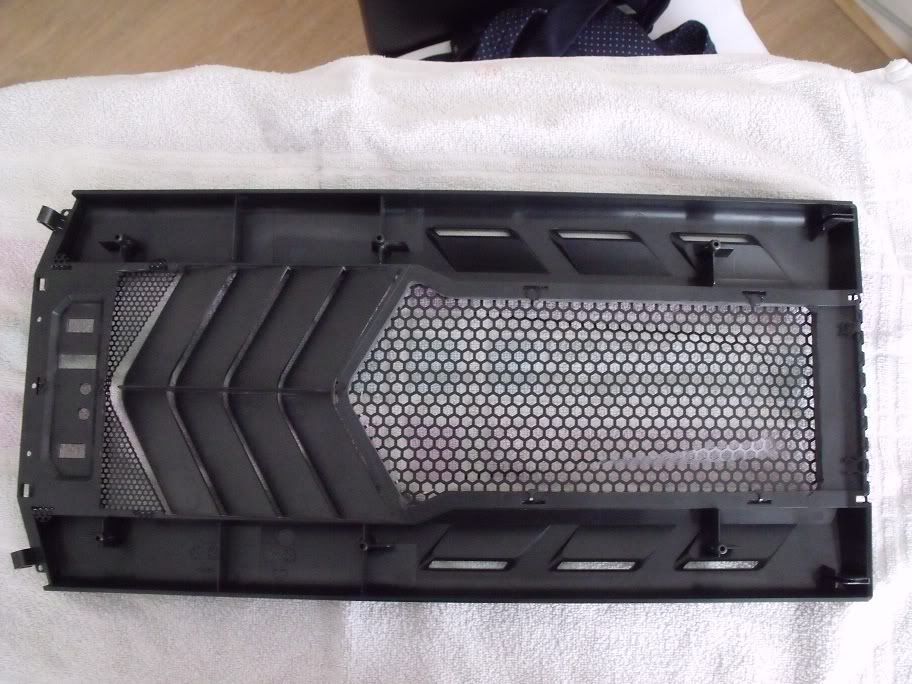
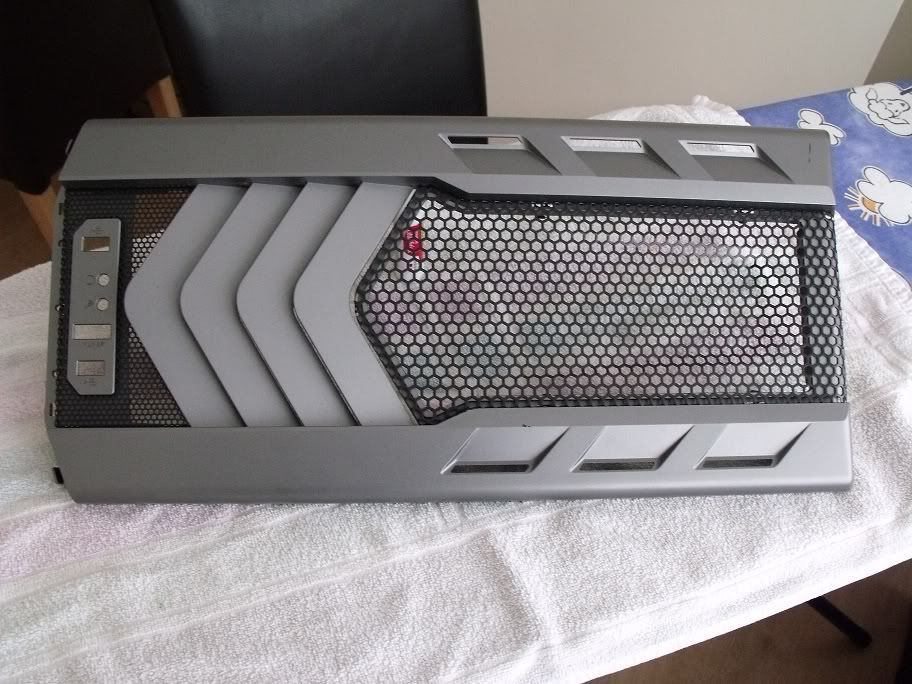
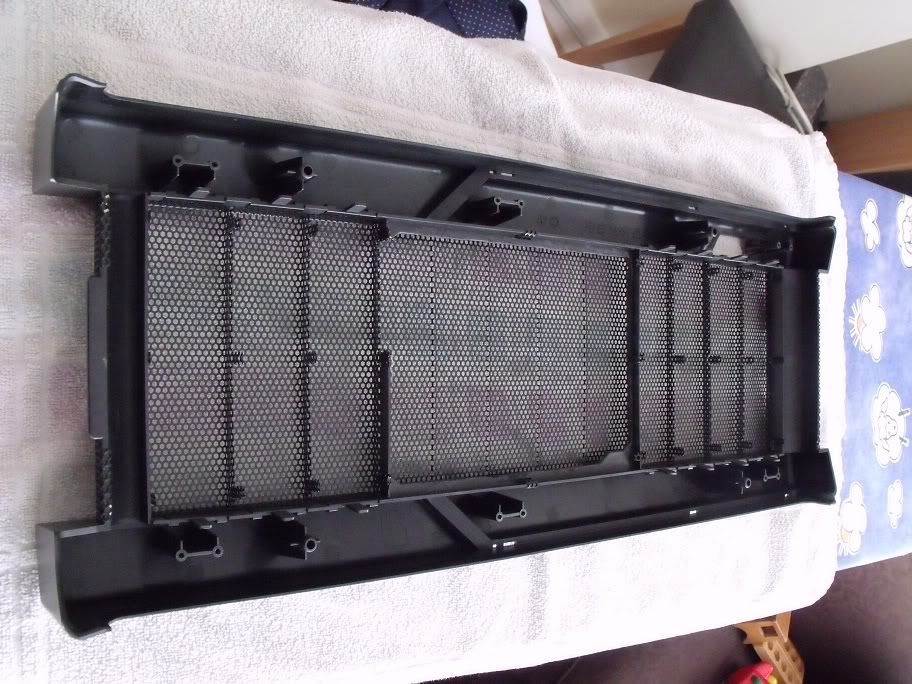
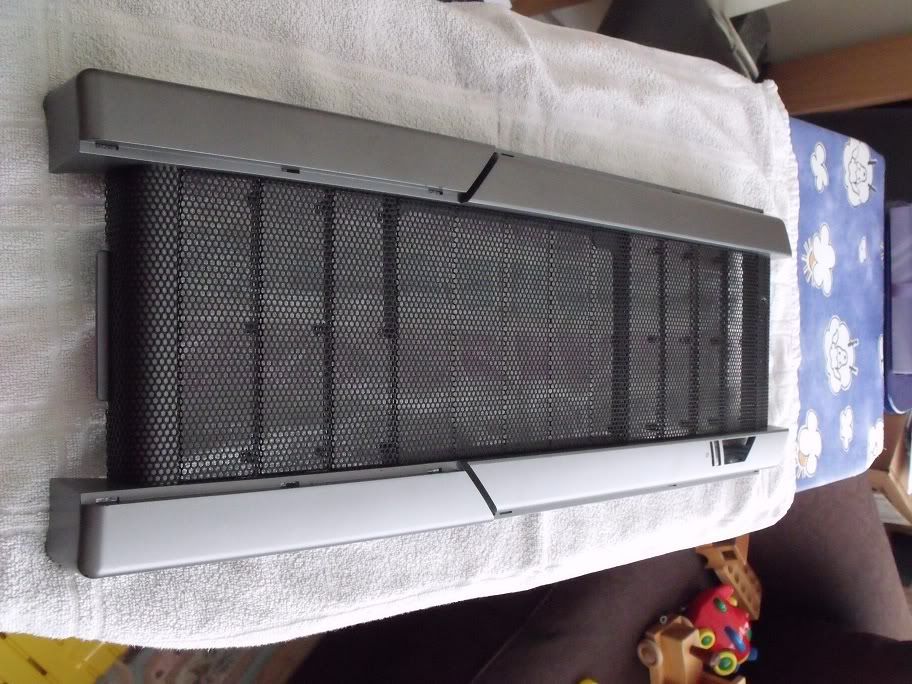
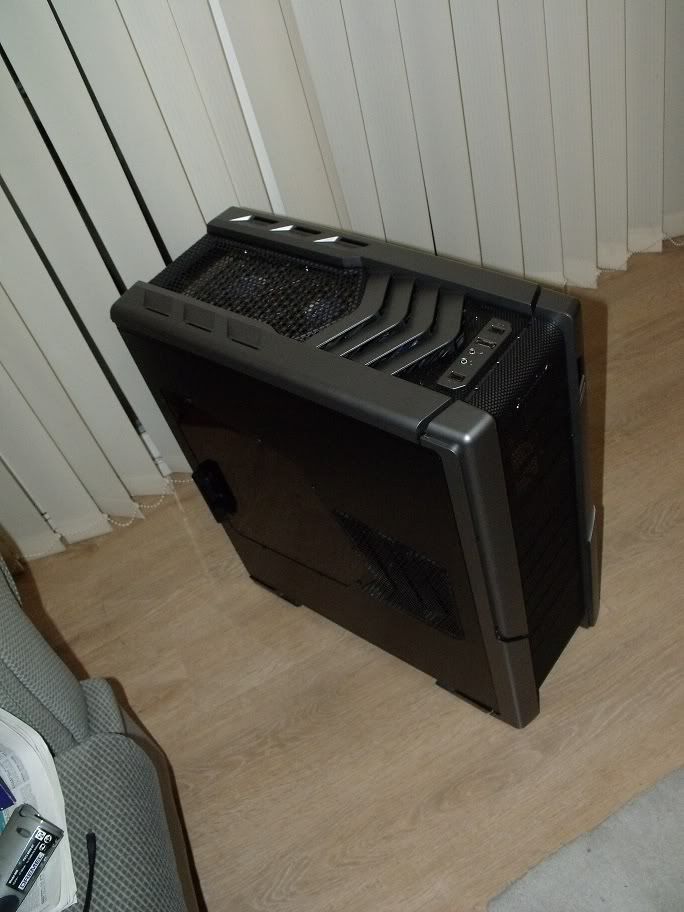
As for aesthetics - I really dont mind the overall lines of the case at all, Thermaltake have managed to not go too overboard. I'm not a fan of the colour of the plastics - that grey is just pointless. My plan is to repaint all the grey plastic black and to paint the silver/chrome plastic and the top panel fan grills cherry red to match the component scheme. Should be quite easy - especially as I have access to someone who paints RC models so hopefully can do some arm twisting there over xmas.
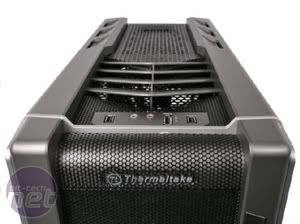
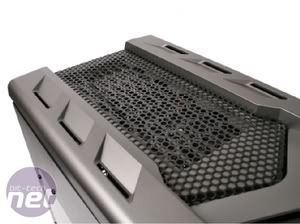
Pics from Bit-Tech.
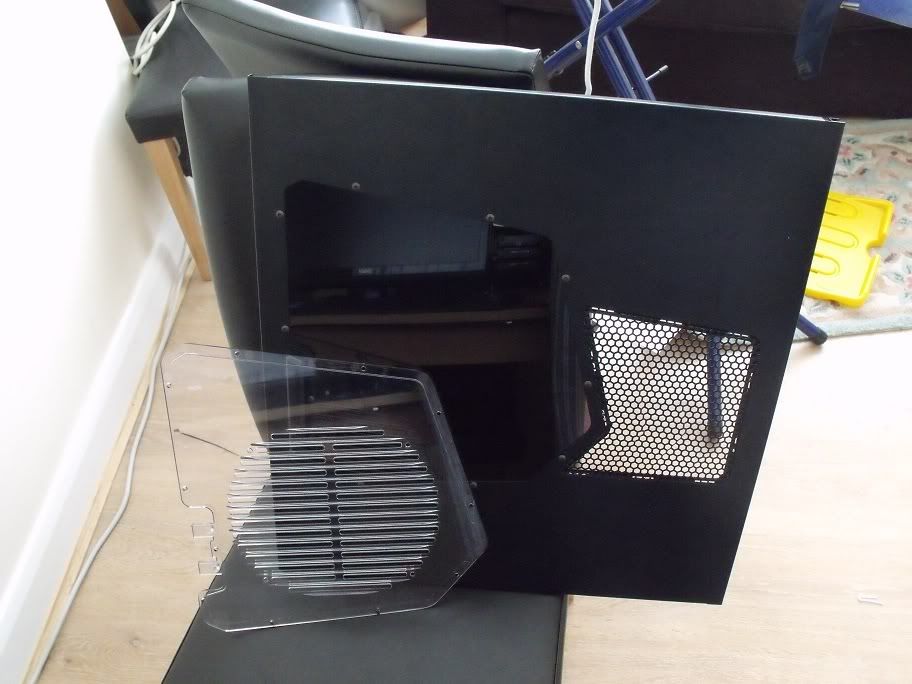
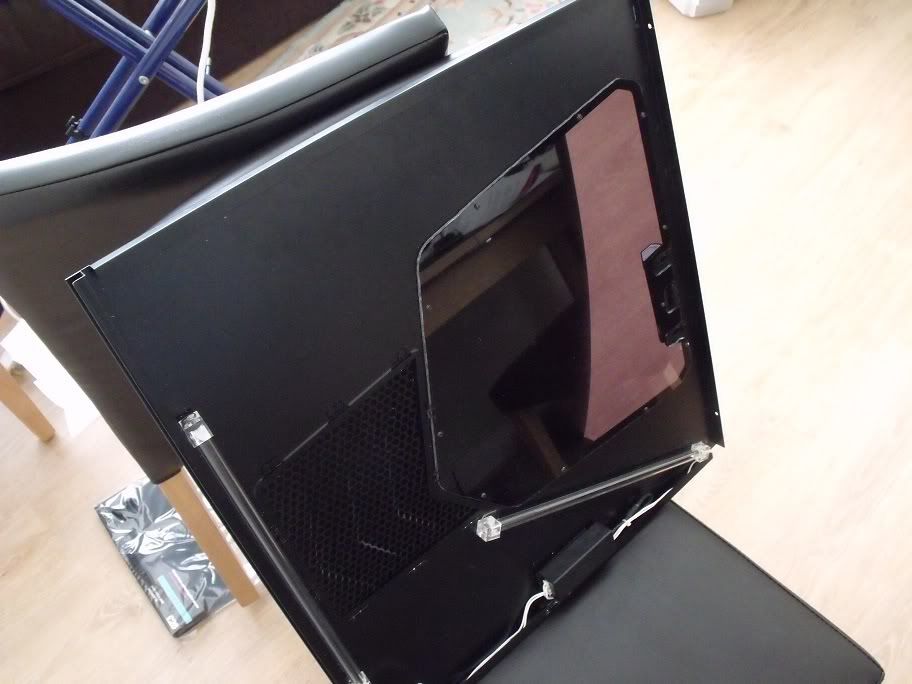
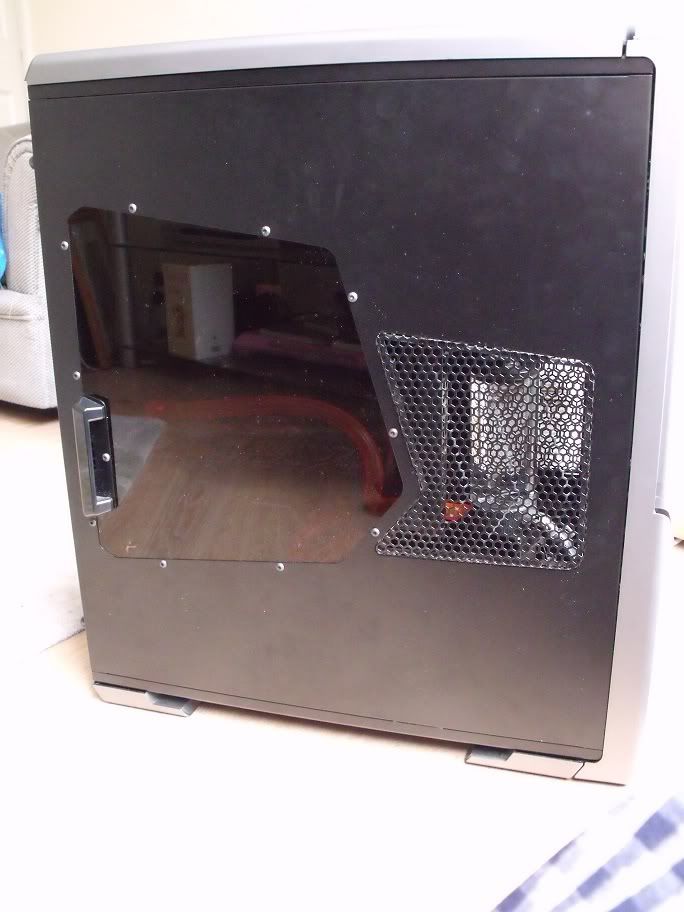
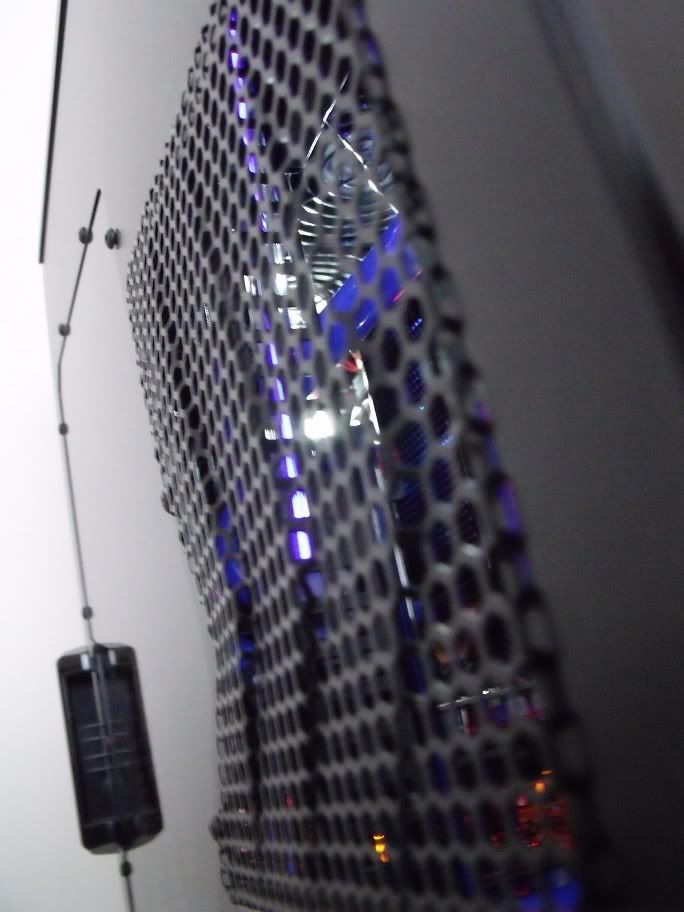
Not sure what im going to do about the window side panel yet but I've gotta do something. Looks cheap and nasty.
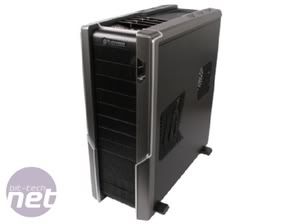
Pic from Bit-Tech.
This case has the added advantage that I can do the painting after the build is complete as all parts that will need painting are detachable from the case. This can literally be the final finishing touch to the build and its useable the whole time.
So, a few new parts needed:
Thermaltake Spedo Advance
Lamptron FC2
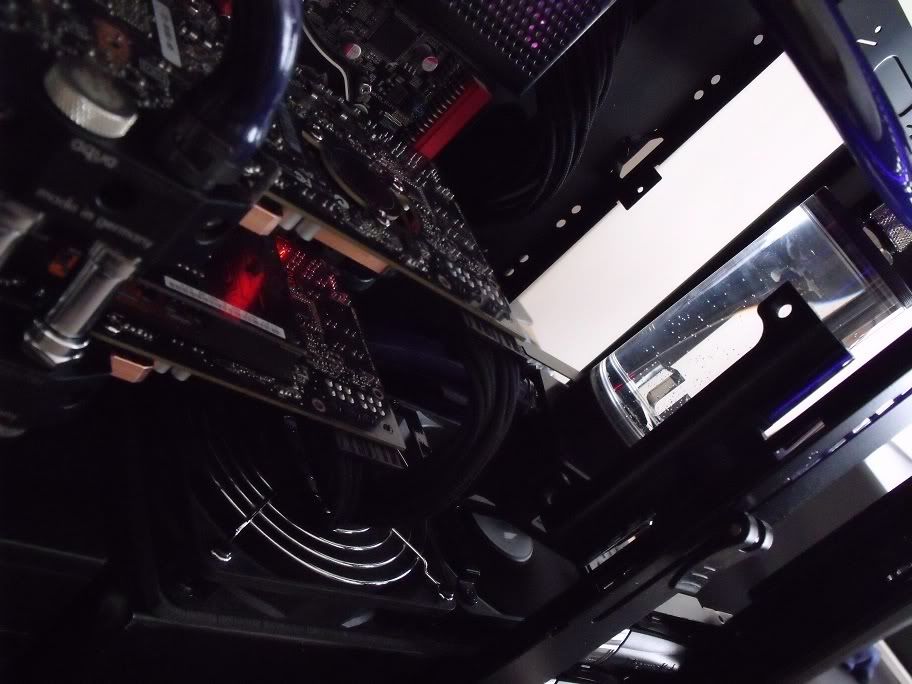
Swiftech MCR220Res
Will also be trying out some new Sunon ball bearing 38mm depth fans I got. Max 2350rpm, min 750rpm and cheap too at £3.50 each. I'll be using these on the top 360mm. The rest will be trusty Zalman F3's controlled via the FC-2 for a bit of noise control.
A plan?
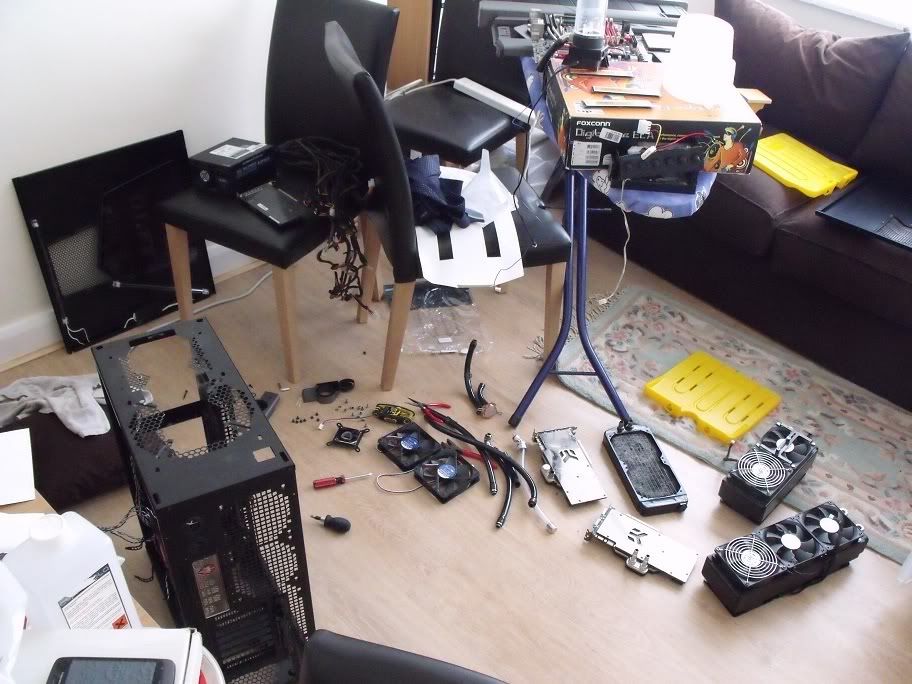
[27/12/2010 9pm] So, where do you start? You have a brand new case in front of you, many hundreds of pounds of PC parts and a good litre or so of water you want to cool it with without getting it wet. Potential for disaster is certainly there if you don't take care. I unboxed everything, removed the junk TT fans and all the extra craptastic plastic I didnt need.
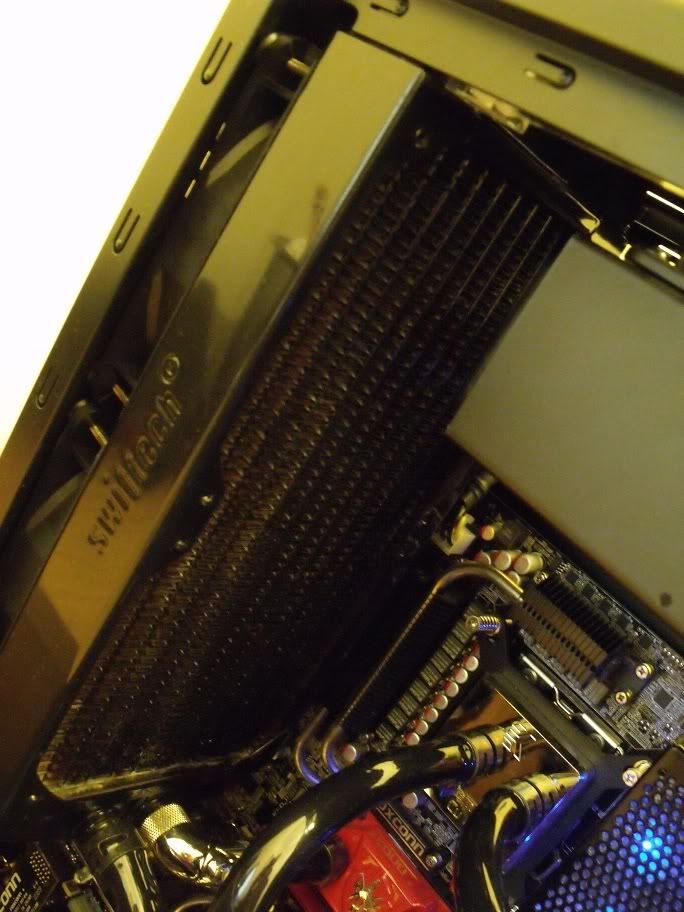
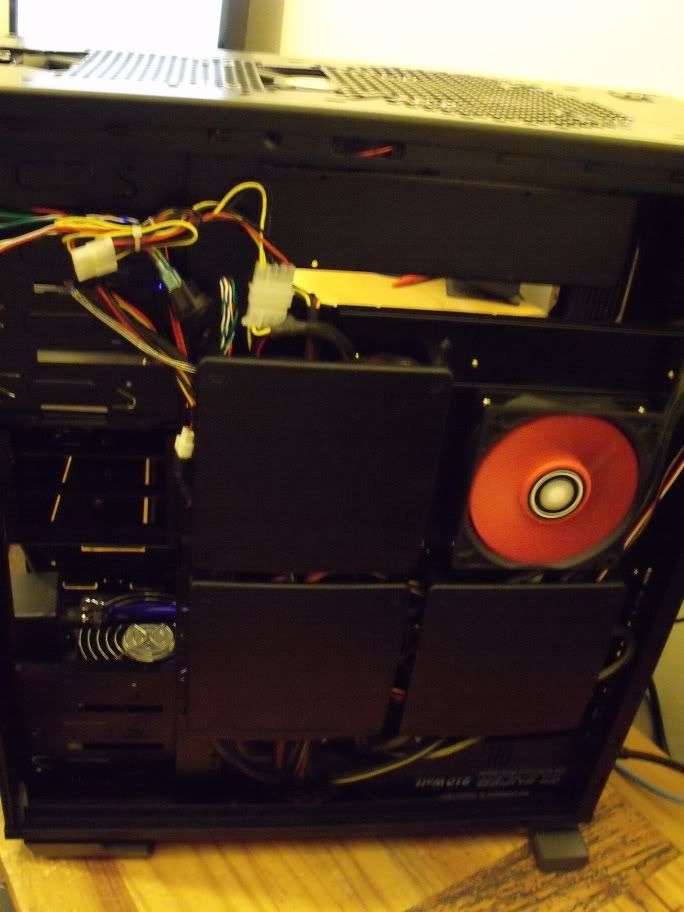
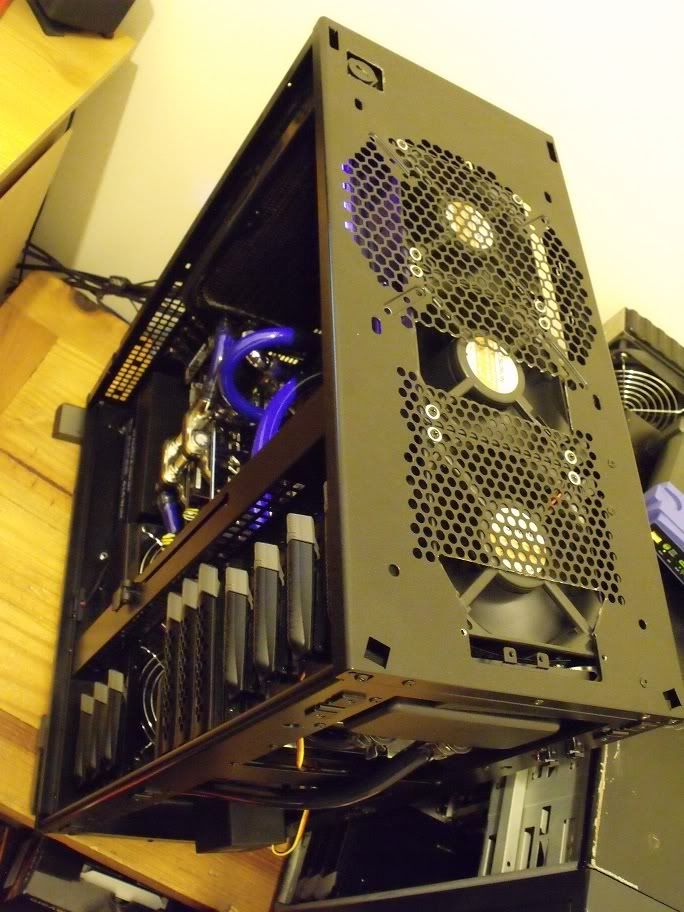
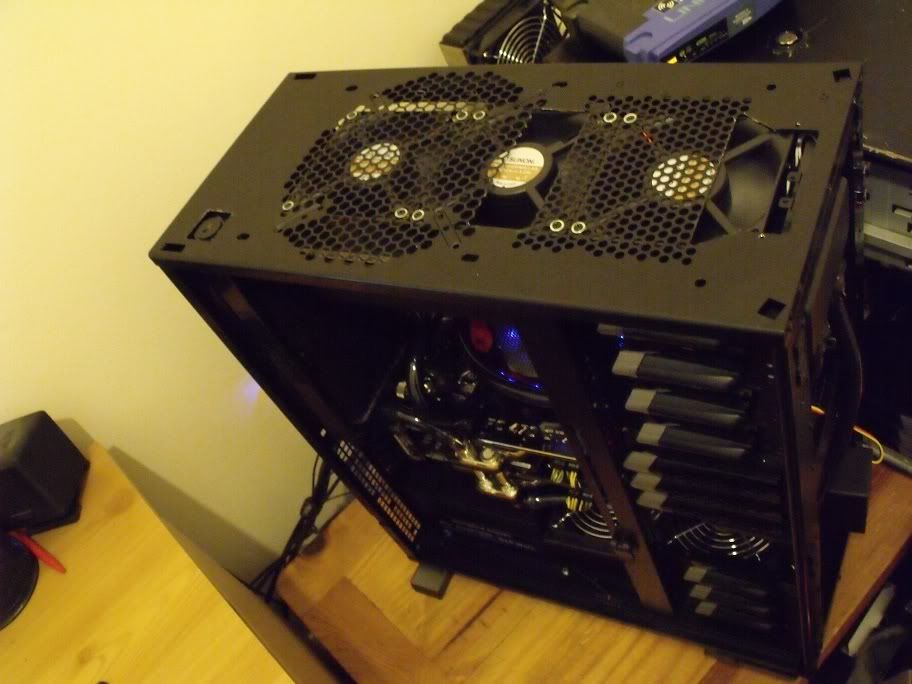
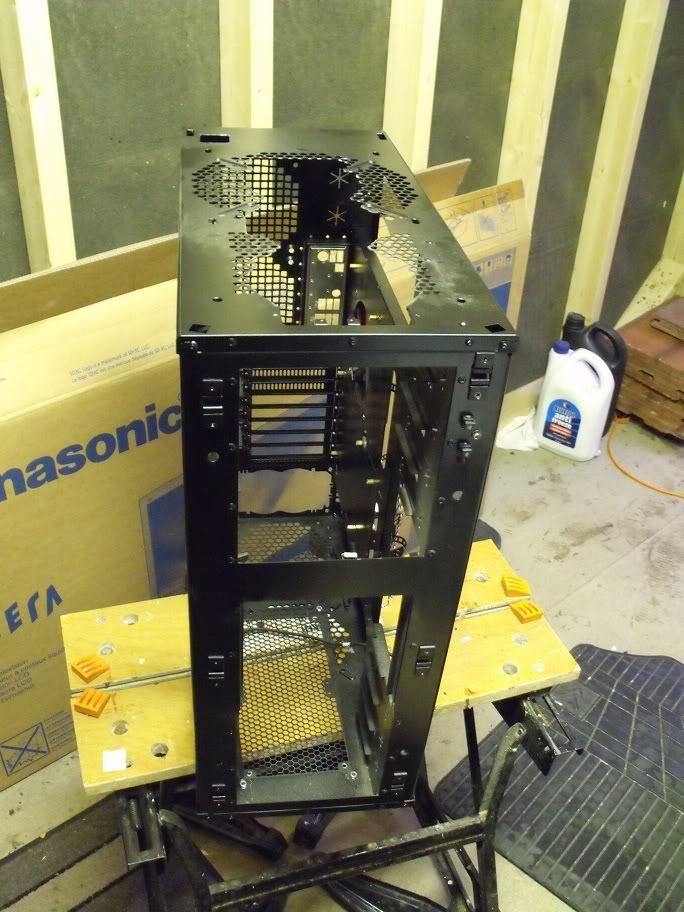
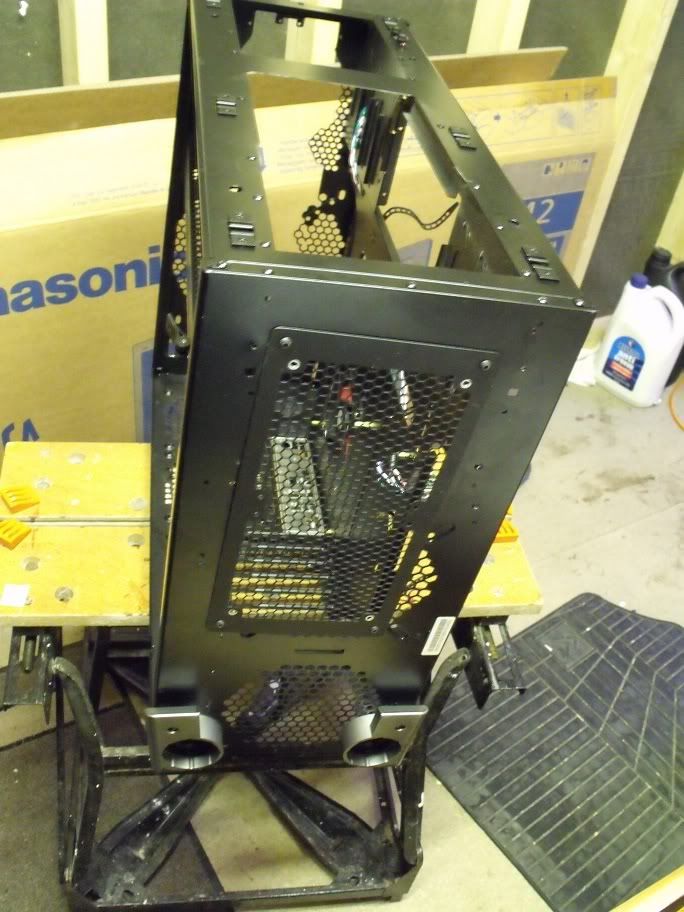
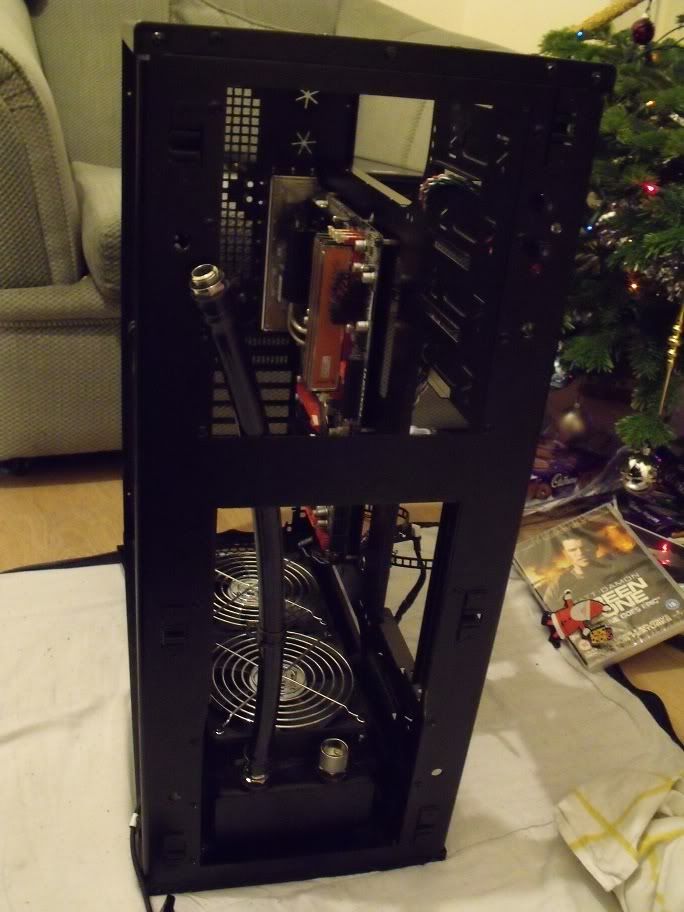
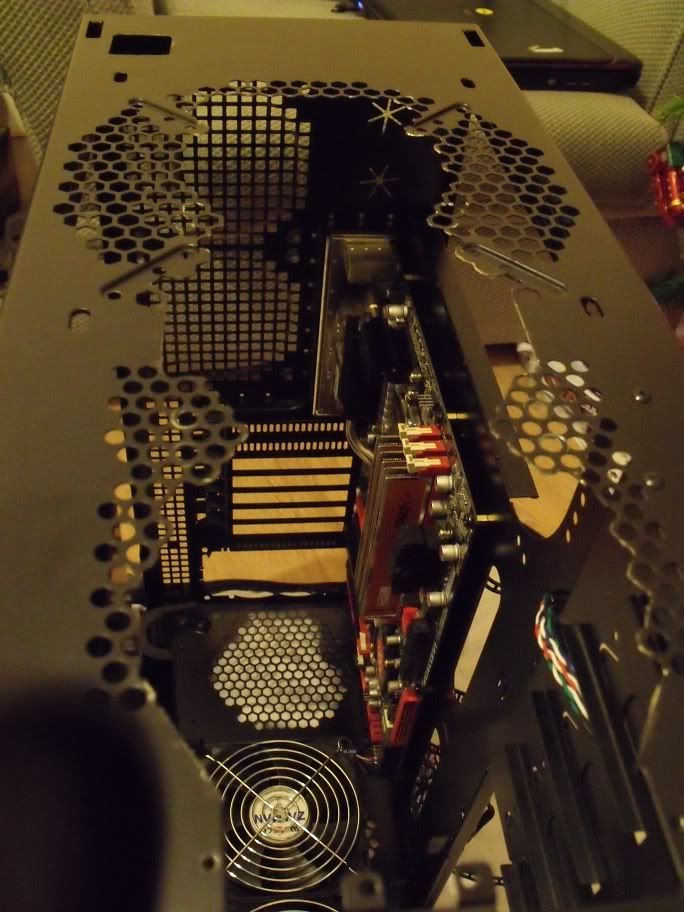
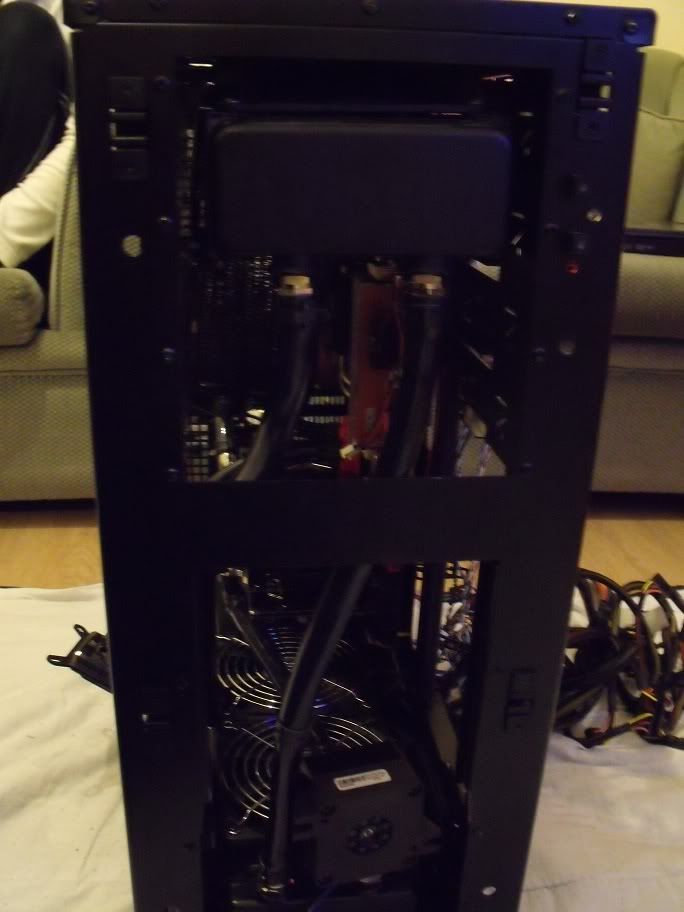
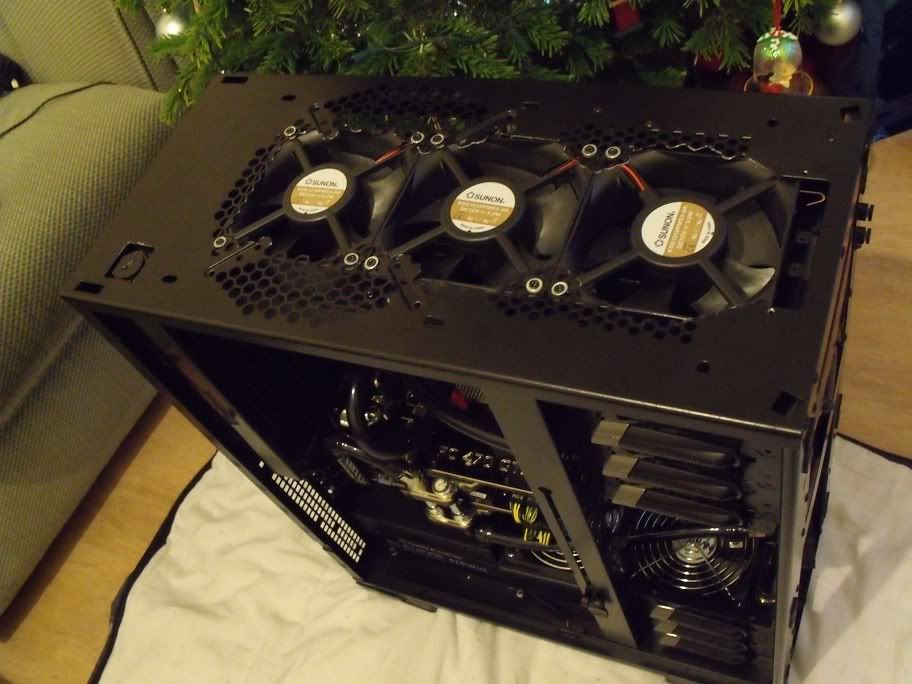
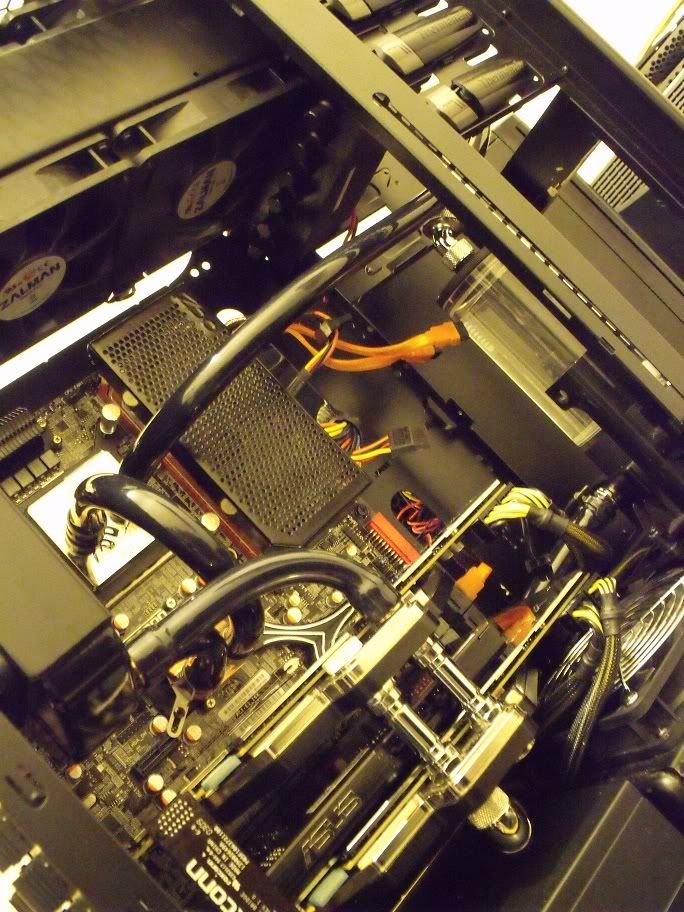
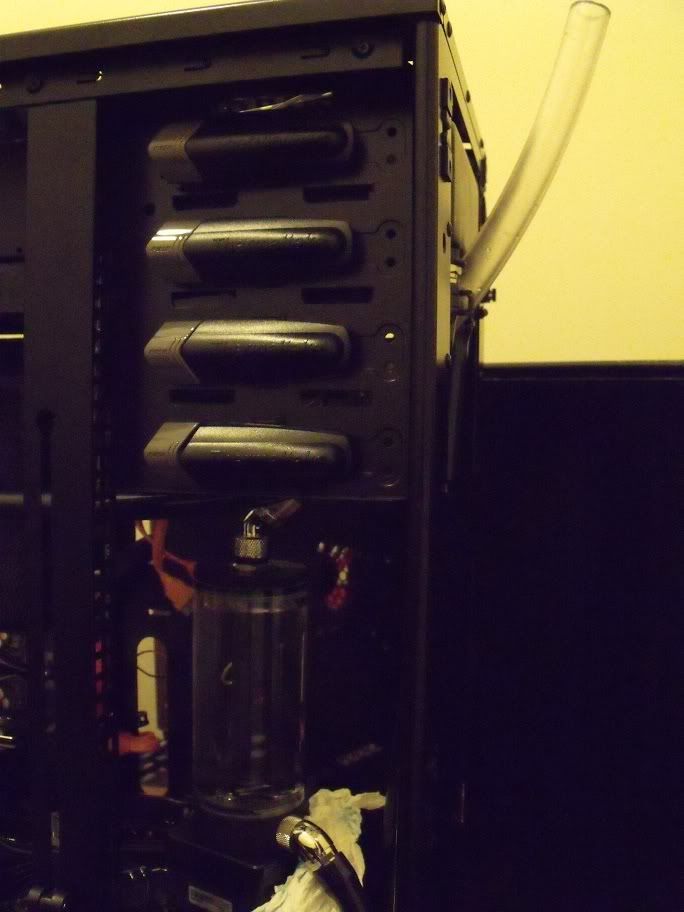
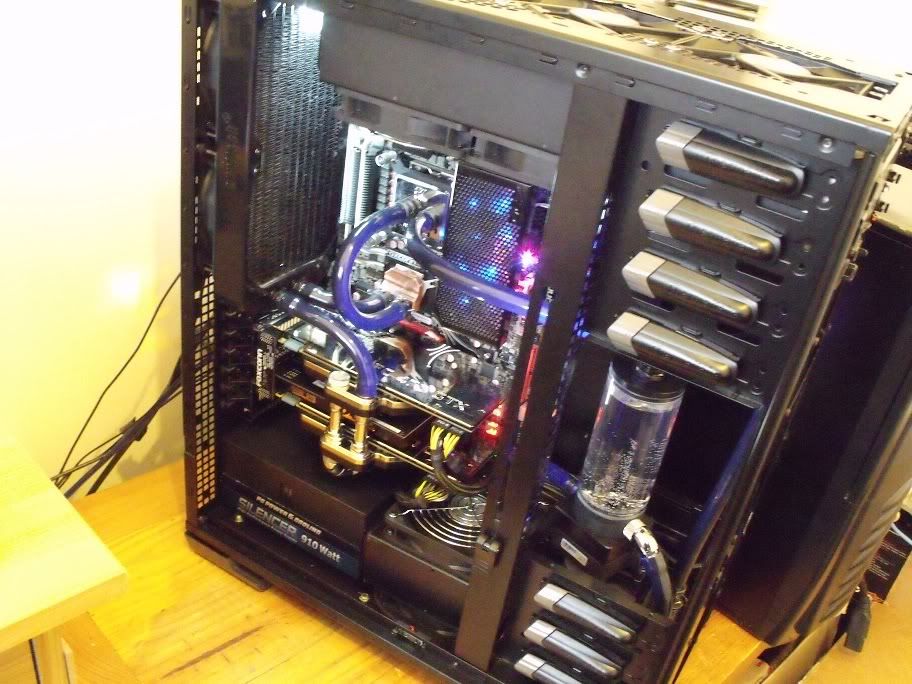
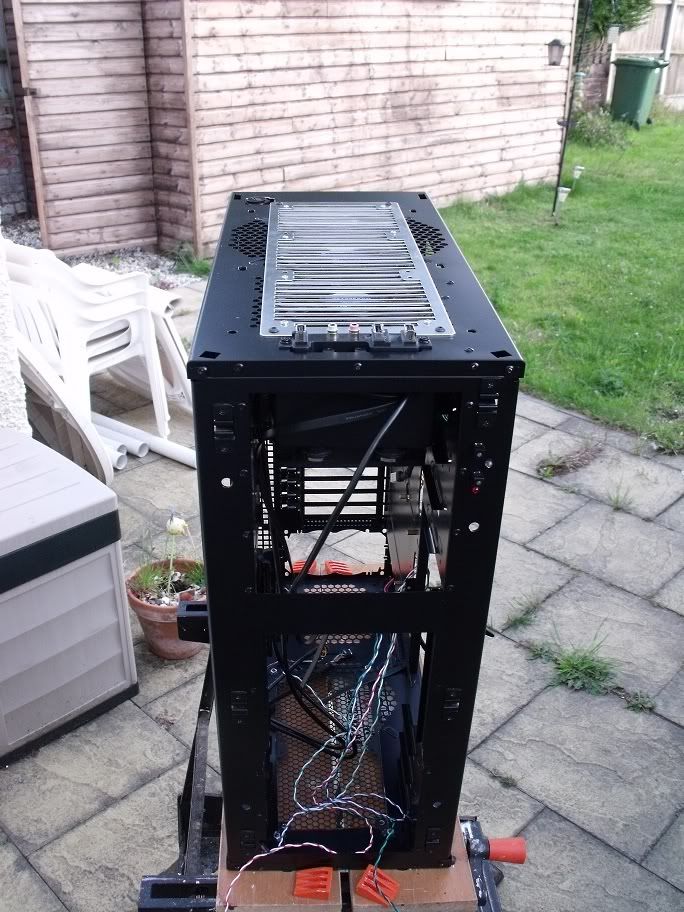
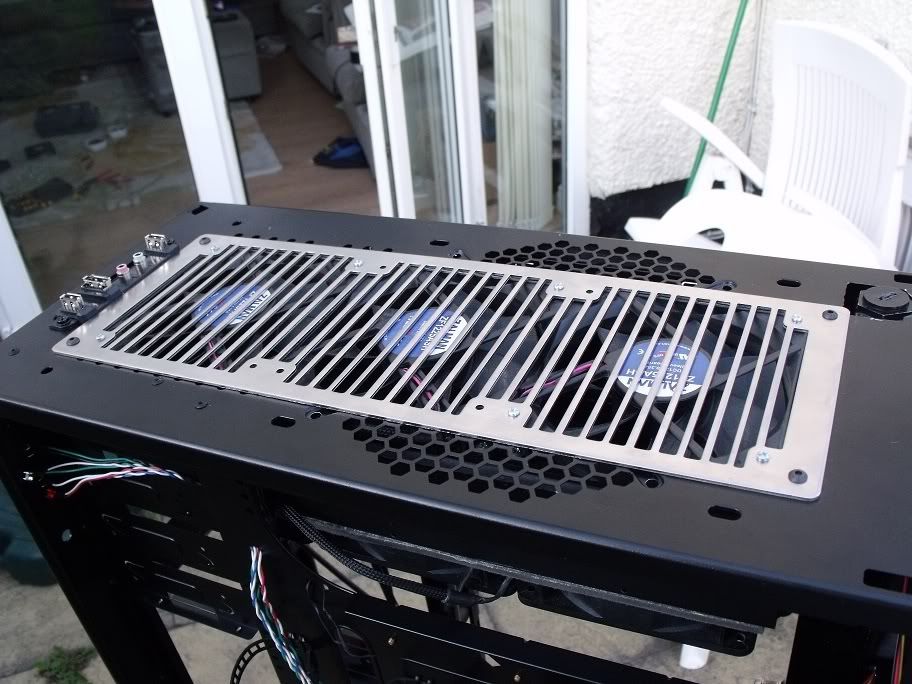
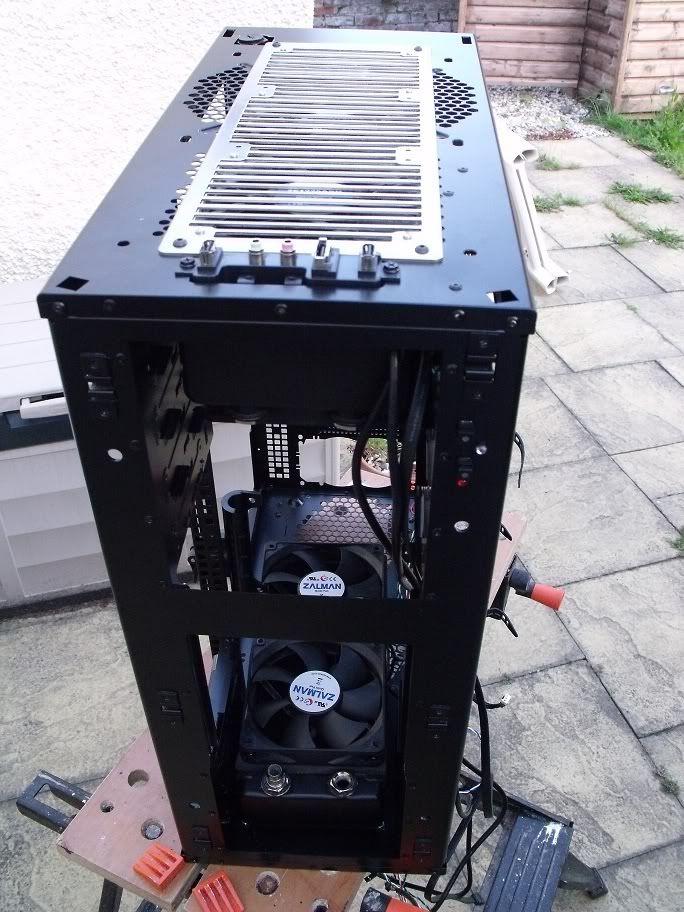
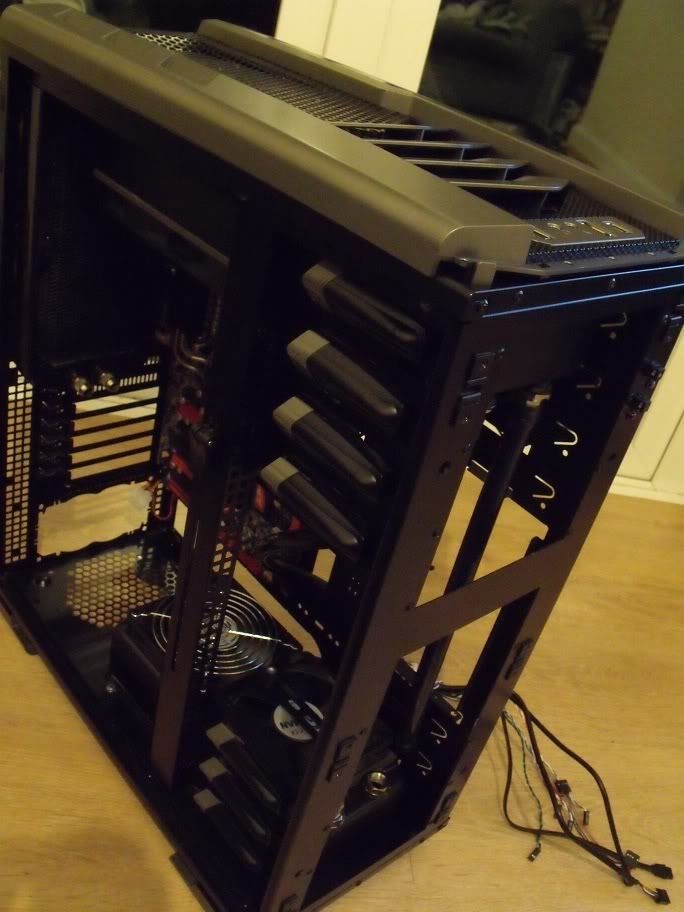
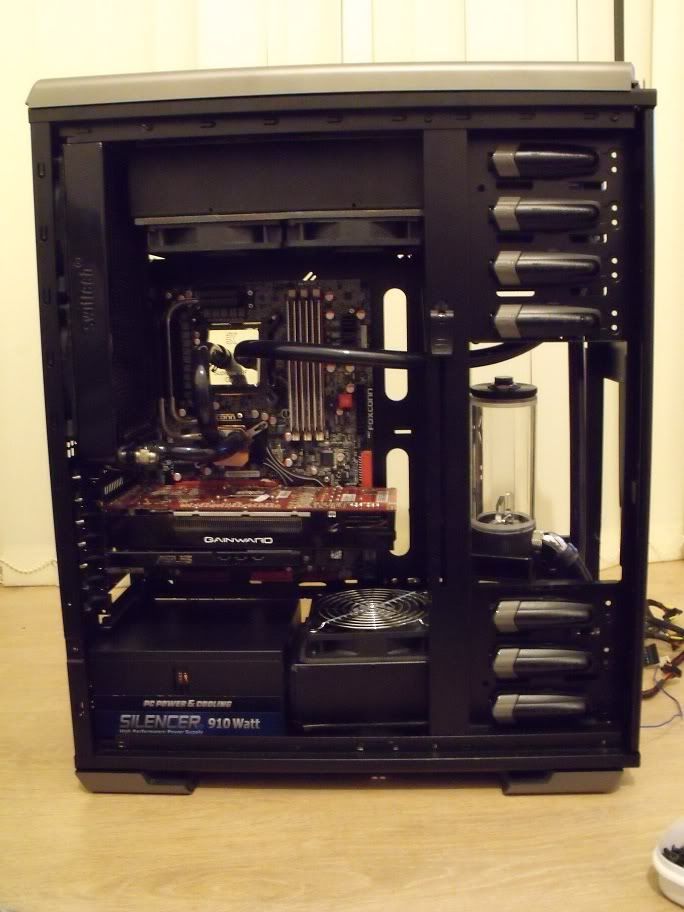
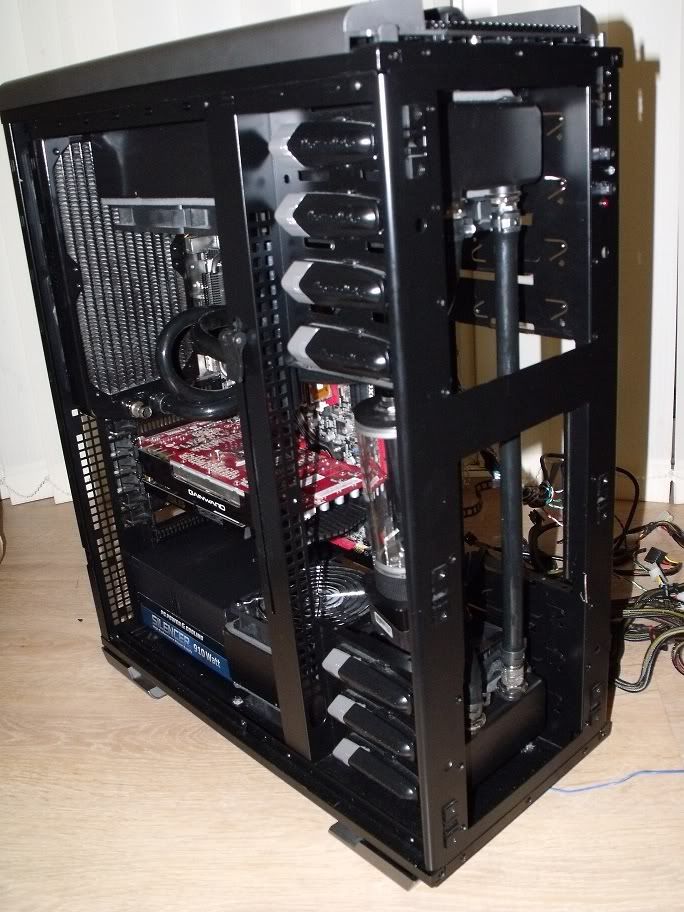
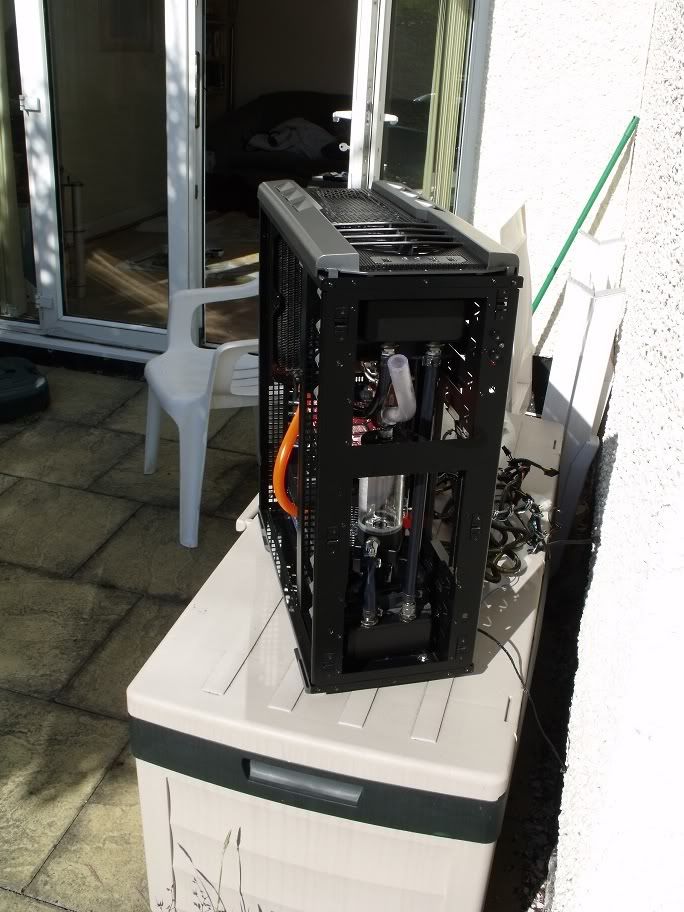
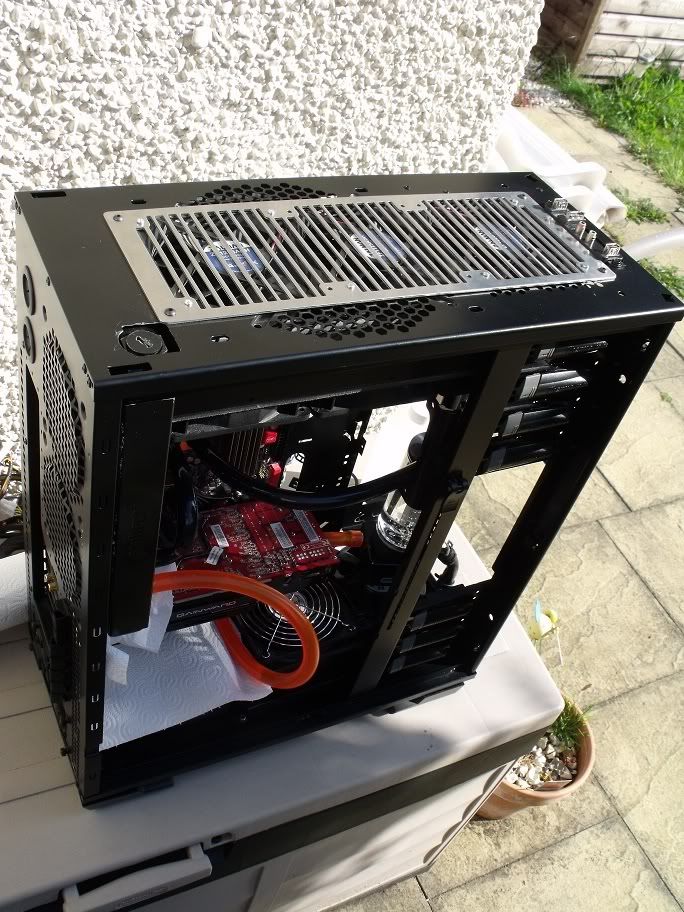
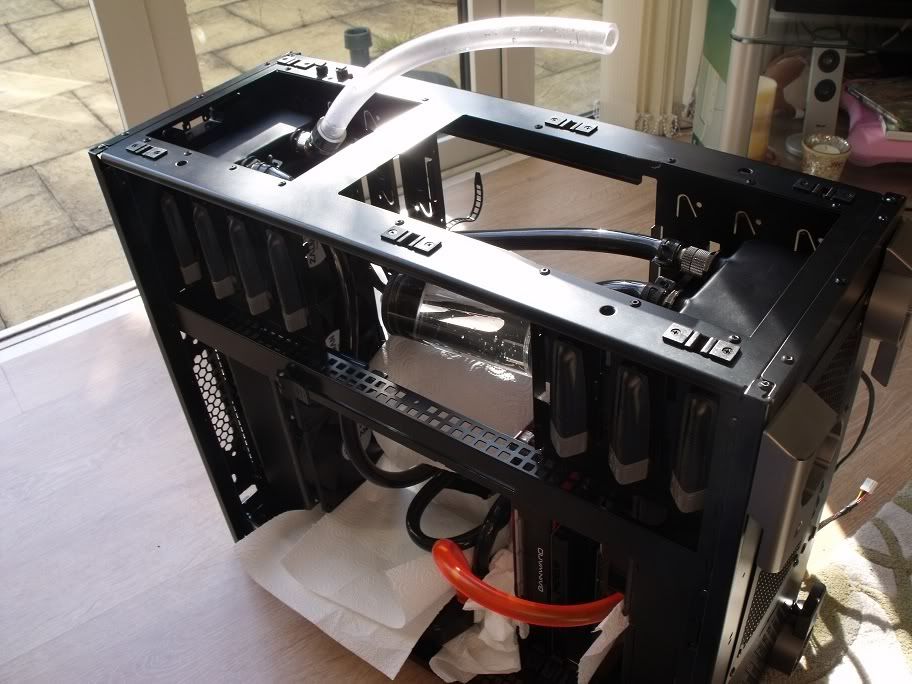
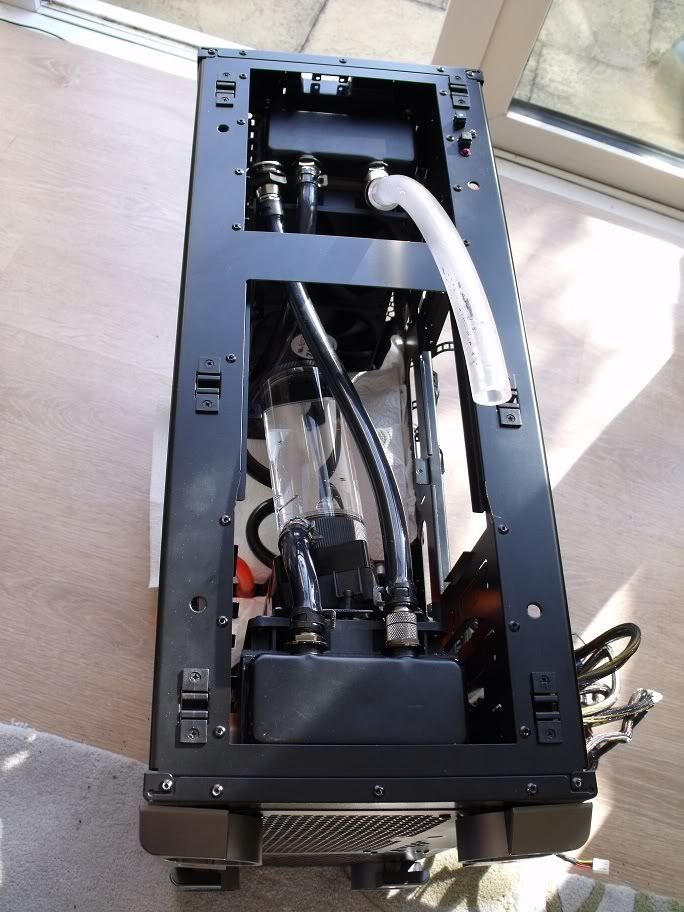
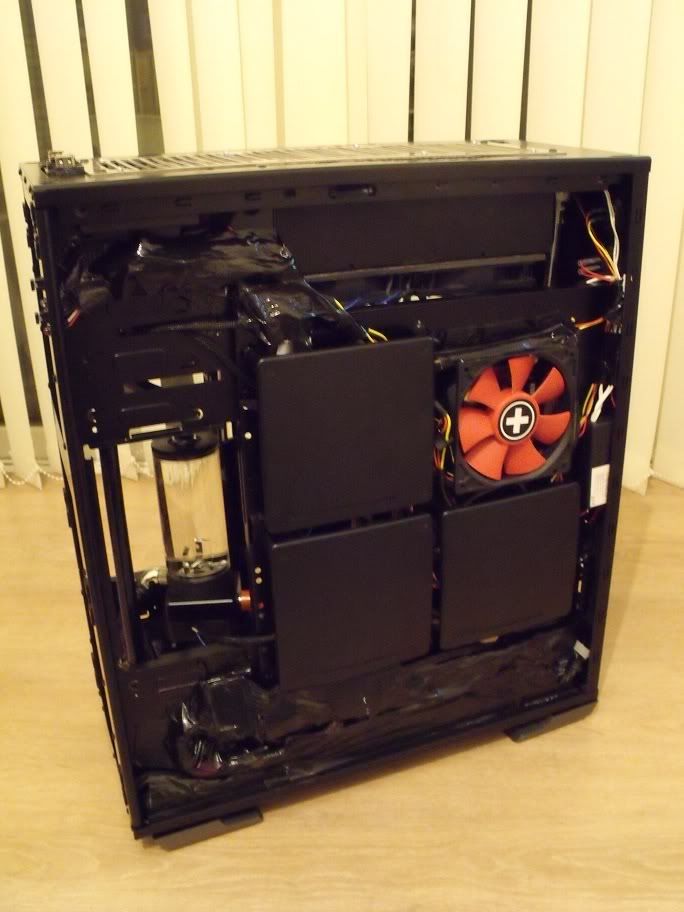
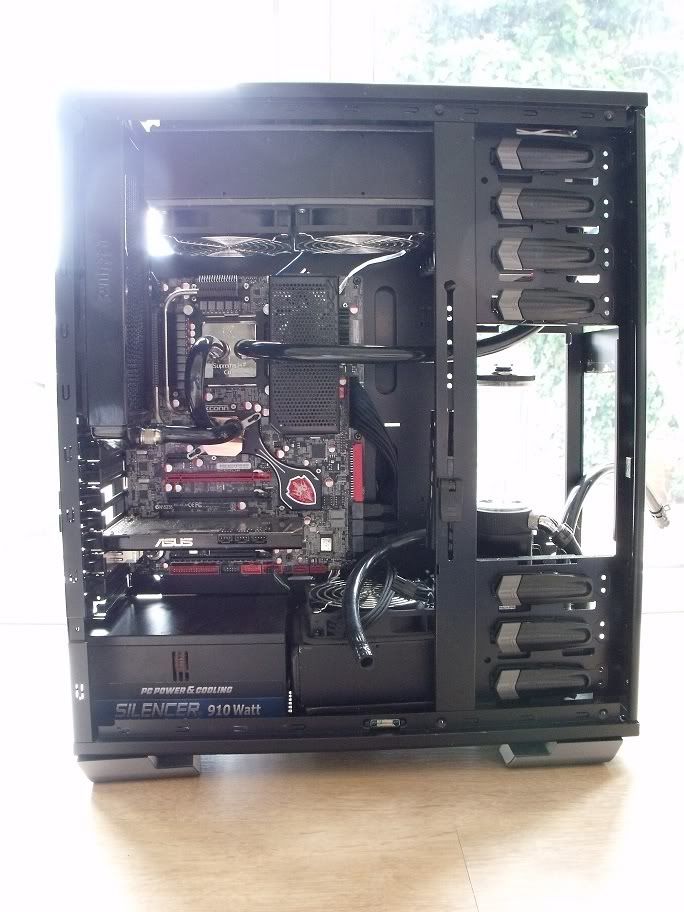
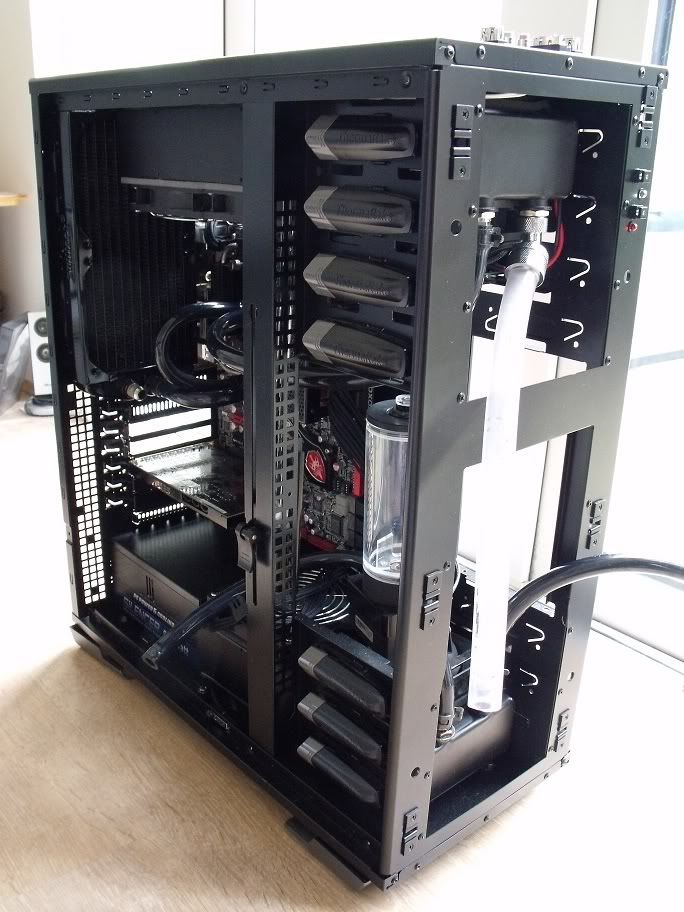
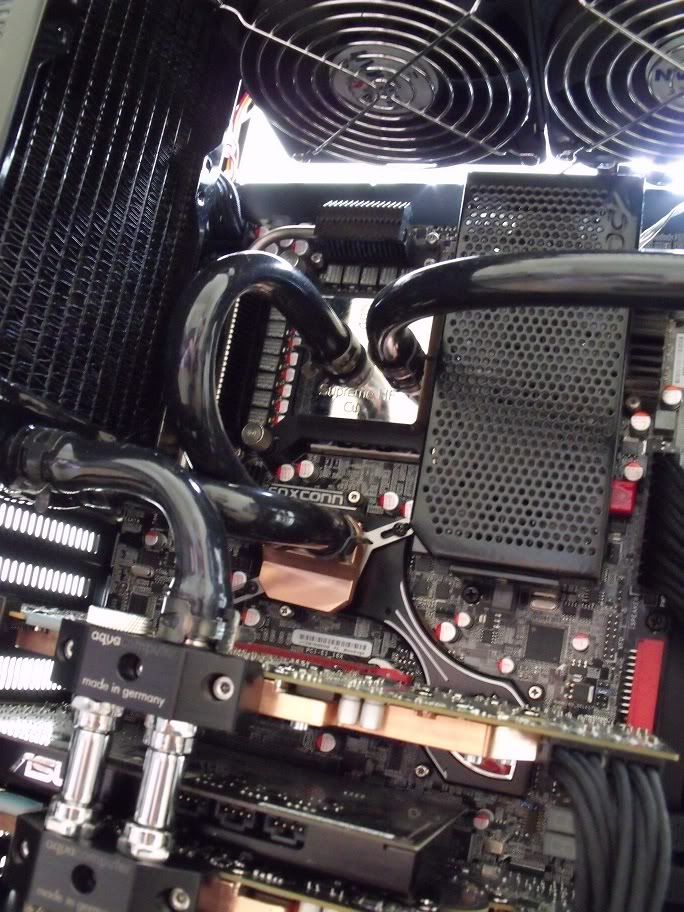
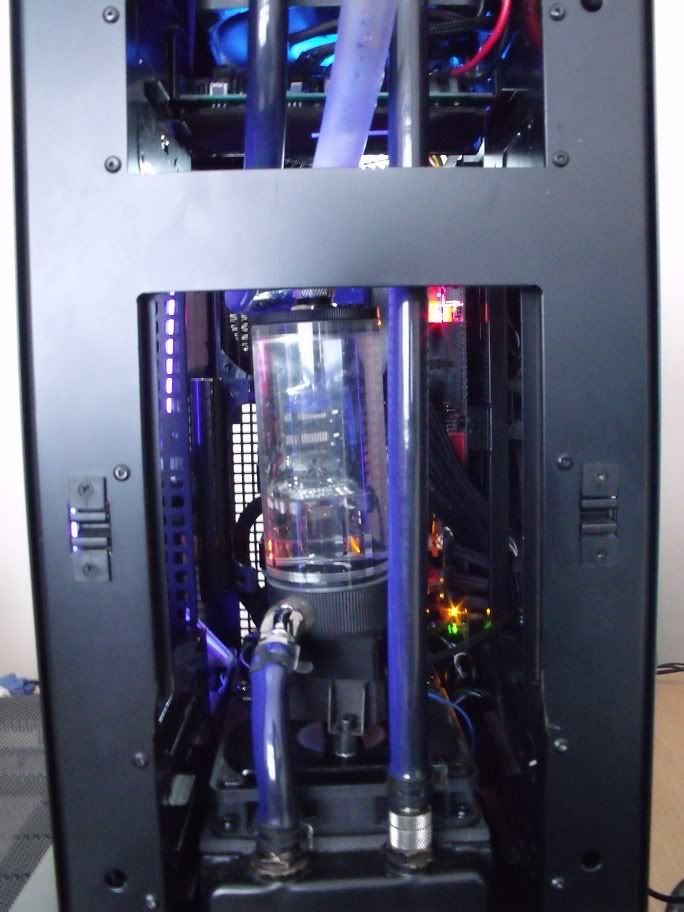
[27/12/2010 10pm] I figured I'd begin the build stage with the rear rad - bolt it in place and mark up with masking tape and pencil a location for the res fill cap. Hold breath while fitting to see if the res chamber will actually fit. The answer? Yes, just. I could just about get a piece of paper between the top of the rad and the roof of the case.
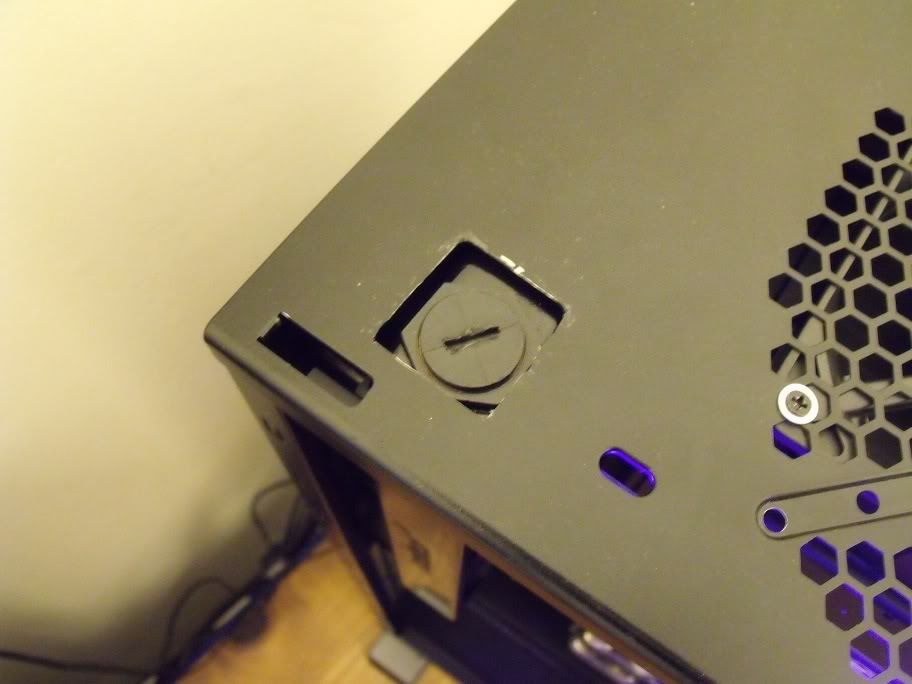
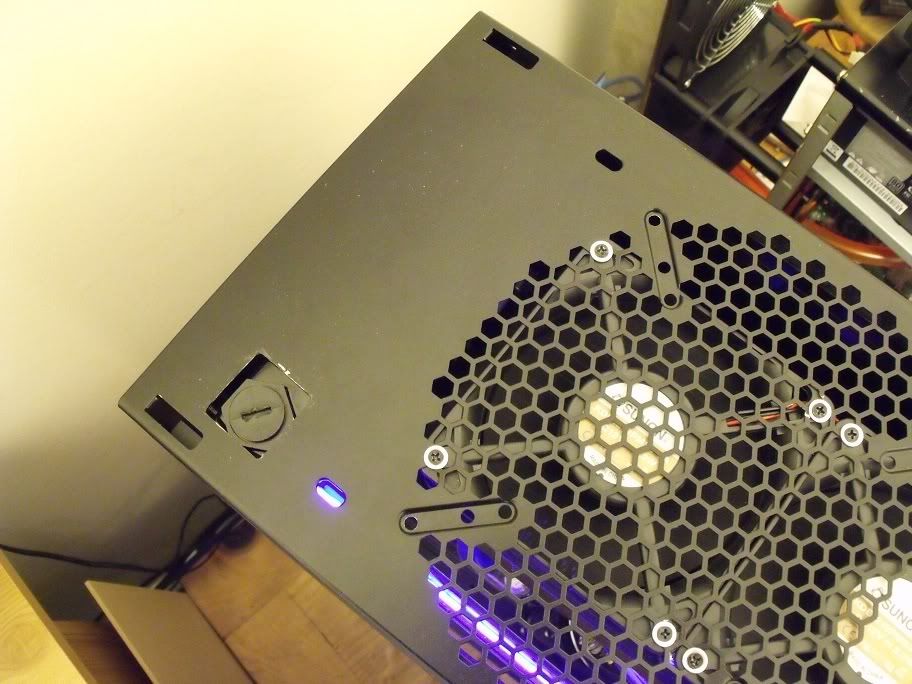
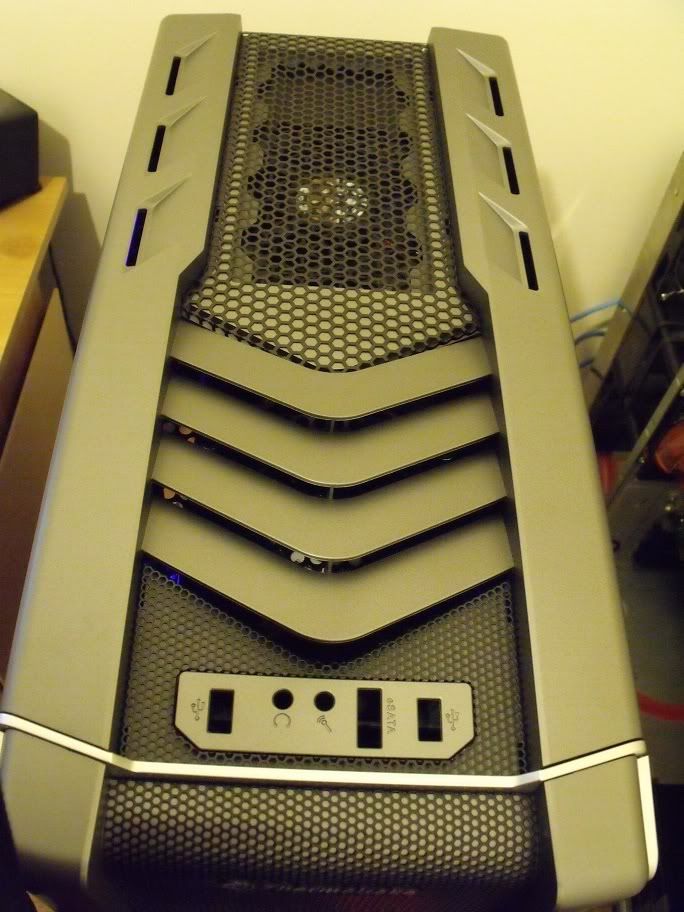
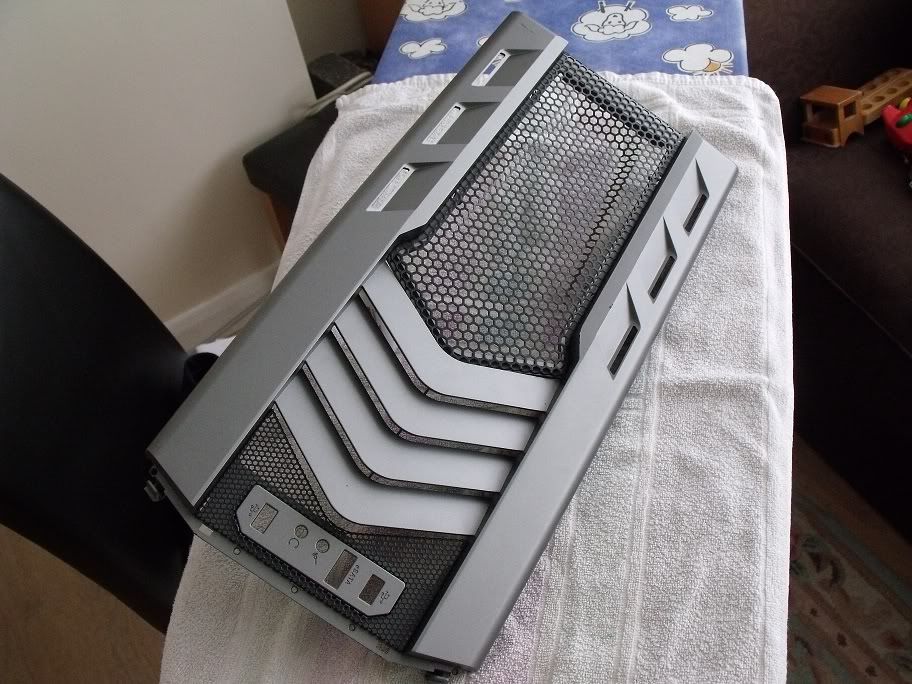
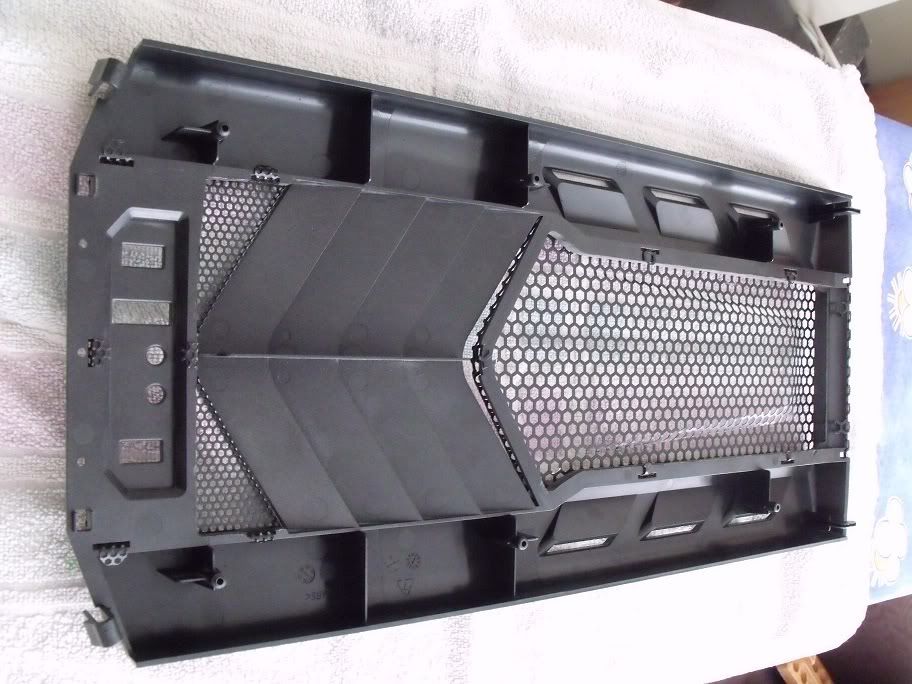
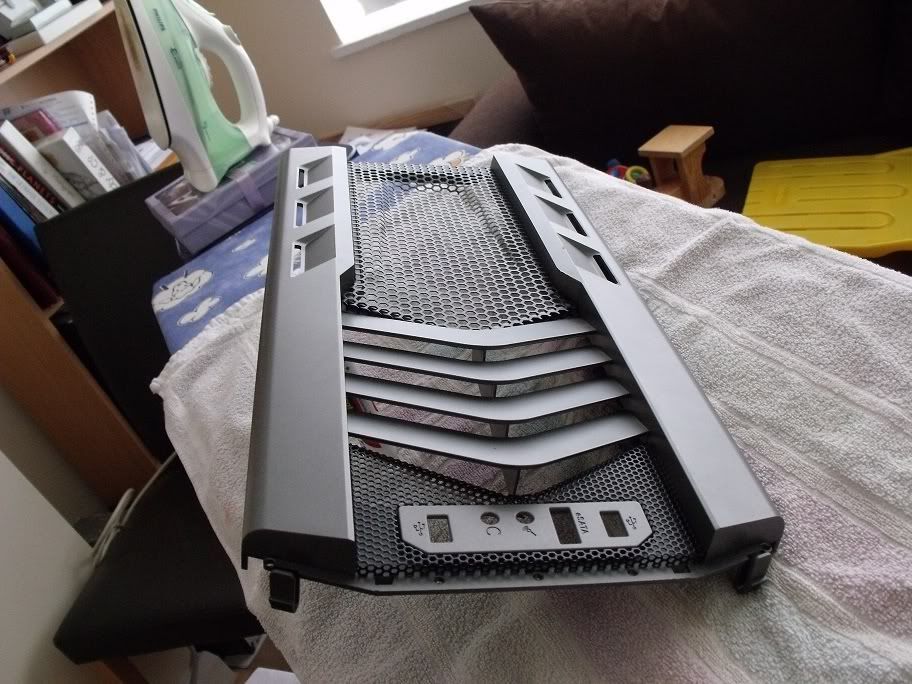
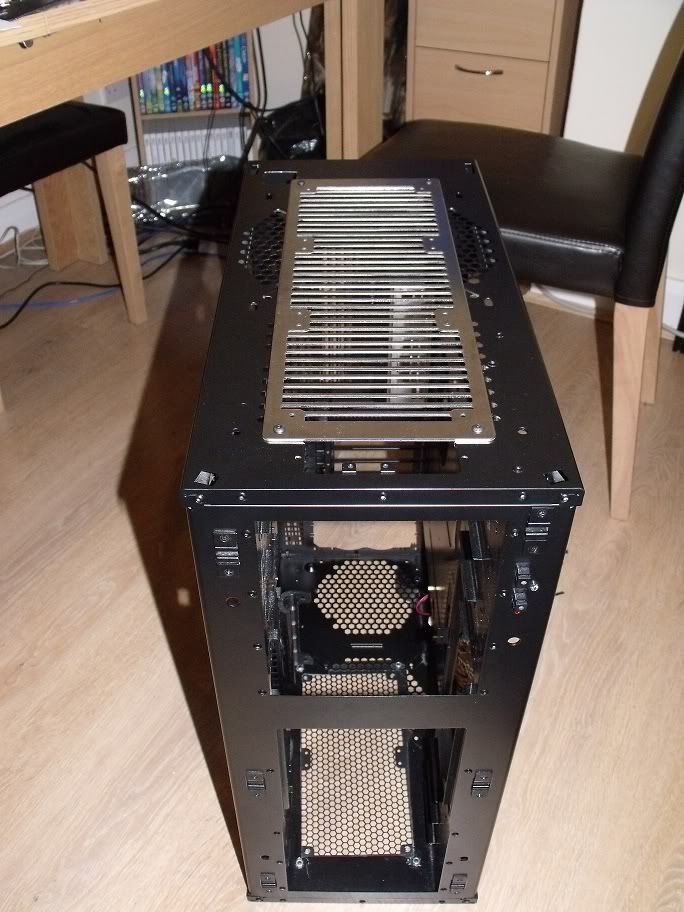
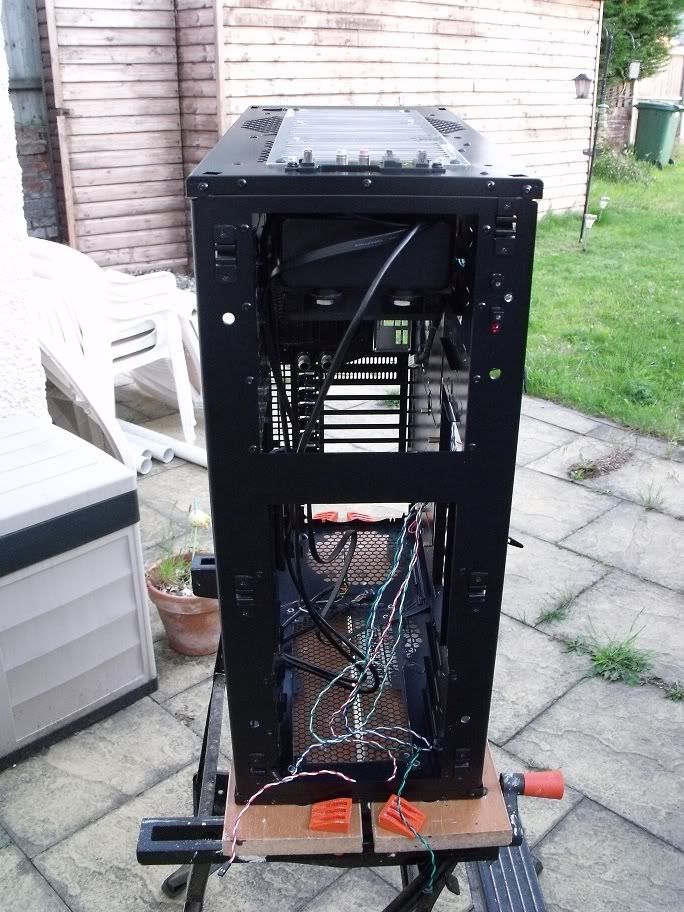
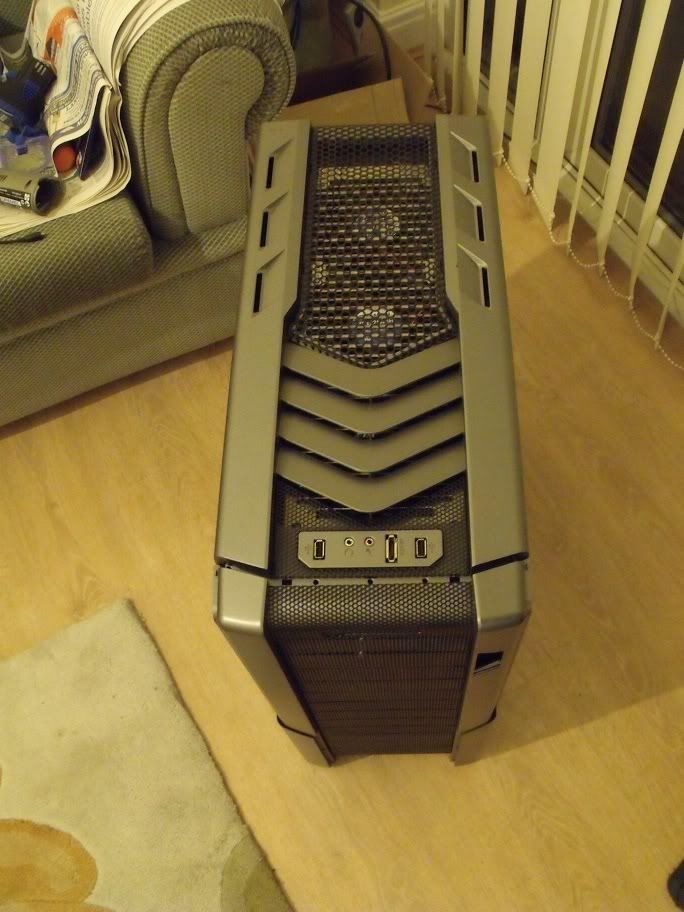
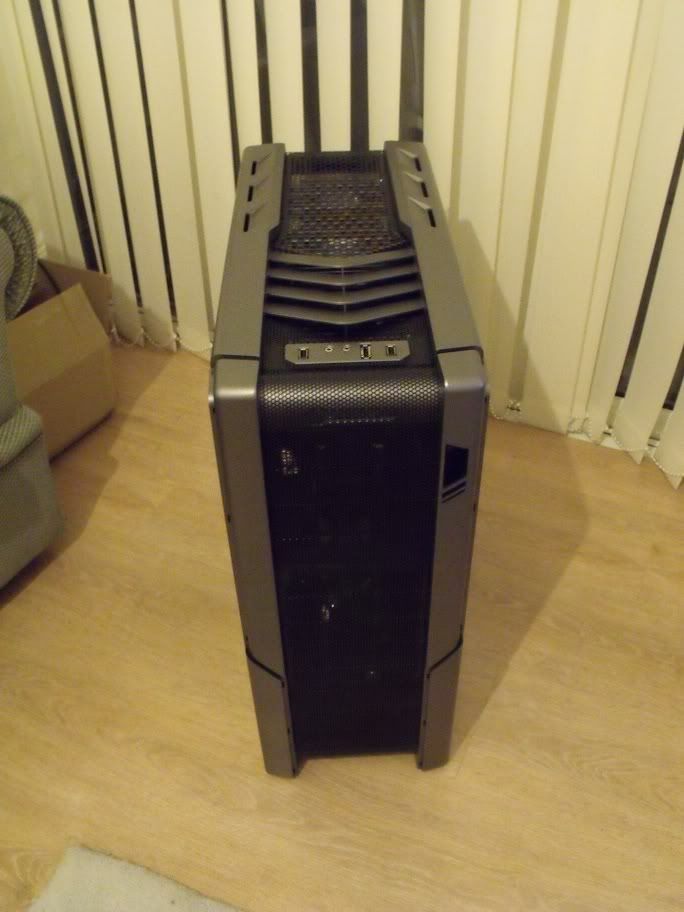
Next question - would the 360 now fit in the roof front to back? Again, yes - perfect snug fit. A bit of play left for adjustment but I opted to have as much space as possible between the rear 240 and the top 360. I had to sacrifice the esata, usb and sound panel on the top and will need to replace the gap its left in the roof panel moulding with something. Not sure what yet - it kind of lends itself to being filled, flattened and having a logo painted/stuck on it.
That'd certainly be the simplest way to clean up the space. I'm not overly bothered - I wouldnt have used the audio or esata ports anyway, and the usb would only be handy for pendrives and such which I have a hub for anyway...
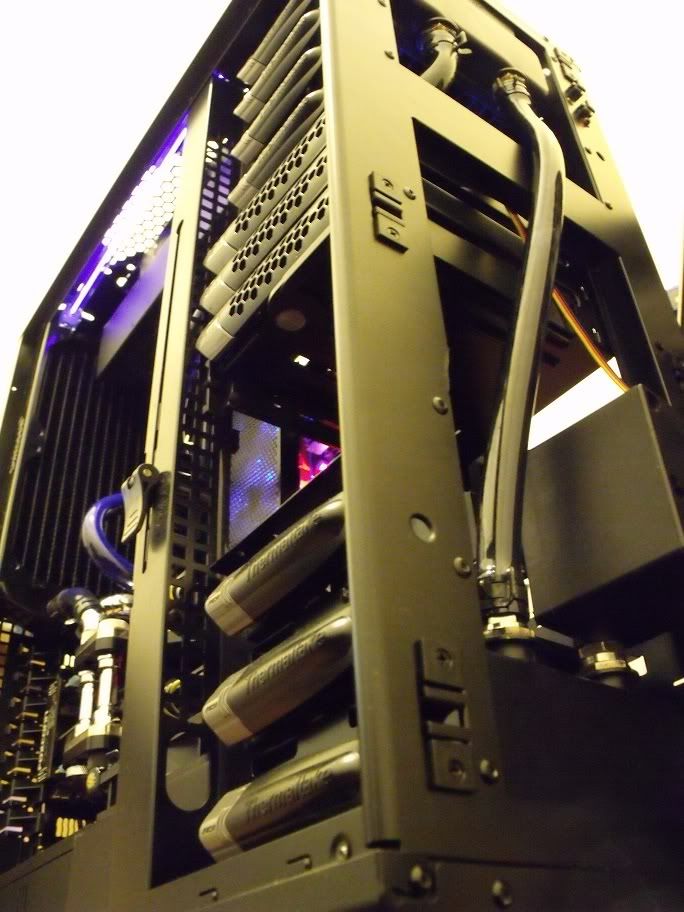
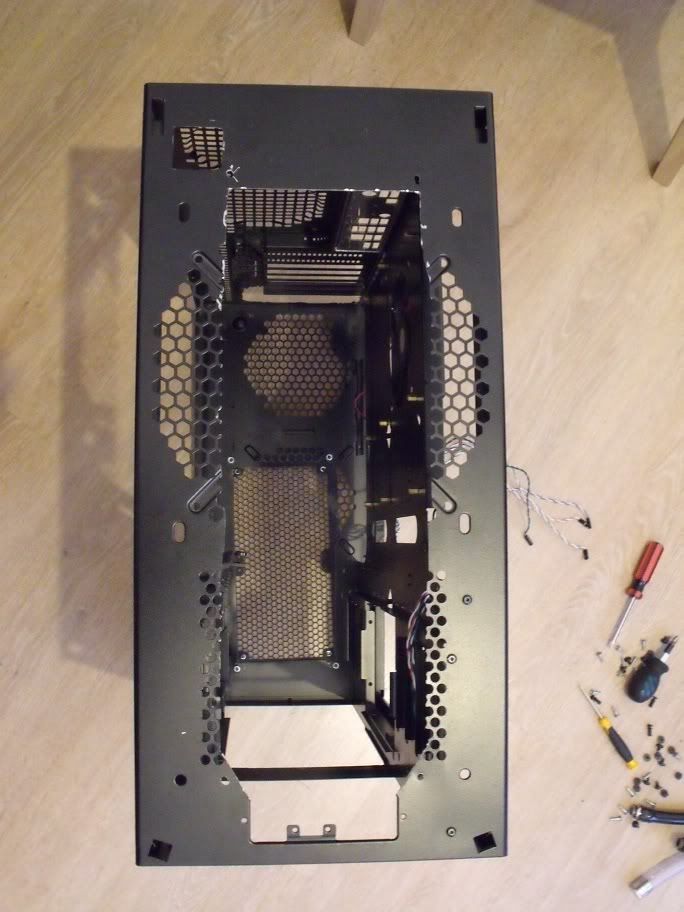
My tape measure says you can fit a small 480 up there or any 420 and still retain the rear rad. The 480 may require the rear 240 rad fans to be externally mounted. But yeah, a perfect fit I'd say. I marked up the few cuts in the case roof required for the fill cap and to clear some airflow for the 360mm rad fans and then off to the shed and the dremel.
[28/12/2010 12:30am] I'm going to revisit this on a later rebuild and cut away much more of the original grill as I'm getting a slight sympathetic vibration every now and then (temporarily stopped with a bit of folded paper between each fan motor and the case/grill).
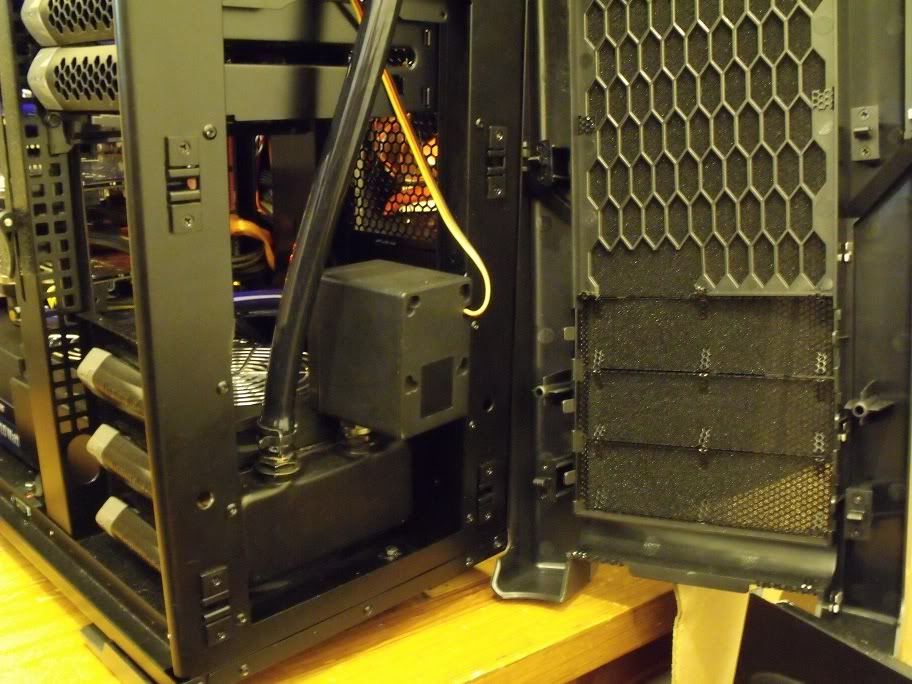
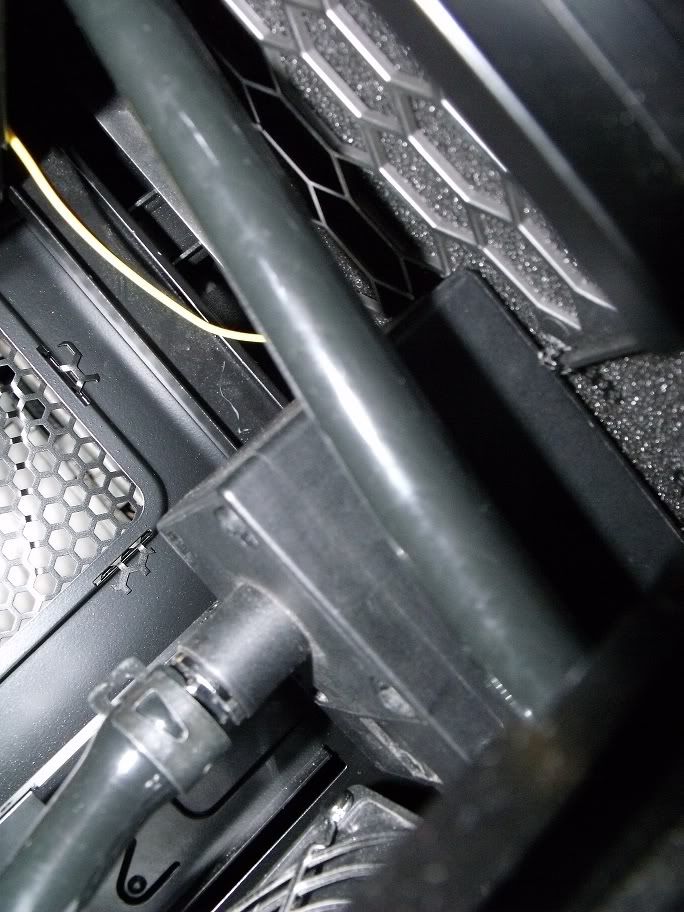
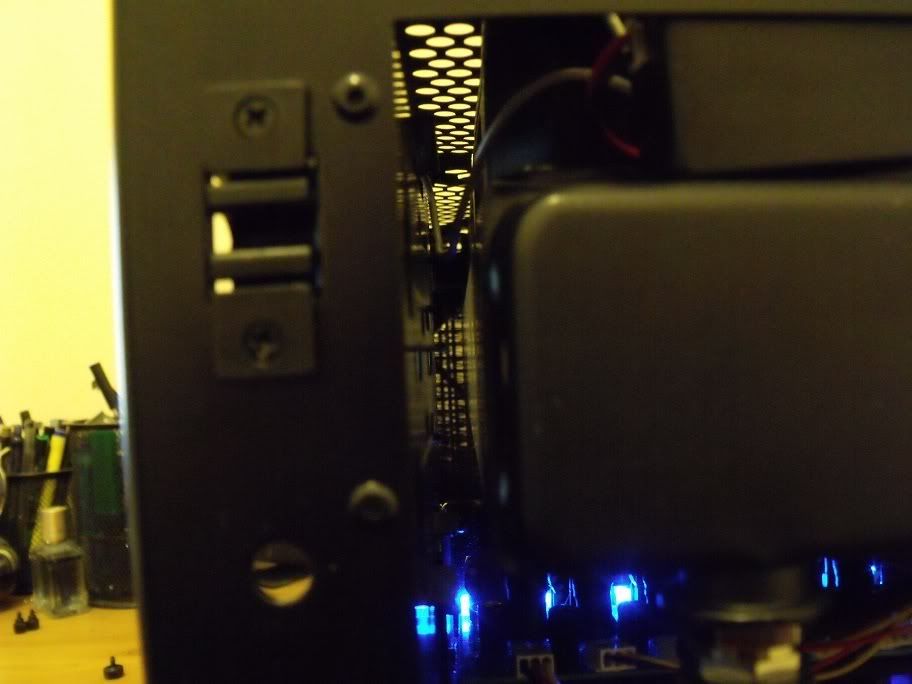
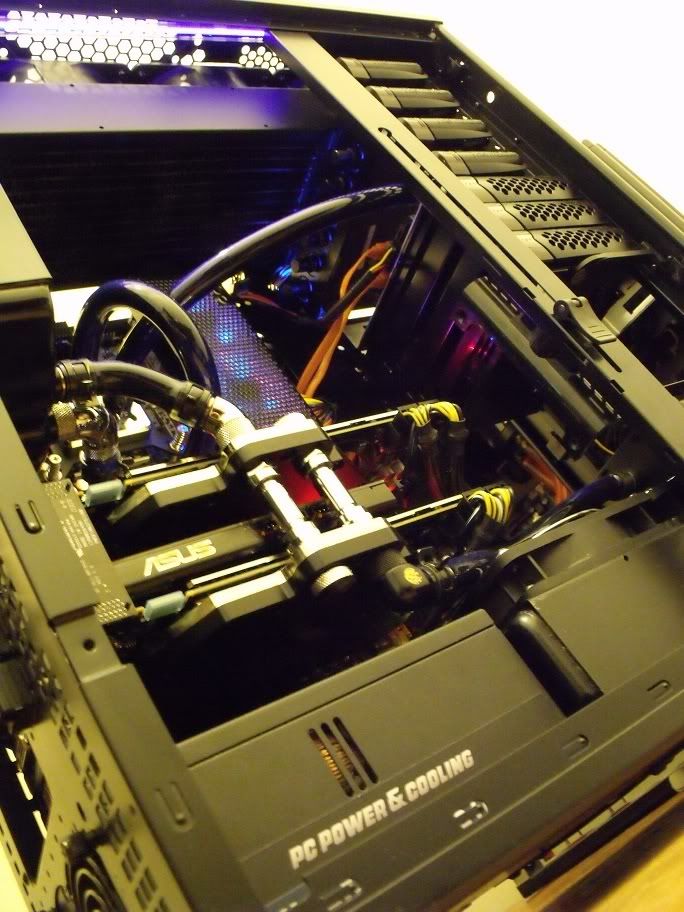
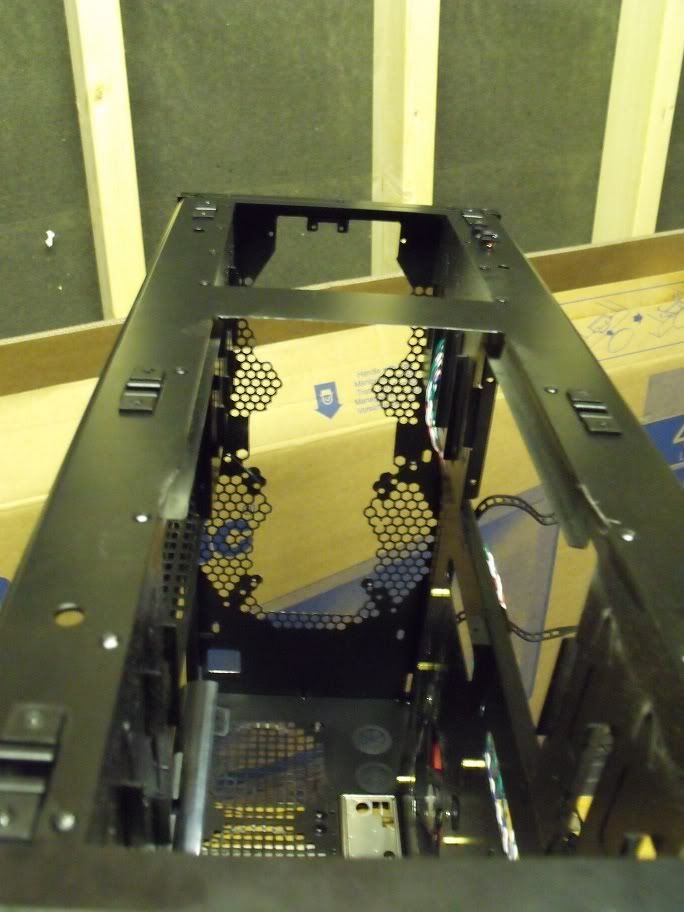
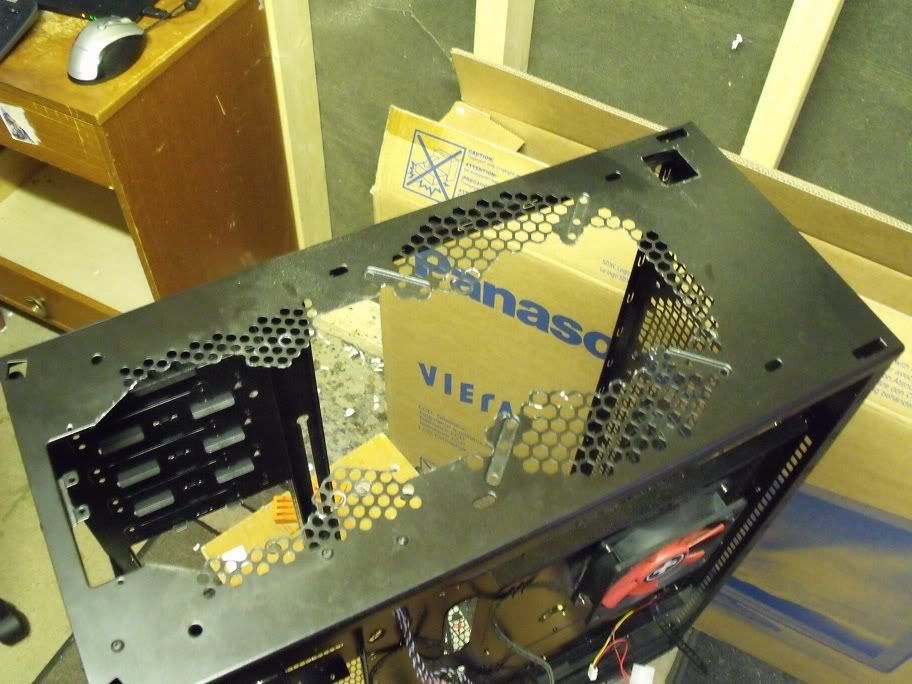
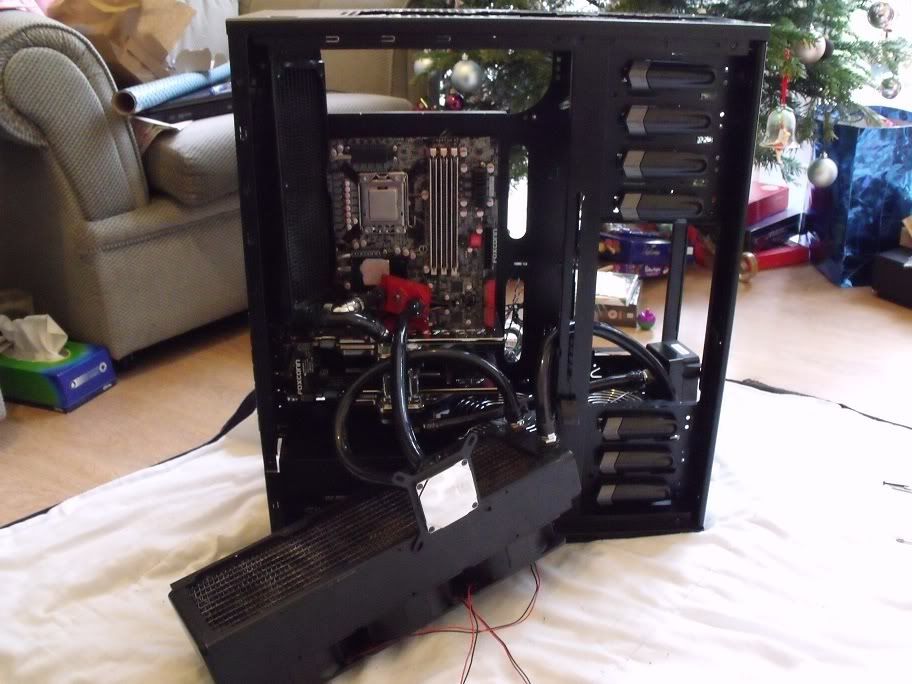
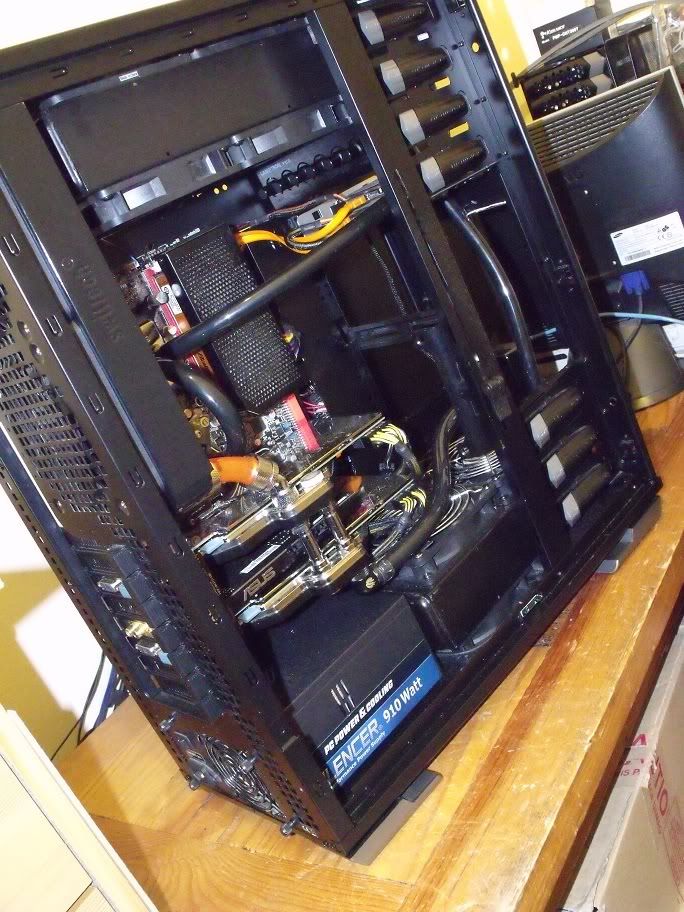
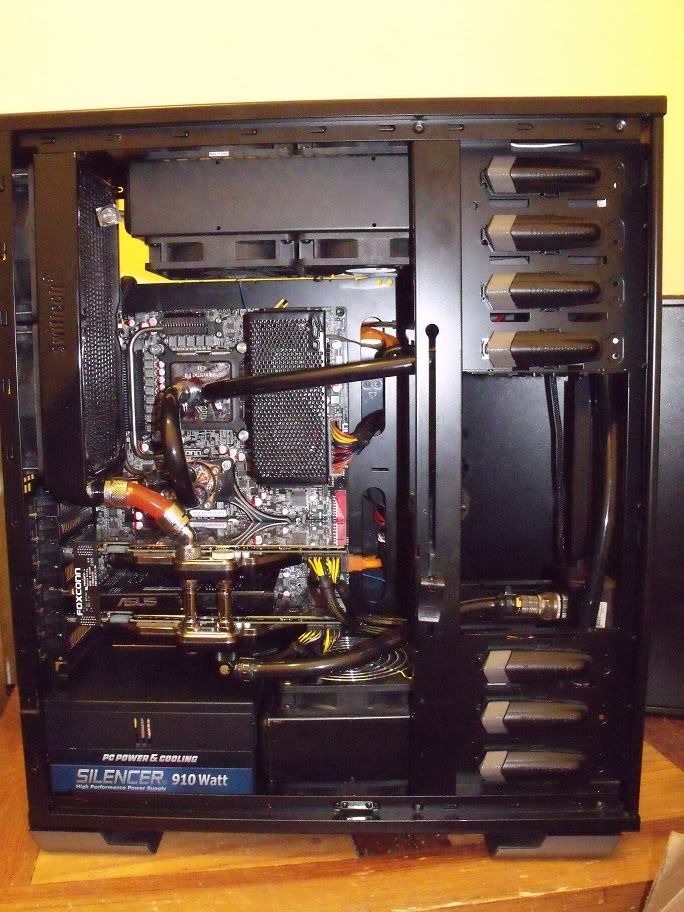
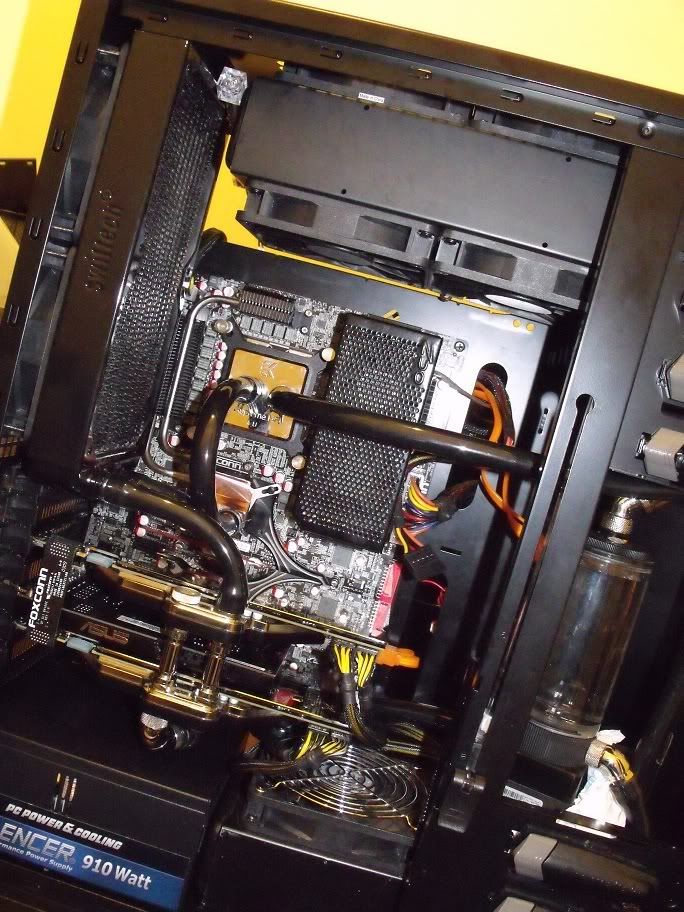
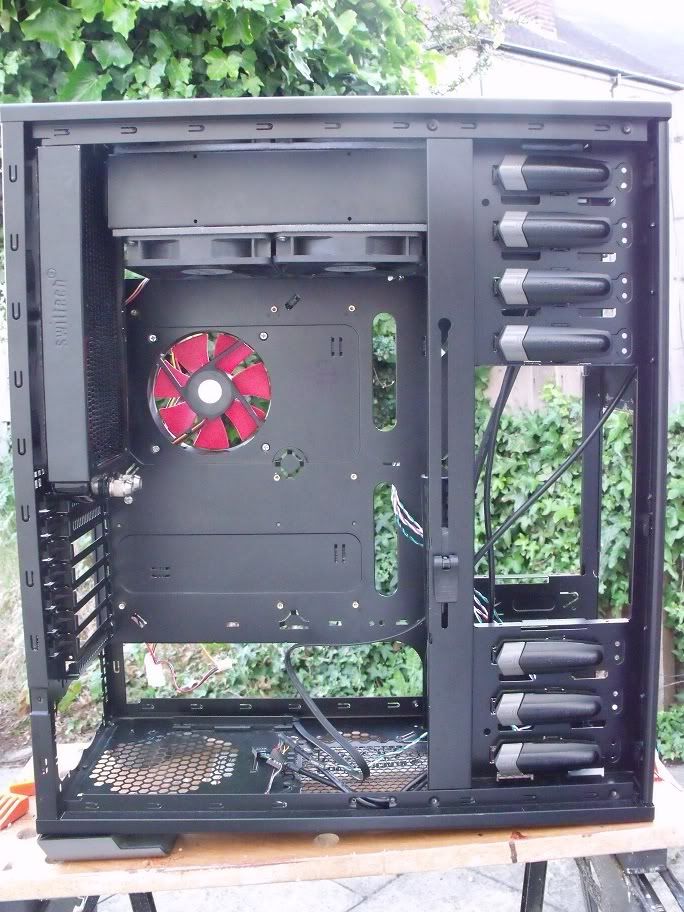
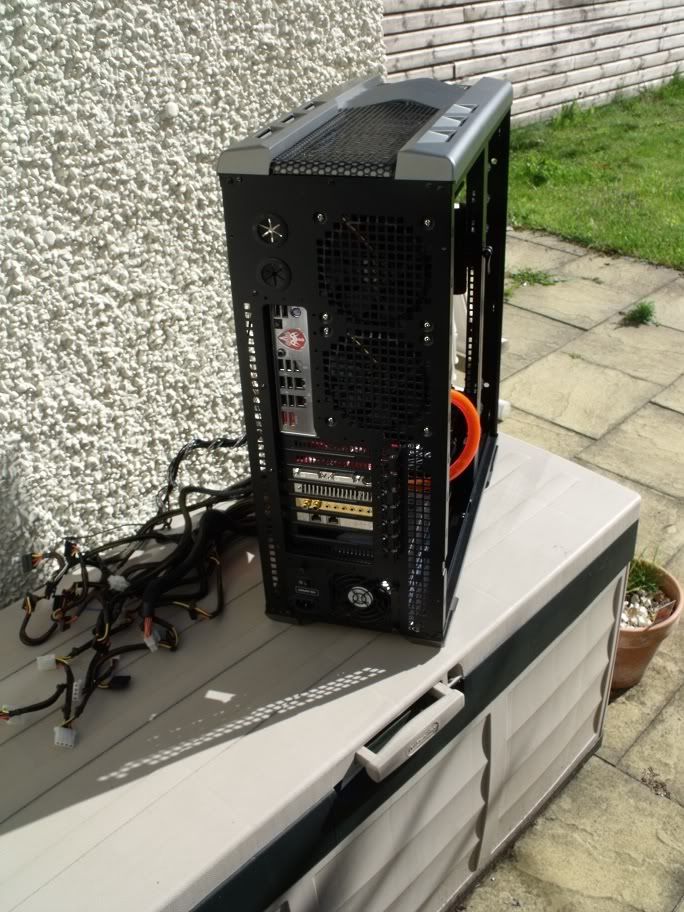
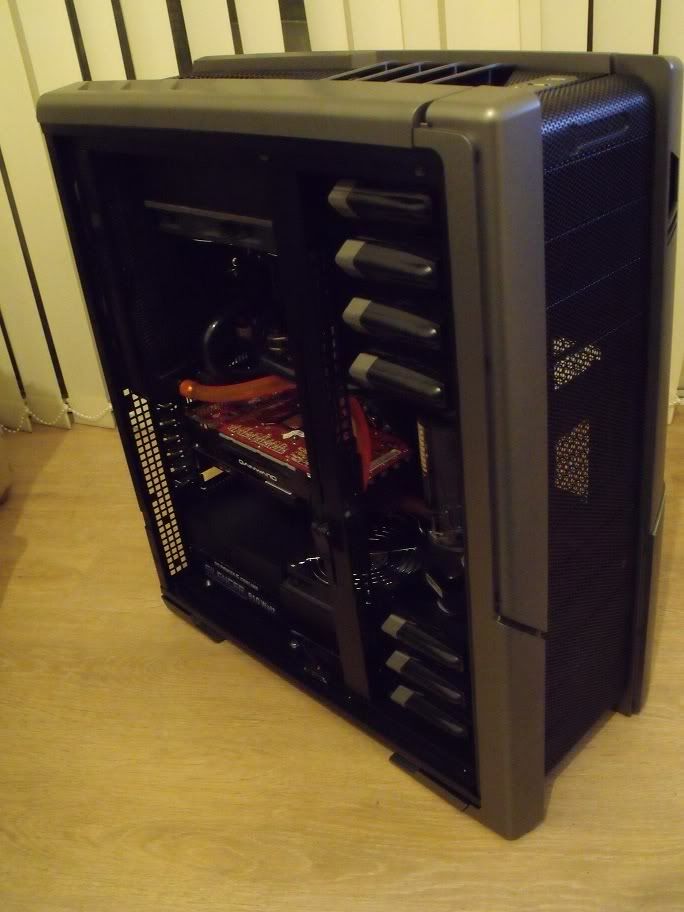
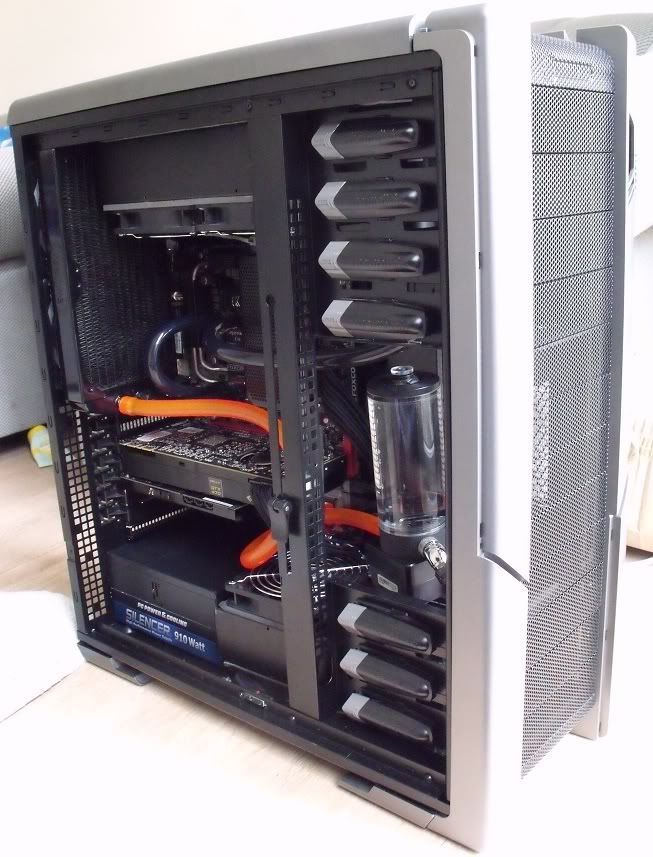
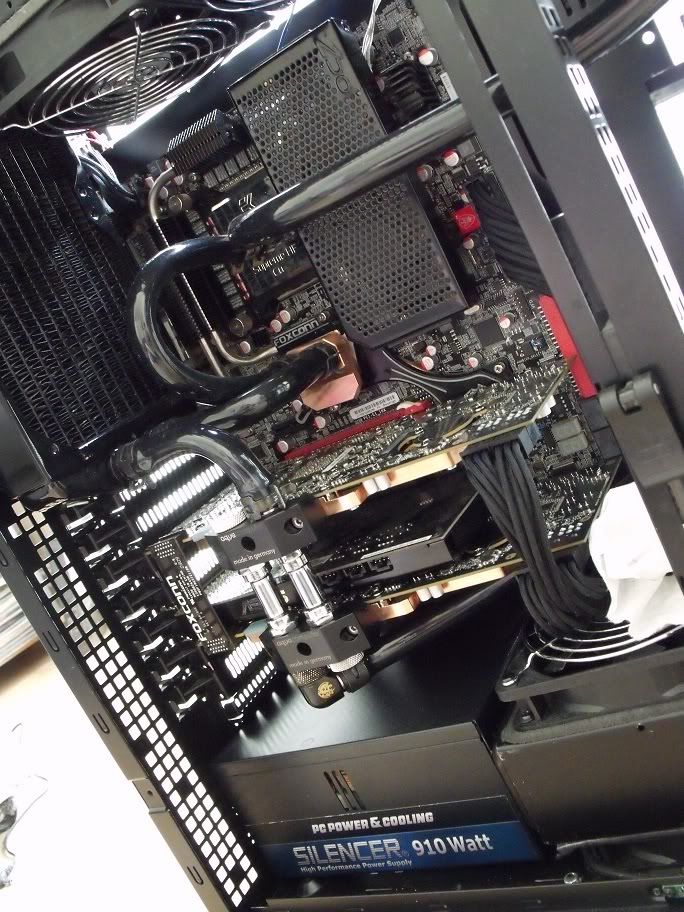
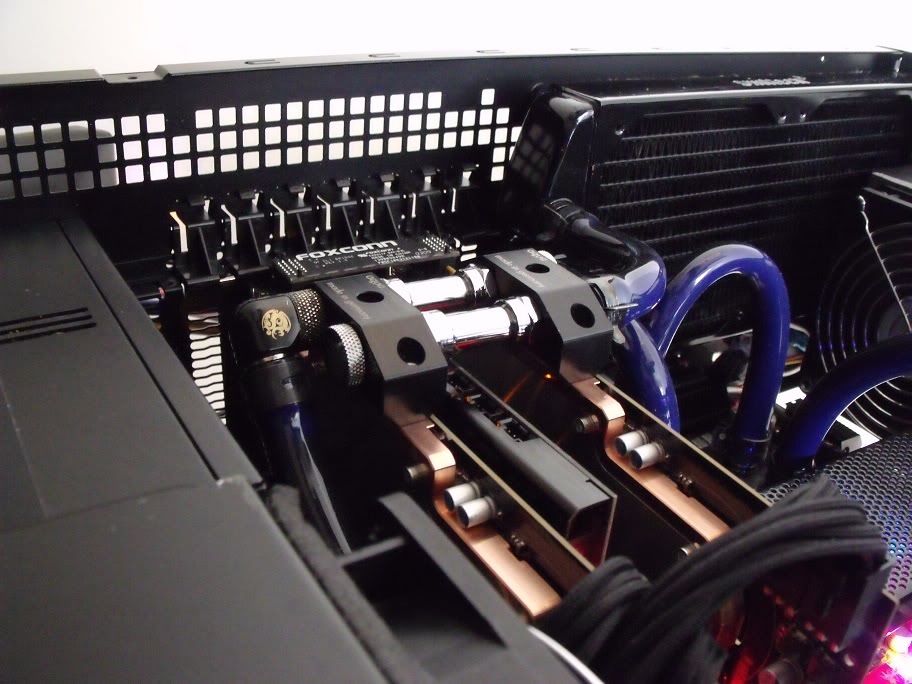
Now comes the other tricky bit - getting that floor 240mm in with the pump direct mounted to the rad. Add in the slightly oversize OCZ Silencer 910w and the lack of modular cables and this could get interesting. Much jiggling and
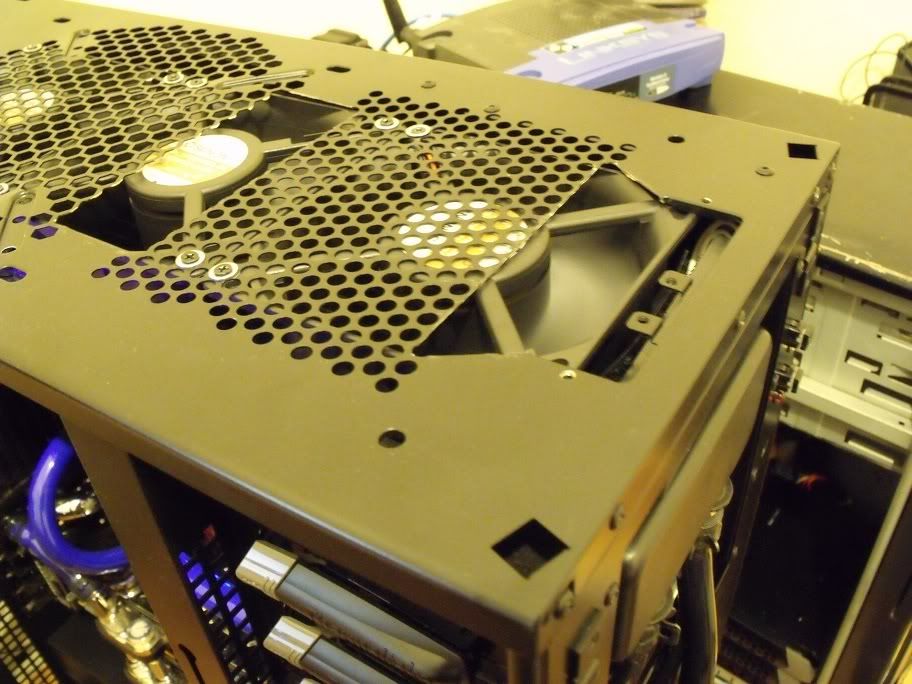
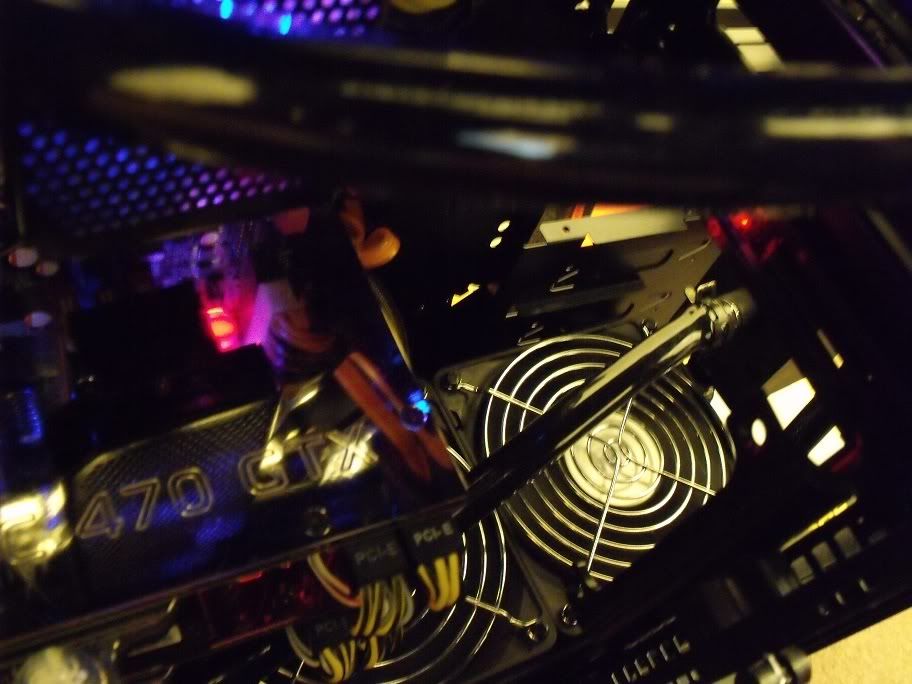
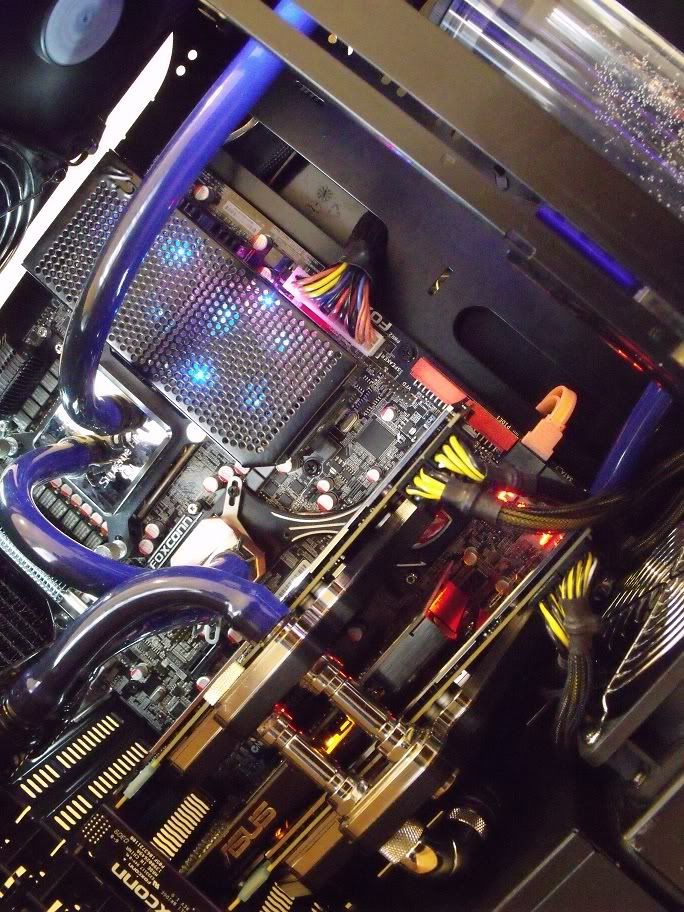
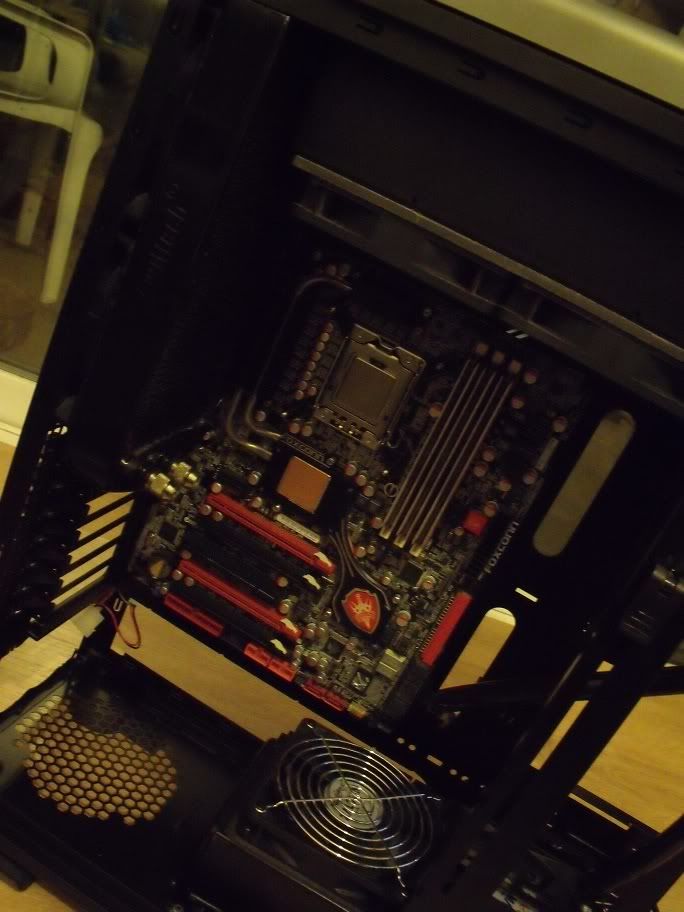
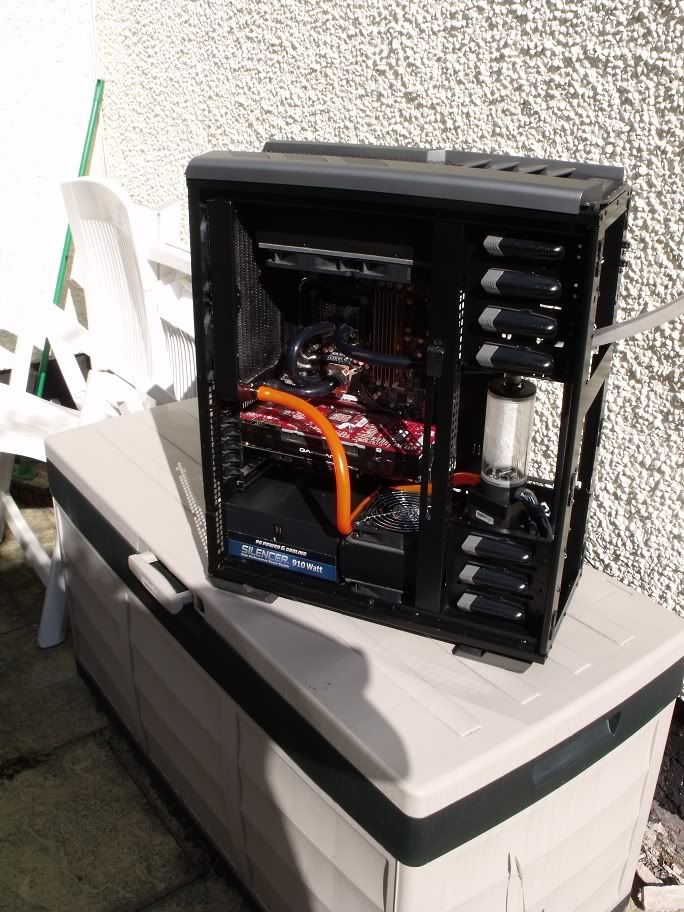
jostling was needed before I managed to get it to drop into place. Had to cut some plastic grill from the inside of the front panel so the pump could recess itself snugly within the drive bay covers. Also the rad is at a slight angle to allow clearance for the non modular spaghetti of cables pouring out the back of it. Again it does just fit though - approx 1mm of clearance each way. Also cut the grill off the mobo tray fan to reduce air noise.
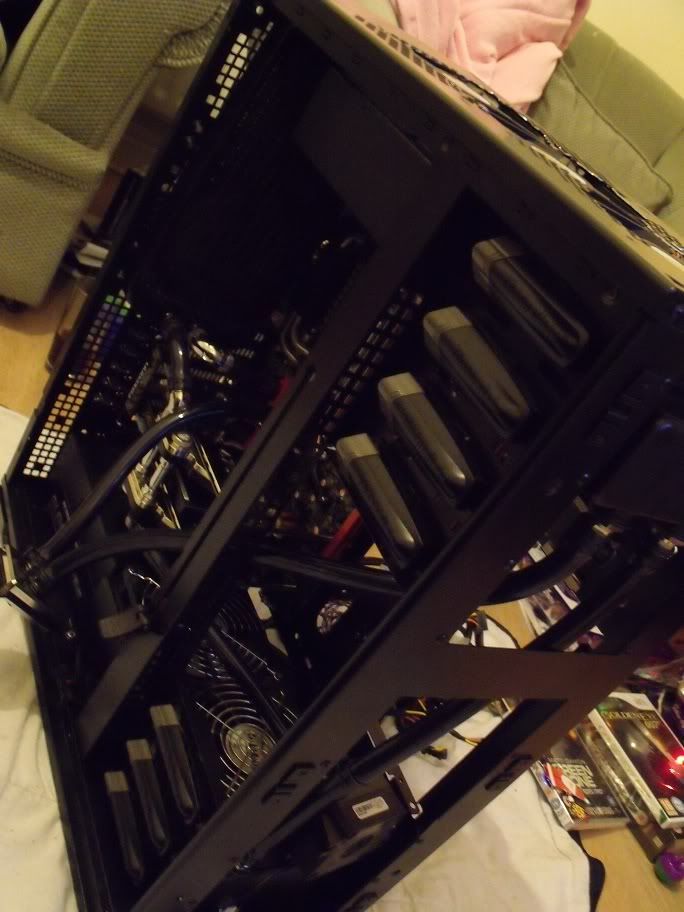
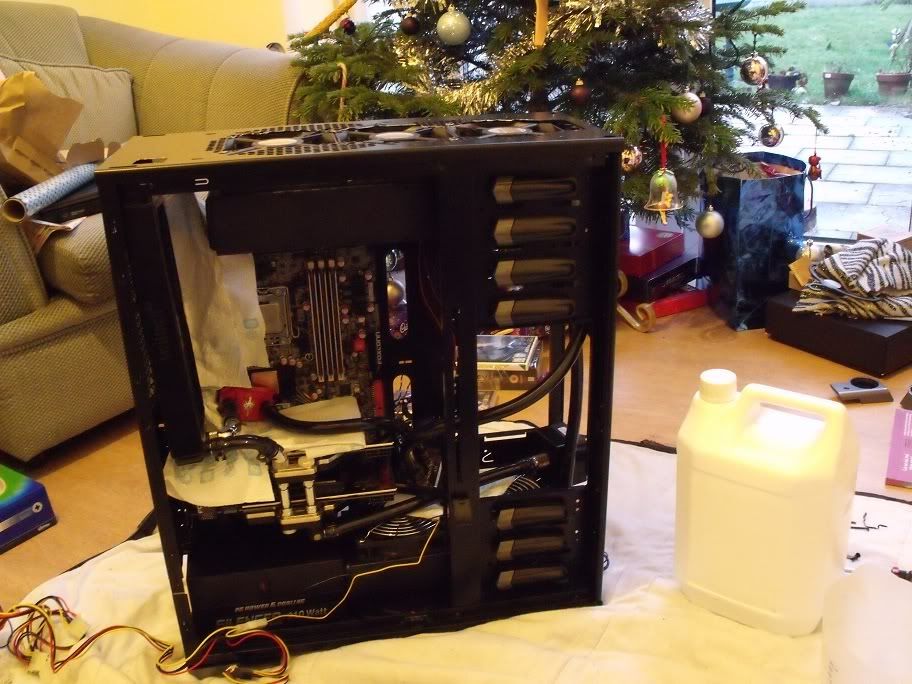
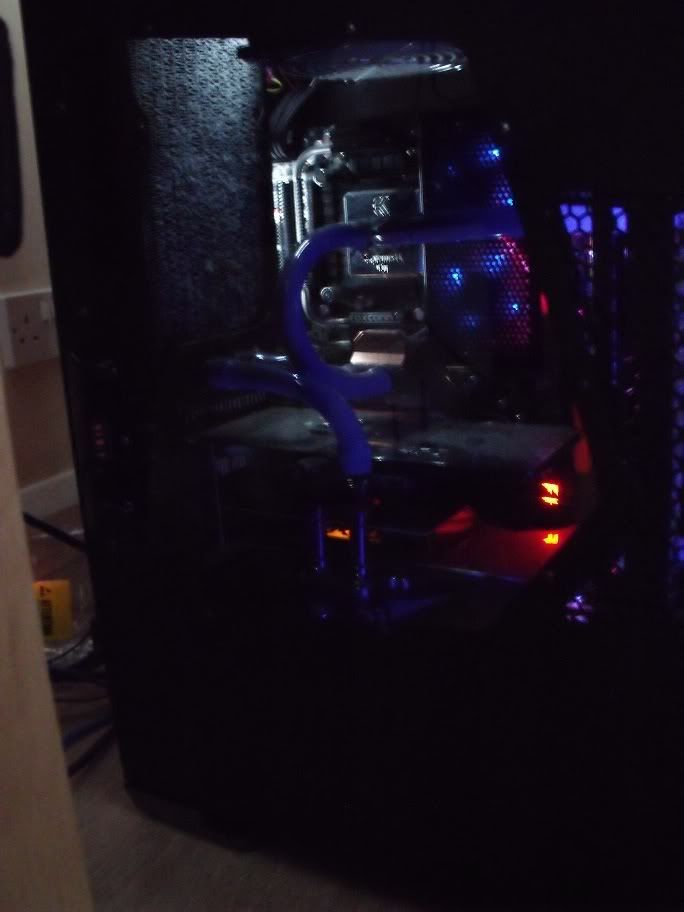
[28/12/2010 2:30am] As you can see I could get away with push pull fans on every rad. I have the fans to add if I want to and the space, I just need to get all the sleeving and stuff done on them. I figure I can run it as is for a while and just evaluate whether its worth the effort.
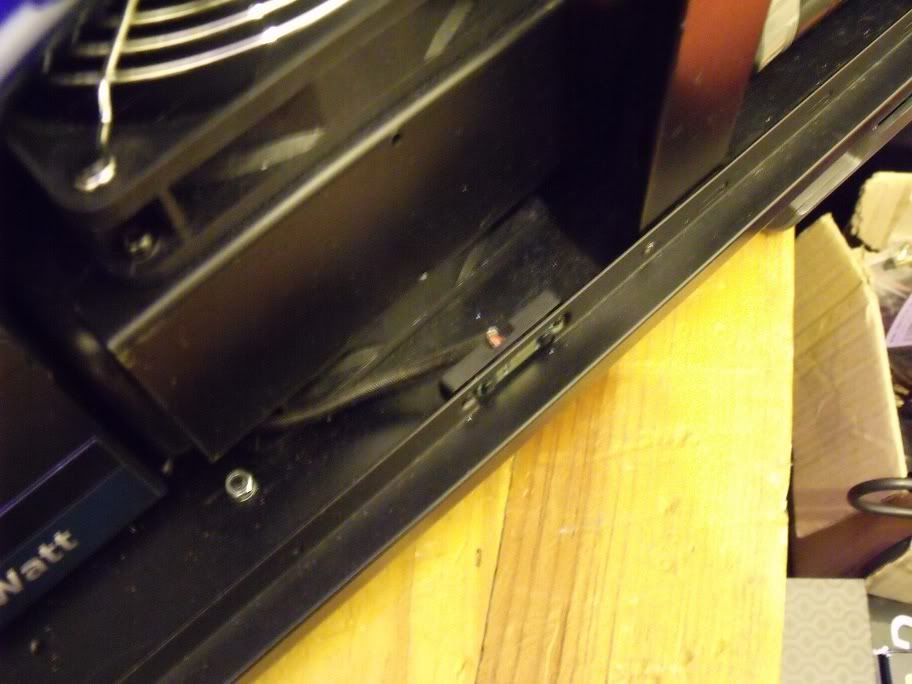
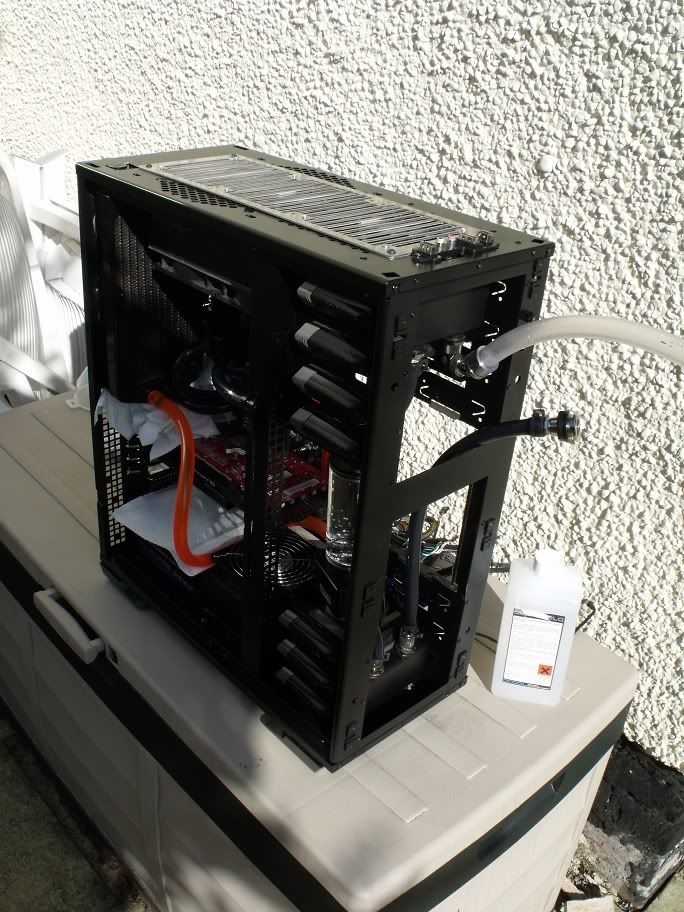
Here's where I found my first mistake - missed a bit (top of 140mm fan mount) I'd marked for cutting when I did the dremelling. Annoying as I had to route the tube over the outside of the case to make up for it (was intending it to follow the pump power lead rather than going between the case and front panel). Time constraints meant no time for a tear down and a new appointment in the shed with the dremel. I'll have to just go with it for now and correct it at the next oppurtunity. I wanted everything installed and leak testing overnight ready for building in the morning.
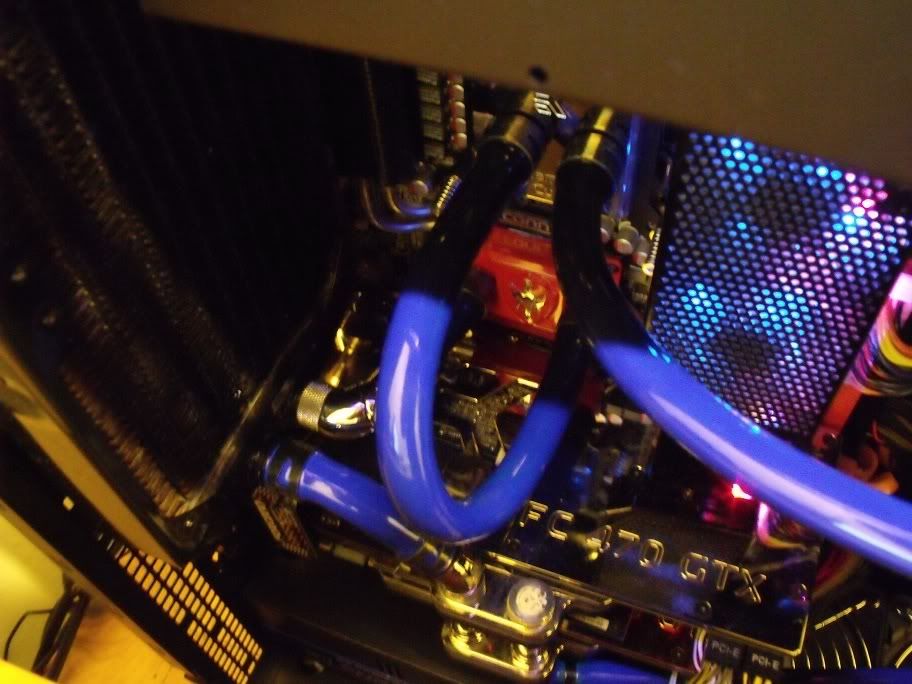
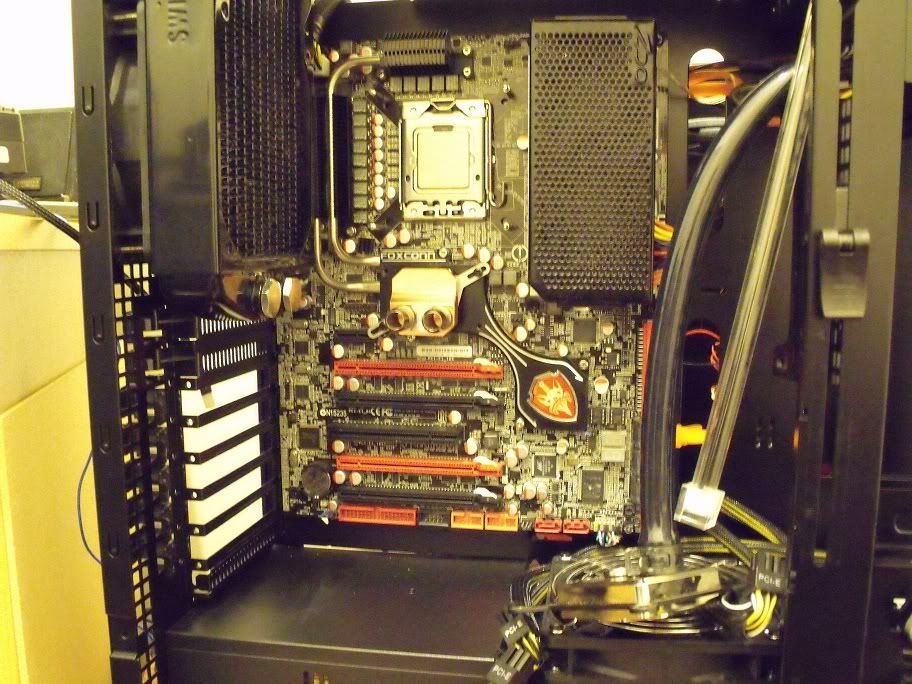
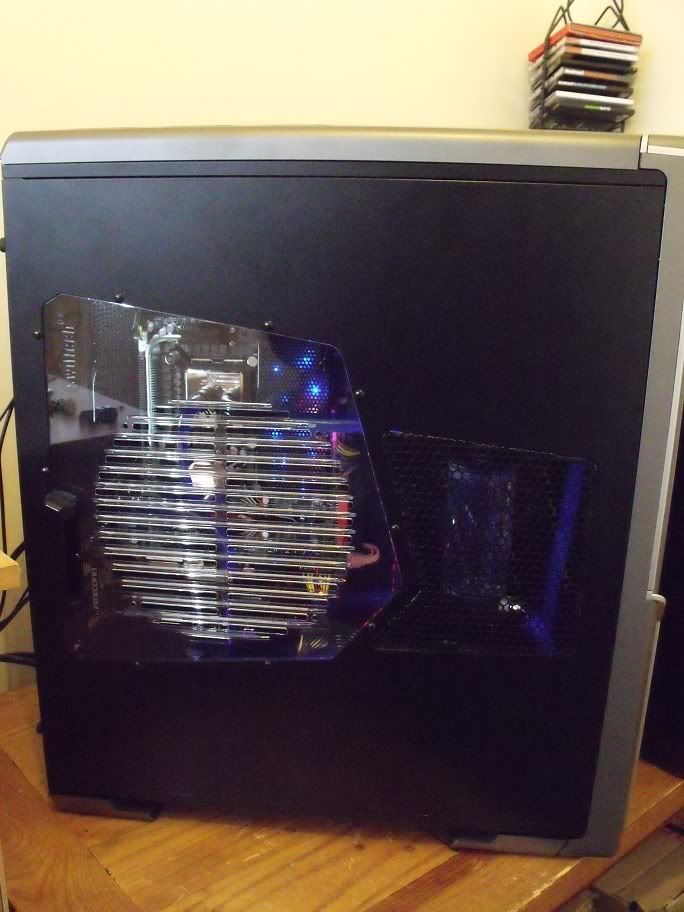
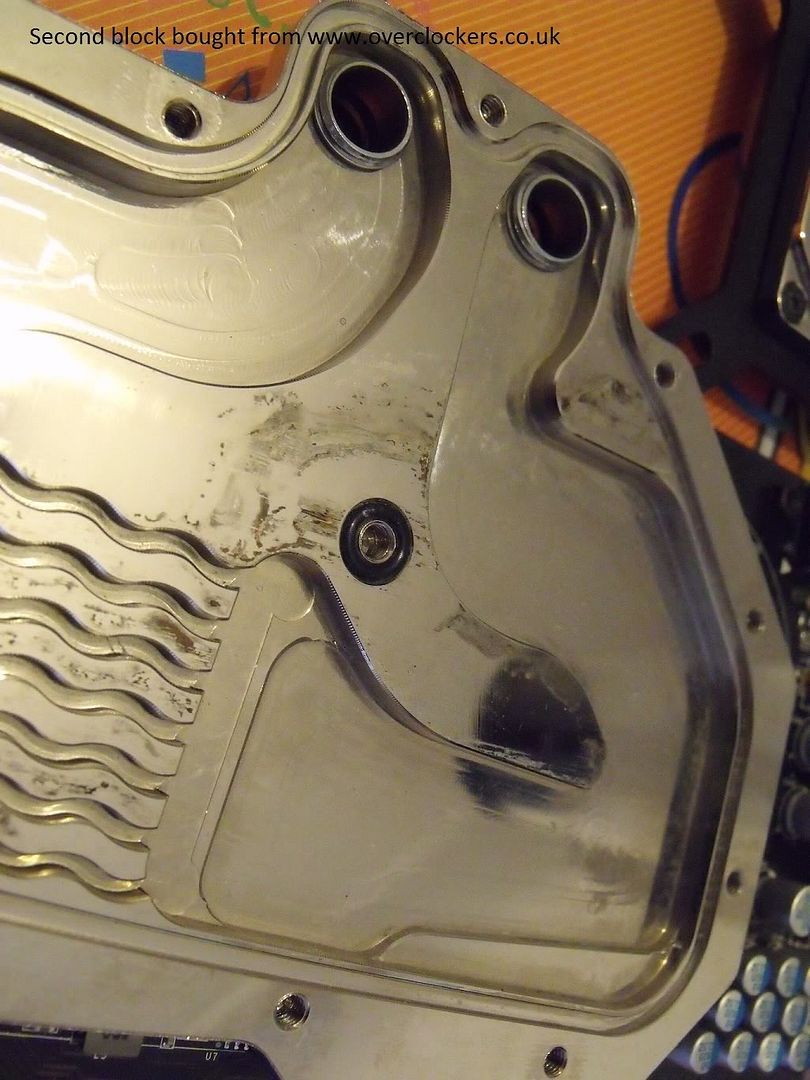
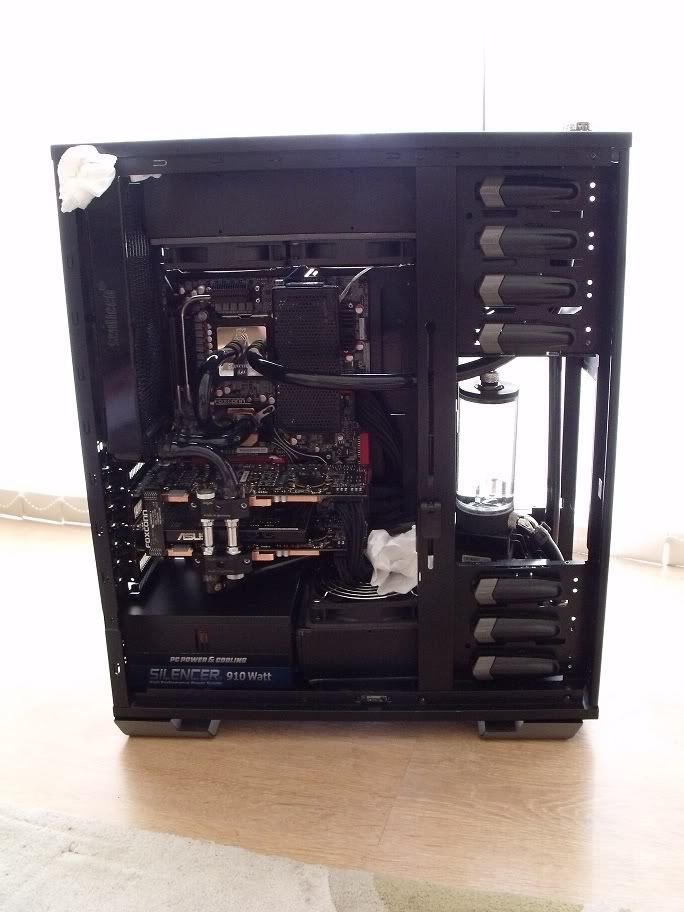
Installing the main pc components went fine. Or at least I thought it did. I made a complete and total concentration fail balls up and didnt notice til right at the end. I meant to invert the Supreme HF when installing it to make sure the inlet and outlet were the right way round....and forgot to do so. Yup, i'm running the flow backwards through the block (and injection plate). What a complete dumbass - I'm blaming the late hour and the long day before it but still, can't believe I didnt notice til it was filled and bled.
[28/12/2010 4:45am] Having said that I had no leaks, everything fired up first time perfectly. I went to bed blissfully unaware of the balls up I had made and slept like a log while it leak tested overnight.
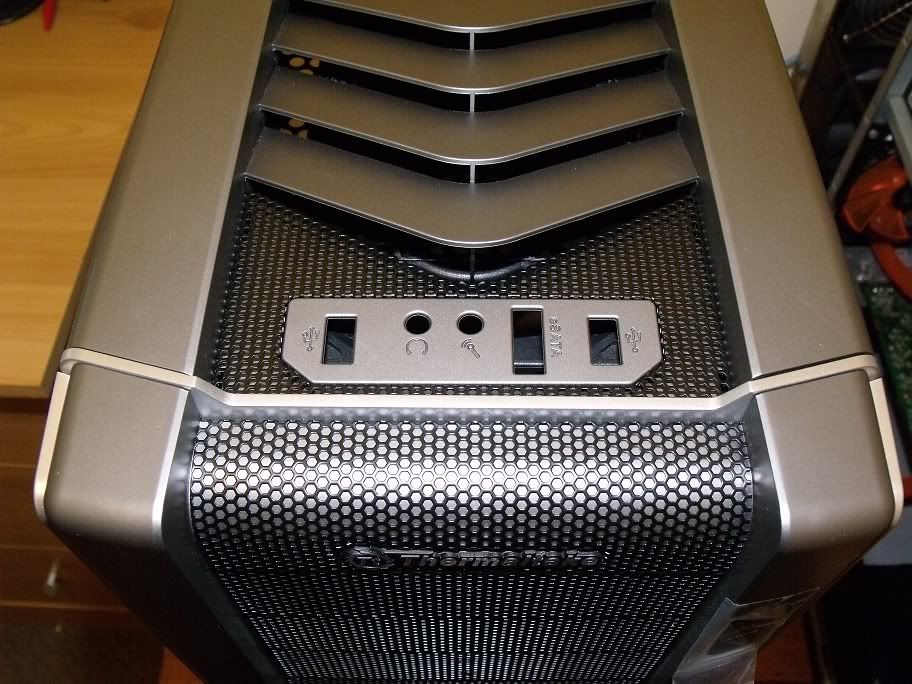
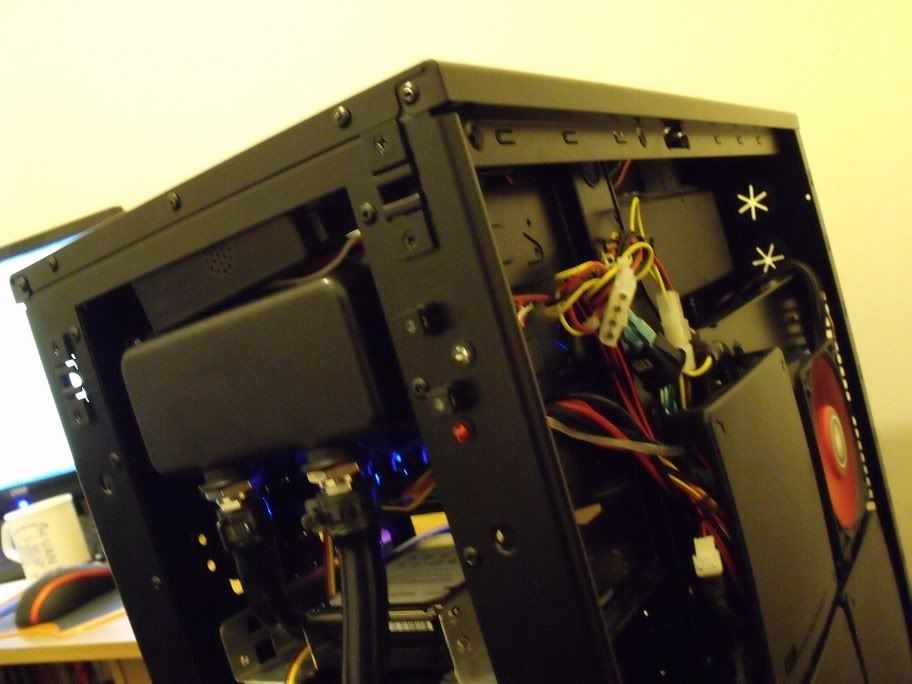
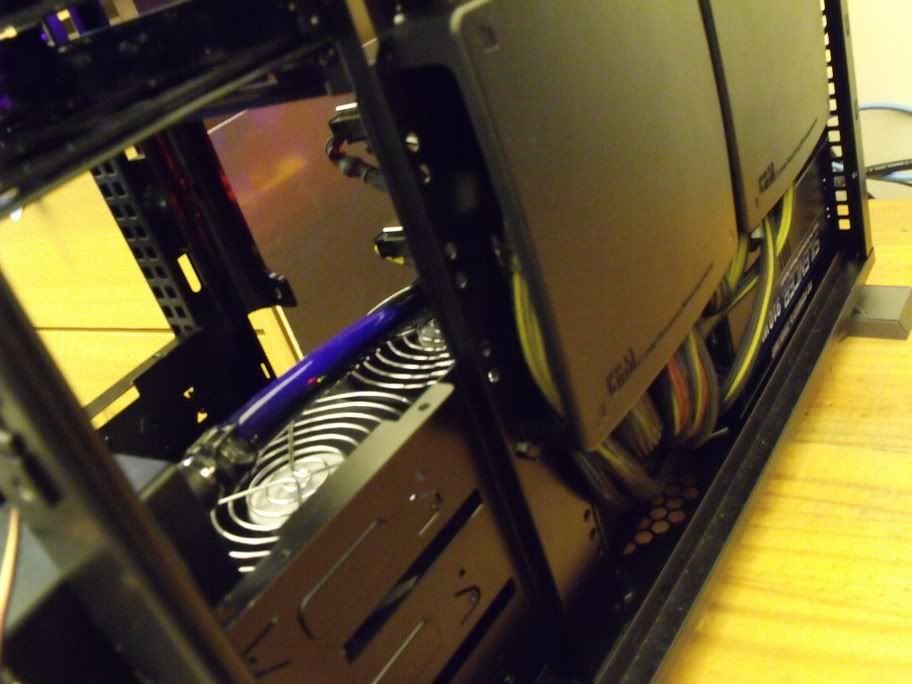
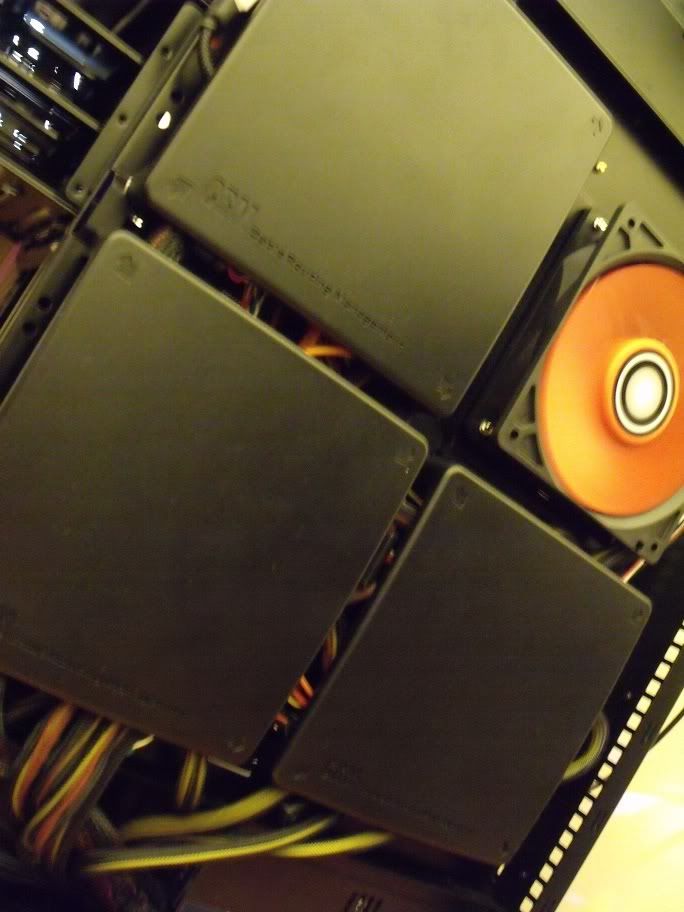
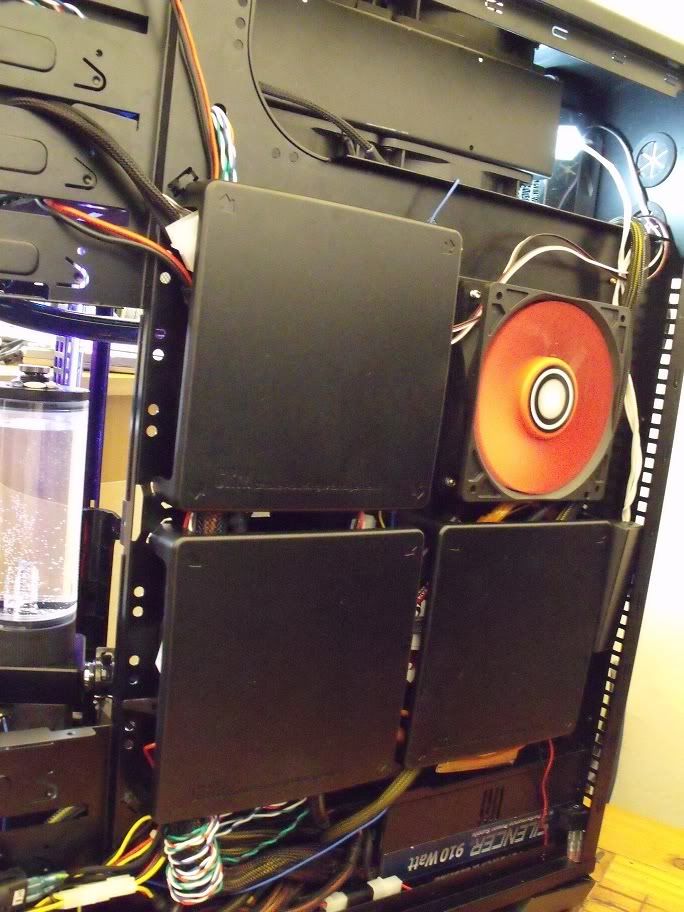
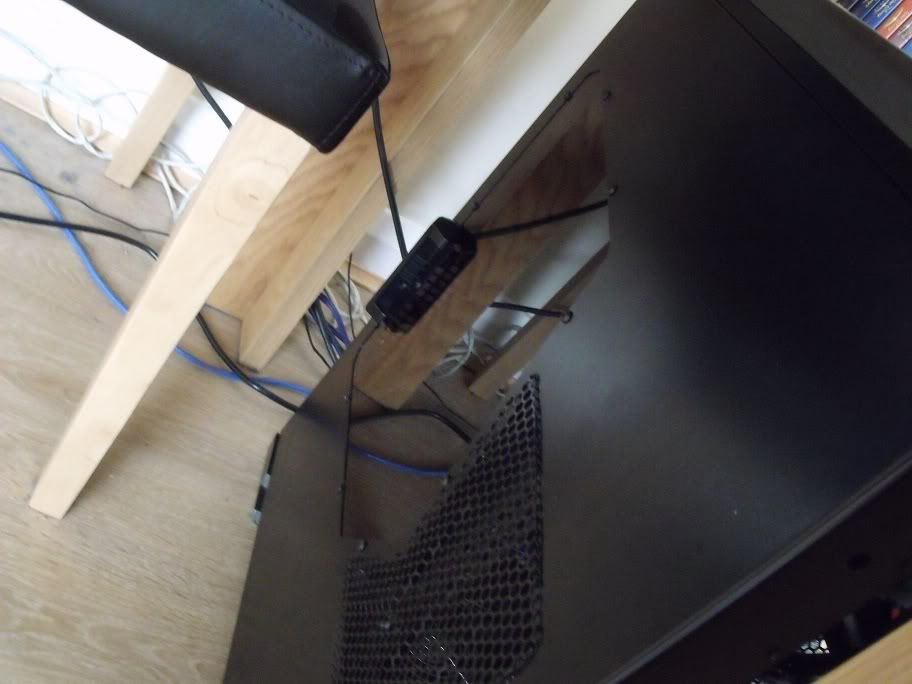
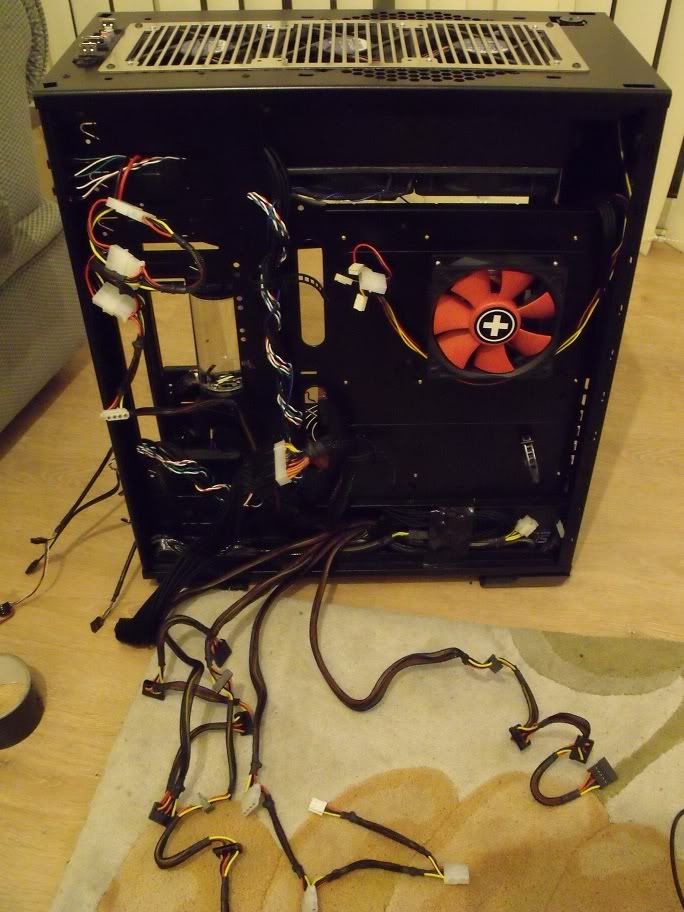
[28/12/2010 11am] Woke up, checked pc, ate and showered. All set for fitting hard disks, fan controller and hard disks. Had come up with the cunning plan overnight of inverting the fan controller so the dials were on the inside of the case. I could then junk my DVDRW for an external and solve the problem of the front of the case being taken up by tubing - its no longer an issue. Personally im happy with this solution - I intend to make a mesh cover for the FC2 to neaten it up a bit but aside from that its a good compromise. Settled on modding a 3.5" to 5.25" mount for the SSD and laptop HDD - will need to be painted black but with a couple of cuts it fitted both drives fine. Will reverse it so the cables arent visible from looking in the window panel.
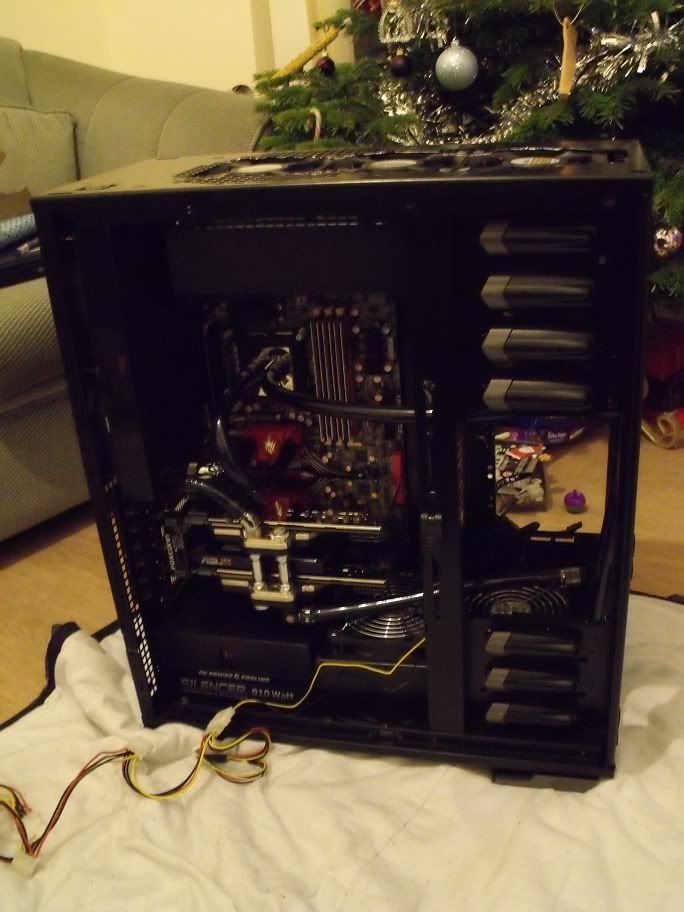
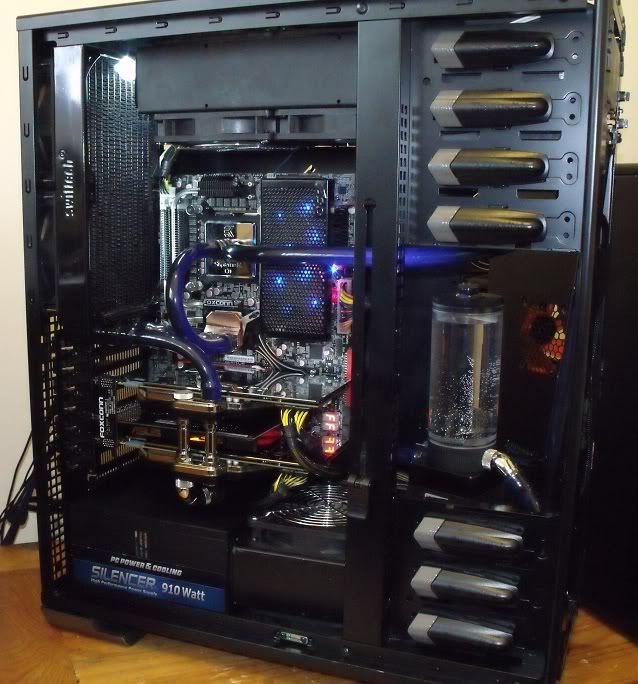
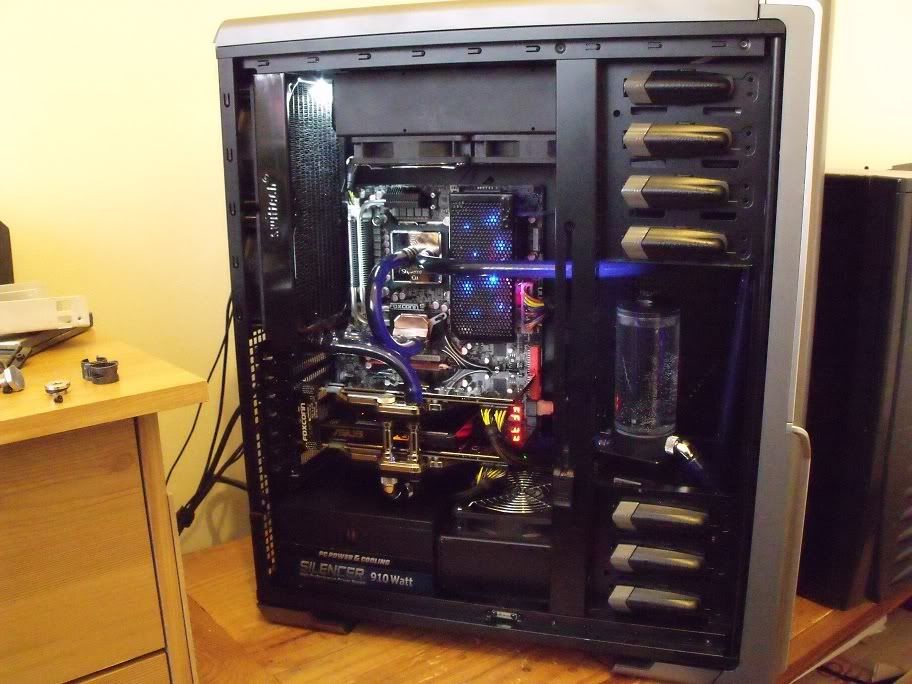
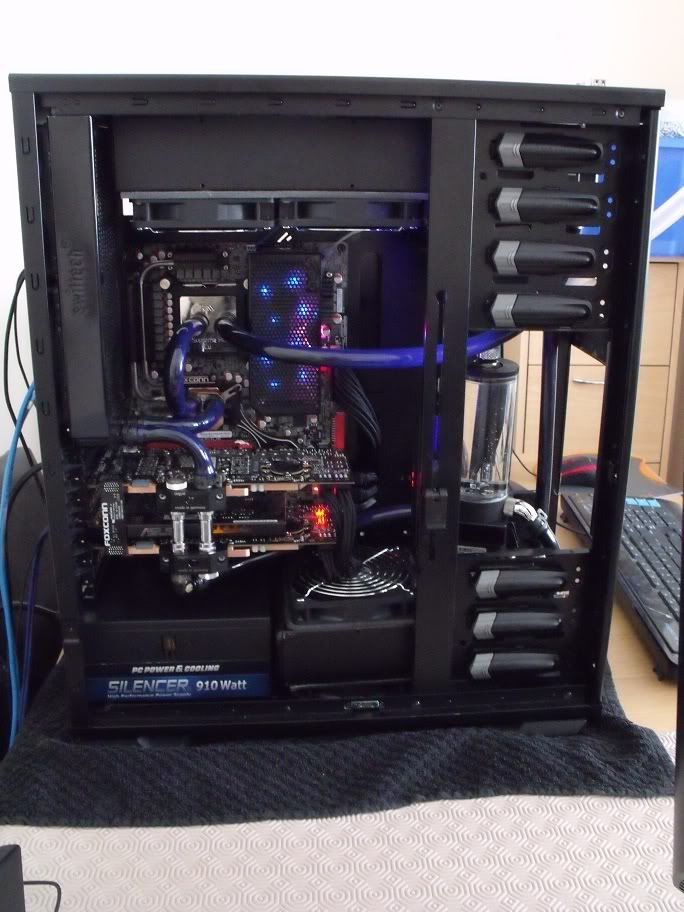
[28/12/2010 1pm] All parts fitted, just cable management to do now til I can power it on. Should look nice and neat when finished due to the much touted cable management system this case has. I have to say it certainly looks top notch.
[28/12/2010 2:30pm] First power on - success. Fired up first time at the sdame settings as I was running in the old rig. By this point I had noticed the backwards supreme HF and was very nervous about temps. I fired up linx and was amazed. This case swap and rebuild has so far gained me 10-12c under load across all cpu cores, 10c on both gpu cores and 4c on both pcb temps. I had no idea I was losing so much performance to reheated air in my old loop. Bear in mind I was happy with my previous loop for the most part - I certainly didnt think there was that much temperature to be clawed back.
old: 19c ambient, 4 core average idle 29c / 4 core average load 70c / GPU 48c max PCB 38c max 4.4ghz HT off 1.3v
new: 17c ambient, 4 core average idle 21c / 4 core average load 58c / GPU 38c max PCB 34c max 4.4ghz HT off 1.3v
[28/12/2010 6pm] Definitely stable. Having issues with trapped air in the top 360. Reversed cpu block inlet and outlet arent helping it bleed. Its entirely useable, but getting large res level increase as pump power decreases.
Must be some compression going on somewhere. Decided that given I still have to do the dremel cut I missed and swap the cpu block inlet and outlet over I should live with the trapped air for now and move on. This is based on being resigned to doing another rebuild before xmas for snagging purposes. I'll be using it as is and proceeding under the pretense that the build part is finished - until I can spend half a day rebuilding it. The constant pursuit of a "perfect" loop is tiring some days
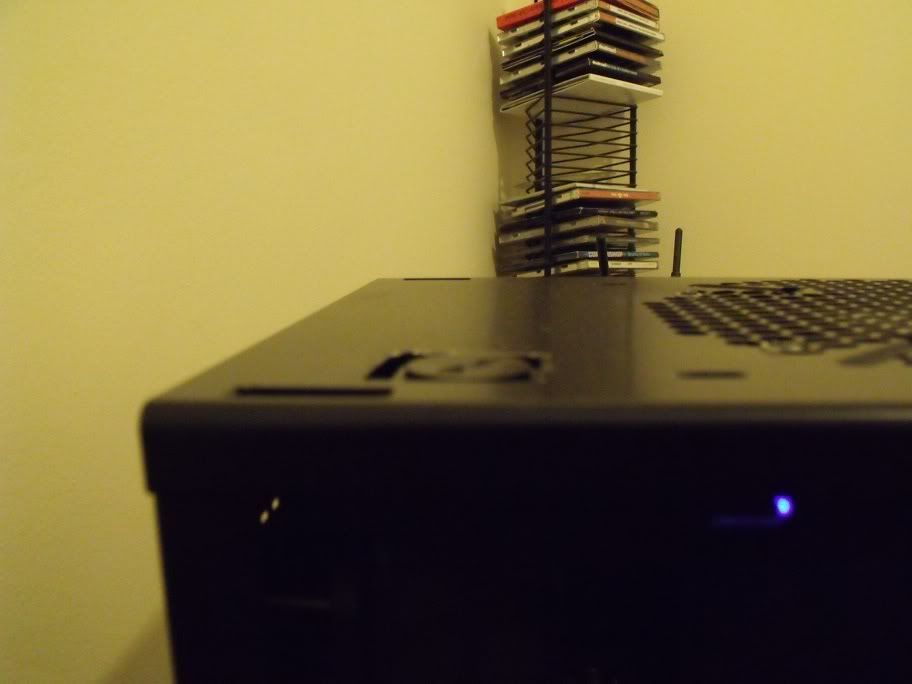
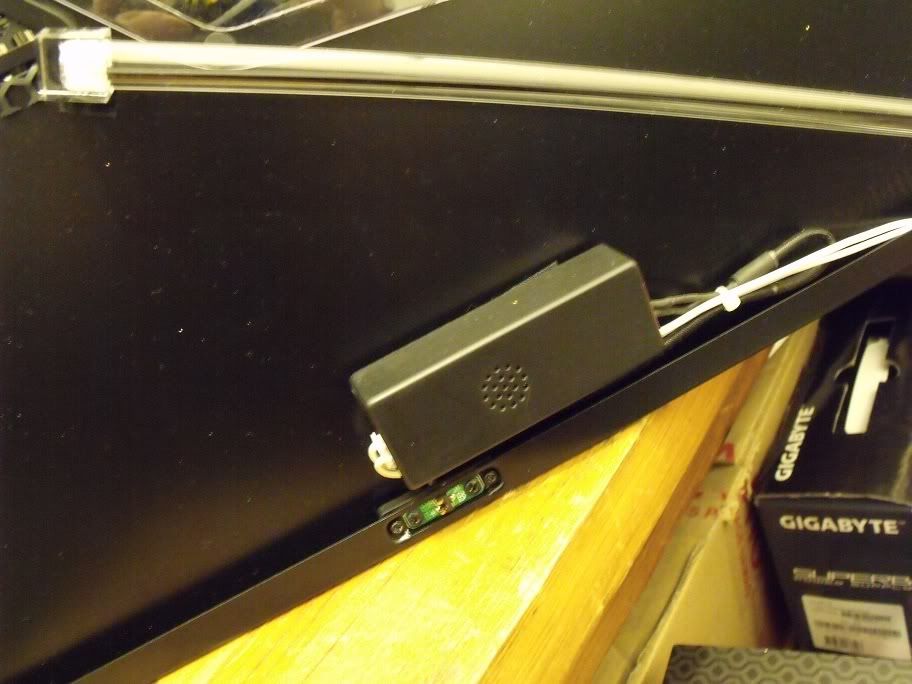
[28/12/2010 8:30pm] Made and sleeved enough cables to get all the fans and pump working through the FC2. Connected it all up and dropped fan rpms across the board by over 50% adding around 3c at load. Also then reduced the pump to approx 2/3 power. This seemingly had no effect on temps (poss 1c at the very most) but massively reduced noise as I was getting a certain amount of hum from the pump with it being hard mounted. Snipped off that horrible 230mm side panel fan. Decided to try sleeving the snipped wire and "wireless" power connection up to a cathode - worked great!
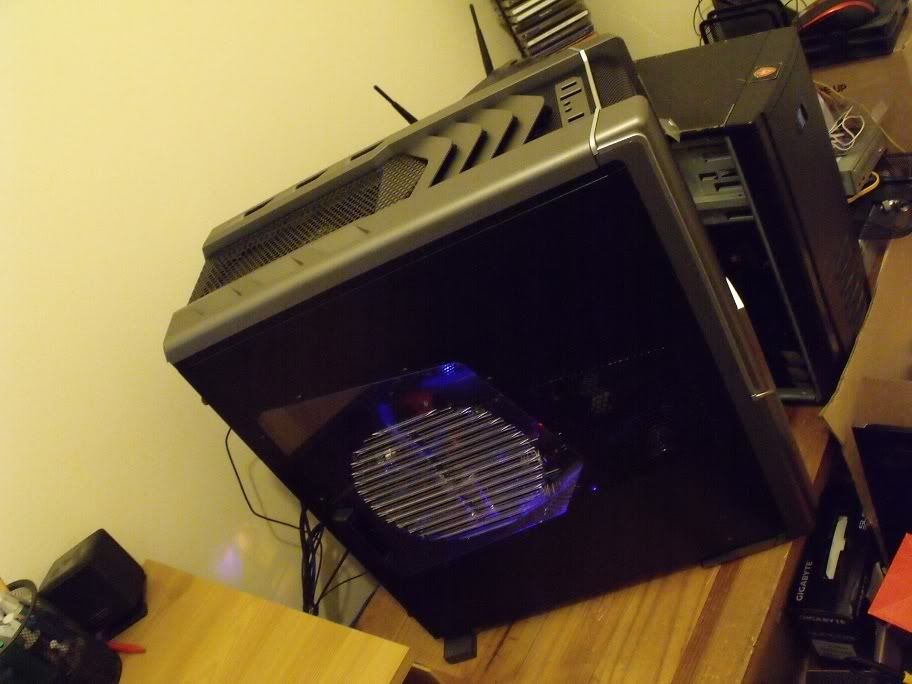
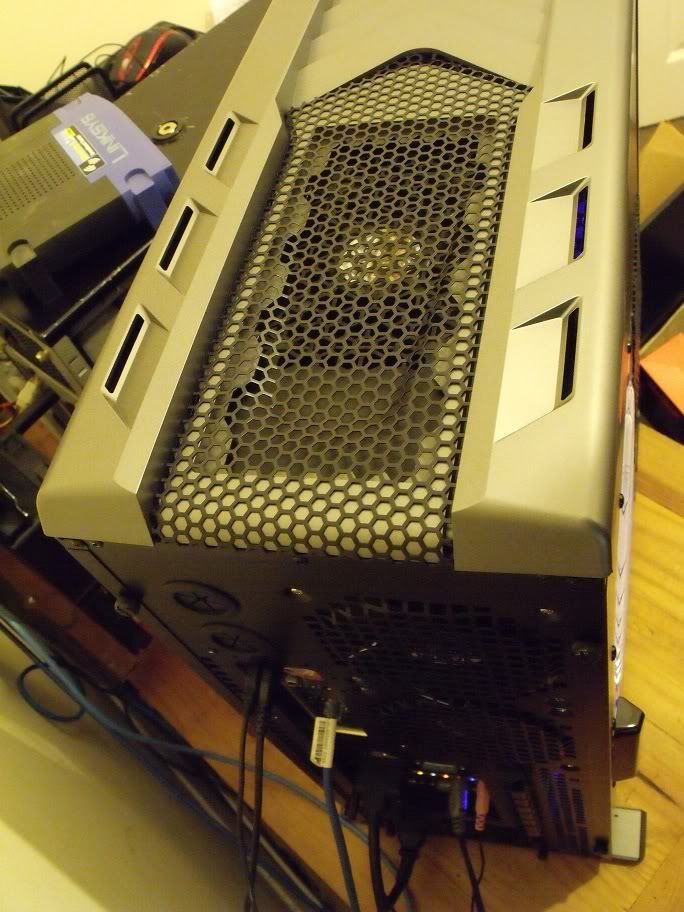
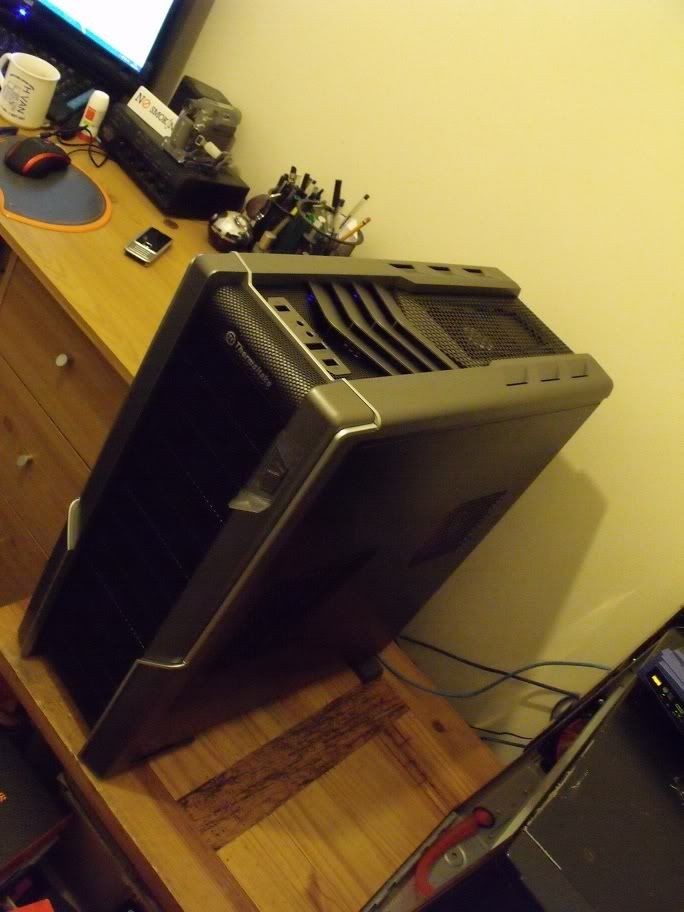
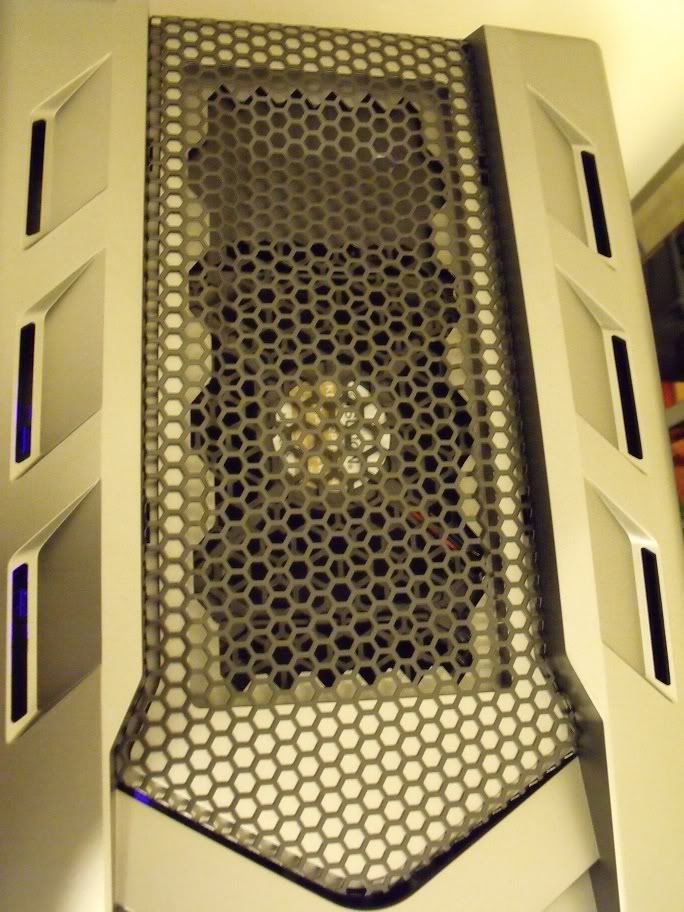
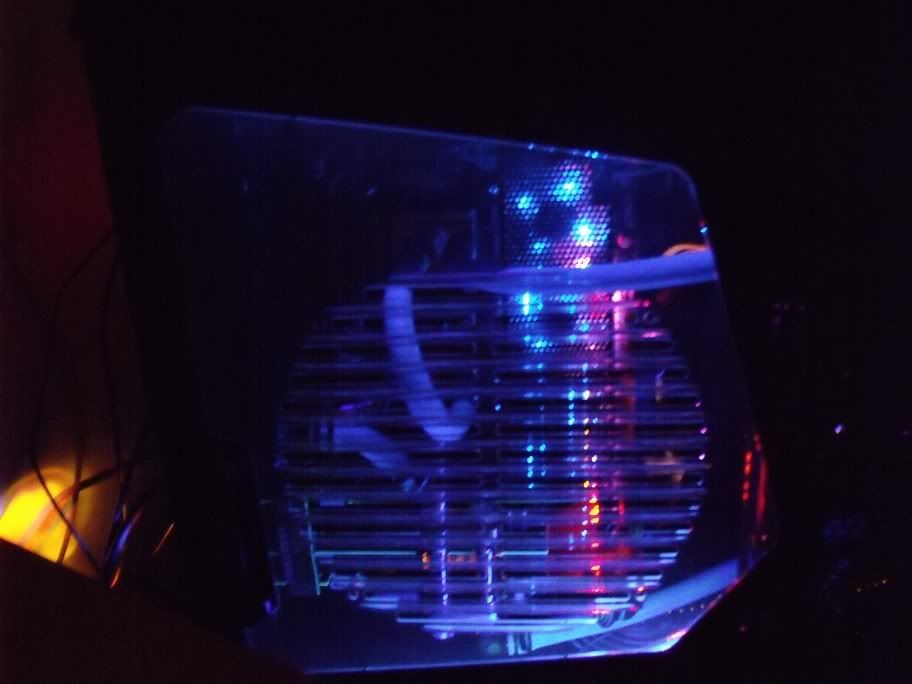
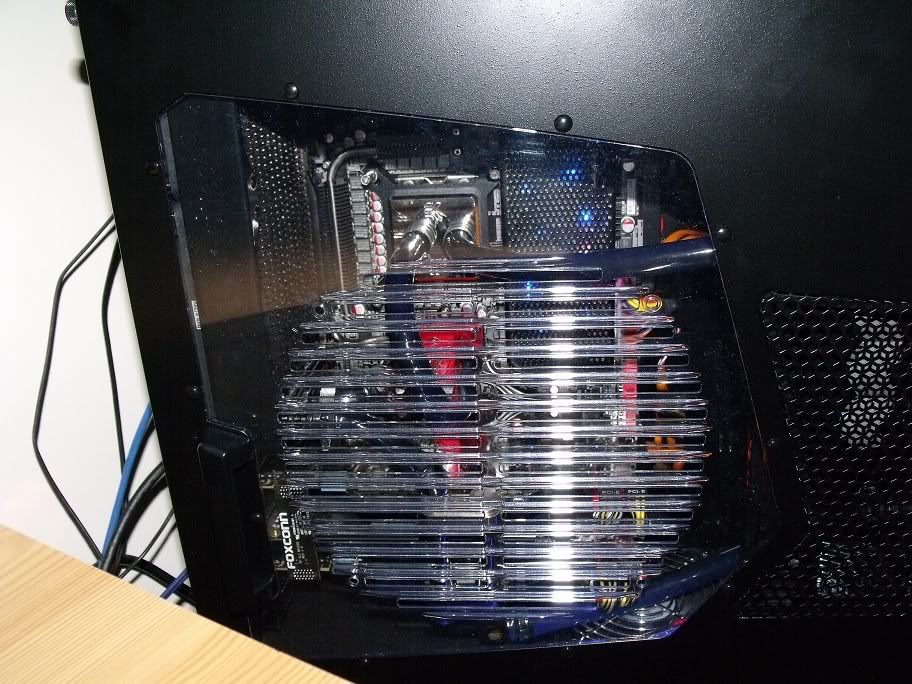
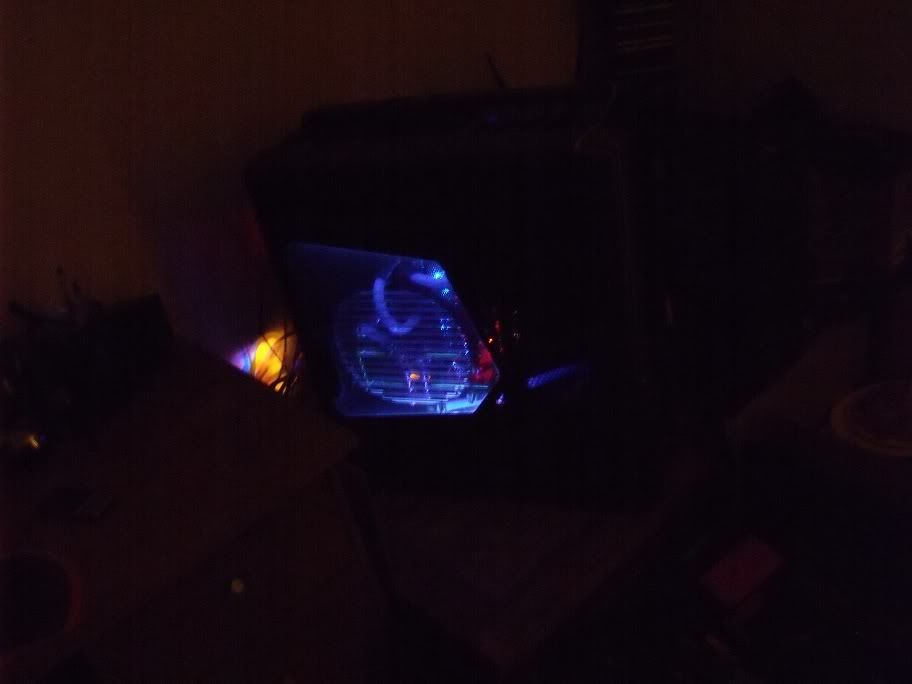
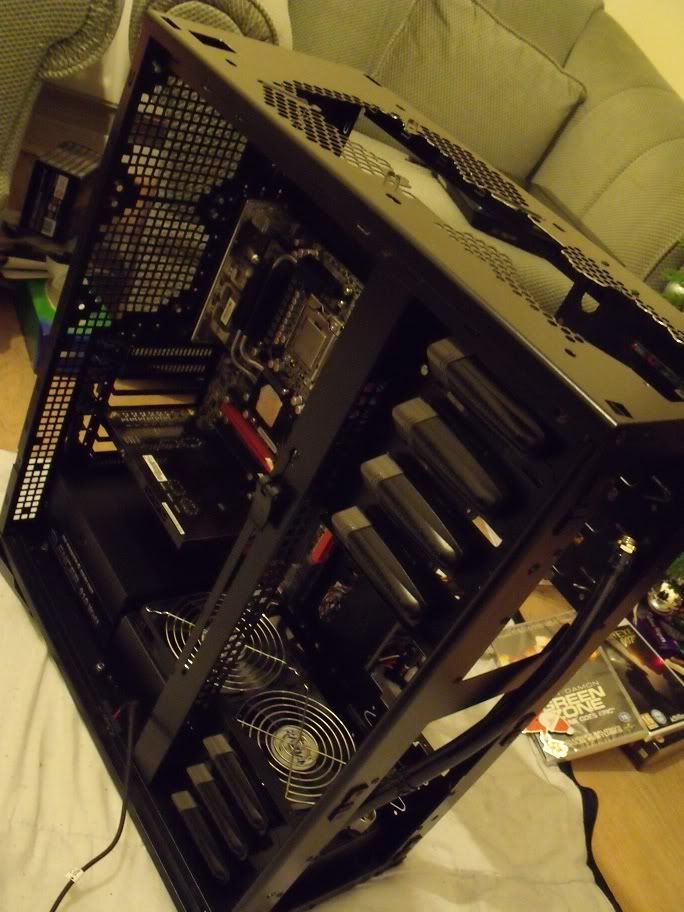
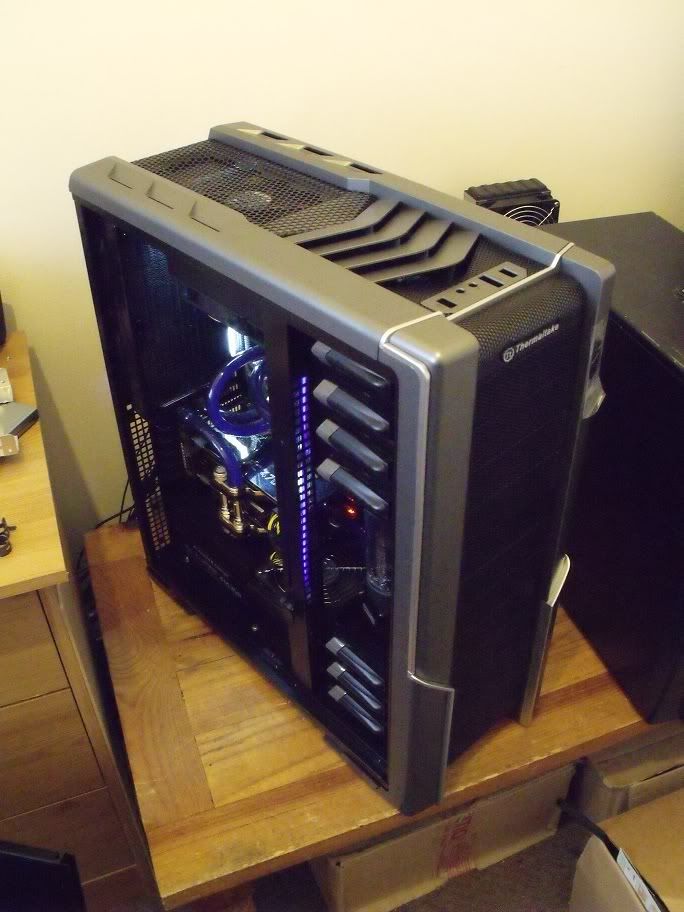
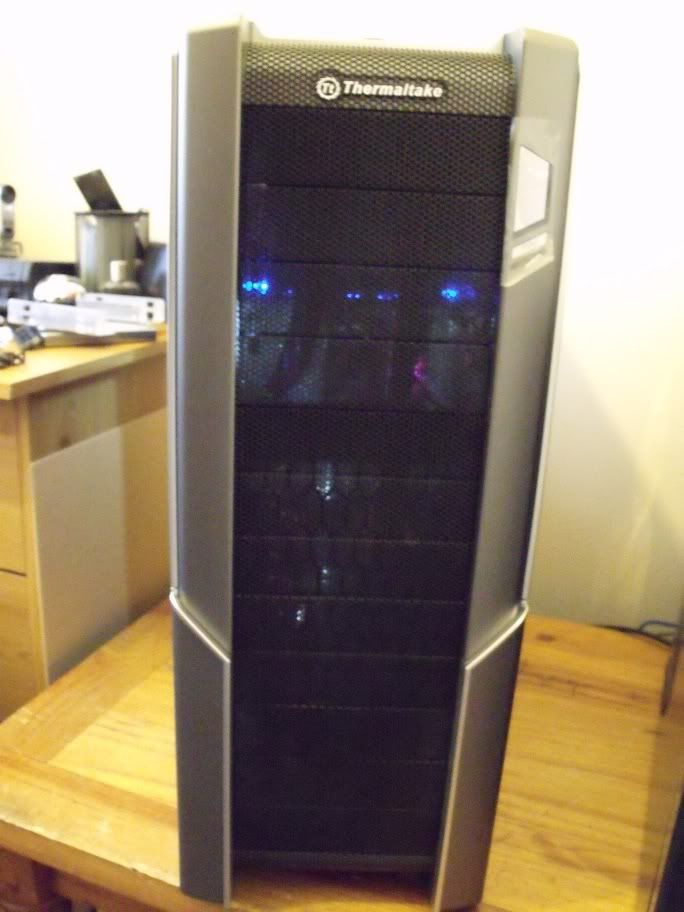
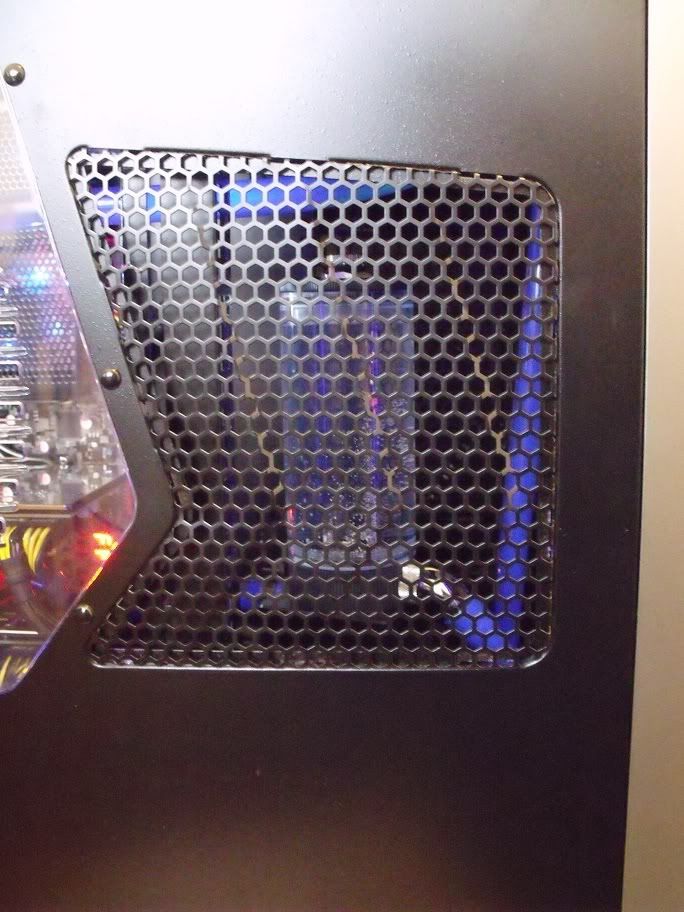
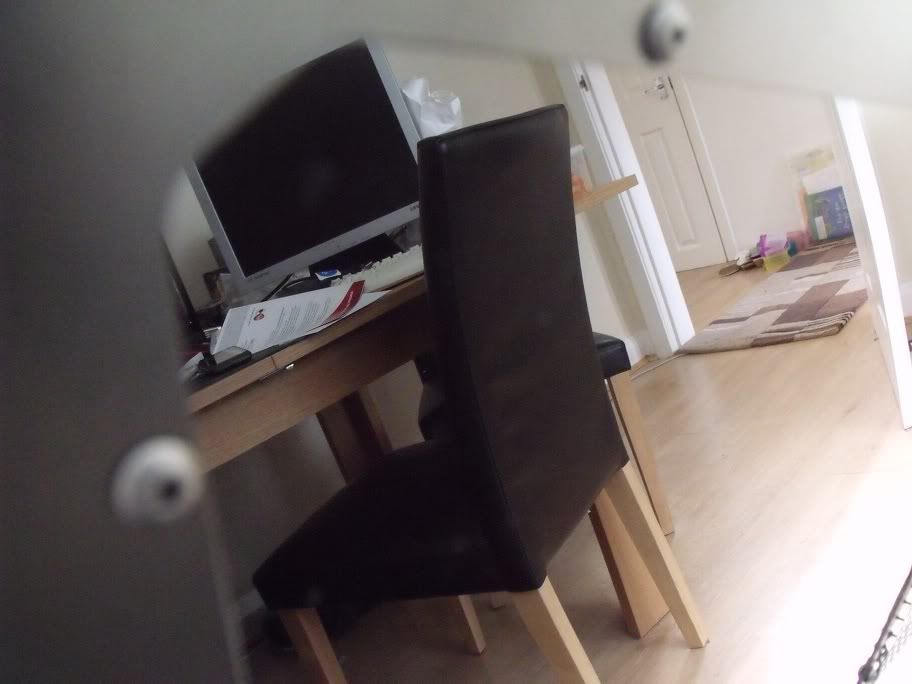
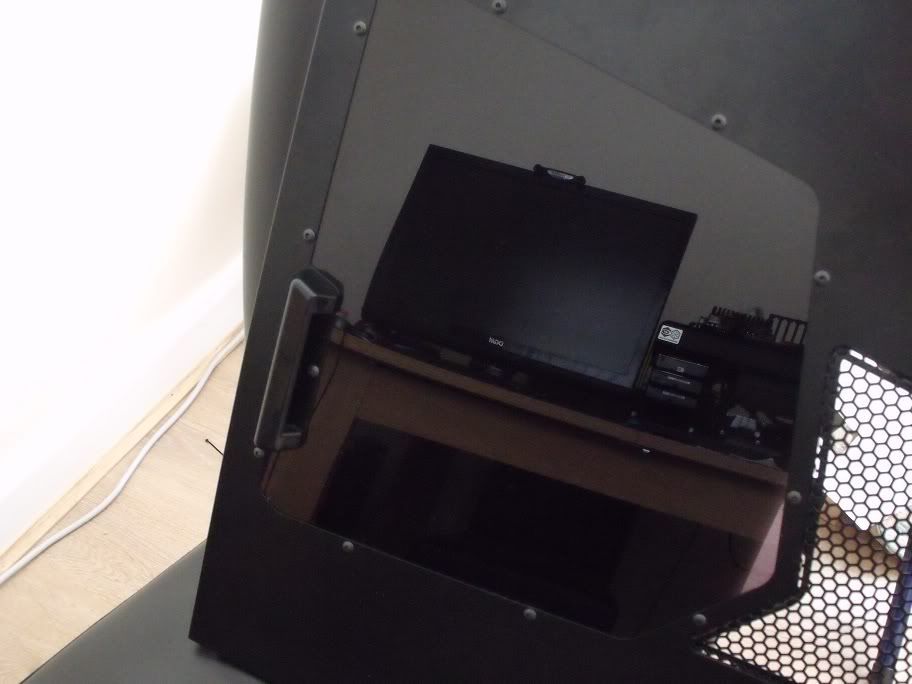
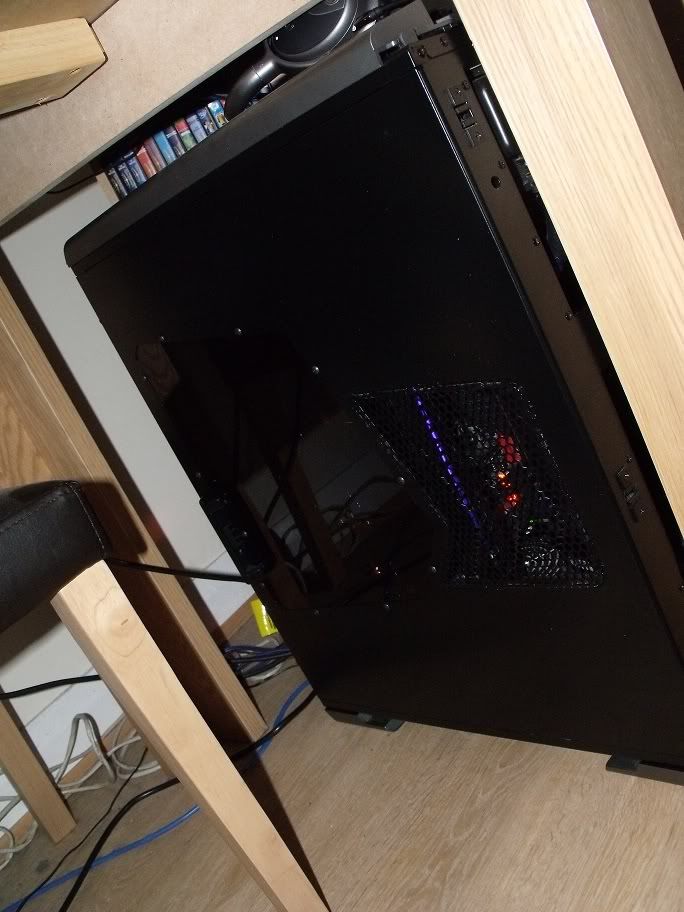
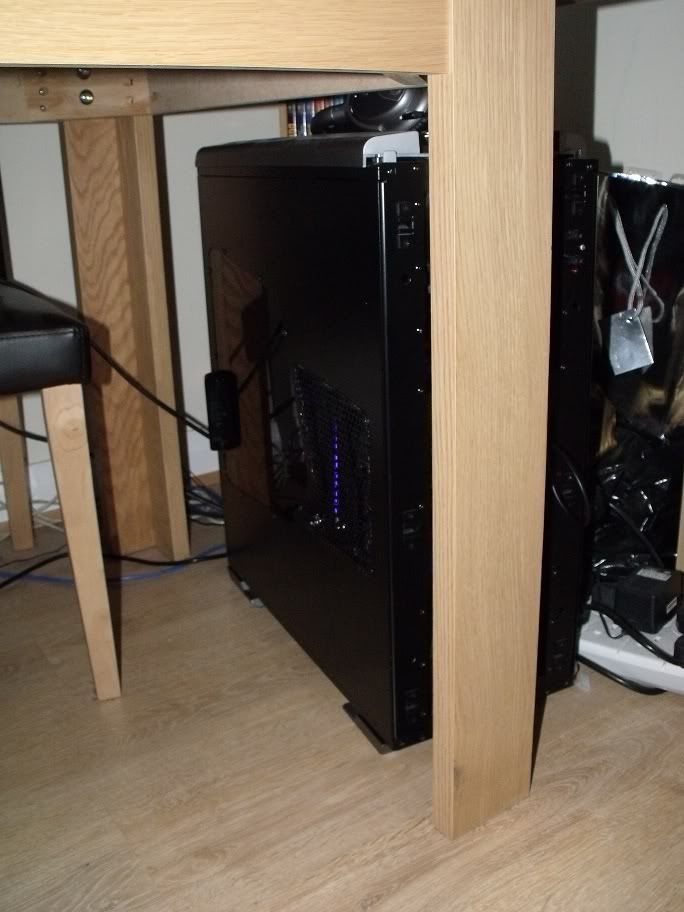
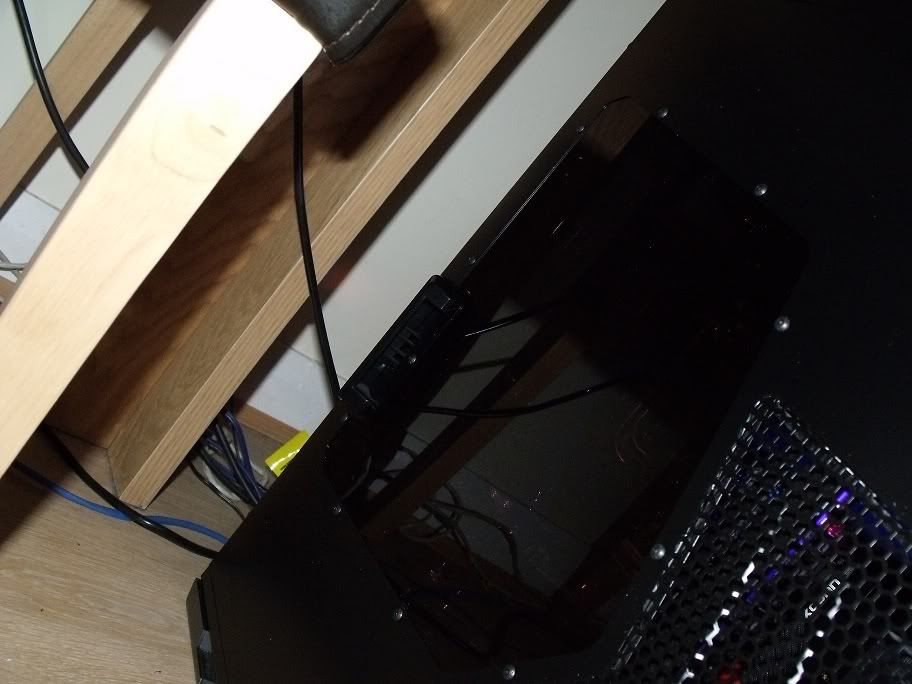
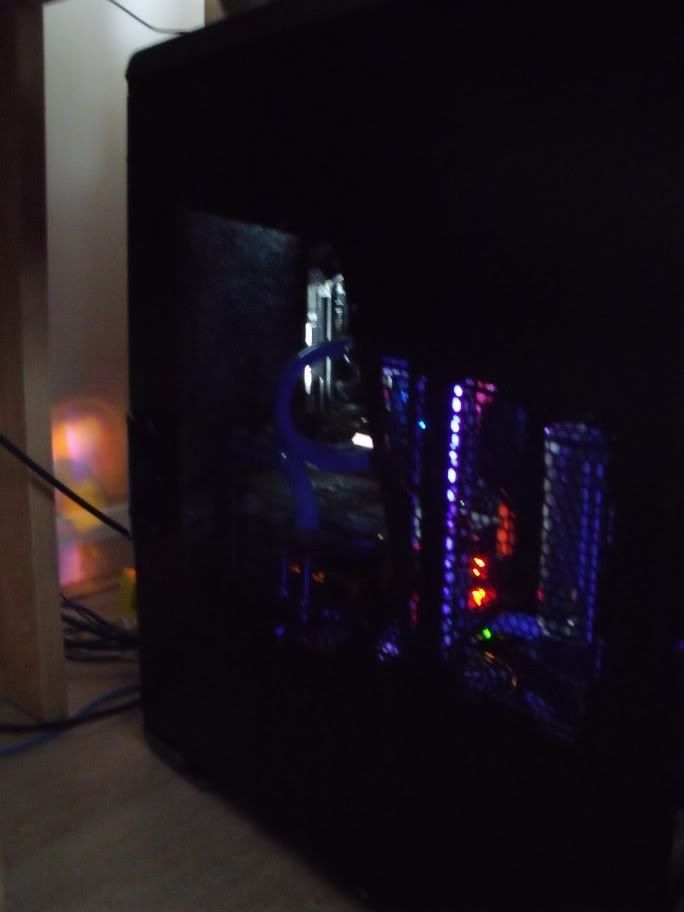
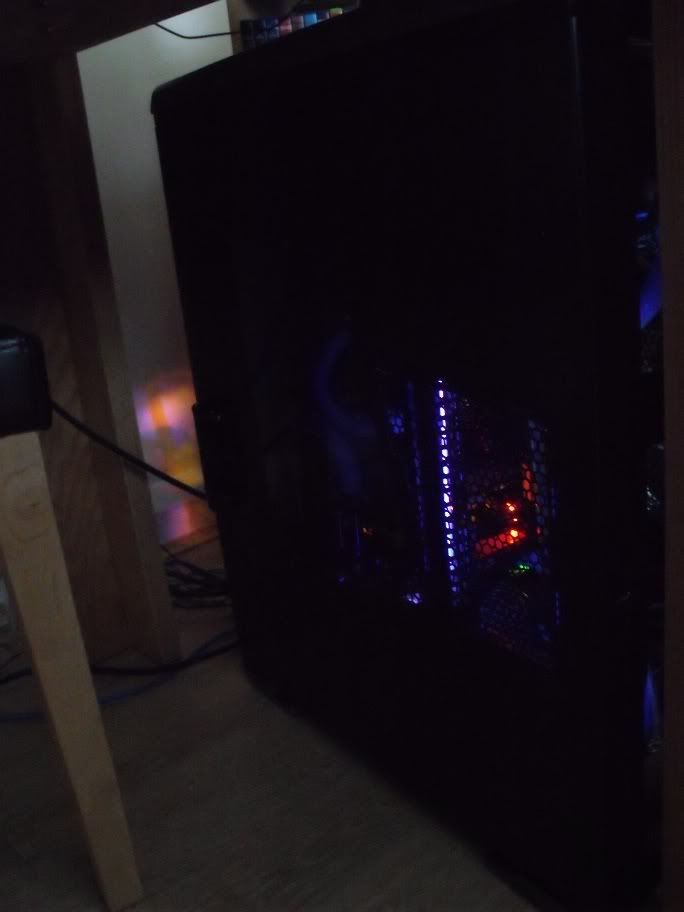
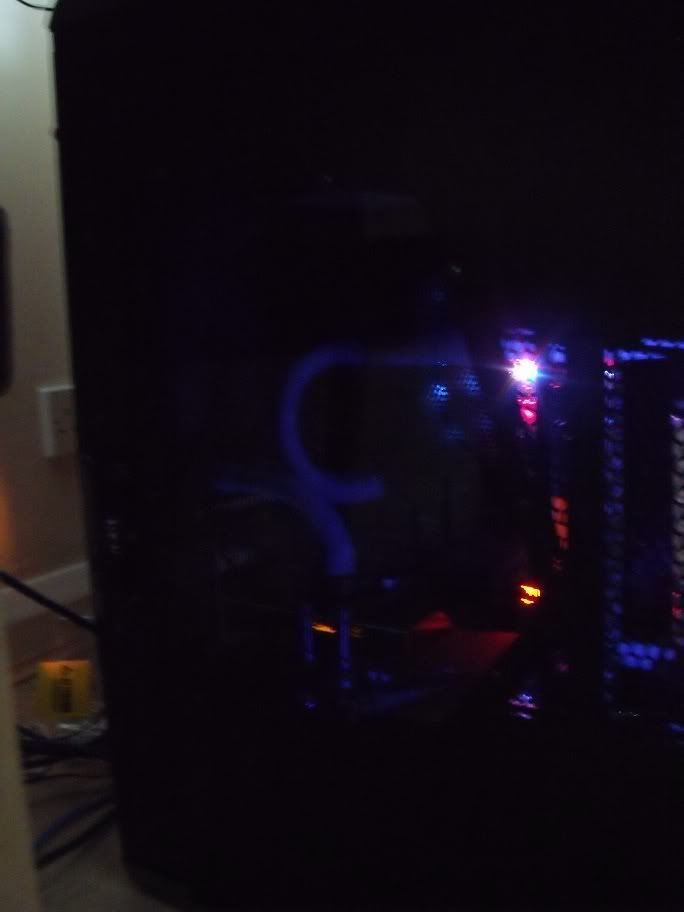
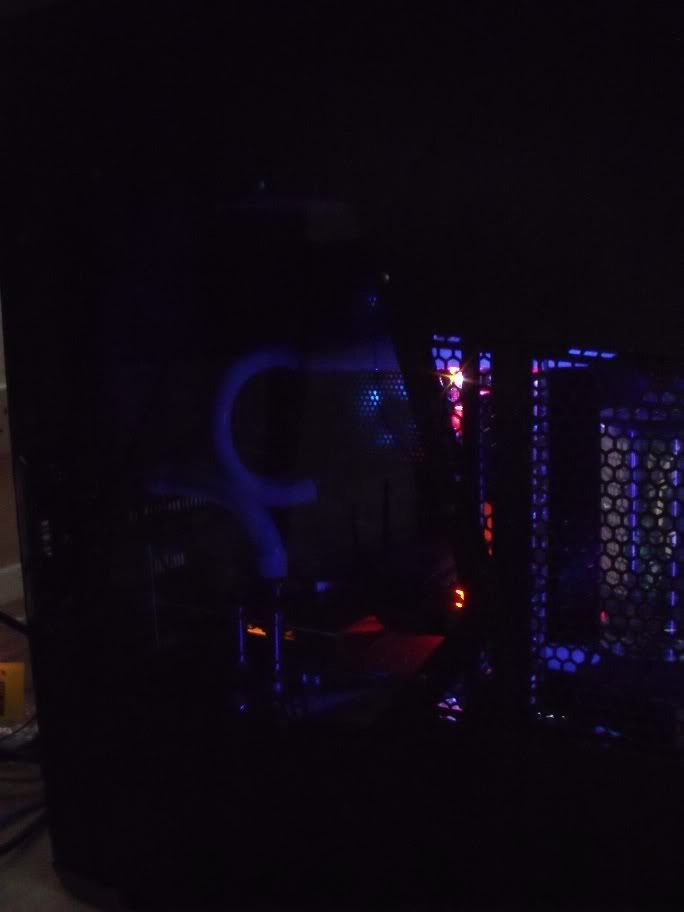
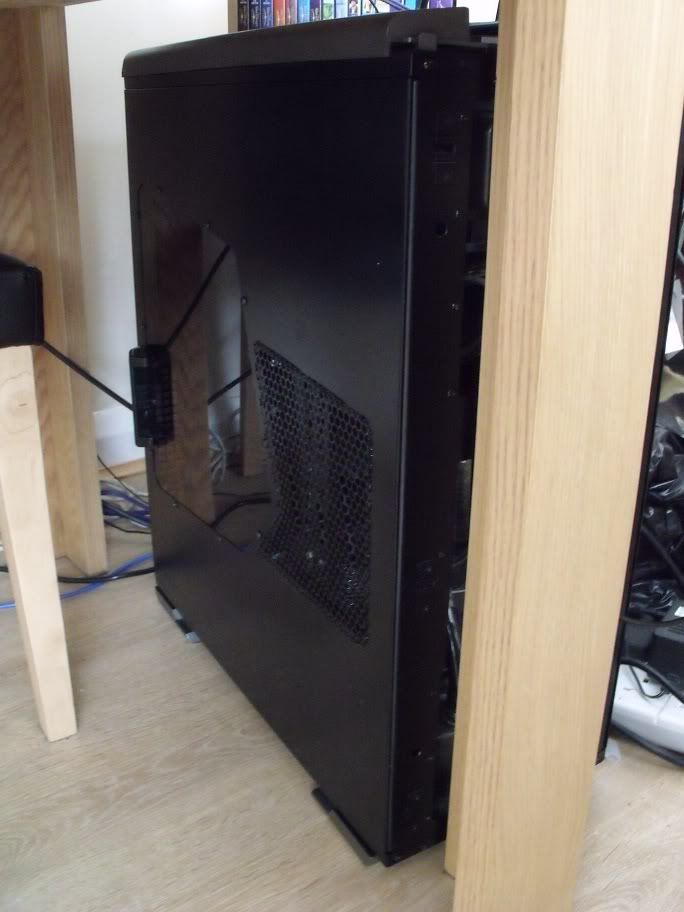
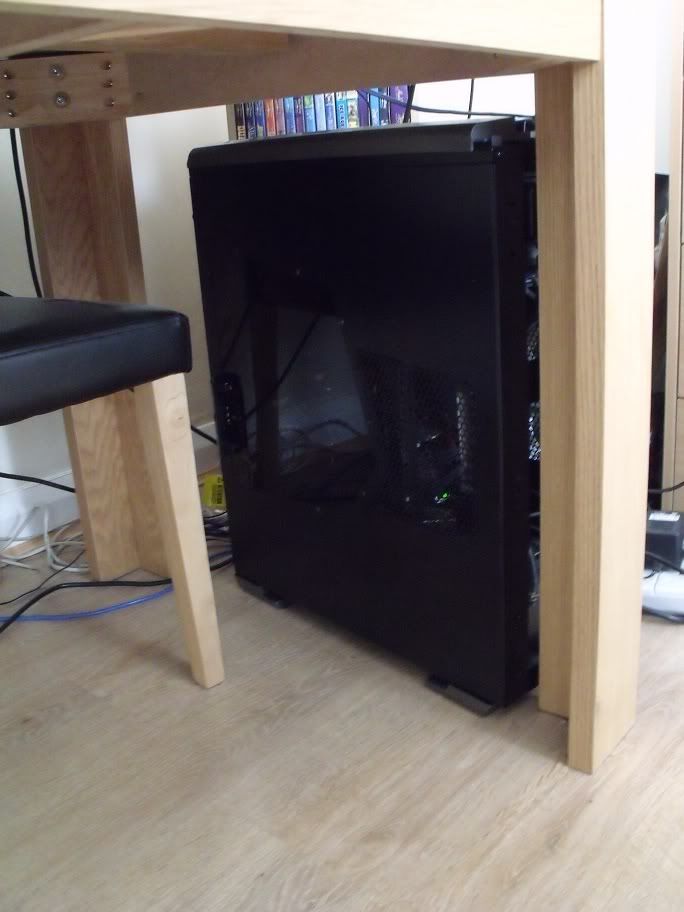
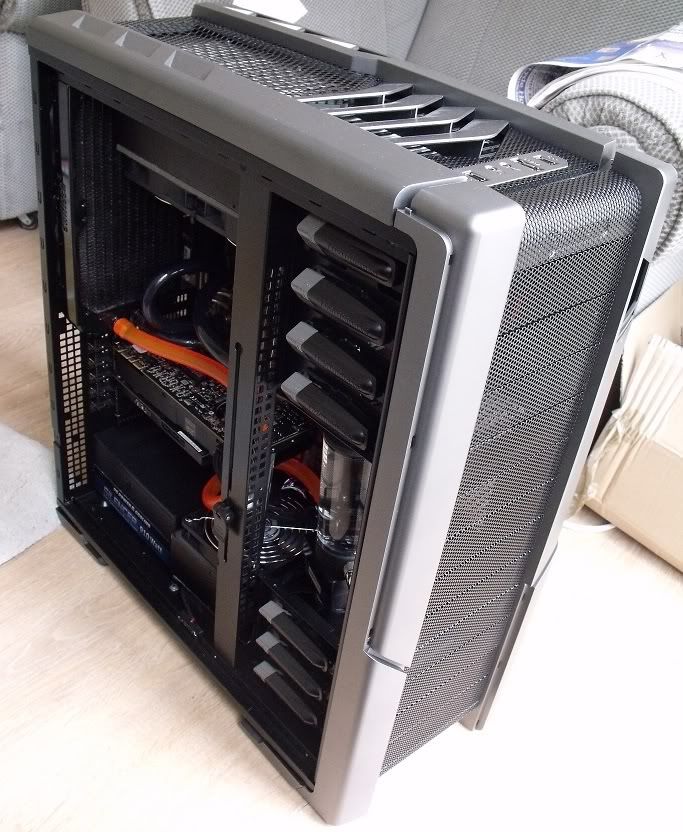
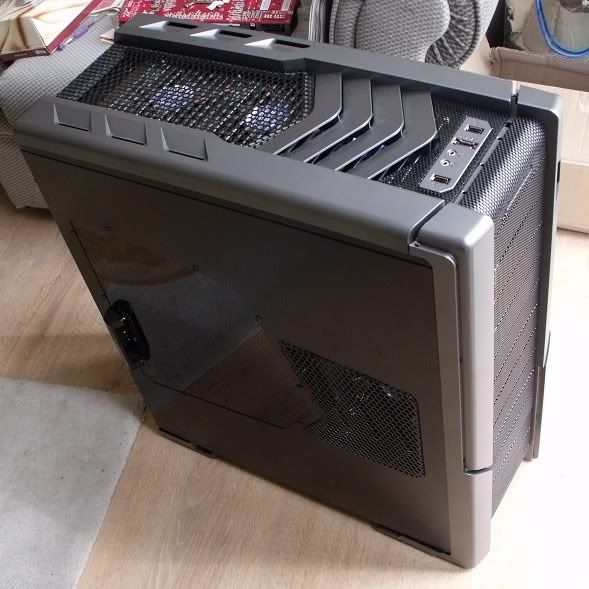
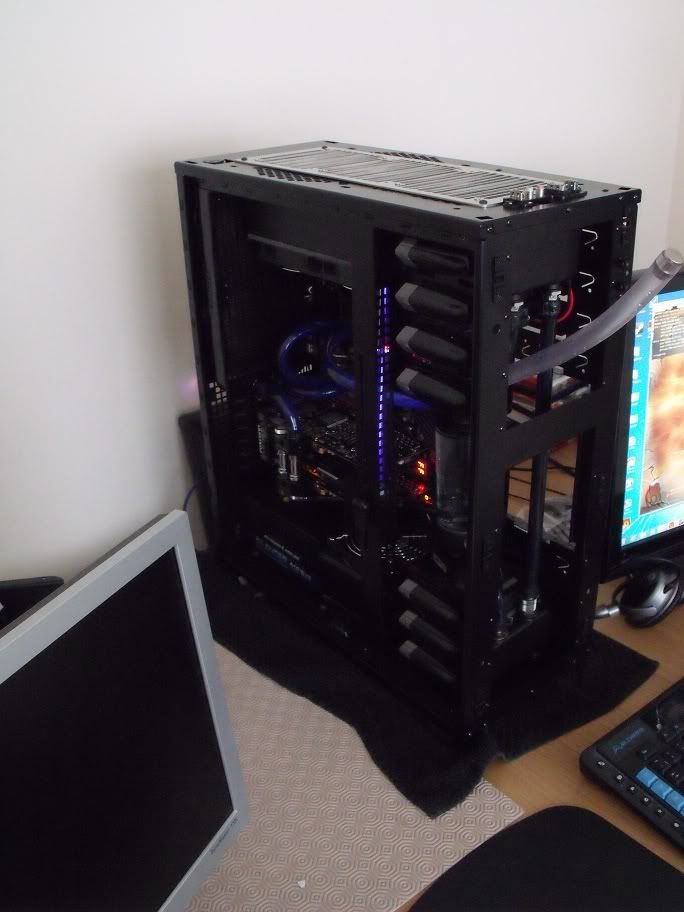
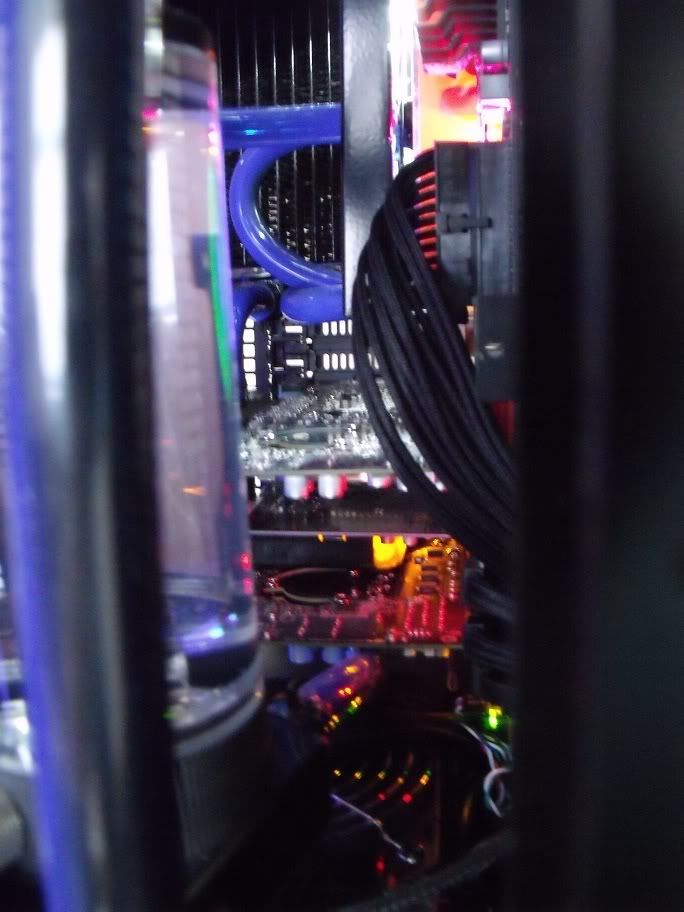
Gallery of various pics below.
Full hi res album here...
To sum up the experience so far I'd have to say its gone very well. I've had no disasters with the build, everything fitted perfectly. The only bits I messed up are minor and easily fixed, but best of all dont need to be fixed until the next rebuild. Im very happy with the case, the only complaints are that the plastic bits that hold the drive cages in are poorly made and weak and that the case weighs a damned ton. I'll reserve opinion on looks until I've dont the painting and sorted the side window. That window panel is a travesty and ruins the look of the case as is. Best of all total time from PC to PC was just under 24 hours, giving me a good 12 hours to get some BC2 in.
Hope you enjoyed reading, again apologies for the lack of pics of the build progress. Still don't know how the SD card managed to snap itself in half while inside the camera? The next update will most likely be a rebuild and improved bleed. Im off for 2 weeks from Xmas eve so that's when im aiming to get the build mostly finished.
Still to do:
1) Complete front cut missed
2) Reverse cpu block flow
3) Bleed loop again
4) Either make sleeved extensions or sleeve existing 24pin, 8pin and 6pin connectors
5) Sleeve cathode wiring
6) Replace side panel window
7) Cover missing esata/audio/usb from top panel
8) Paint grills
9) Paint top panel
10) Paint front panel
11) Detail top panel
12) Detail front panel


 Reply With Quote
 . Decided to pick up an MCP355 to replace my faithful CPX-Pro. Nothing wrong with the CPX-Pro, I just think the smaller size should fit better without rubbing up against the front of the case (this causes slight vibration throughout the front panel and drive bay covers). The extra power cant do any harm either
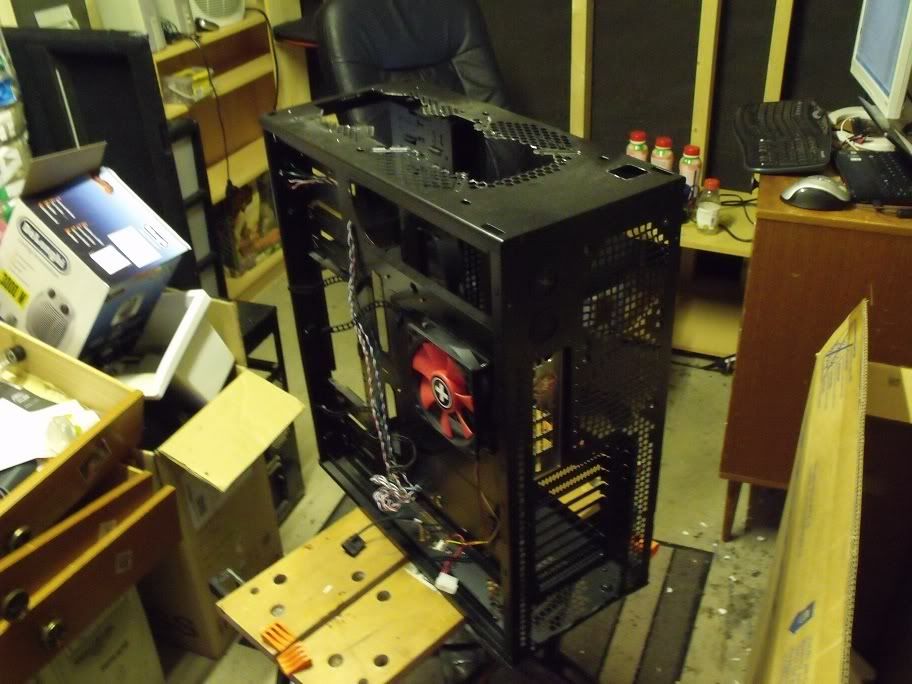


Bookmarks