


February 14th update
Aim of update :
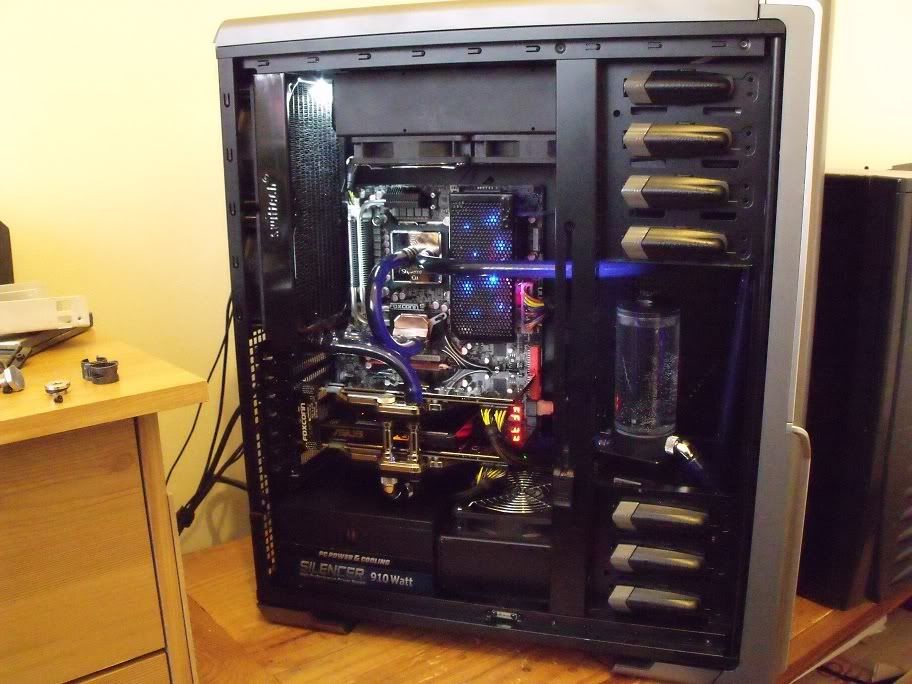
Change NB block over for new Heatkiller SB SLI and fit new Koolance PMP-300 Res.
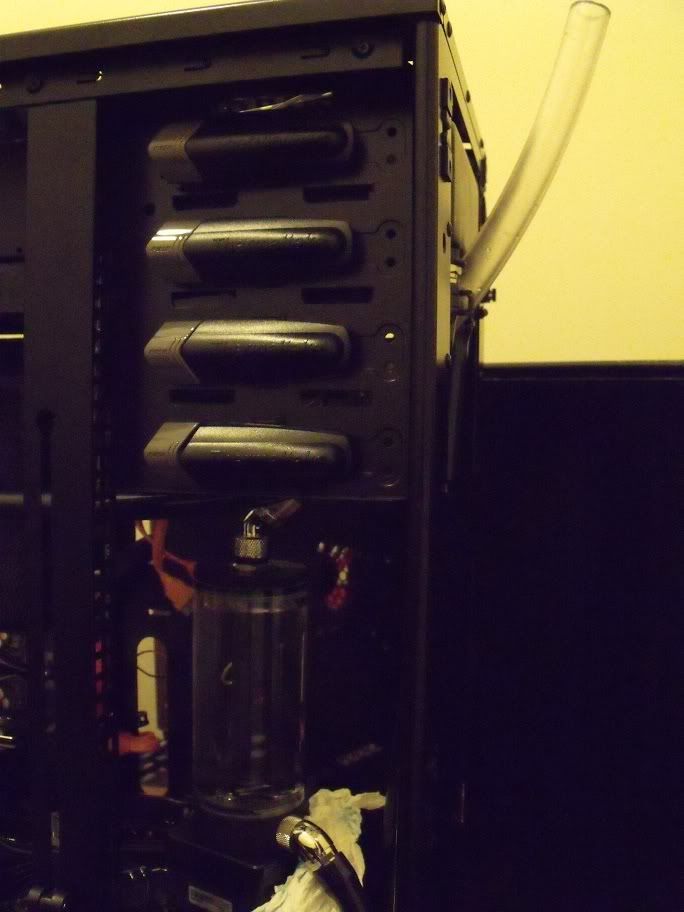
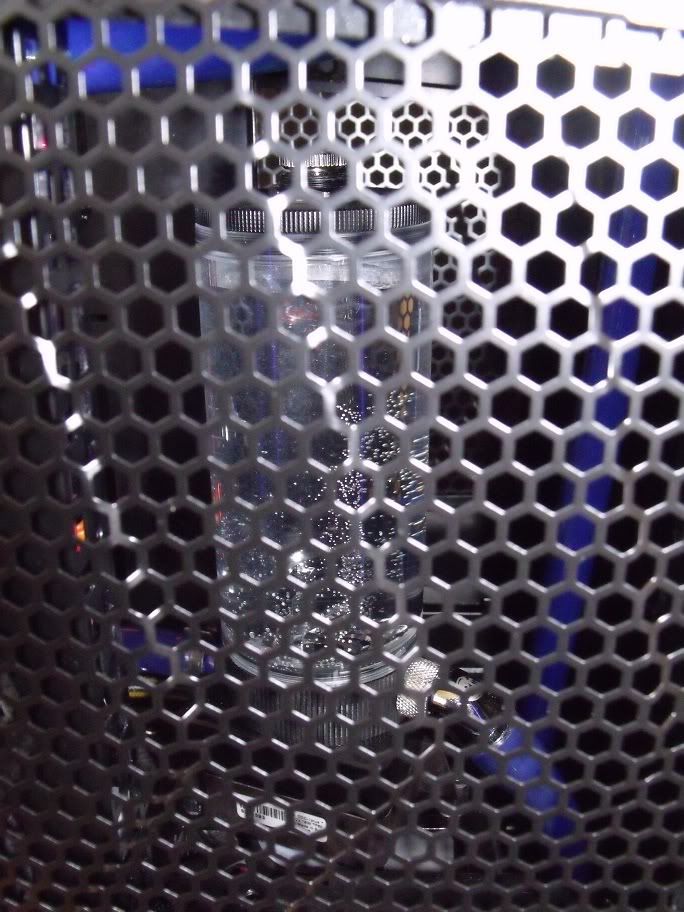
Not much in the way of words for this update really, no changes to the case. Res upgrade is purely to make use of the space between the grills in the side of the case. I wanted a showpiece to go in there essentially. What makes it tricky is the routing of the tube - I dont want to change it. For that I need a top and res combo that gives an inlet and outlet opposite each other and at 90 degrees to the pump inlet. The Koolance PMP300 Res top is the only one I could find to do this. Its a very impressive piece of kit and is solidly made. My only complaint is the res base/collar could be a little better looking. Whilst the ridges allow for excellent grip to tighten it they dont really fit in with the look of the rest of the res.
Anyway, straight into the walkthrough!
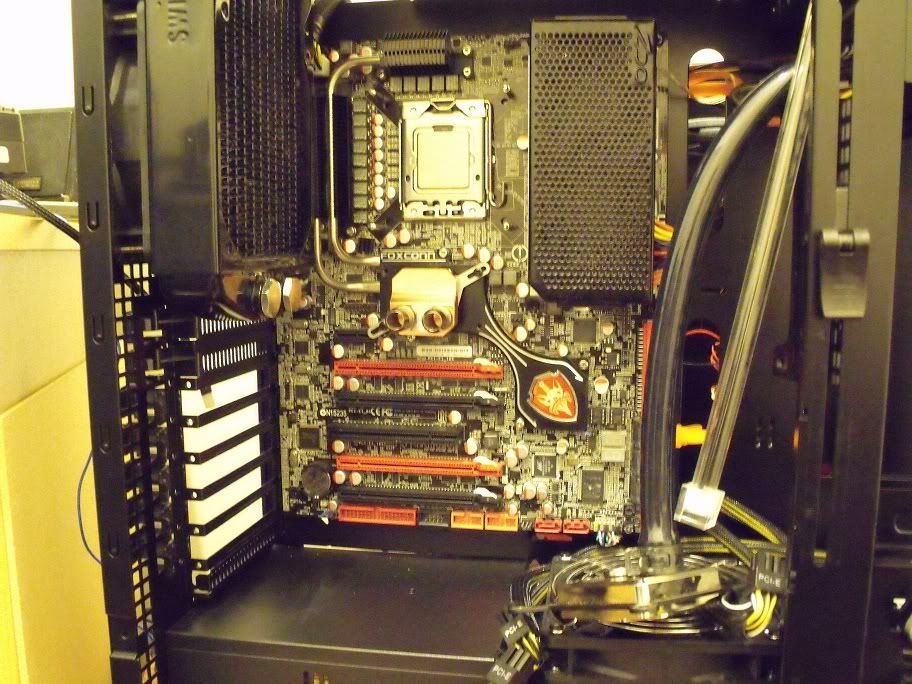
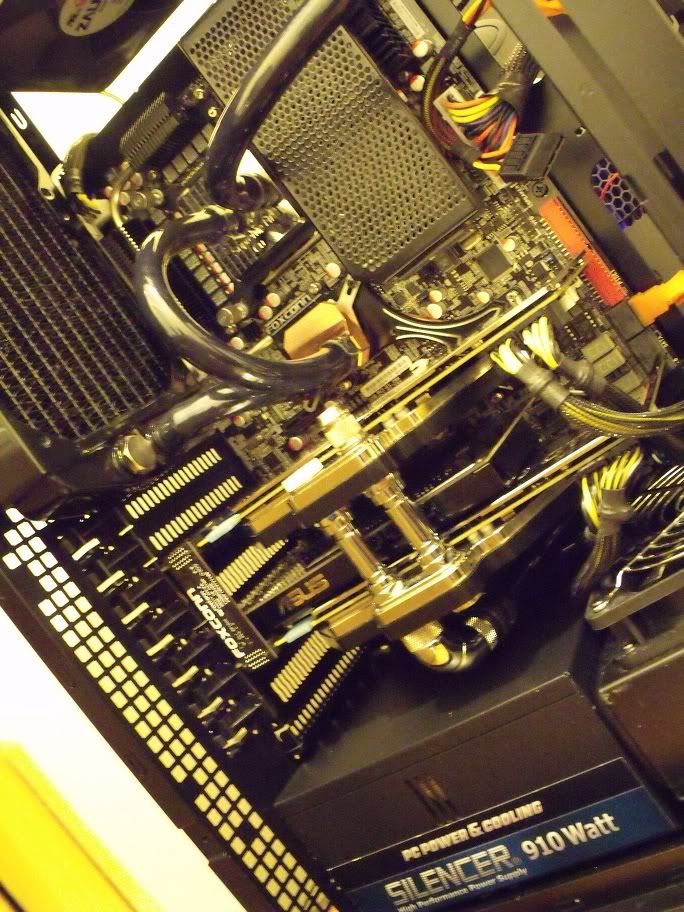
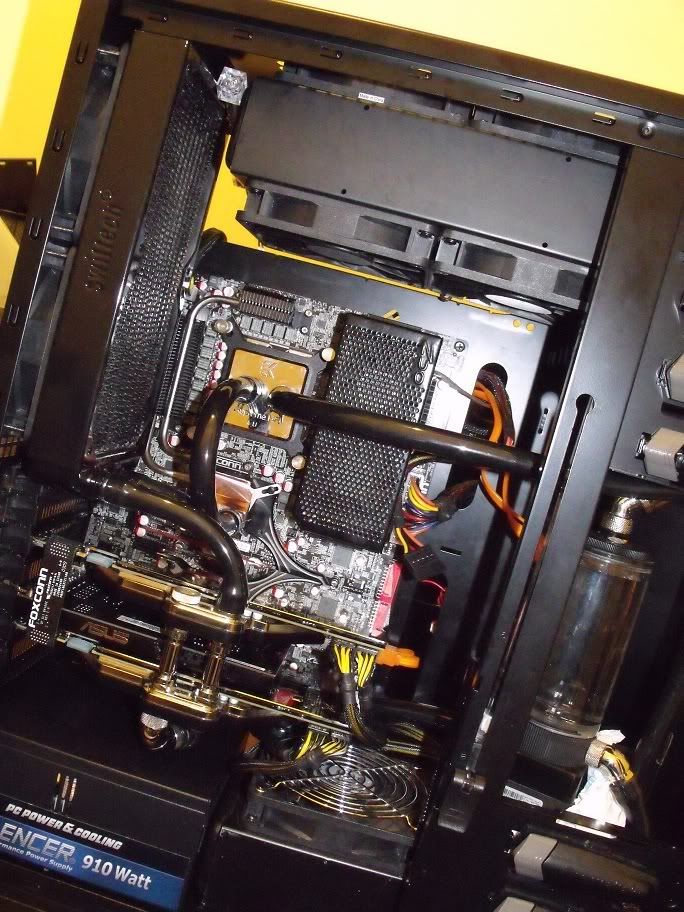
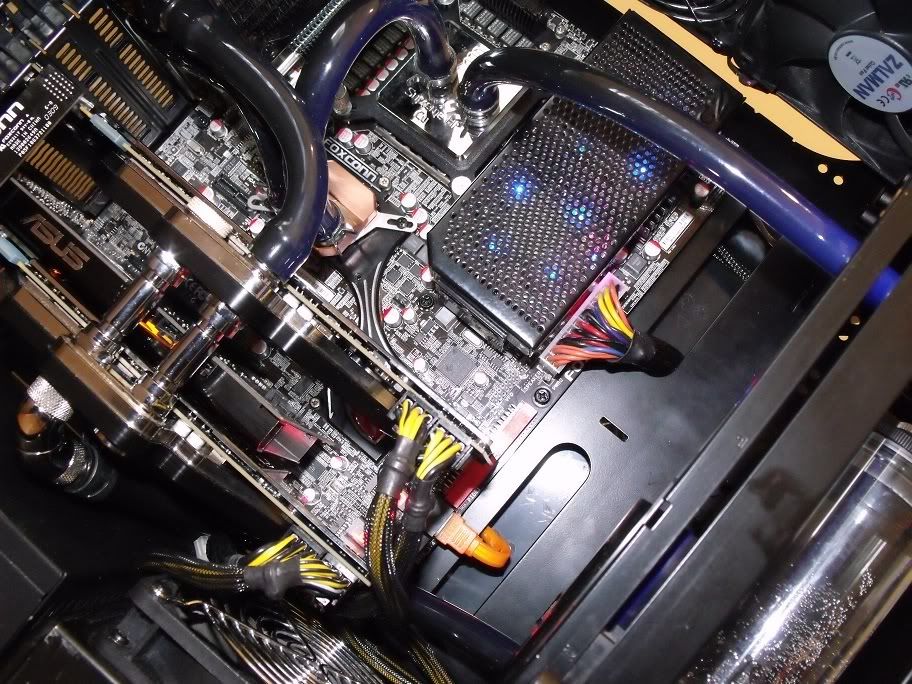
First of all the temporary NB block was replaced with the Heatkiller SB SLI. It gives a wide adjustment range (the hole spacing is large on the Bloodrage) and its cheap. I reckon I can paint it too so it will fit in a little better.
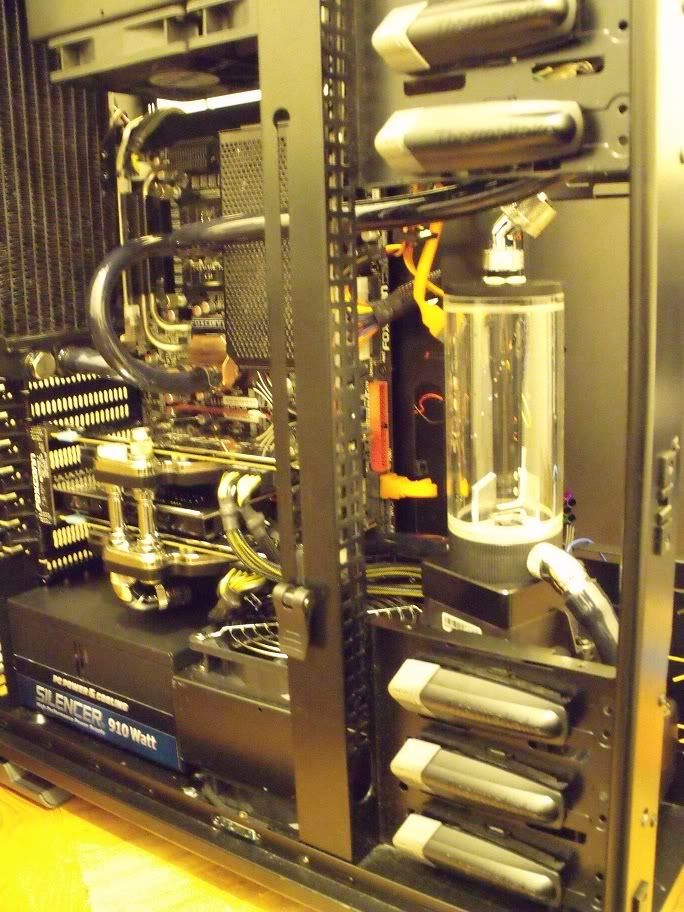
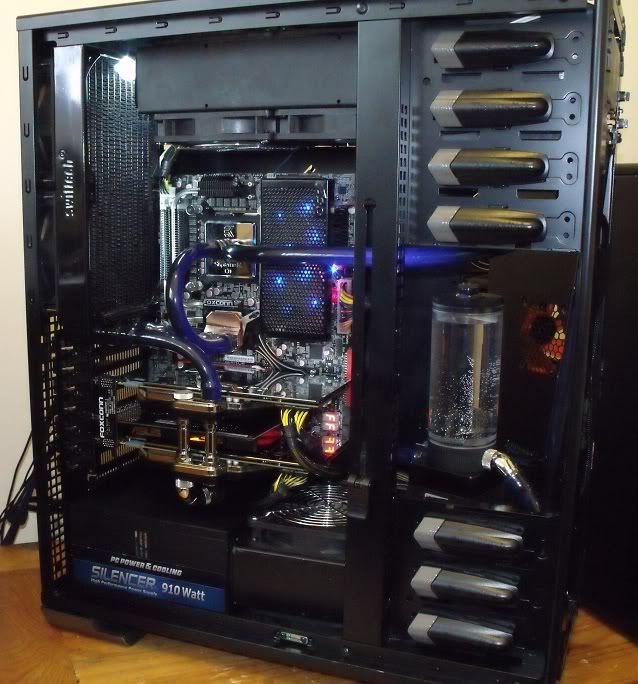
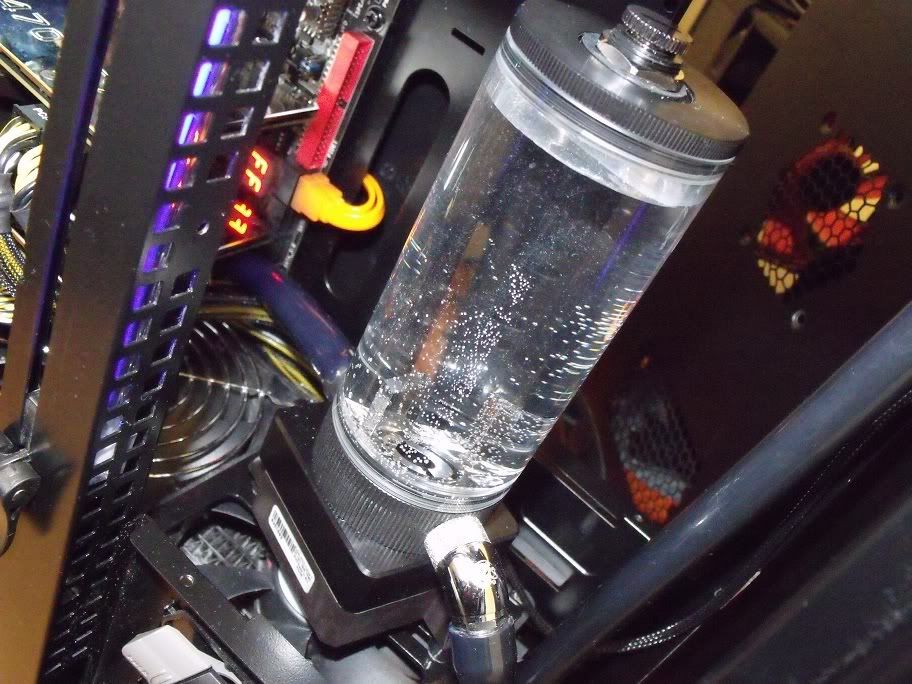
Next up is a test fit of the pump/res combo. I really like it, fills that void perfectly.
Now I've just got to get the graphics cards back in and I'm good to go.
Done!
And on with yet another fill and bleed. Im curious to see how this goes - its my first time using a combination pump and res. Im willing to bet this time will be a lot easier (as I can use the MCR220Res port to aid filling).
Much easier!
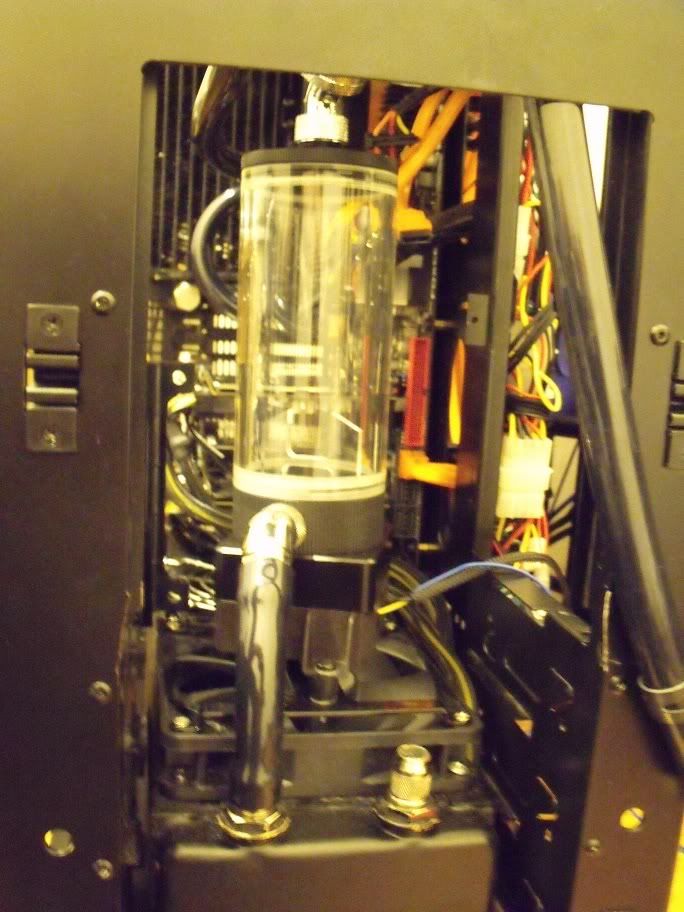
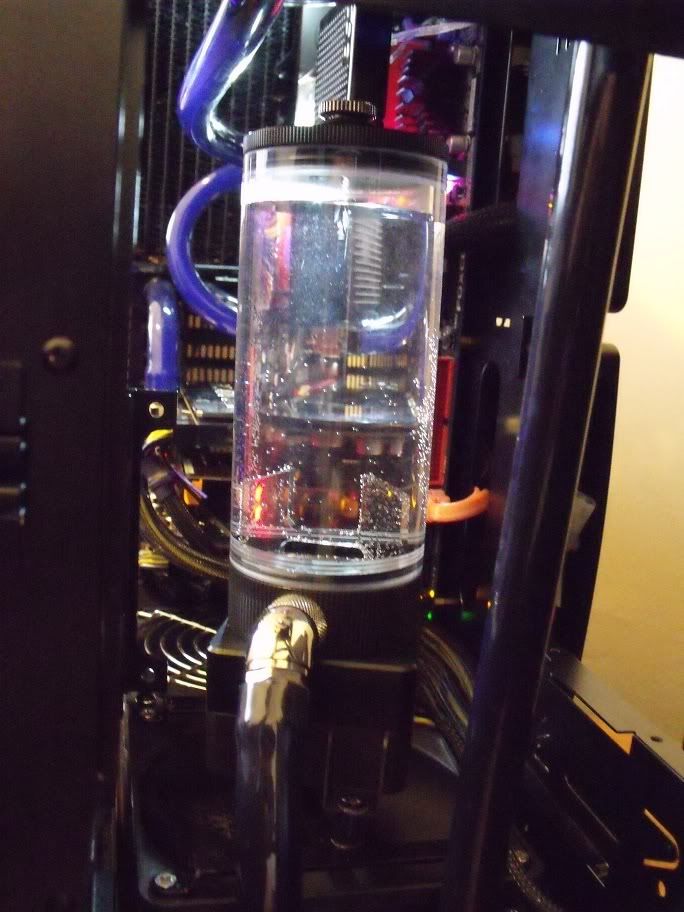
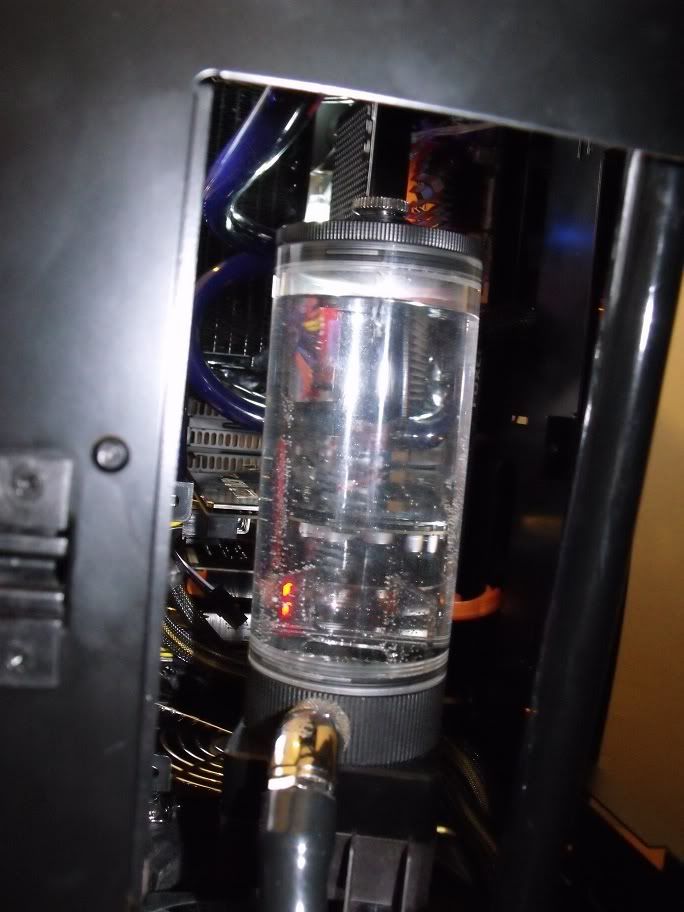
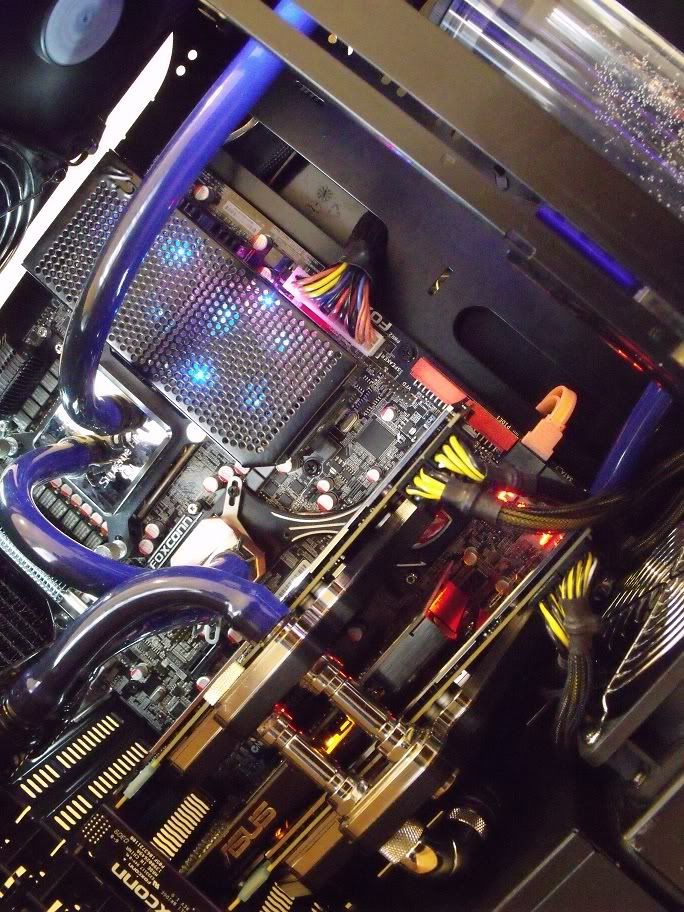
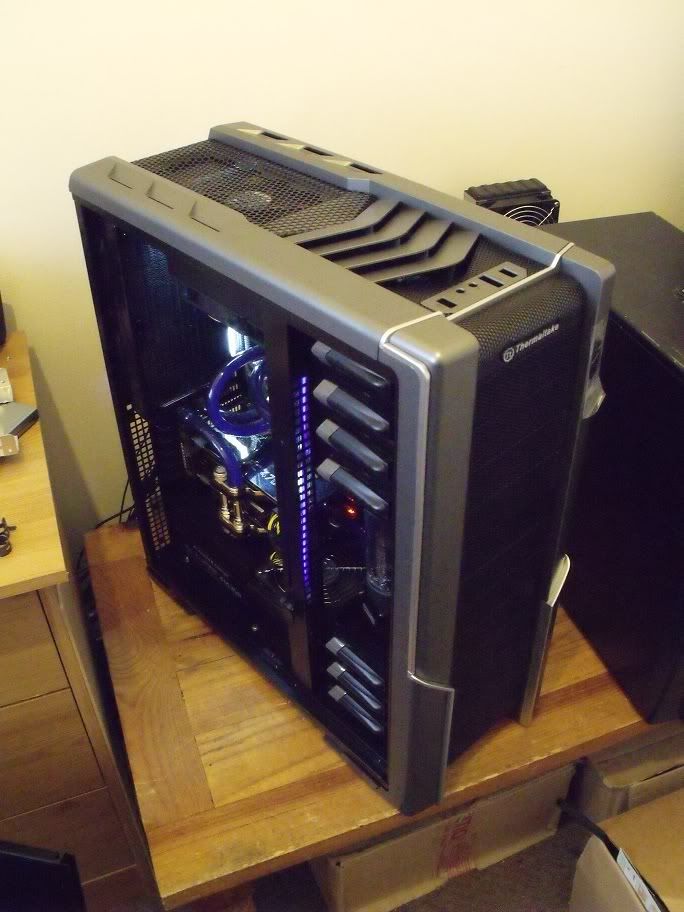
Couple of quick shots of the new res filled and in place...
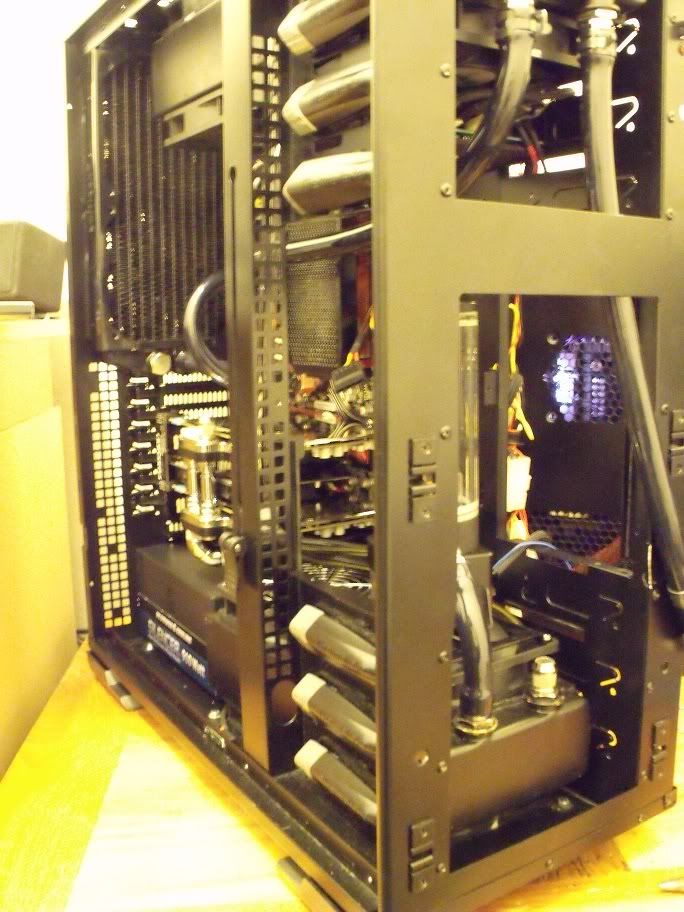
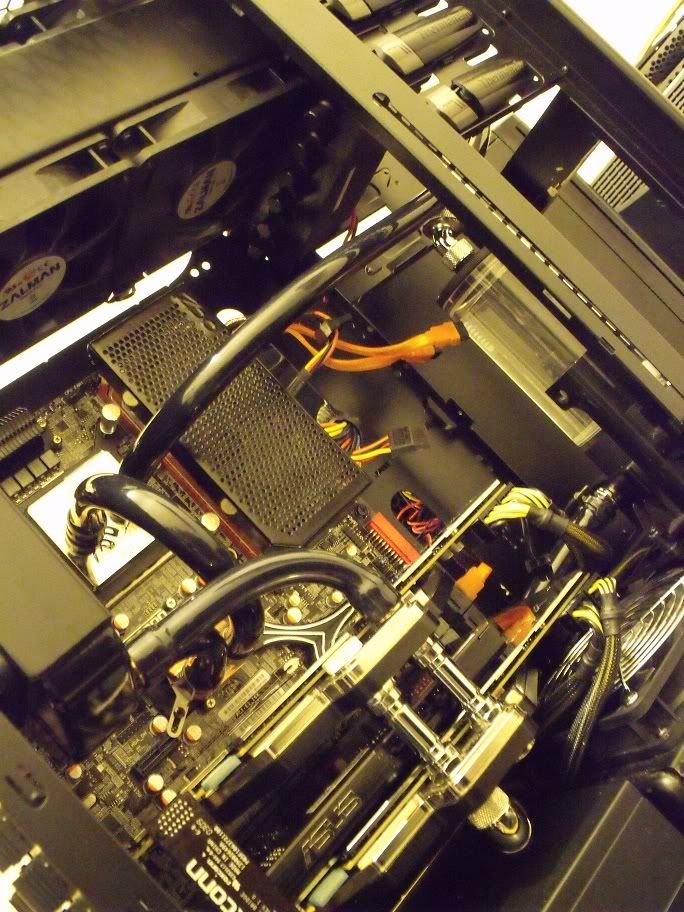
And a couple more loop shots...
Its a damn close fit for that FC2 in the bay directly below the top rad, but it goes.
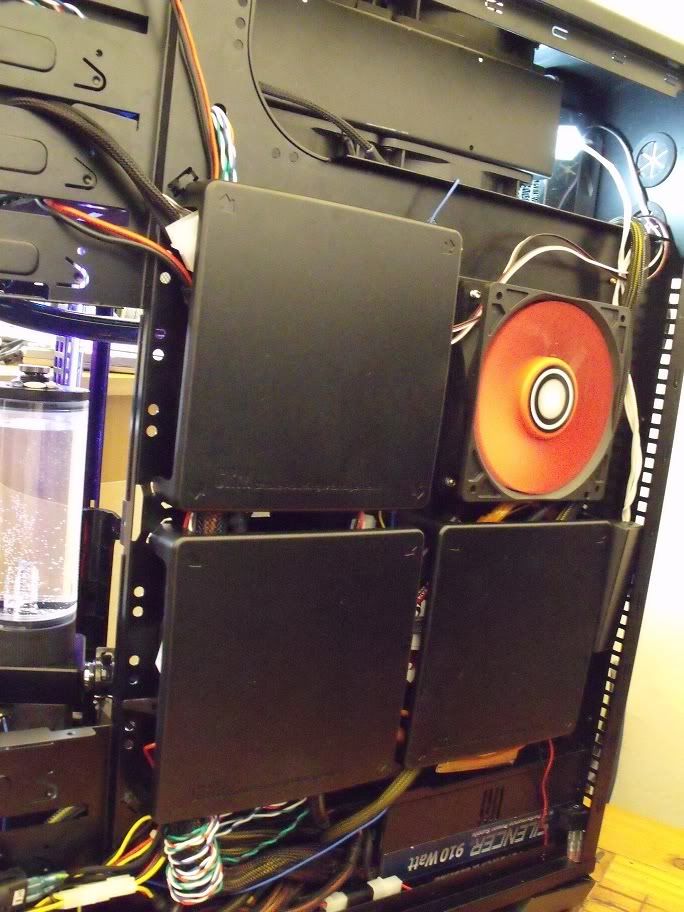
Cable management yet again - but it gets neater each time though.
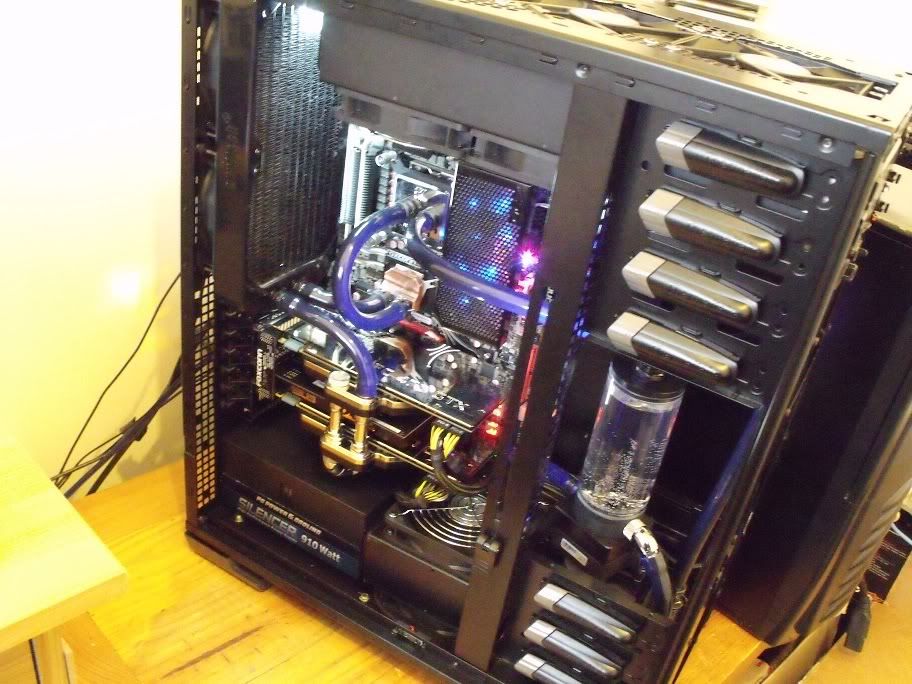
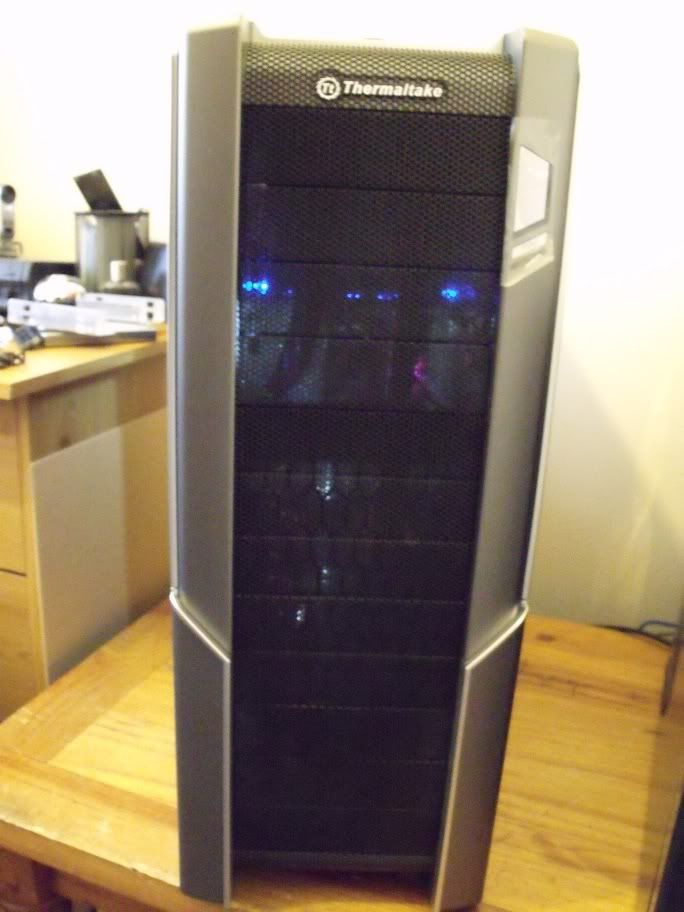
And a few shots of the finished article:
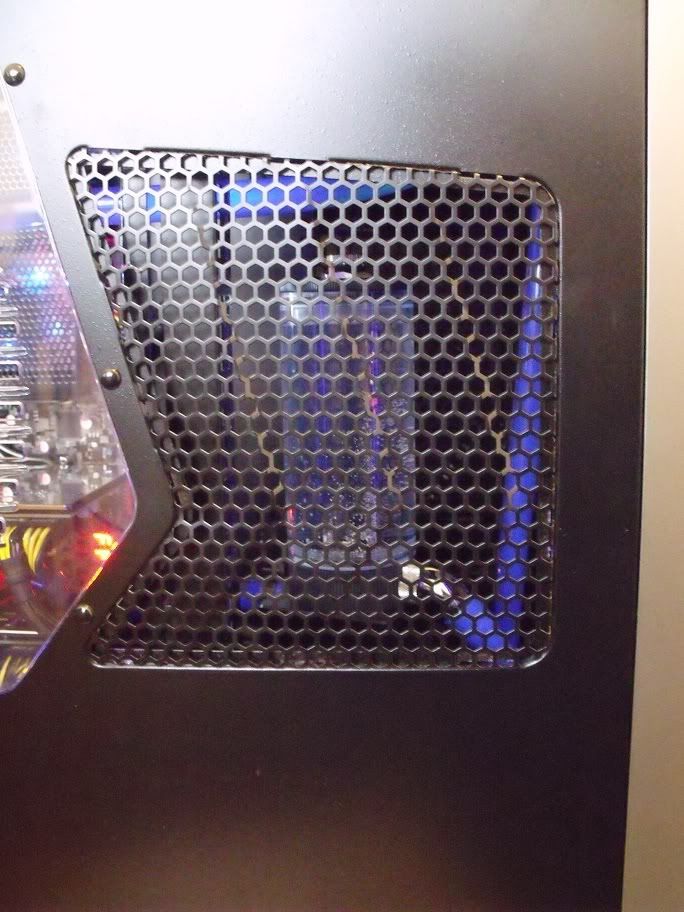
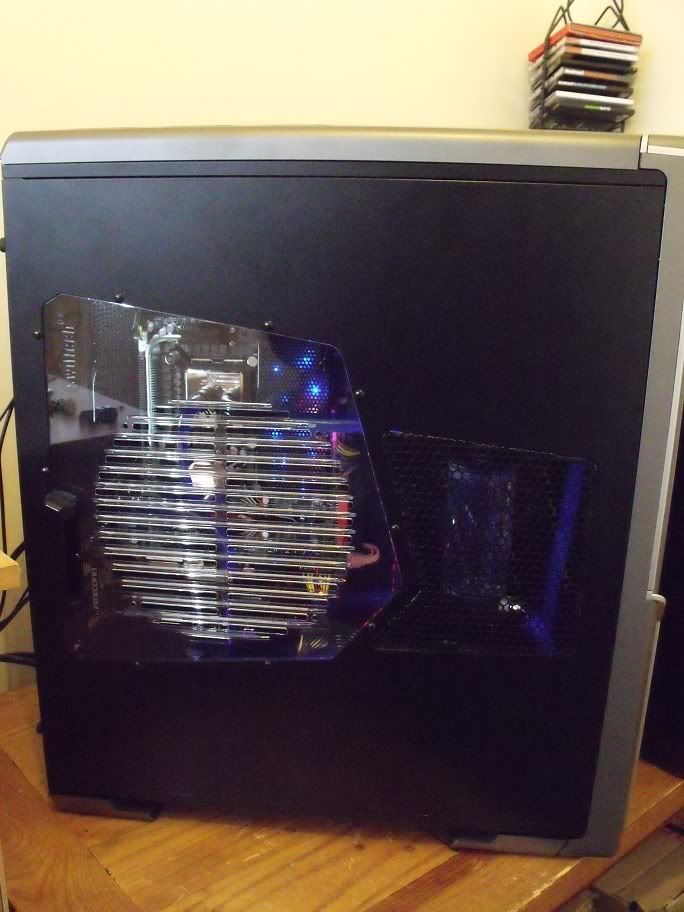
And if you're wondering why I never show any shots of the side panel here's your answer...
Fugliest case window EVER.
Anyway, only a minor update there, next update is some mods to the plastic top panel and facia and replacing that side window. Stay tuned!
Still to do:
1) Either make sleeved extensions or sleeve existing 24pin, 8pin and 6pin connectors
2) Sleeve cathode wiring
3) Replace side panel window
4) Cover missing esata/audio/usb from top panel
5) Paint grills
6) Paint top panel
7) Paint front panel
8) Detail top panel
9) Detail front panel

 Reply With Quote

Bookmarks