


Starting the New Year .2011
Okay got the flash issue out of the way so now on with building!! Almost like starting at the beginning, and the build now has a name KestrelFlight.
This last week I have taken the mobo assembly off the TechStation and mounted it into the case. Had a couple of major components arrive the 6th (thatll be covered later) but really got the desire to finish this thing (air cooler version that is!!). However this weekend turned into a bust time wise. Well anyway this may not be as wordy as usual, but thats a good thing!
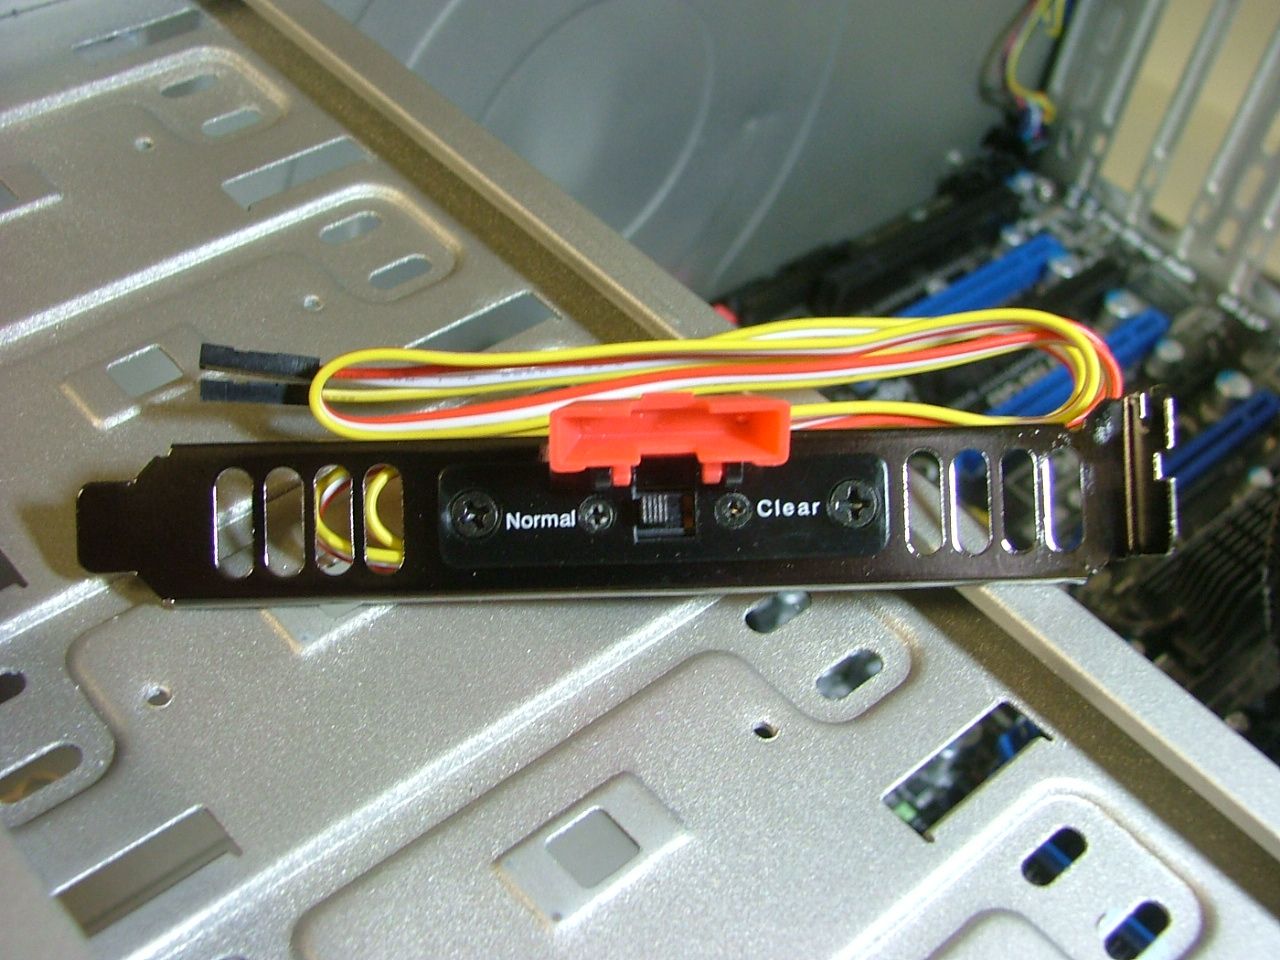
For the first running Ill be using the 285 and for some extra goodies Ive added Zalmans ZM-PCM1 with two ZM-VPM1s http://www.zalman.com/ENG/product/Pr...ad.asp?Idx=417 & http://www.zalman.com/ENG/product/Pr...ad.asp?Idx=418 . Also added Silverstones CLEARCMOS switch for when I start trying to overclocking. The CMOS jumper is located in the middle of the mobo and didnt feel like reaching around things.
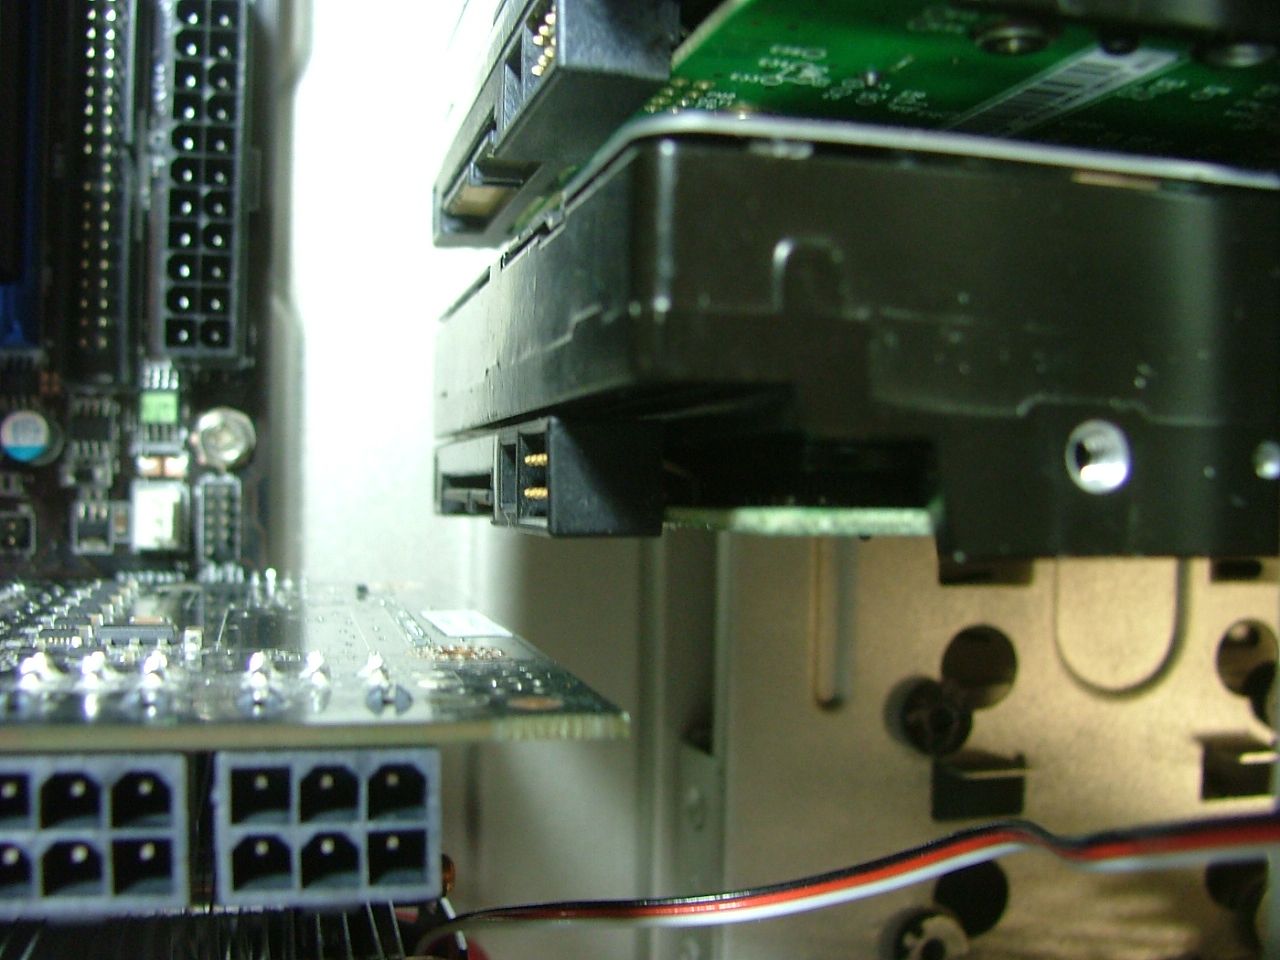
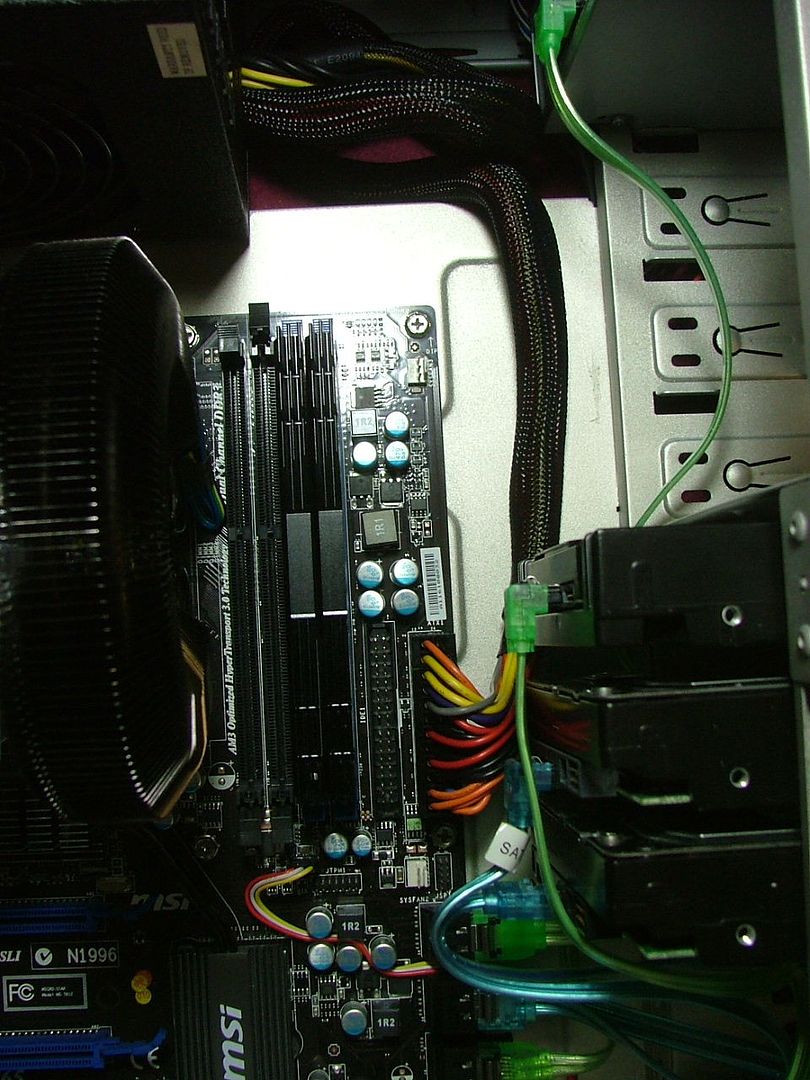
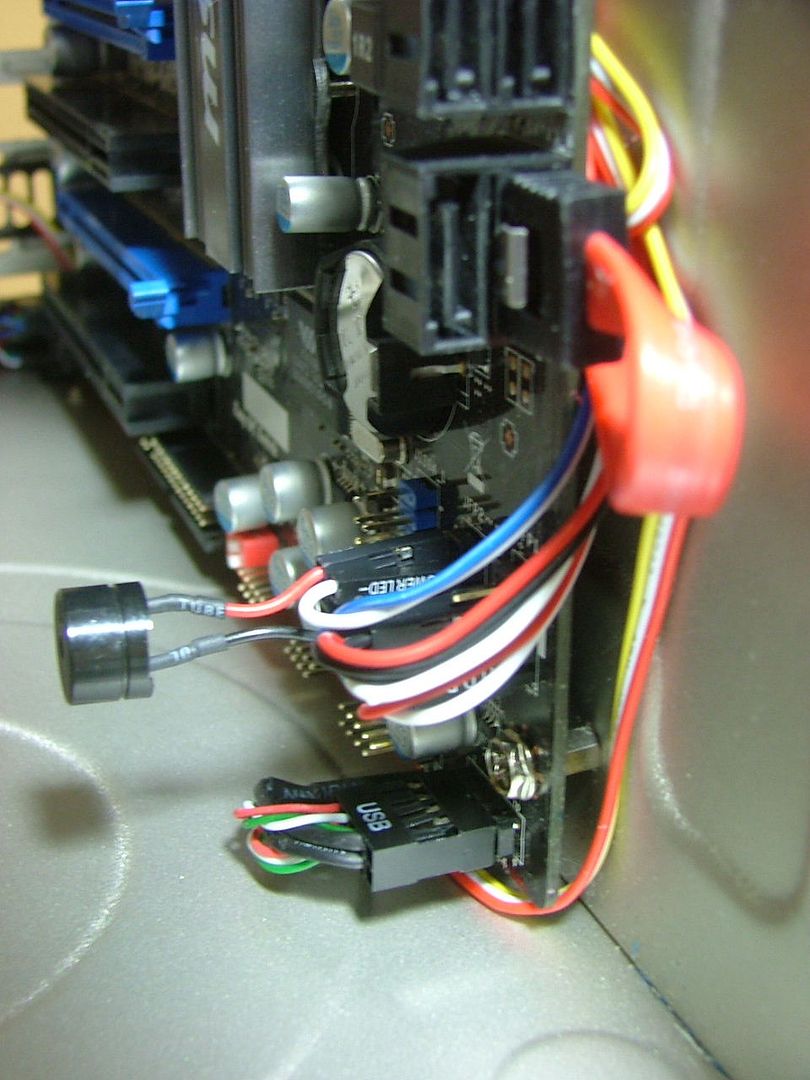
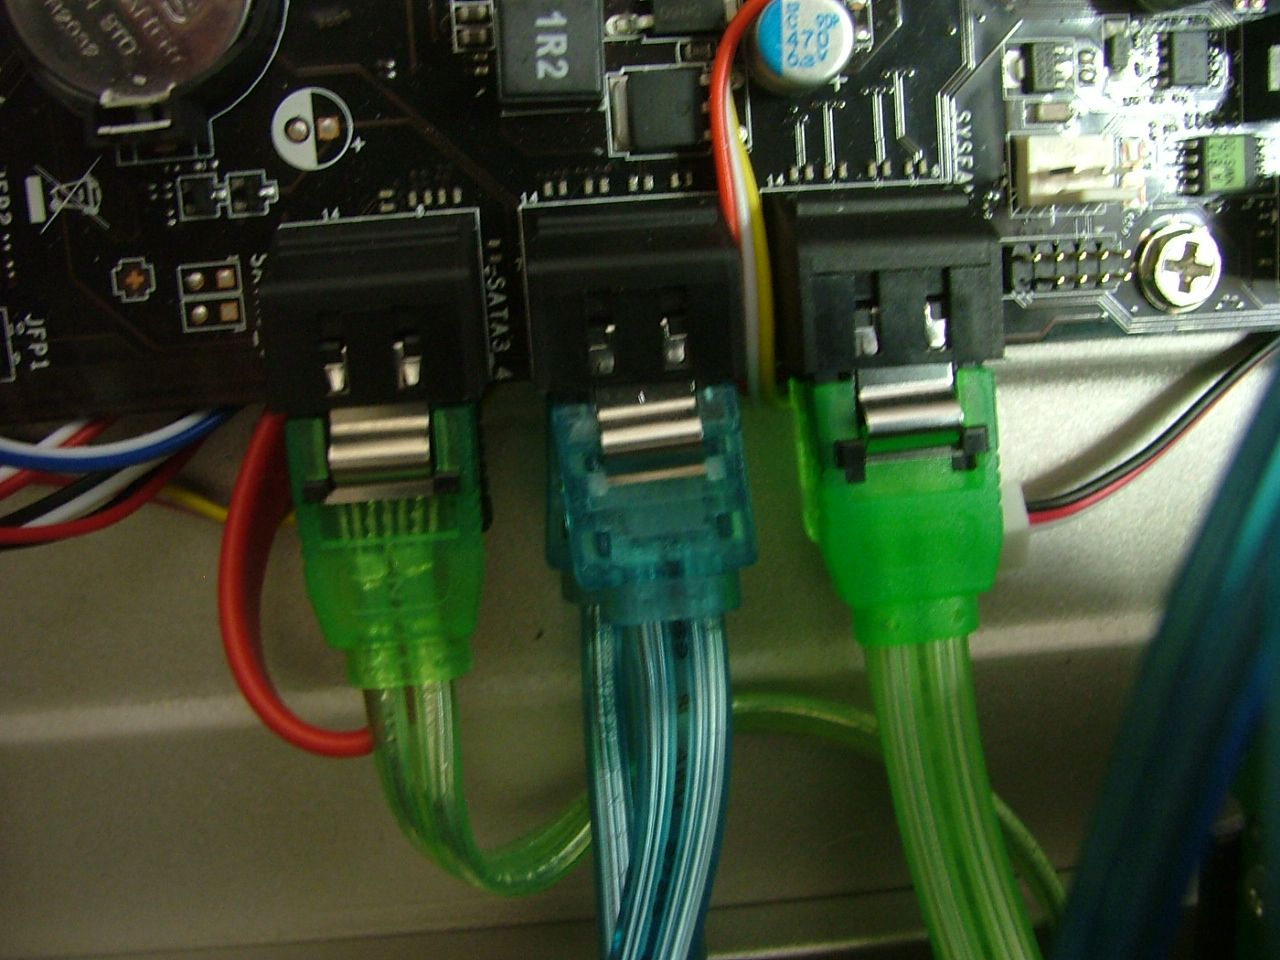
Initially I started mounting the mobo, HDDs, bezel items, and PSU when it arrived. One of the things that MSI included with this mobo are something I call pre-wire plugs. In principle it sounds pretty cool. Hook up the entire front panel wiring to the plugs and then just plug those into the mobo.
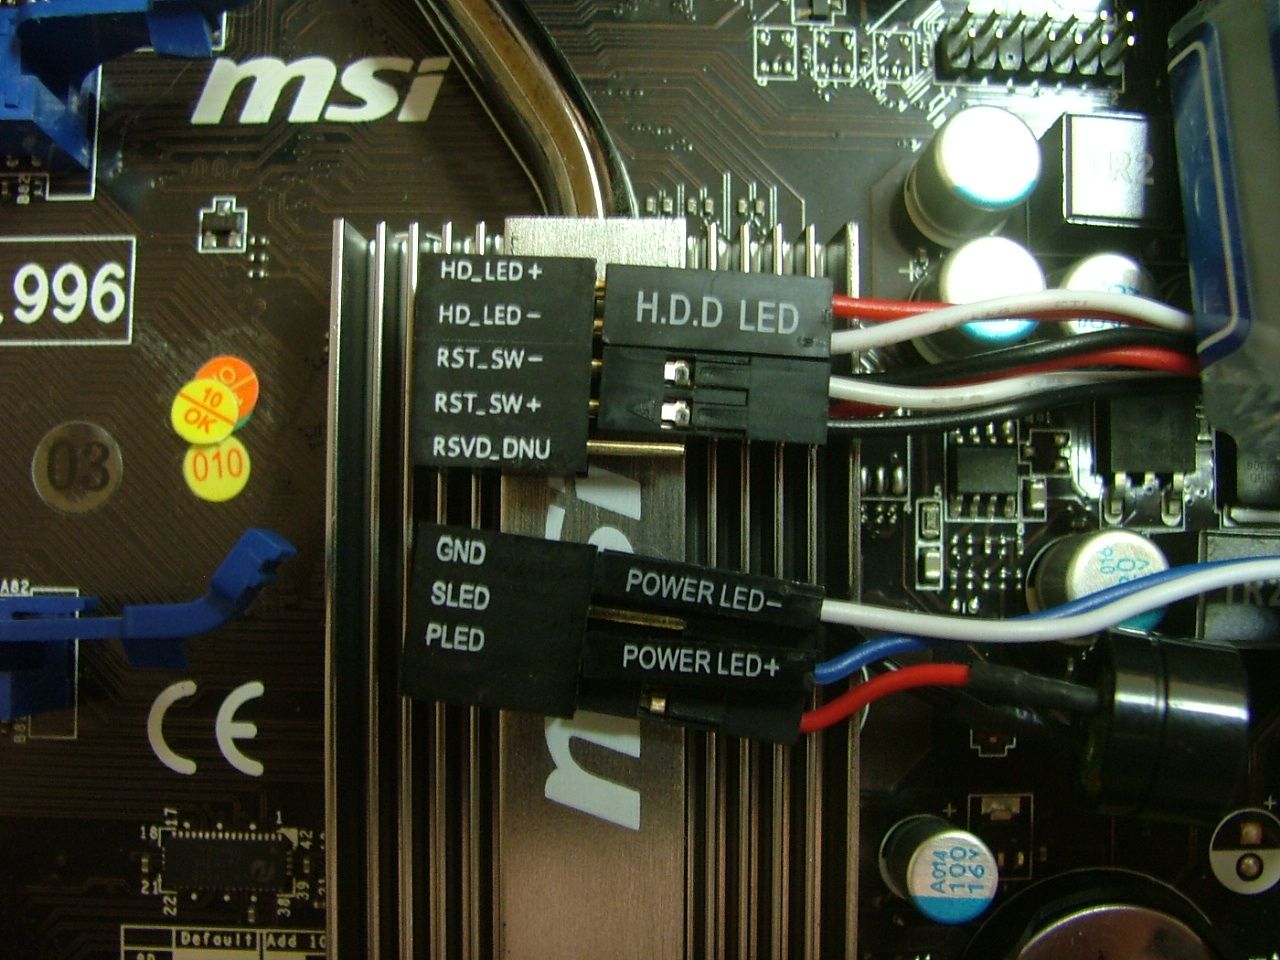
But as you can see that makes the connections rather tall, and I wanted to see less wires so I went back to just doing it the old way.
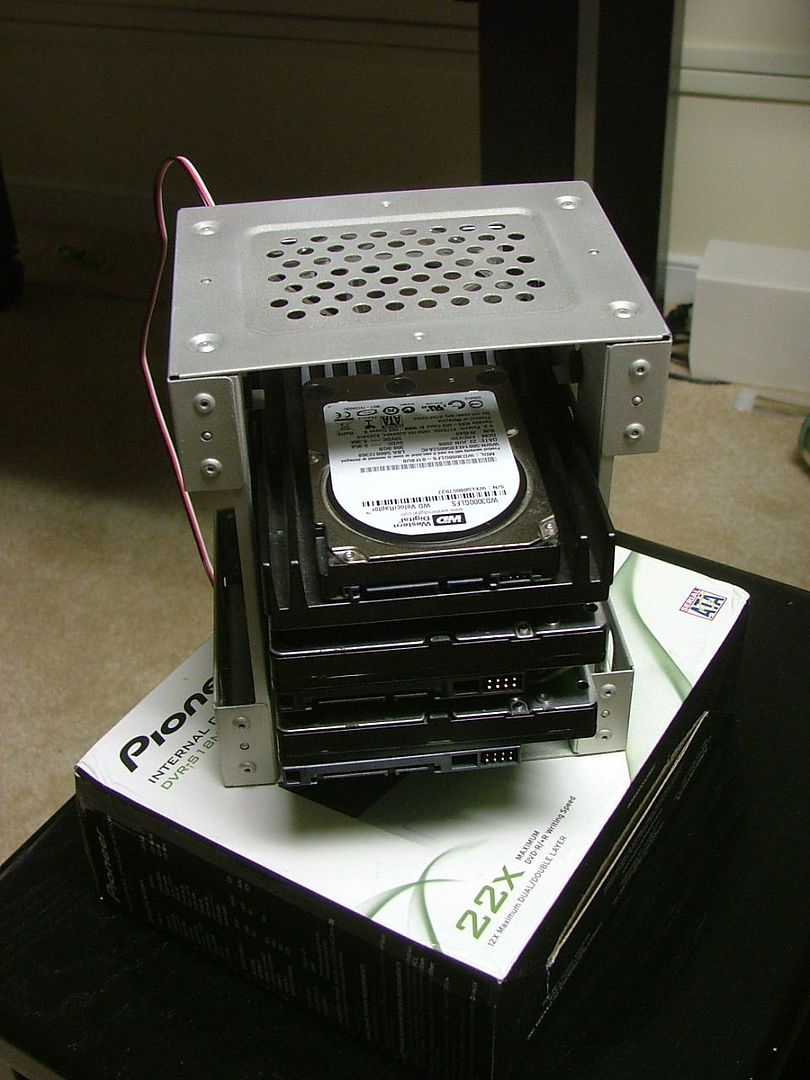
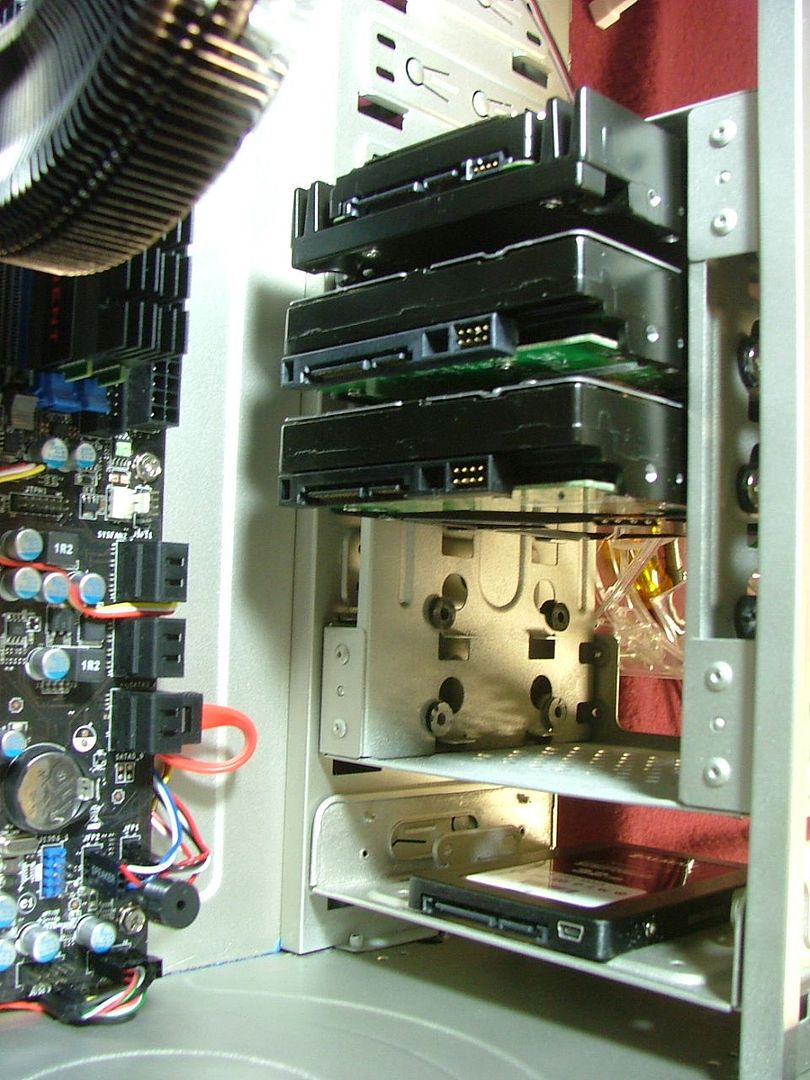
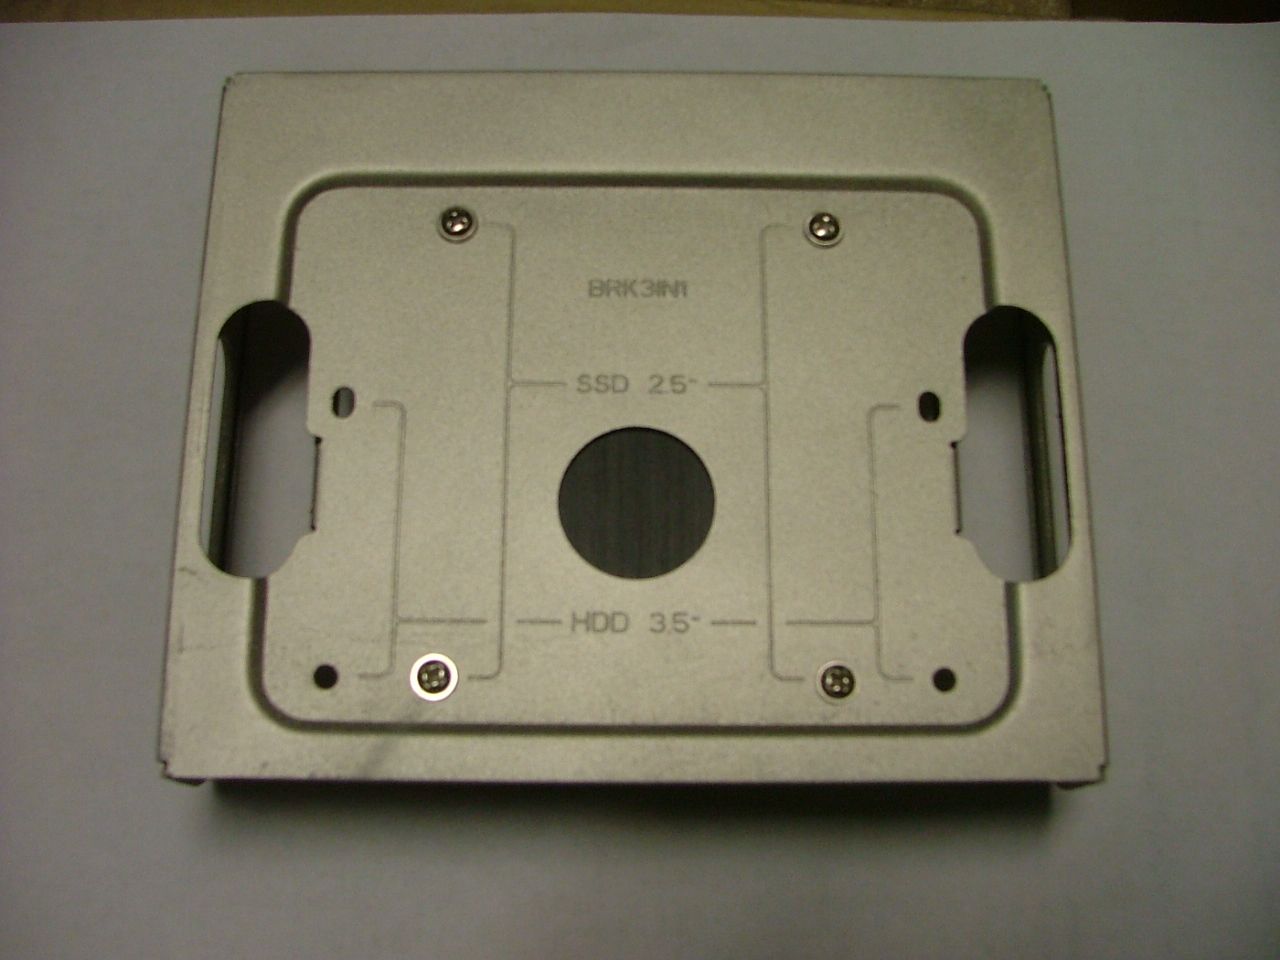
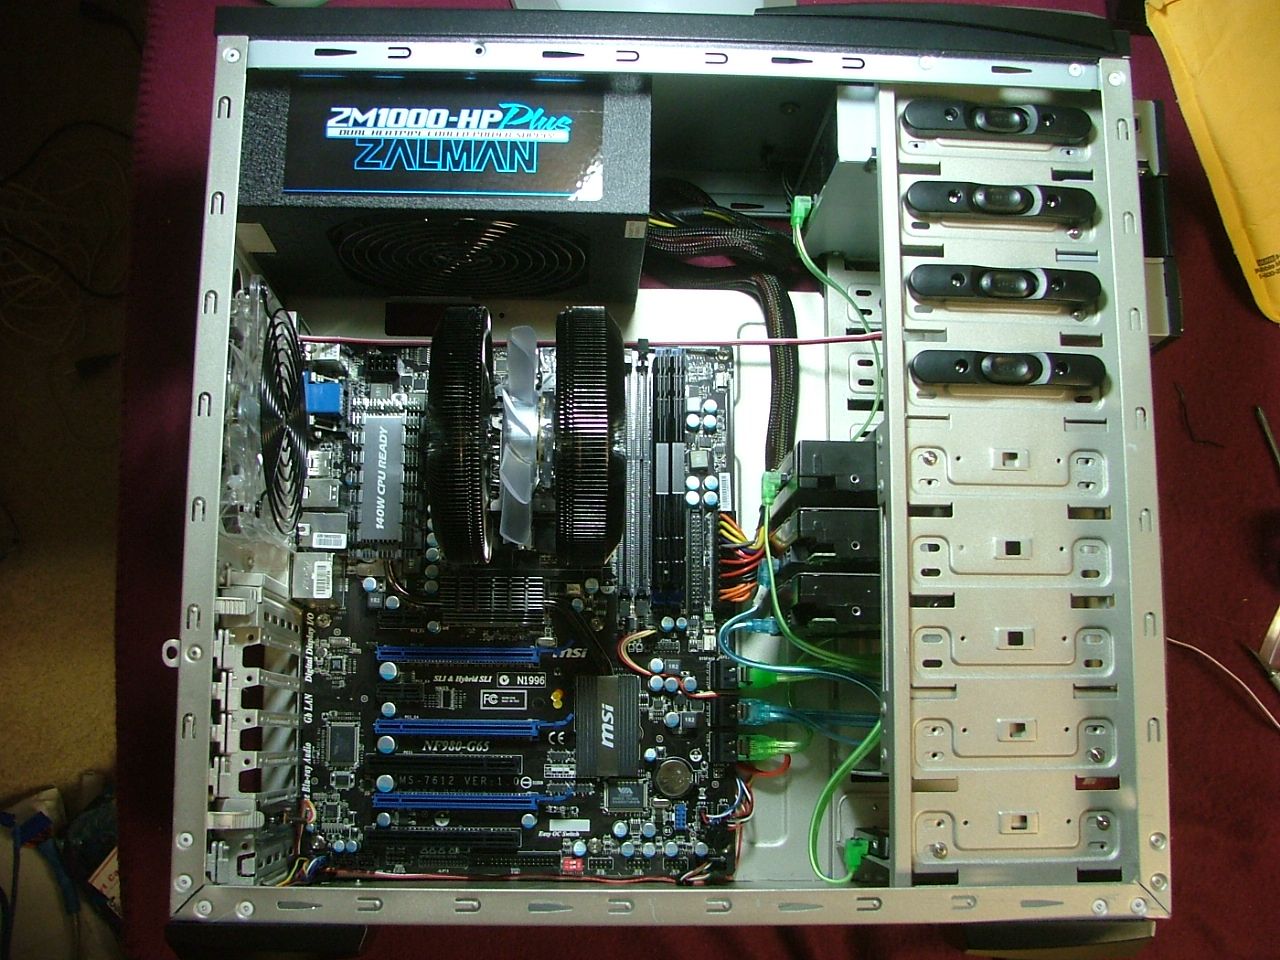
Next up was mounting the HDDs into the cage and the SSD to its dedicated tray, which also would hold the FDD if one were still using those.
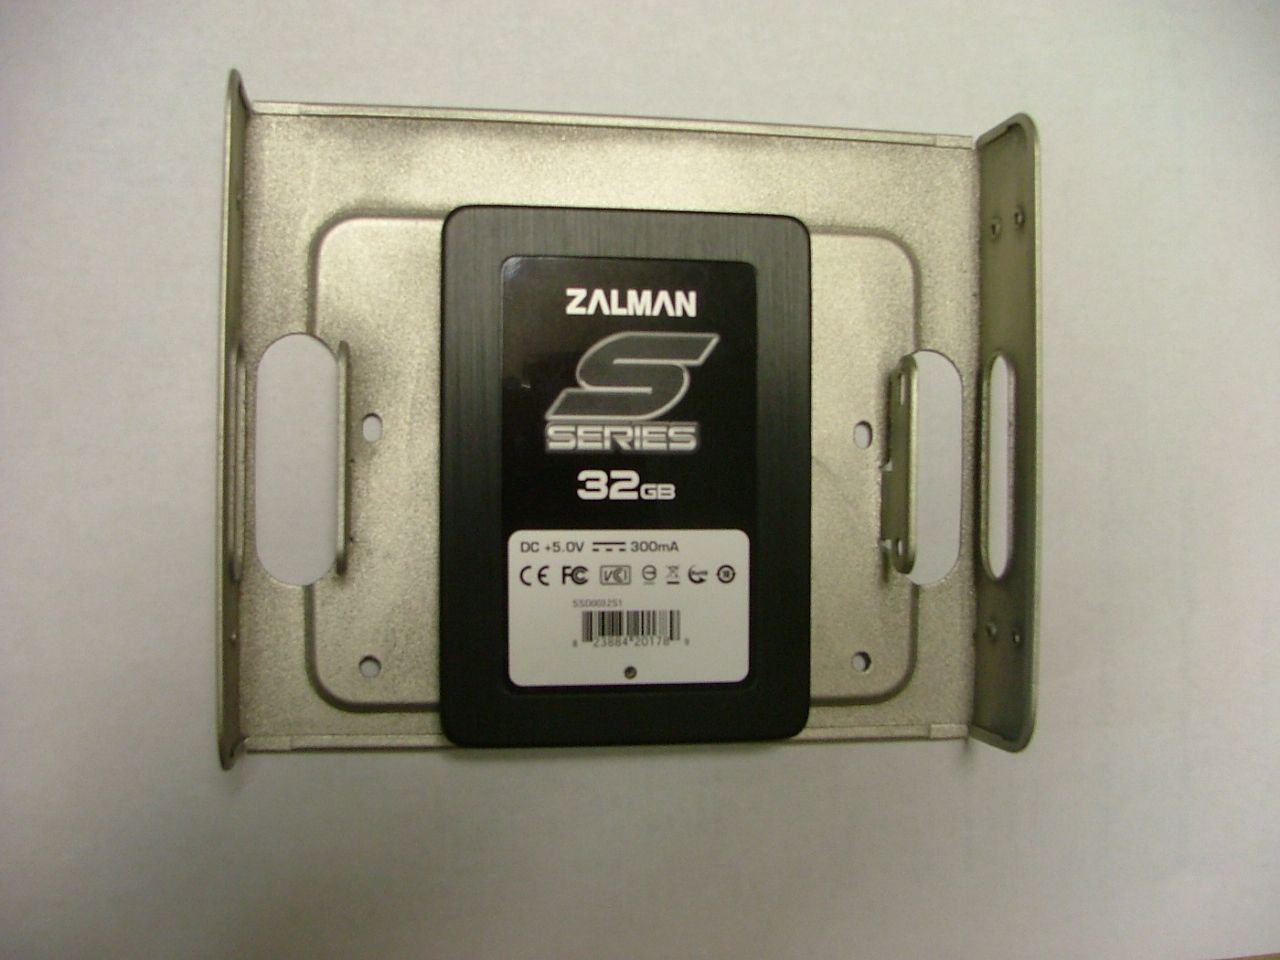
Something to note about the SSD tray, this is the second build Ive done where the case manufacturer supplied one. However I like the one in the Zalman as it is metal whereas the one in the NZXT Hades is plastic. To get things rolling I mounted my OCZ PSU just in case the Zalman 1000 didnt arrive for the week. That one would handle the single 285 with out issue and I did want to say I had it running this weekend!
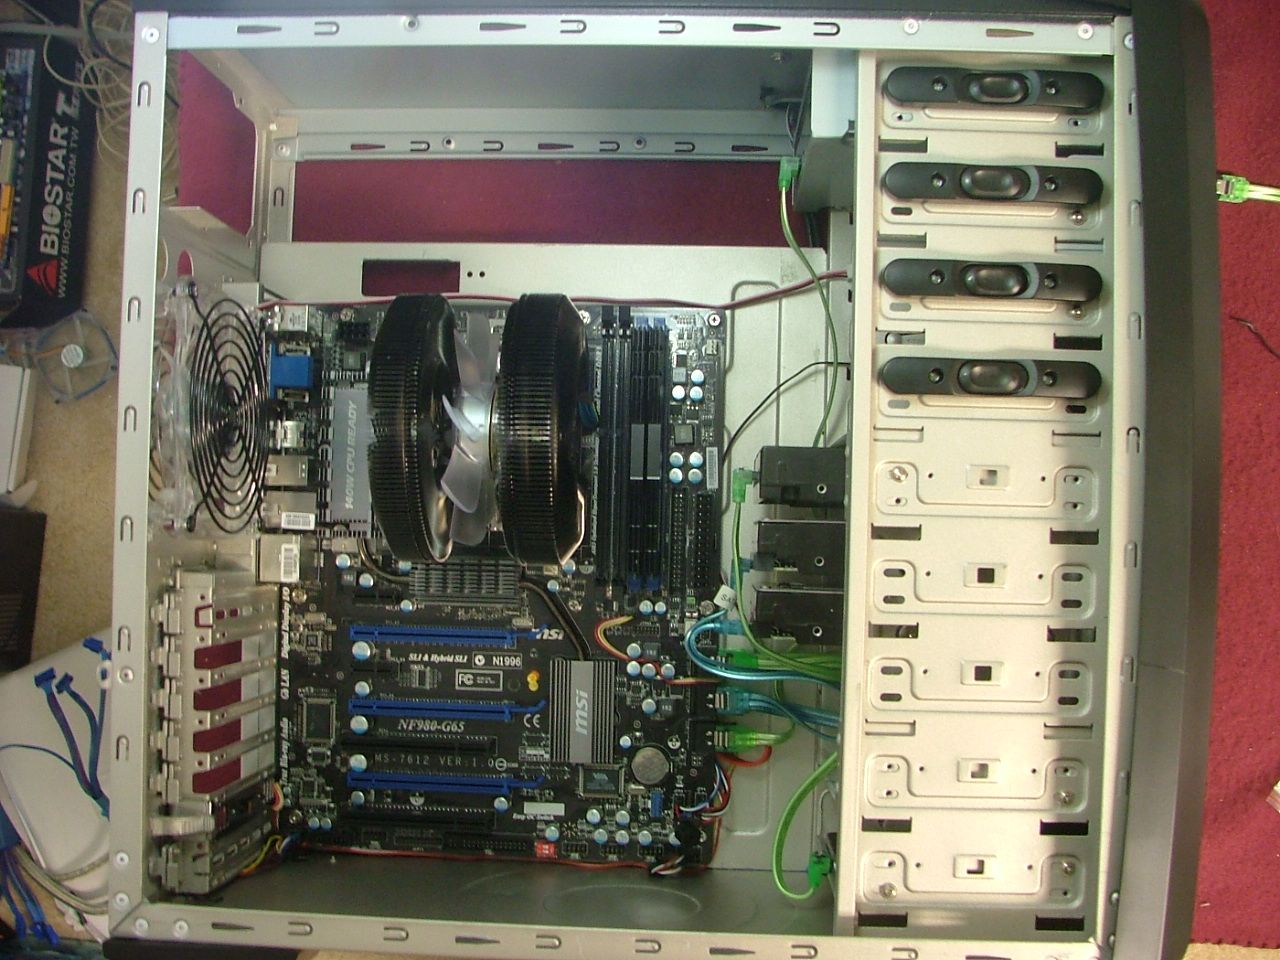
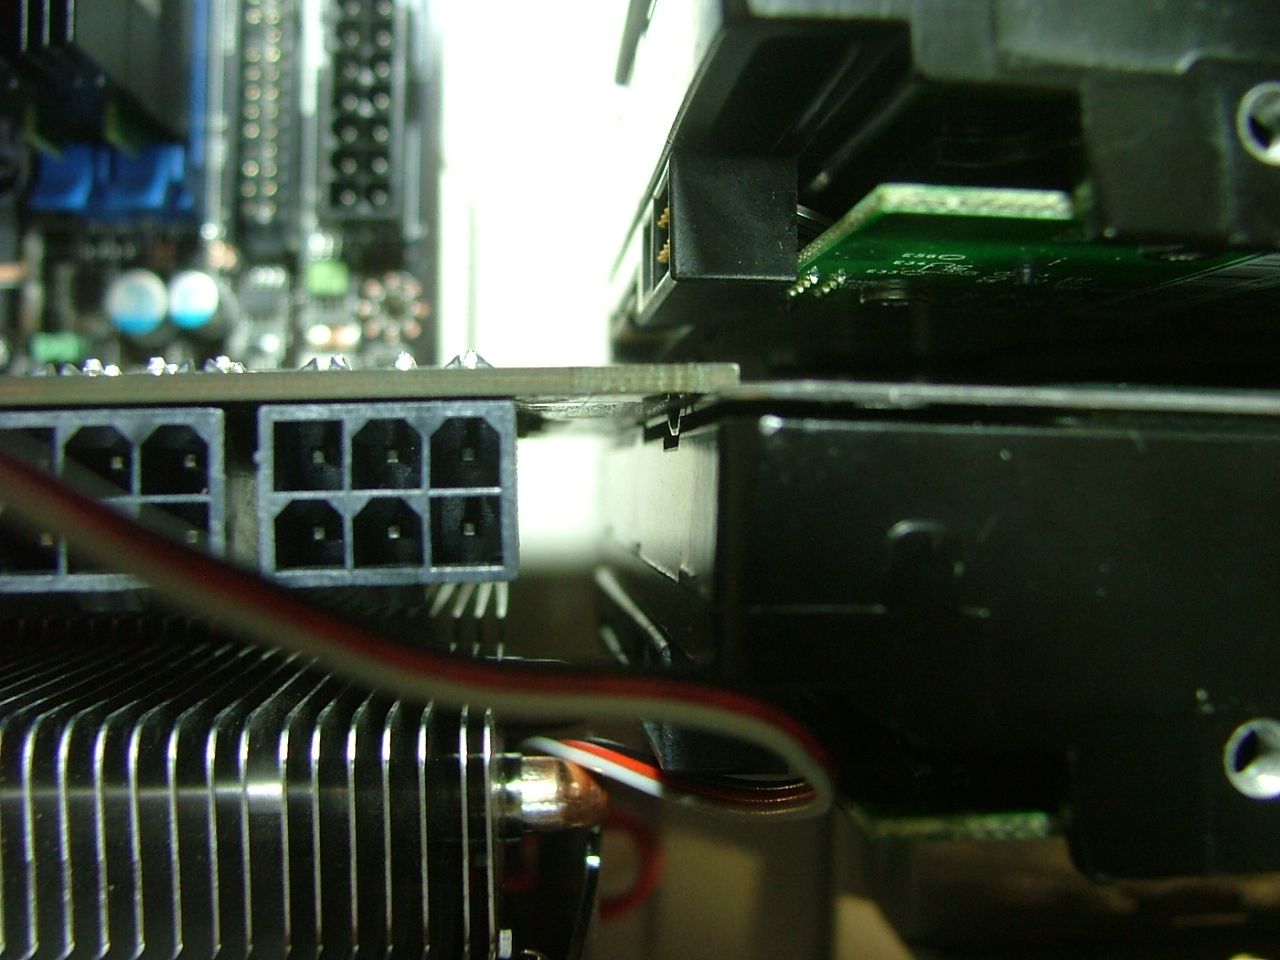
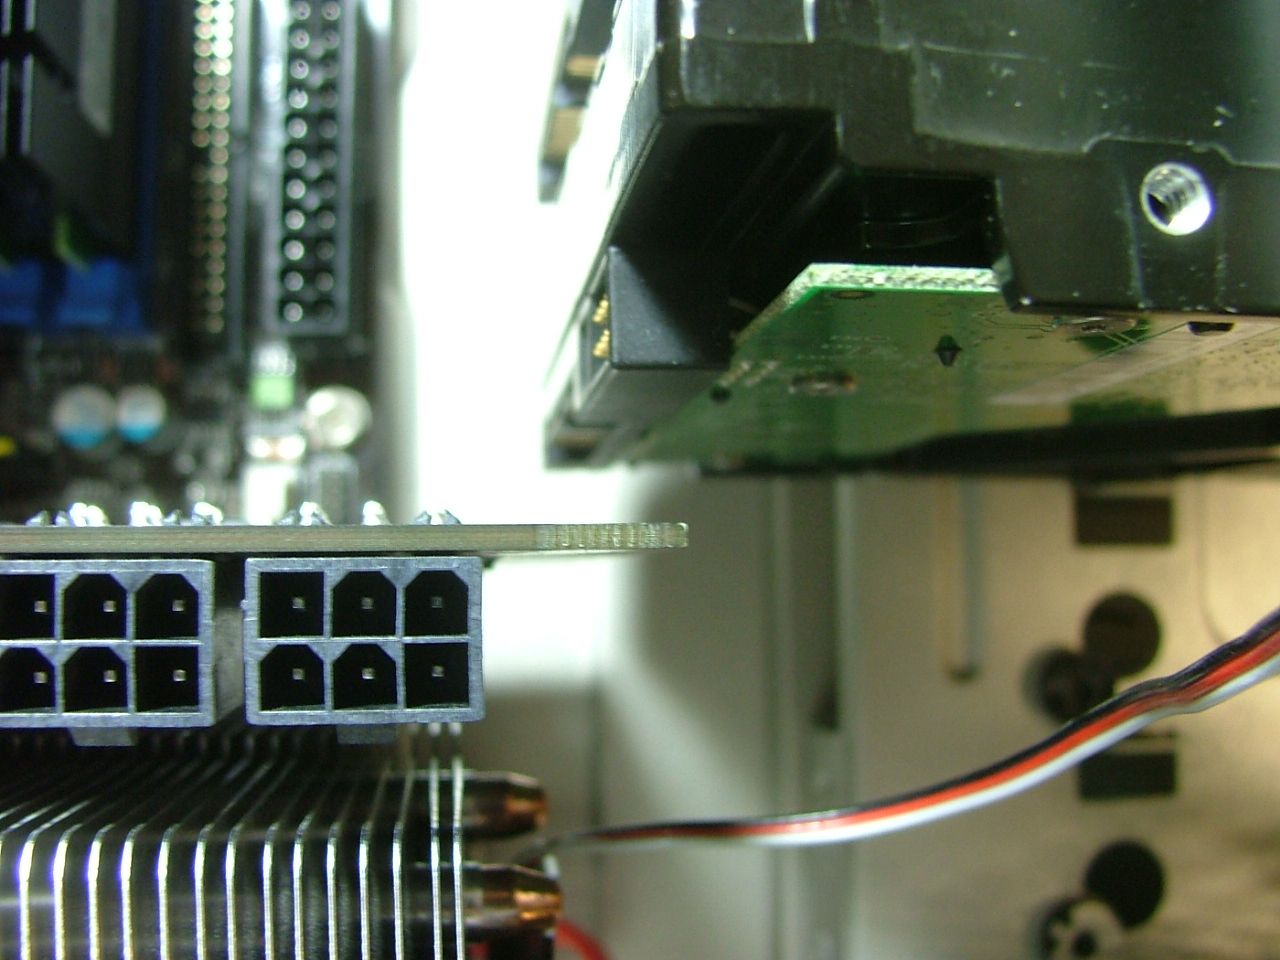
The HDDs were mounted in the center of the cage as I wanted the fan to really cool the VRaptor with the 2 x 1TBs below. Anyway mount the HDD cage and something didnt look quiet right so decided to mount the GPU, or try to any way!
So the cage came out and moved everything up one slot and ..
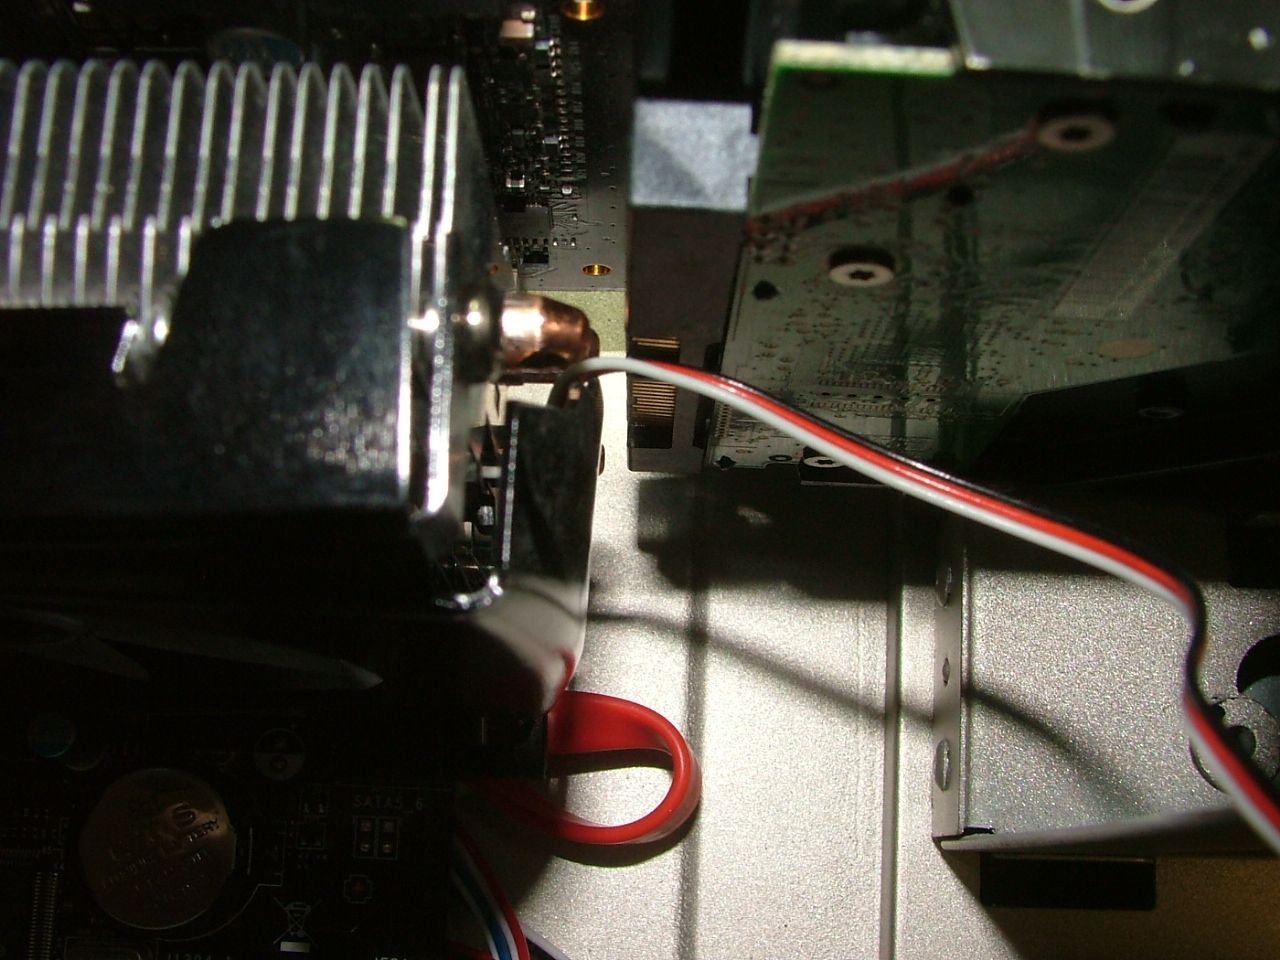
With that resolved I started laying out the SATA cables to see how they would work out.
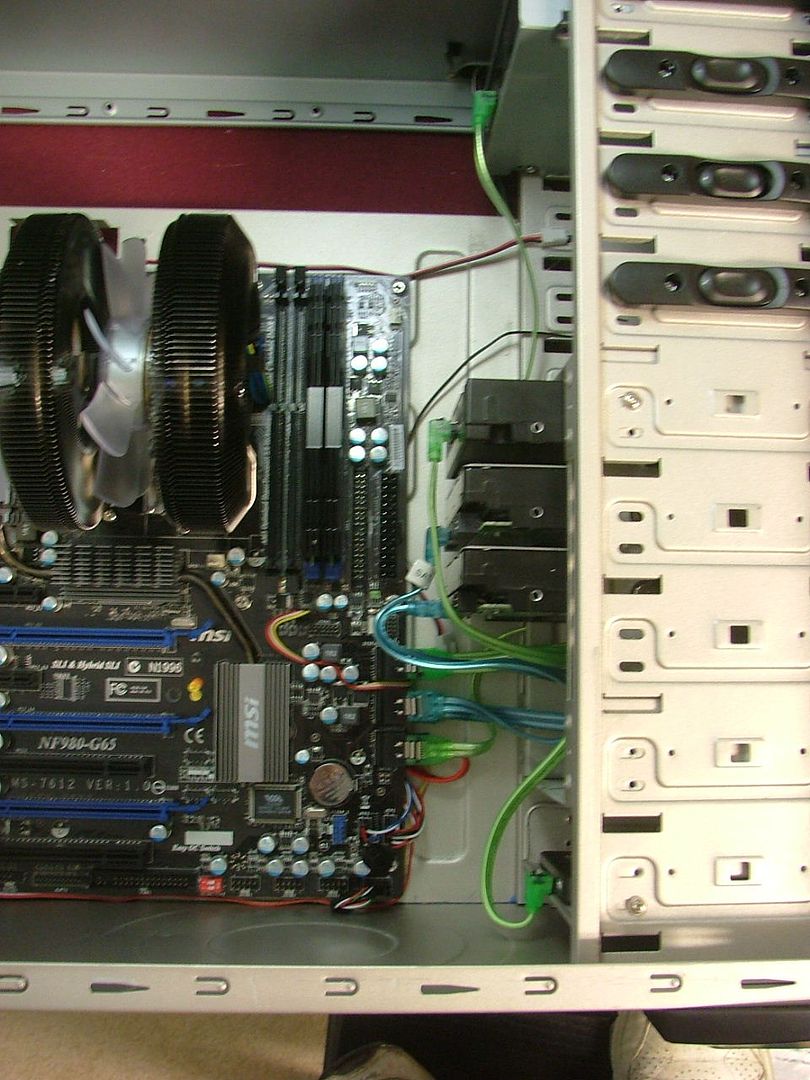
This ended up having all of the SATA headers filled, more on this later. Dont have a picture, but ended up with another GPU fit issue. Seems the 90 degree plug on the cable caused the cable(s) to push against the GPU PCB, so change number 2 thanks to the 285!
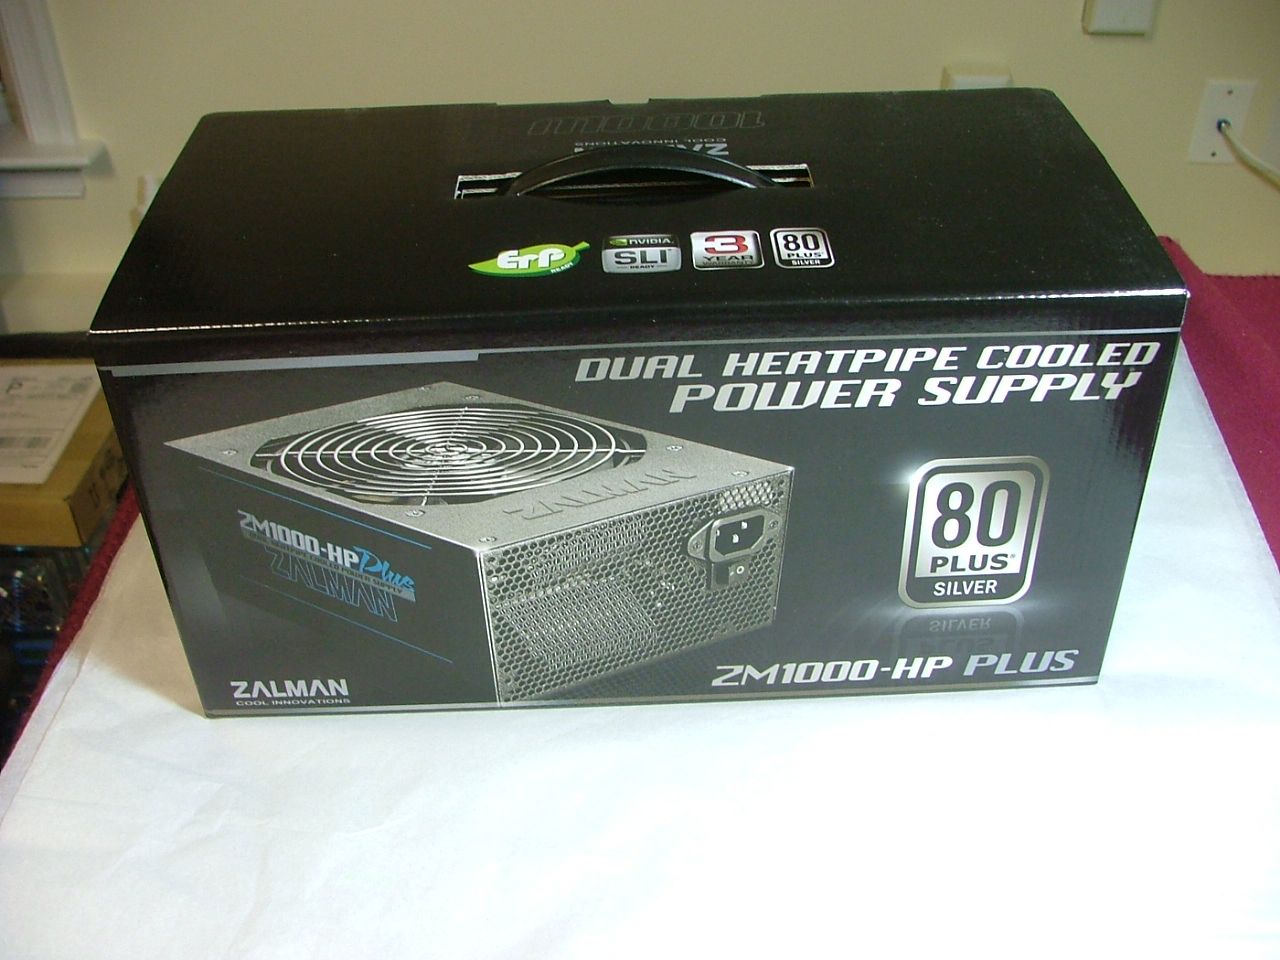
While I was beginning to play with this stuff received a nice surprise last Thursday .the PSU and the power meters arrived!
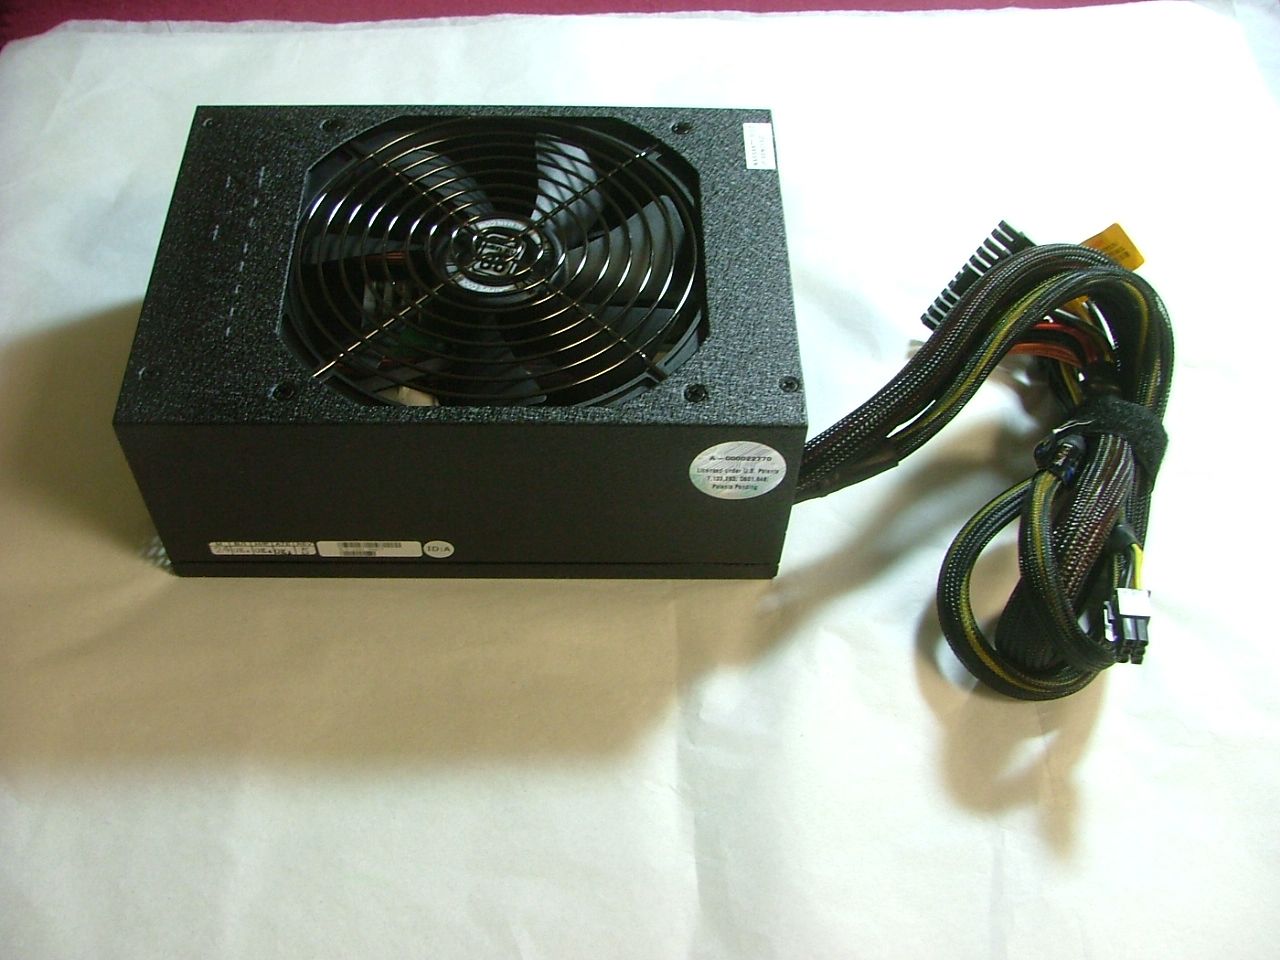
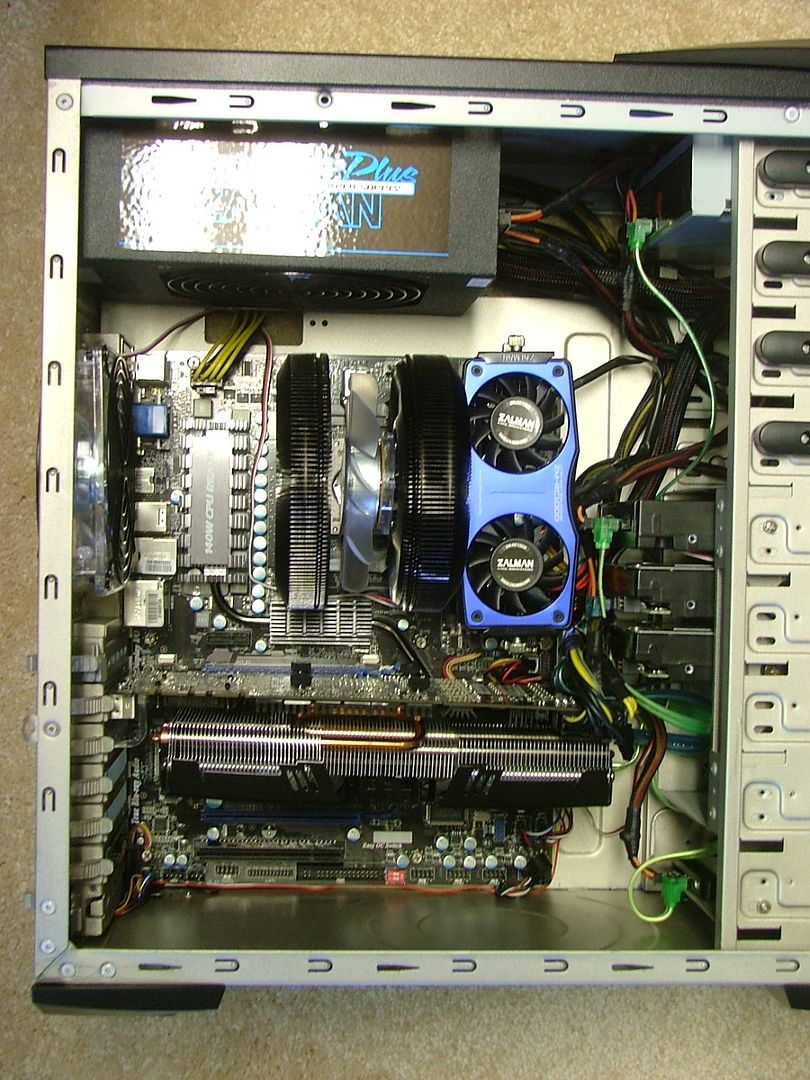
Now with that in place I could start layout the power cables and see how I could make it tidy. However my big case started shrinking!
The last picture shows all the power cabling in place along with the mem cooler. So much for neat and tidy!!
Now the latest snags ..
The extension cables provided by Zalman to go between their interface block and the units (both GPU & PSU) are way too short so having to get something ordered. Managed a temp fix for the CPU one though.
The Zalman fan controller looks to require some 3-pin extensions also the hook up the fans but the real biggie is the dang interface/power brick that is pug ugly and LARGE!!
So need to stop the puter stuff until I get the issues figured out and get back on the honey dos!!

 Reply With Quote

Bookmarks