

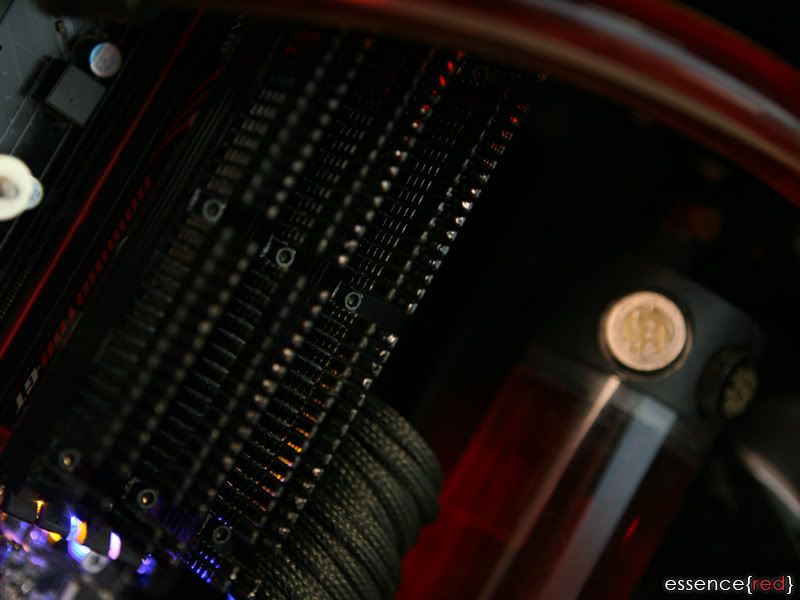
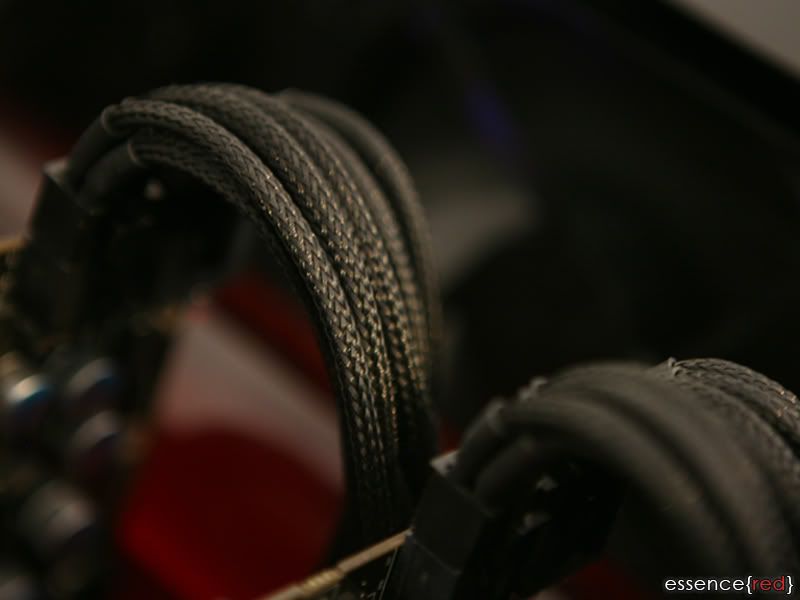
UPDATE: I've put some lighting in the case.
These three pictures were taken with less light in the room:
I'll try to get some more updates soon.
Thanks for reading.


UPDATE: I've put some lighting in the case.
These three pictures were taken with less light in the room:
I'll try to get some more updates soon.
Thanks for reading.
Last edited by CroyAlore; 10-11-2010 at 05:49 AM. Reason: Updated Pictures
A careful work, nice contasts, very pleasant to look
You my friend are a genious. Hope I can do something like that with my case
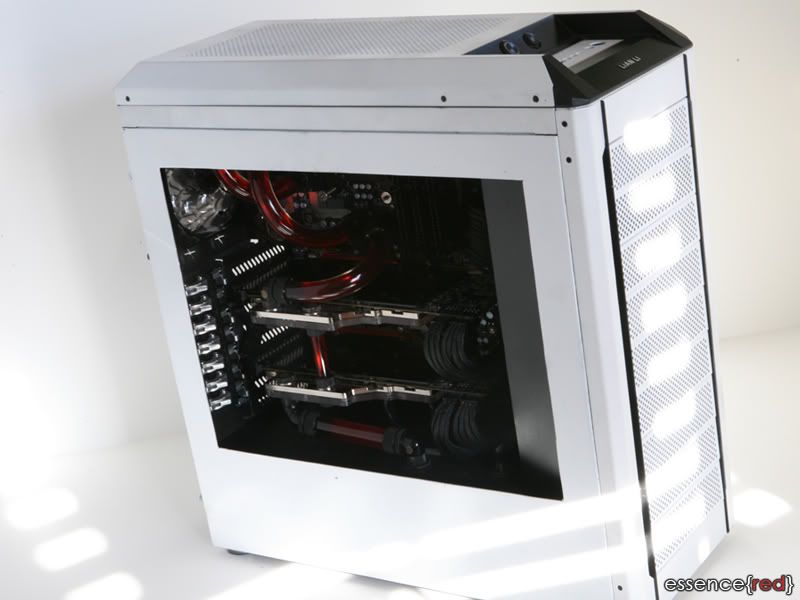
Awesome work crunic...can you take a pic of the full system...
Originally Posted by manu_D
 Thanks everybody =D
Thanks, I'm actually going to install the hard drives soon, once I do that I will get some pics of the full system.
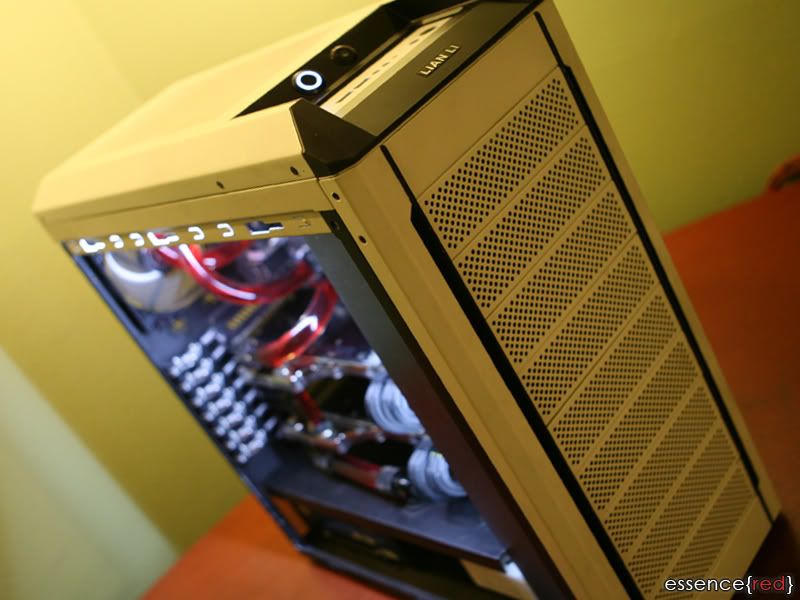
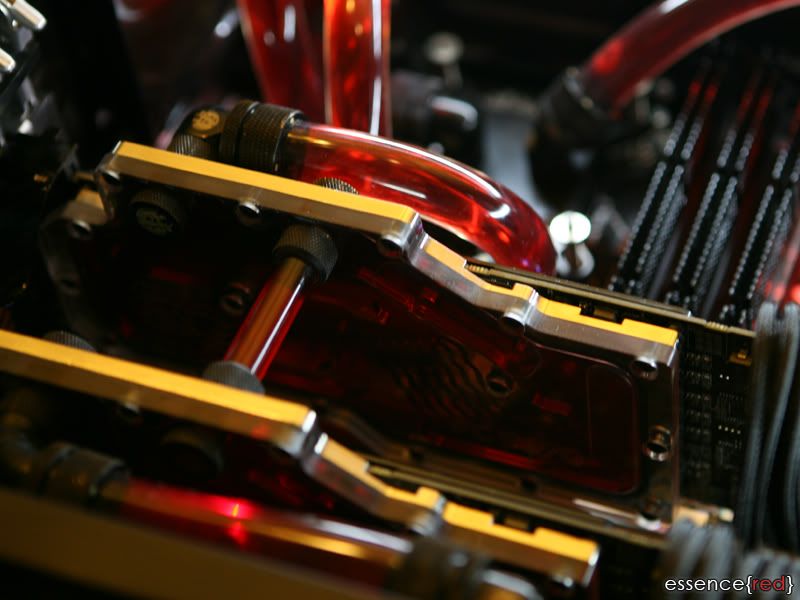
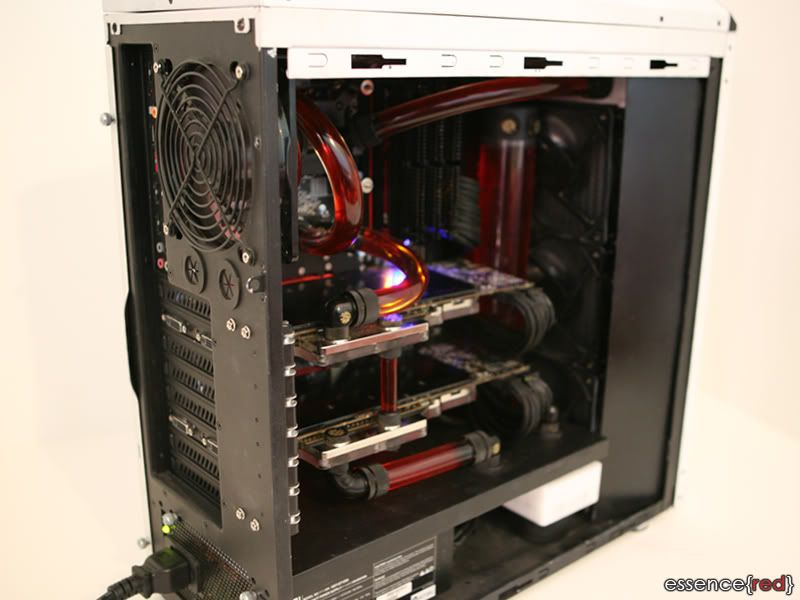
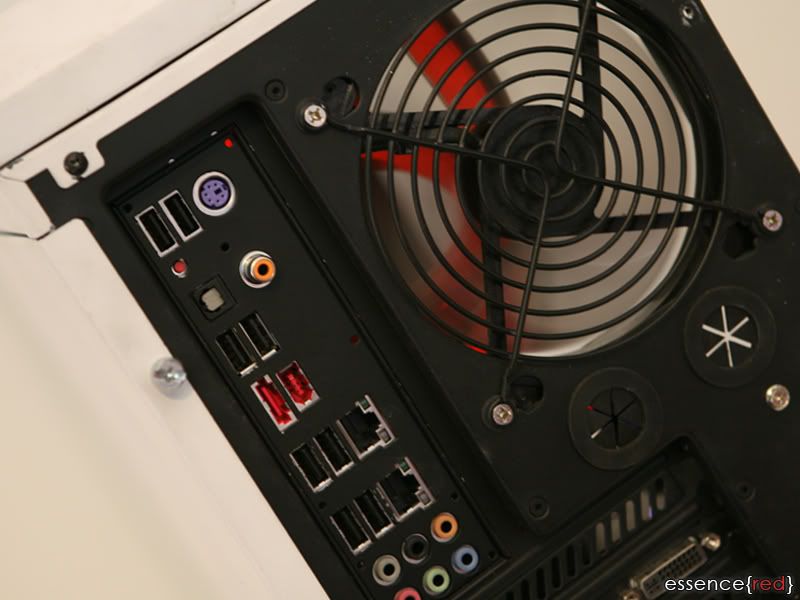
I updated the case with some new things:
- Changed the water blocks to nickle and I am going to use the copper blocks for another build.
- Repainted the ram heat sink to black instead of white.
- Replaced the bottom mesh with aluminum instead.
- Removed the metal from one side of the front radiator to make the computer parts more visible.
- Changed the front of the case to white instead of black.
- Added the power and reset buttons to the top of the case.
I still got some small things to change with the case, but here are some near complete photos:

wow mate, looking fantastic!! Pc-50 is such a sexy looking case when you've re sprayed it !! moar moar moar pics!
Another thing I find funny is AMD/Intel would snipe any of our Moms on a grocery run if it meant good quarterly results, and you are forever whining about what feser did?
Thanks =D
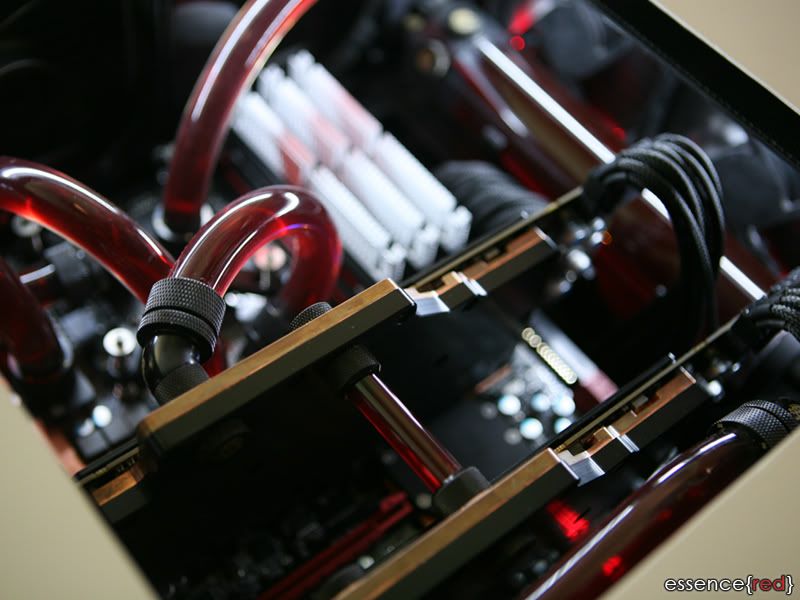
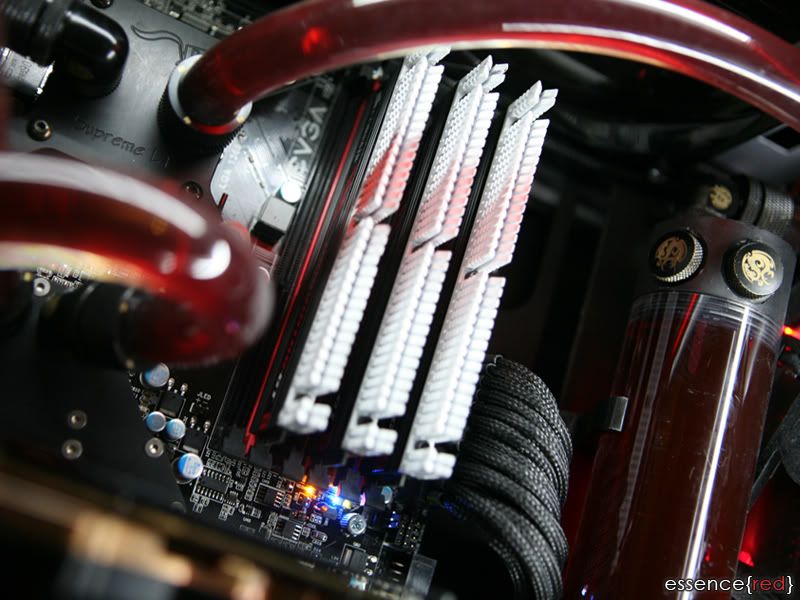
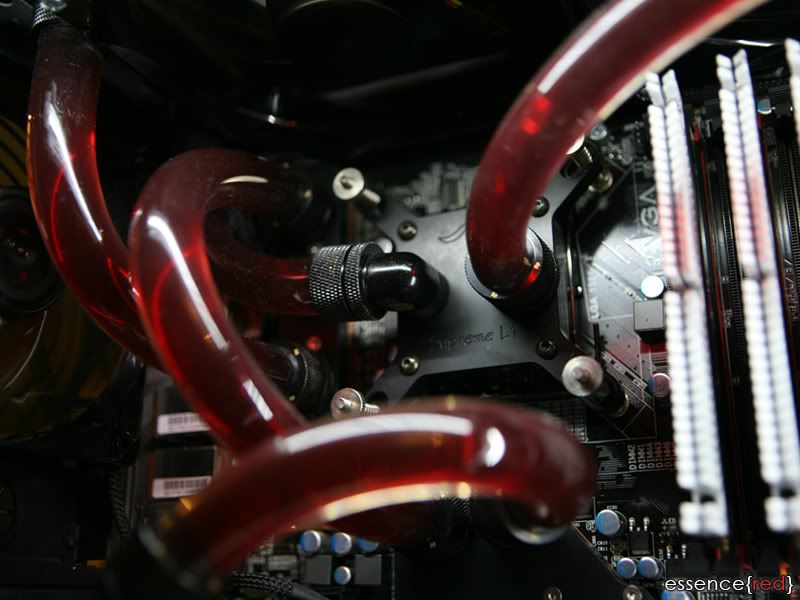
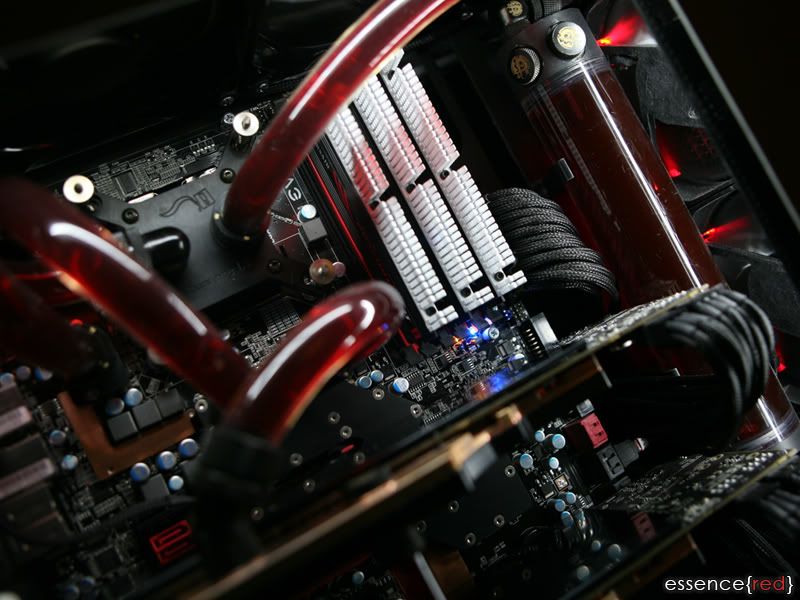
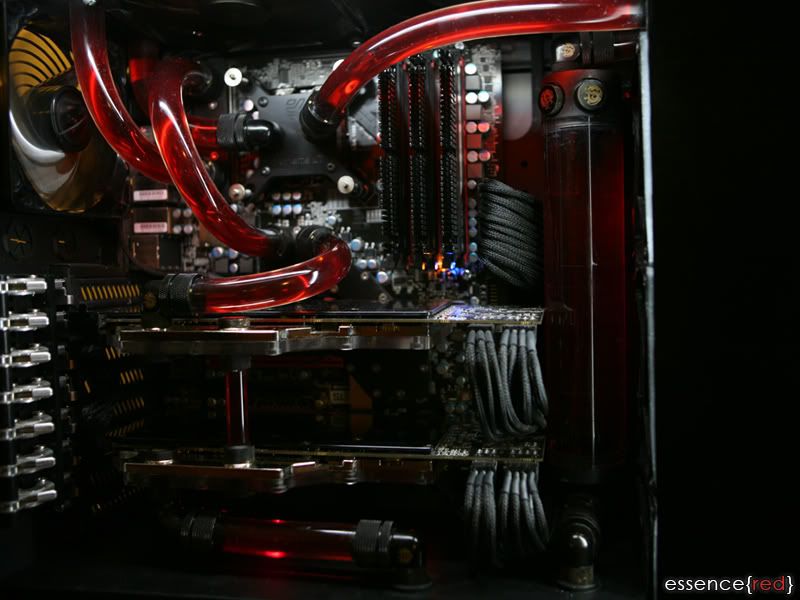
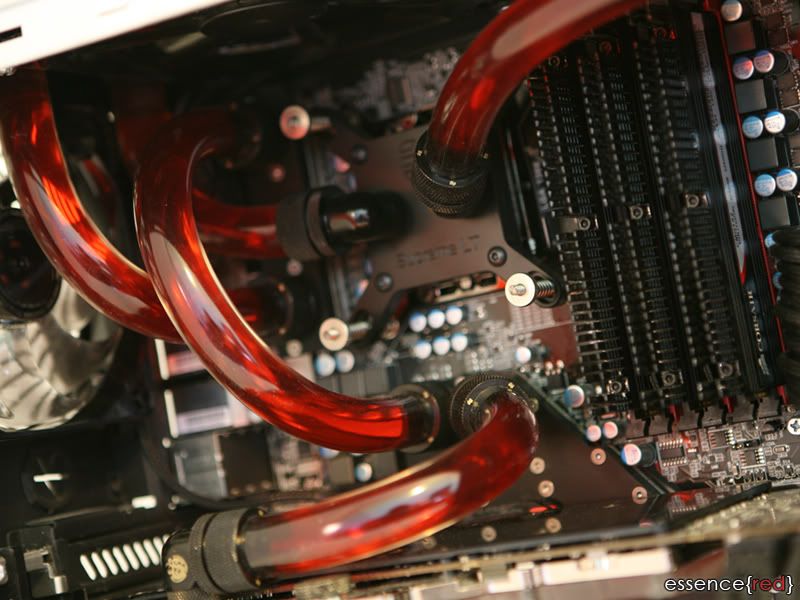
I just finished taking some pictures of the system with better lighting. This should be one of the last updates.
Thanks for reading.
Last edited by CroyAlore; 12-01-2010 at 03:14 PM.


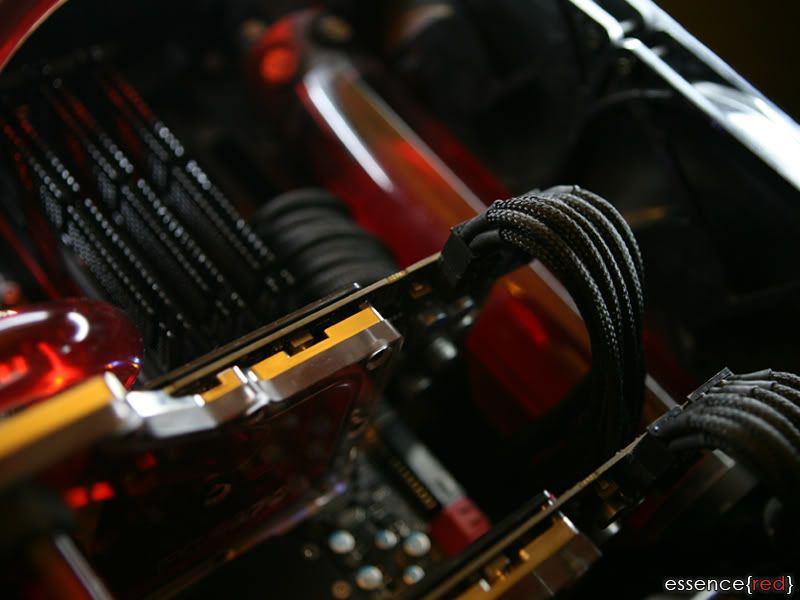
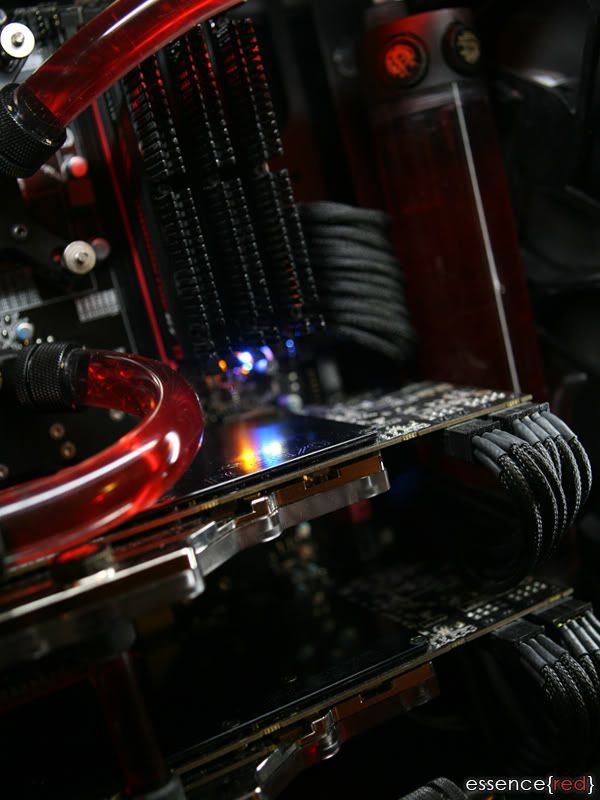
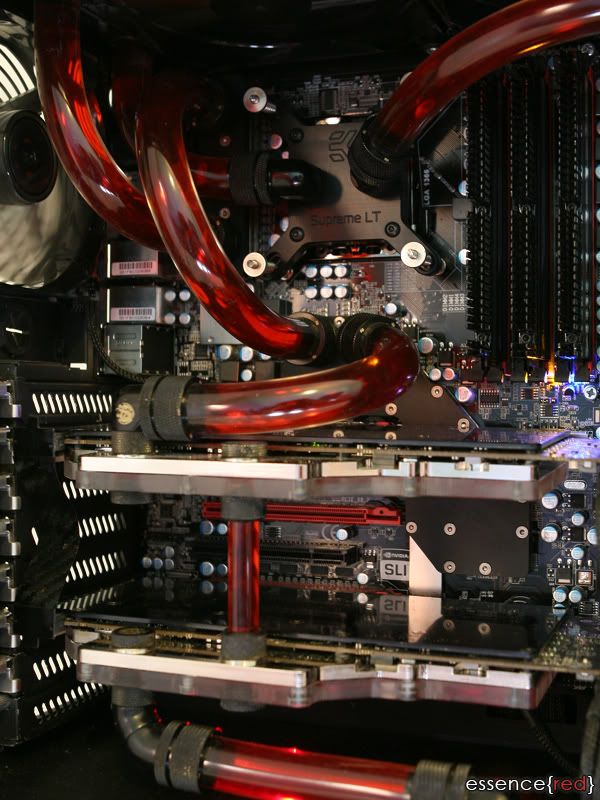
Someone needs to make custom SLI bridges.
Signatures make my posts look huge... but I'm not humble enough to completely remove my signature, so I kept this note explaining it.
Very nice...looking very very good. You planning on filling those holes on the top, where the old buttons were?
Thanks =). I'm going to put back the usb and audio ports but I'm not sure what I'm going to do with the power and reset.
Maybe the original Power/reset holes could be used for buttons that turn on lighting inside the case?
That's a good idea. I'll see if I can use the old power and reset button. Its either that or I'll just cover the holes.
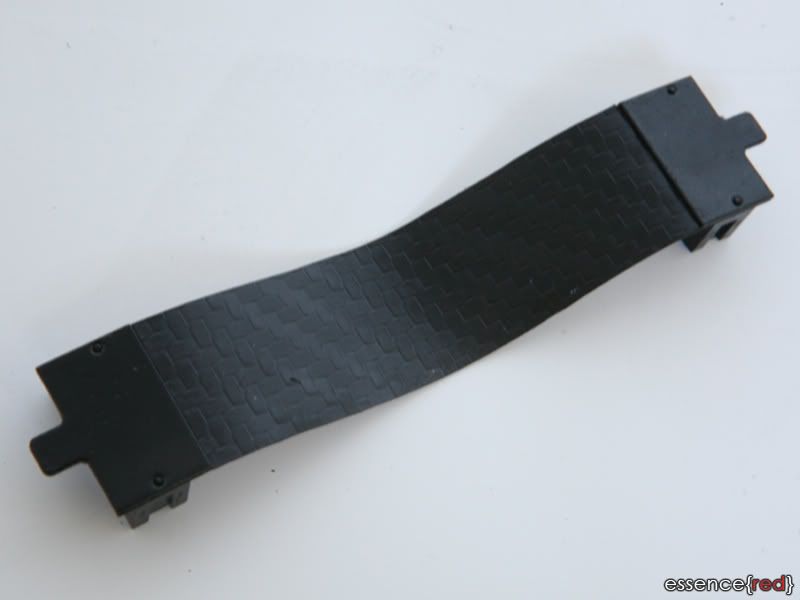
Can you show how you made that SLI bridge? Or just the material? 3M Di-NOC I presume? But how did you make the tabs more importantly?
Jadawgis's Golem
i7 930 4.2Ghz Asus P6T 6Gb Corsair DDR3 1600 GTX 470 SLI 80Gb X25-M G2 1Tb CaviarBlack X-Fi Titanium Fatal1ty BFG EX1200W Silverstone Raven RV02BW
Corsair H50 3x Samsung 2343BWX
Current Build: 800D EK Nickel/Plexi GTX 470 Apogee XT MCP-655 w/ EK X-TOP V.2 EK Multi Advanced 250ml 360 & 240 Rads w/ Gentle Typhoons P6X58D-e X-Fi Titanium Fatality
This case is sooo beautifull! And you are a genious for making it even more beautifull.
Awesome job!! Congrats!
Thanks for all the comments everybody =D.
I used Carbon Fiber Vinyl for the bridge.
Thanks =).
Last edited by CroyAlore; 12-12-2010 at 03:16 PM.
Thanks for the build log, i was looking at this case and trying to figure out what i could do with the case for best cooling. Youve solved a few of my queries with your log.
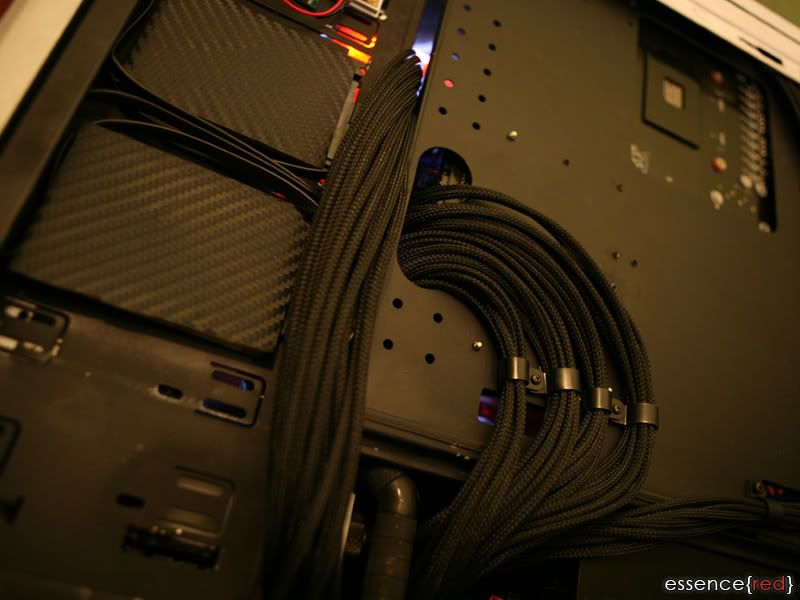
really like your work here, wish i had the time and patients to braid like this again but im just too lazy, i may end up using extensions that are pre-braided to save me time and money.
once again, great job with the case!
StevenG
Can you please tell me the name of the red led fans mounted in the front of the case?Thnx
Thanks =)
Cooler Master 120mm Red LED Case Fan
Nice log mate, The Tubing which connects the 2 cards via sli DOES look a little odd hehe, Mayb try serial as in 2 pieces of tubing instead of the 1?
Another thing I find funny is AMD/Intel would snipe any of our Moms on a grocery run if it meant good quarterly results, and you are forever whining about what feser did?
Crunic very nice build!
When you installed the MIPS blocks, did you follow the instructions provided by using thermal paste for the mofset chips or did you use thermal pads? If you had used thermal pads, which one did you use?
Again, great looking build.
Beautiful build, congrats!
I like your unusual white + red + black colour scheme, looks catchy!
Donate to XS forums
Thanks a lot for the comments everybody =D.
Thank you, and I'm actually thinking of changing up the card positions, so if I do end up changing them I'll try to post a update.
Thanks =D. I followed the instructions that were provided.
Thank you =).
I would agree on changing the plumbing on the gpu.
Very nice and clean
Famous Quote from a Random Friend,"You can't spell Success without Excess."
0.o wait... you are using Liquid Awesome? I told you to not melt down Michael Bay!
 Posting Permissions


 Reply With Quote


Bookmarks