MMM
Page 4 of 4 FirstFirst 1234
Results 76 to 96 of 96

Thread: Project: Angel

  1. #76
    Xtreme Enthusiast
    Join Date
    Nov 2005
    Location
    Peak District - UK
    Posts
    664
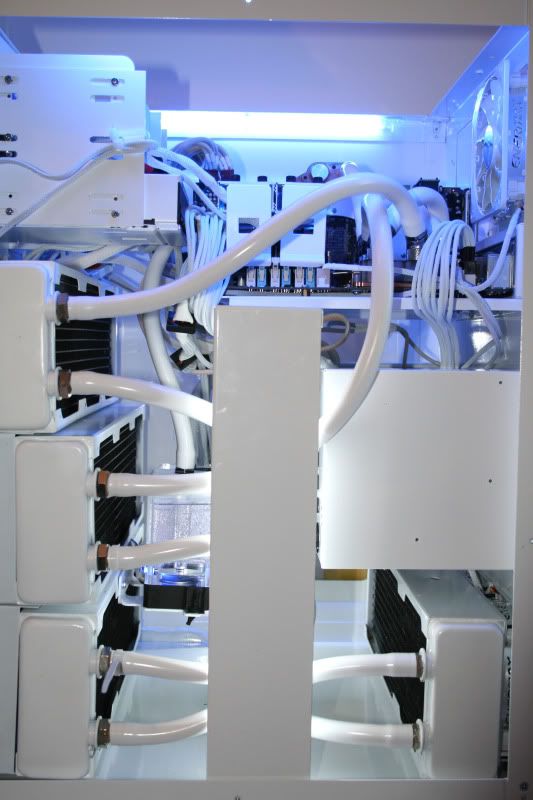
    While I was on a roll, I began to do a little cable tidying. Anyone who has owned a mountainmods case will tell you that they are notoriously poor for cable management so this is in the forefront of my mind when making this build.

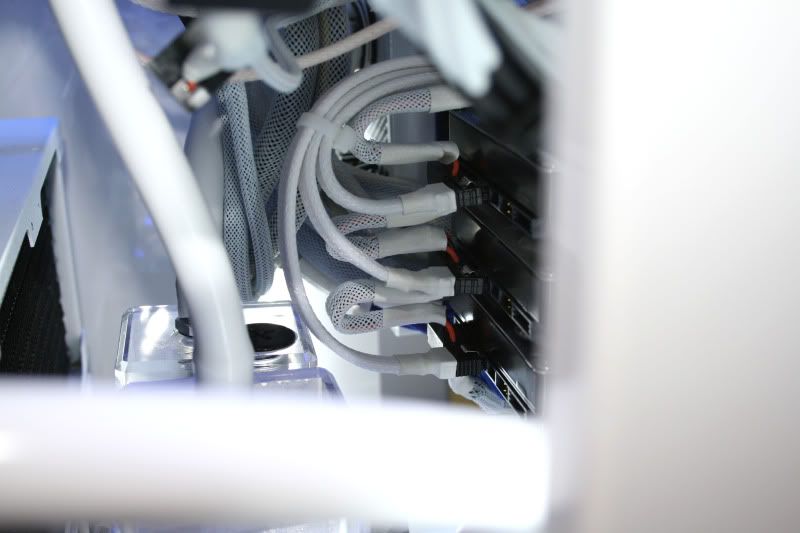
    I know I will never be able to completely hide all of the cabling so making it look as neat as possible was the task at hand, so I began with the SATA cables which were braided earlier:


    Because the case has loads of fans I needed something to keep the fan cables tidy. Lucky for me a fellow forum member helped me out with some nifty little ties that work a treat should you have ample screw holes:


    They come in plenty of sizes too so depending on your cable number/width, the right size could be chosen to minimise clutter:


    More to follow later this week.

  2. #77
    Xtreme Enthusiast
    Join Date
    Nov 2005
    Location
    Peak District - UK
    Posts
    664
    Finished of bleeding the loop the other night (still a few minor bubbles to get rid off but they will go soon enough . Also added a couple of LEDs to the XSPC res's:


    Did a bit more braiding this time a couple of molex splitters and the cabling for the cathodes:


    Painted invertors:


    I'll be using a combo of 2x blue for the motherboard area and a couple of white for the water/rad area.

    Decided to 'upgrade' the ram from the 1600MHz Patriot Viper to some lush 2000MHz CAS7 OCZ Blades:


    ..with the Corsair ram coolers fitted:


  3. #78
    Xtreme Enthusiast
    Join Date
    Nov 2005
    Location
    Peak District - UK
    Posts
    664
    Here's how the front of the case looks:


    While the buttons look 'ok' they are not bling enough so I got hold of a couple of switches:


    As ealrlier mentioned, the fact I am now forced to use two psu's one is a latch switch which by definition locks into place (push on - latched/ release off unlatched). This is the one on the left and will control everything bar the motherboard. It's a single white led but thanks to the opaque cover it's not too bright.

    The one on the right is a momentary switch (blue ring) and will control the motherboard. The ring will be attached to the HD led header.

    I tend to get quite a few emails asking how these are wired up, particulary the momentary switches which are best used fo a 'normal' pc. So here's a quick 'how-to'....

  4. #79
    Xtreme Enthusiast
    Join Date
    Nov 2005
    Location
    Peak District - UK
    Posts
    664
    Heres a shot of the latch (left) and momentary right. I'll do a quick guide on the momentary as they are the most common used:


    These are the 'spade' type and in all honesty the screw type are much easier to install so if you can get those do so, especially if like me you are not good with a soldering iron!

    You could use spade connectors for the ones I have tbh and it would be easier but I didn't have any spare at the time so I decided to solder mine.

    First sort your wires out. Twisting the ends makes for a neat and tidy job:


    Then connect the LED wires to the + and - connectors (middle):


    If your LEDs dont work then switch the motherboard headers around. Don't worry, you wont do damage if they are the wrong way around. Also note that the leds are rated for 3.4v but motherboard headers give out 3.3v. This is within the threshold so no bad things will happen 
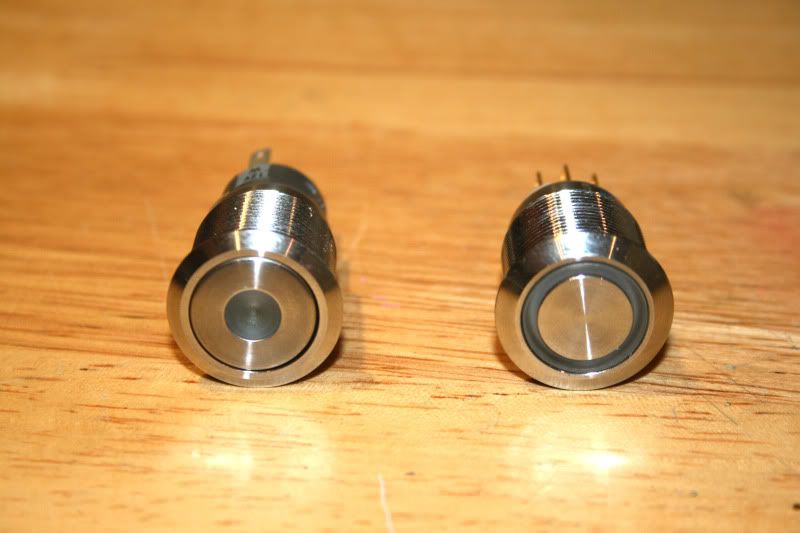
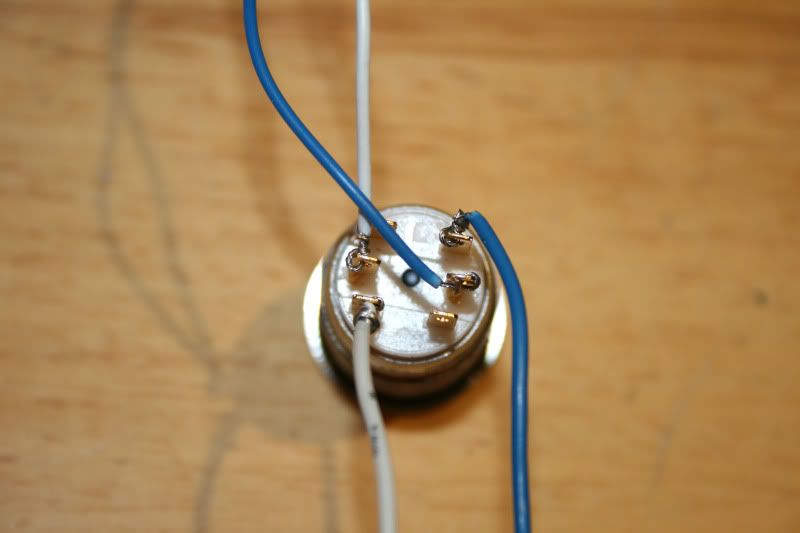
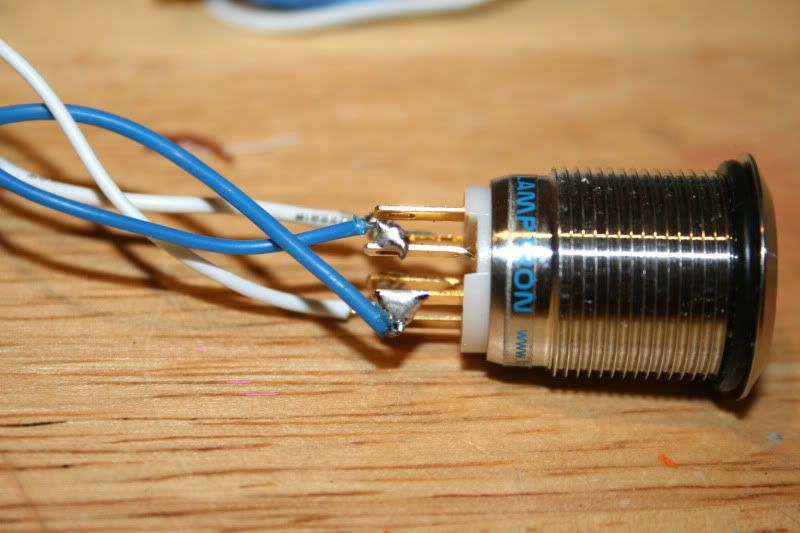
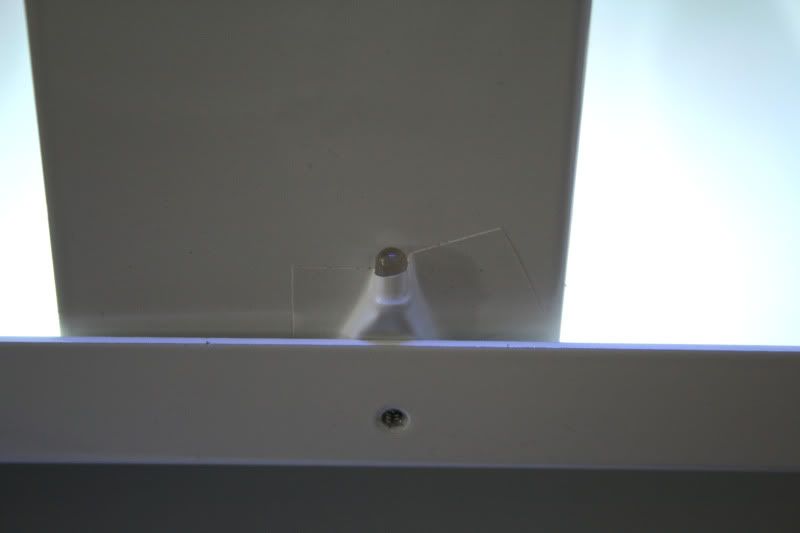
. The led's will be very slightly dimmer thats all. I wouldn't advise wiring up the leds to anything other than the rated spec though as you will most likely burn out the LED.

    Then connect your motherboard header (in this case power + and - but the same goes for a reset switch) to tabs 3 & 4.

    Heres a diagram:


    Here they are wired:


    Then all that is left is to solder the wires to neaten things up and to prevent a short:


    Then braid the cables to complete the job:


    I left the blades exposed as I 'may' wish to solder other wires to the swiches to control other sections (lights etc) so not quite finished with those yet .

    Hope this helps somewhat.

  5. #80
    Xtreme Enthusiast
    Join Date
    Nov 2005
    Location
    Peak District - UK
    Posts
    664
    After a little jiggery pokery (sliced my thumb, note to self - scalpels are dangerous!), I fitted the switches I wired up earlier. Here's how they look:


    The Aquero is gonna take some configuring with this setup but it's a handy device which will hopefully keep an eye on things for me .


    Along with the aquero I got a Matrix Orbital GX Typhoon:


    The typhoons screen colour can be configured to display the same colour as the aquero but thats something I'll have to sort out once the OS and software is installed. Look forward to playing with those two goodies .

  6. #81
    Xtreme Enthusiast
    Join Date
    Nov 2005
    Location
    Peak District - UK
    Posts
    664
    Well I've finally come to the part I was dreading - cable tidy!

    To give you an idea of what I am up against here's a basic list of cables I have to tidy:

    2xPSU's (4 molex cables, 2 SATA cables, 2x 24pin ATX, 2x 8pin CPU, 4xPCIe 8pin, 4xPCIe 6pin).

    5x SATA data cables

    2x Pumps (+2x sensor cables + 2x LED cables)

    16x fans

    Fan controllers x2

    GX Typhoon + aquero + sensor cables

    Motherboard headers

    4x Cold Cathodes

    ...all to be hidden in a case with 3 windows and not alot to hide them behind!

    So i did a quick mock up and found that no matter what I did, in whatever orientation, the thing looked liked a rats nest! My last hope was to use the thick motherboard tray support bracket.
    I made a few extension cables so most of the wires can be hidden behind the bracket as well as cutting down the amount of excess wiring inside the case. Here's a shot of the zalman fan controller and above it the aquero with barely anything attached!!!


    One problem that I found with braiding the SATA cables was that it made them much stiffer and more difficult to bend/route in a neat manner due to the decrease in flexibility. However, I persevered and managed to get the HD rack (2x1TB raid 0, 1x2tb, 1xSSD, 1xDVD) looking reasonable:


    Fitting the bracket while everything was in place was an absolute PITA. I had to drain the loops, remove all cabling then adjust it slightly from it's correct mounting position as I wanted the bracket to cover the modular fittings of the PSUs to make the whole thing look as neat and tidy as possible:


    It's getting there now! Still a bit more tidying to do (the above shot is the 'messy' end but certainly starting to take shape .

  7. #82
    Xtreme Enthusiast
    Join Date
    Nov 2005
    Location
    Peak District - UK
    Posts
    664
    The reason why I didn't originally want to fit the brack was because of the window engraving as it tends to 'bleach' it out being opaque on white:


    So my next task was to make the Angel engraving stand out a little more without making it look like some cheap sticker. I opted for placing an LED under the edge of the perspex which would hopefully refract the blught light on the engraving. The LED was not directional so I blanked out the side of the led with some good old insulation tape as I just wanted the beam to point upwards toward the perspex of the side panel:


    With the side panel on (white cathodes off):


    With the side panel on (white cathodes on):


    Worked out quite well. It's a shame the photos really don't capture the full glowing effect of the Angel.

  8. #83
    Xtreme Enthusiast
    Join Date
    Nov 2005
    Location
    Peak District - UK
    Posts
    664
    Here's the movie:

    PROJECT ANGEL

    Hope you like

    Big thx to Mountain Mods and Enermax who were kind enough to supply parts for this build

  9. #84
    Xtreme Addict
    Join Date
    Feb 2010
    Location
    Wisconsin
    Posts
    1,634
    WOW! The radiator work really shines in this build!
    Signatures make my posts look huge... but I'm not humble enough to completely remove my signature, so I kept this note explaining it.

  10. #85
    Xtreme Enthusiast
    Join Date
    Jan 2009
    Location
    Moscow, Russia
    Posts
    685
    sweetest revolution PSU I've ever seen I just wish the sleeving was a little more dense
    overall, nice build so far!
    Worklog: Project Black Copper
    Lian Li PC-P80 | Thermochill PA140.3 | Noiseblocker fans | mdpc-x stuff

  11. #86
    Xtreme Enthusiast
    Join Date
    Nov 2005
    Location
    Peak District - UK
    Posts
    664
    Yeah I know what you mean. Wish I'd gone MDPC sleeving, maybe next time.

  12. #87
    Xtreme Addict
    Join Date
    Nov 2009
    Location
    Netherlands
    Posts
    1,884
    You know, normally I'm not a big fan of completely white builds, but you managed to completely blow my mind. I'm truly in awe !
    “Little expense had been spared to create the impression that no expense had been spared.” - Hitchhiker's Guide
    It's better to ask dumb questions now, than to look stupid later
    Mondays:

  13. #88
    Xtreme Member
    Join Date
    Oct 2008
    Location
    Overclockers UK
    Posts
    264
    its all good
    ≠ 4770K - R9 290X Crossfire
    www.overclockers.co.uk

  14. #89
    Registered User
    Join Date
    Jul 2009
    Posts
    79
    nice build man, that'll make Apple jealous

    Can you tell me what paint you used? That paint job is flawless!

  15. #90
    Xtreme Enthusiast
    Join Date
    Nov 2005
    Location
    Peak District - UK
    Posts
    664
    Just regular spraycan paint + primer. The key to good results is in the prep work.

  16. #91
    Xtreme Enthusiast
    Join Date
    Nov 2005
    Location
    Peak District - UK
    Posts
    664
    Final update:

    Rig featured on Mountainmods homepage:

    http://www.mountainmods.com/

    Can't really get a better compliment than that . Very happy!

  17. #92
    Registered User
    Join Date
    Sep 2010
    Posts
    7
    Which ram cooler are you using? did you have to spray those white to?

  18. #93
    Xtreme Member
    Join Date
    Feb 2010
    Location
    Pittsburgh, PA
    Posts
    102
    Just an overall wicked PC. Looks incredible...
    Watercooled Murdermod Silverstone TJ07
    Asus P8P67 Deluxe B3
    Intel Core i7 2600K
    8GB G.Skill DDR3 1600Mhz
    eVGA 480 GTX SLI
    8.5TB (1x Seagate 1TB 7200.12, 2x Hitachi 3TB, 1x Seagate 1.5TB 7200.11)
    Corsair AX1200 PSU All Custom Cables
    Westinghouse 24" 1920x1200
    Windows 7

  19. #94
    Xtreme Enthusiast
    Join Date
    Nov 2005
    Location
    Peak District - UK
    Posts
    664
    Quote Originally Posted by Beezie View Post
    Which ram cooler are you using? did you have to spray those white to?
    2x Corsair dominators coolers and yes, I sprayed them white to match the build. I also replaced the fans.

    Quote Originally Posted by SovietKitsch View Post
    Just an overall wicked PC. Looks incredible...
    Cheers

  20. #95
    Registered User
    Join Date
    Sep 2009
    Location
    Rio de Janeiro - Brazil
    Posts
    77
    Lovely project! It`s a shame we dont have good parts like these here in Brazil. After seeing this, i think i will start planning building a big case like that by myself. :P

    cheers.

  21. #96
    Xtreme Enthusiast
    Join Date
    Nov 2005
    Location
    Peak District - UK
    Posts
    664
    ***NOTE*** Please see video build log

    PROJECT ANGEL

    ...until bandwidth issues have been resolved.

    Sorry for any inconvenience.

Page 4 of 4 FirstFirst 1234

Bookmarks

Bookmarks

Posting Permissions

  • You may not post new threads
  • You may not post replies
  • You may not post attachments
  • You may not edit your posts
  •