So... my work with the HD blocks continues
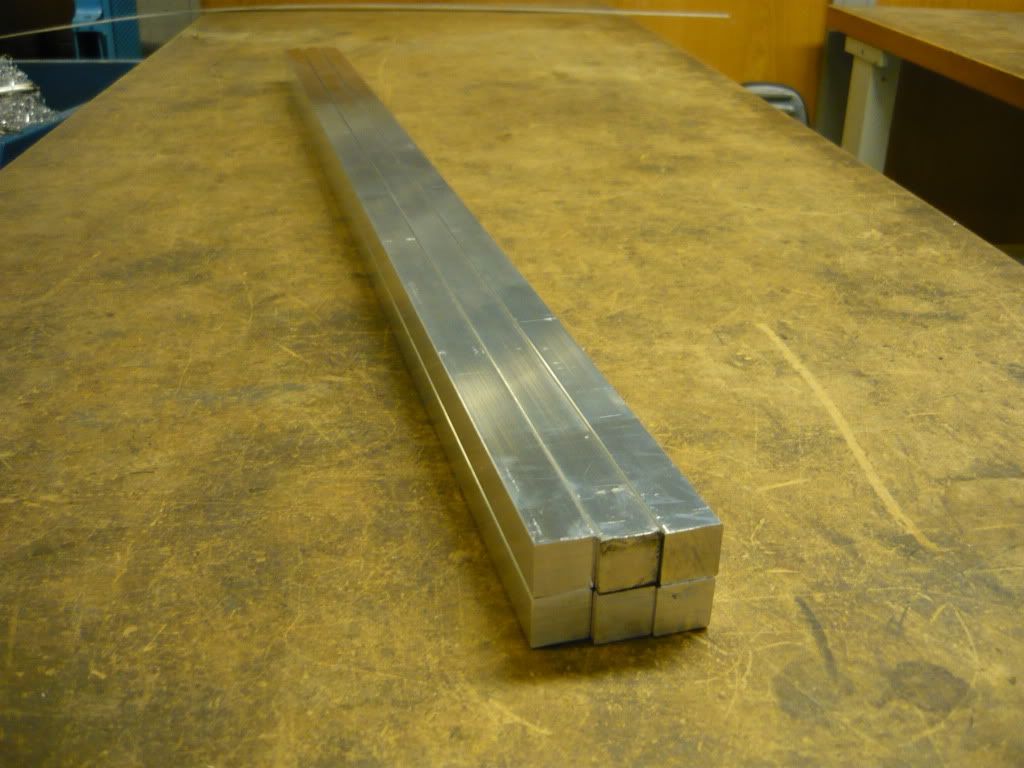
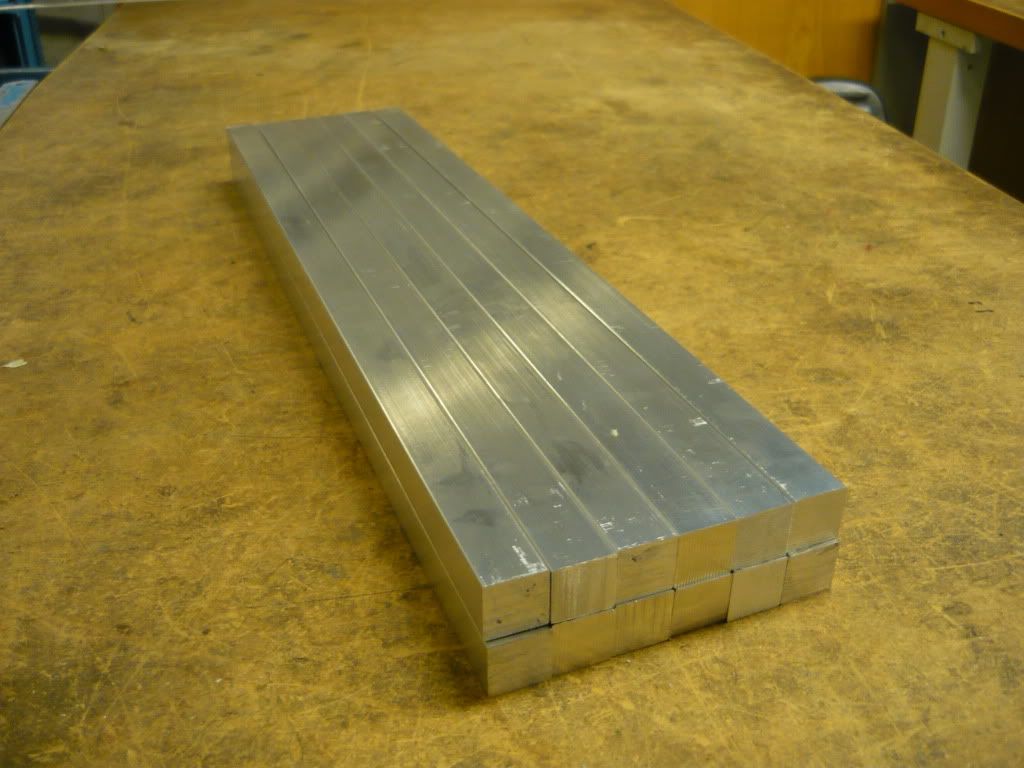
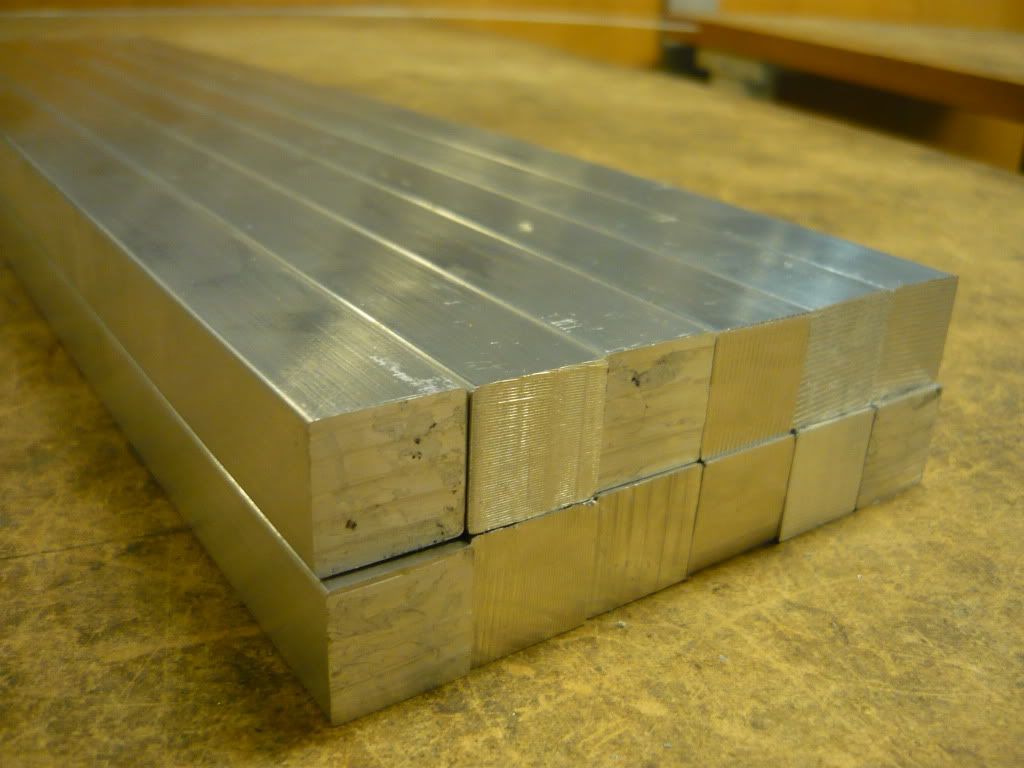
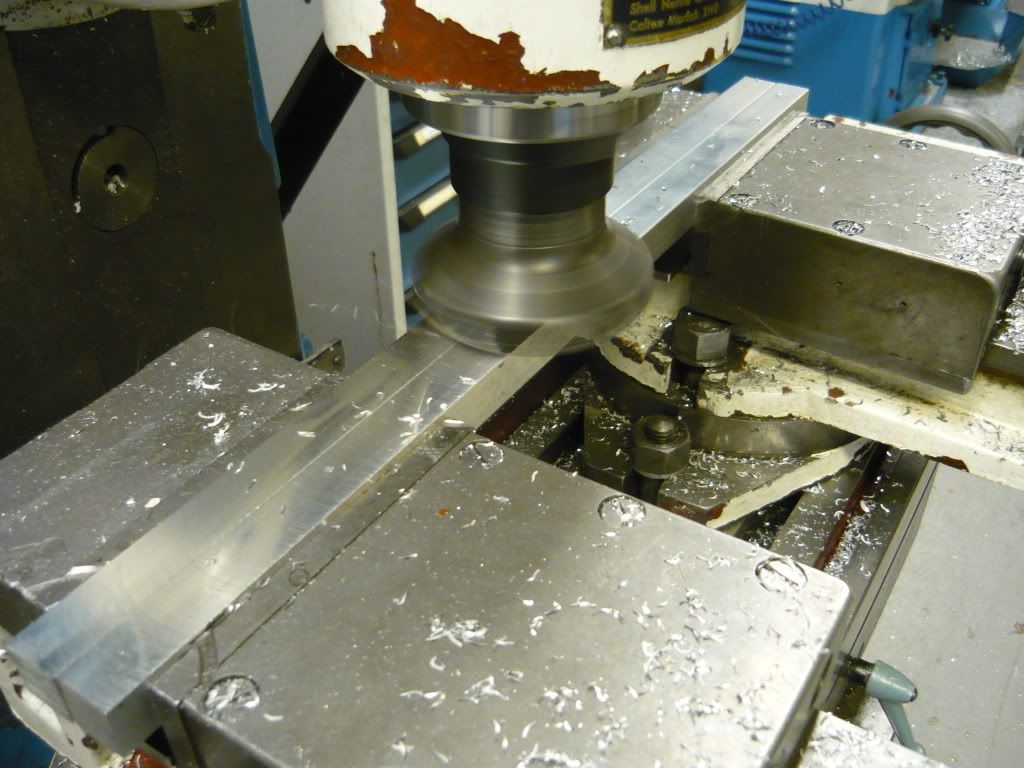
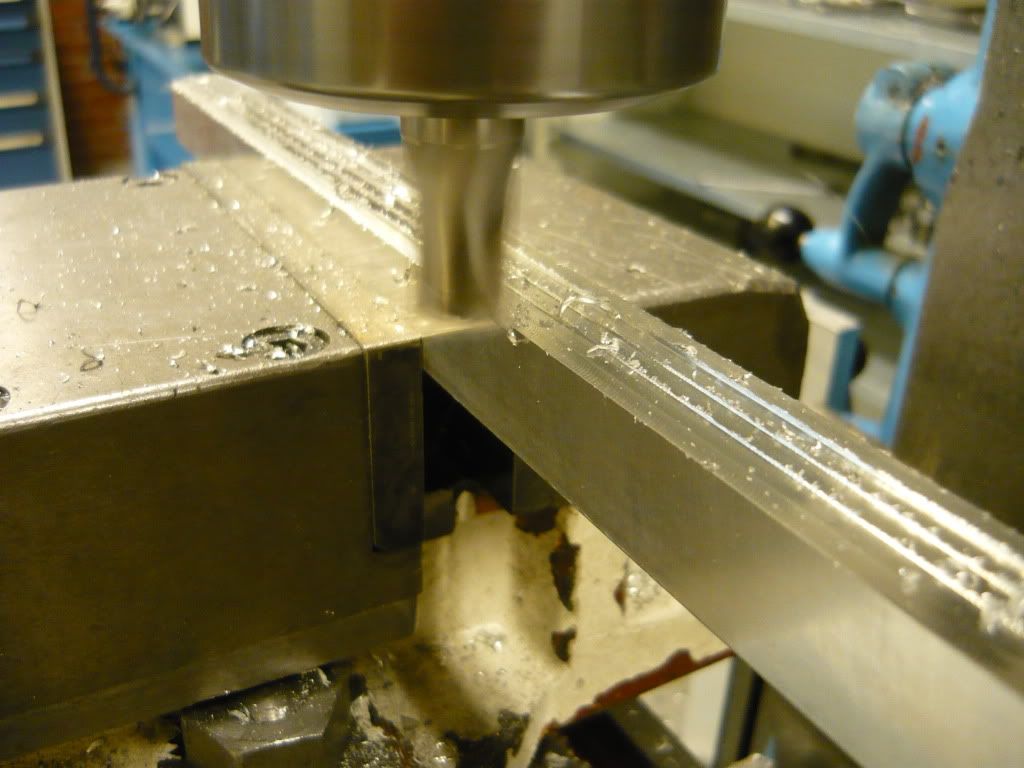
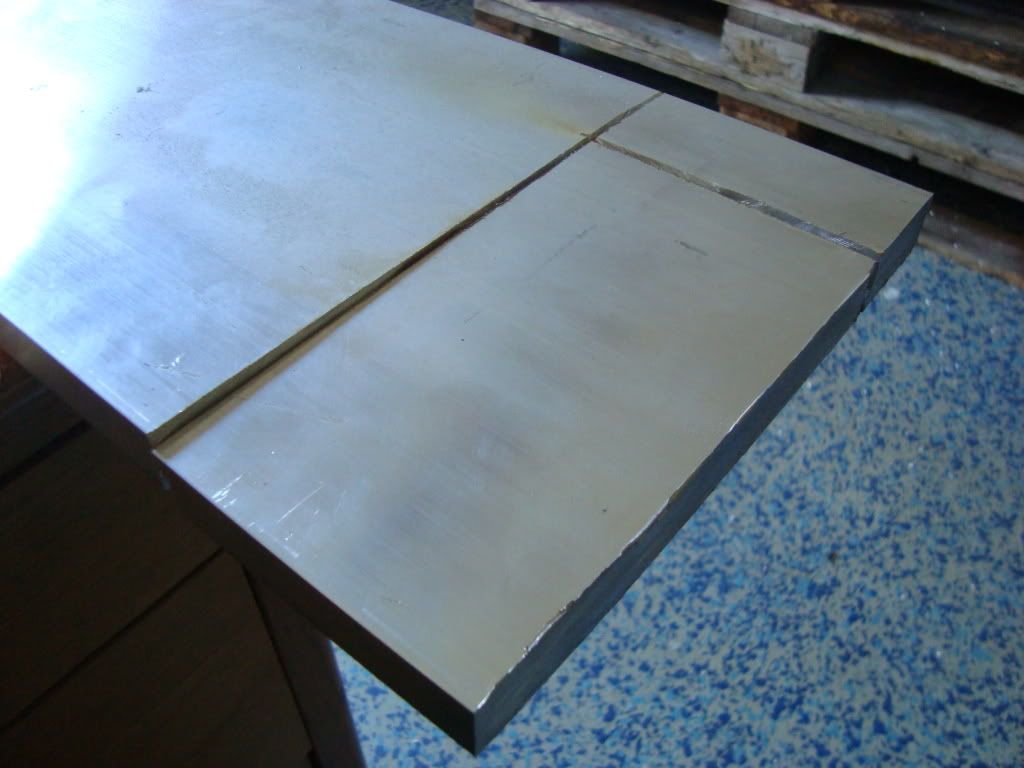
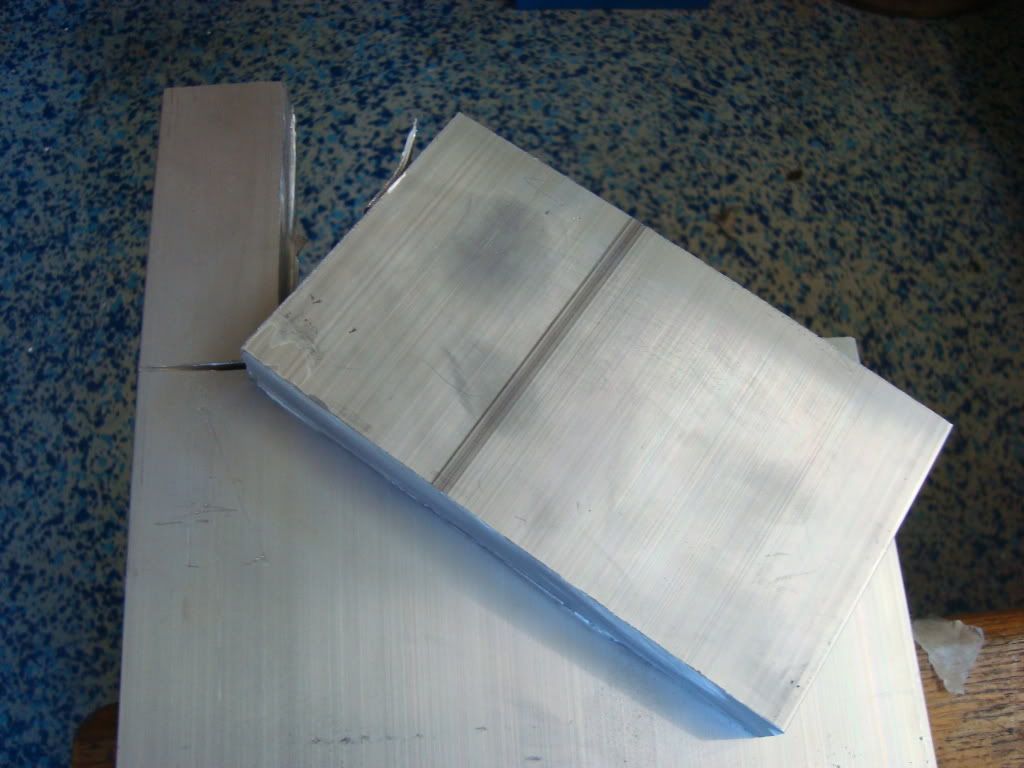
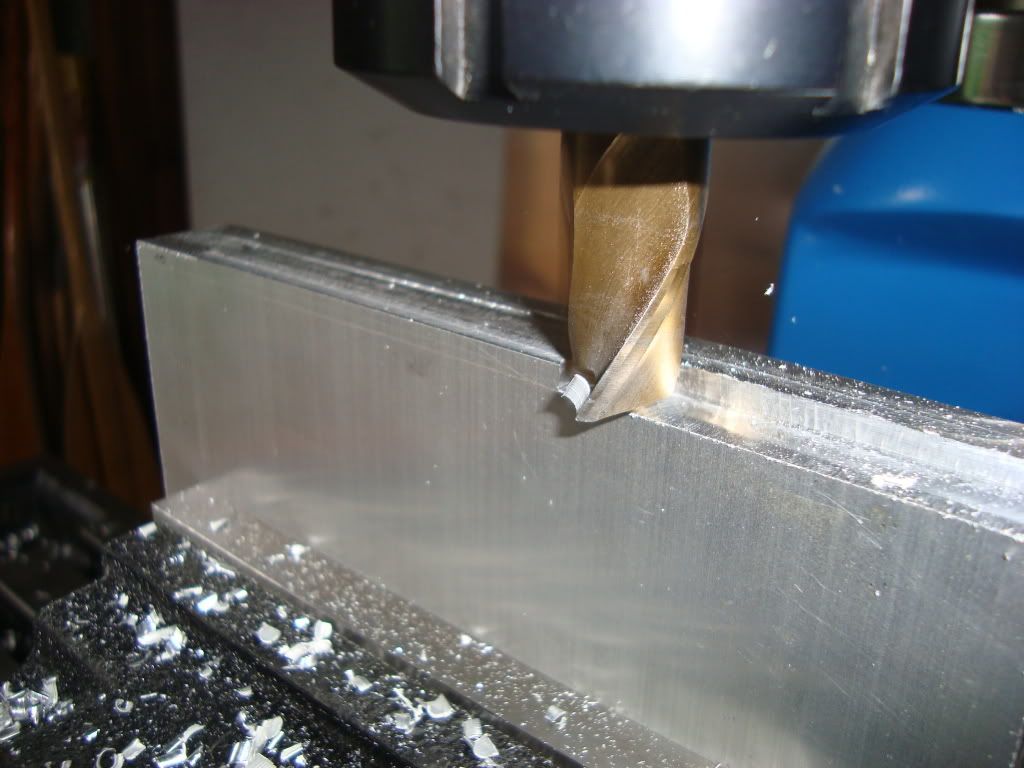
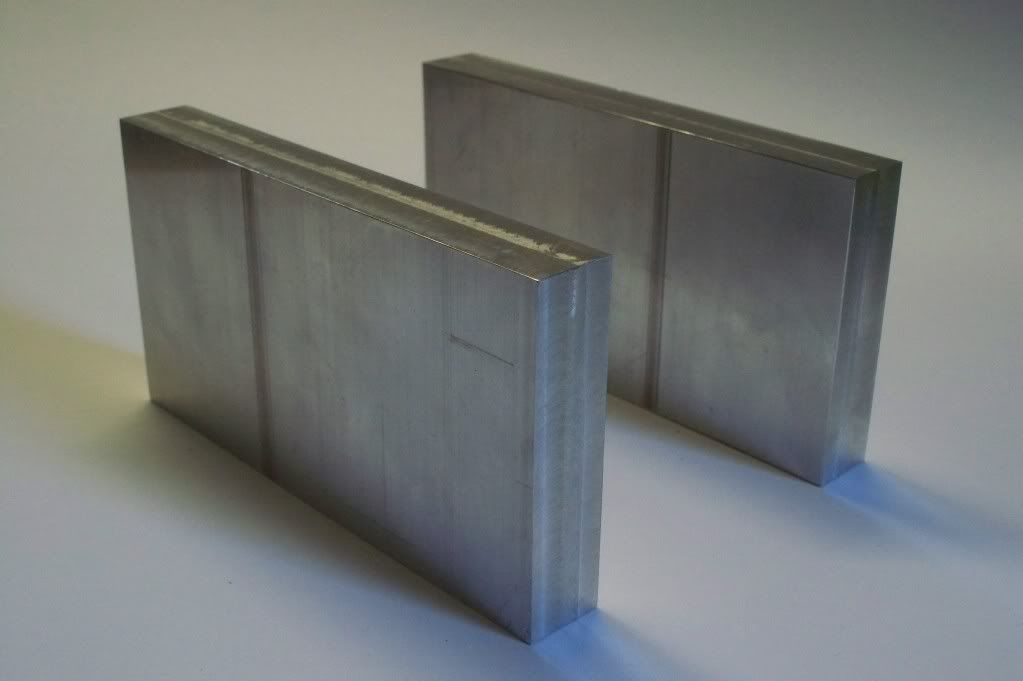
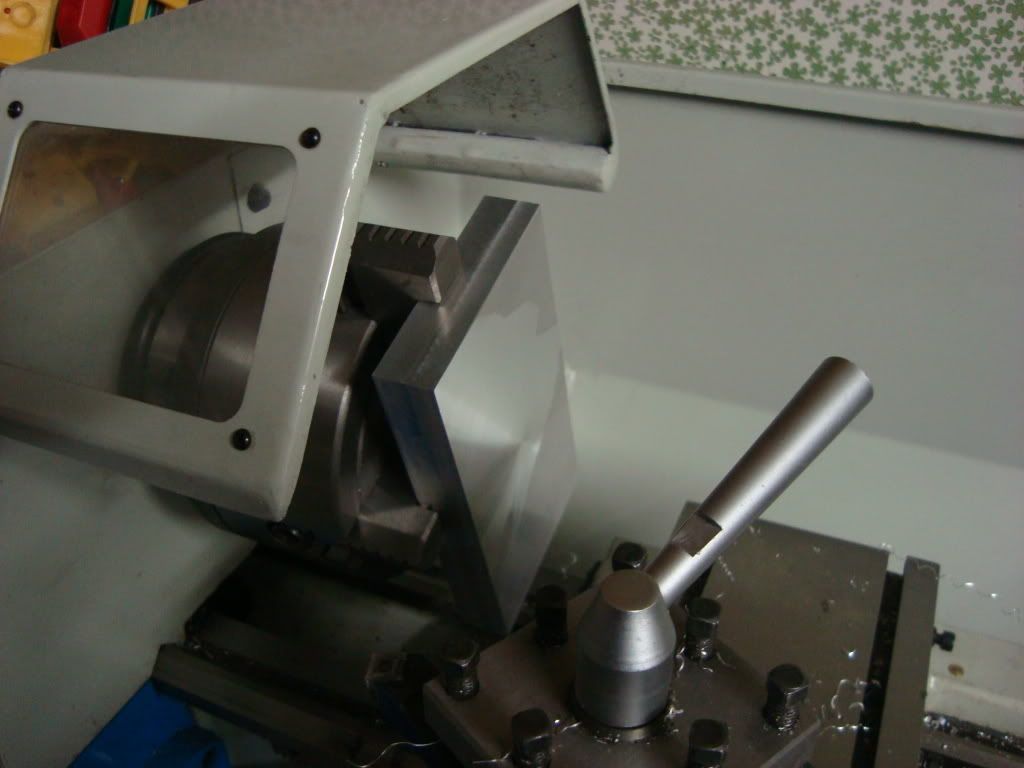
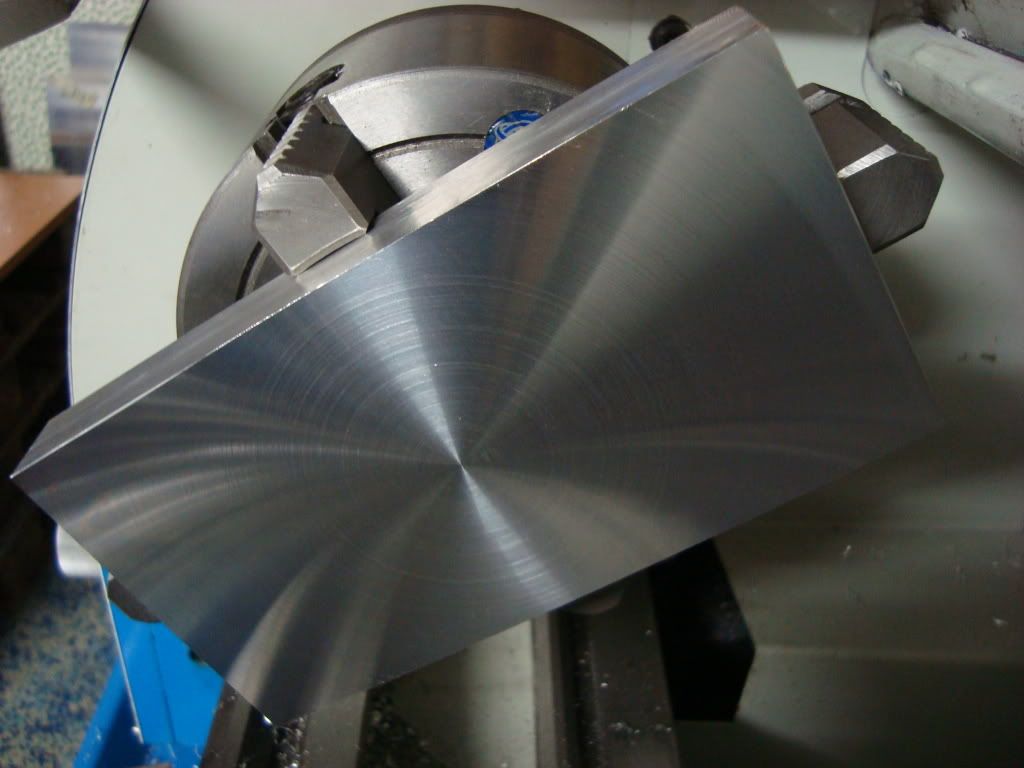
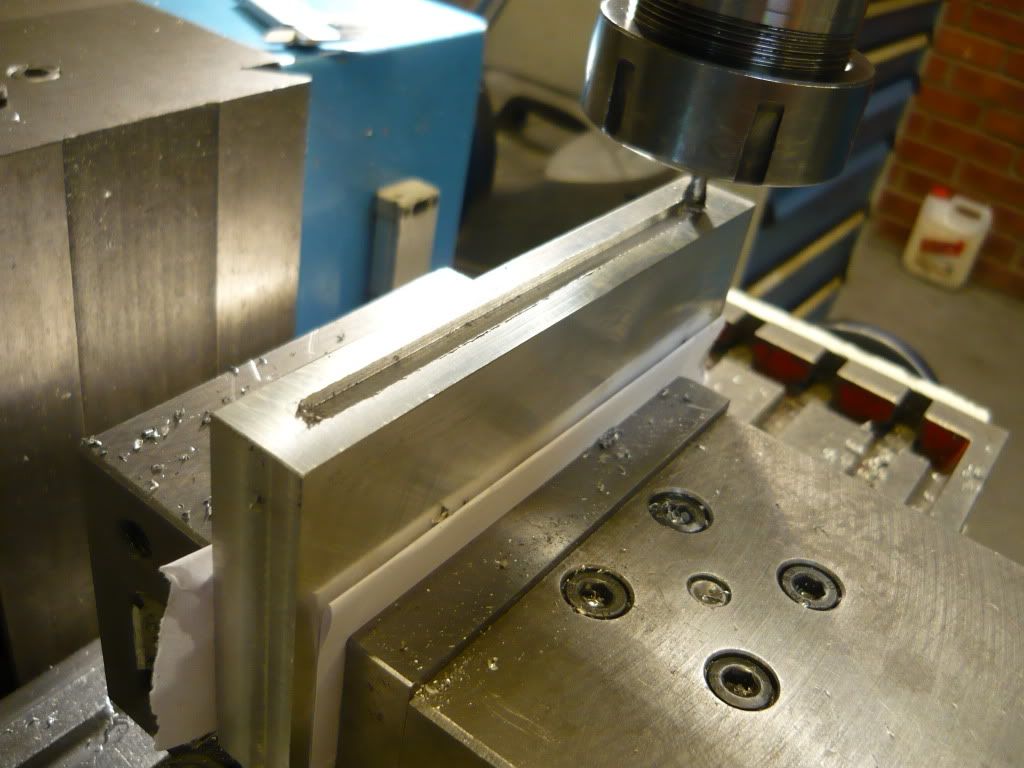
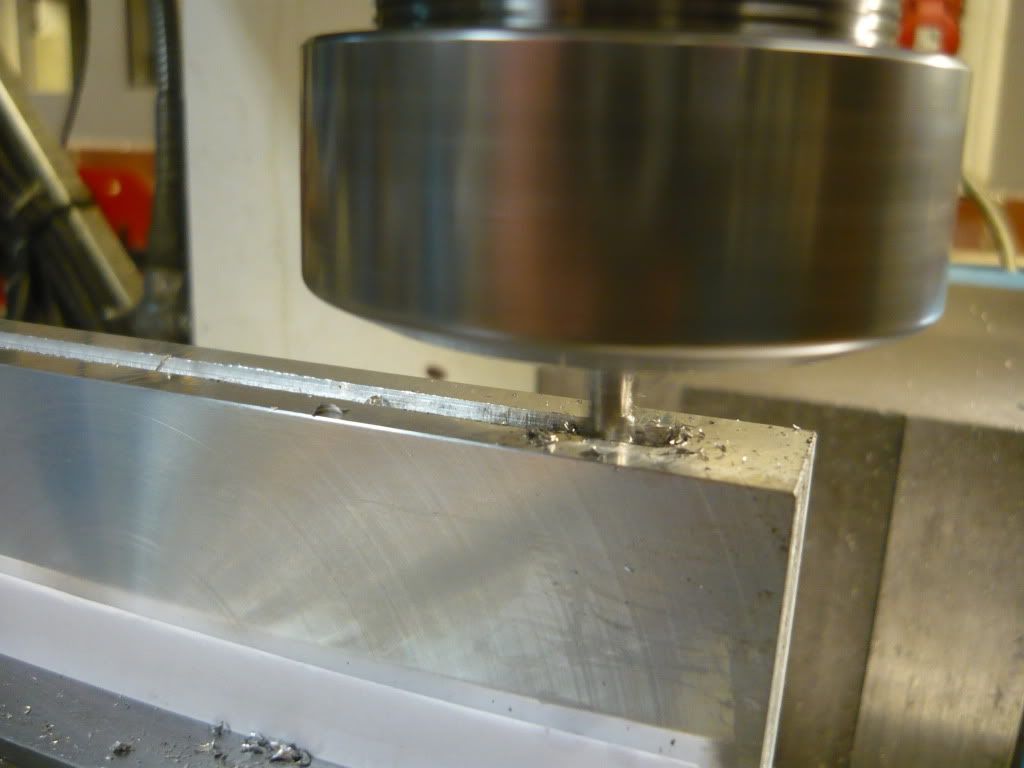
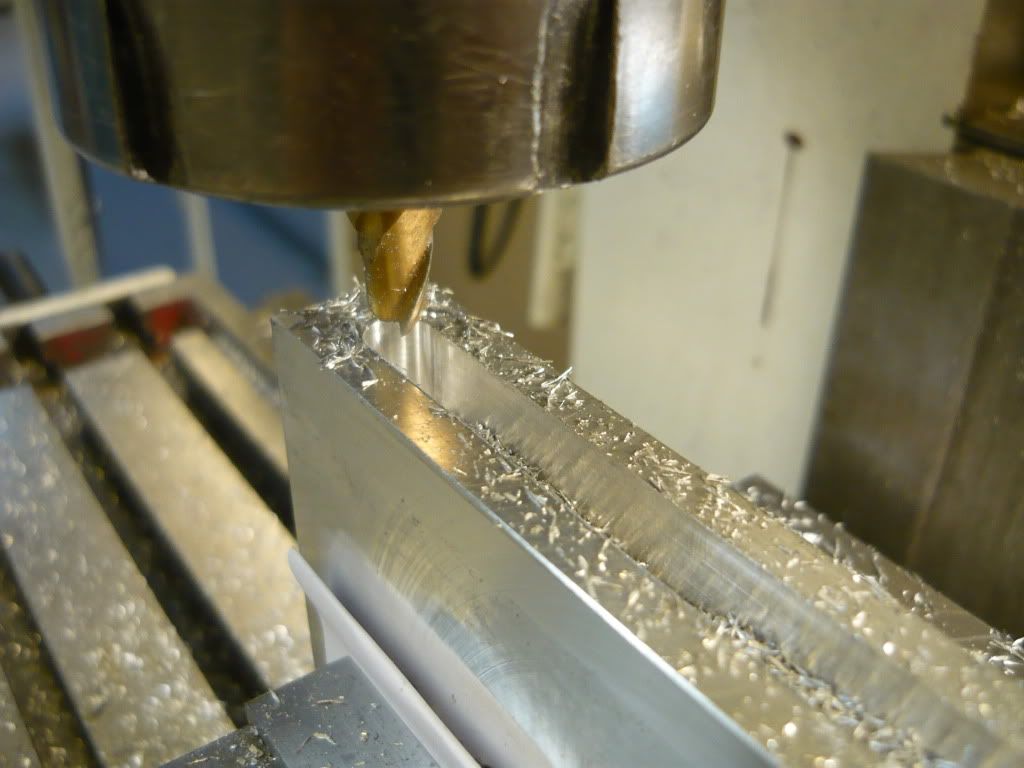
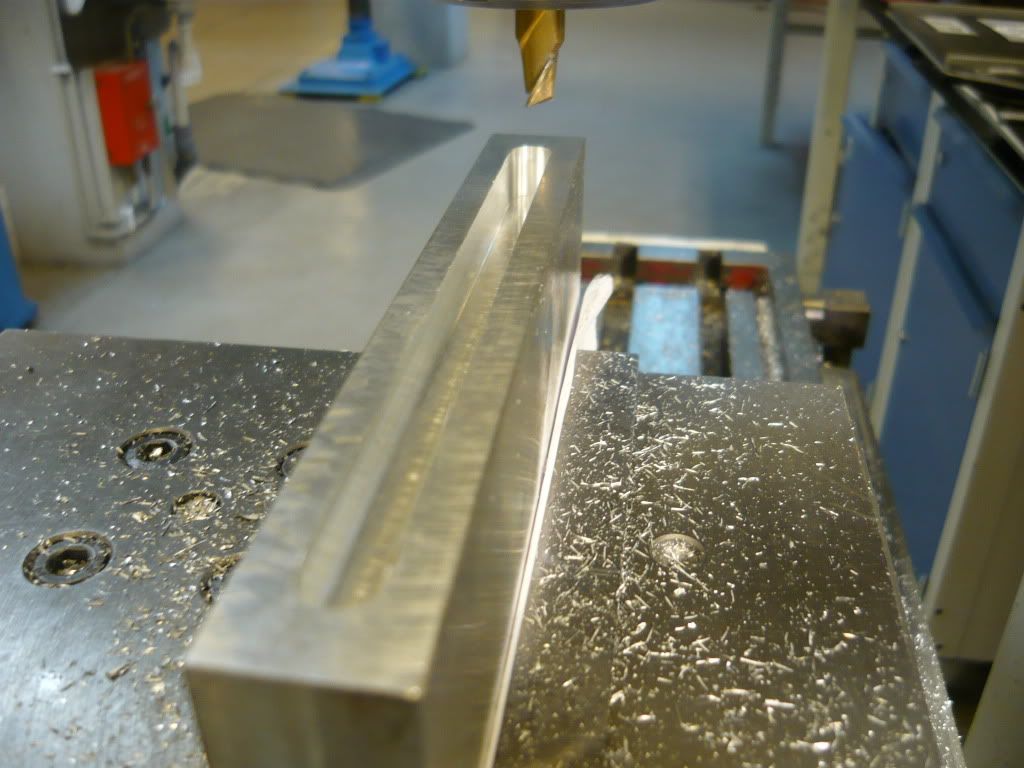
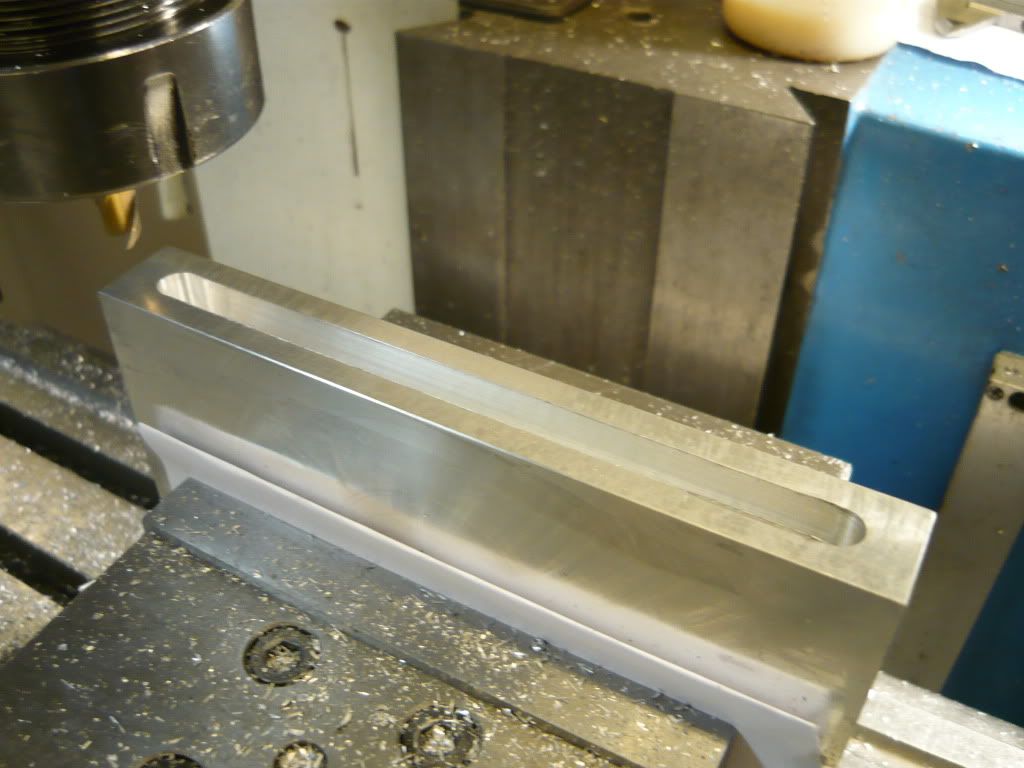
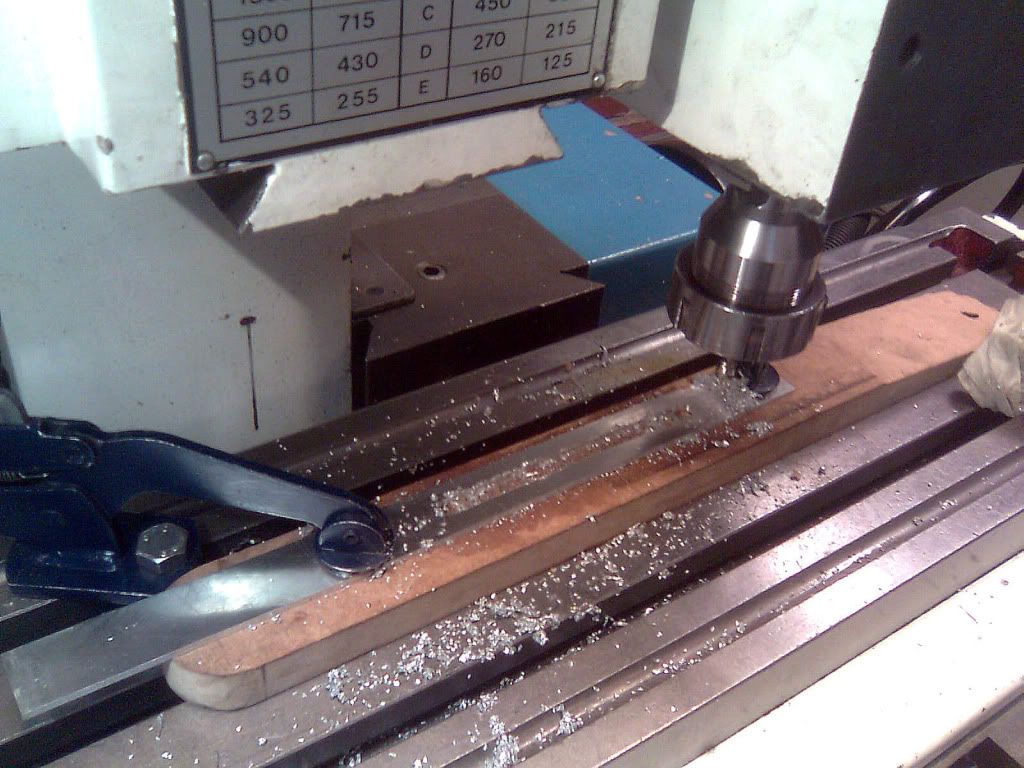
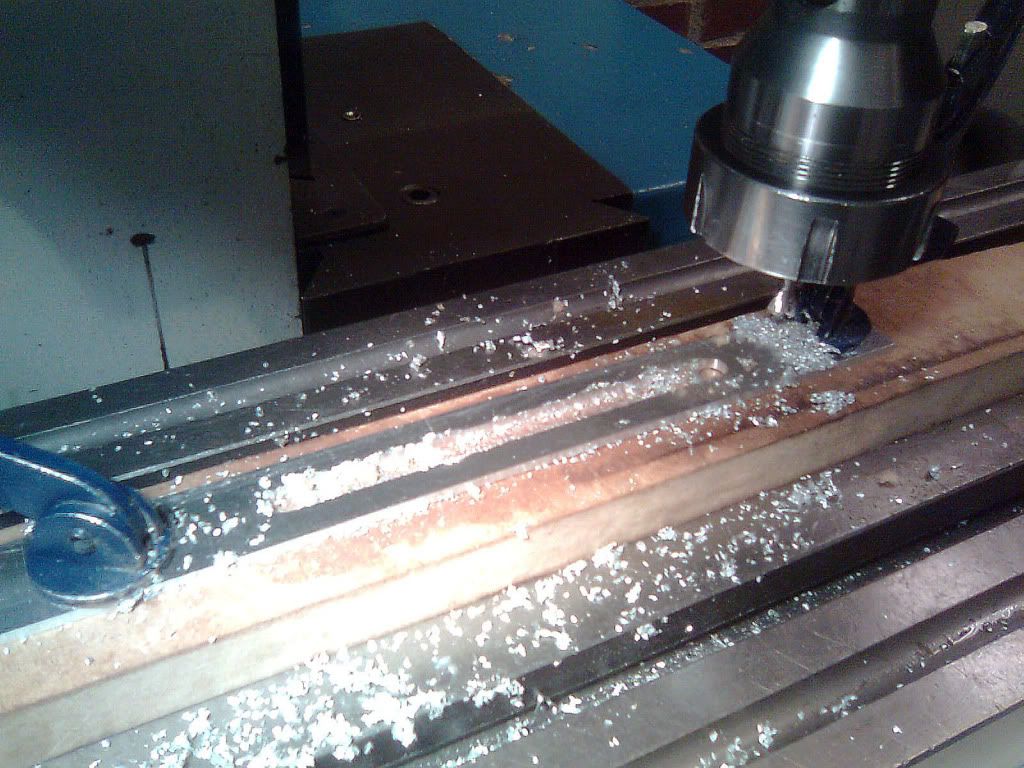
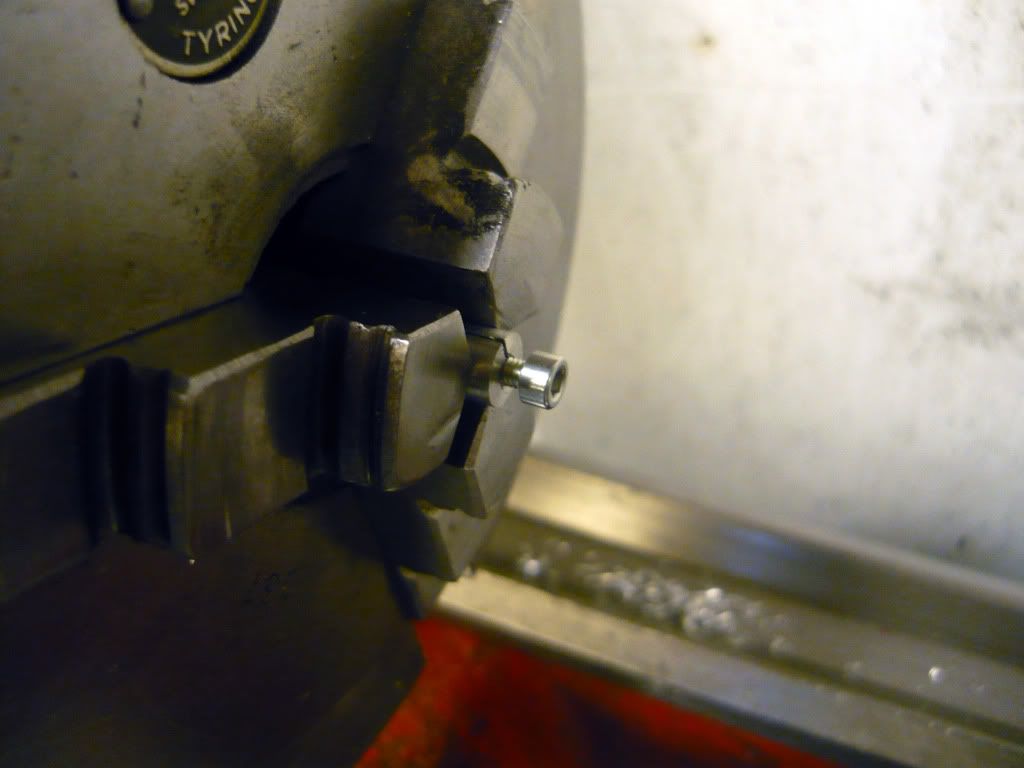
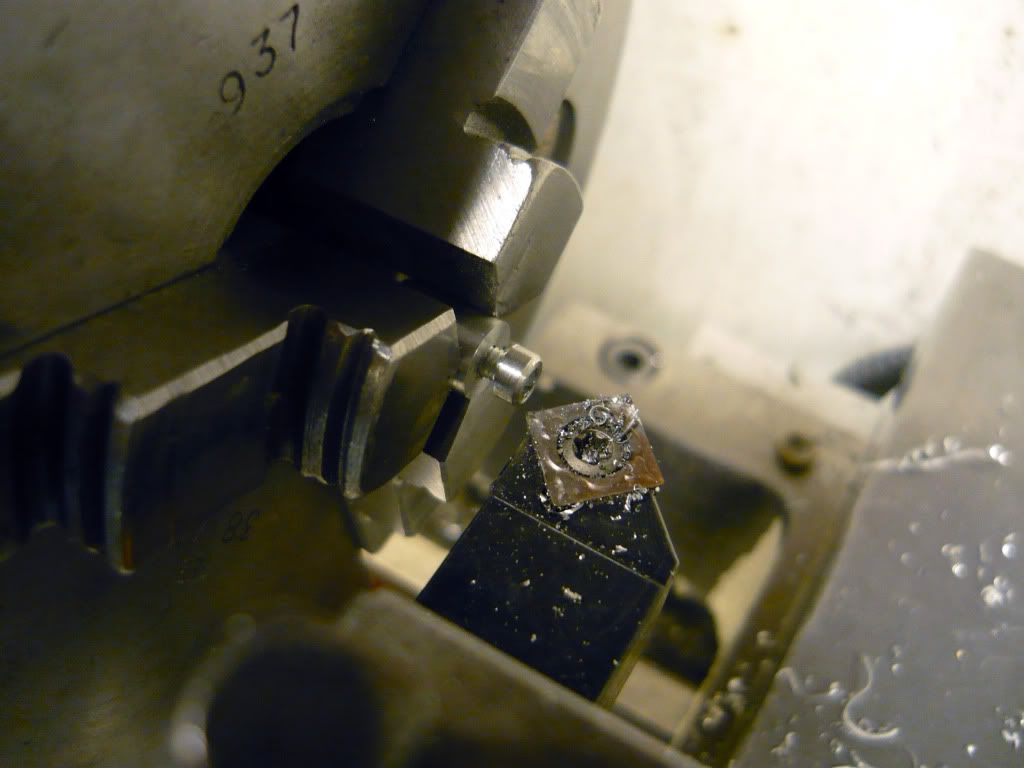
I discovered that the two alupieces I've previously cut were not totaly flat. They had a slight curve on them and therefore needed some treatment. The curve was from the manufacturing process so if you plan on buying anything like this, it's a good thing not to buy the exact dimension since this seems to be quite common. I used the 4-jaw chuck, on the lathe wich alows me to attach non cirkular workpieces.
(CLICK TO ZOOM)
Have to make shure to keep those fingers out of the way.
(CLICK TO ZOOM)
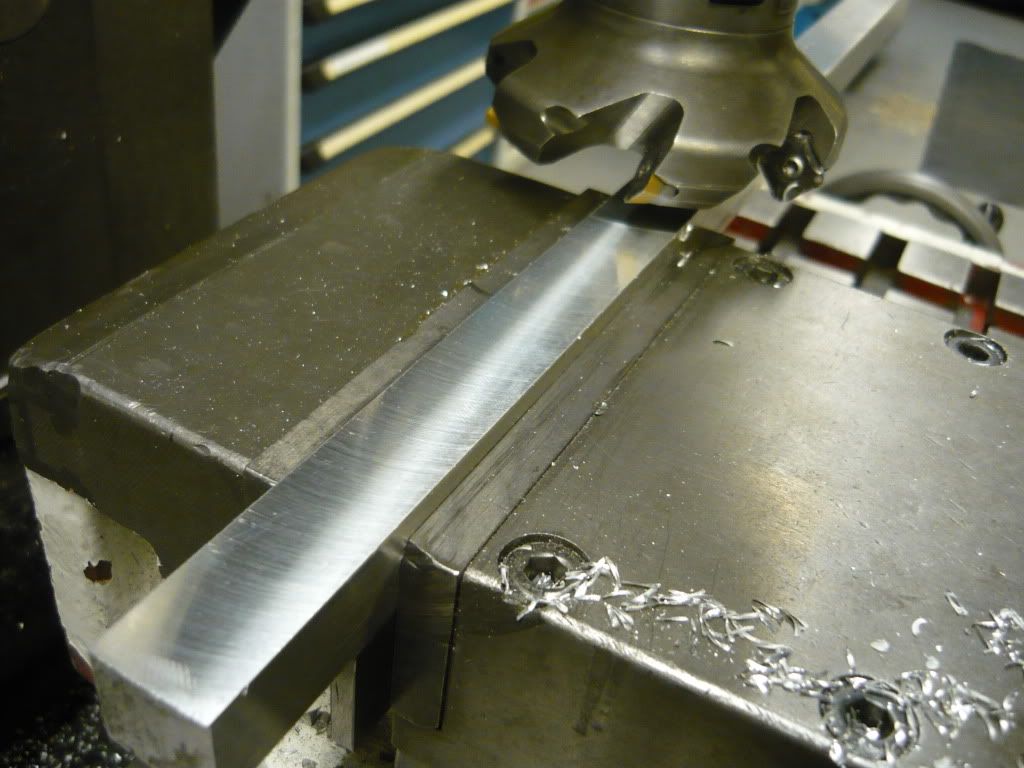
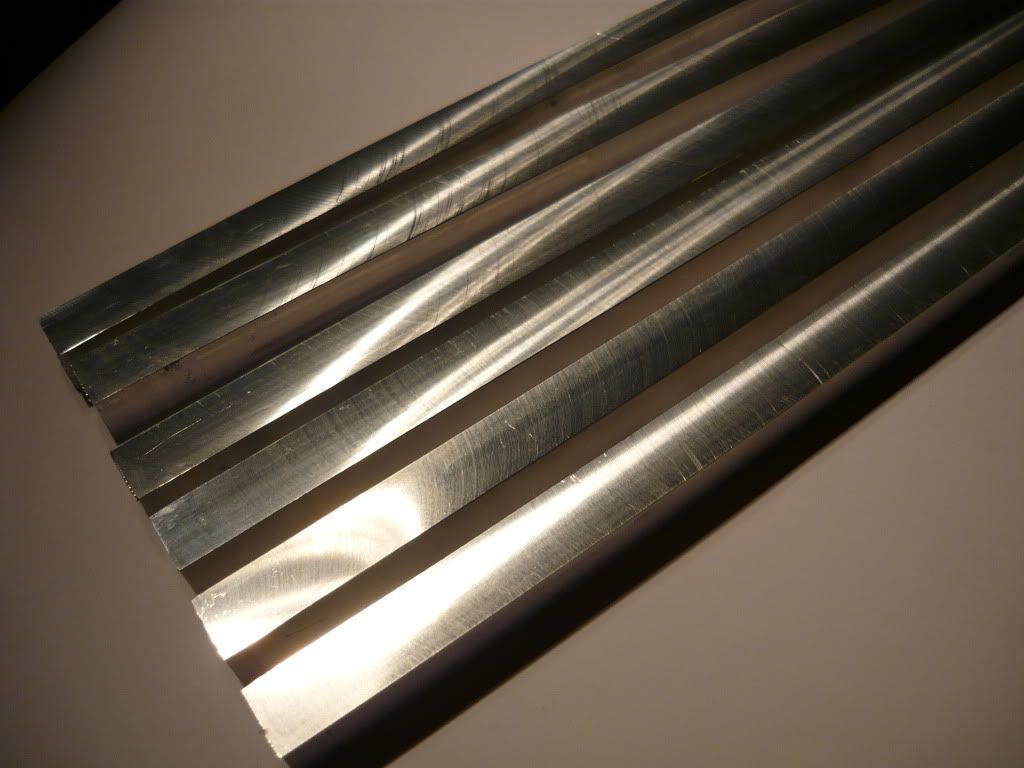
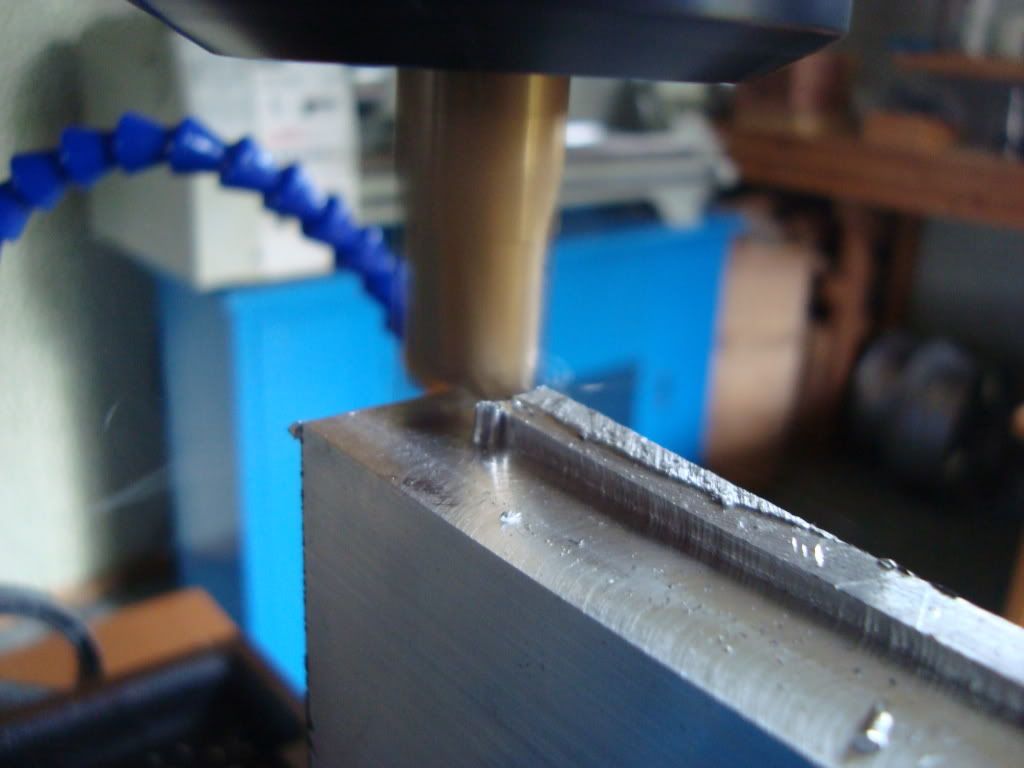
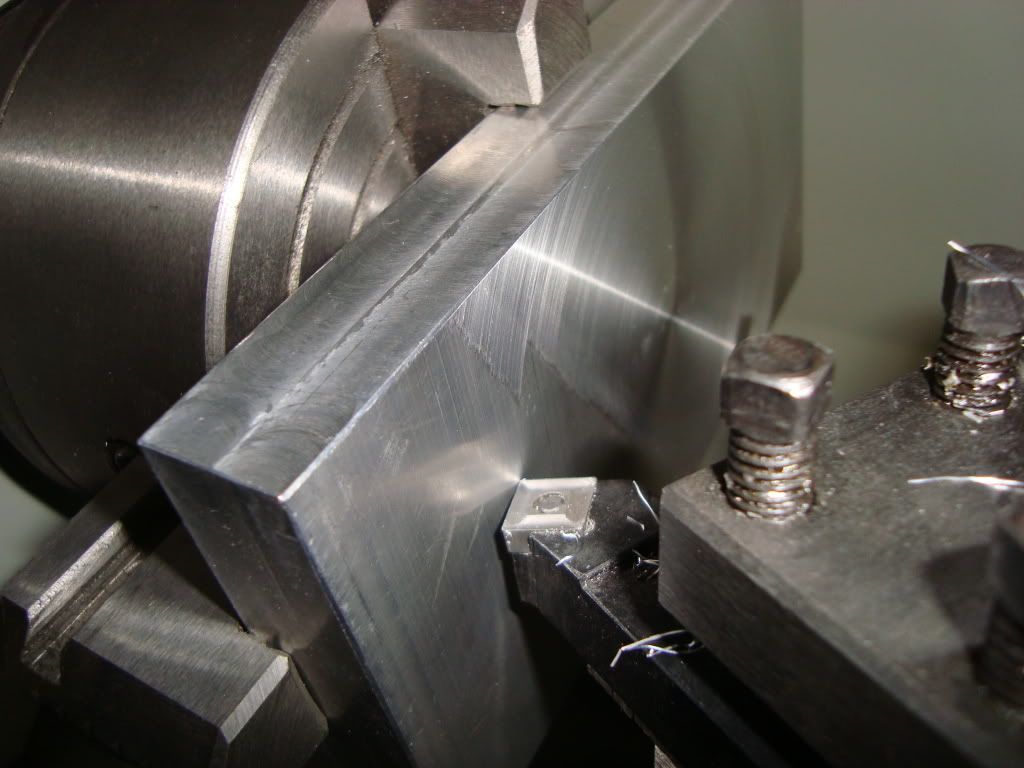
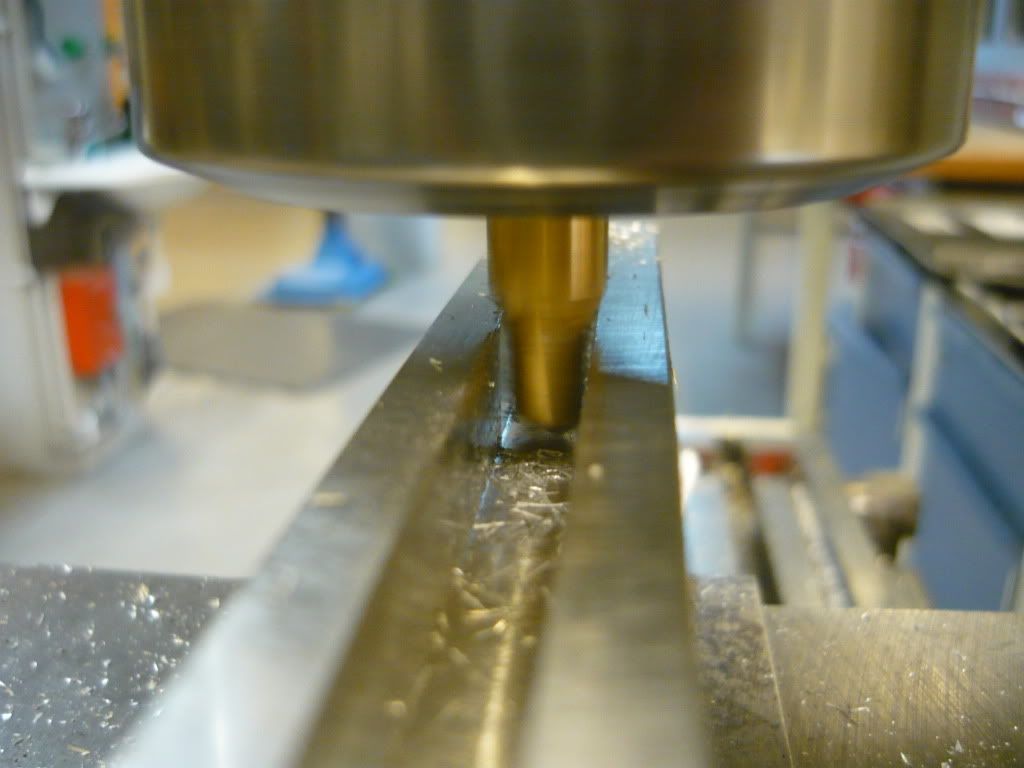
Here you can se the curve of the pieces. The center part is beeing romeved first while the edges are left untouched and this is because the curve.
(CLICK TO ZOOM)
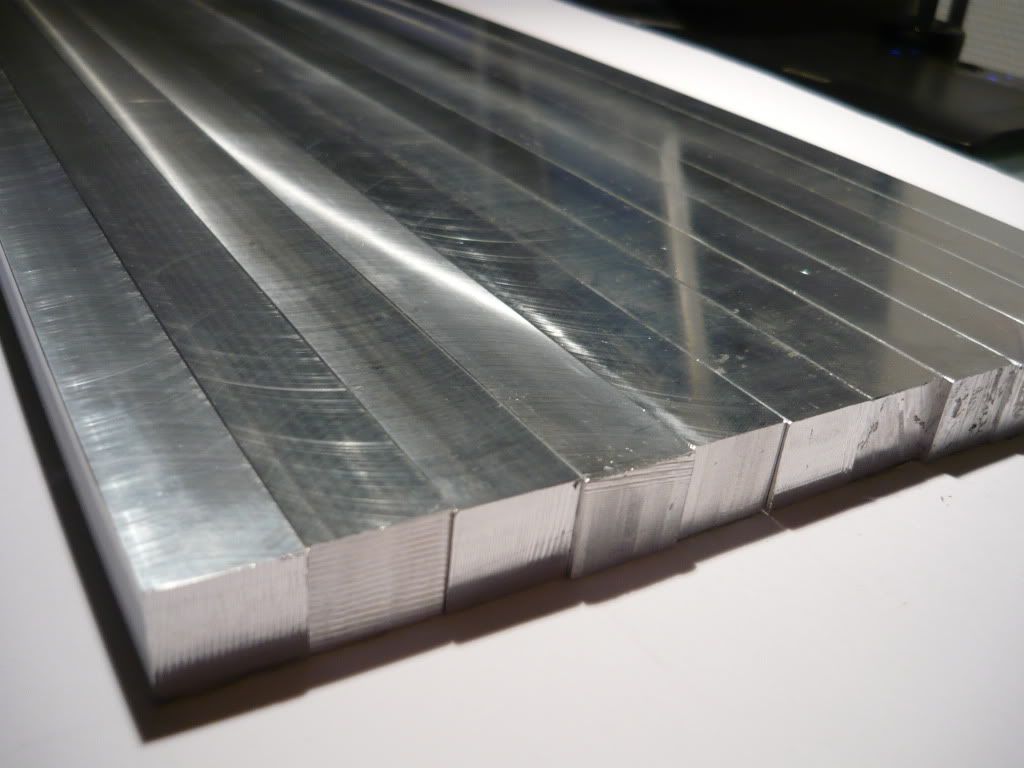
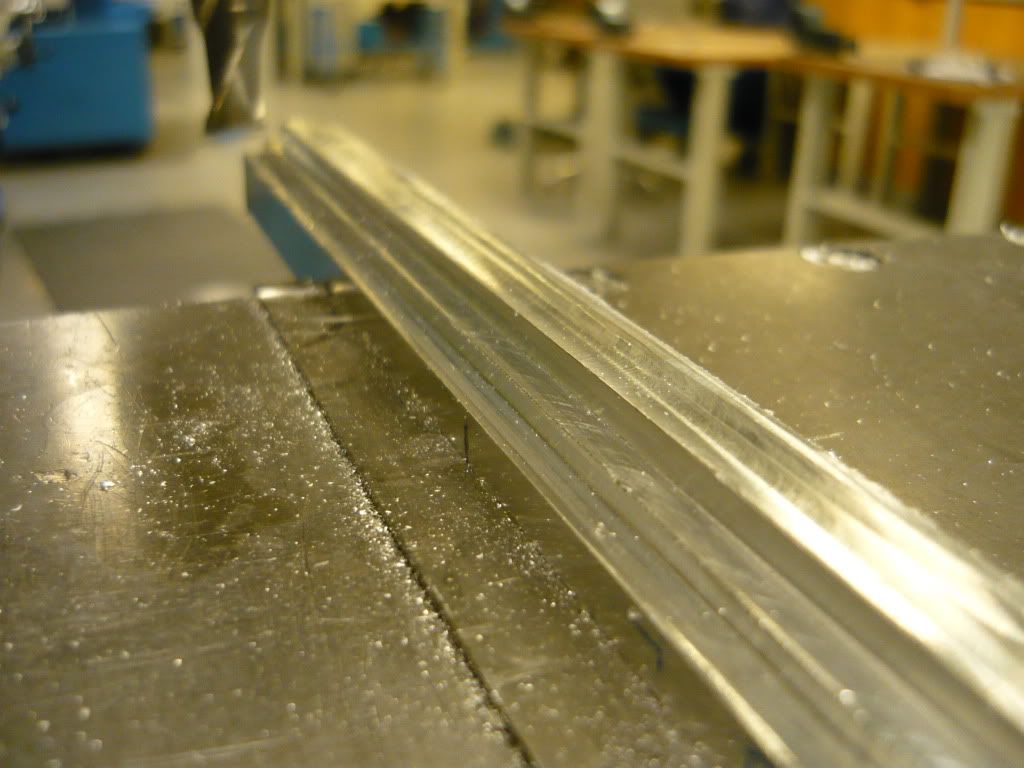
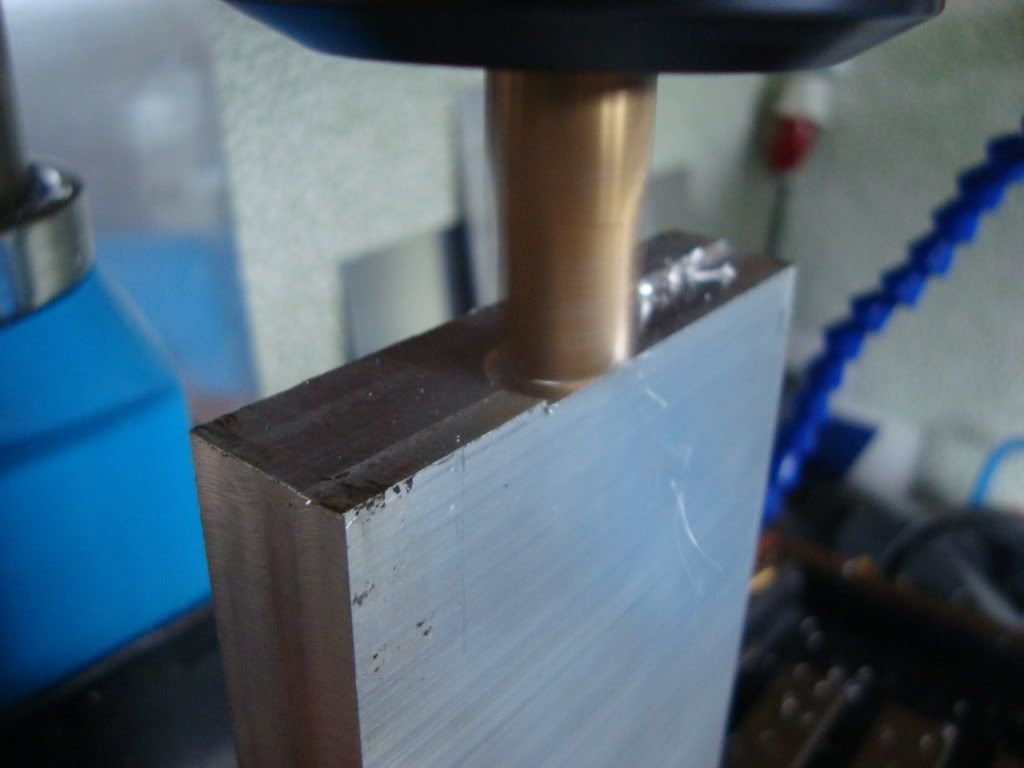
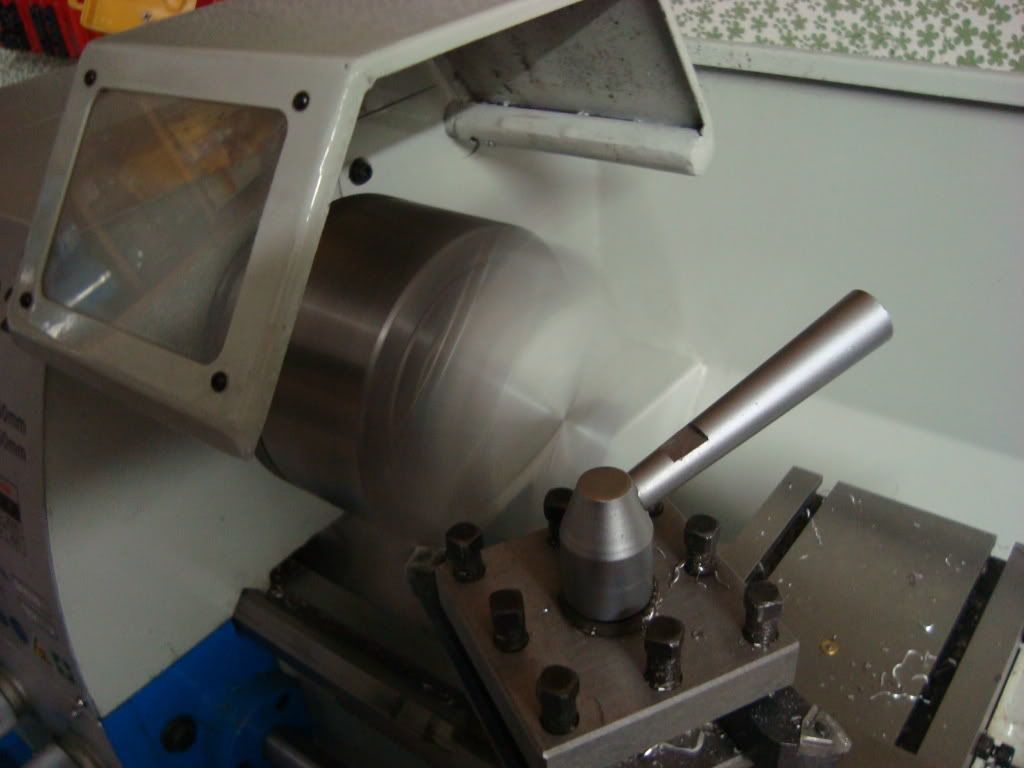
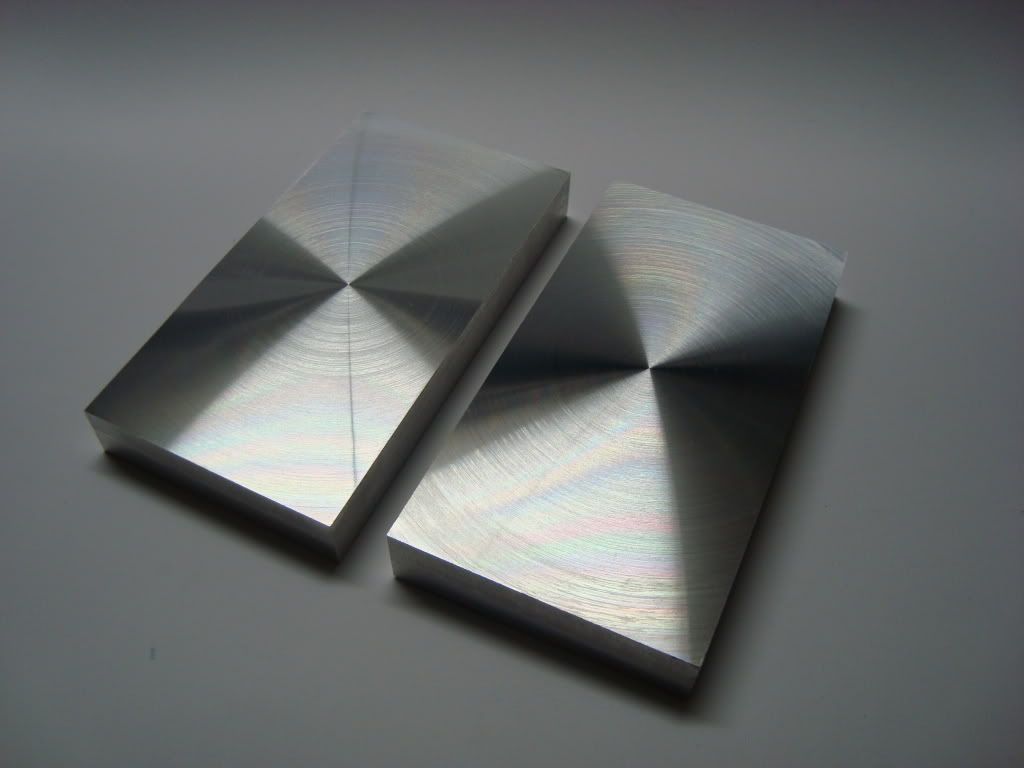
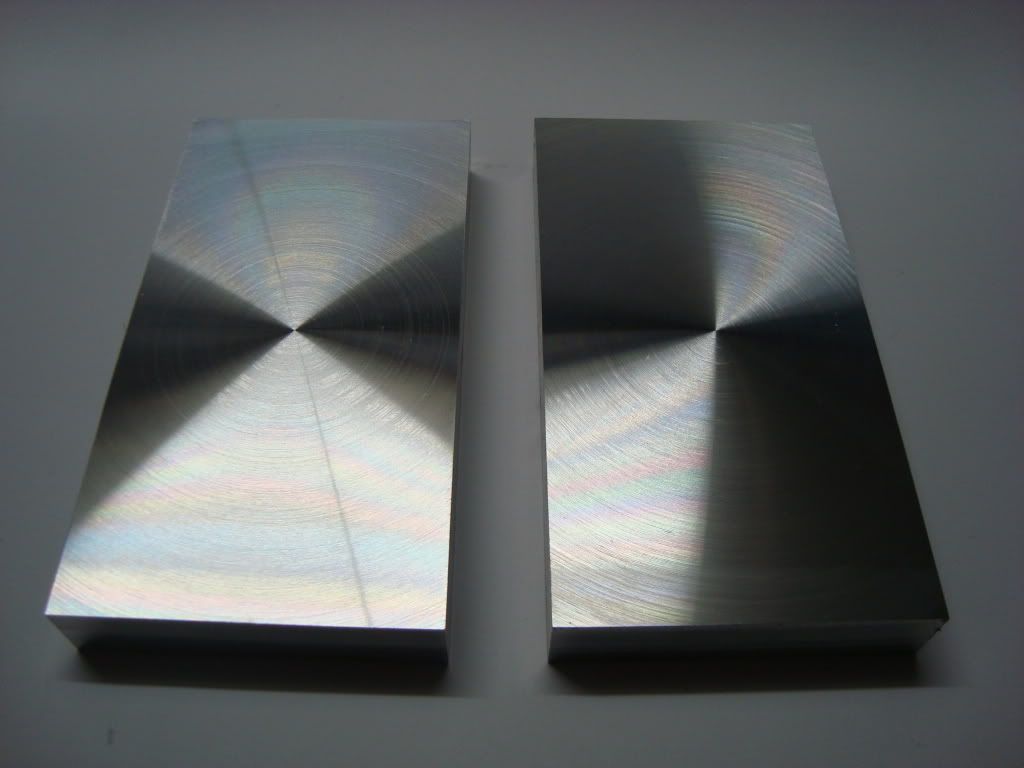
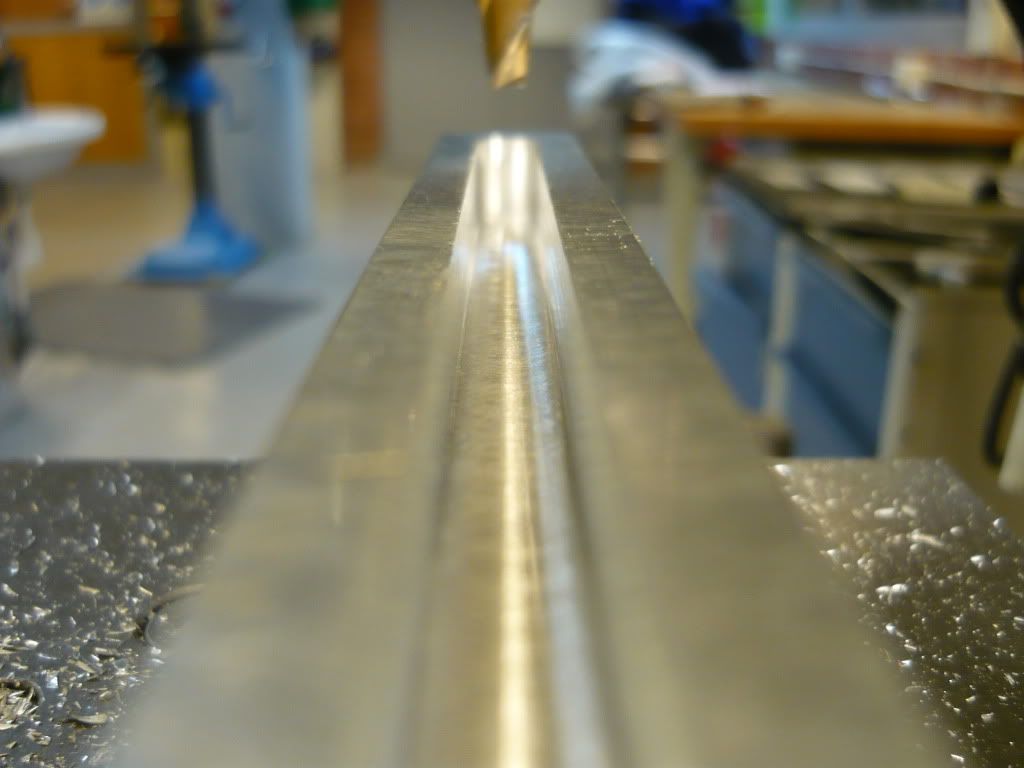
After some passes the piece is nice and flat. Flipped it over an did the same on the other side.
(CLICK TO ZOOM)
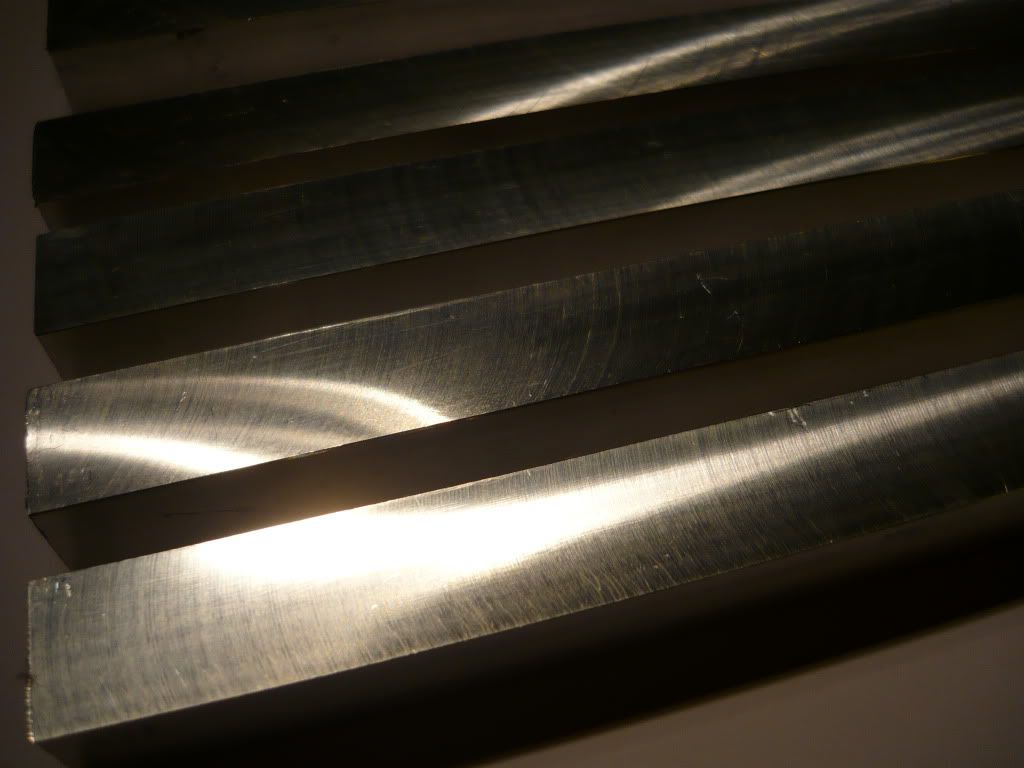
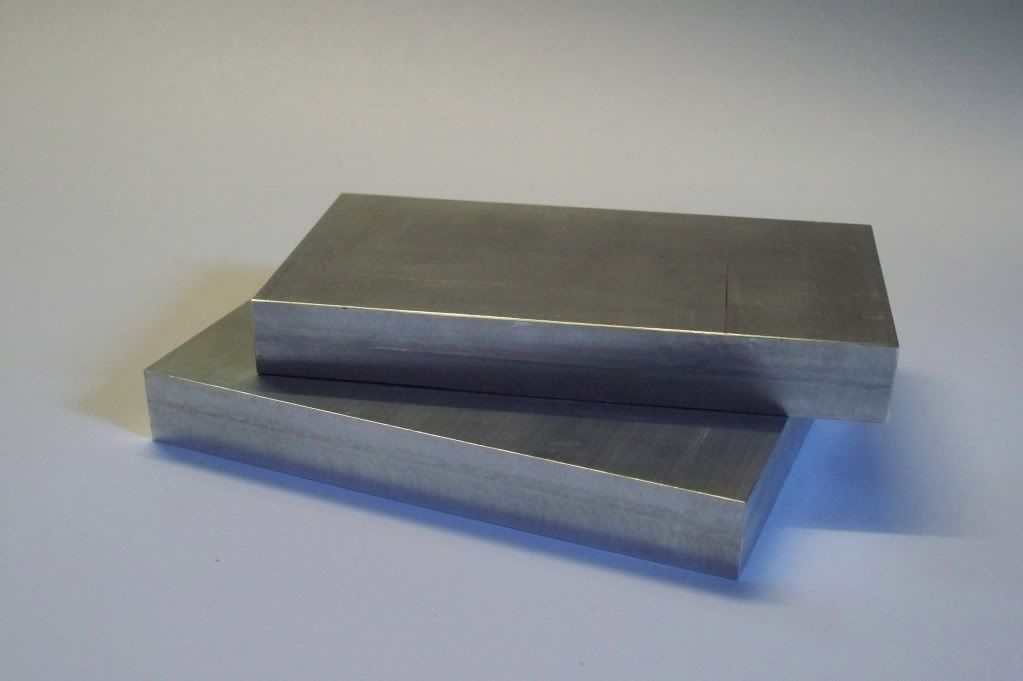
To bad they will probably not stay this shiny during the rest of the working. Well...will probably have to redo the surface once finished.
(CLICK TO ZOOM)
(CLICK TO ZOOM)
(CLICK TO ZOOM)
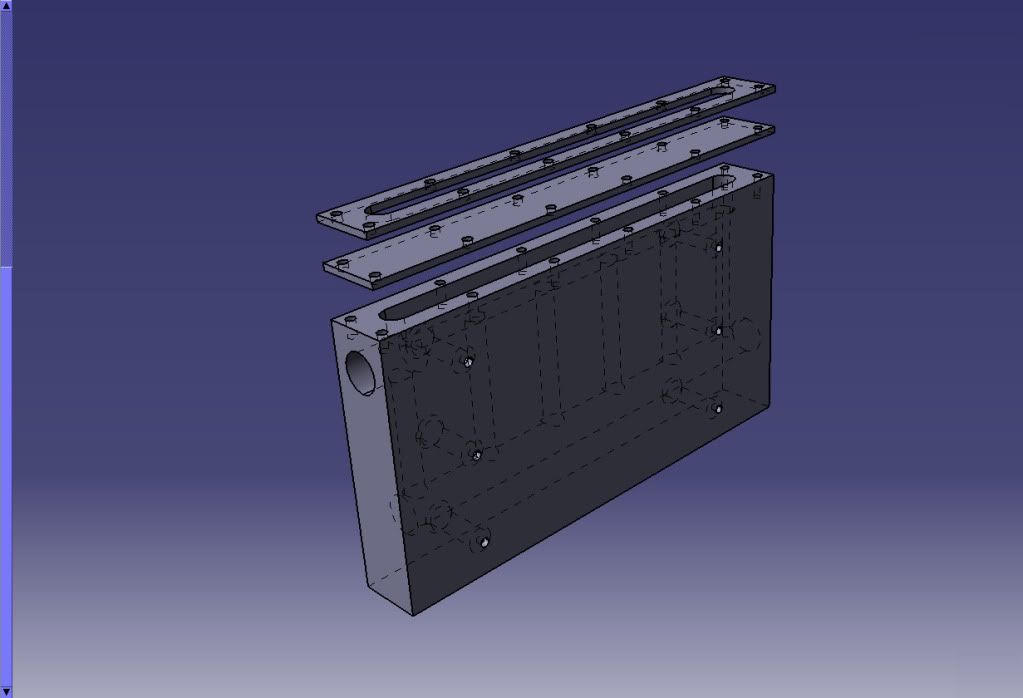
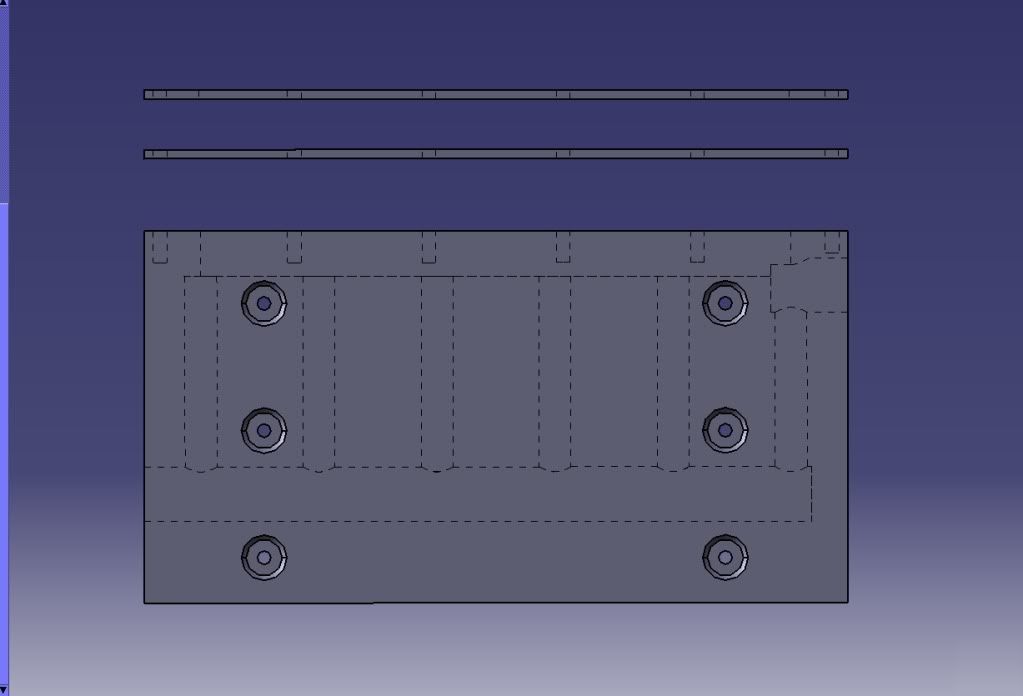
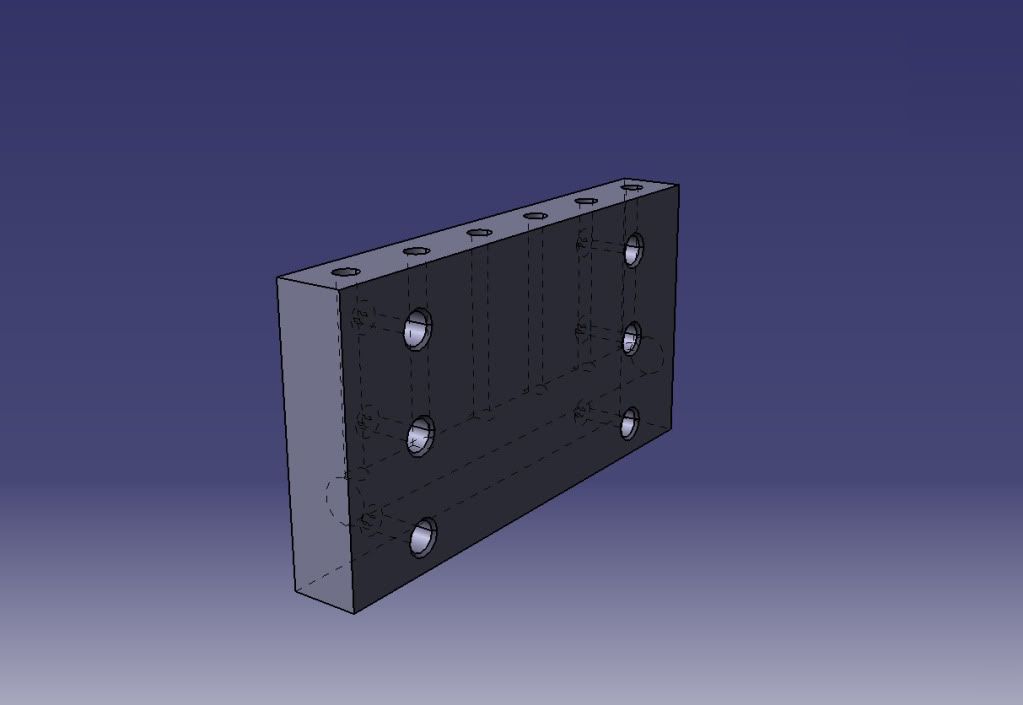
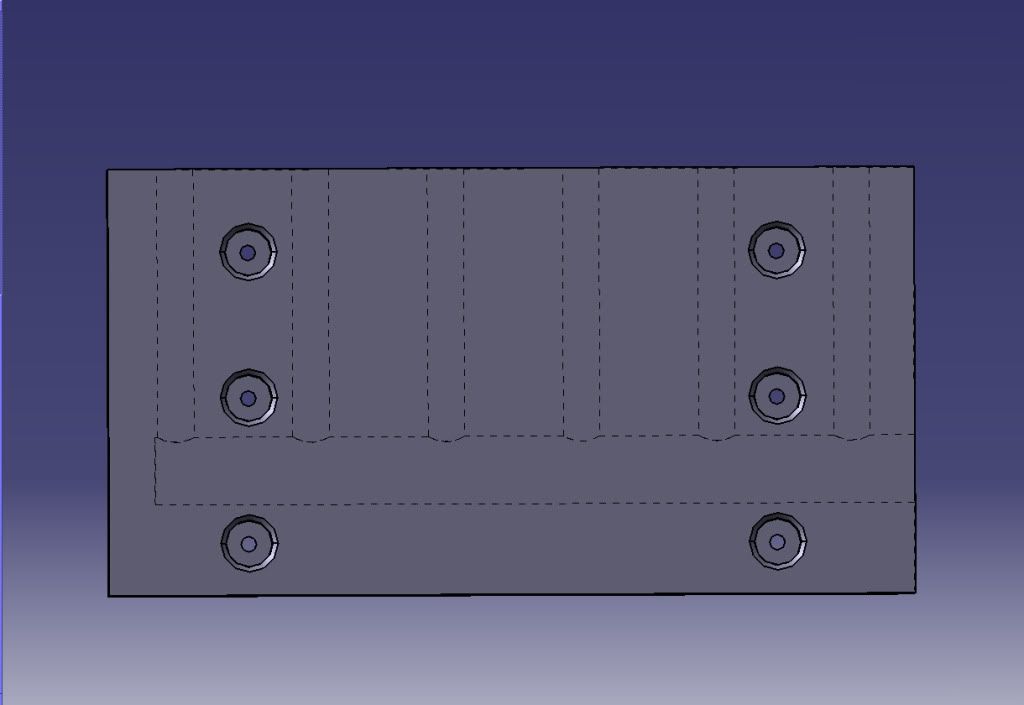
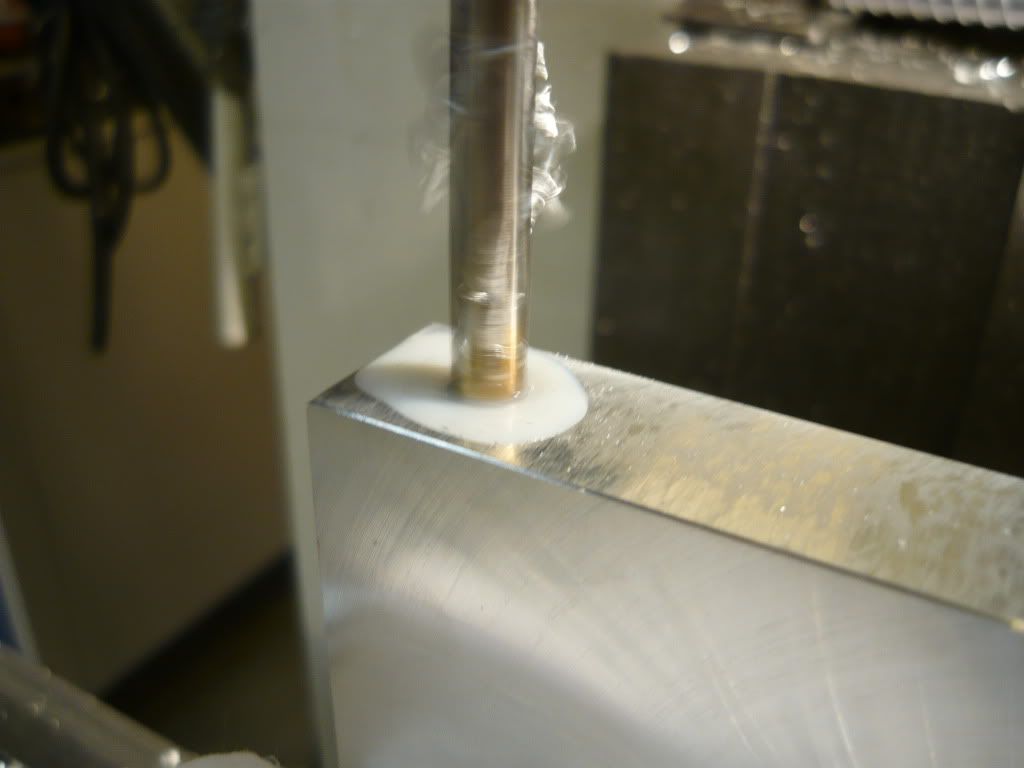
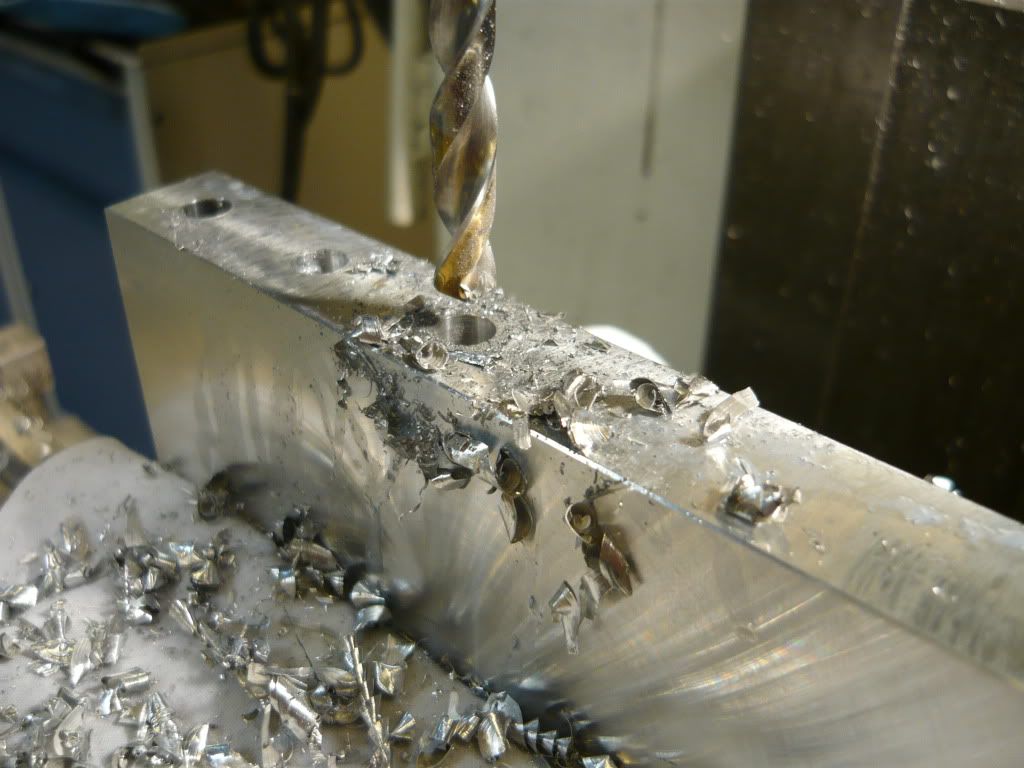
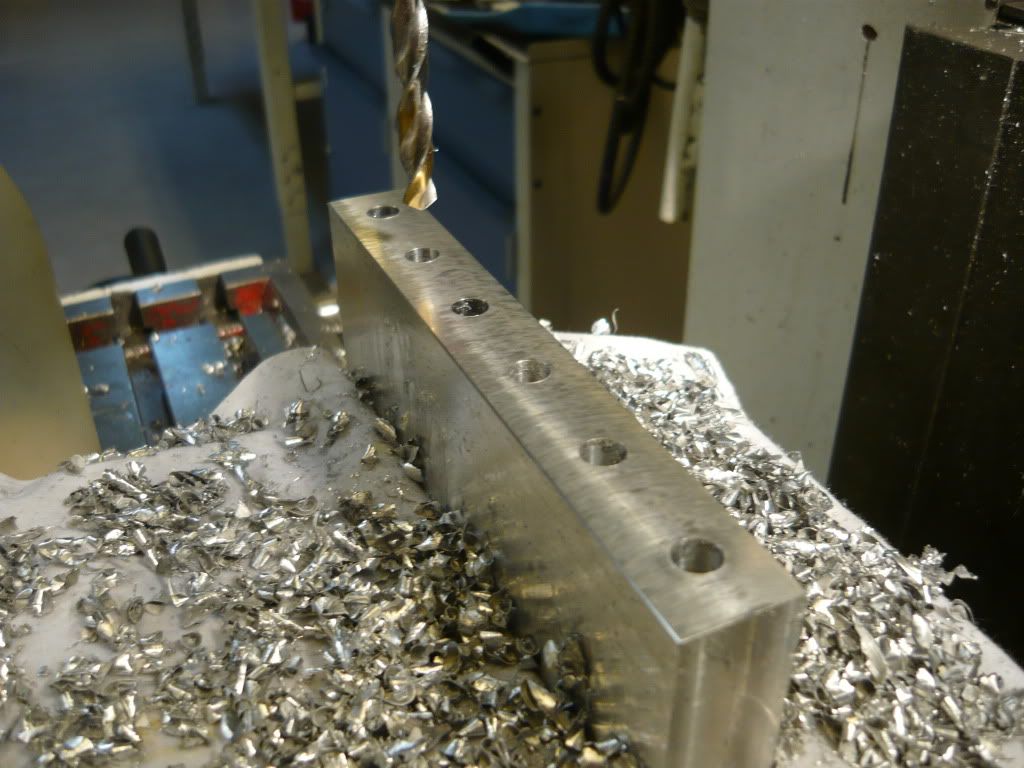
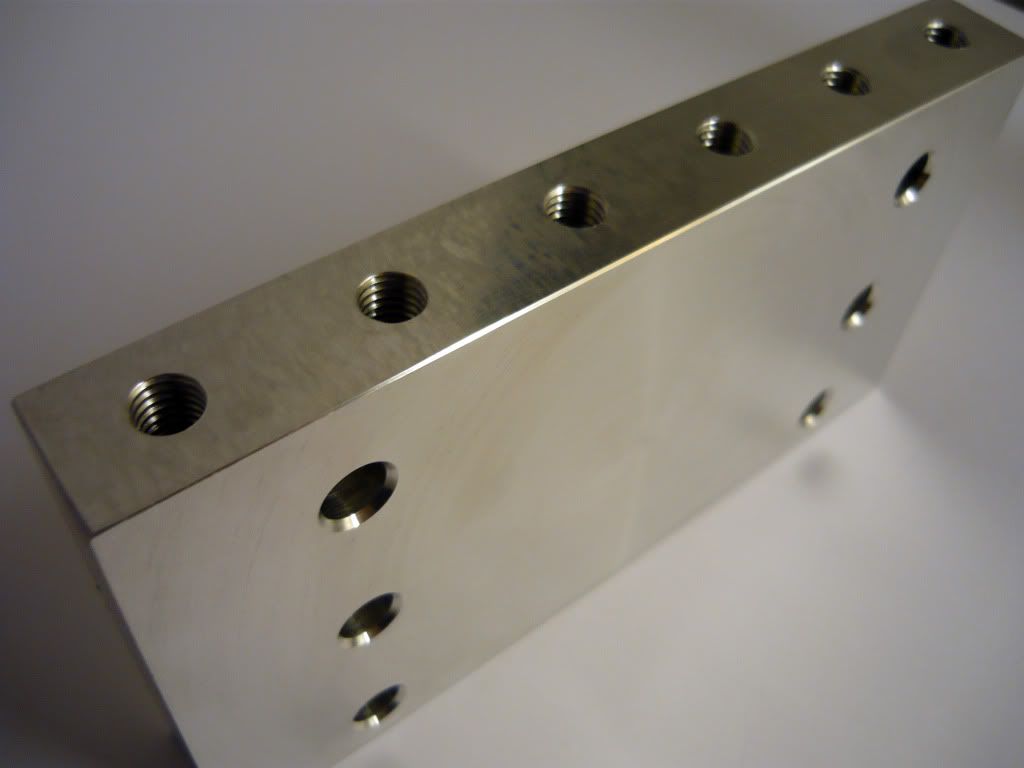
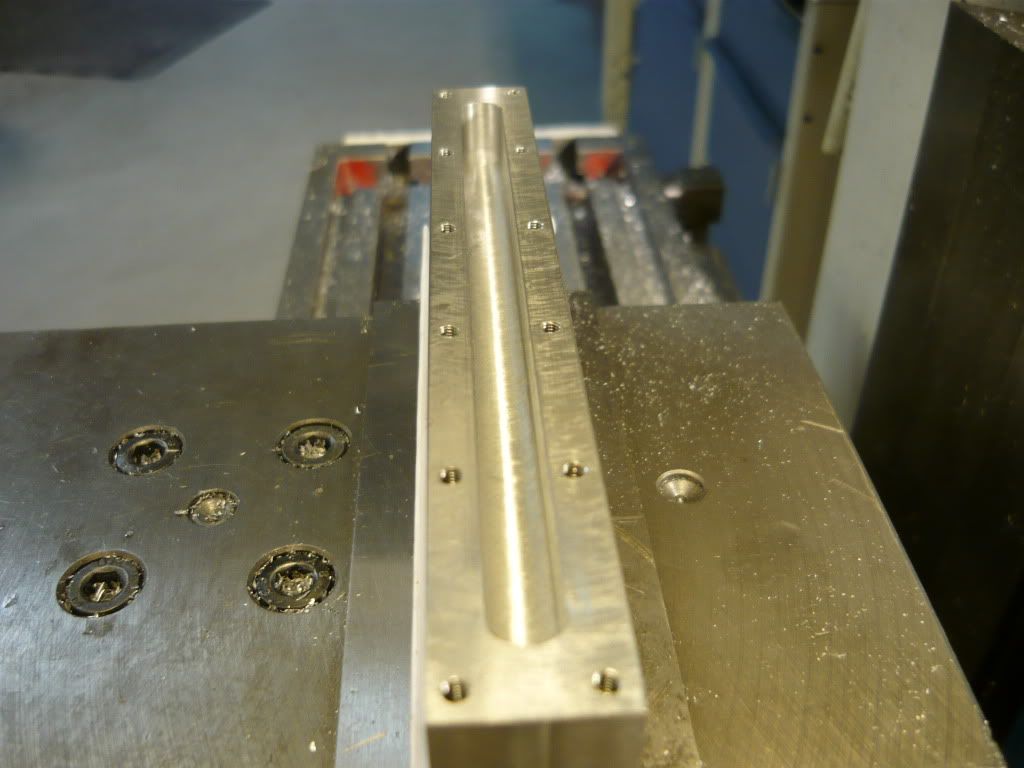
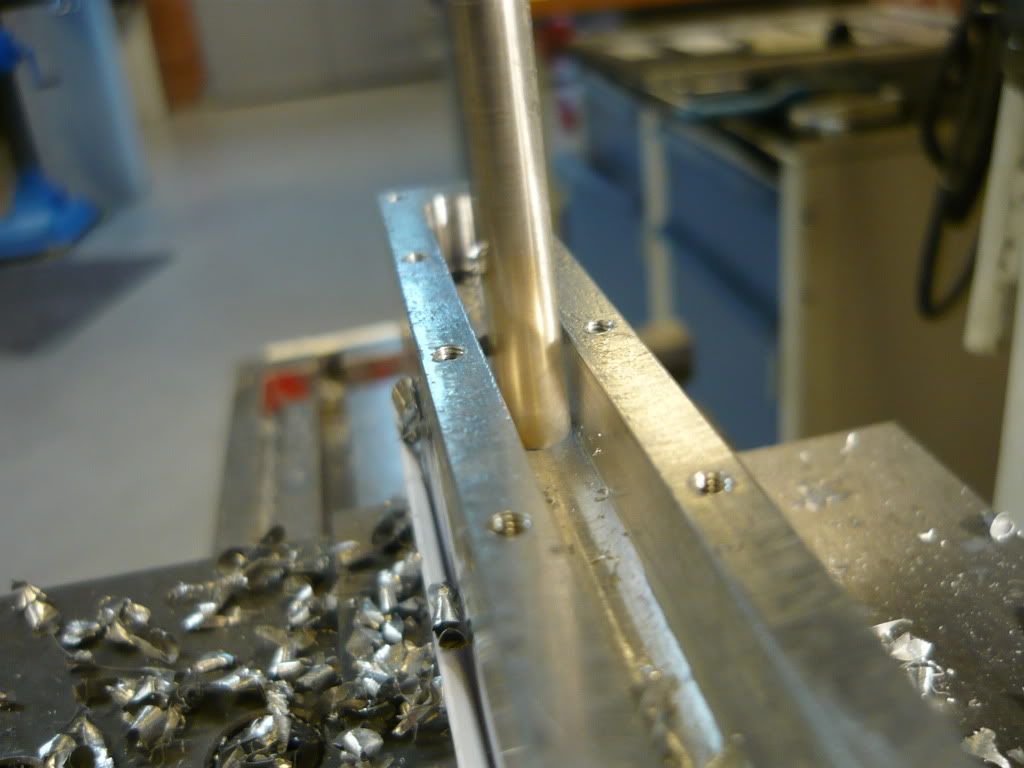
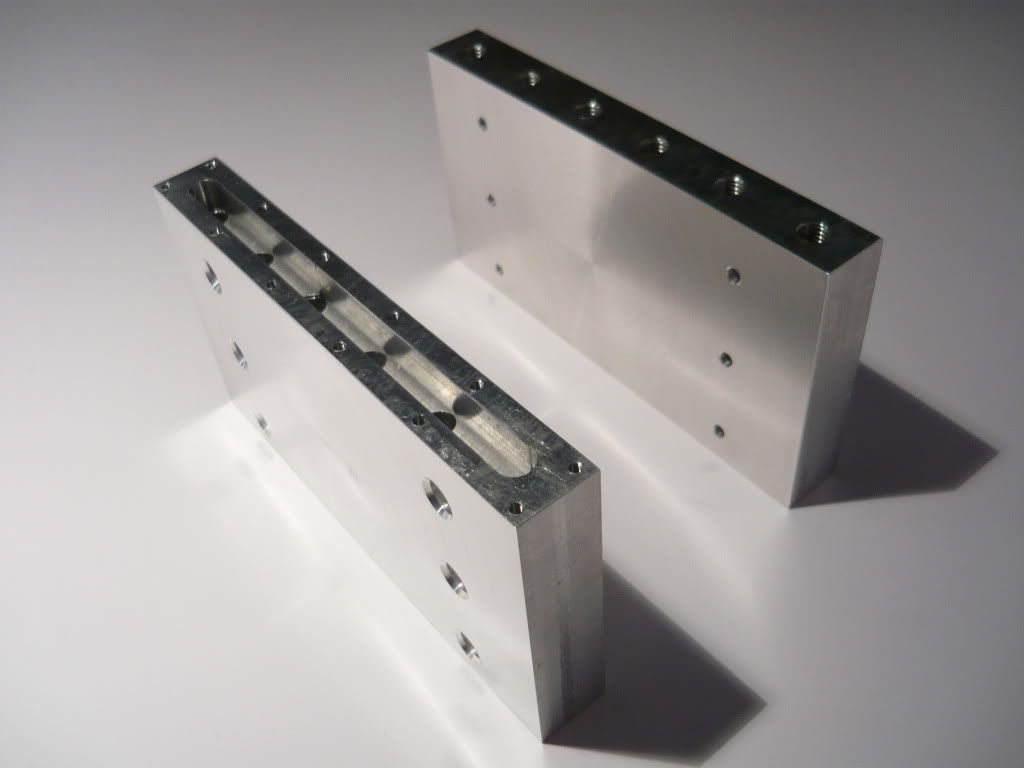
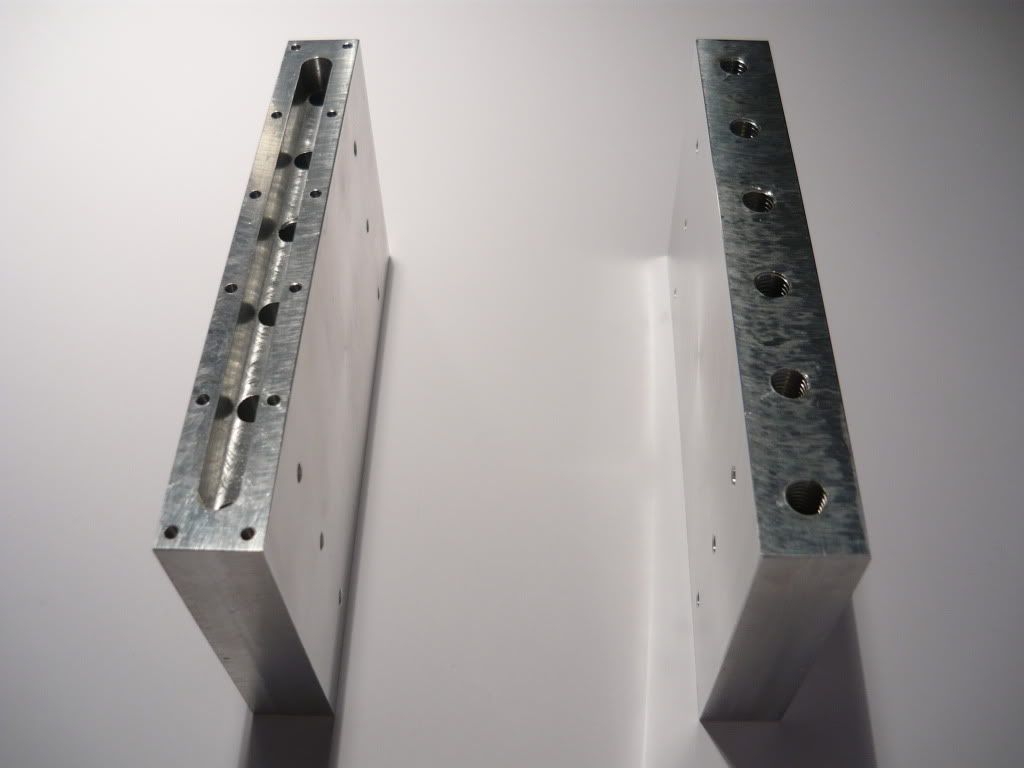
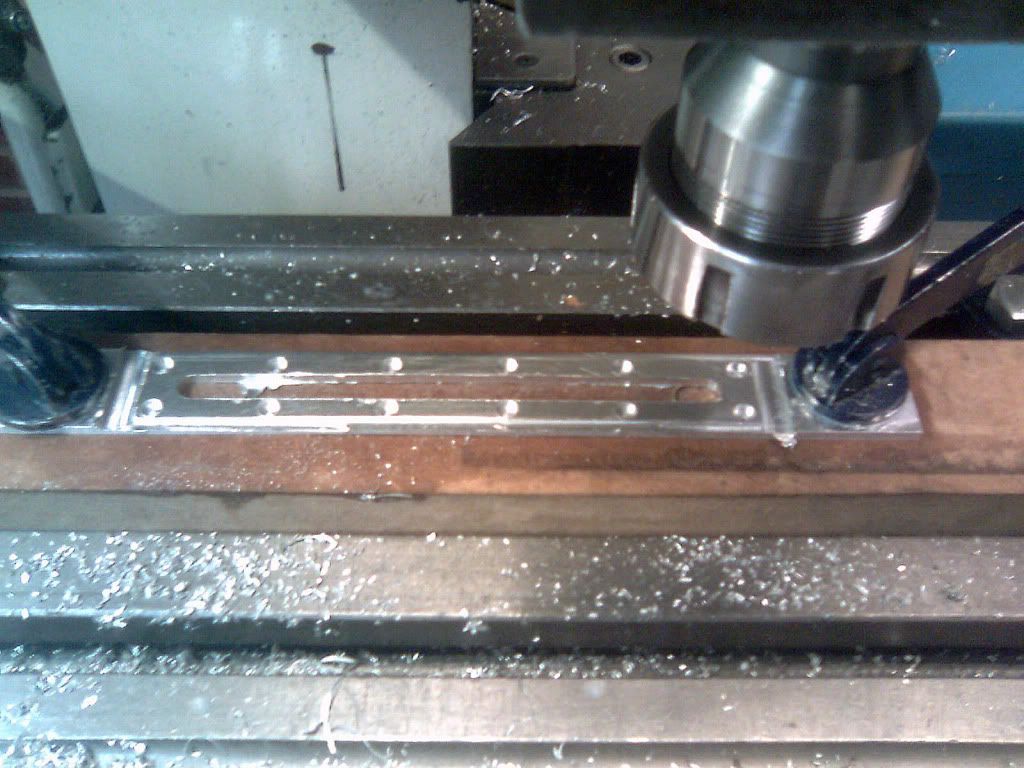
Here I'm starting to drill the channels in one of the blocks. They will be threaded with M8 threads later and therefore I used a 7mm drill. 6,8 is the optimal drill for this thread but I didn't have that one so this will have to do. The depth of the holes are 60mm.
(CLICK TO ZOOM)
(CLICK TO ZOOM)
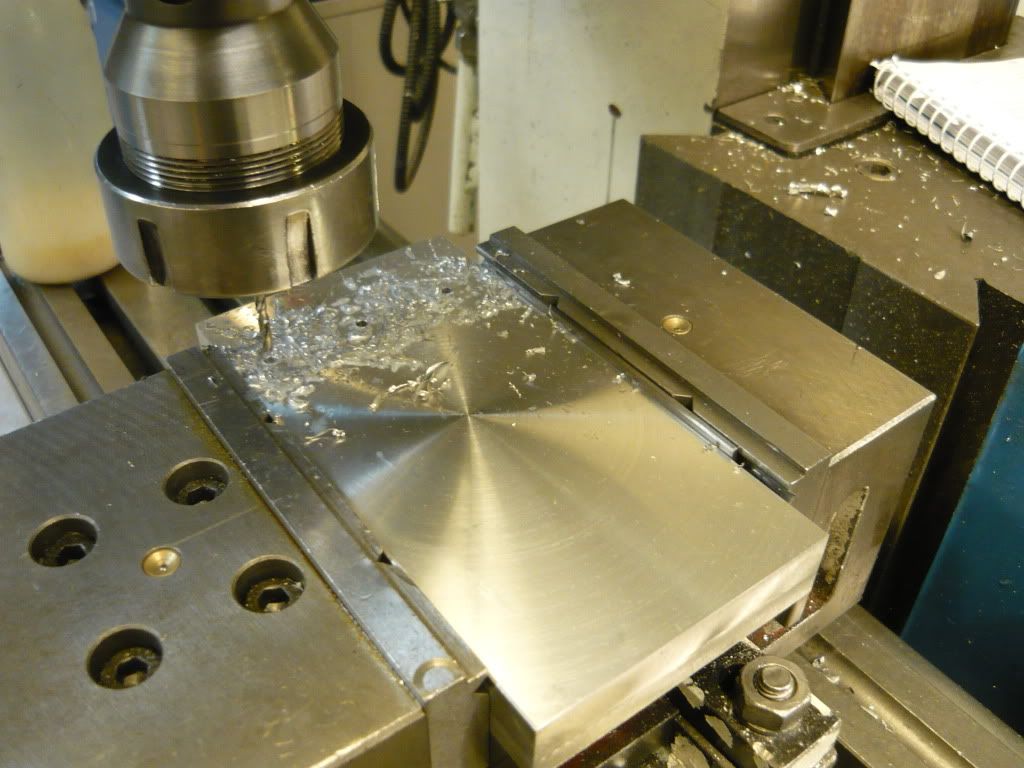
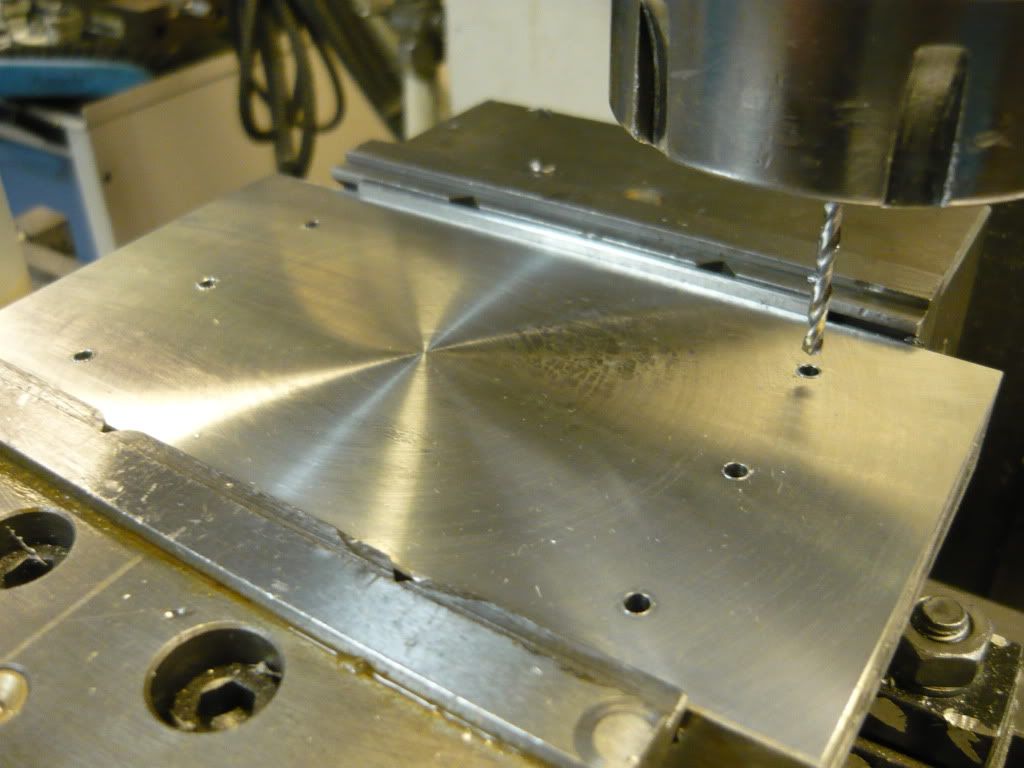
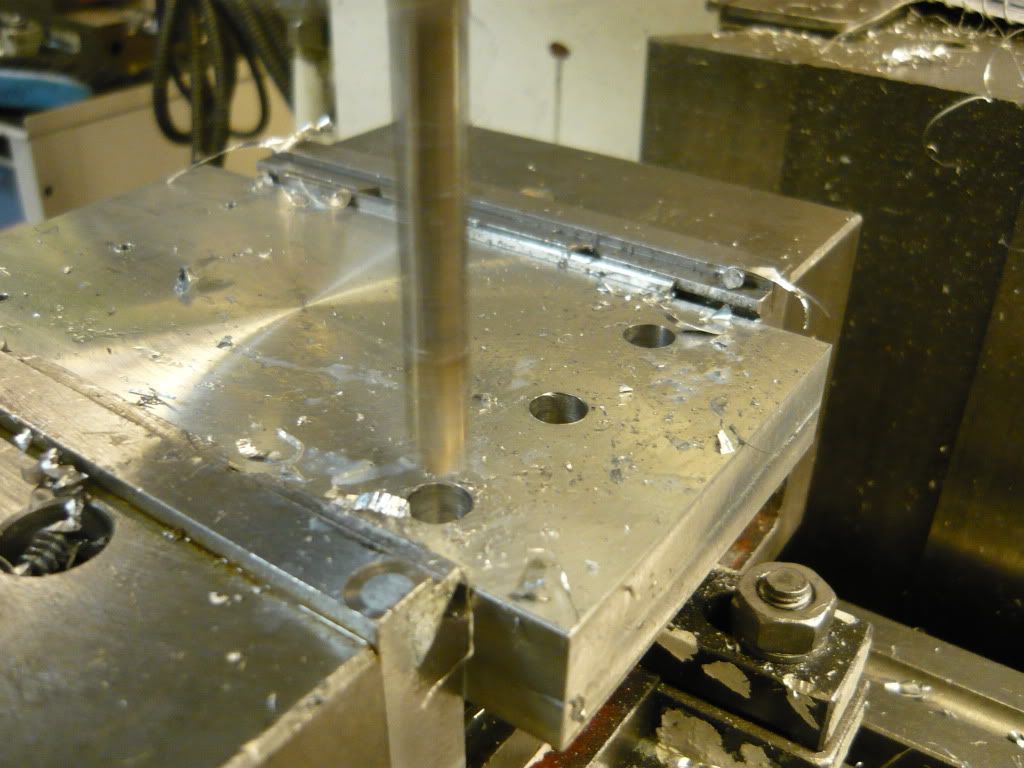
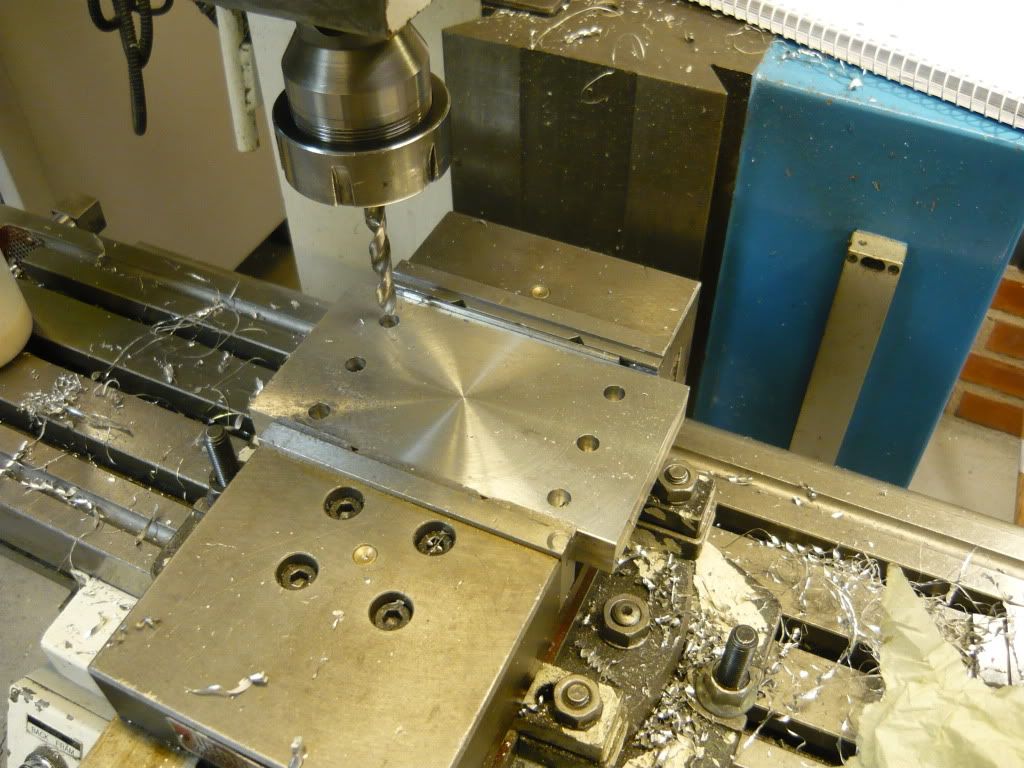
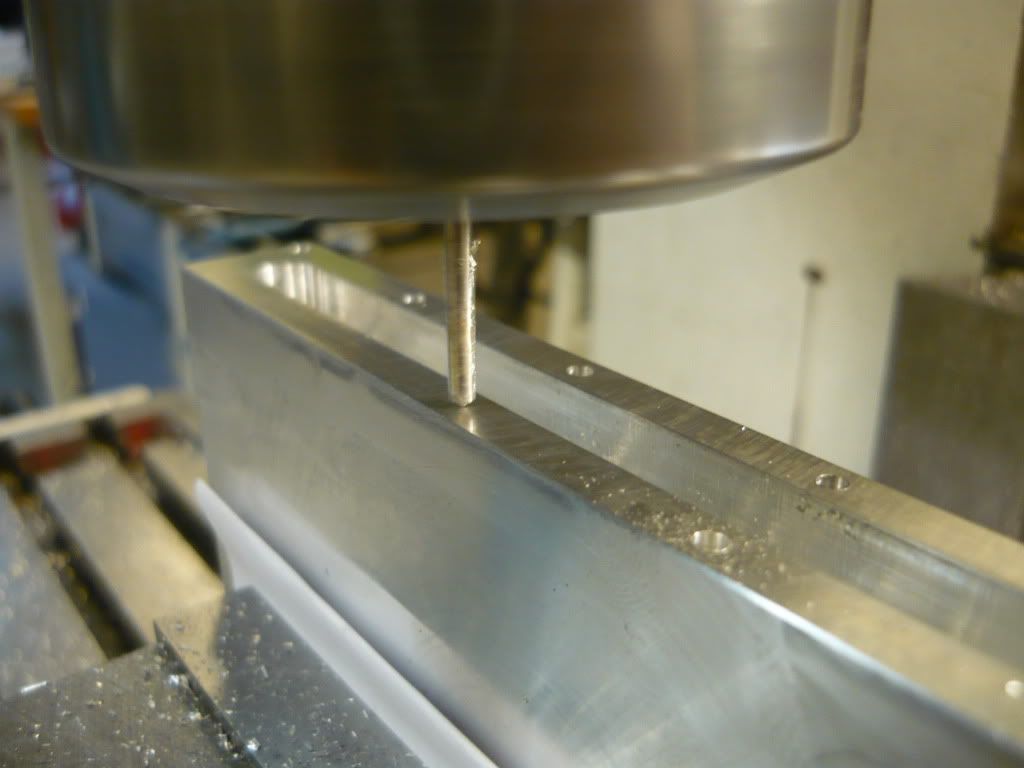
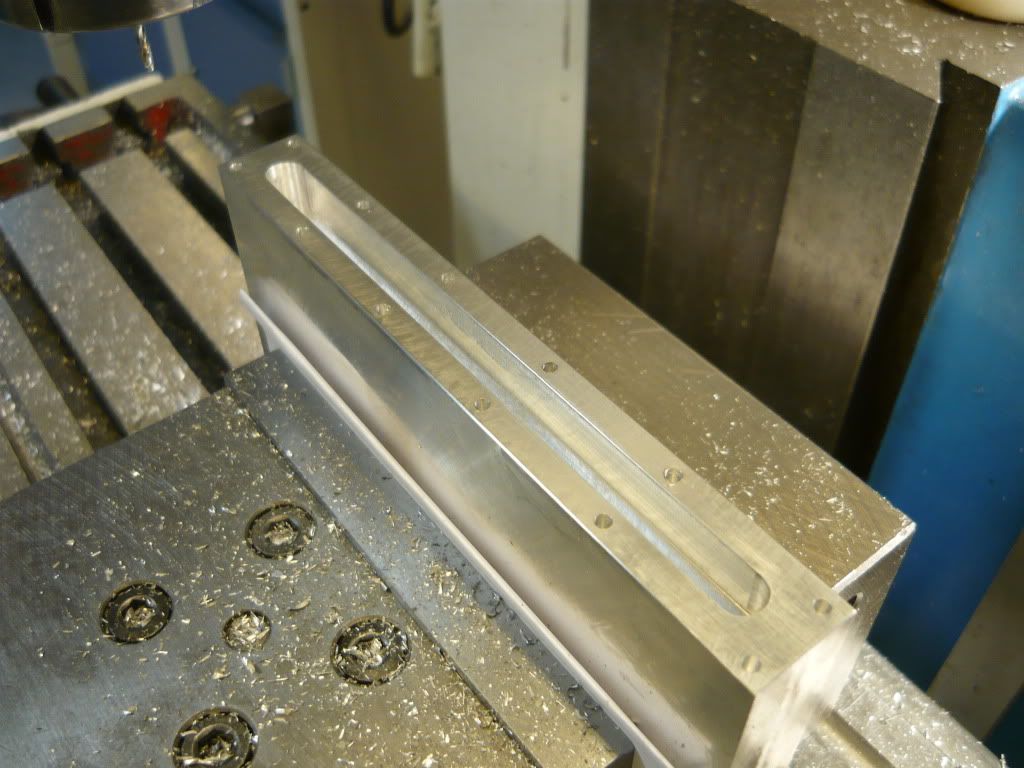
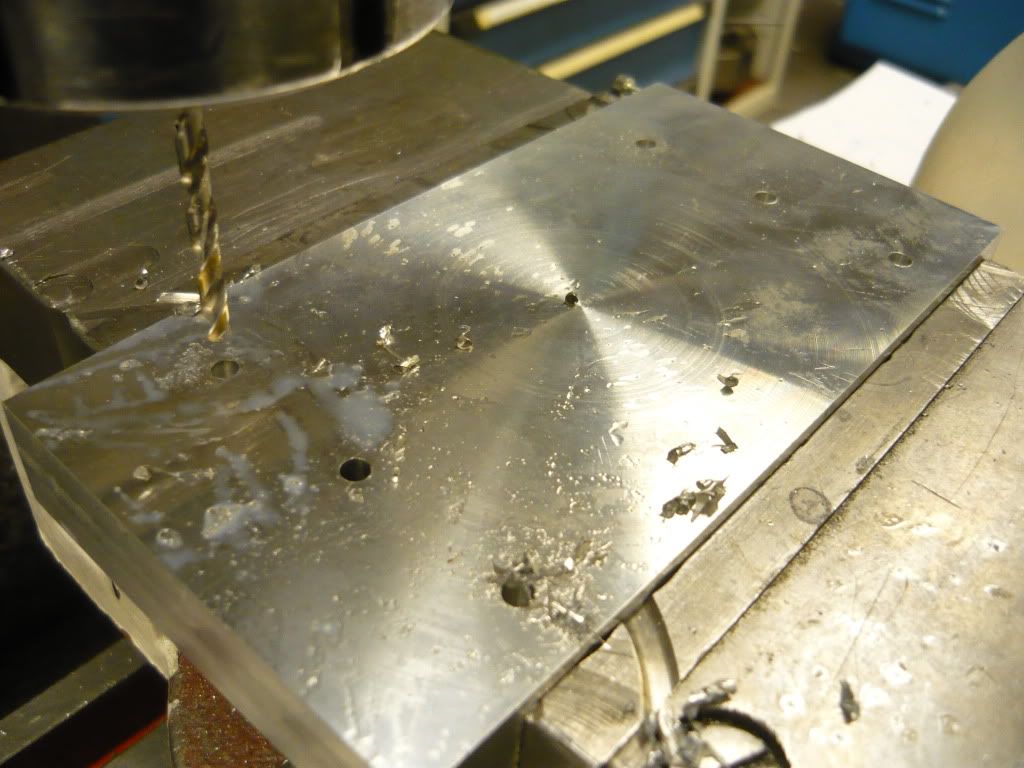
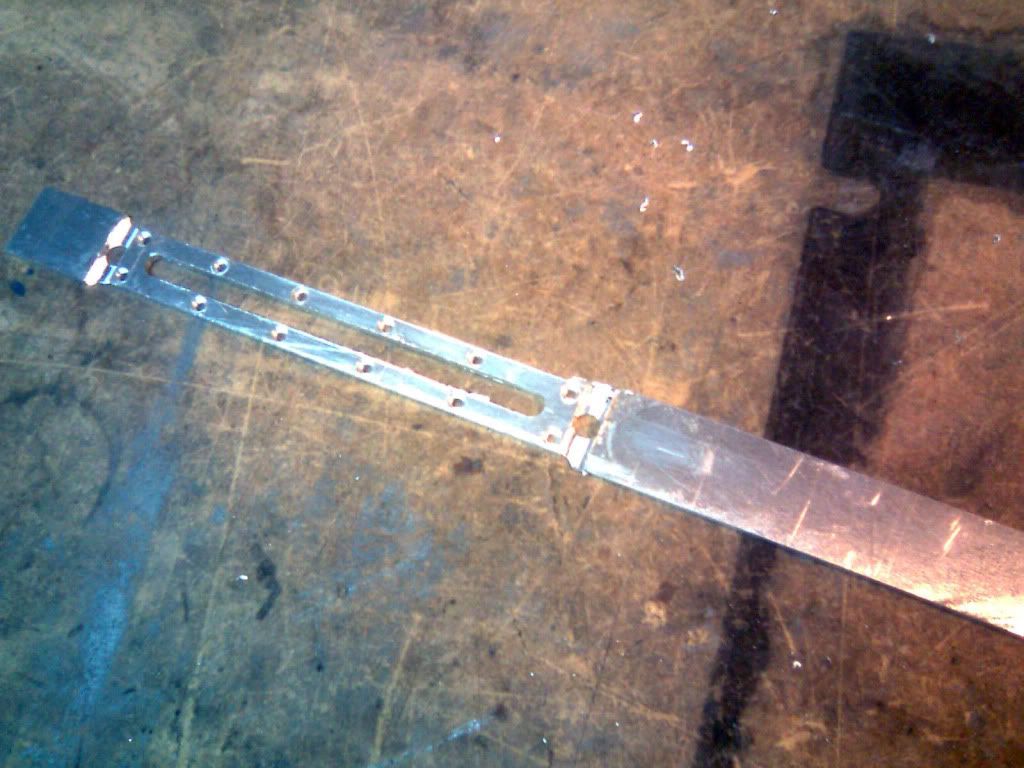
Flipped the pieces over and started to drill the holes for the HD mounting. I used a 4mm drill to drill all the way through.
(CLICK TO ZOOM)
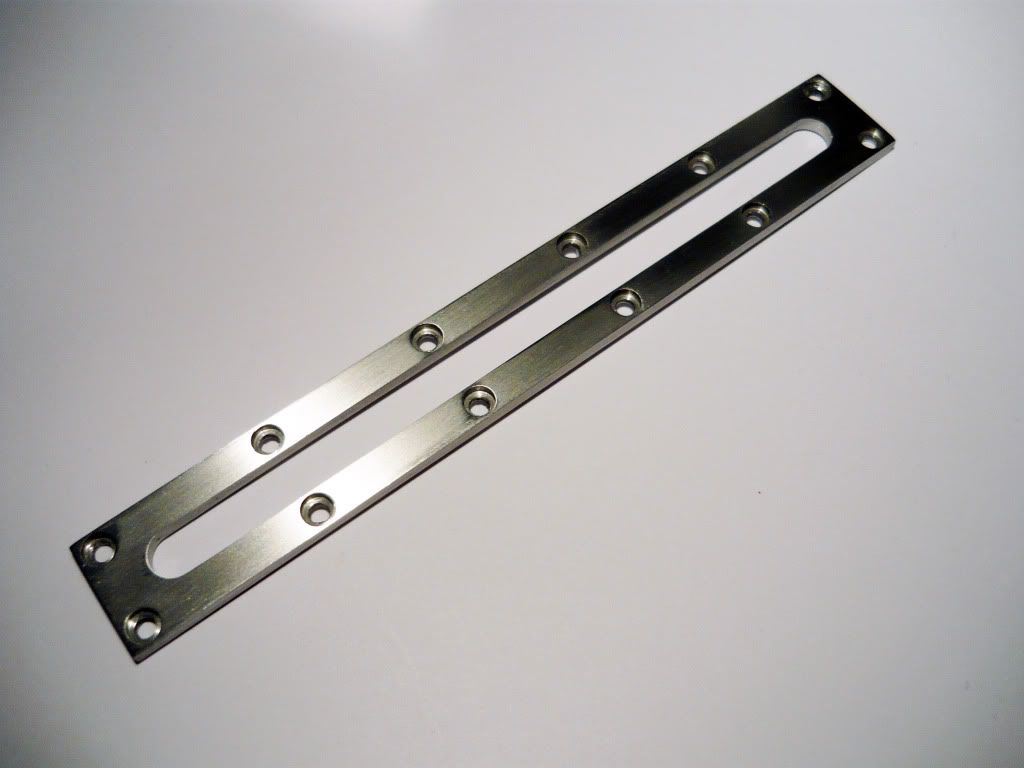
For those of you thinking of doing somethings similar, the long distance between the holes are 101,6 mm which is standard for 3,5" HDD.
(CLICK TO ZOOM)
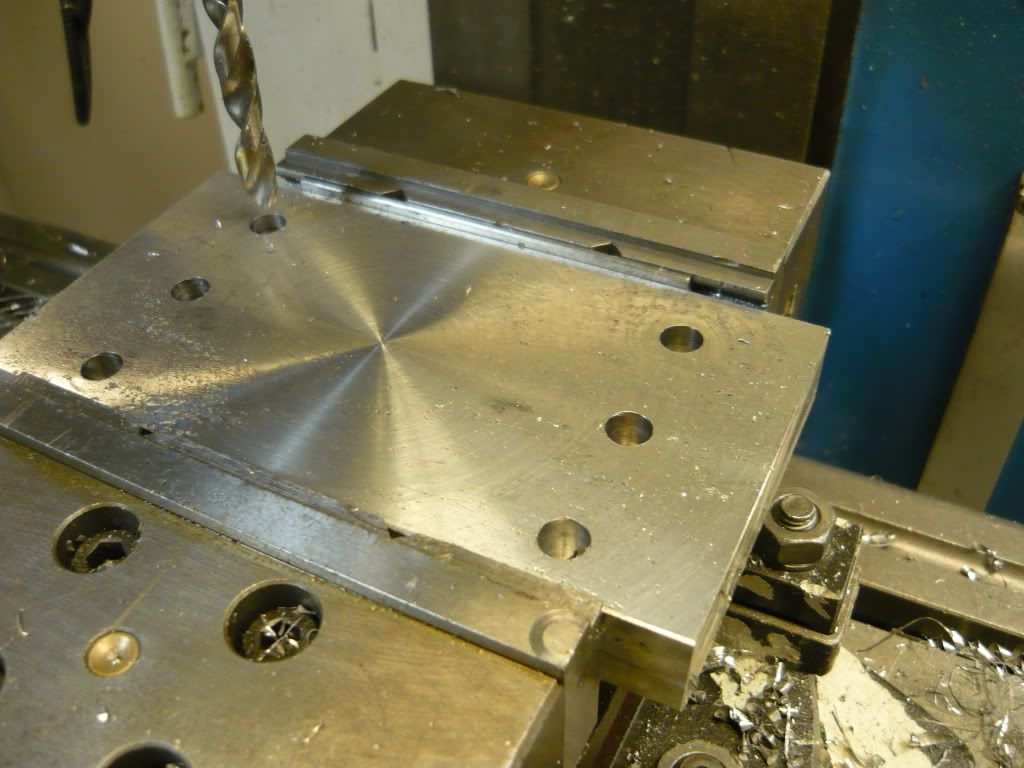
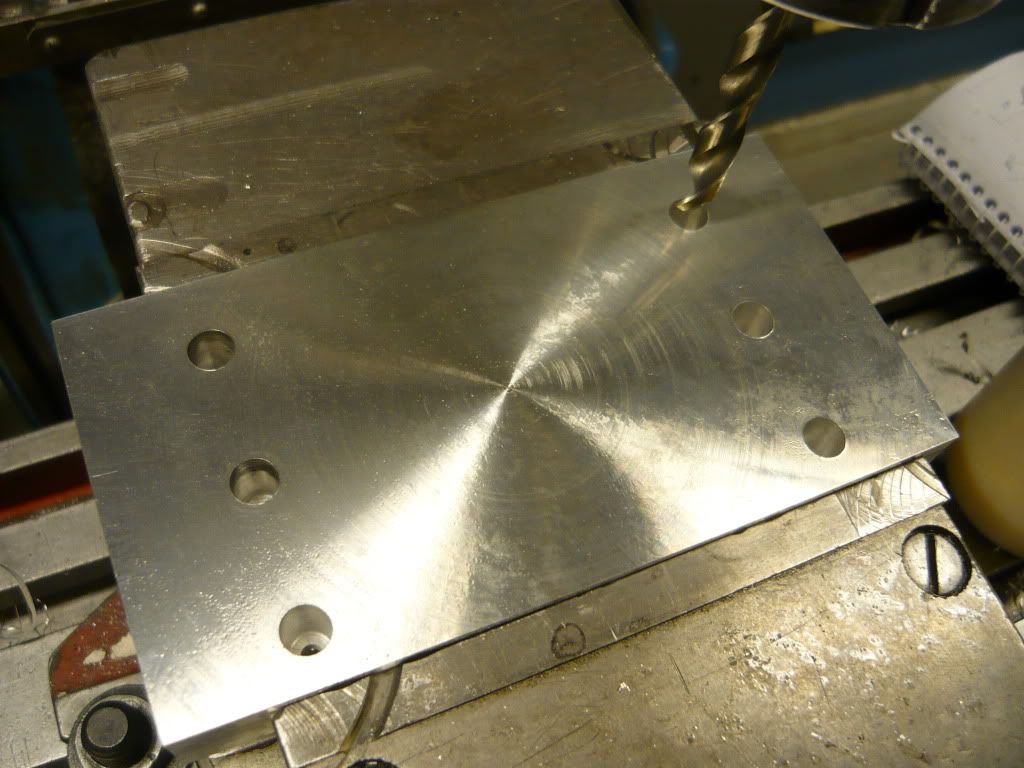
Here I use a 8,5 mm drill to make room for the head of the HD mounting screws. These holes are not drilled all the way through.
(CLICK TO ZOOM)
(CLICK TO ZOOM)
(CLICK TO ZOOM)
(CLICK TO ZOOM)
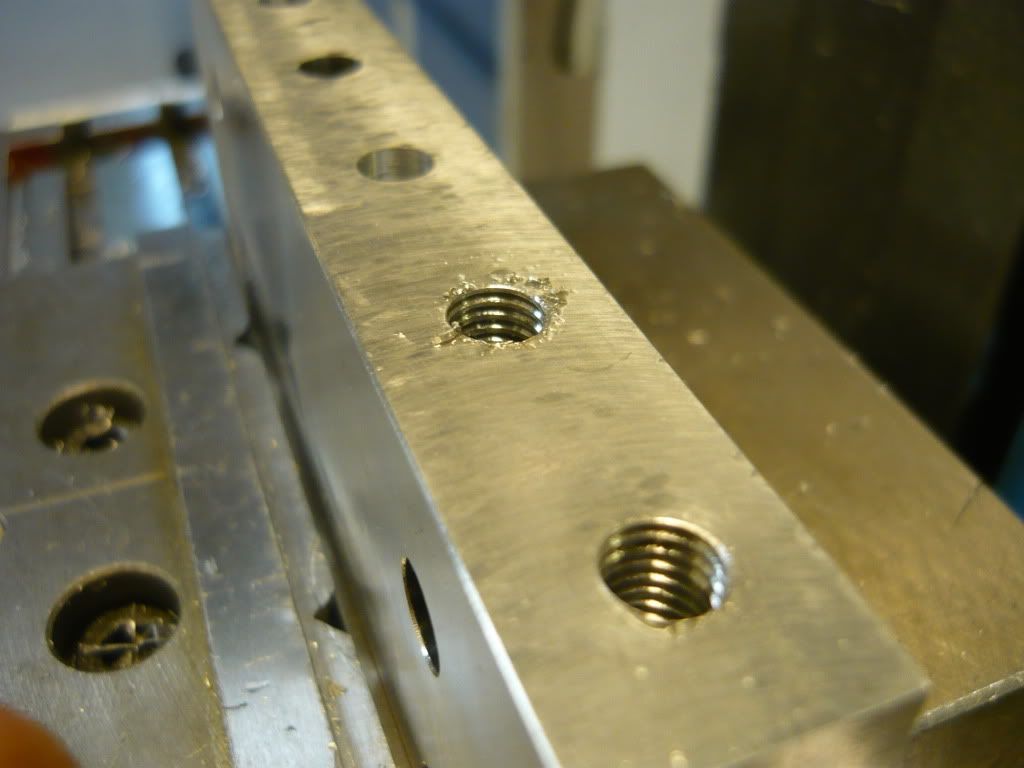
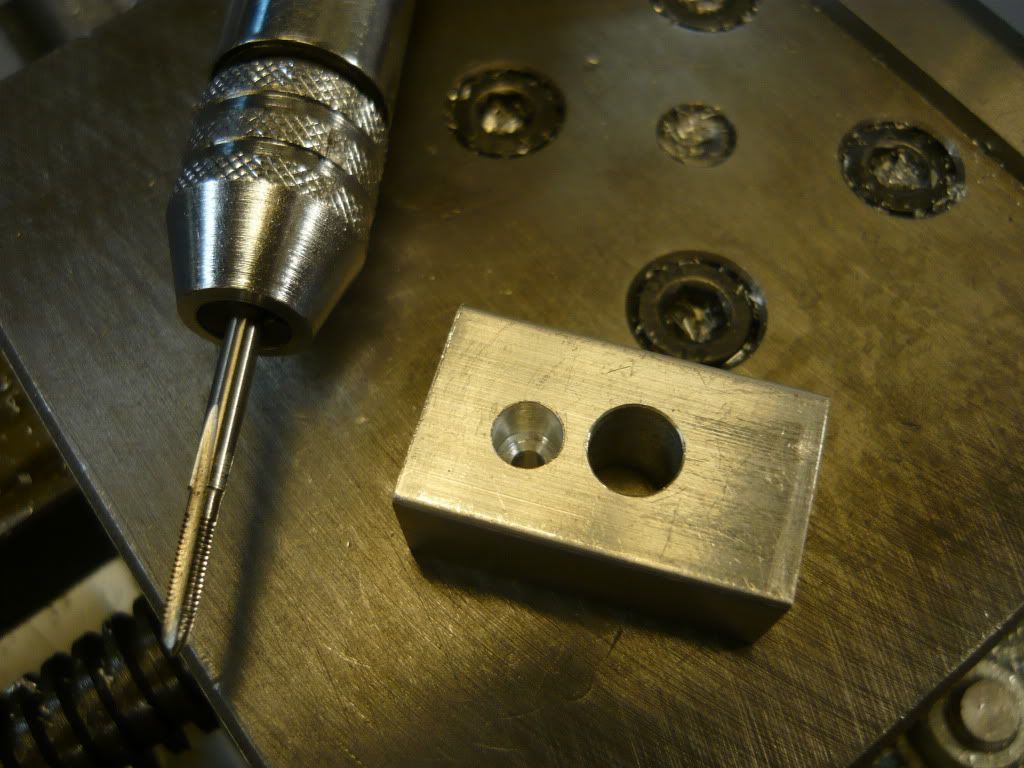
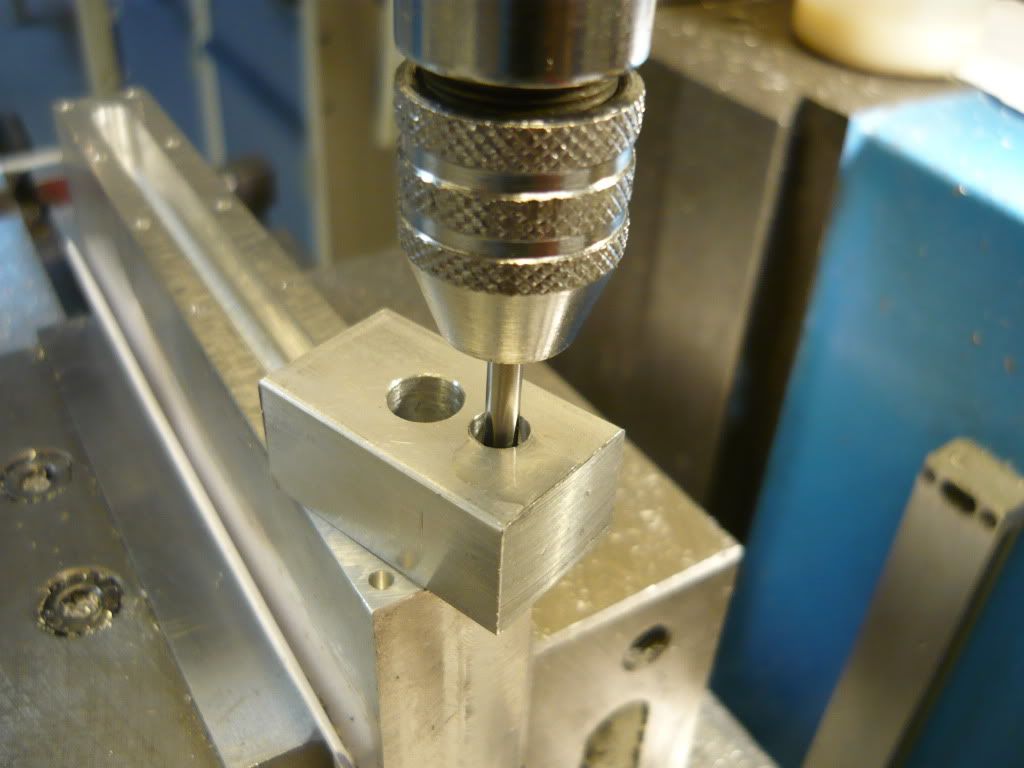
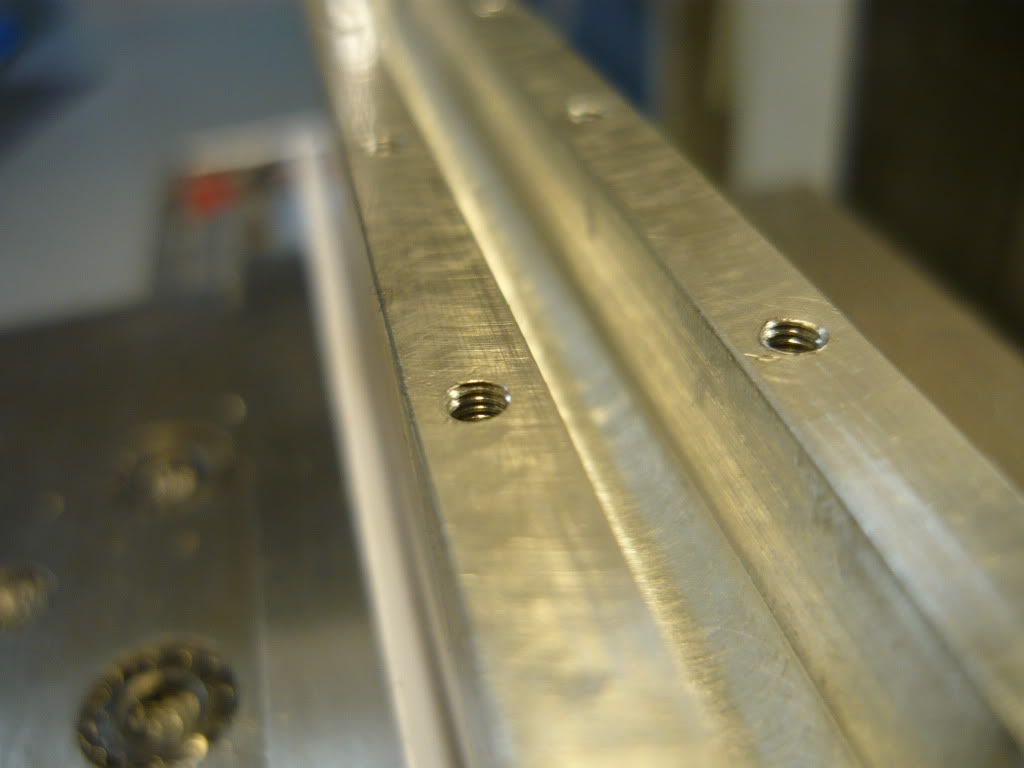
Time to start threading with the M8 tap. The alu piece with a hole in it is the guid tool I made to make shure the thread starts taping at a 90degree angle.
(CLICK TO ZOOM)
(CLICK TO ZOOM)
(CLICK TO ZOOM)
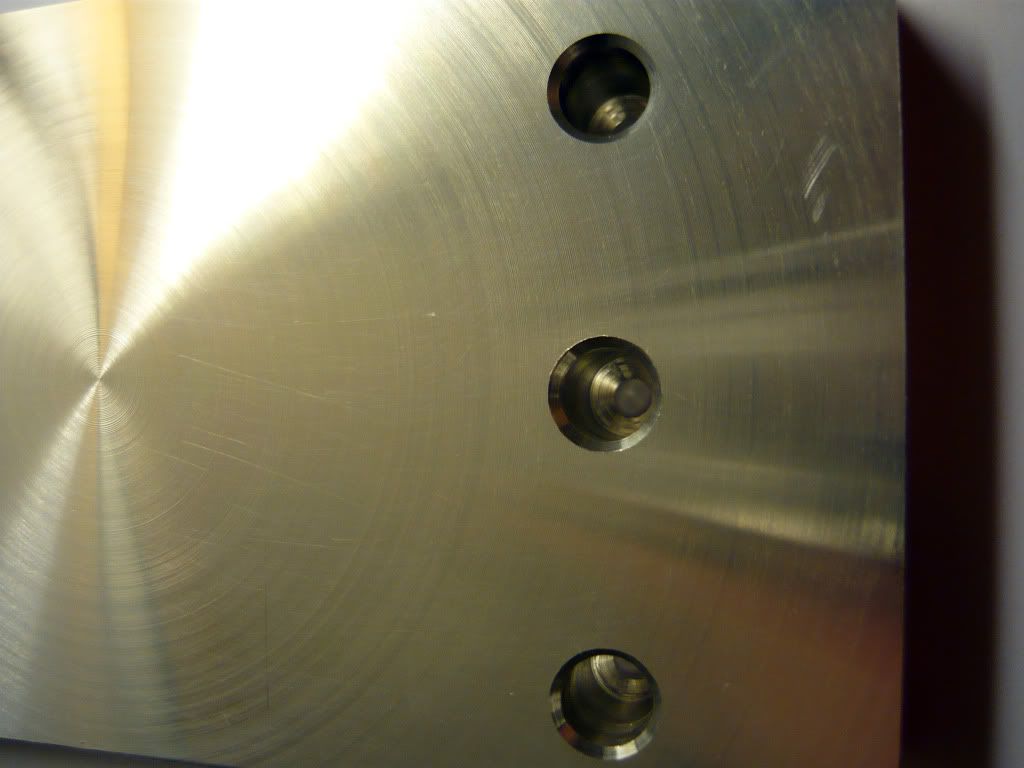
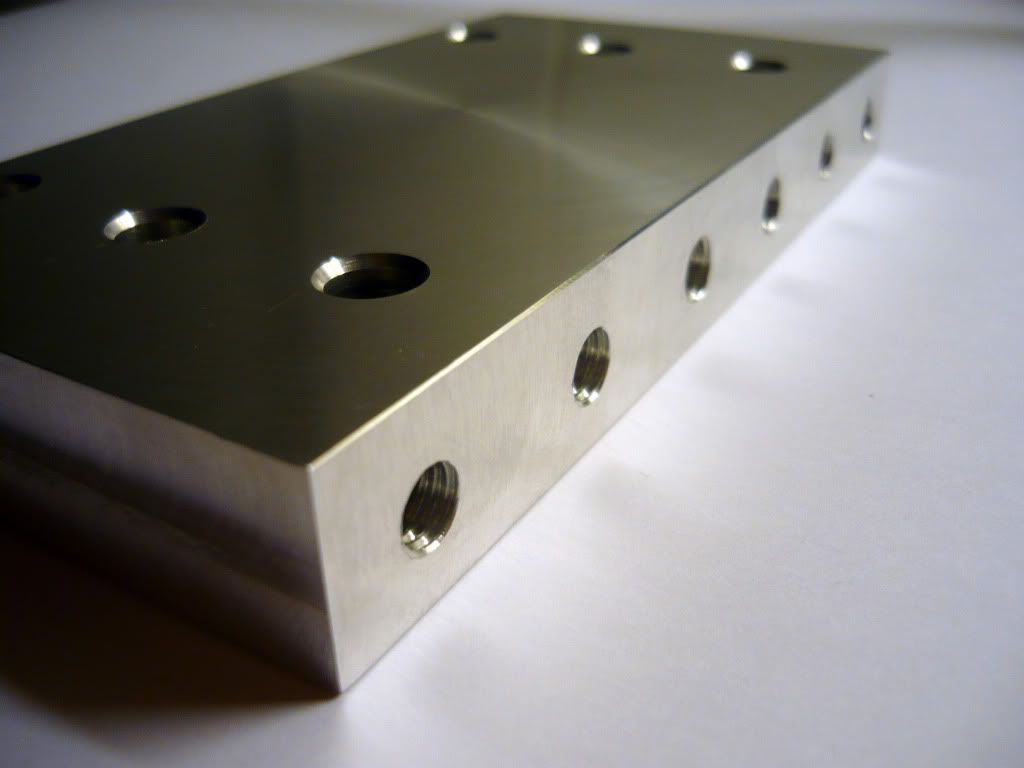
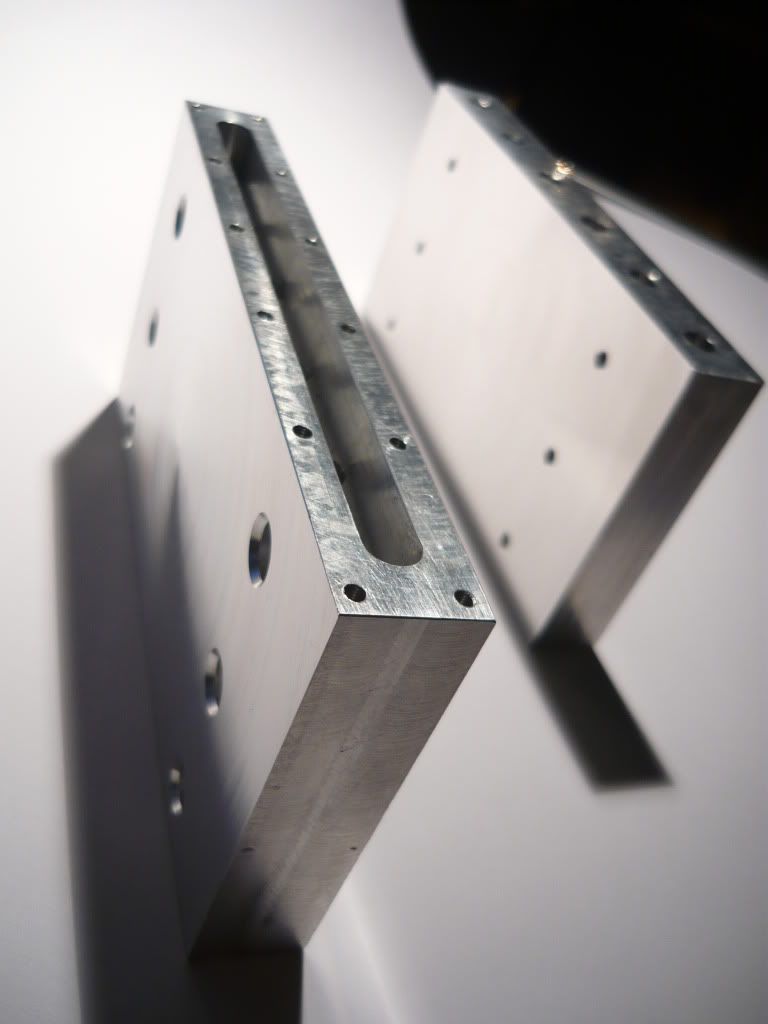
Also did some edge chamfering of the holes to give it a nicer look. Here you can se that the large hole is not all the way through since it leaves 2mm in the bottom to make the screws pop out enough on the mounting side.
(CLICK TO ZOOM)
(CLICK TO ZOOM)
(CLICK TO ZOOM)
(CLICK TO ZOOM)
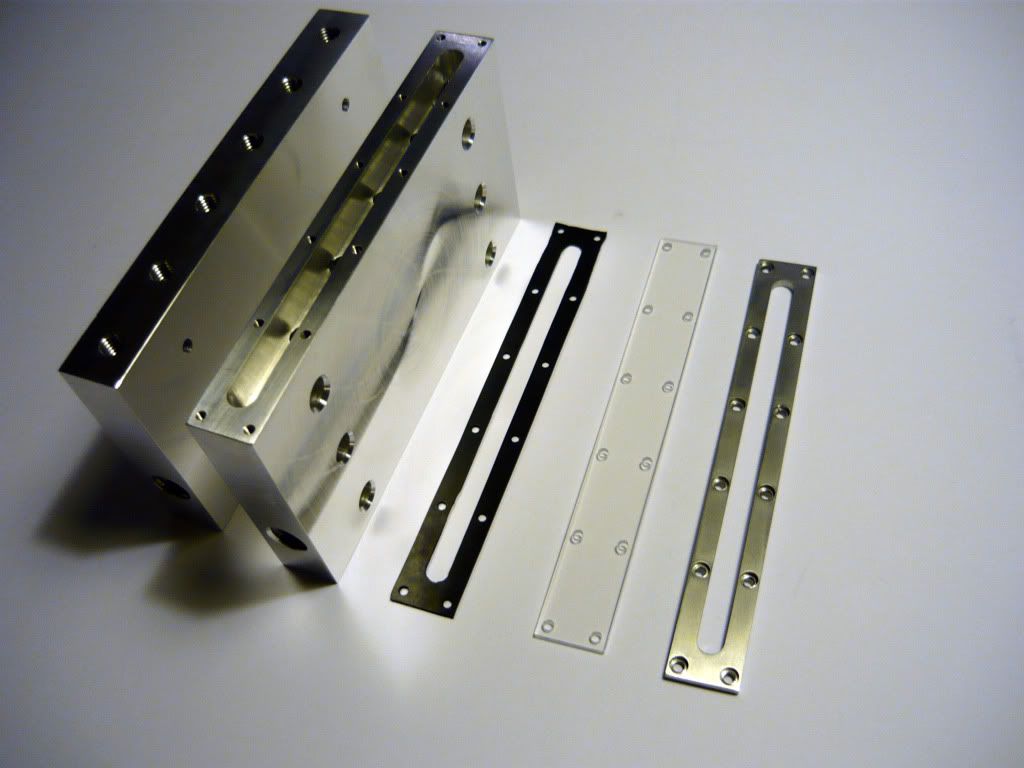
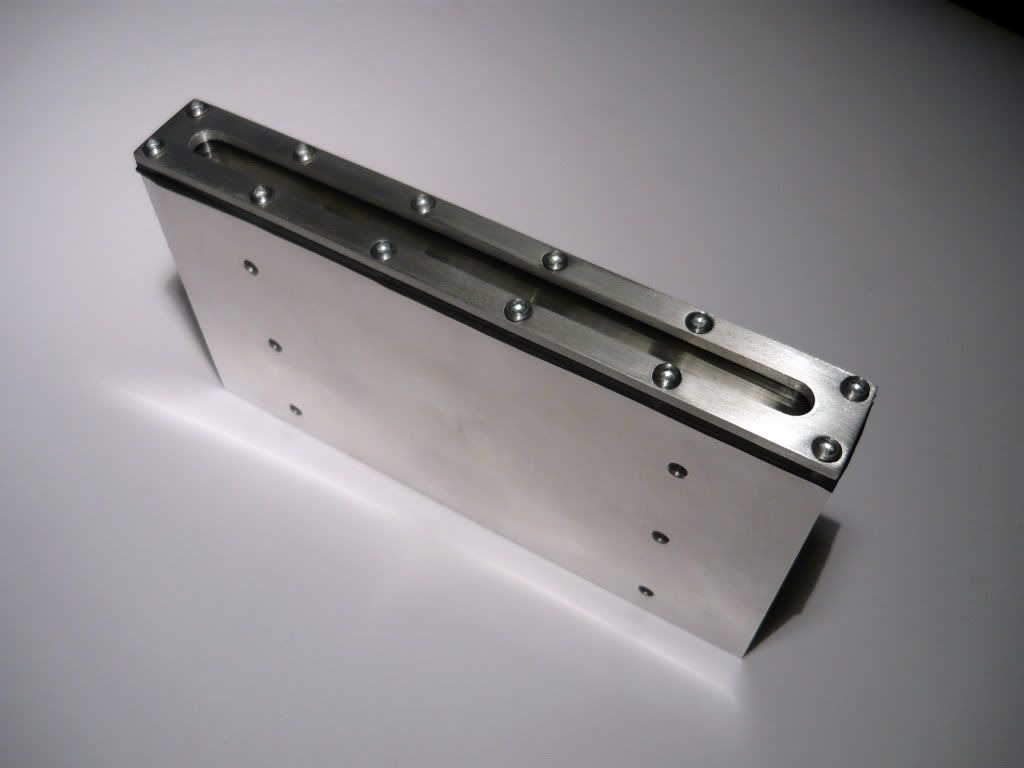
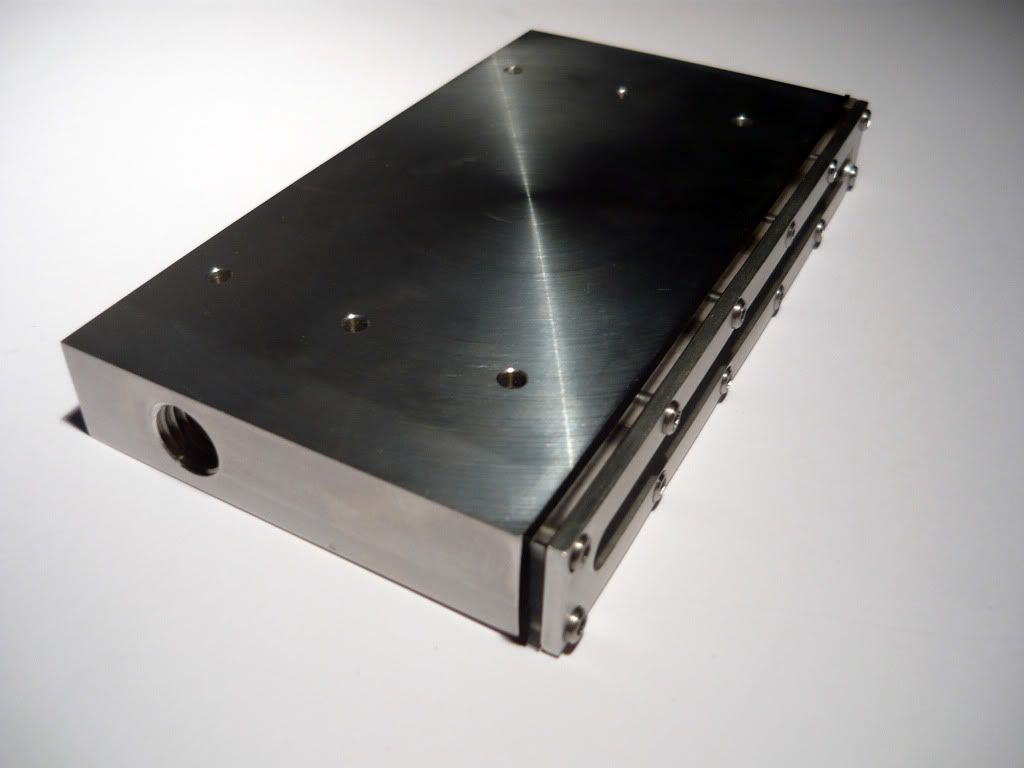
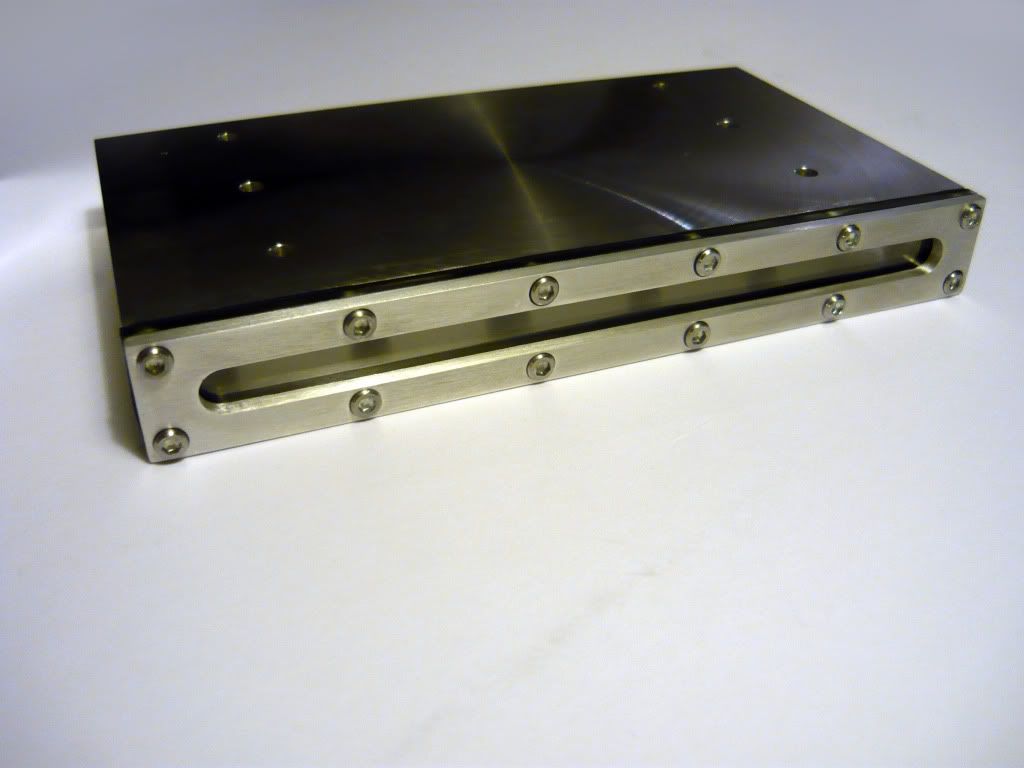
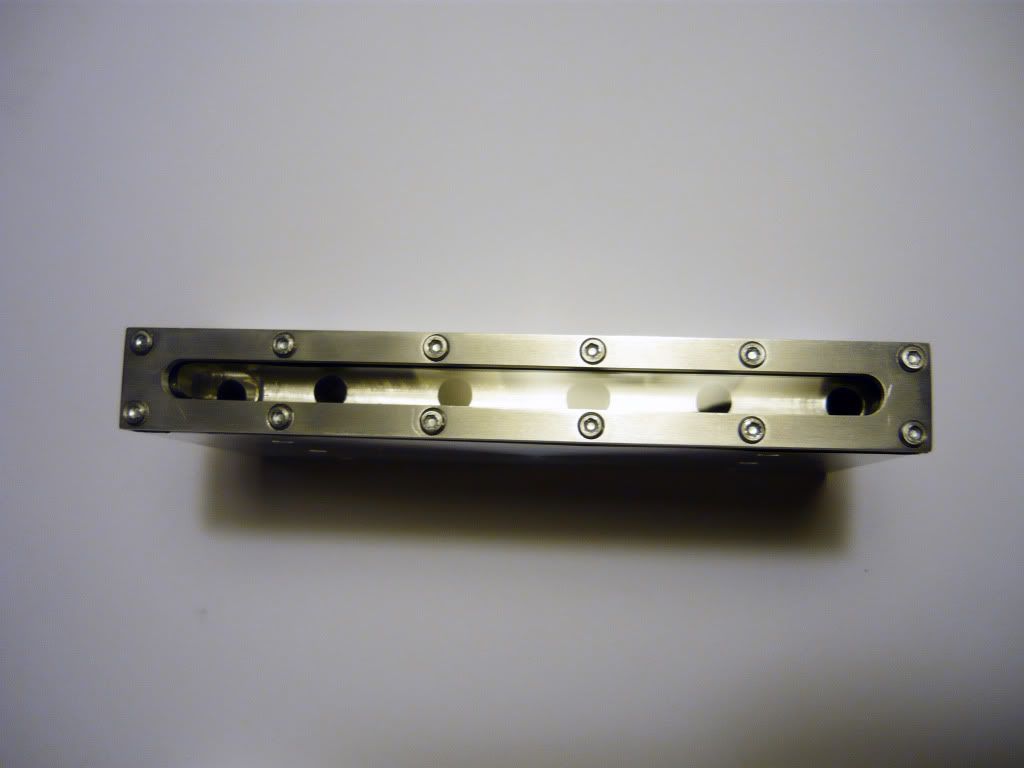
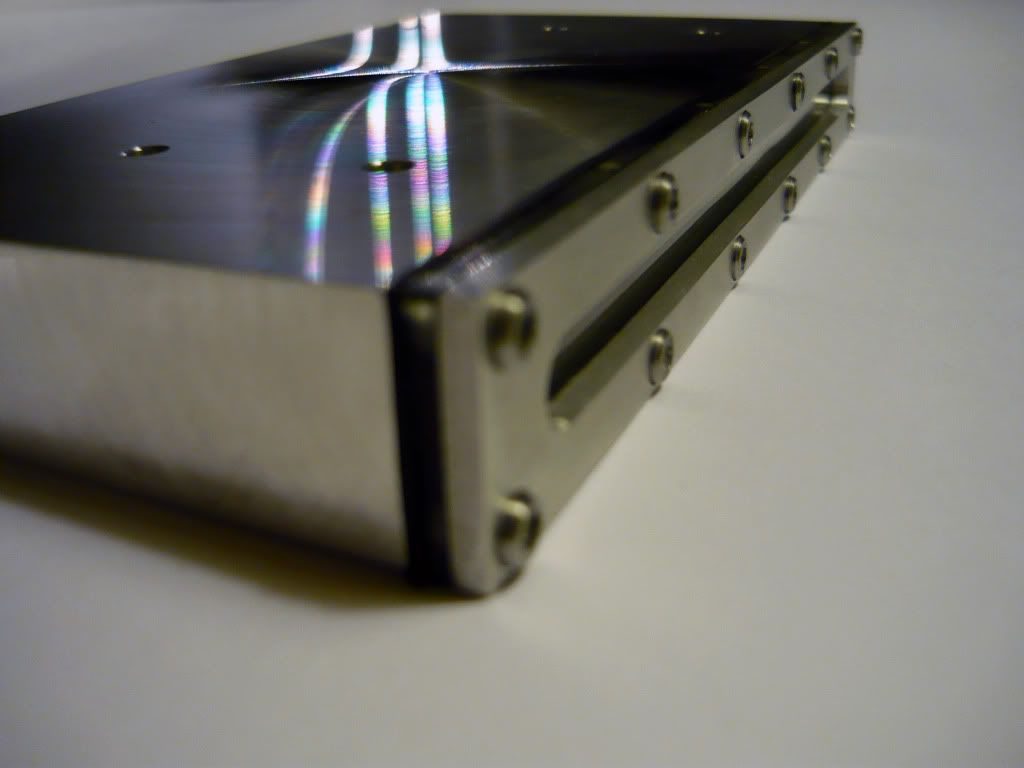
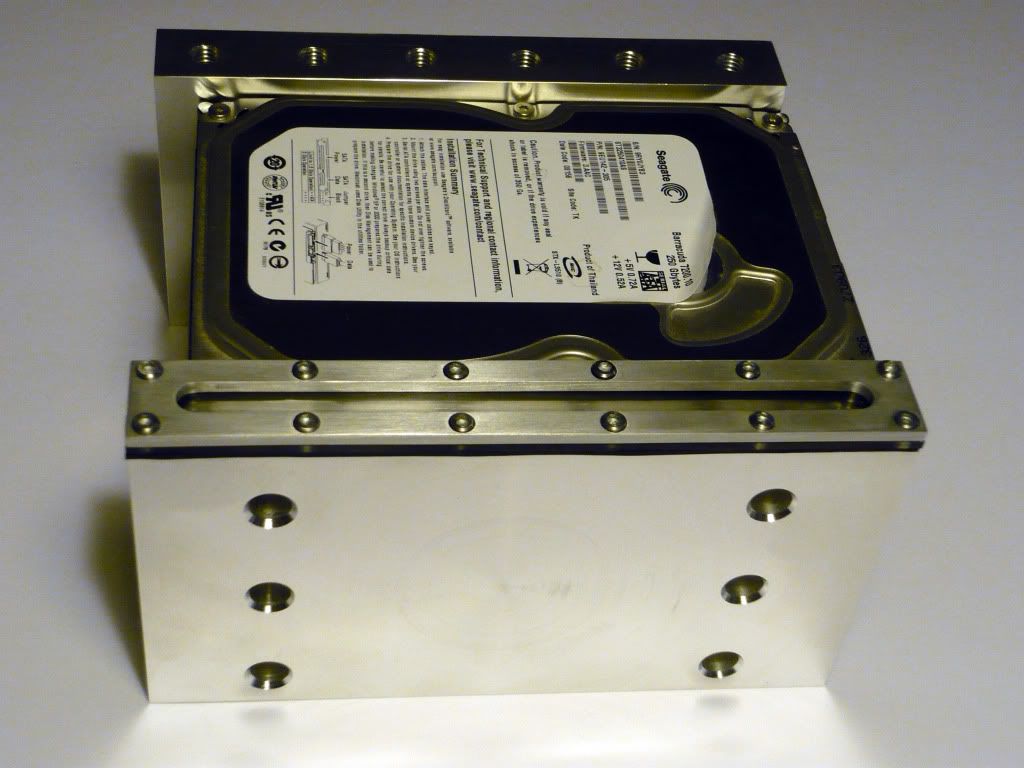
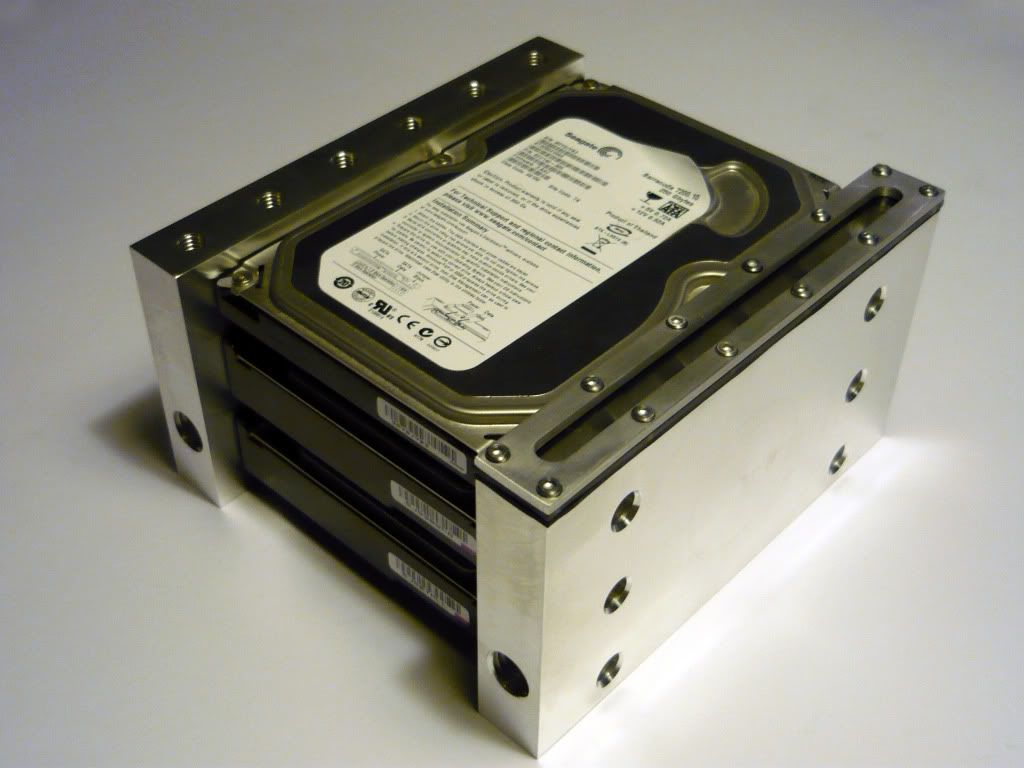
There is still the largest intake hole, some mounting holes and surface treating left to do but you get the idea.


Reply With Quote

Bookmarks