

Thanks for your reply. I'll do that.Originally Posted by Kibbler

Even After tightening the screw the motherboard block is still leaking.
How should I fix it?


Matt Black
Shiny Silver
Black Sparkle

Thanks for your reply. I'll do that.
Even After tightening the screw the motherboard block is still leaking.
How should I fix it?
Update:
I did tight the screws. Unfortunately, some screws, well what you could say, can't be open. The hex key doesn't have tight grip in them anymore.
I have two choice. Put super glue around the joints and leak test it again or solder itand leak test it.
What do you guys recommend? I don't think anyone had similar problem like mine.
Last choice is buy a new motherblock which I don't what to as I can't wait for it
Pull the bridge off and make sure the rubber o ring is seated correctly. Sometimes the o ring gets caught between the plexi parts and will get smashed and deformed. Just pull it apart and redo it and you should be fine. Next time you have a leak use toilet paper, soaks up water like a sponge.
CPUID http://valid.canardpc.com/show_oc.php?id=484051
http://valid.canardpc.com/show_oc.php?id=484051
http://valid.canardpc.com/show_oc.php?id=554982
New DO Stepping http://valid.canardpc.com/show_oc.php?id=555012
4.8Ghz - http://valid.canardpc.com/show_oc.php?id=794165
Desk Build
FX8120 @ 4.6Ghz 24/7 / Asus Crosshair V /HD7970/ 8Gb (4x2Gb) Gskill 2133Mhz / Intel 320 160Gb OS Drive, WD 256GB Game Storage
W/C System
(CPU) Swiftech HD (GPU) EK HD7970 with backplate (RAM) MIPS Ram block (Rad/Pump) 3 x Thermochill 120.3 triple rads and Dual MCP355's with Heatkiller dual top and Cyberdruid Prism res / B*P/Koolance Compression Fittings and Quick Disconnects.
Well I tried removing the bridge. The screws are messed up right now. I can't even unscrew it anymore.
I tried glue and a difference. But wasn't hundred percent.
Now I'm using powerful silicone sealant to do the trick. Need to leave it for 24 hours.
Tomorrow will be another leak test.
If all fails, need to order a new block. Hope Ek would send me one without red bridge attached just like in the picture on their site.
I tried glue and a difference. But wasn't hundred percent.
Now I'm using powerful silicone sealant to do the trick. Need to leave it for 24 hours.
Tomorrow will be another leak test. Hope it works.
If all fails, then I need to order a new block. Hope Ek would send me one without red bridge attached just like in the picture on their site.
What's the optimal time to test the leak?
I just started the test. Till now no leak. :Phew:

If you used the proper size allen key to remove the screws, they wouldn't be "all messed up" and you could remove the bridge.
It's still possible to strip the screws with the proper sized Allen wrench. If you don't have it inserted all the way into the screw it is quite easy to strip a screw, but that usually happens from not paying attention while trying to do it.
A minimum of 24 hours seems to be the norm for leak testing before actually applying power to components.
I agree with you regarding wearing of the screws. I did use proper keys.
I will leave the old block with the water running. See how things go.
Unfortunately, things didn't go as planned.
Waiting for new motherboard waterblock to arrive from the store. Until then
Don't worry this setback didn't stop me going watercooling. I'll definitely be back for more watercooling in near future.
Last edited by marxviper; 06-26-2010 at 05:20 AM.
How do attach multiple RAM on RAM waterblock?
Do you take all the fins out and attach the RAMs on the motherboard and then add the block on the top?
It might be hard to estimate the distance between the RAMs perfectly without the above procedure.
What do you recommend?
Well, I believe with MIPS blocks you can first install the single modules (the two plates touching the RAM), and then put the waterblock on top.
How to mount it can be found on their site, but it's in German, so I used Google Translate to translate it:
1st Loosen screw (not complete) of 3 middle screws Alumodules.
2nd WLP apply to the storage module.
3rd Inserting the memory modules and tightening the screws compress the three middle Alukühlrippen.
4th Check whether the memory module in Alumodul tight bind.
5th Process corresponding to the number of the memory modules again.
6th RAM modules installed now in the memory slots on the motherboard and secure it.
7th WLP apply to the contact surfaces of the Alumodule.
8th Screw the RAM modules with the main body of the RAM cooler 3
Little expense had been spared to create the impression that no expense had been spared. - Hitchhiker's GuideMondays:It's better to ask dumb questions now, than to look stupid later
What are you going to do with the old block.... You could send it to me.......
Windows 7 64 Bit
BenQ FP241W Black 24" LCD
Mountain Mod Case w/ Base
Asus Rampage III Black Edition
i9-990x @ 4.58GHz - 1.36v Temps (Idle 23C - Load 48C)
12GB Corsiar Dominator GT (PC3 15000) @ 9-9-9-24 1T - 1.65v
Sapphire 5870 x3 "OC" w/ EK Water Block Temps (25C-49C)
EK-Supreme / 4 Alphacool Laing DDC-Pump Ultras + Extras
Power Supply / 2x Silver Stone DX1000
Western Digital 1.0TB x 3
Crosair SSD 128GB x 2
World Community Grid!
I don't mind. Send me your address in private message and it will be send by Friday.
Thanks.... PM sent
Windows 7 64 Bit
BenQ FP241W Black 24" LCD
Mountain Mod Case w/ Base
Asus Rampage III Black Edition
i9-990x @ 4.58GHz - 1.36v Temps (Idle 23C - Load 48C)
12GB Corsiar Dominator GT (PC3 15000) @ 9-9-9-24 1T - 1.65v
Sapphire 5870 x3 "OC" w/ EK Water Block Temps (25C-49C)
EK-Supreme / 4 Alphacool Laing DDC-Pump Ultras + Extras
Power Supply / 2x Silver Stone DX1000
Western Digital 1.0TB x 3
Crosair SSD 128GB x 2
World Community Grid!
No worries. You are welcome.
If you are able to fix it, I'll be glad. Do you want me to send you pictures of it?
Update:
Got block today. It still has the red bridge and this time they forgot to send the other bridge. (heart break)
By the way, should I place new thermal pads on the motherboard? I left the old ones on it for days without block attached to it.
Thanks agian,
No pictures required…. I’ll let you know if it’s fixable….
Sorry to hear about your misfortune…. Have you contacted them to see if they will send you the part you need?
Note: the old ones should be fine as long as they haven’t been compromised or compressed too much... If you’re worried about your thermal protection I would replace them just to be safe….
Last edited by malkiewicz; 06-29-2010 at 06:08 AM.
Windows 7 64 Bit
BenQ FP241W Black 24" LCD
Mountain Mod Case w/ Base
Asus Rampage III Black Edition
i9-990x @ 4.58GHz - 1.36v Temps (Idle 23C - Load 48C)
12GB Corsiar Dominator GT (PC3 15000) @ 9-9-9-24 1T - 1.65v
Sapphire 5870 x3 "OC" w/ EK Water Block Temps (25C-49C)
EK-Supreme / 4 Alphacool Laing DDC-Pump Ultras + Extras
Power Supply / 2x Silver Stone DX1000
Western Digital 1.0TB x 3
Crosair SSD 128GB x 2
World Community Grid!
To be honest, the computer currently I'm working is the only computer I have and
When I do another worklog, I'll take my sweet time.
Currently, I can't wait and get this thing running.
I have put LED lights on the blocks but can't find a way on gtx480. Hope I find some solution on it.
Pm replied.
I just finishing the work on my computer.
The idle temp @ 2.6GHz is 19 C. My windows are open. The temperature in dublin is 15 according to yahoo.com.
Fans are running at half speed.
Pictures will be upload tomorrow (friday)
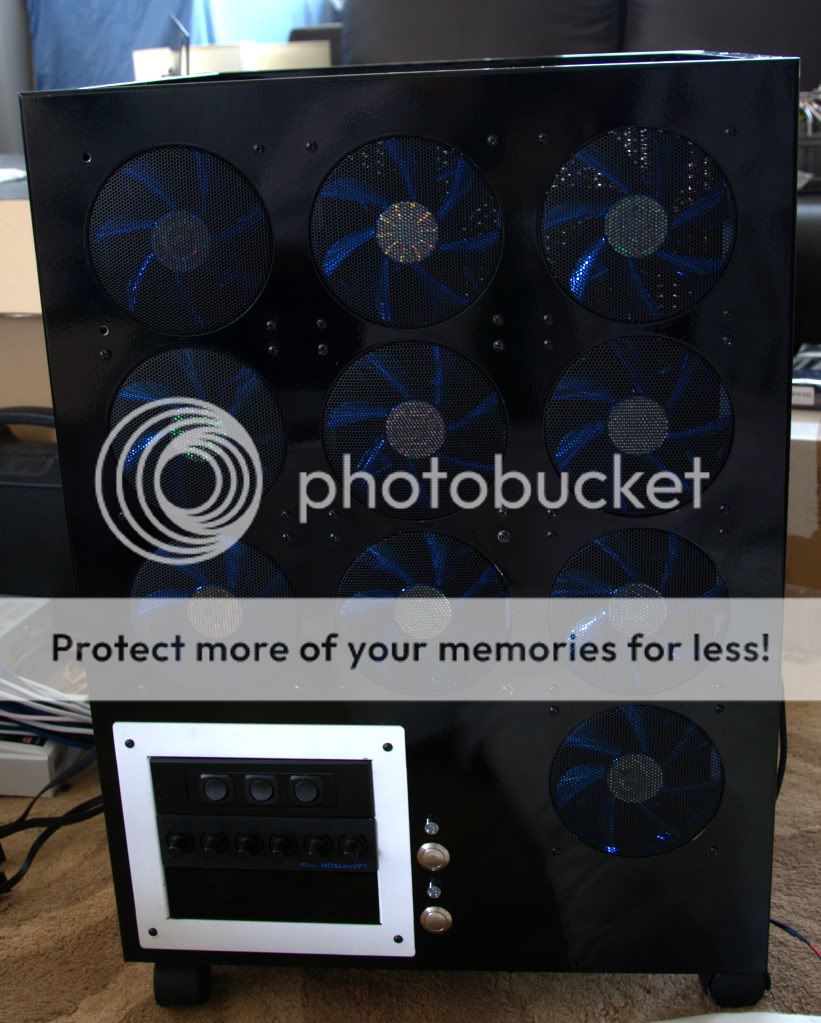
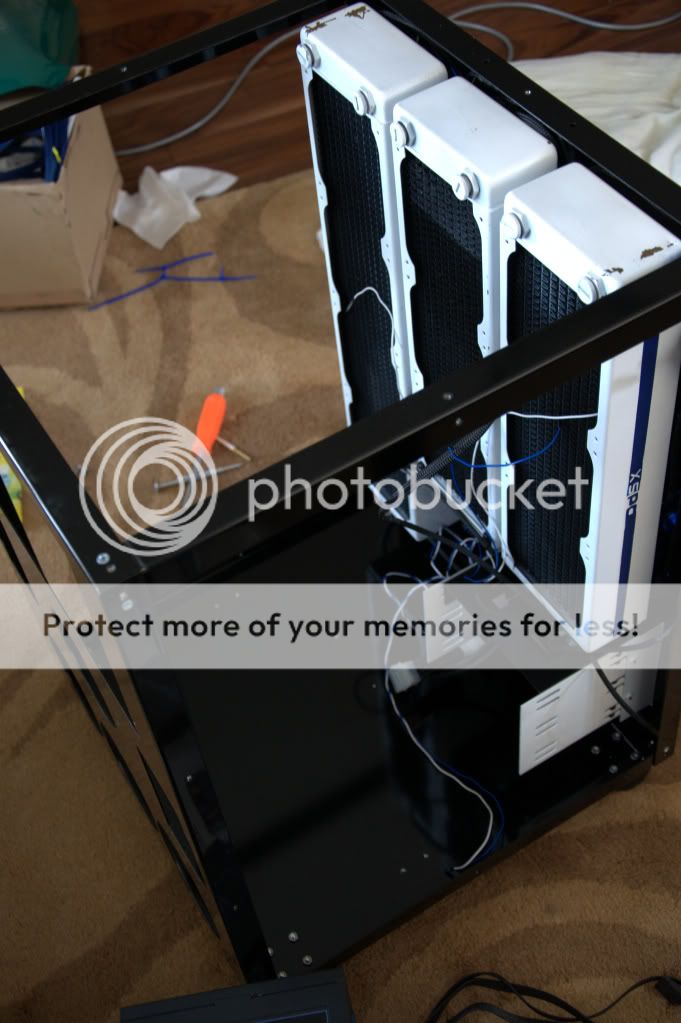
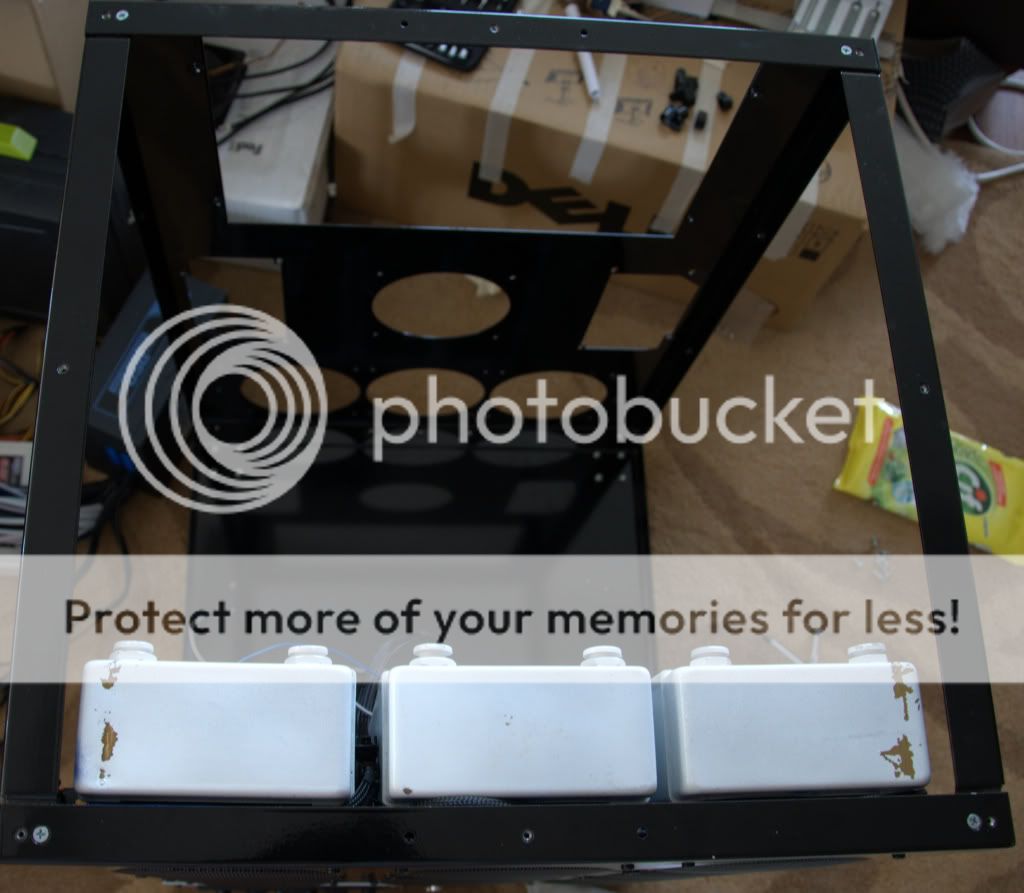
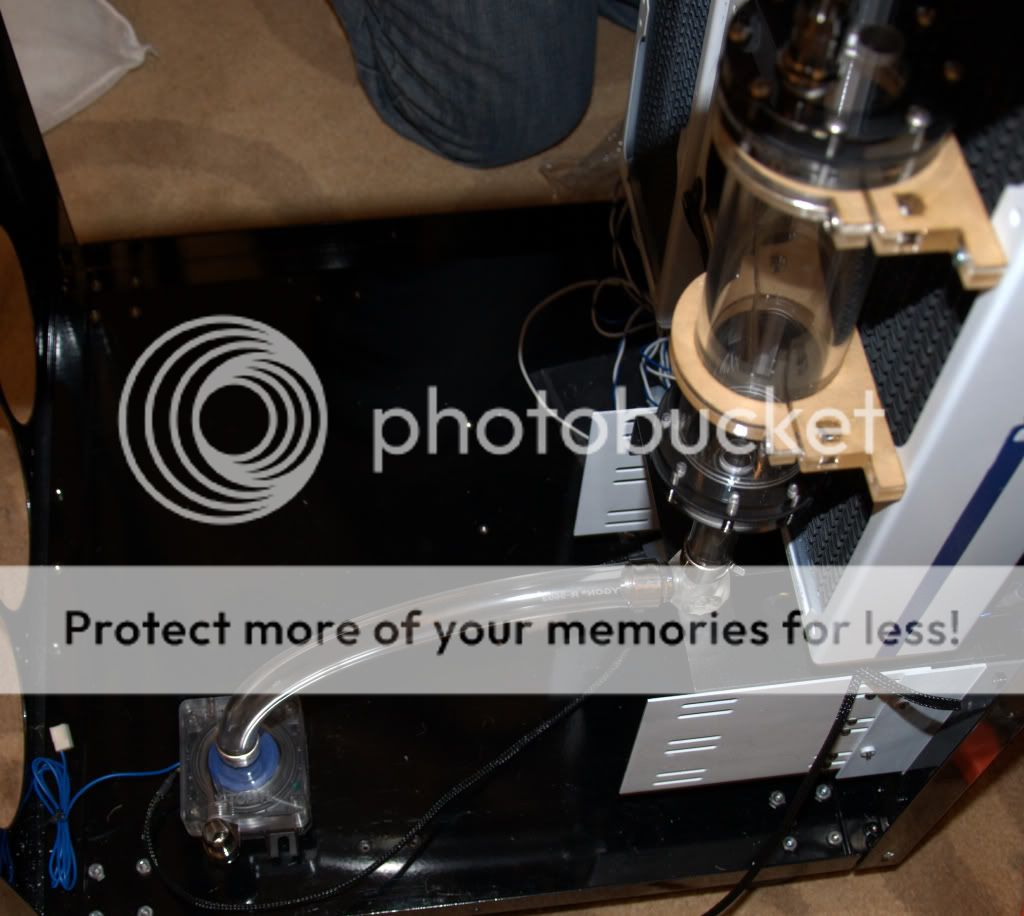
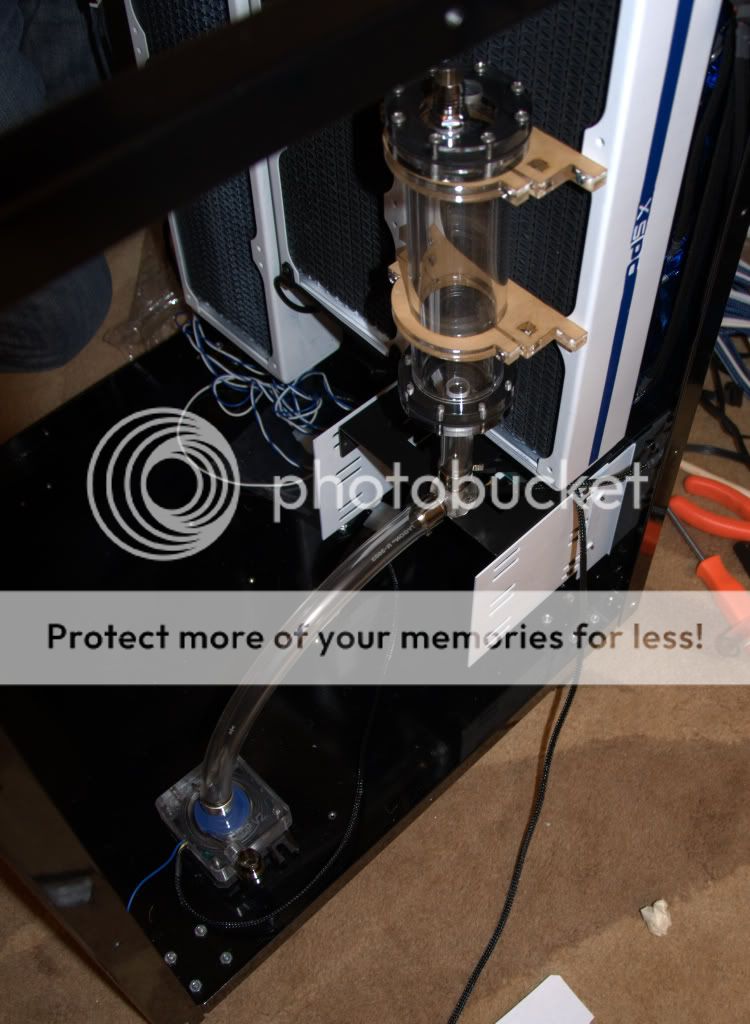
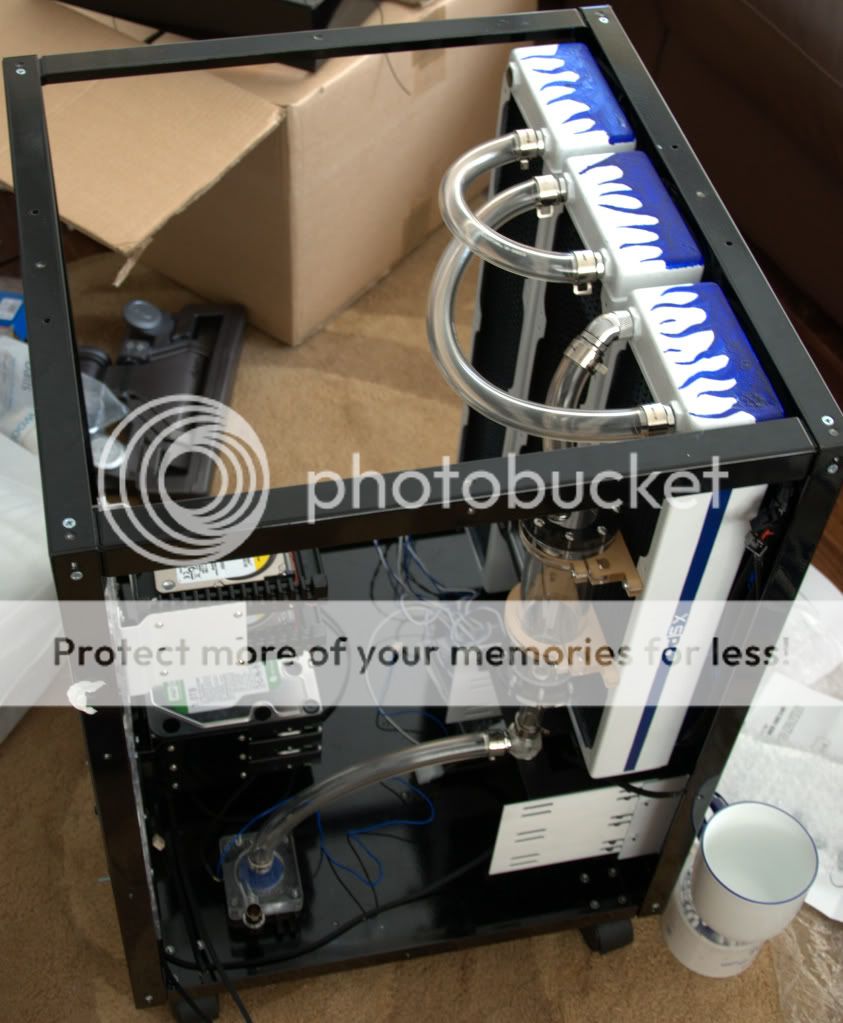
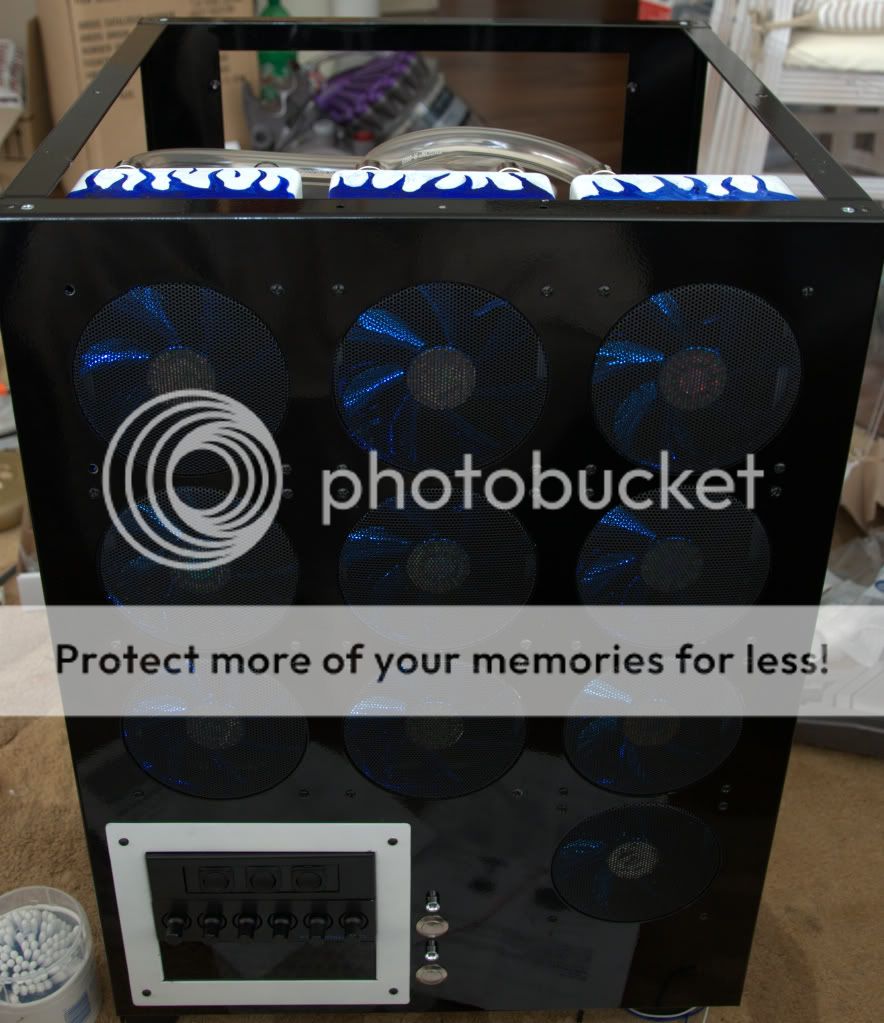
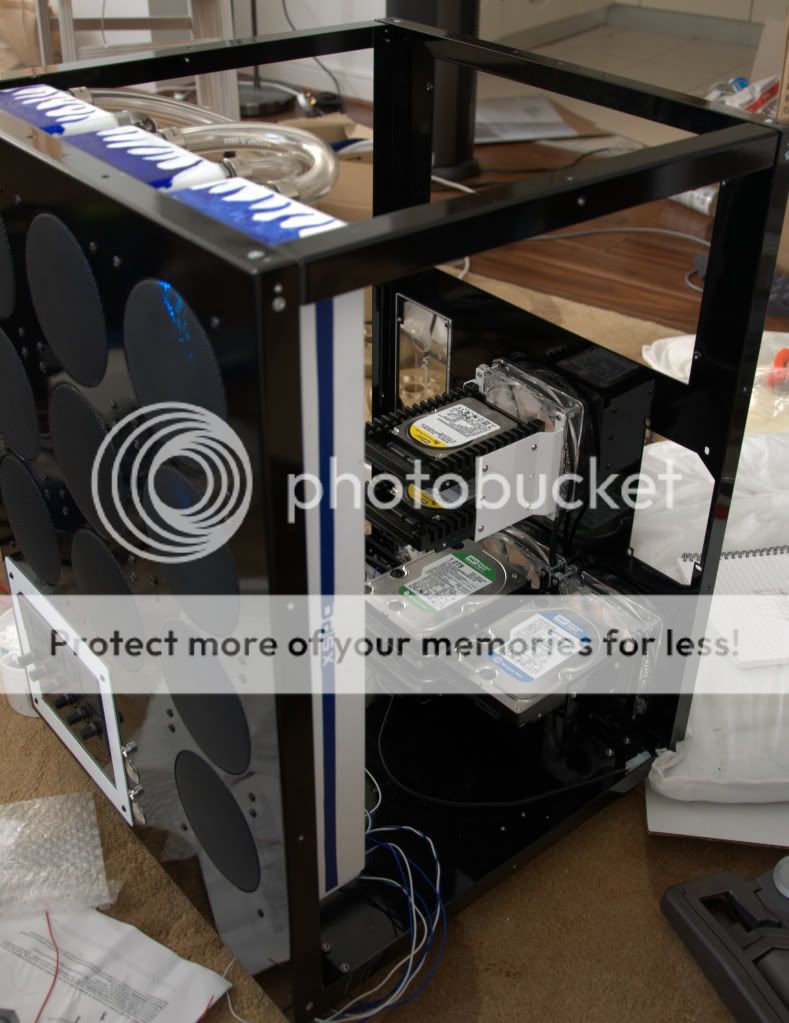
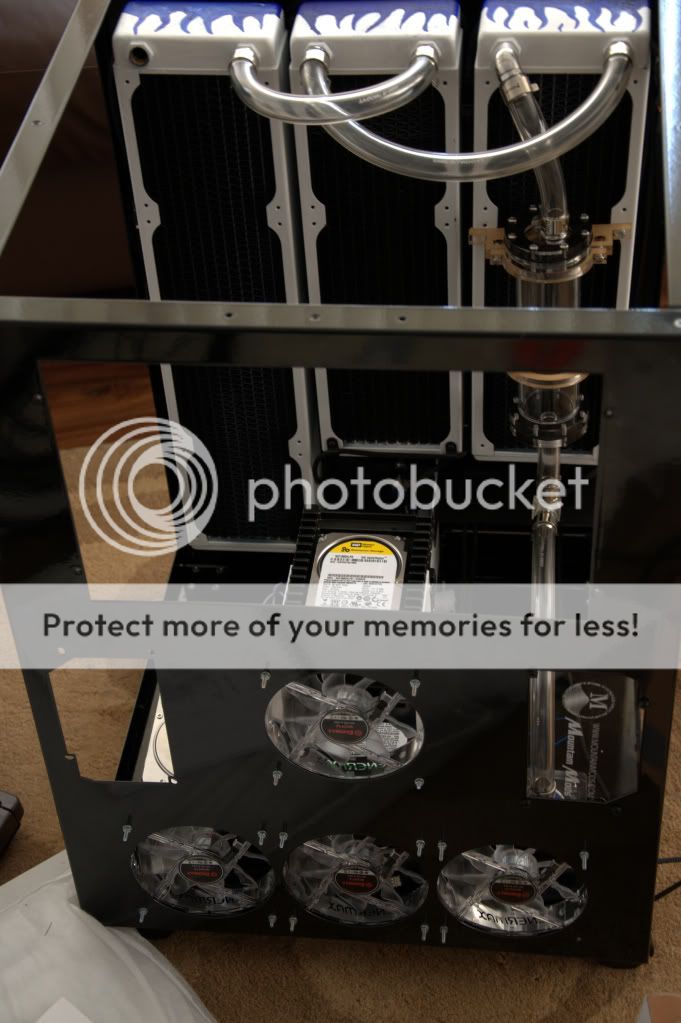
first batch of pictures:
You could see the scratch on the rads. Initially, I had a place the drives bays to be at the top but the screws at the floor caused me problem and it couldnt fit. So I decided to put bays at the bottom and tubes coming out from the top, being careful if the the rad got punctured it would leak from the bottom.
I have loads of pictures coming up, it takes time to fix them and upload them. Hope you understand
Last edited by marxviper; 07-02-2010 at 03:42 AM.
I cant wait to see this build completed . Nice Job
Windows 7 64 Bit
BenQ FP241W Black 24" LCD
Mountain Mod Case w/ Base
Asus Rampage III Black Edition
i9-990x @ 4.58GHz - 1.36v Temps (Idle 23C - Load 48C)
12GB Corsiar Dominator GT (PC3 15000) @ 9-9-9-24 1T - 1.65v
Sapphire 5870 x3 "OC" w/ EK Water Block Temps (25C-49C)
EK-Supreme / 4 Alphacool Laing DDC-Pump Ultras + Extras
Power Supply / 2x Silver Stone DX1000
Western Digital 1.0TB x 3
Crosair SSD 128GB x 2
World Community Grid!
thanks
It is completed thats why you see me uploading the photos


 Reply With Quote


Bookmarks