

Rick!!! Those last few shots are absolutely amazing!


XSPC
EK
Neither. I have another suggestion!


Rick!!! Those last few shots are absolutely amazing!
ahhh!!! It's coming together!!!!!!!!!!!!!!!!!!
Current: AMD Threadripper 1950X @ 4.2GHz / EK Supremacy/ 360 EK Rad, EK-DBAY D5 PWM, 32GB G.Skill 3000MHz DDR4, AMD Vega 64 Wave, Samsung nVME SSDs
Prior Build: Core i7 7700K @ 4.9GHz / Apogee XT/120.2 Magicool rad, 16GB G.Skill 3000MHz DDR4, AMD Saphire rx580 8GB, Samsung 850 Pro SSD
Intel 4.5GHz LinX Stable Club
Crunch with us, the XS WCG team

Awesomeness.
Life is too short to listen to slow music
Your pictures never cease to amaze me and are only left behind by your incredible dedication to every detail. I'm loving every bit of the build, thank you for sharing it with us Capn'!
ASUS Sabertooth P67B3· nVidia GTX580 1536MB PhysX · Intel Core i7 2600K 4.5GHz · Corsair TX850W · Creative X-Fi Titanium Fatal1ty
8GB GSKill Sniper PC3-16000 7-8-7 · OCZ Agility3 SSD 240GB + Intel 320 SSD 160GB + Samsung F3 2TB + WD 640AAKS 640GB · Corsair 650D · DELL U2711 27"

wow captain. i take a break from looking at builds and come back to this. simply stunning
- Silverstone FT-01B
- Corsair HX620
- DFI LanParty DK 790FX-M2RS
- AMD X2 6400+ BE w/ Thermalright Ultima 90 @ 3.2
- 2 x 1 GB G.Skill DDR800(4-4-4-12)
- 2 x 1 GB Corsair XMS2 Dominator(4-4-4-12)
- BFG Tech 9800GTX(stock cooling for now)
- 2 - 250GB Seagate SATA
Thanks my main man Callen. Hope you enjoy the wallpapers!Originally Posted by callen_1

Thanks Graeme. Still debating whether if that 90 will stay there or move to the second card on top or altogether be replaced with a 45. Just trying get the tubing route just right.
I just realized I typed all that and didnt answer your question. lolz.
The tube that leads into the first (bottom) card is from the midplate below which leads into the pedestal. Pics soon!
Did away with the tape and I instead doubled-up on O-rings on the 45s. Seems to be working. However I am unable to stop playing with PTFE tape. It's like silly string crack on a roll.
I'm so glad I was able to hook up a talented modder such as yourself, GK. I've been a follower of your worklog and I'm sure whatever arrangements you have planned towards perfection will be spot on!
Thanks so much James! Can't wait to see what res is coming in for Hulk!
It's getting there, Vinas. We have some more stuff to do but yes, its is indeed getting closer to port. Thanks for your continued support. Helps me a lot!
Lol! Your screen pic cracks me up. (Yes. I'm 12 sometimes)
I'm so glad you have enjoyed my worklogs, NaMCO. That's a huge compliment coming from you! I have thoroughly enjoyed both Storm Sniper and The Project worklogs. Thank YOU for sharing with us!
Thanks Tox! Much appreciated me hearty!
I thought I'd put this bout with insomnia to some use and post a few pics tonight.
I'm kicking around on how to route the GPU loop and taking some pics as I go along.
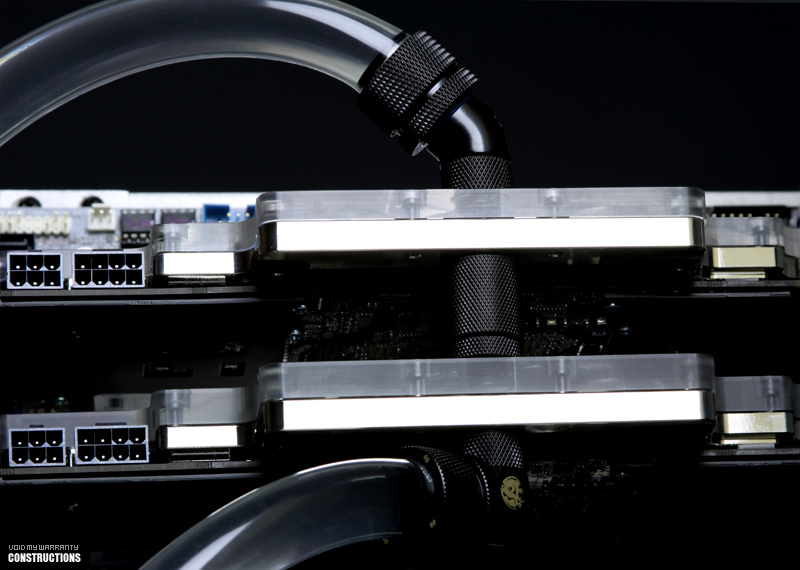
I'm not too concerned about the restriction on the 90 degree inlet of the first GPU.
I'm more into having the fitting route the tubing in a more uniform way.
Then again, I'm known to shake it up at the last moment, but I'll be sure to share me decision in pics within the next update or two.
Wow. I just got sleepy rereading that. Note to self: Got insomnia? Read own post.
Shot of the Pedestal I'm trying to keep tidy:
The GPUs during leak testing (no leaks yay!).
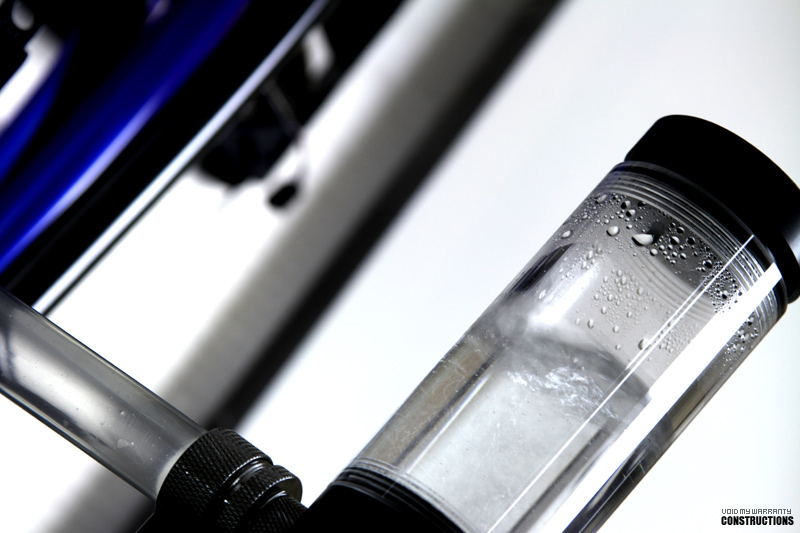
The GPU loop's res during leak testing:
That's all for this update. I should have more pics showing some acrylic work and outfitting the front panel soon.
Thanks all! More to come.
Last edited by CptDreadFlint; 01-31-2010 at 04:31 AM.
It's just so beautiful.
Fractal Design Array mITX
LC Worklog: Project Purple Haze
LianLi V1000
LC Worklog: Project Crystal Clear
LianLi A05
LC Worklog: Project Simplicity

It truly is, we're all saying it and it's about 70% done... far out. Lucky I'm not 70 otherwise I'd carc it once I see final shots.
Thanks mate for that insite.
But I'm hoping that the next lot of pics from the up coming photo shoot will help me out as to how this all fits together.
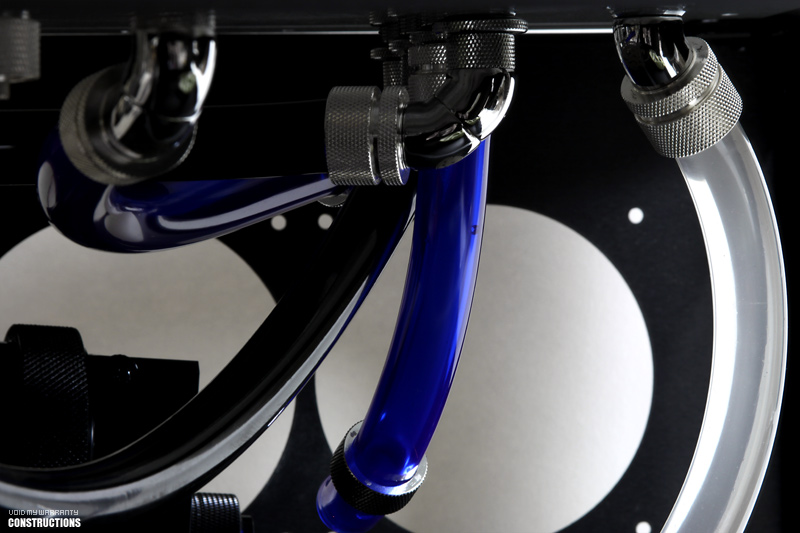
I must admit when I looked at this photo I found myself scratching the side of my head (Humm I am thinking)
Where does this tube go to need that 90?
I am not sure but I think I scratched the other side of my head when I first looked at this one to.
Why does the clear tube need a 45 degree fitting.
I know, you know, (draw 4) that I am not having a go at you at all, but please understand from my side I only see a small proportion of the rig at any one time
and man I'm still a little lost champ how it all fits together.
The only thing I came up with, that makes any sence to me, is that the tubing was not in it's correct placement when the photo's where taken?
Am I even close.
Last edited by kgtiger; 02-01-2010 at 12:23 AM. Reason: Corret my spelling
love it!
do we know yet what's going in that top rectangle above the optical bays in the mountain mods front panel?

Rick, I've already said this but I love your straight line GPU setup
Worklog: Project Black Copper
Lian Li PC-P80 | Thermochill PA140.3 | Noiseblocker fans | mdpc-x stuff
Thanks, Laine! I'm a huge fan of the lighting in your awesome photography!
Lol @ carc it. Had to ask wifey what that meant. (She's Aussie.)
For now, I'm using an old Tygon tubing leftover from me last build to leak test. So the placement of fittings and tubing isn't quite where they'll be in the final build.
The 90 fitting make the tubing route in a way that could work visually with what i'm trying to acheive.
The 45 on the Pedestal below will go straight into the 480 Rad. It's on a 45 and a shorter sized pass-through to have enough clearance for the Monsta rad.
Sorry to confuse you. I hope my little explanation above helps out a tad.
I shall post more pics to provide some kind of visual to hopefully help you clear out the head-scratching situation.
Thanks John...I haven't disclosed that publically yet because I only thought of an idea while I'm typing to you. lol.
It''ll be outfitted with power and reset buttons with a logo situation all mounted on a piece of smoked grey or opaque black acrylic.
Thanks, GK
I should have something substantial to show perhaps by midweek.
Arrr and thanks for the feedback all!
Two superpowers I want and what I would do with them:
1) Travel back in time
2) Push people over TCP/IP
What I would do is travel back in time to just before you took the last set of photos, stretch out my hand across the internet, and firmly (and rudely) push you about...10~15ft backwards. 'Cause then we would get to see the whole thing and go oh-that-loop-goes-there-this-rad-goes-there instead of close-ups which are just oh so terribly teasing.
Good thing I don't have superpowers.
...

Thanks mate for that info I do appreciate it, the last thing I need is a bold spot.
Aussie wife hay, you my friend are a lucky man.
From one Aussie to another mate, say G'day to her, hay.
Haha, sorry Capt, I'm glad you have an Aussie wifey though
Ha ! Too funny, Kibbs
Coincidentally, I just installed TOIP (Touch Over IP) over me network.
It's still in beta, but it allows me to digitally push you back. There are still some bugs to work out.
For instance, if I have TOIP running while having my FTP port open, it mysteriously opens iTunes and plays "I Touch Myself" by The DeVinyls at full volume.
I thought I saw a flux capacitor on sale at eBay and a DeLorean on Craigslist.
Might be worth checking out if you're serious about the time travel thing.
The GPU loop was undergoing a leak test during those last shots so the tubing was pretty much all over the place not even seeing the light of a rad. Taking a full shot would have caused even more confusion.
Once the fittings are in its proper home and tubing will be at least in the same zip code as they will be in the final layout, I shall post full-bodied, centerfold pics.
Thanks Graeme and James
*
For almost two weeks now, I've been watching the rains rob my opportunity to do any kind of power tool situation since the great outdoors is my work area.
Having aluminum shrapnel flying inside the house is generally frowned upon so my only viable option is to wait for the rain and the thunder to quietly pass me by, Sweet Child 'O Mine.
I've been experimenting with several different types of tools to obtain straight cuts and rounded corners for a good while now.
(Just so you know, spraying a garden hose and pretending you're water jetting is way overrated, noneffective and pretty damn strange to people who may be watching.)
I've been watching Shazza's very awesome worklog closely
and I figured it's about time I post an update showing my little contribution on how I managed to cut my midplate.
I wasn't quite satisfied with how my cuts were coming out on some aluminum testing sheets using a jig ; too much deburring/sanding/filing/F-bombs was going to be involved even using a straight edge.
CyberDruid showed how to get amazing cuts with rounded corners by guiding a router on a template created using a table saw and a jig.
Since my plans don't include duplicating the same cuts and access to a table saw escapes me, I thought I'd post my two doubloons on how I managed to cut my midplate using a router, a drill bit and a couple pieces of wood.
The literal storms have subsided for now, taking the figurative one with it.
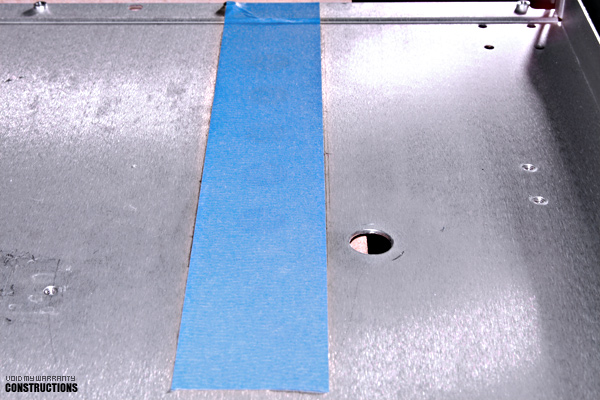
So I took the rig apart, and delivered the midplate to the operating table:
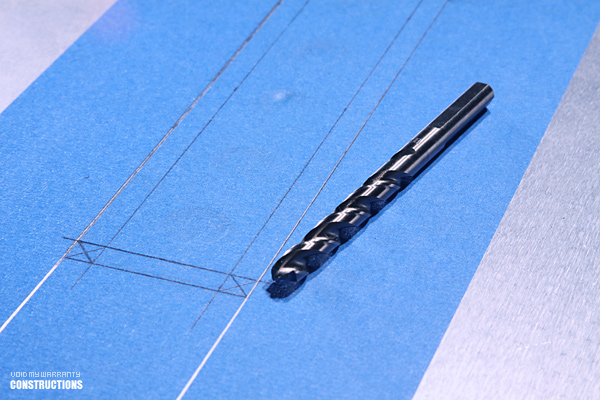
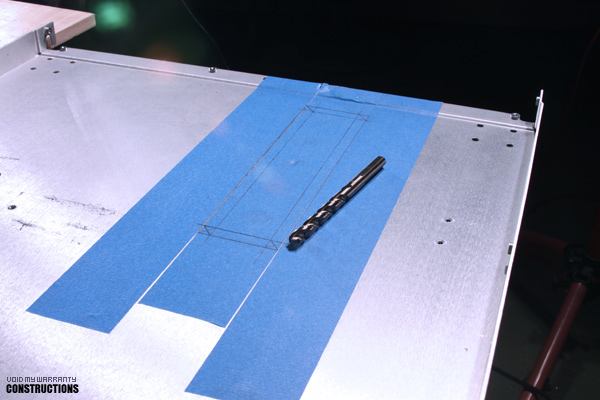
These holes will be remade onto a piece of acrylic. For now we mask:
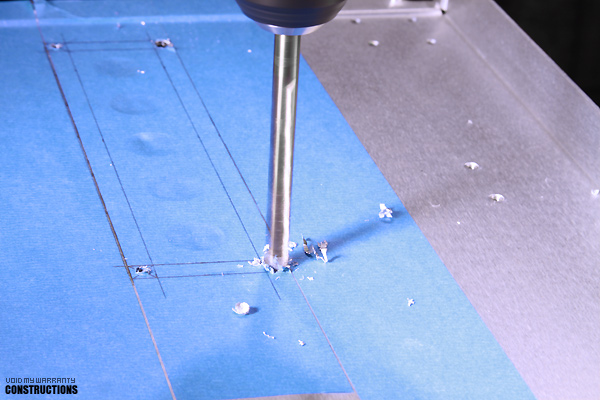
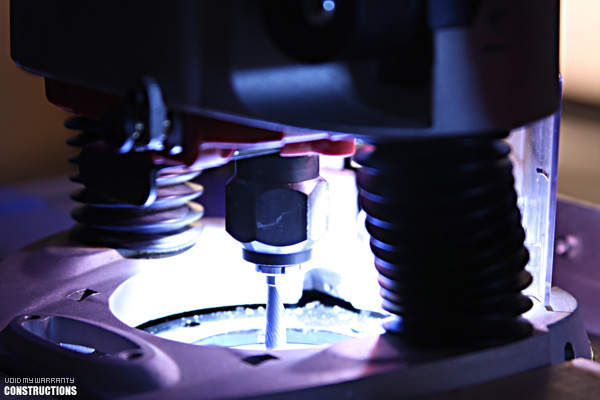
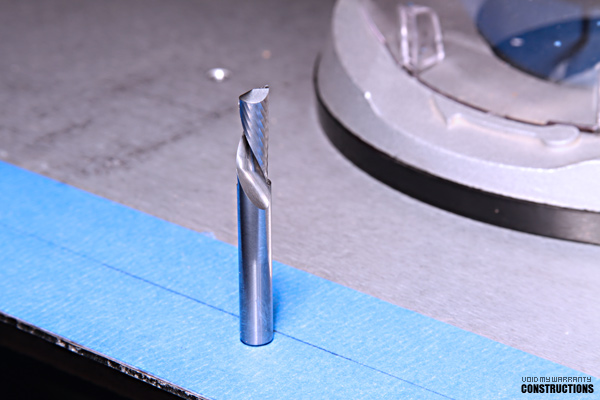
The bit to drill the corners:
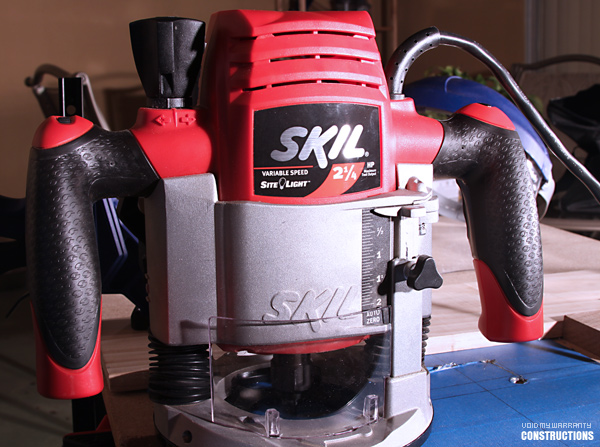
This particular model is interchangeable between the fixed & plunge base.
This pic shows the plunge base attachment:
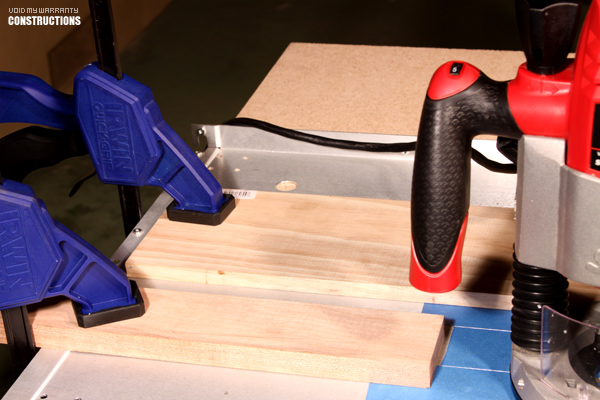
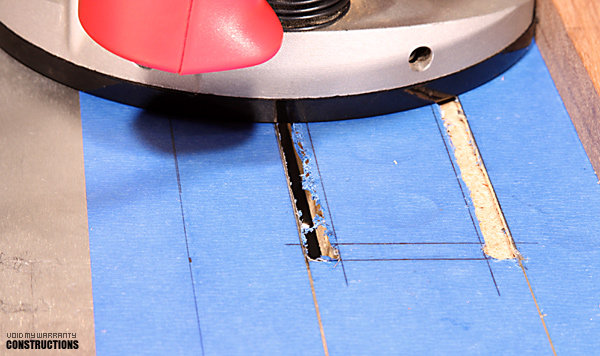
Clamping straight, strong 2 x 4s to act as my guides:
One will be used to guide the straight cut:
The other will be used as a stopper.
I like tools that light up my life:
Please note that these things can spin a sharp bit upwards to 25,000 revolutions per minute.
That's a lot of power and there is no Undo button when you make a costly mistake.
Should your future plans include the use of a router, I'd like to say a few words regarding safety:
Wear eye protection, ear protection, short sleeves but long pants.
Tie long hairs up, under a tight fitting cap, remove jewerly, key chains, hanging badges etc.
Don't wear open-toed shoes.
Make certain that all bits are firmly secure, clean, and sharp.
Please see this awesome safety checklist for more valuable safety information:
http://www.shopsmithhandson.com/arch...afety_tips.htm
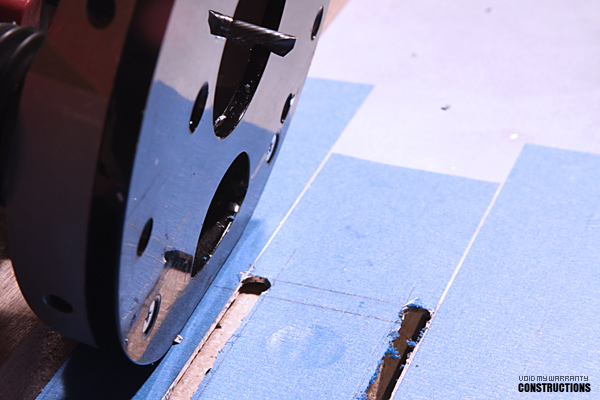
Onward to the horizon:
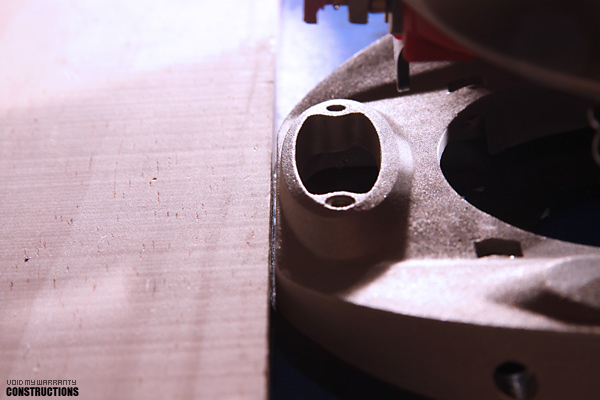
I place the bit to cut just inside my penciled guide lines marked on my masking tape.
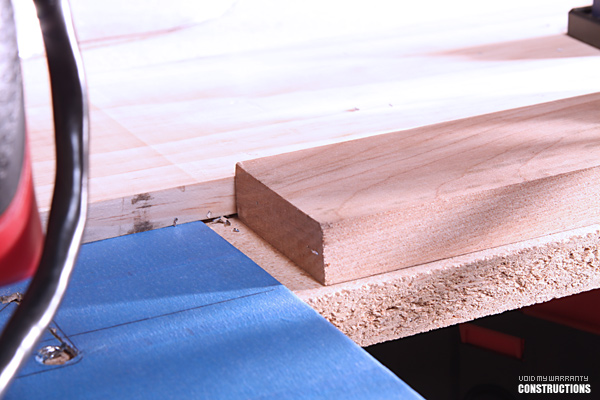
With a firm hold I feed the router at medium speed against the direction of the bit until the base comes in contact with the stopper 2 x 4 piece of wood waiting on the other end:
Meet Zsa Zsa, the aluminum cutting router bit.
I call her that because when she's in the house, things are gonna get slapped like the hors d'oeuvres that they are:
To be continued...
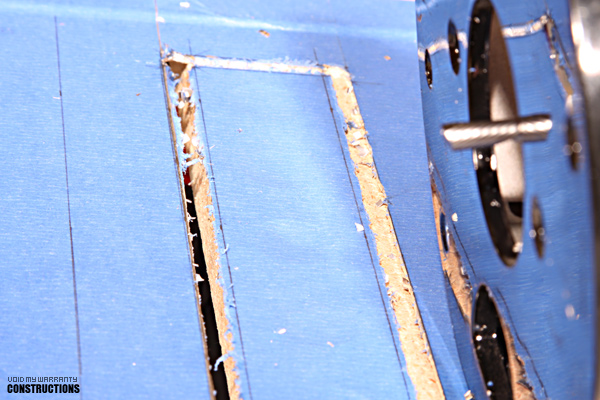
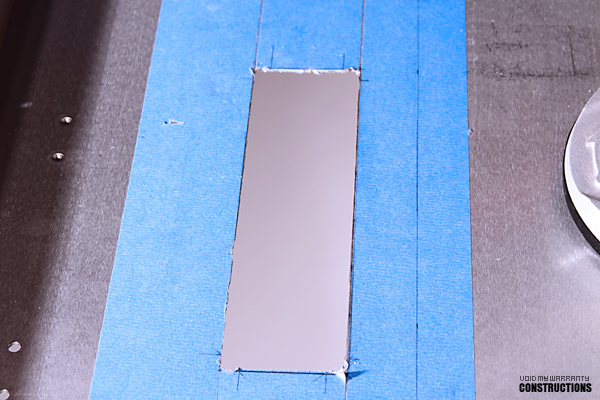
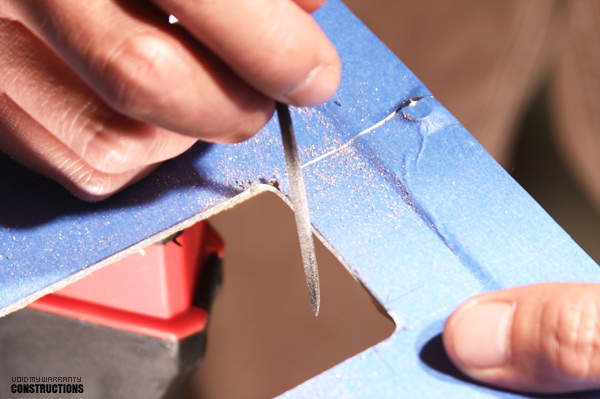
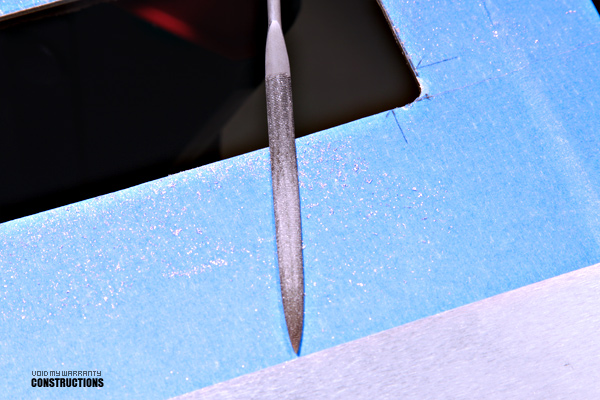
Good clean straight cut with minimal filing ahead of me:
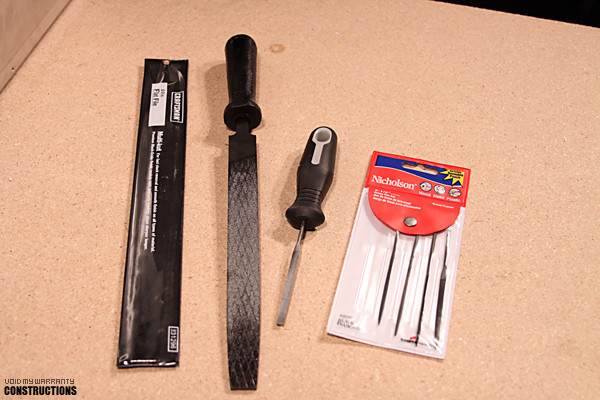
Started out with my BFF (Big Freakin' File) and work down to a smaller finer file:
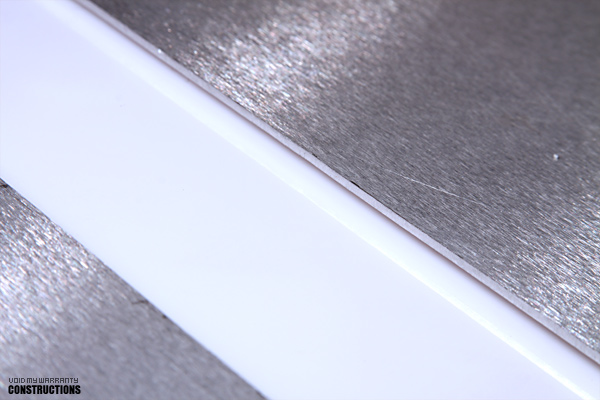
I'll be routing the sides down of a piece of acrylic either white (pictured) or black,
so that the exposed section of the acrylic sits up flush with the panel:
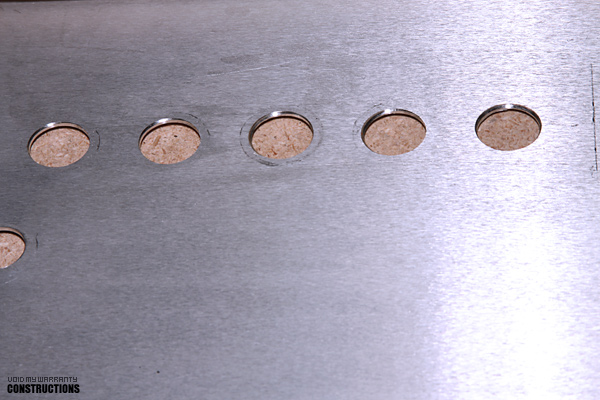
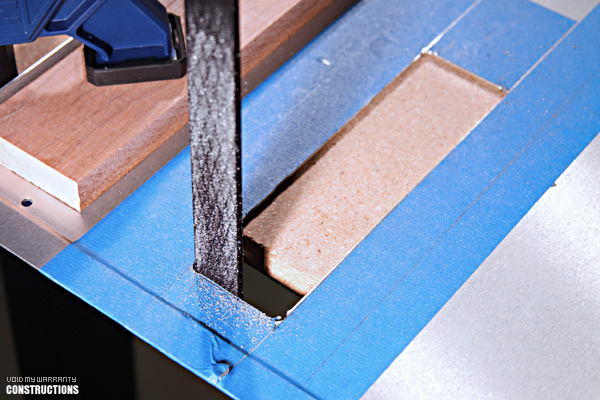
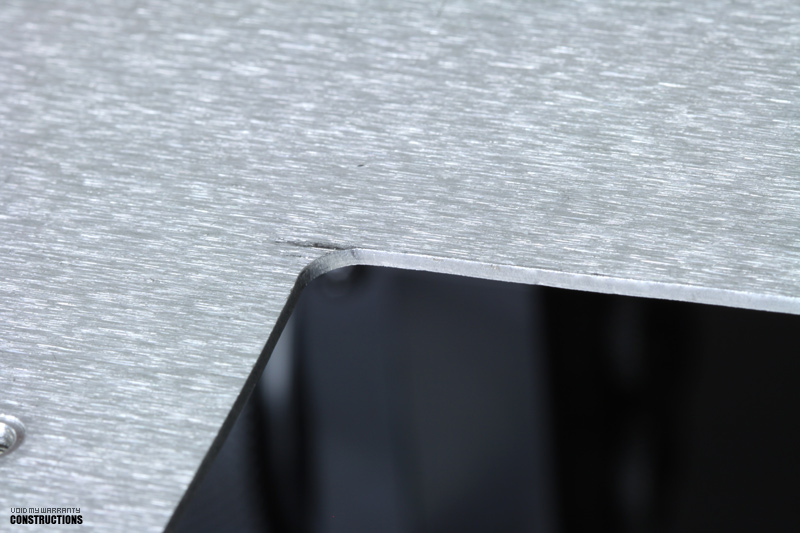
Only three more holes and we're one step closer to getting the case powder coated:
Thanks for checking in all! More updates soon!
How many holes per step?
Nice work BTW!
Another sweet update! Good to see you've pulled the router out mate, now get creative
edit: i wasn't implying you haven't been creative of course, i just meant do some cool stuff with the router
Last edited by callen_1; 02-11-2010 at 02:44 AM.
Nice, Nice, Nice - thanks for sharing!!!!
(when you get the flux capacitor hooked up, please reach out and do my cuts
And go back in time and convince me that I do not want the parts I bought!
Nothing but trouble getting these damn blocks
Good update! very informative, and I like your router; it's impressive and looks as good as the work it does.
Nice work, Flint. I, too, prefer the router for this sort of work and used the same straight-edge method for my RoZip.
Very nice work on those corners w/ the file.
Project:
[sigpic][/sigpic]
Really great work and again gigantic pics
The cut is faultless, nough' said.
Excellent work captain, very sweet.
I love working with the router, there excellent fun.
 Posting Permissions


 Reply With Quote








Bookmarks