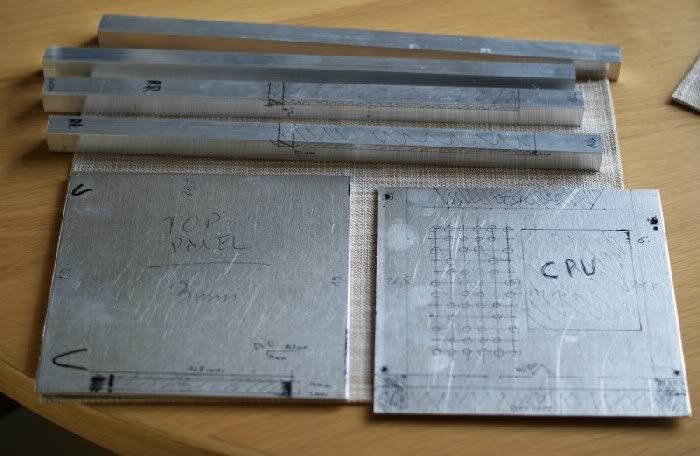
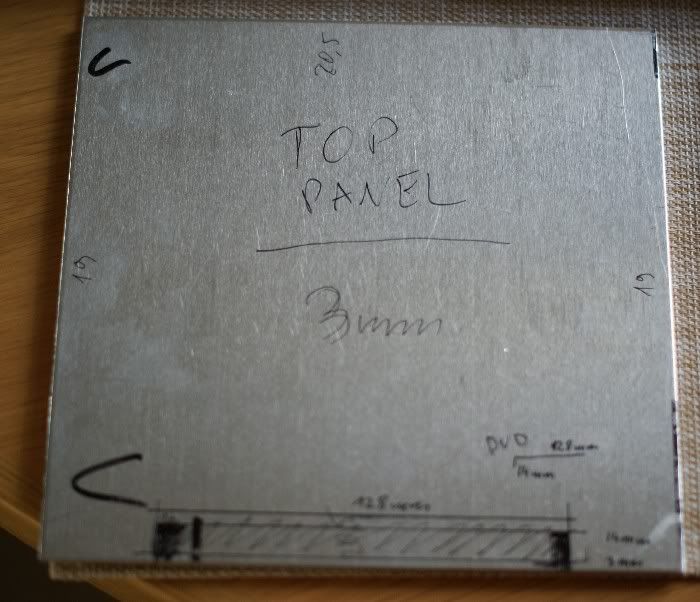
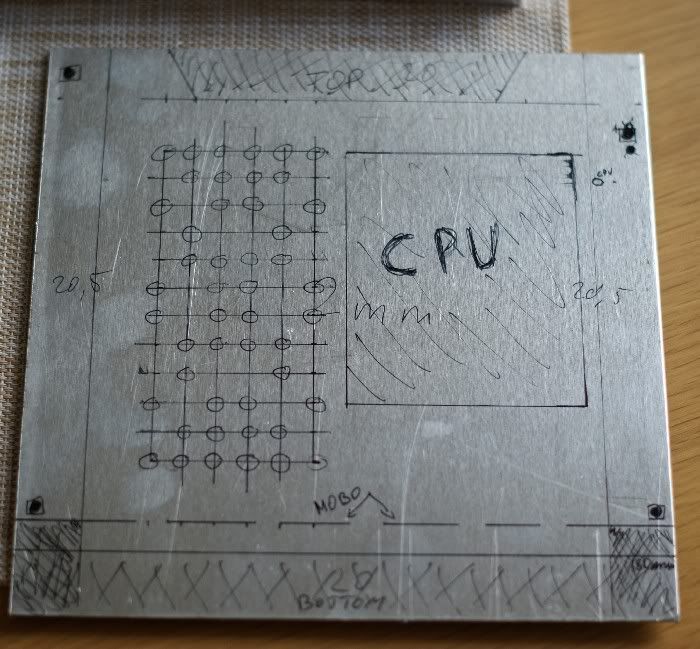
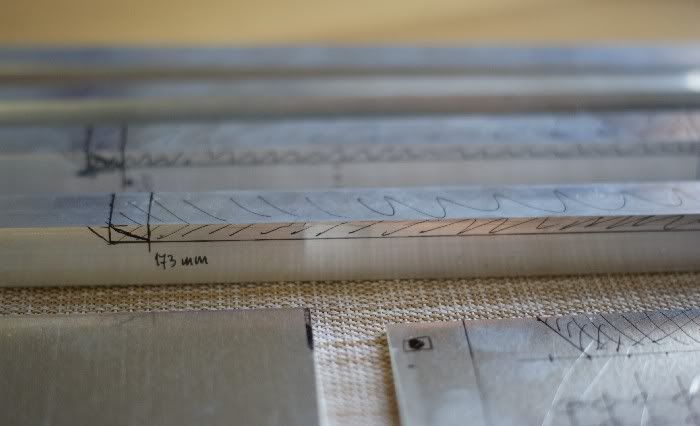
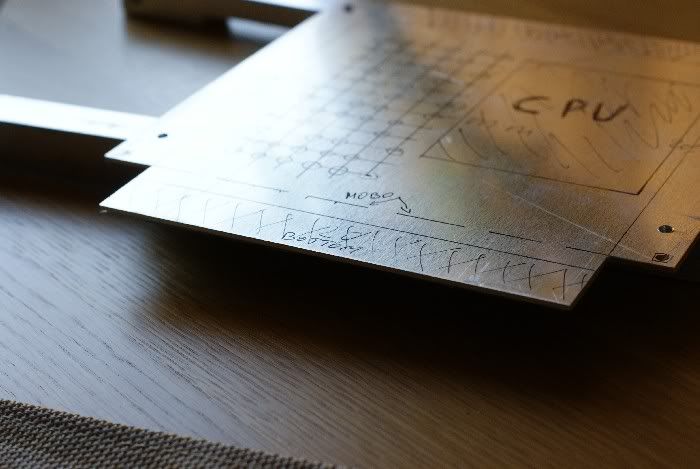
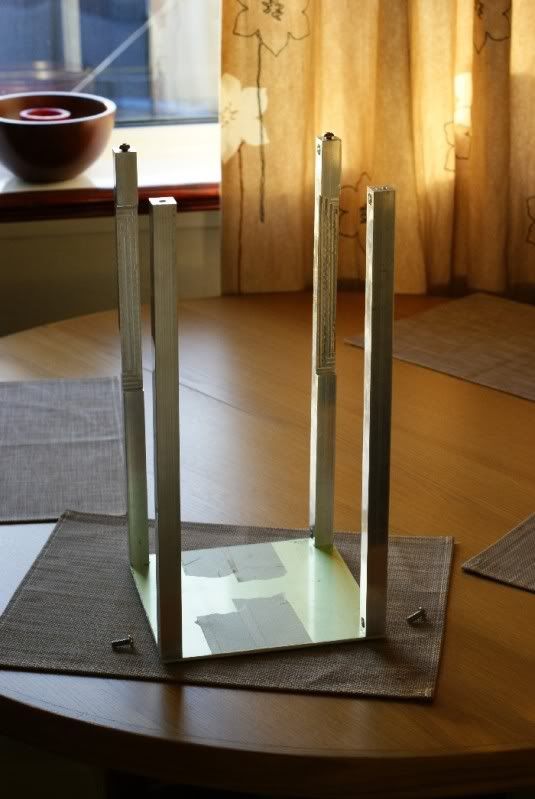
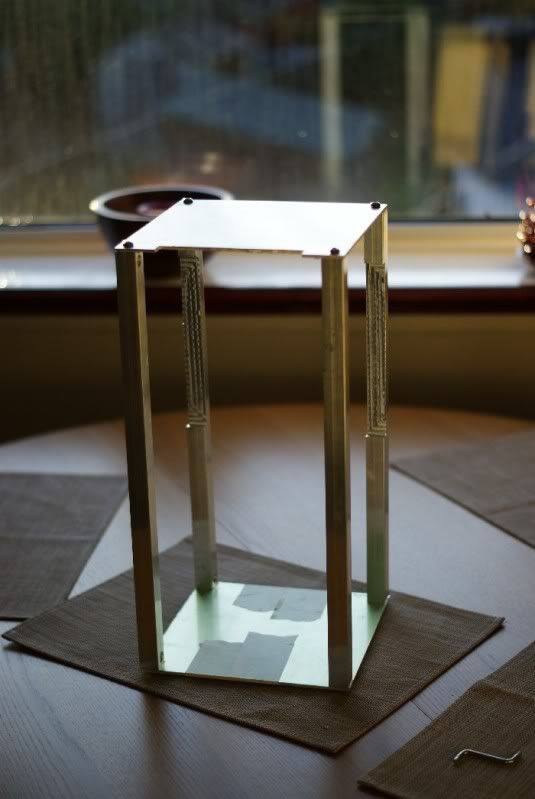
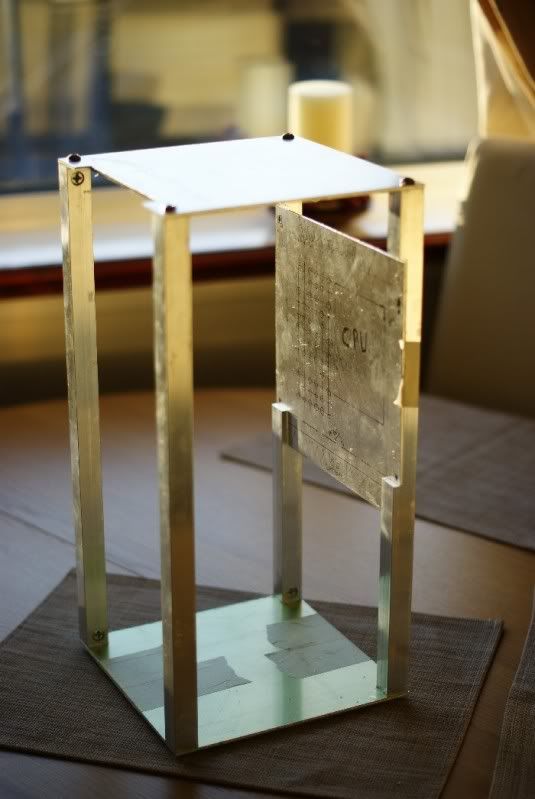
Well, during this weekend it was raining all the time, so couldn't work outside. Worked in the attic a bit. I prepared and cut mobo tray and bottom panel, also sanded them nicely to have clean shiny edges.
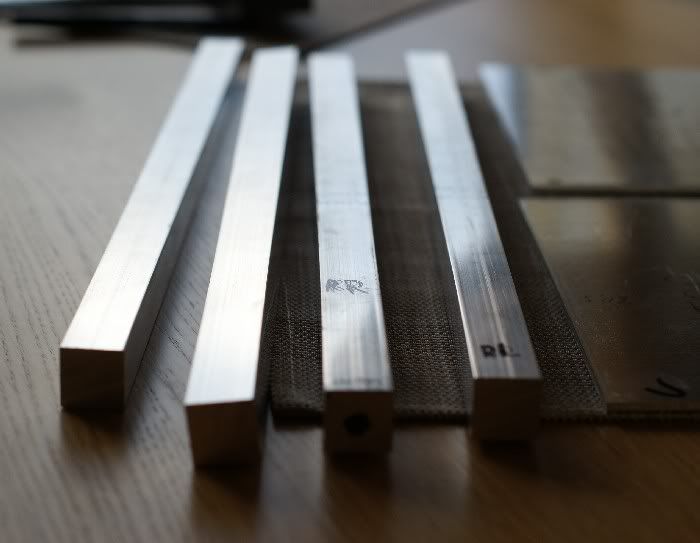
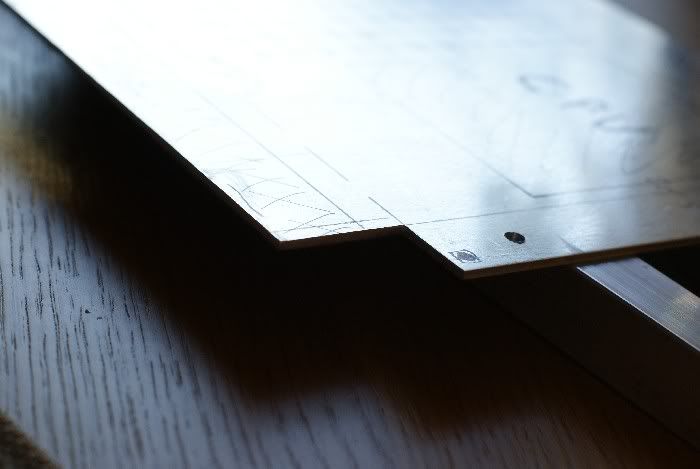
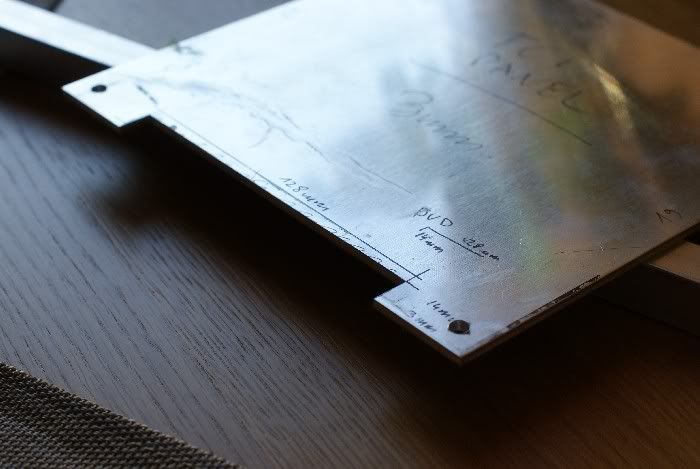
After that I started with that two rods that keep mobo tray. As I mentioned above I wanted to thinner them a bit to push mobo tray a bid deeper, 5mm into those rods. So I took my trusty dremel to try it out.. During half an hour I managed to brake 2 reinforced cutting wheels and get 3mm deep cut... So I took my badass jigsaw with special metal cutting blades.. After another 10 minutes I get another 2-3mm deeper... Of course my special blade was worn to the frame

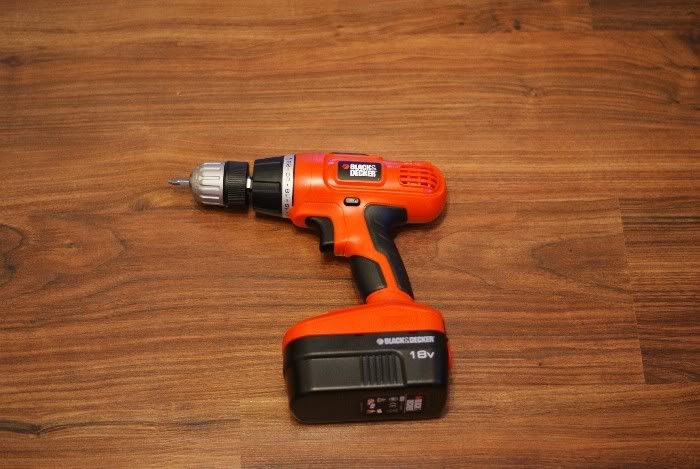
So decided to drill holes along that cut line I drew on the side of that rod, so it will take some material off so jigsaw cutting would be easier. I drilled about 10 3mm holes and my drill press stopped when drill bit was in about half way down...
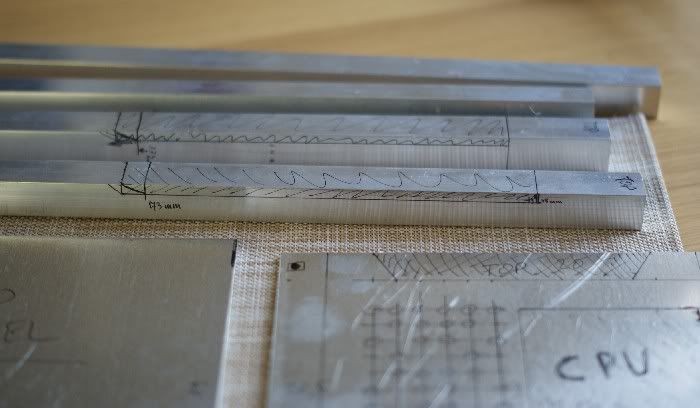
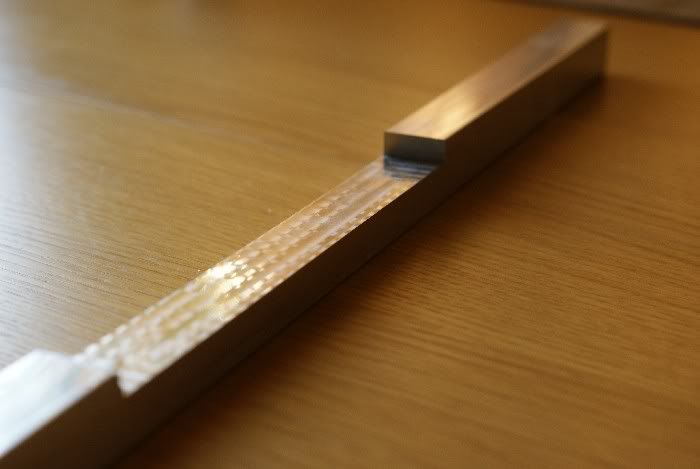
So I went to B&Q and bought 5 new mega-special thick-metal cutting blades... After another 2 hours I managed to get 2 of new blades totally worn.. and got 2cm cut... So after whole afternoon trying to cut this rod I decided these rods are going to cnc place

Now I'm really convinced that I bought some kind of super-hard grade aluminium rods
I think I'm gonna have to add one more detail in description of my new build - it will be bulletproof
I hope I'll get those rods back till Firday and then all good stuff gonna start.
What I need to do this weekend is:
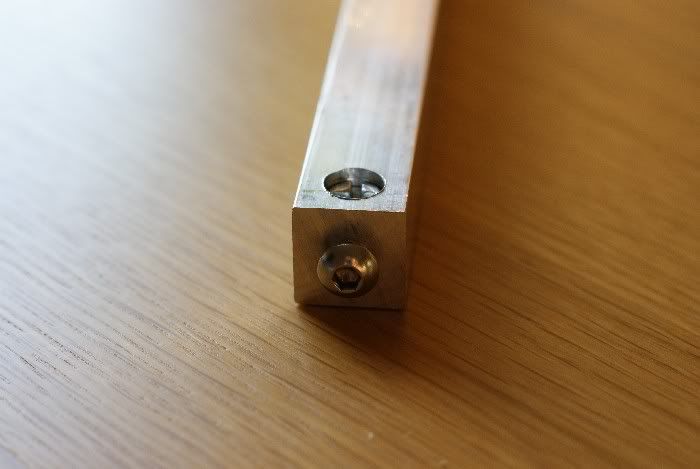
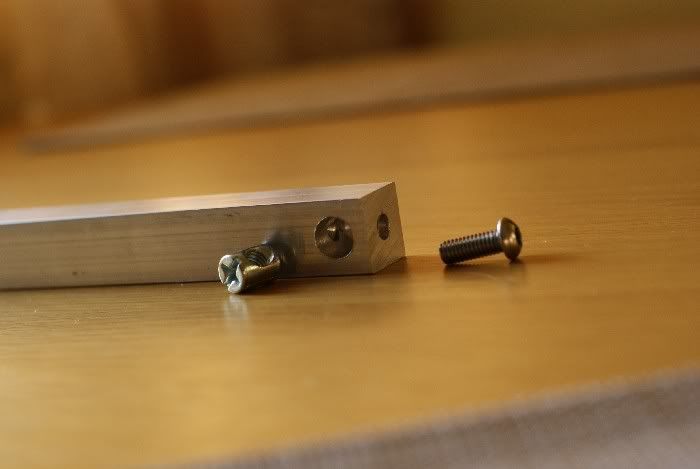
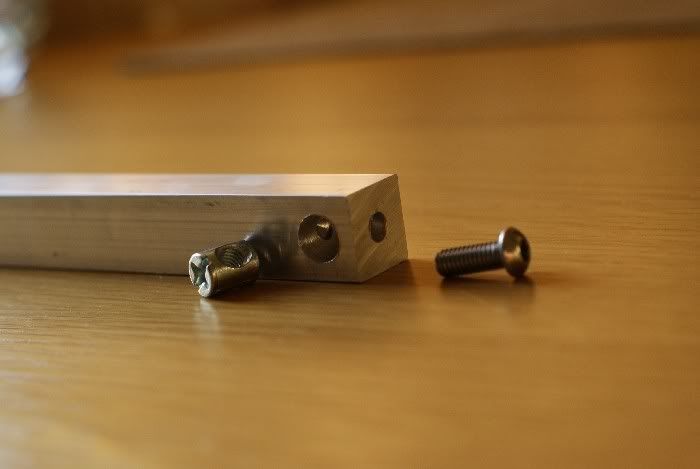
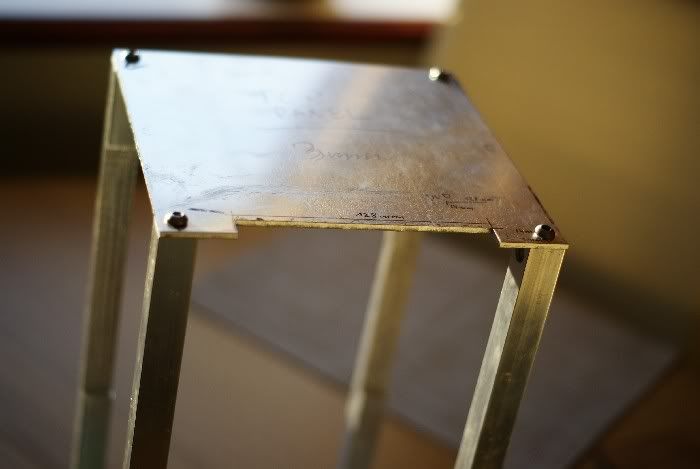
- drill and tap all 4 rods at the bottom and top
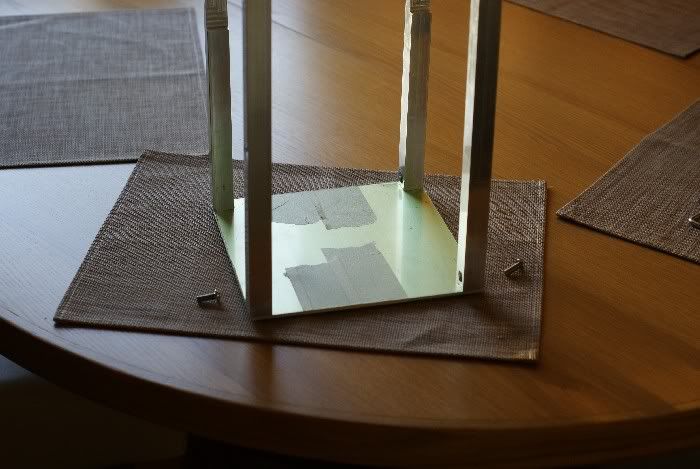
- create main frame - measure against rod holes and drill bottom and top panel and screw them together
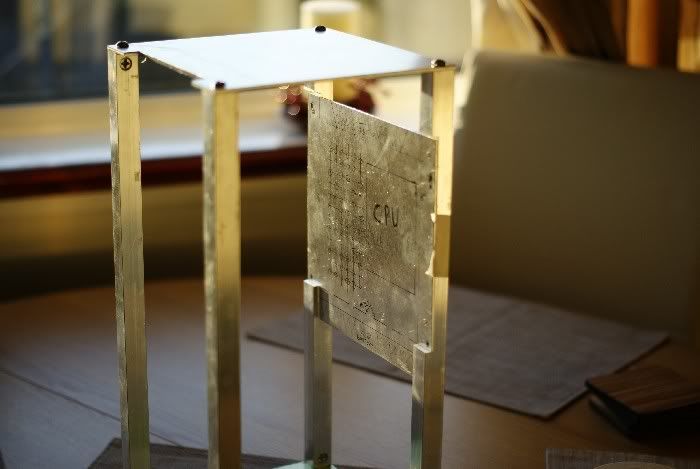
- drill and tap hole in "flattened" parts fo rear rods for mobo tray
- drill and fit in mobo tray to rear rods
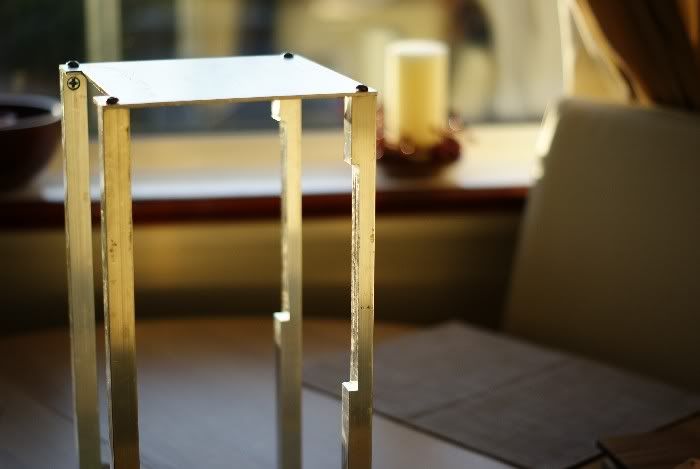
- cut the middle sqaure hole in top panel
- measure and cut 6 support L-shape corners for bottom and middle panels then mount them
- fit in middle panel
Looks lie a lot of work, but it will be much easier when rear rods will be ready. That sounds fun for me this weekend!:blush: I hope you guys gonna like it as well...


 Reply With Quote


 Don't worry - I will tell and show everything in right time! :thumb:


DDR3_lights.jpg)


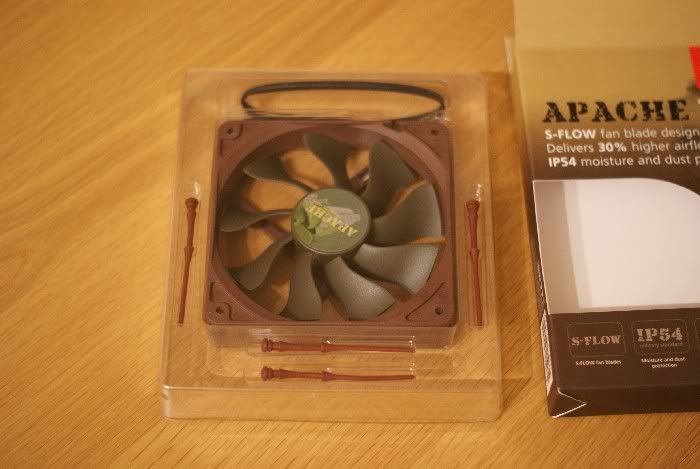
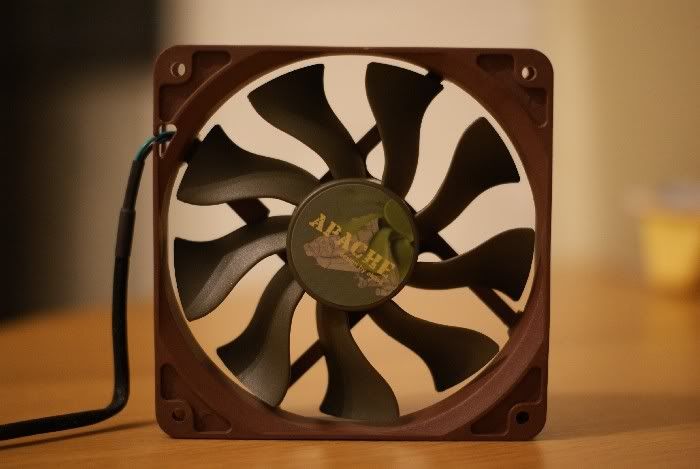
 Apart of that it isn't silent, like I read on some forums, but it is very very quiet. AND it blows... blows loads of air! When turned it on my face it felt like hair-dryer! I mean it! Pretty powerful stuff.
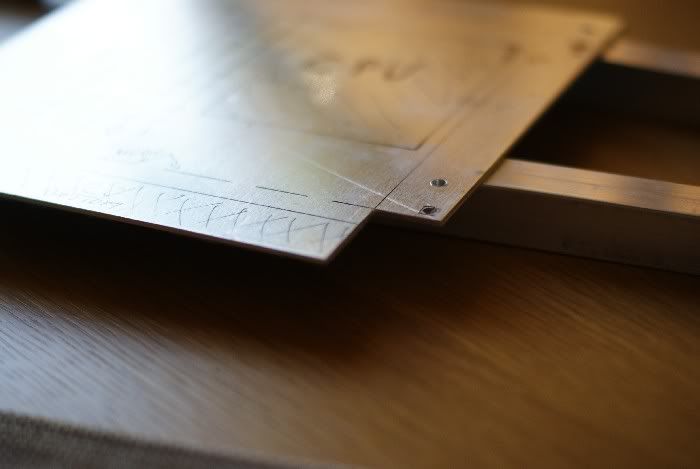


Bookmarks