

It's been over a month since the last post. How is the build coming? Any timeline on when you think you will be able to complete this awesome task?!


It's been over a month since the last post. How is the build coming? Any timeline on when you think you will be able to complete this awesome task?!
-trekie86
Antec 900 Black
Rosewill 600W RP600V2-S-SL
Gigabyte EP45-UD3P Rev 1.0
Intel E8500 @ 3.8 GHz
2 x 2 GB GSkill PC6400
EVGA Geforce GTX 260 Core 216 SSC 55nm
EVGA 8800GTS PhysX
640 GB WD HDD 7200 RPM
Originally Posted by dengyong

Waaw xD it’s a long time ago since I posted an update !
Well, XS is not the only one … I have been busy for school and other stuff … so I didn’t have a lot of time to mod.
But – here I am back again, with lots of pictures and info
It’s time for a huge UPDATE !!! Elements of Fortune !!!
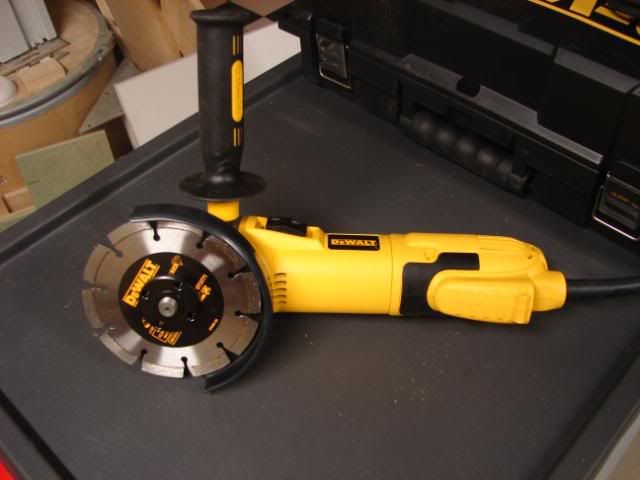
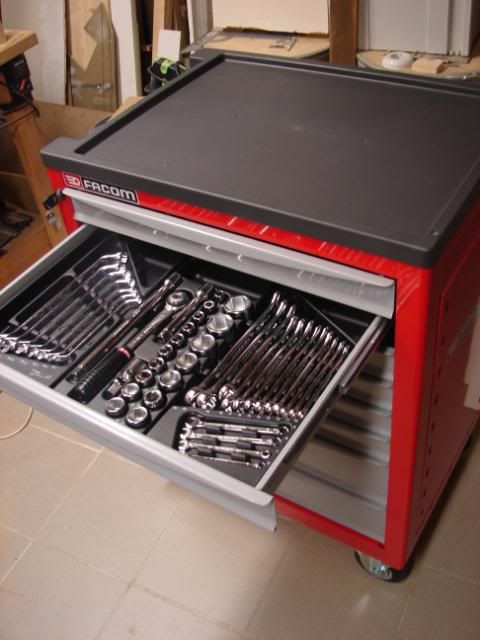
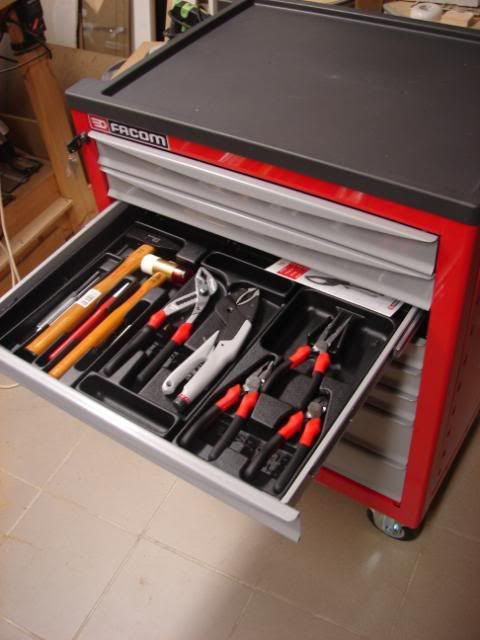
In the beginning of august, I bought some new tools for a good price.
There goes my money :P blahblah, I’m happy ! At least I got some good quality tools now
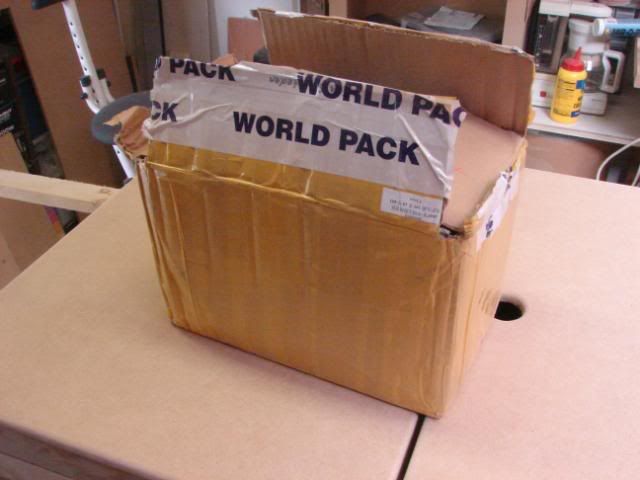
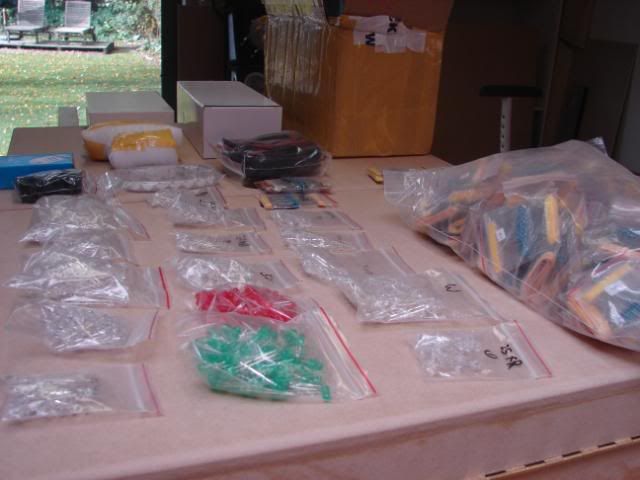
I also made some orders in China for LEDs and electronics, and I got some very nice stuff from MDPC-x.
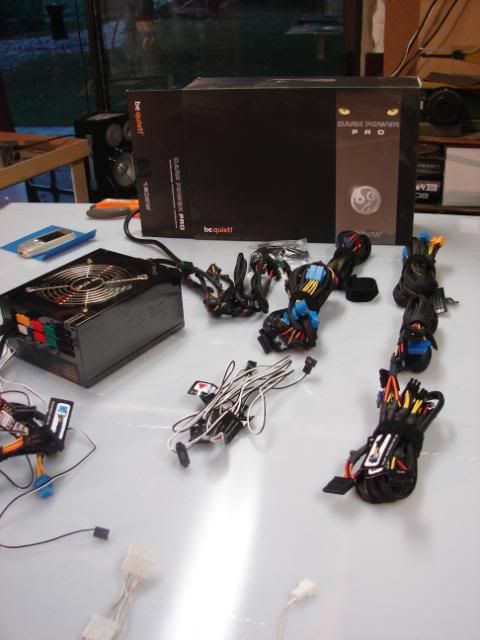
And because pictures say more than 1000 words : tadaa
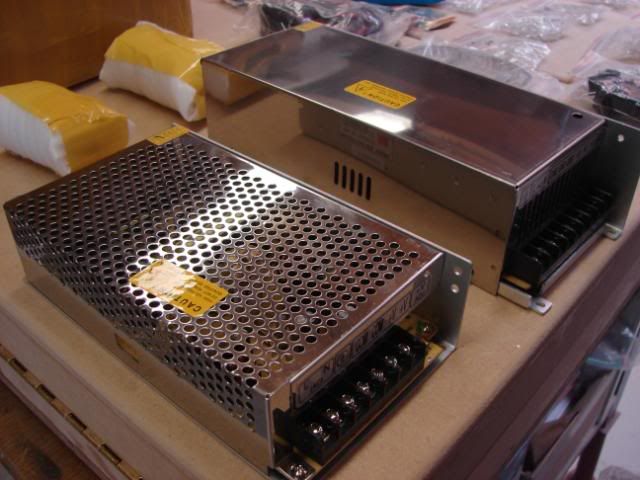
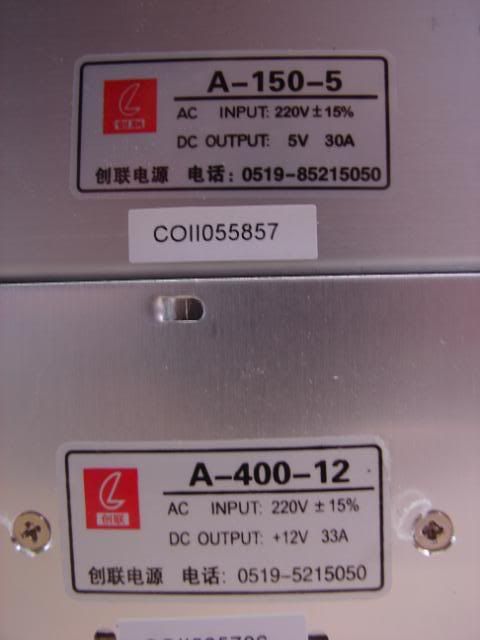
The package from China
PSUs
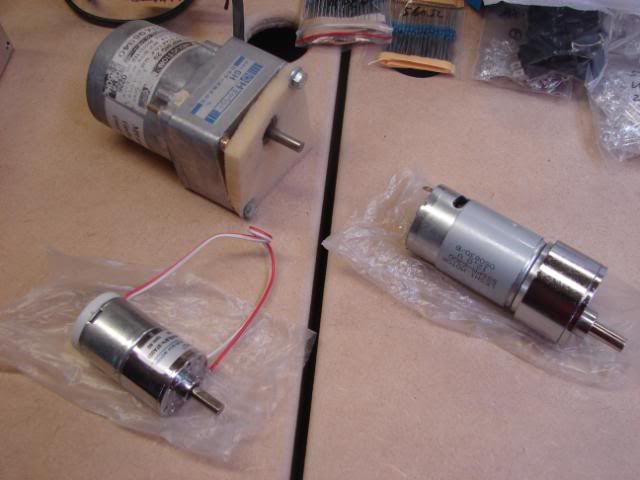
Little motors
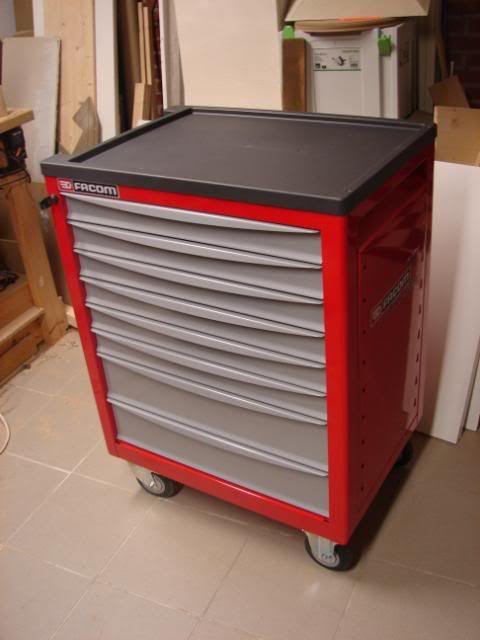
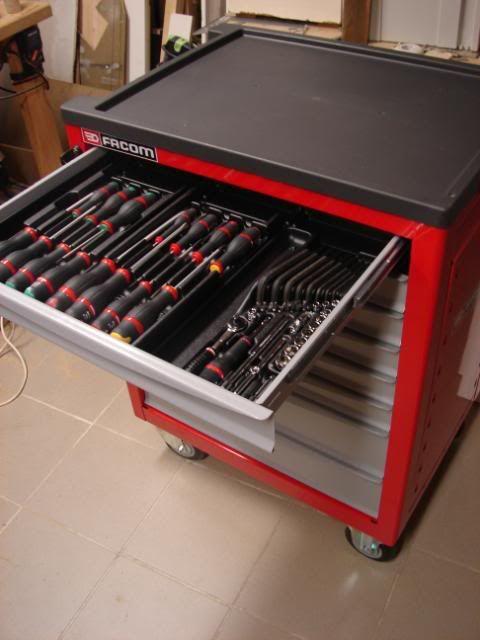
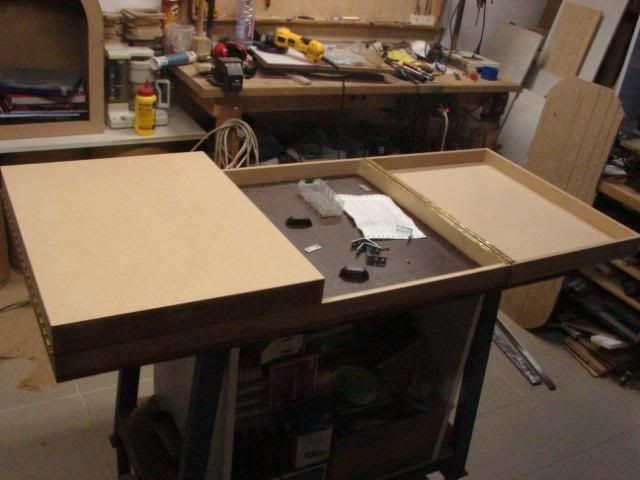
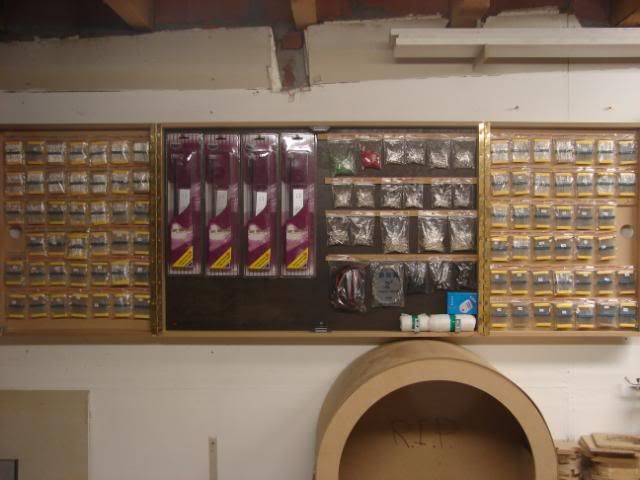
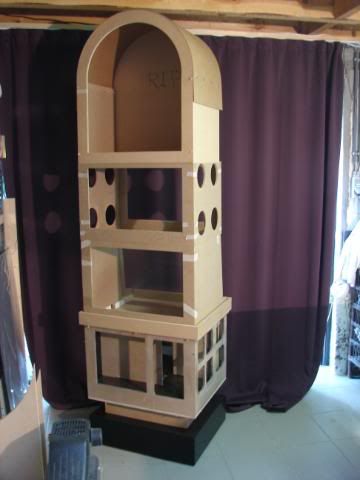
And for these things, I also made a “cabinet” ? Well I mean a thing to store things :P
Kinda WaW huh !? :P This cabinet will be empty once I finished this mod
And then another package from Germany…
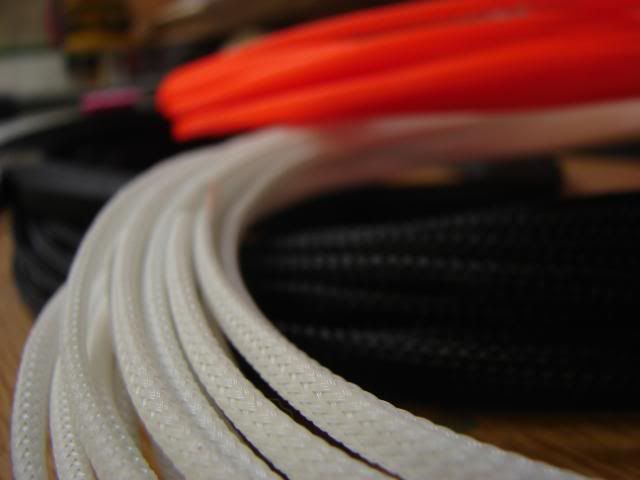
Now this is quality stuff :o !! amazing
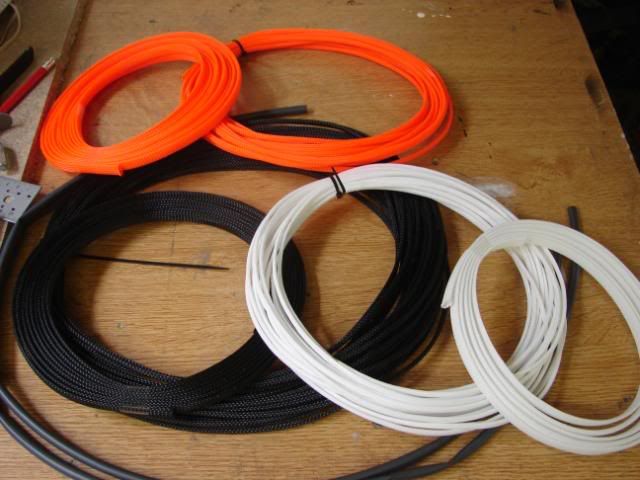
I will sleeve this 1200W PSU from BeQuiet and all the other cables that will be visible inside the project.
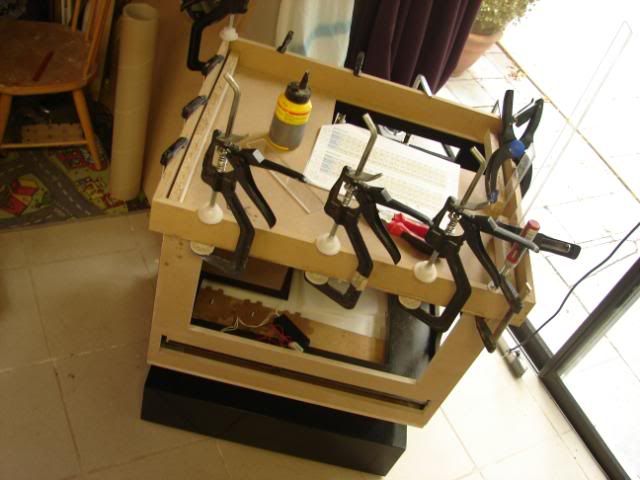
-- aye – now all eyes back to the case
We continue from here:
Still remember it? Here we go
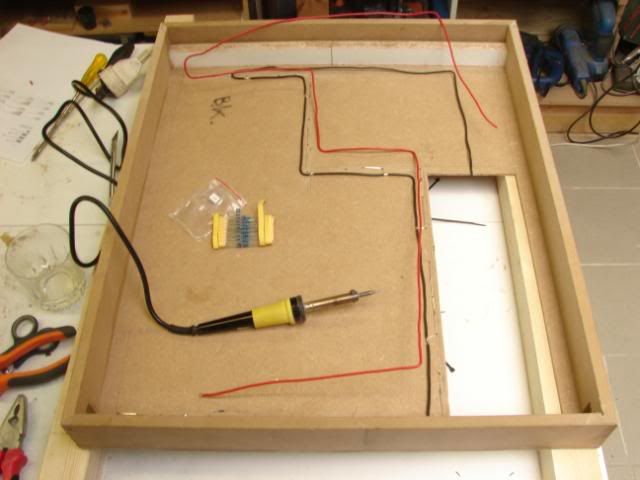
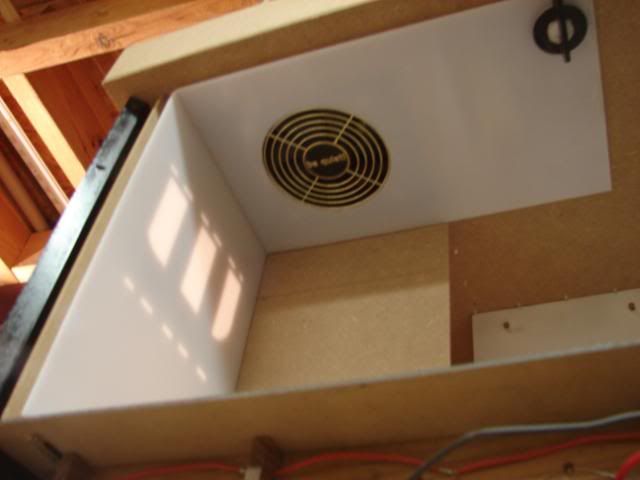
I continued with the bottom side of the case, the part where the hardware will fit in.
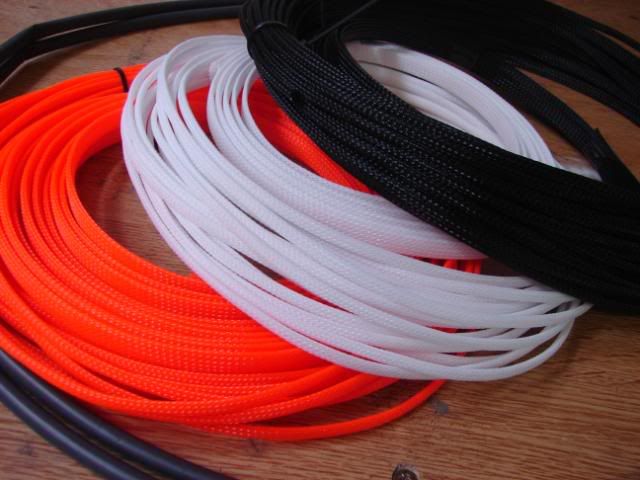
Before that, I had no idea what colors I would be using. But when buying the sleeving and LEDs, I made a decision.
Colors will be: Black, white, orange and aluminum
The hardware components will be black/ orange / the cable-sleeving as well.
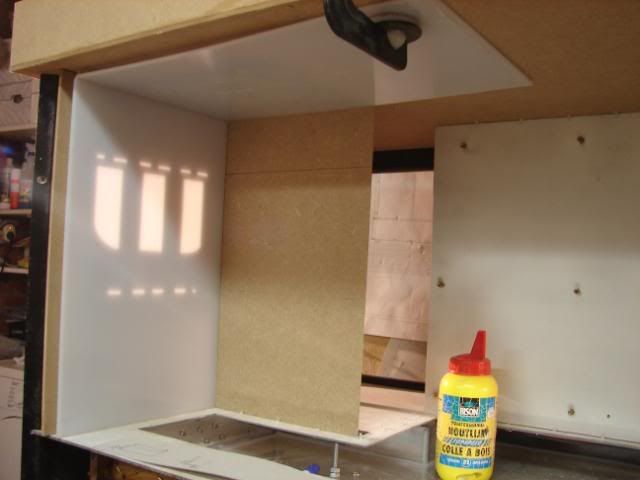
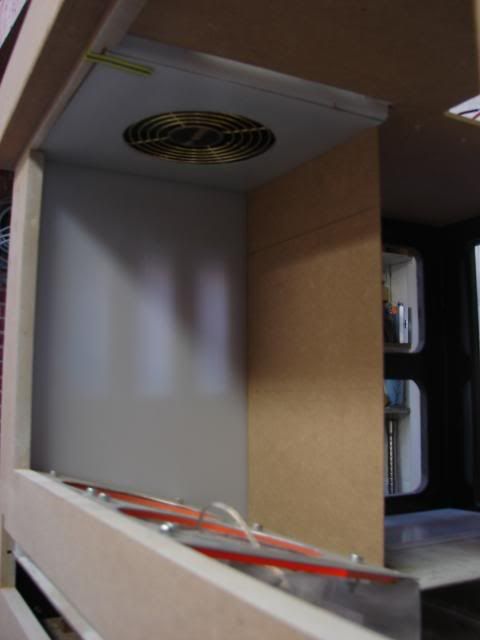
So I needed to find a color for the background … White !
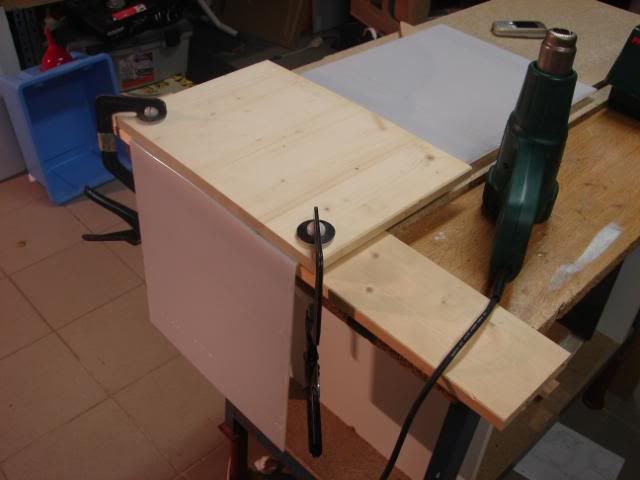
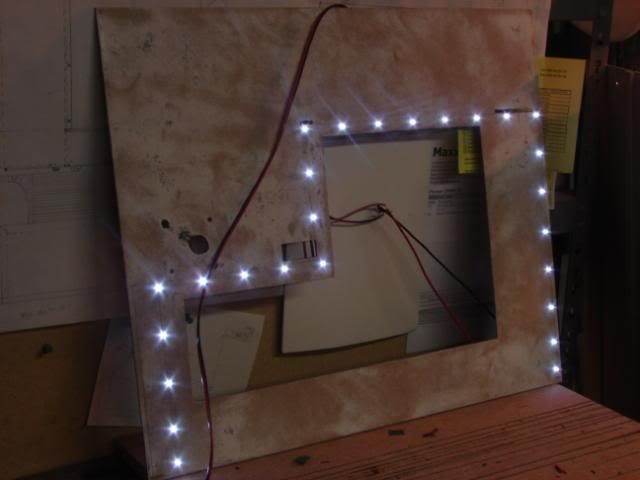
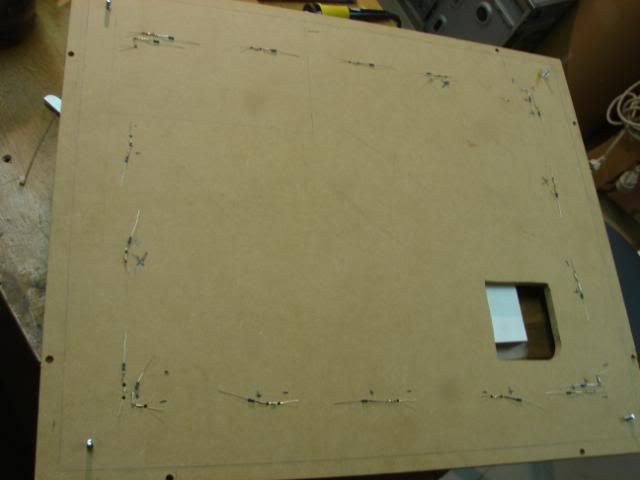
To make a good white (and not gray looking background) I bought some white acrylic. Behind that white acrylic, I will use small White LEDs to give it a cool look.
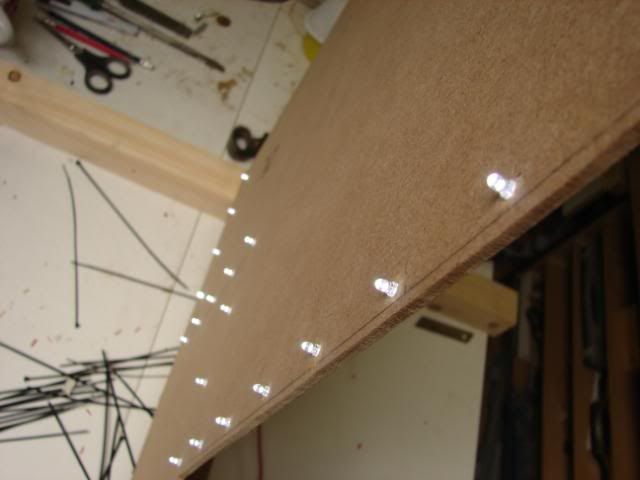
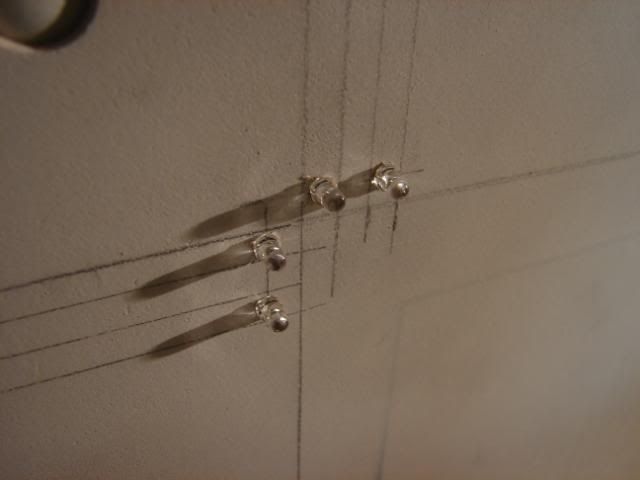
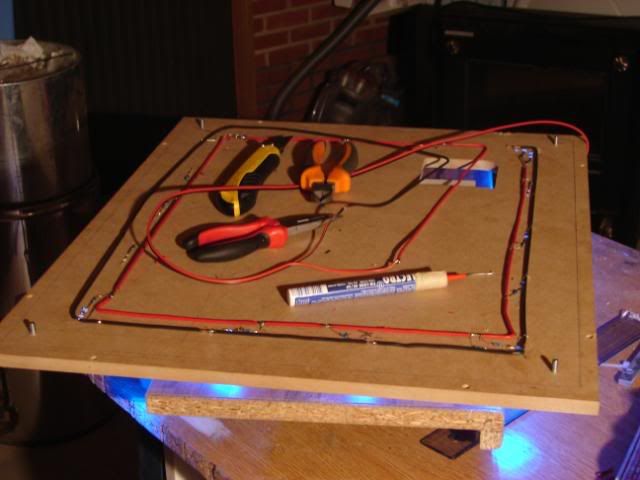
Placing of the LEDs
Started to soldering
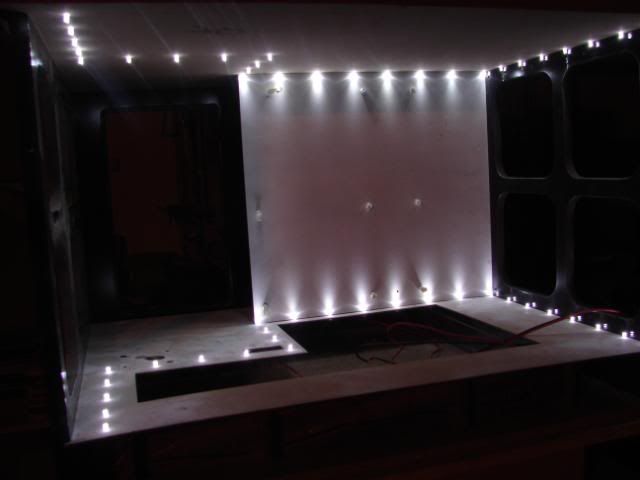
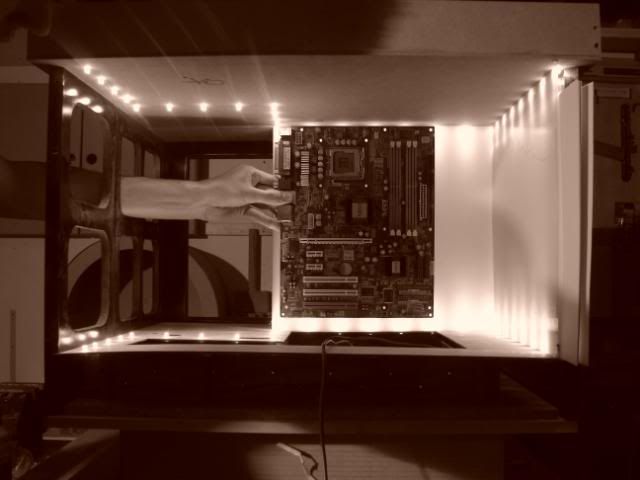
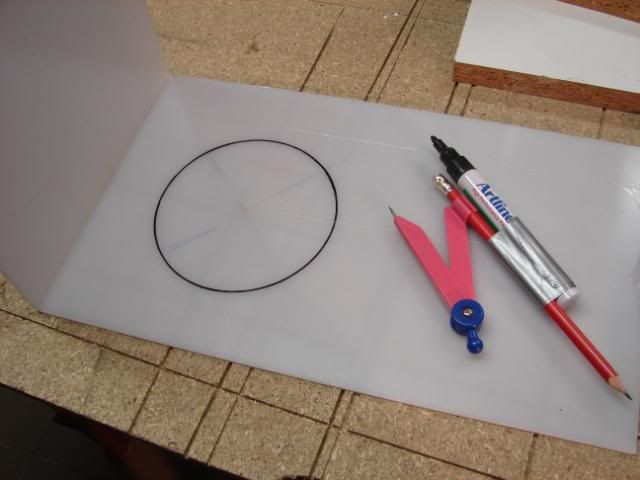
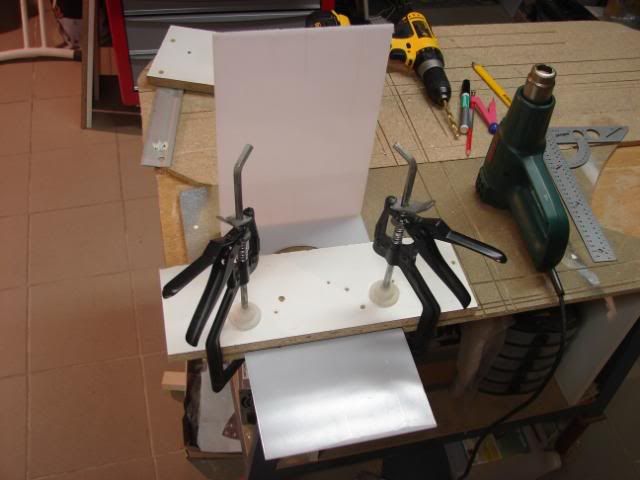
It’s still a dark look, so let’s begin with making the acrylic.
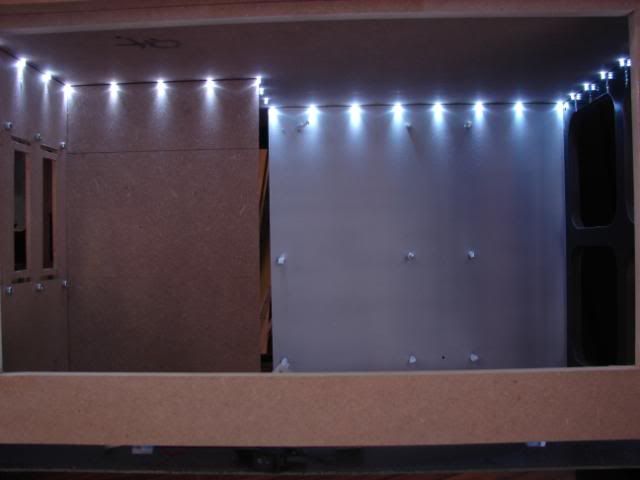
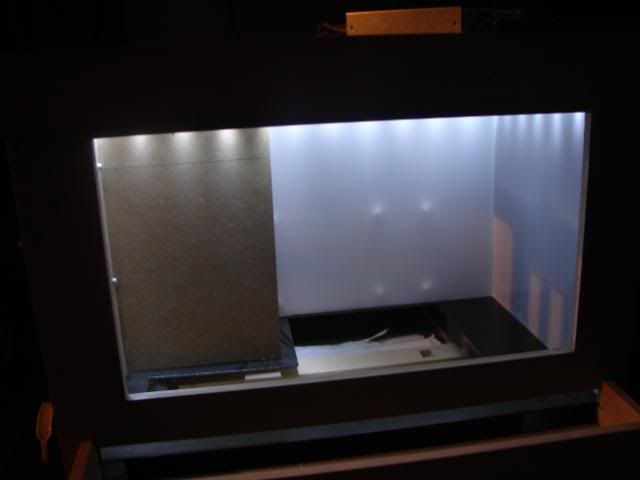
It looks great when because it has a good contrast with the hardware
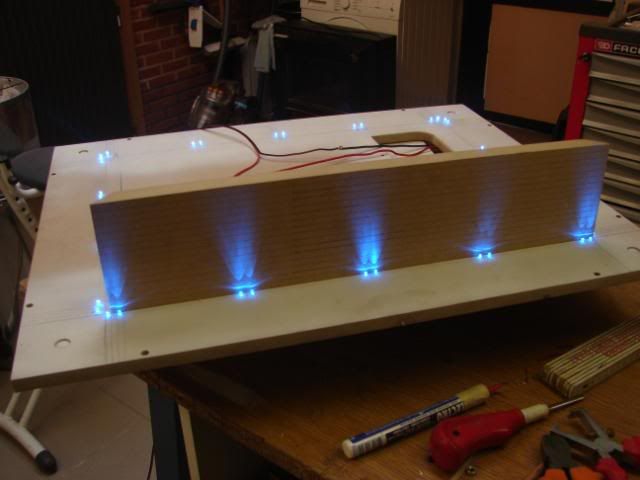
I’m not really satisfied with the result, So I will also make LEDs in the bottom.
Don’t mind the rusty look, it will be painted
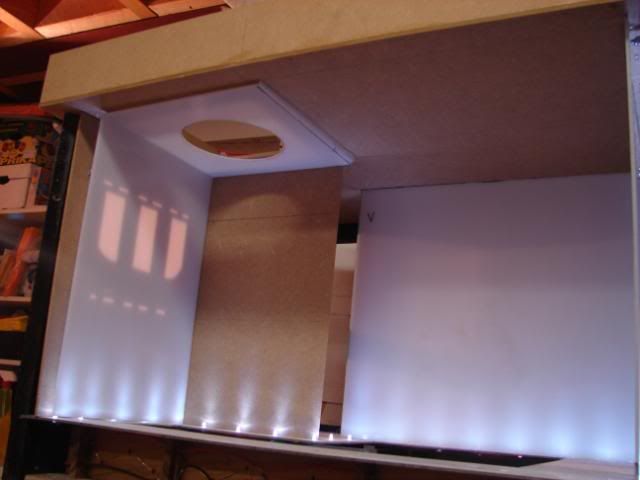
Without acrylic
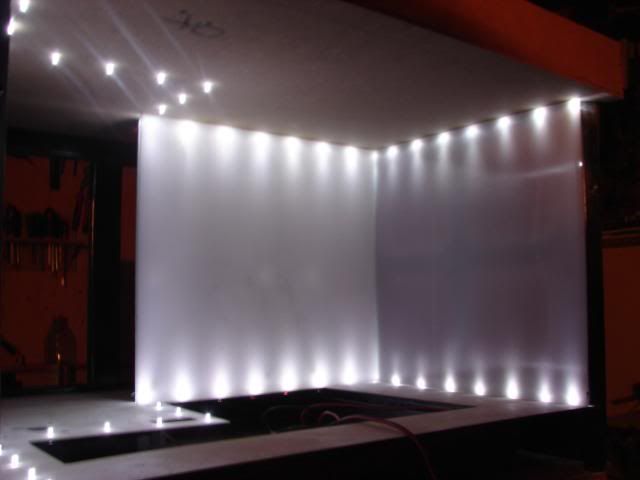
With
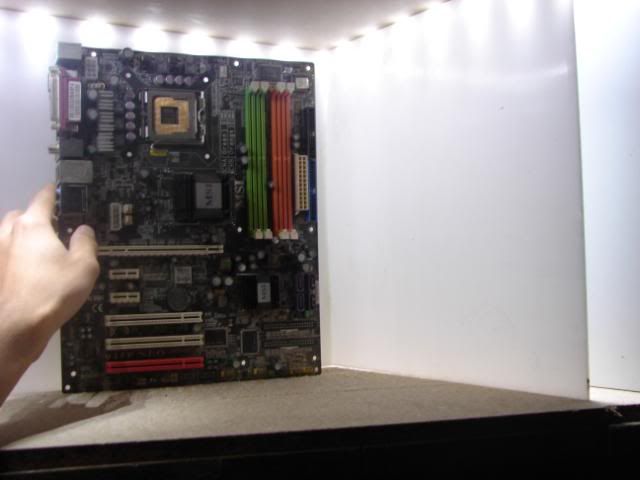
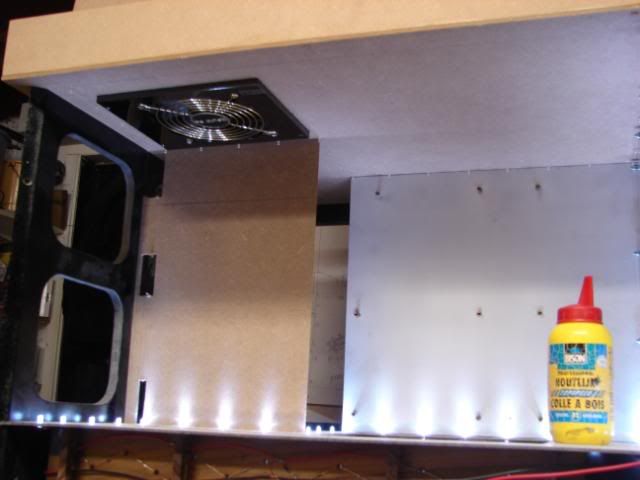
Still looks a bit dark on the right side… that is because the background is black. I tested the difference with a white sheet of paper. Much better
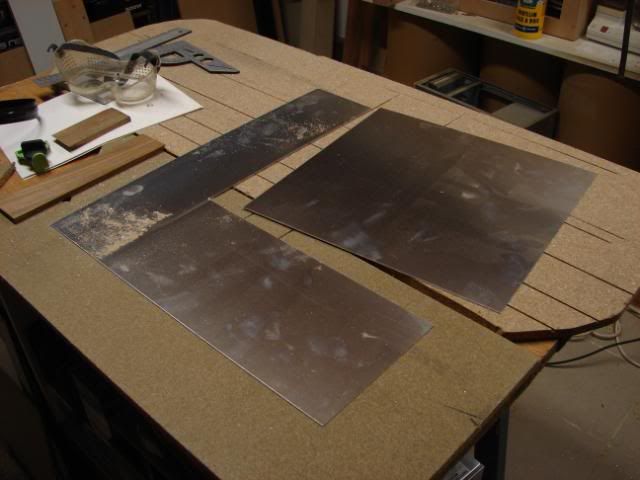
But I’m not going to use paper … aluminum is a better quality material. And I will paint it white in the future.
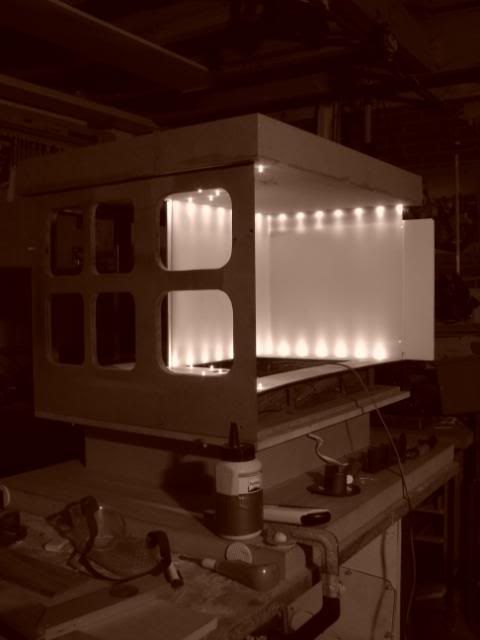
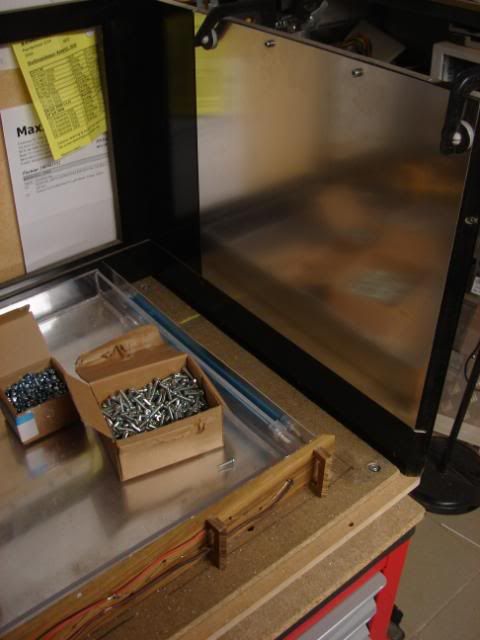
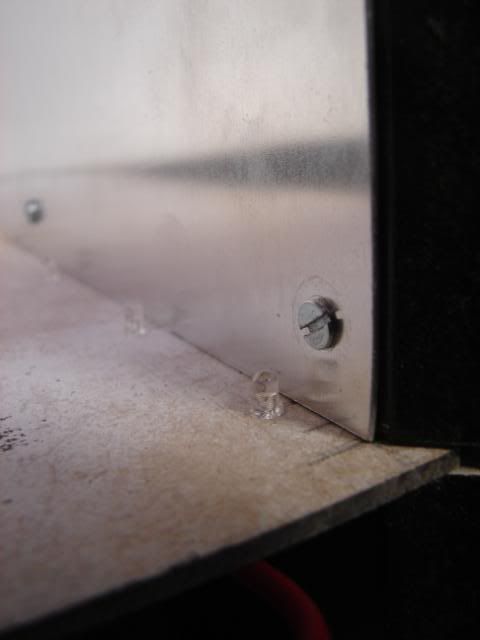
I used small bolts most of the places. Because they would dim the small LEDs.
The other ones I gave a smooth finish :P
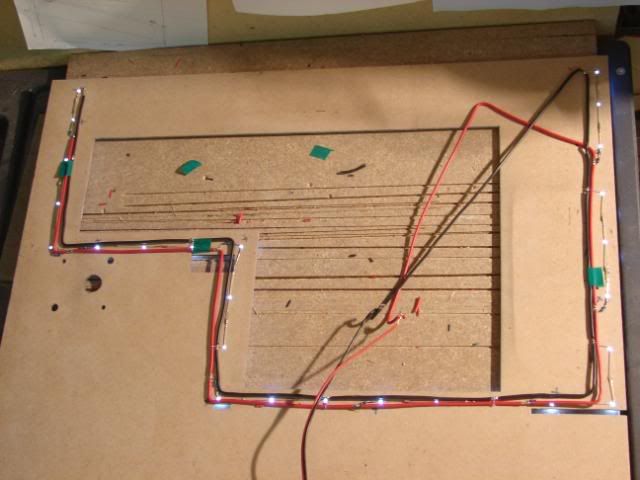
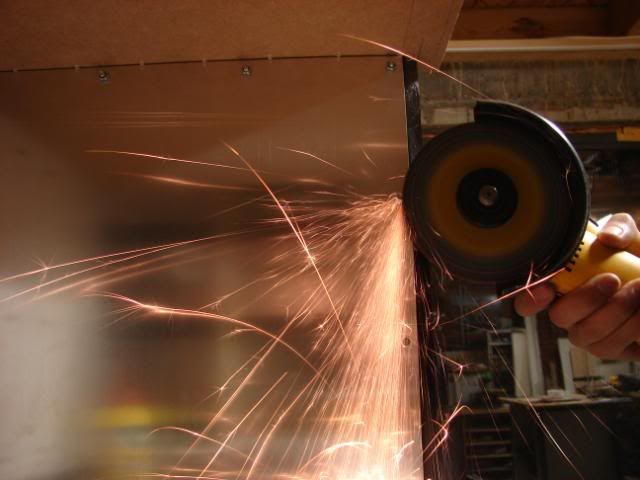
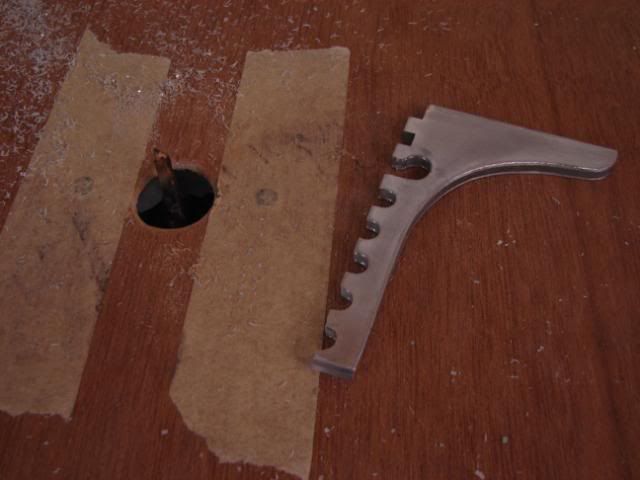
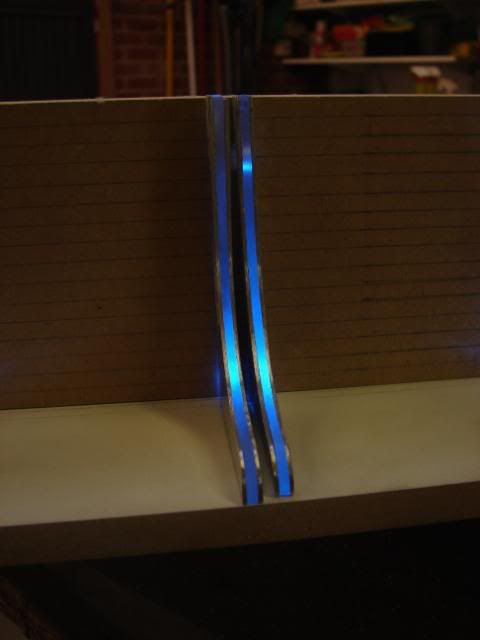
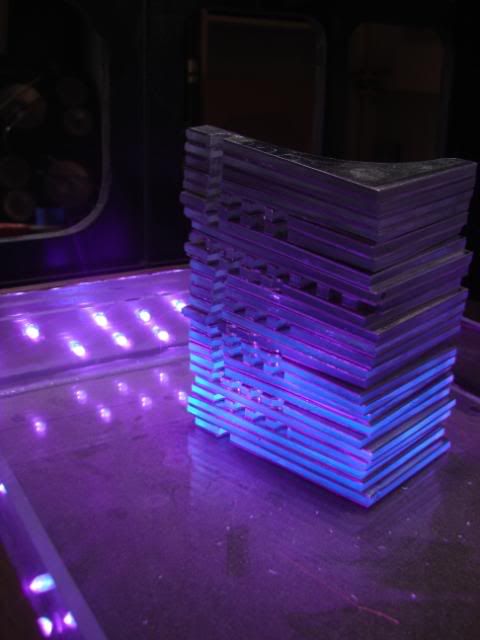
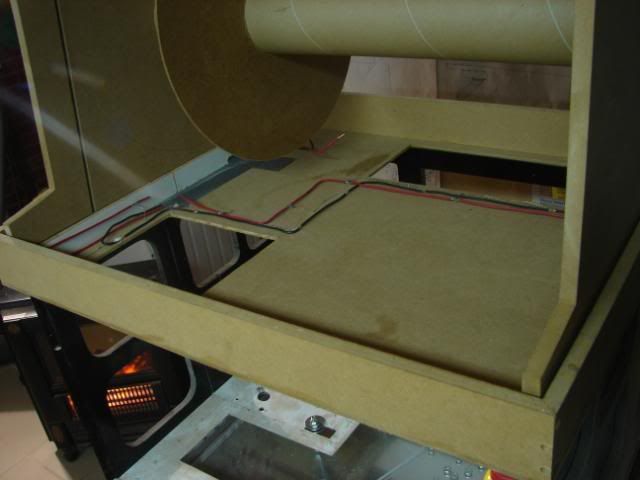
Meanwhile I also worked on the struts beneath the hardware layer.
Remember these?
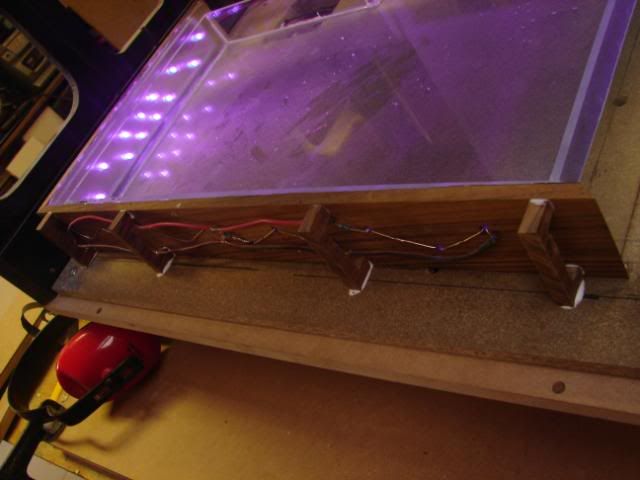
They will be blue – started with soldering
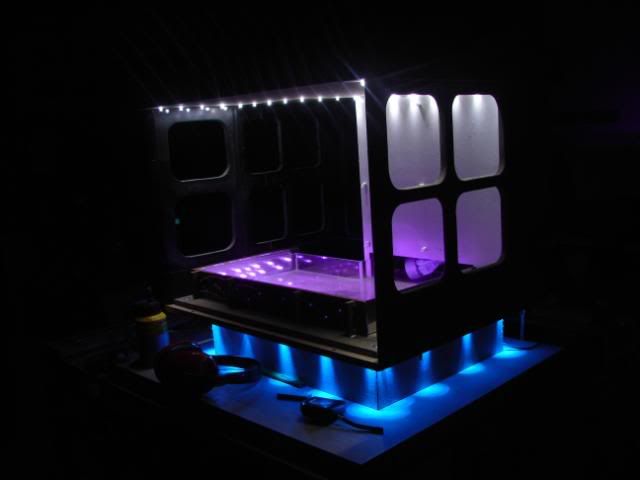
Still needs a lot of work, but this is the goal:
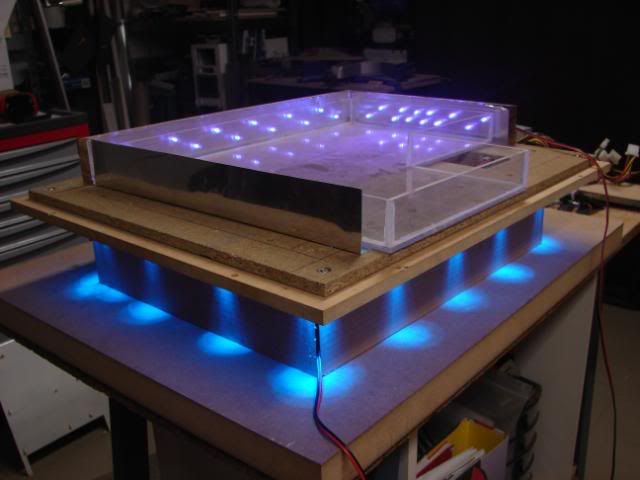
The UV LEDs on top are fitted on the bottom plate. Ready and steady ^^
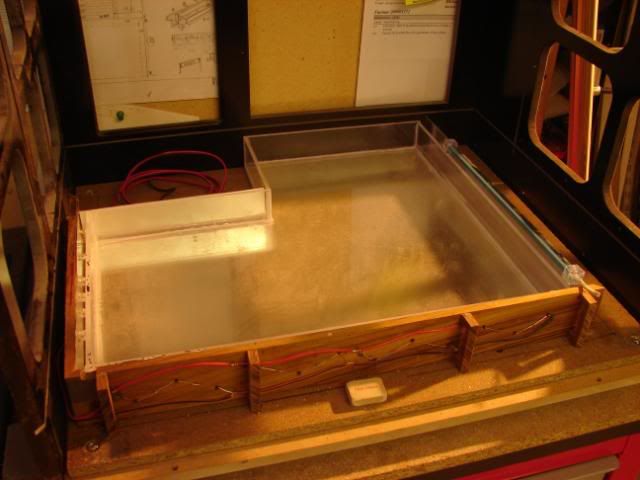
UV power ! Perfect angle for that eye-candy reservoir. (It doesn’t shine everywhere, only where needed)
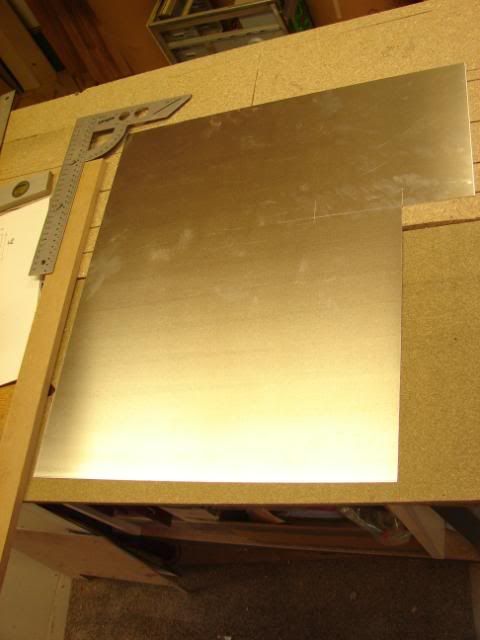
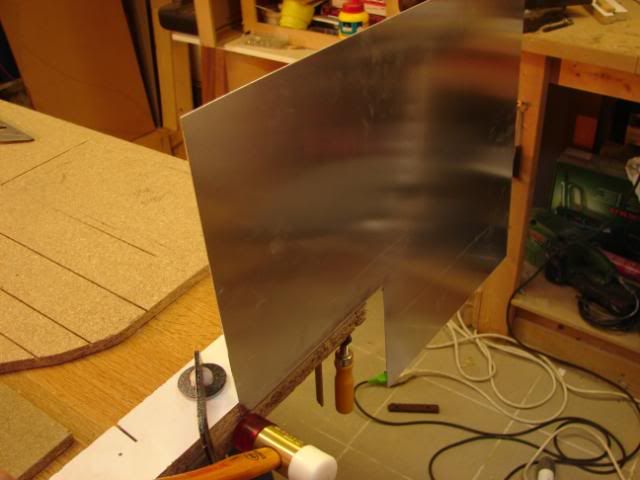
The eye-candy reservoir needs to look cool and shiny. After a while I decided not the use aluminum foil but a sheet of aluminum. This will be polished
---
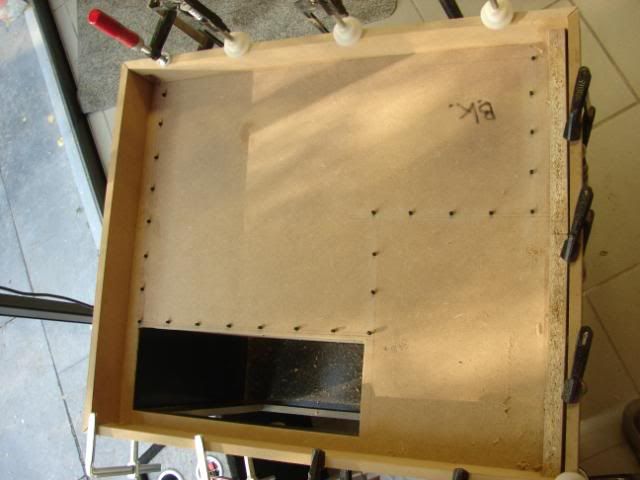
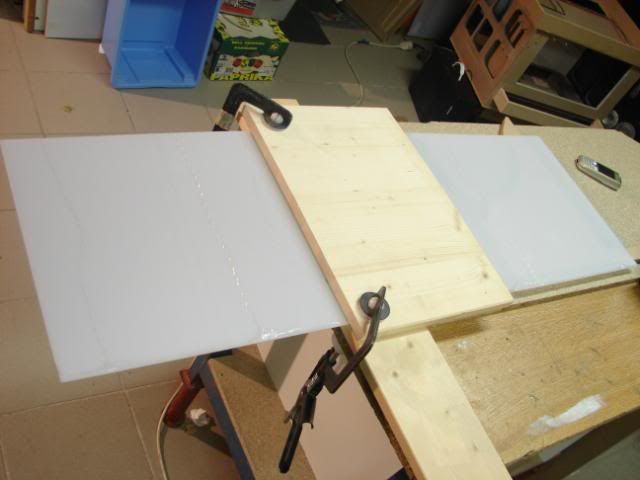
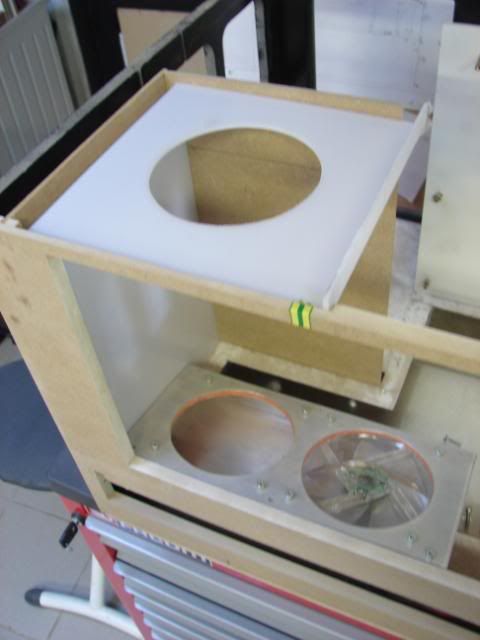
So I started working again with the white acrylic.
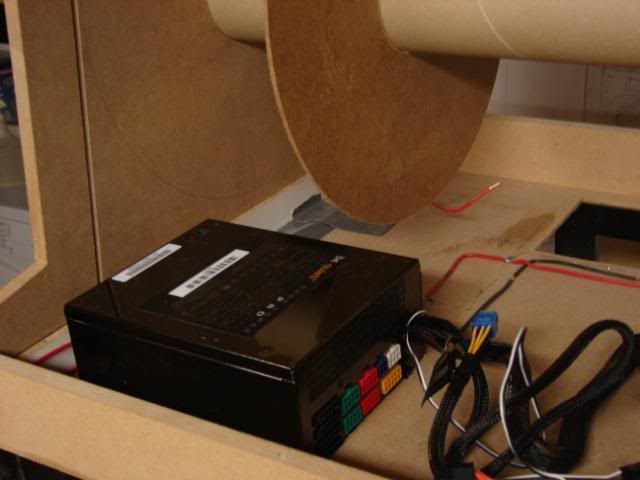
If you take a good look, you will see that I made place for the power supply unit.
Whoooo that’s a close one! But it works
After filing and sanding …Looks good huh?
Aye, another bend
Yuppie, I made it ! :P me looking very happy because working with the acrylic is a tough job. But I’m starting to learning it ^^
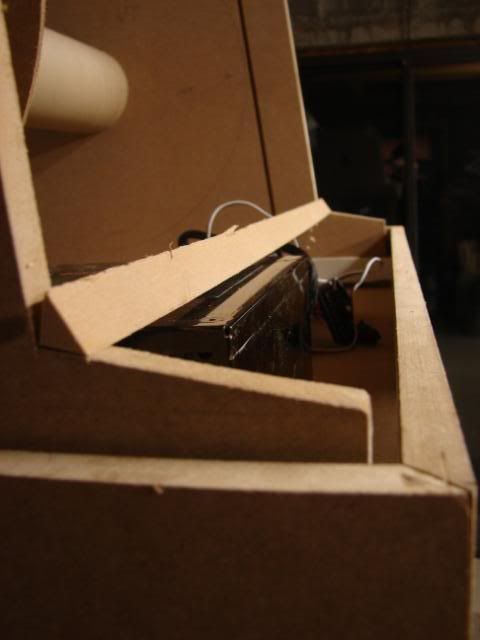
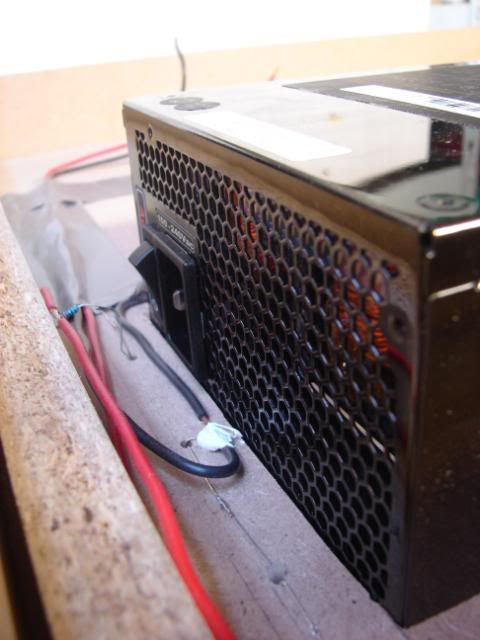
But here we go again :P a small problem …
The power supply cable is a little bit bigger because it is a 1200W PSU…
ARGH !!!
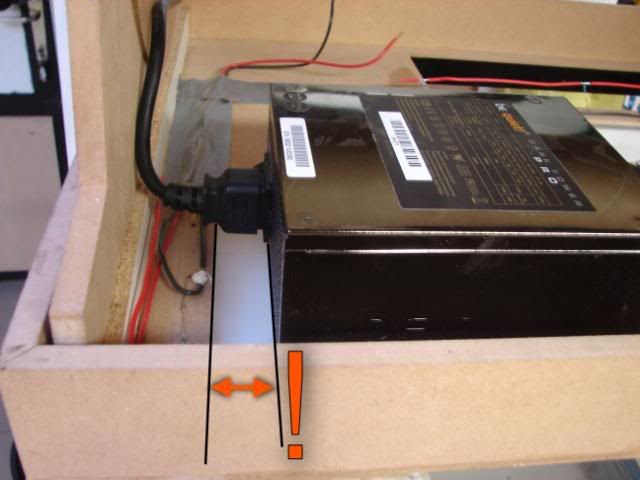
I mailed to BeQuiet for finding a nice solution… If there isn’t a solution, I’ll make one myself
- make a 90° angle in the cable
- or make a gap in the frame so the cable would fit
- maybe something else I could do ? hmm
Well – more coming soon
I think I continue working on the hard drive casings, and continue with the white acrylic.
cheers
Tom
i think there are 90 degree power cables, i've seem some weird cases that use them for placing the psu on the front. Other option is to make a custom powercable, possibly with thicker wire and sleeving. nice mod, really cool!
Sony Vaio VPCSA35GX while 7Mm away from home... Back at home:
C2Q QX6850 3Ghz@3.4Ghz - P35C-DS3R
XFX GT220 - 2x2Gb OCZ PC9200@1004 5-5-5-15
3X500Gb + 64Gb - Case Thermaltake V-3 Black Edition
AC F7 Pro + TR HR-05


yeah Junim,
90º power cables are easy to find and would solve this.

Raidmax ATOMIC - Core i7 3770s + Corsair H70 // Gigabyte H77N WIFI // Corsair Vengeance 2x4GB 2133mhz // EVGA GTX1060 ACX2.0// Kingston SUV400 480Gb // Sharkoon SFX500L


 Reply With Quote
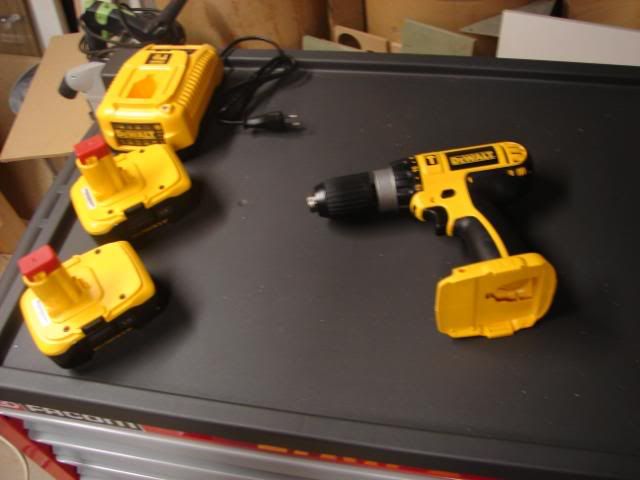


Bookmarks