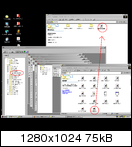
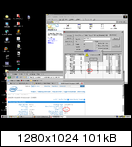
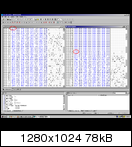
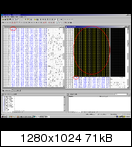
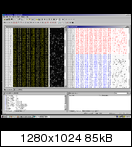
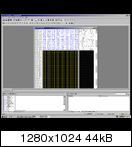
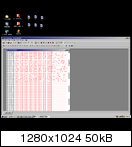
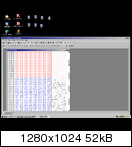
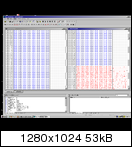
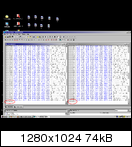
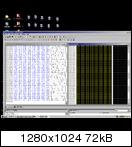
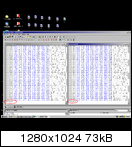
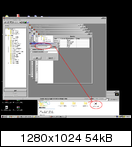
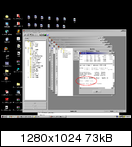
Over at new rebels haven i got asked for some screenshots... i post them here, too. any ideas?
I redid the mod in order to take screenshots and recognized some things that COULD HAVE BEEN my mistakes (e.g. errors counting and inserting lines etc.)
The way shown in the screenshots is how i would do it now, please take care of that.
EDIT: THE WAY DESCRIBED BELOW AND SHOWN ON THE PICTURES IS WRONG! PLEASE DONT REFER TO IT! I'LL POST AN UPDATE ASAP!
Okay, let's go:
1. I opened the original PHOENIX BIOS with the Phoenix Bios Editior and backuped the CPU Patch file.
2. Now i opened the AMI BIOS of the Quad Socket board with MMTools and searched for the right CPU string. As you can see, i used the Intel Spec Finder to identify the right one. Saved the string to HDD.
3. Now i opened the extracted CPU string file (left side in the picture) and the CPU data file of the original BIOS (right side in the picture) with a HEX editor. It seems like all microcodes start with 0100 ...
4. Some more research. Between each microcode of the CPU patch file are exactly the same amounts of zeros, then another microcode starts.
5. Copy and paste action. I copied the code for the new CPU and pasted it right above the first code in the original file.
6. Now i scrolled down again and copied the amount of zeros between the microcodes...
7. ... and pasted it between the microcode for the new CPU and the microcode of the (former) first CPU in that file.
Note: My mistake could be happened here. I maximized the window and messed up the "form". The microcodes ended or started in the middle of a line, i had to fill up free space with additional F's and zeros. Maybe i did a mistake here. If you just keep the window in the size it opens, all fits nicely...
8. ... as you can see here, too.
9. Now i had a look at all those F's at the beginning. Must be something like "placeholders?"
Note: In fact, i tried to flash the BIOS at this time, but the read-in failed. So i decided to remove some of the F's until the modded file is as long as the original one.
10. Here again: You can see here that the modded file is of course longer (modded one one the right side, original one on the left)
11. I ereased the needed amount of F's to make it fit.
12. Now it was just putting the files together again...
Choosing the modded CPU data file
And building the BIOS
That's EXACTLY the way i would do it now if i had to do it again.
Bookmarks