

I might try the 2-clip trick to compare the processes. Thx for the tipOriginally Posted by BlueAqua


I might try the 2-clip trick to compare the processes. Thx for the tip
damnit i cant do this. im trying to do it on a corsair 650w and i just cant get the staple in the right place
Yeah, that's happening to me too
Can any experienced one give us more tips how to slip the staples?
X2 7750 BE + Achilles - DFI 790FXB - 2 x 2G Patriot SL - HD 4870 Sonic- WDC 500+Seagate 200+Seagate 160 - Olympia 1000 E - CM690 - HP2207h
Nah way man, I use my teeth

Here's the work I've done today:
First I built myself an apropiate pin-remover:
http://i65.photobucket.com/albums/h2...Unbenannt1.jpg
This is how it looks when I started:
http://i65.photobucket.com/albums/h2...Unbenannt2.jpg
During work:
http://i65.photobucket.com/albums/h2...Unbenannt3.jpg
http://i65.photobucket.com/albums/h2...Unbenannt4.jpg
And then I finished my powersupply. I also changed the grill for a black one:
http://i65.photobucket.com/albums/h2...Unbenannt5.jpg
http://i65.photobucket.com/albums/h2...Unbenannt6.jpg
http://i65.photobucket.com/albums/h2...Unbenannt7.jpg
http://i65.photobucket.com/albums/h2...Unbenannt8.jpg
I'm really happy with the result, the selfmade pin-remover works like a charm, nothing bend or broken, took me no more than 10 minutes with my dremel to make!!
Tomorrow I will sleeve the PCIe-wire and some more wires, I allready made the SATA-wires...
I used 1/4" Techflex Flexo PET together with some 3:1 heatshrink in different sizes, all of them have glue inside, which helps a lot IMO...
@GrossmeisterB - AWESOME!!! No pre-made tool gets the job done? Make your own! That's the modder way of doing things!
What did you use to make the tool? Looks kinda like a small screwdriver with a slot cut into the tip, but the picture is a little dark.
I WANT THAT TOOL. itll probably my life a hell of alot easier. i still havent been able to get one out with a damn staple
Hehe, thanks a lot guys!! I would have ordered the "AC Ryan Pin Remover", but it's sunday, all shops closed, and I wanted that thing done today, so I thought "what could I use to make a pin remover"?? So I found that little screwdriver - they are quite common over here, you get them everywhere for one euro or less, they have built in little light, which lights up when you put it into the wall outlet and touch the metal back with your finger, so you know there's voltage on there...
I took my dremel and made that slot into the middle, tested it 2 or 3 times, and then it was finished - works like a charm!!!
So, if you have a Dremel and an old screwdriver - go for it!! The metal those screwdrivers are made of seems to be a lot better than the brass the AC Ryan Pin Remover is made off...brass is a hard but brittle metal, this chrome-vanadium steel the screwdriver is made of is hard as well, but by far less brittle than brass...
EDIT: If you want I can write up a little "guide" how to make your own one?But I think it's quite obvious how you will have to do this?!
Sure, I'd be interested in a "guide" for making one, I might end up doing some sleeving on my family computer down the road. as is, with mine I'm sticking primarily with the stock sleeving/flat black cables (HX520)
Current System:
eVGA 680i SLi "A2" P30 BIOS
intel Core 2 Quad Q6600 (currently at stock)
OCZ ReaperX 4GB DDR2 1000 (running at DDR2 800 Speeds with cas4)
320GB Seagate 7200.10
XFX 8800GT XXX 512MB (stock clocks)
auzentech X-Fi Prelude
PC Power and Cooling Silencer 750 Quad Copper
Win XP Pro
how about u make me one and ill buy it LOL
Ill buy one too
group buy anyone?!?!?!!? heheh
LOL, I just have 3 or 4 of those screwdrivers left, and it's REALLY easy to make if you have a Dremel or whatever!!!!!
But I'll post up a guide once I have a few minutes left
thats the thing. i have no dremel. i dont trust these hands of mine!
Oh, that's bad...but I think shipping costs will be at least 10x of what that thing is worth...^^
I GOT THE STAPLE TO WORK. zomg after 3 days...i fail. but i feel like a winner. here i come
Congrats man!!
I'm really happy that my selfmade thing worked so well, I just have to build a tool for those 4-pin-5,25"-plugs... :-P
i found the staple trick to work with two staples
yep thats what I found as well - as mentioned in the original guide
Great to hear that you have had some success with it - now we just need some pics of your handy work
question for those of you who have the 24pin main connector sleeved indivually, do you have them seperate from the where it comes out of the power supply or do you have them bunlded together and then split up about half way, same question applies for others like the 8-pin, 6-pin and molex type stuff, i was thinking that doing each wire individually might be a little tedious and messy when done, course if i don't like the look of it after could always get some zipties and take care of the bundling that way. Your thoughts please
I have done it both ways and personally I prefer doing it the whole way. I guess it will come down to a combination of what looks best for your build mixed with personal preference.
Here is an example of the one that I did that is 50/50
In this shot you can see the 24pin cable which is done 50/50 and the 8 pin cable which is done the whole way. For every other cable in the case they are all sleeved individually.
Hope that helps
no work done yet, havent order the sleeves yet since i wasnt sure if i could do it! LOL
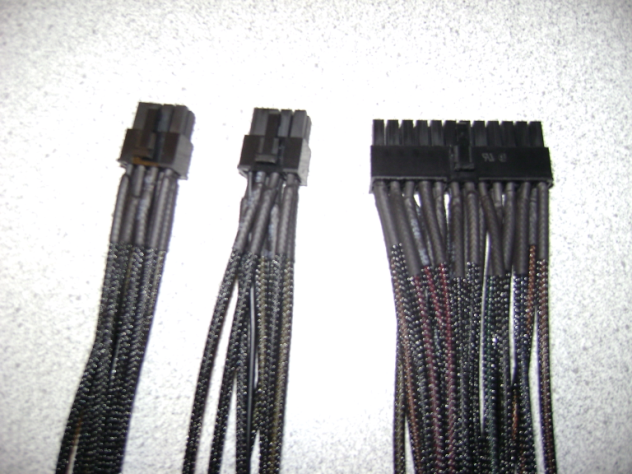
Hey guys
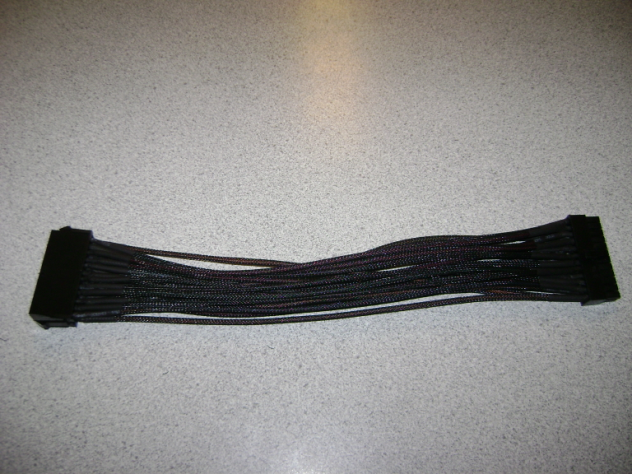
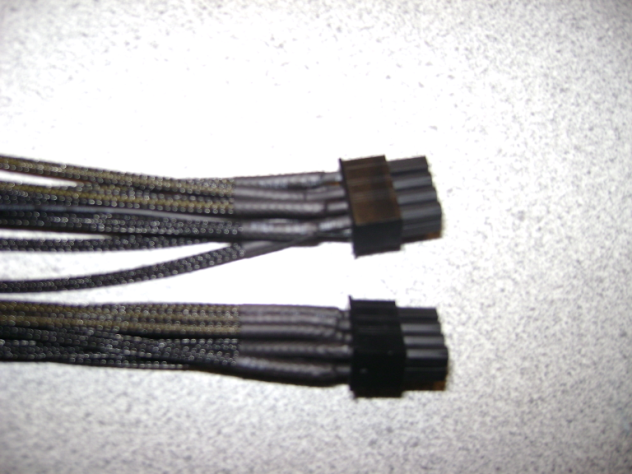
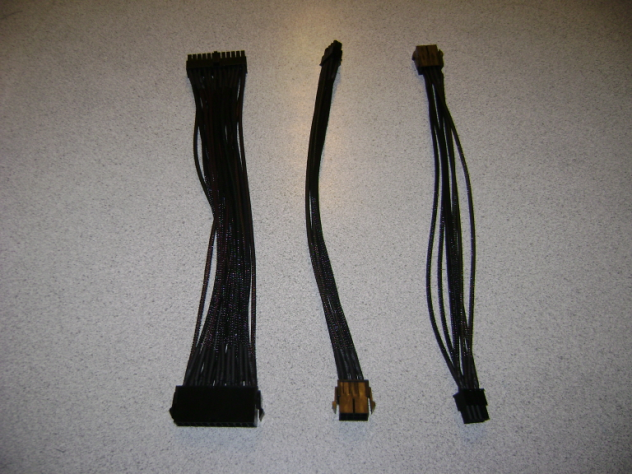
I just finished sleeving my cables. I spent the whole saturday sleeving this three cables (plus a couple of fans and pump), it was long but it ended up as I wanted them!
Check them out
Thanks a lot Dangals for such a nice tutorial!
If this helps anybody, all I needed was Sunbeam PSU modding tool kit, ~50 feet of 1/8 of Techflex sleeving, ~10 feet of black heatshrink, scissors, two pins (those for weaving so you can remove the ATX pins) and a lighter (only for black sleeving/heatshrinks or else you will burn colored ones)
I recommend you buy extensions because you never know when you might change your PSU and this extensions will surely help you in the future!
Looking good, slim142.
RIG 1 (in progress):
Core i7 920 @ 3GHz 1.17v (WIP) / EVGA X58 Classified 3X SLI / Crucial D9JNL 3x2GB @ 1430 7-7-7-20 1T 1.65v
Corsair HX1000 / EVGA GTX 295 SLI / X-FI Titanium FATAL1TY Pro / Samsung SyncMaster 245b 24" / MM H2GO
2x X25-M 80GB (RAID0) + Caviar 500 GB / Windows 7 Ultimate x64 RC1 Build 7100
RIG 2:
E4500 @ 3.0 / Asus P5Q / 4x1 GB DDR2-667
CoolerMaster Extreme Power / BFG 9800 GT OC / LG 22"
Antec Ninehundred / Onboard Sound / TRUE / Vista 32
Thx man!
 Posting Permissions


 Reply With Quote
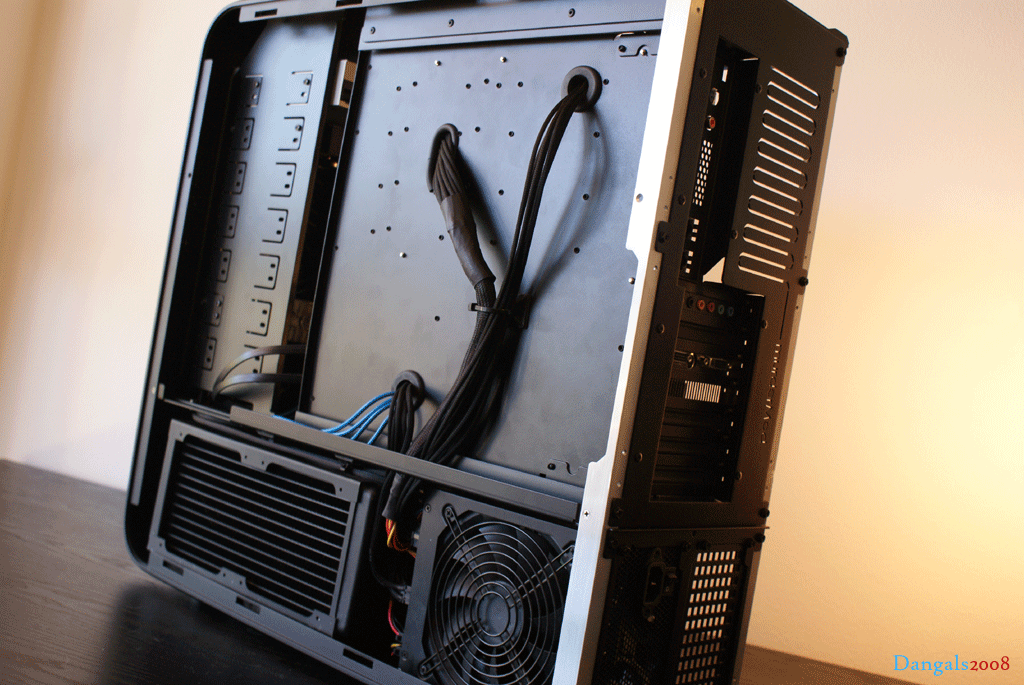


Bookmarks