

oh did you lay out it? Because when i visualizing it, it was more like this:Originally Posted by daedality

(D5)( MCR320 )
(PSU )(DDC)(MCR220)
Couldnt think of a way to fit a D5 down there.. :T You have any pics?


oh did you lay out it? Because when i visualizing it, it was more like this:
(D5)( MCR320 )
(PSU )(DDC)(MCR220)
Couldnt think of a way to fit a D5 down there.. :T You have any pics?
Last edited by NaeKuh; 03-10-2008 at 11:41 PM.
Nadeshiko: i7 990 12GB DDR3 eVGA Classified *In Testing... Jealous?*
Miyuki: W3580 6GB DDR3 P6T-Dlx
Lind: Dual Gainestown 3.07
Sammy: Dual Yonah Sossoman cheerleader. *Sammy-> Lind.*
Its my fault.. and no im not sorry about it either.[12:37] skinnee: quit helping me procrastinate block reviews, you asshat. :p
[12:38] Naekuh: i love watching u get the firing squad on XS
Hmm. Well, I might, let me check. No recent pics, but I may have pics fro my old setup. I've moved the radiators a little bit since then, but they're in the same format, as are the pumps.
Just looked, I don't have pictures. I'll get a view of my back and front as it is now then edit this post when I have the pics.
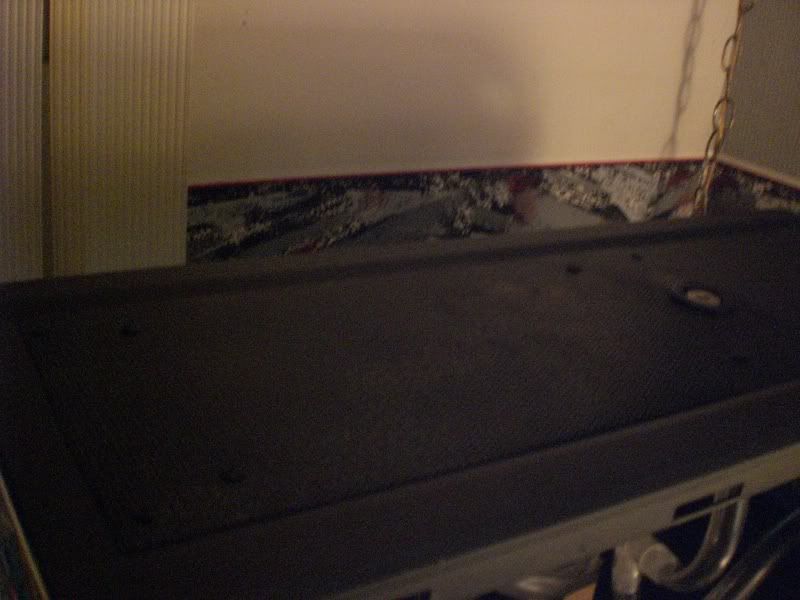
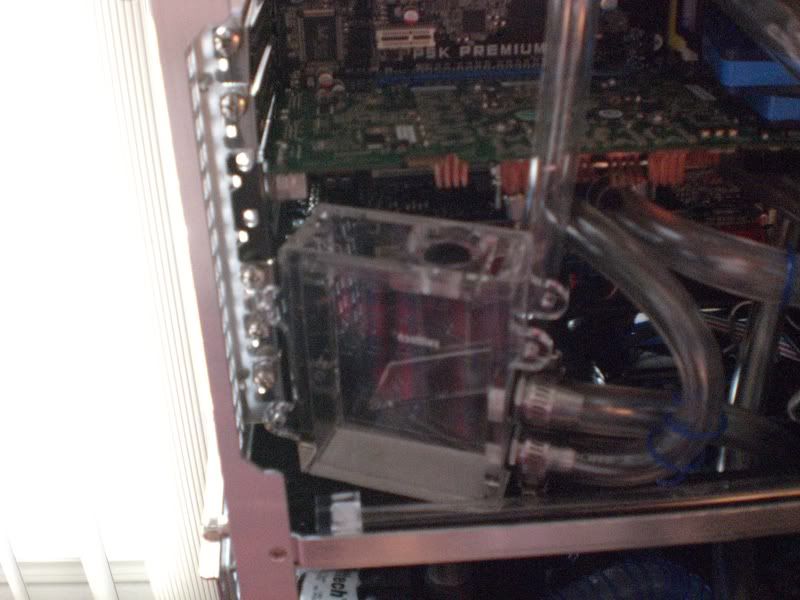
Edit: Behold! I bring you pictures!
Here, we take special note of the voided warranty.
This is where all my wires collect -- Ones I don't use, or where all my molex connectors connect to each other. All wires lead here. If you can make sense of the wiring (takes a very special type of person to do), you'll see I've soldered together my own little molex hub.
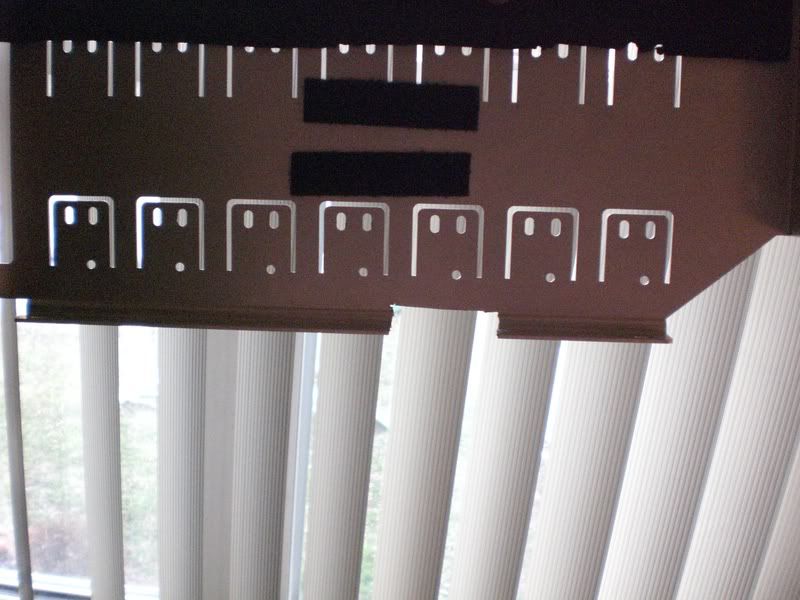
Anyway, seeing as how I don't have a good aerial view for you, this is drawn to scale.
Hope that helps!
Again, sorry the pictures are so large! They're just easier to see at a high resolution. Also, it's daytime, better quality!
Last edited by daedality; 03-11-2008 at 07:25 AM. Reason: Pictures!
So the fans are just velcroed to the RAM? I've got a big roll of velcro, so I might see how that works out.
Yep! I lubs me some velcro.

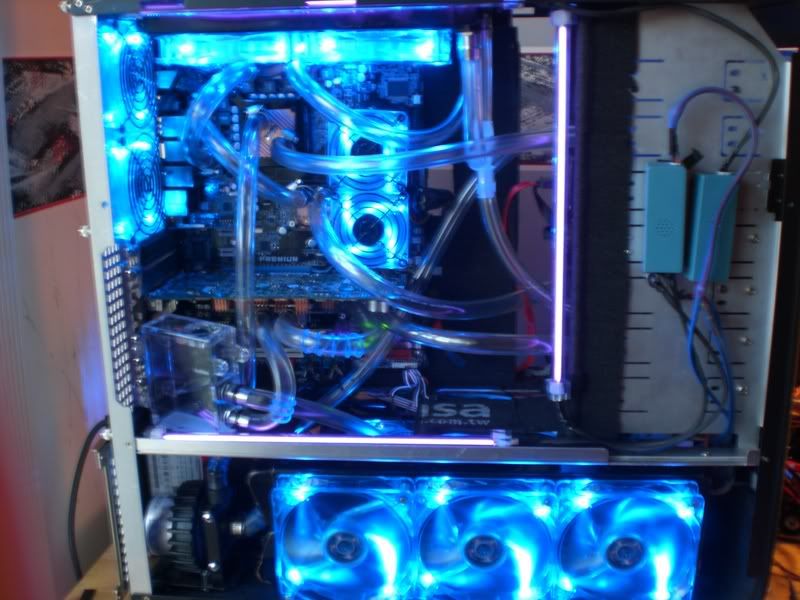
Update: Turned everything on today to make sure it was all still working... Y'know, been a long time since I've had it running and I've been known to botch things. It all works! I dare not leave it on for more than 2 minutes without substantial cooling, though. Testing fans and stuff, accidentally made them 7v fans, fixed it... some other small things. Tomorrow all of my parts come as well! Tomorrow I change the 92mm exaust fans, bought some blue LED fans to match all my other fans. Just have to tape down all my wiring out of site, set up all my tubing, mount the Pump, mount the hard drive... Wow, this is getting to be a bit lengthy. Also cutting the AC ryan panel out and spraypainting it black (I had to buy silver because I only wanted to order from jab-tech or performancepcs because they both deliver real fast to me. Unfortunately, PerfromancePCs was all out of black mesh panels). I may also spray paint a couple other things black tomorrow, I could of course always do them at a later date. Once that's done, it's all pretty much done... Oh, who am I kidding? It'll never be done, I'm never satisfied.
Anyway, to give this post a little substance, I present to you some snapshots I took when I booted up the system today to check everything. I even ended up featured in a few.

omg, it looks like you could fit a MCR320 up there too, but how come people say you cant. :\
Thanks for the pic's, now i need to rethink this build again
Nadeshiko: i7 990 12GB DDR3 eVGA Classified *In Testing... Jealous?
Miyuki: W3580 6GB DDR3 P6T-Dlx
Lind: Dual Gainestown 3.07
Sammy: Dual Yonah Sossoman cheerleader. *Sammy-> Lind.*
Its my fault.. and no im not sorry about it either.[12:37] skinnee: quit helping me procrastinate block reviews, you asshat. :p
[12:38] Naekuh: i love watching u get the firing squad on XS
Yep, you could. Open up the hole at the top and maybe give up a drive bay or two, you could fit a 320. Not that I've taken measurements.
We have some updates as of today! It's late now, been a long day and spent many hours working on the computer and painting. It's all set up, just need to put some clamps on there and fill it up for some leak testing. That's right, it's all done!
Here's some pictures for now:
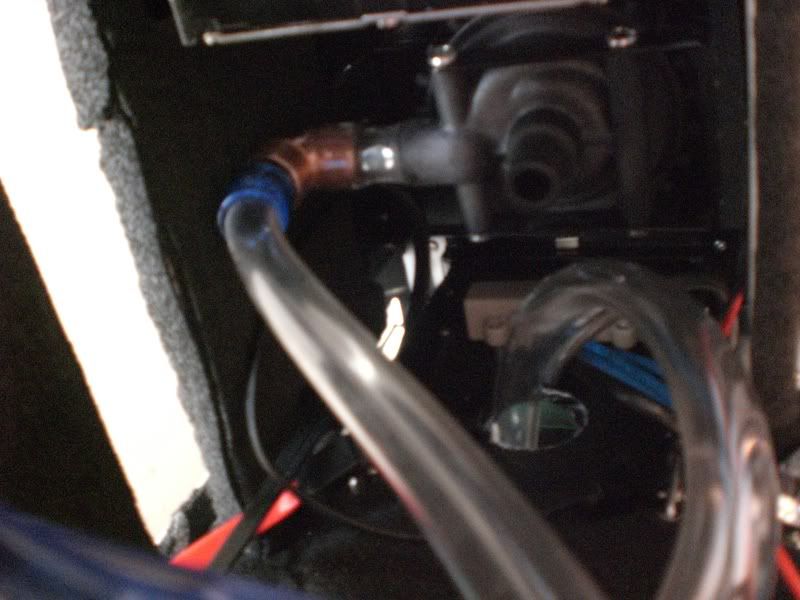
Pump mounted, as you can see, I used martin's suggested 90 degree bend.
Here's my micro res, I may at some later point mount it higher up, under the fans.
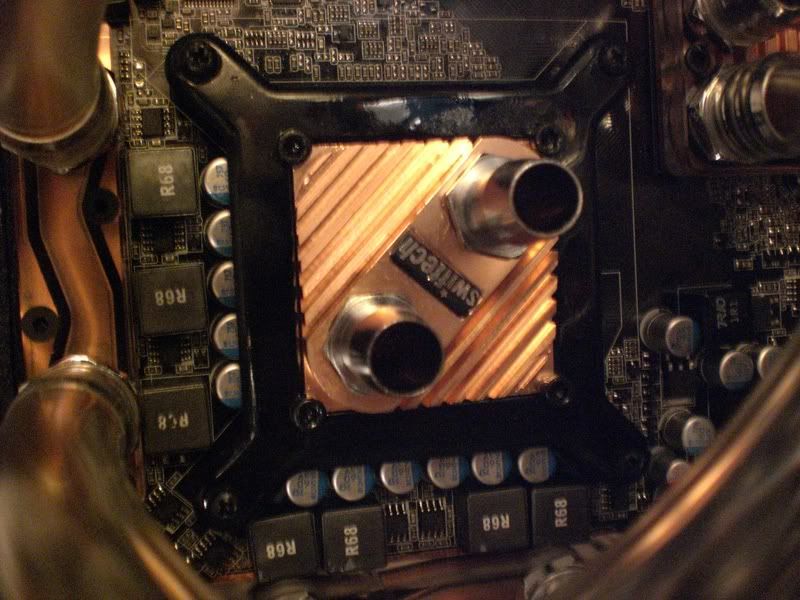
Apogee GTX, right after having painted it. It looks so good now.
These next pics are a little dark:
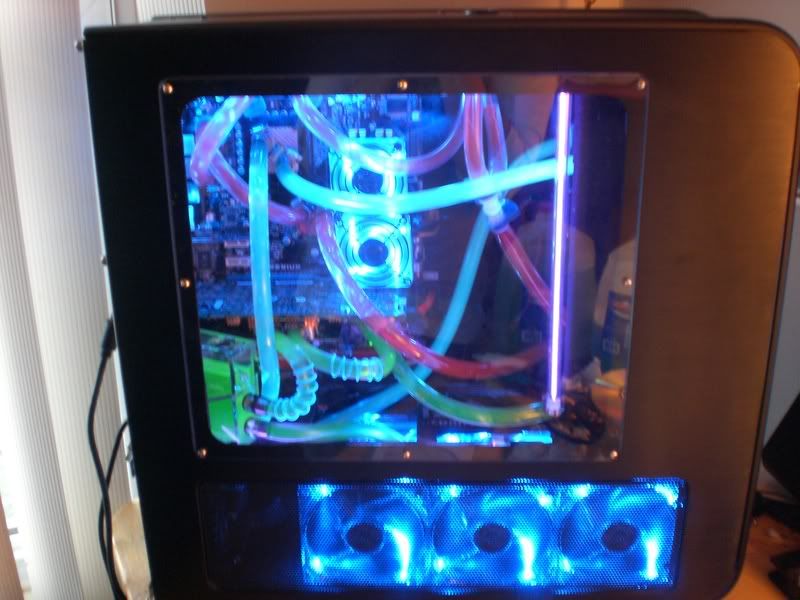
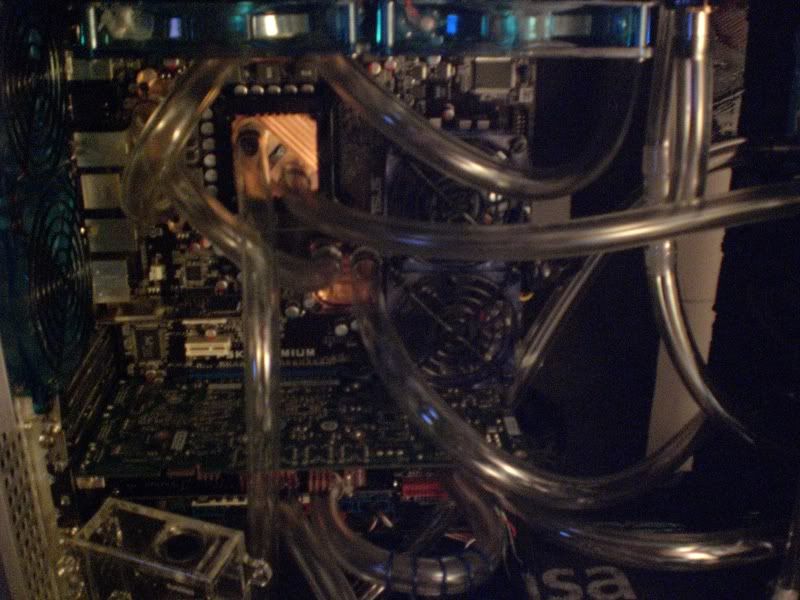
After EVERYTHING was set up. As you can see, there's the rad, which I've modified to the point of clearing the motherboard and the mosfet block. Fans have room to spin.
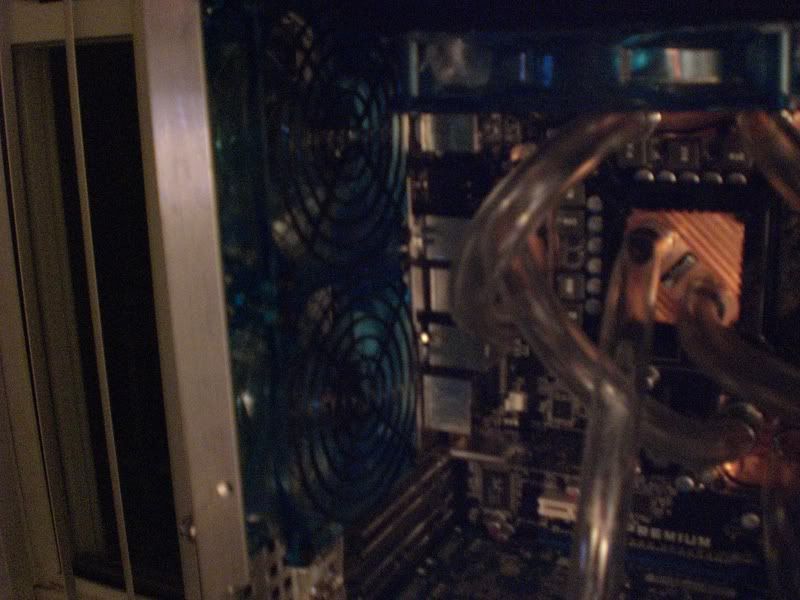
Here you can see my new fans mounted, with my painted fan grills.
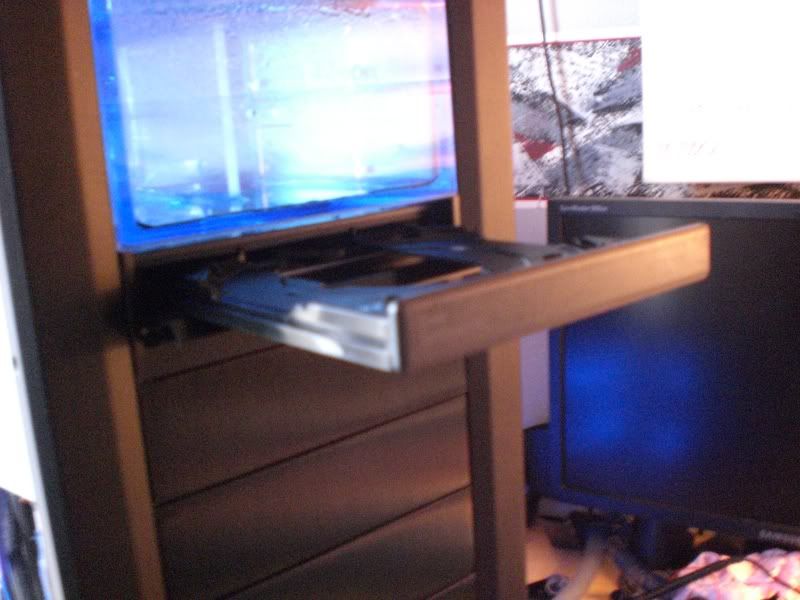
This one is very, very,very dark... But... At least you can tell that I painted the back side of my DVD drive black this way it doesn't stand out. It bugged me SO much that it was tan and just sat there.
Here's my black mesh grill which mounts the radiator. Notice the fillport.
I used to have dual rads in the bottom of mine, but it drove me nuts every time I wanted to work on the bloody thing.
Also, is there a reason that when you replaced your PSU fan, you turned it around? Doesn't seem like a great idea to me tbh....
Please note: I am not here to provide any kind of official NCIX support on these forums.
For faster (and official) service please contact me at Linus@ncix.com, or please contact our customer care team at wvvw.NCIX.com (Canada) or wvvw.NCIXUS.com (America)
Heatware: http://heatware.com/eval.php?id=25647
I wish I had one for you. It was a compulsion.
Check my sig for details on getting an MCR320 in the top.
Ooo, yes. When I was first planning on building this rig, I took a look at that on multiple occasions. You, sir, are a bit braver than I. Maybe someday when I have the resources to lengthen the hole at the top without botching it, I'll do the same thing as you.
Yes, I can actually manually set the ISO levels. I'll play around with that later, I had a feeling that it was the answer but never was totally sure, thank you very much.
*Updates* - DVD Bezel Mod
Again, sorry for the color in the pictures. It's at least not as dark as it was yesterday, but... The sunlight has just been evading me, so I've been sticking to the light of lamps and the slight sunlight near my window (rainy day), straying away from the flash as discussed previously. These pics are taken right before Derek's suggestion of the ISO, which I'll surely toggle next time I have a set of pictures for you.
First off, I had to remove my panels. I have my dremel workstation in the basement on an old kitchen table, this way I can just let the metal fly. Unfortunately (though maybe fortunate for my health), every time I need a little bit of modification, I have to run down two flights of stairs and back up. Oh well! Since I had everything already screwed in place, I took one panel off at a time, then when I needed the second one, I placed this one back in and screwed everything back together. This way I wouldn't need to assemble everything back into their bays, including mounting my pump, etc. If you're planning on doing this bezel mod, you'd be better off looking at the original bezel mod post, as the cut here isn't big enough towards the top. I eventually needed to either take it all back apart and cut off another inch at the top of both sides, or just modify the bezel itself. I opted for the latter, it's inside the case and it fits just the same.
Here's the bezel itself, after chopping the extra flaps off. Again, this picture is not accurate because I had to modify the bezel further to compensate for the incorrect cuts I did on the bay panels.
Here she is after the mod was done, doesn't it look great? I'm so glad that somebody realized the C-01 Bezel would fit in this case.
Here it is after it's opened up.
And another opened up.
So, here's what we still have to do: I still have to extend the connector for the fans at the top rad. I originally had a molex on there, but it simply doesn't reach the point where I keep all my wires, so I'll lengthen it and re-solder it. I also have to chop off the 3 pin connectors that my 92mm fans came with, lengthen them, and put molex connectors on them as well. After that's done, and all my wires are in there for good, I'll begin taping them along the top of the divider which separates the bottom from the top of the case, out of sight. I also still need to put some clamps on a few more barbs in my system. I don't think I have enough clamps, but I guess I'll use some zip ties... I really don't trust them. Anybody know if home depot or a local shop carries worm hose clamps?
After that, I'll pad absolutely everything with paper towels, expecting the worse, and unplug all of my important components. I'll fill up one loop at a time, plugging in one pump at a time. I'll then make a connection between the startup wire and ground wires, and probably have a heart attack in anticipation of a leak.
After that, I'm basically done. Expect pictures. Expect me to overclock everything as far as I can possibly go, hopefully not to the brink of breaking anything. I'll also surely give tons of data as to what type of temps I get with this system. I fully expect great things, wish me luck!
A thousand thank you's to Derek, because setting the ISO level to 50 (While it was previously on automatic and probably around 400 every time I took a picture) has really fixed that problem that I had with the grainy color. Unfortunately it has me cursing my shaky hands and deleting photos left and right because it's real sensitive to blur when I don't hold the camera perfect. Thinking about it now, I have a feeling that the ISO level is color correction. It must fill in the color that's distorted because of blurring, fixing the blur but at the same time making high-res pictures look like crap. That's my assumption, at least.
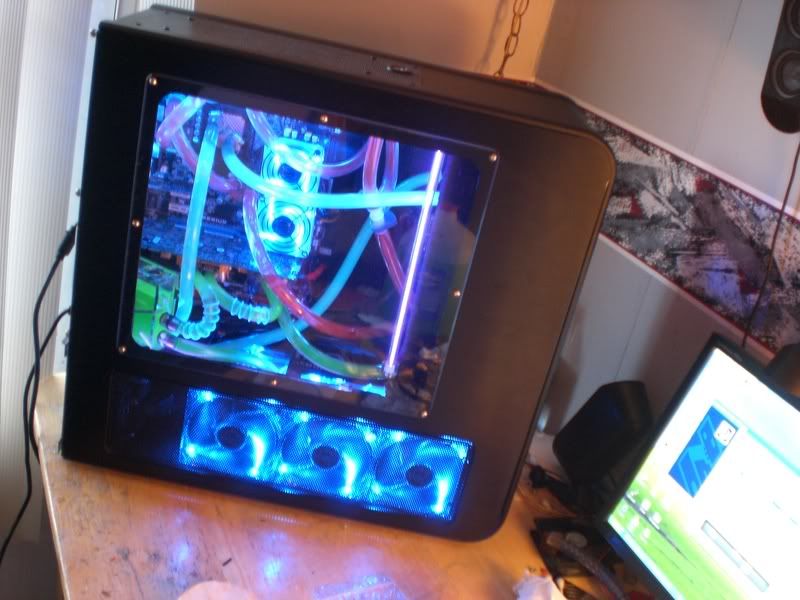
ANYWAY, nobody probably cares about my camera, here's a picture. Just got done soldering some wires for the fans and it looks so good all lit up. All that's left is a little bit of wire hiding (as well as ordering a new black SATA cable, as you can see I broke the connector of mine when pushing it through my mobo tray hole and I'm left with a red one), and then filling up the system.
Ahh, the process of leak testing: It has eluded me for so long. Oh how I despise it.
At least an hour (I have a horrible concept of time) and no leaks that I can see so far.


time is just created by humans, it doesnt really exist, or it doesnt exist in a sense that is measurable. god i love the physics of deep space. god i need to stop derailing threads.
I could seriously turn this thread into a science discussion. Furthering what you said -- time travel is technically impossible because neither the past or the future exist, only the present. The present is also something which also exists logically, though "technically" it's a physical thing but can't be classified as such because there'll never be a measurement for time small enough to capture how fast the present moves. ANYWAY. Let's end that there.
God is also created by man, just a means to explain something complicated to simpletons. Flame shield to maximum!
Circles SucQ!
If your annoyed by sigs telling you to put things in your sig, then put this in your sig
Bribery won't work on me...just say NO to AT!!!
what rad do you have @ the top?
Agreed. But let's not turn this into a religion argument, I've seen them get pretty nasty over at the Speak Freely forum.
MCR-220
Just wanted to make sure you knew that you could get an MCR220 mounted internally with an approach similar to mine, without having to modify the top of the case.
Absolutely. But not when you have a mosfet block at the top. Even if the motherboard clears, the mosfet block does not at all.
And so we have closure. Or do we? I, for one, hope the answer is no!
Alright, I'm bringing this thread back because I promised some temps once I had a good overclock and officially called this done in terms of overclocking. I can't say that it is still, but at least I'm sticking with this for a while.
Specs and temps, as well as overclocks are in my signature.
I'm really disappointed in the overclock I'm getting with my processor, but it's a bad batch... I can't get it stable at around 3.8GHz, and I'm not an amateur overclocker. I spent days and days trying to break through that wall but this processor is just bad. Too much voltage to get there... Hell, 1.59v is already bad enough for 3.7GHz
All that said, things could be worse. The processor is the only thing holding me back. My board doesn't hit an FSB wall until the mid 500's for me, and my RAM is overclocking like a champ. Hell, it's rated for 800MHz and it easily goes to 1000MHz and beyond, and I have timings of 4-4-4-4 on it right now. Easily very cool at around 2.25-2.3v which isn't too bad for RAM.
Maybe some day I'll find that magical processor that'll give me a 100% overclock. But at least my temps are very good!
Also, I'm getting 13 seconds at 1M of SuperPi, and 13628 in 3DMark 06. And I haven't even gotten my hands on some resistors to do some voltage modding to my 8800 yet.
e6600 @ 3.6GHz (400*9 1.54v ~23C Idle ~45C Load)
8800GTS 320MB (675MHz Core, 1674 MHz shader, 999MHz Memory ~39C Idle ~43C Load)
P5K Premium - Black Pearl (No vDroop)
4GB 6400 Corsair XMS2 4-4-4-4-3-30-3-3-3
750GB Seagate Barracuda 7200.10
Corsair HX620 Modular PSU
Silverstone TJ07
Samsung DVD RW (Stealthed)
X-Fi Soundblaster
[SIGPIC][/SIGPIC]
D5 > MCW60 > EK SB > Micro-Res > MCR-220 w/ Yate Loon x4
D5 > Apogee GTX w/ Copper Top (Painted Black)> 2x5 1/2" Bay Res > MCR-320 w/ Yate Loon x5
D5 > Copper 90° > EK NB > EK Mosfet > EK Mosfet > MCR-220 w/ Yate Loon x2 > T-line > Copper 90°
he he now thats just plain clever....... I love it.
nice work mate...
Not a fan of the dye's but thats just me
well done
 Posting Permissions


 Reply With Quote


Bookmarks