


Ooo, yes. When I was first planning on building this rig, I took a look at that on multiple occasions. You, sir, are a bit braver than I. Maybe someday when I have the resources to lengthen the hole at the top without botching it, I'll do the same thing as you.Originally Posted by NicePants42


Yes, I can actually manually set the ISO levels. I'll play around with that later, I had a feeling that it was the answer but never was totally sure, thank you very much.
*Updates* - DVD Bezel Mod
Again, sorry for the color in the pictures. It's at least not as dark as it was yesterday, but... The sunlight has just been evading me, so I've been sticking to the light of lamps and the slight sunlight near my window (rainy day), straying away from the flash as discussed previously. These pics are taken right before Derek's suggestion of the ISO, which I'll surely toggle next time I have a set of pictures for you.
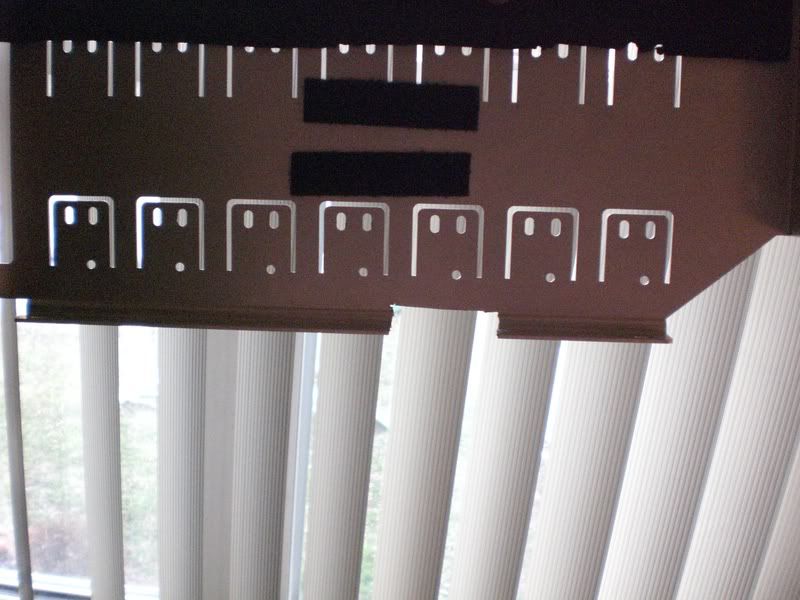
First off, I had to remove my panels. I have my dremel workstation in the basement on an old kitchen table, this way I can just let the metal fly. Unfortunately (though maybe fortunate for my health), every time I need a little bit of modification, I have to run down two flights of stairs and back up. Oh well! Since I had everything already screwed in place, I took one panel off at a time, then when I needed the second one, I placed this one back in and screwed everything back together. This way I wouldn't need to assemble everything back into their bays, including mounting my pump, etc. If you're planning on doing this bezel mod, you'd be better off looking at the original bezel mod post, as the cut here isn't big enough towards the top. I eventually needed to either take it all back apart and cut off another inch at the top of both sides, or just modify the bezel itself. I opted for the latter, it's inside the case and it fits just the same.
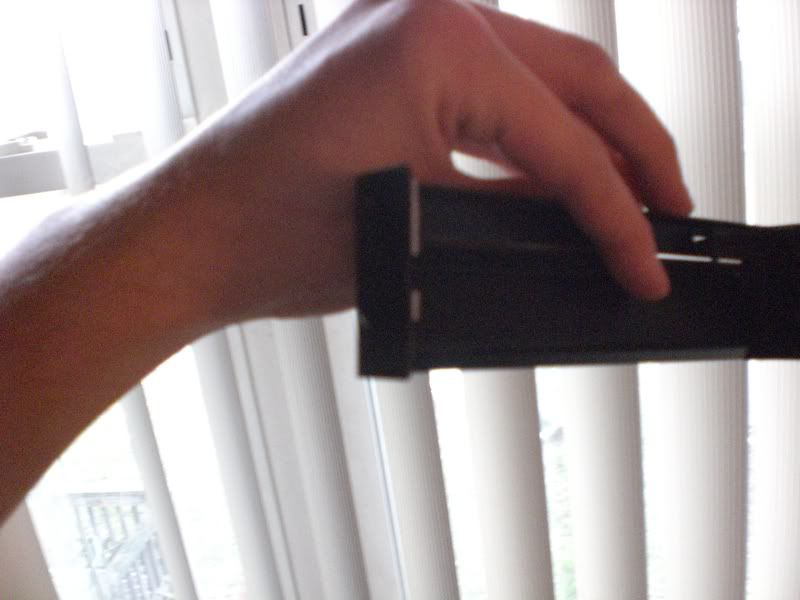
Here's the bezel itself, after chopping the extra flaps off. Again, this picture is not accurate because I had to modify the bezel further to compensate for the incorrect cuts I did on the bay panels.
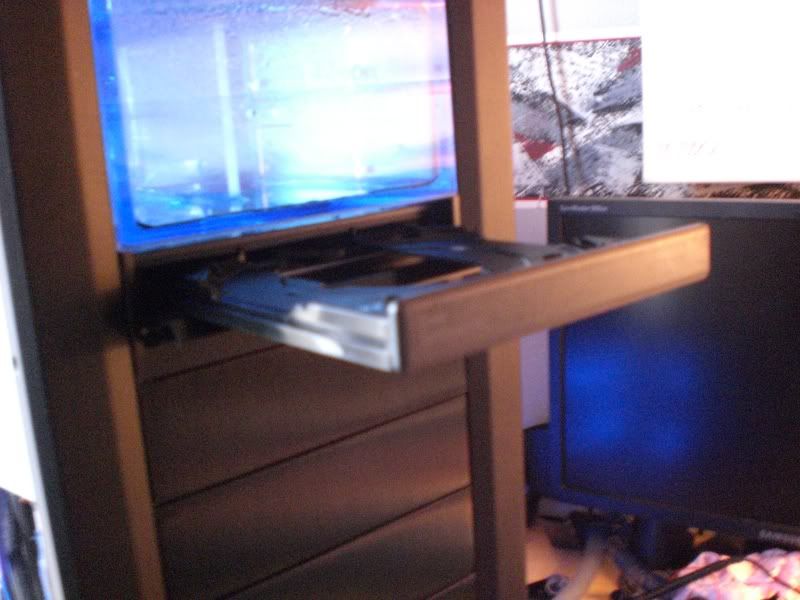
Here she is after the mod was done, doesn't it look great? I'm so glad that somebody realized the C-01 Bezel would fit in this case.
Here it is after it's opened up.
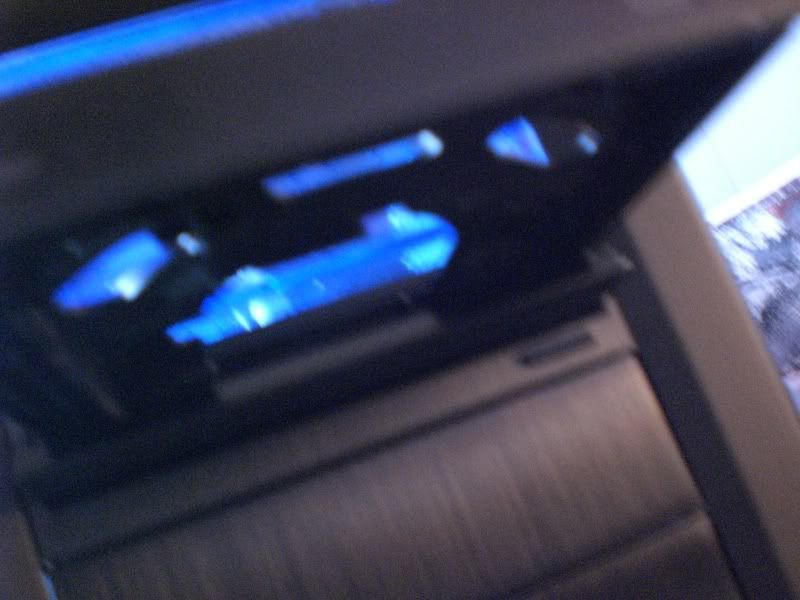
And another opened up.
So, here's what we still have to do: I still have to extend the connector for the fans at the top rad. I originally had a molex on there, but it simply doesn't reach the point where I keep all my wires, so I'll lengthen it and re-solder it. I also have to chop off the 3 pin connectors that my 92mm fans came with, lengthen them, and put molex connectors on them as well. After that's done, and all my wires are in there for good, I'll begin taping them along the top of the divider which separates the bottom from the top of the case, out of sight. I also still need to put some clamps on a few more barbs in my system. I don't think I have enough clamps, but I guess I'll use some zip ties... I really don't trust them. Anybody know if home depot or a local shop carries worm hose clamps?
After that, I'll pad absolutely everything with paper towels, expecting the worse, and unplug all of my important components. I'll fill up one loop at a time, plugging in one pump at a time. I'll then make a connection between the startup wire and ground wires, and probably have a heart attack in anticipation of a leak.
After that, I'm basically done. Expect pictures. Expect me to overclock everything as far as I can possibly go, hopefully not to the brink of breaking anything. I'll also surely give tons of data as to what type of temps I get with this system. I fully expect great things, wish me luck!


 Reply With Quote

Bookmarks